

my 1st gen swap


 06-25-2006, 02:54 AM
#22
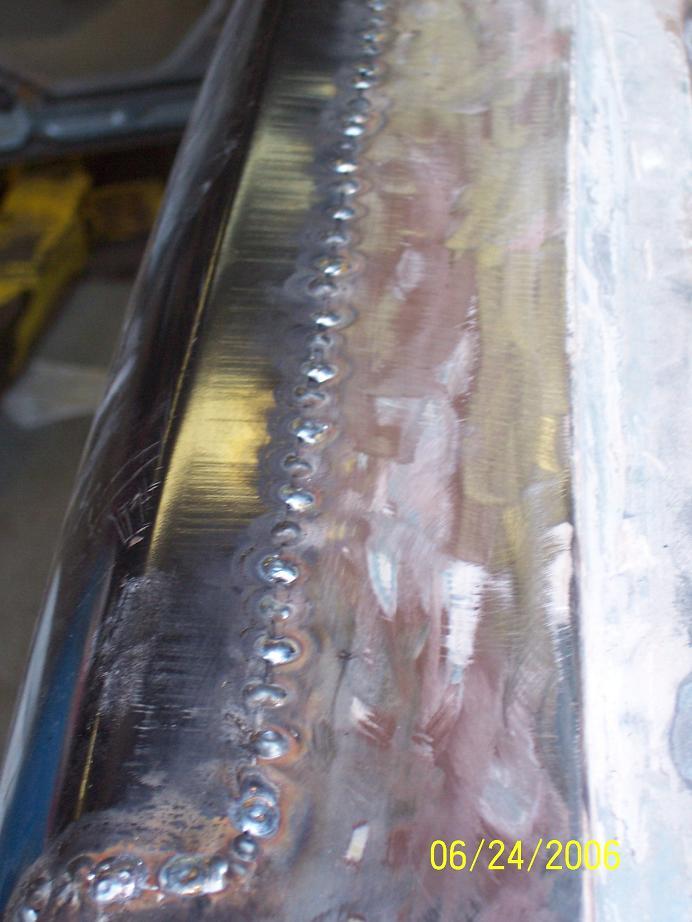
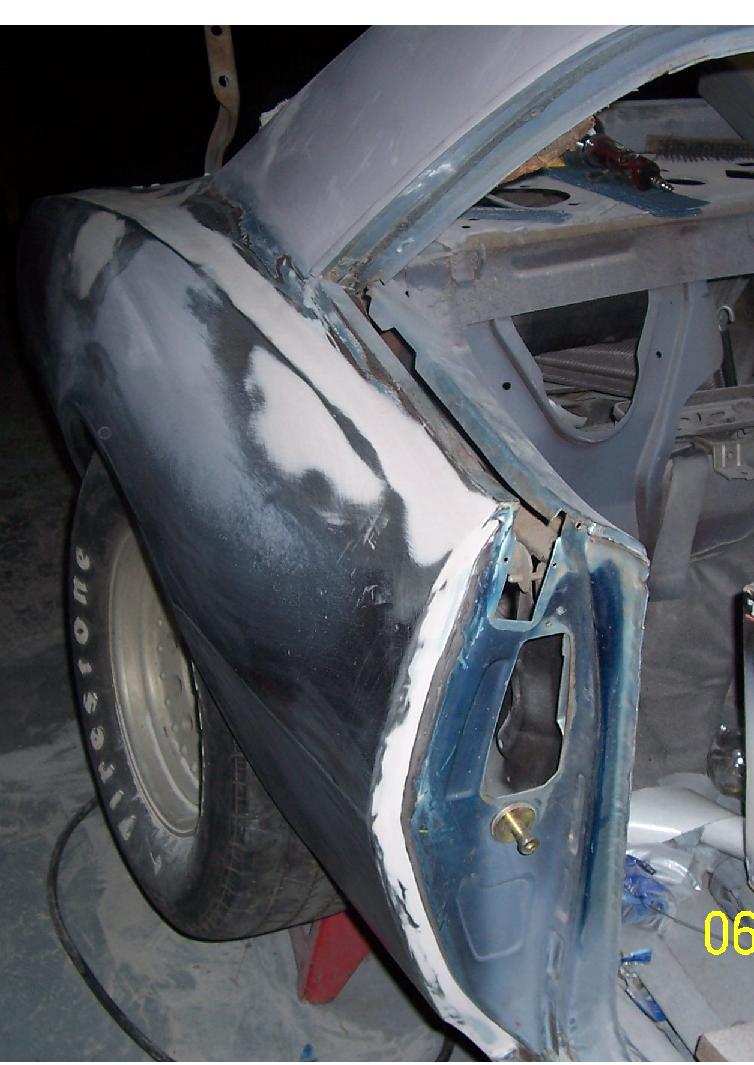
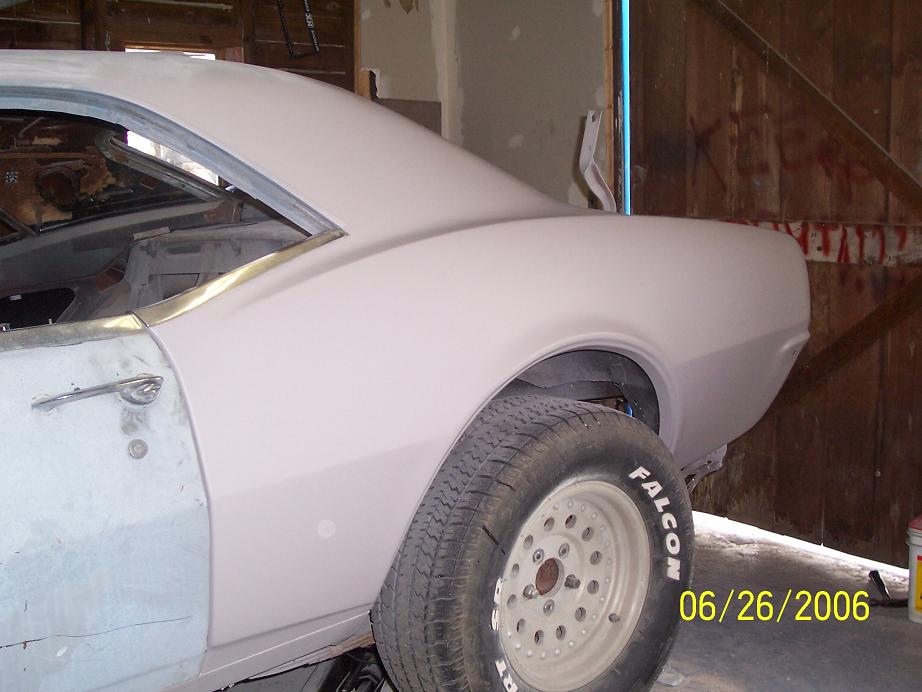
today i finished welding the pass side and most of driver rear quarters(i ran out of wire) so to keep going i started mudding the pass side. tommorow i will have the driver side done and prime the shell. here are a coiuple of pics. and i guess even brand new quarters can need a skim coat of mudd sumtimes
also, i have to say thanks to olly. dude, seeing your car in paint got me motivated. i had not touched the bodywork in like 2 weeks, and for at least a little while im gonna keep rockin it out. so thanks for motivating me dude.
also, i have to say thanks to olly. dude, seeing your car in paint got me motivated. i had not touched the bodywork in like 2 weeks, and for at least a little while im gonna keep rockin it out. so thanks for motivating me dude.
Last edited by leonpiper69; 07-21-2006 at 12:23 AM.
07-19-2006, 01:31 PM
#23
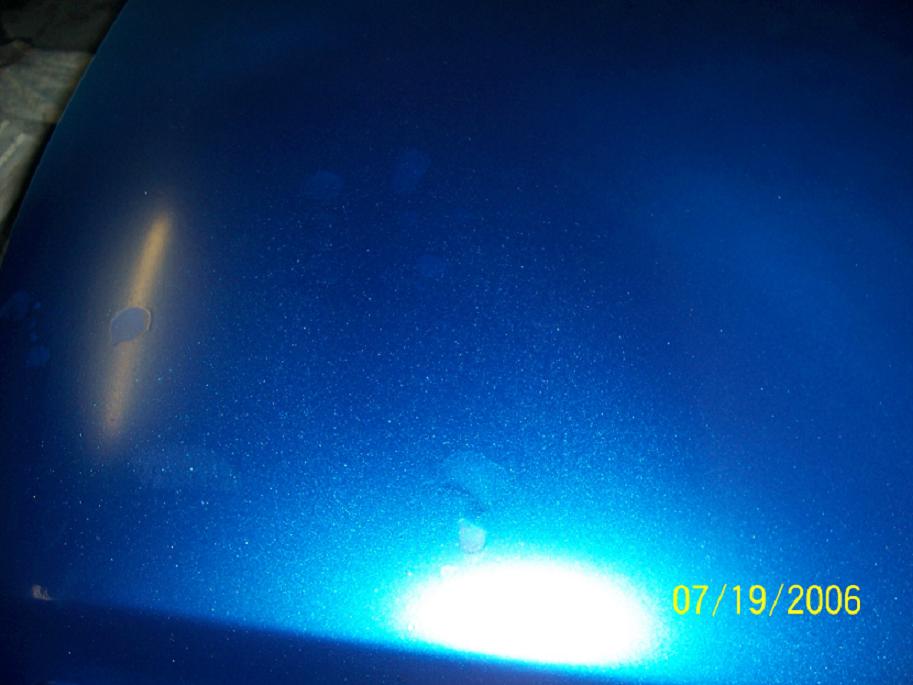
 now im pissed.....its so damn hot that i waited till midnight to start shooting the base coat. it was still 8? out but humid as hell
  s oafter all the blocking and blocking and priming and blocking. im finally ready to paint! so its flashy rwal fast and im rushing (*bad idea). why do we alaways do things we know we shouldnt and then get mad when something goes wrong? first im sweating like a pigand sweat drips off my forehead right onto the roof. luckily its flashing pretty quick so i can just dab w/ a paper towel and go over it poof one pass no marks, good as new.
  so i keep going even though murphys starting to laugh at me. so im cheap so im not runnnin a water seperator o9n my air linebut i am useing a filter in line with the gun. but moister starts spitting out at the quick connect and of course its landing on the roof.(while spraying the roof). so i dab that and start to think i should call it a night cuz stuff just aint going right. but ... of course i keep going and im hurrying because if i can make more paint and lay it right over the spot i just dabbed then it will be gone . soo im flyiong aound my garage to do this before it flashes and go to spray only to find i dont have the cap on all the way on the gun....... yeah it starts dripping on the roof. big ol globs... so i try to dab that... nope ! takes alt the paint i just laid down with it. so i try to paut more on to blend it in. nope!!!!!! heres pics of my massacre. now its a hundreed degrees out, and i have to sand it back down.
  murphy's law
 07-19-2006, 03:12 PM
#24
On The Tree

Join Date: Apr 2005
Location: Sylvester, ga
Posts: 187
Likes: 0
Received 0 Likes
on
0 Posts

I'm so damn jealous of you guys. Right now I'm down to thinking about selling blood and semen for money to buy a ls1/auto combo. I'm gonna steal my girls camera and put up some pics tommorow. I'll let yall see if I'm doing anything right.
07-20-2006, 11:29 AM
#25
On The Tree
Join Date: Apr 2005
Location: Sylvester, ga
Posts: 187
Likes: 0
Received 0 Likes
on
0 Posts
Am I going the right direction with this. The mock up of the frame will have 1/2" more clearance than the original rails and made of 14 ga tubing so it should be stronger. Tubs will be wide enough to accomodate 345's if need be.
07-22-2006, 08:41 AM
#27
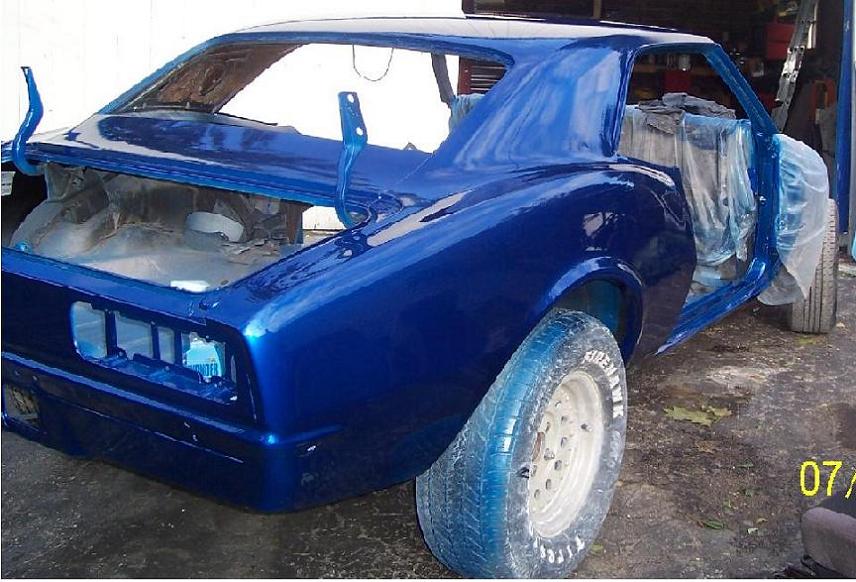
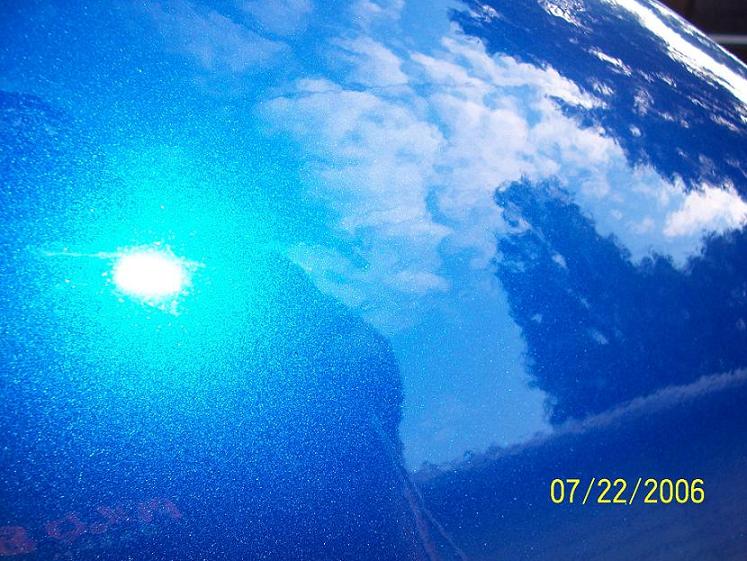
a big thank you to olly for the tips. it was the reducer being too slow soaking into the paint after all.heres a couple of pics after the clear. i have not color sanded yet because im gonna wait till after its all together in case somthin gets nicked in the process. i tried to get no orange peel at all(but i got a couple of really small runs that will color sand out. what do you think?
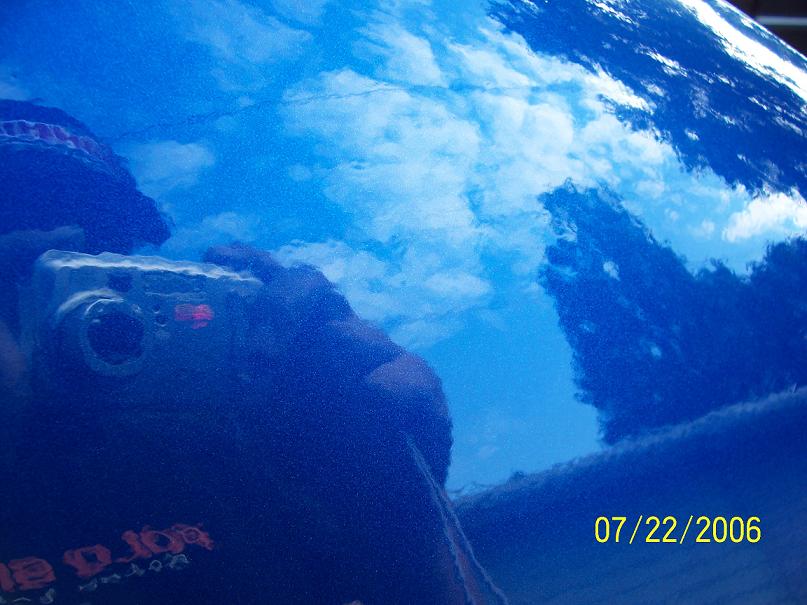
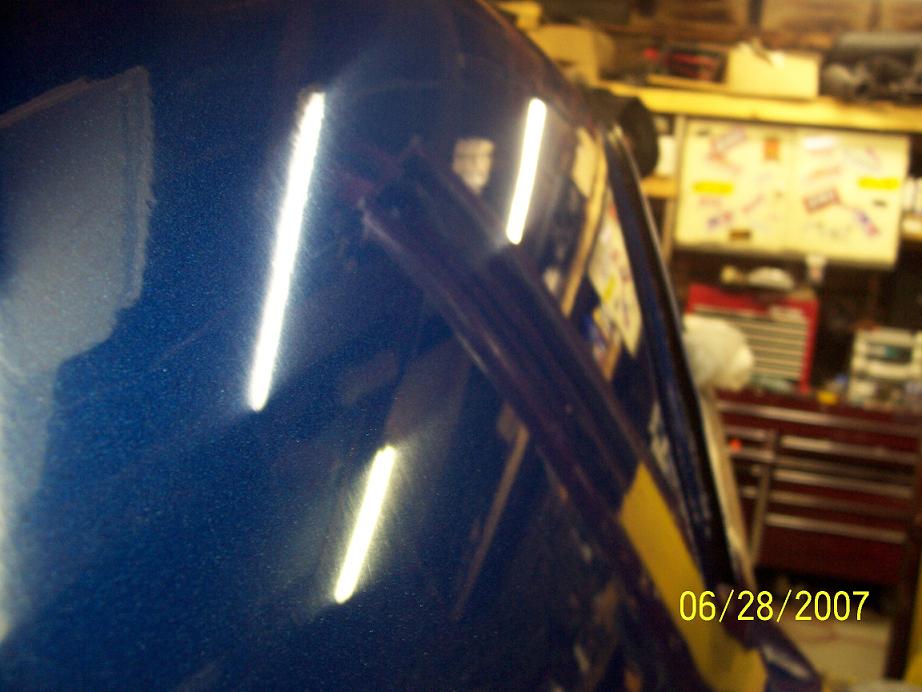
shrinking thes made the orange peel look worse for some reason?
made this one a little worse.
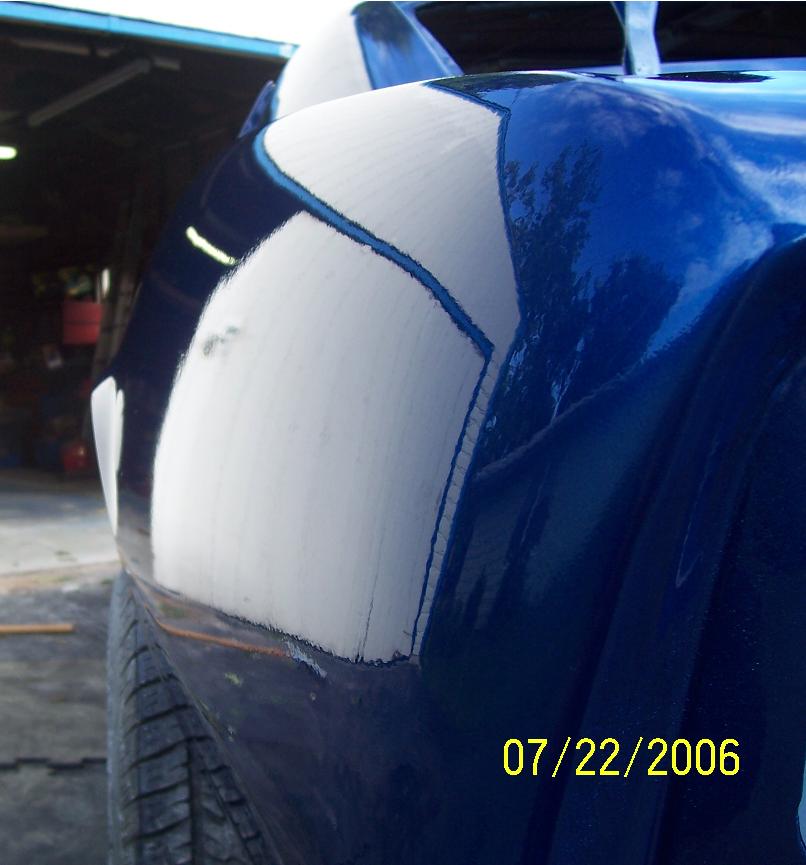
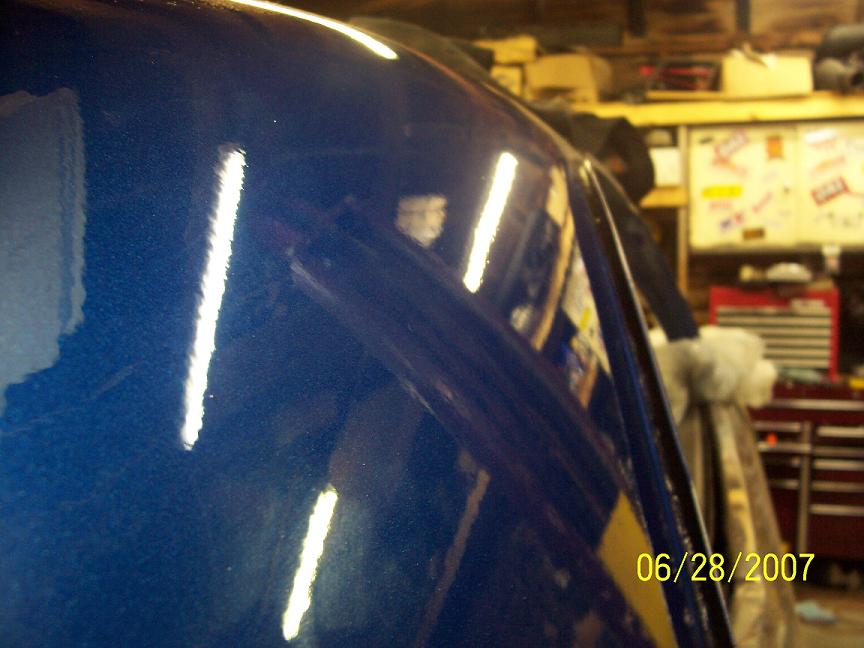
this is the left sail panel. it shows the orange peel is not so bad close up. also with no flash.
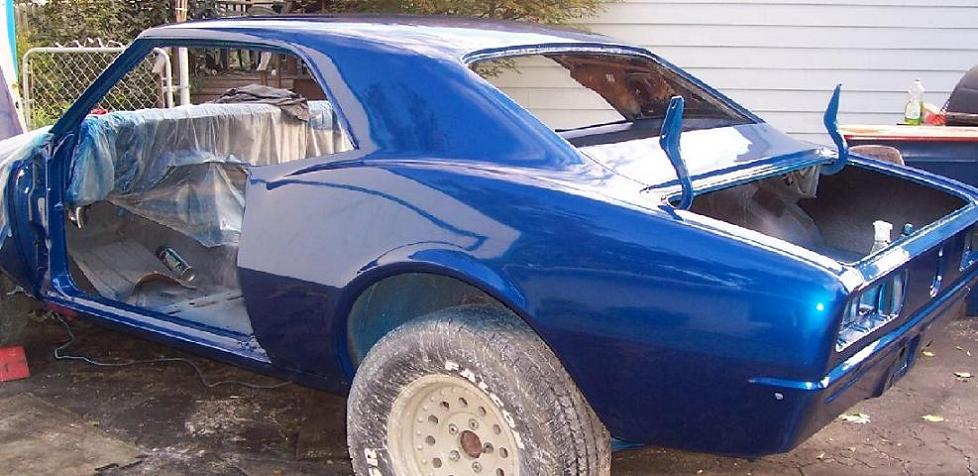
this is just a shot down the side. im not a pro at body work so please dont pick on me too hard.
same spot with flash and you can see all the blue pearl and metal flake come out
shrinking thes made the orange peel look worse for some reason?
made this one a little worse.
this is the left sail panel. it shows the orange peel is not so bad close up. also with no flash.
this is just a shot down the side. im not a pro at body work so please dont pick on me too hard.
same spot with flash and you can see all the blue pearl and metal flake come out
 06-28-2007, 10:05 PM
#30
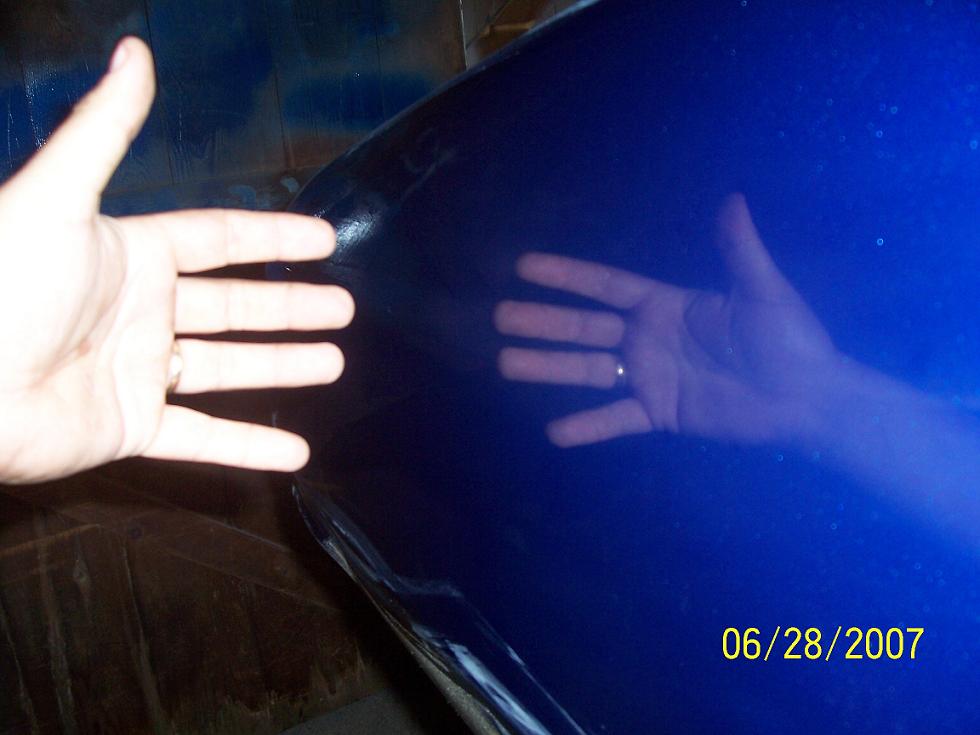
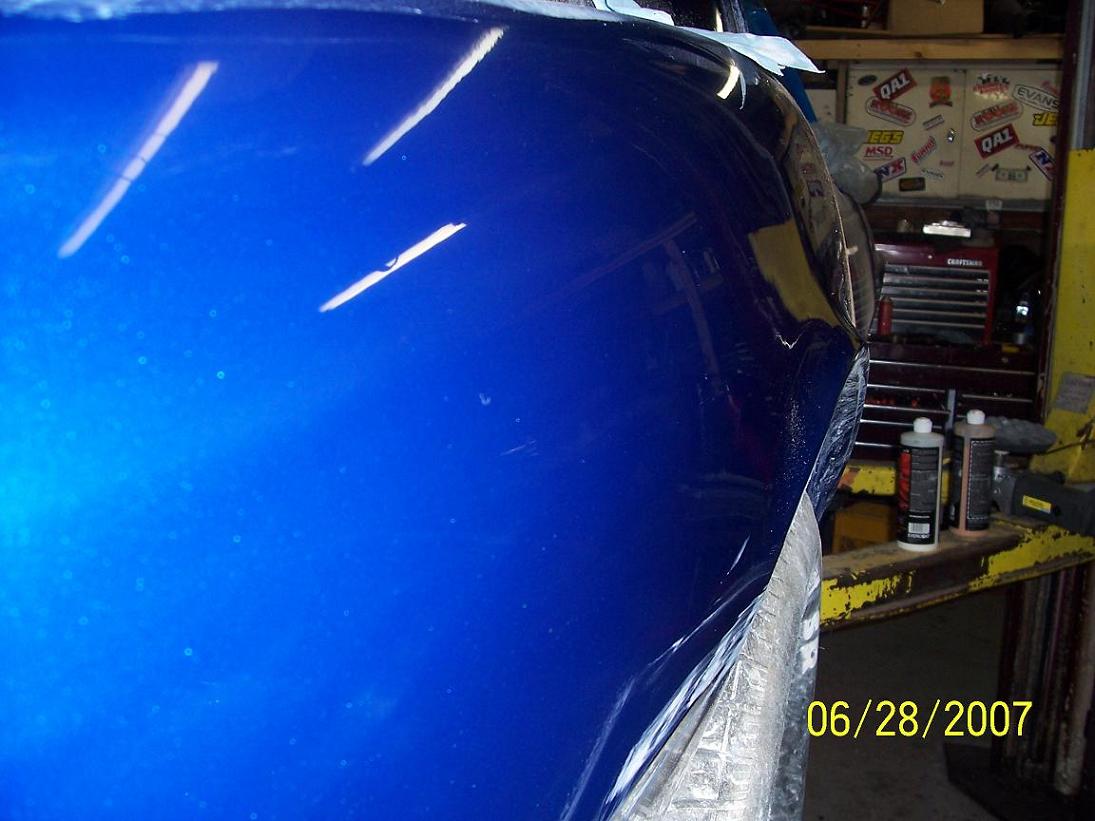
finally started working on my car again. im learing to buff. i was scared at first but now its kinda fun. whatcha all think so far, any tips?
before color sand and buff
after colorsand and buff
before color sand and buff
after colorsand and buff
Last edited by leonpiper69; 07-08-2007 at 01:36 PM.
 07-08-2007, 09:03 PM
#34
i like how you painted the wall, haha. don't get anywhere near corners, protect them with tape. I like perfect!it 3M compound for buffing with a wool pad first, (no grit, it's all chemical) and then finalsomethingorother with a foam pad for polishing once you get the scratches out. take your time, looking good!
07-09-2007, 08:38 AM
#35
Originally Posted by 67RSCamaroVette
i like how you painted the wall, haha. don't get anywhere near corners, protect them with tape. I like perfect!it 3M compound for buffing with a wool pad first, (no grit, it's all chemical) and then finalsomethingorother with a foam pad for polishing once you get the scratches out. take your time, looking good!
yeah, every time i set up my gun i just use the wall because im going to eventually drywall the garage and make it nice. that 3m stuff is expensive though isn't it? im useing evercoat brand stuff cuz its a lot cheaper, but if i get some overtime i might try that other stuff, it sounds good. thanks for the tips.