When you click on links to various merchants on this site and make a purchase, this can result in this site earning a commission. Affiliate programs and affiliations include, but are not limited to, the eBay Partner Network.
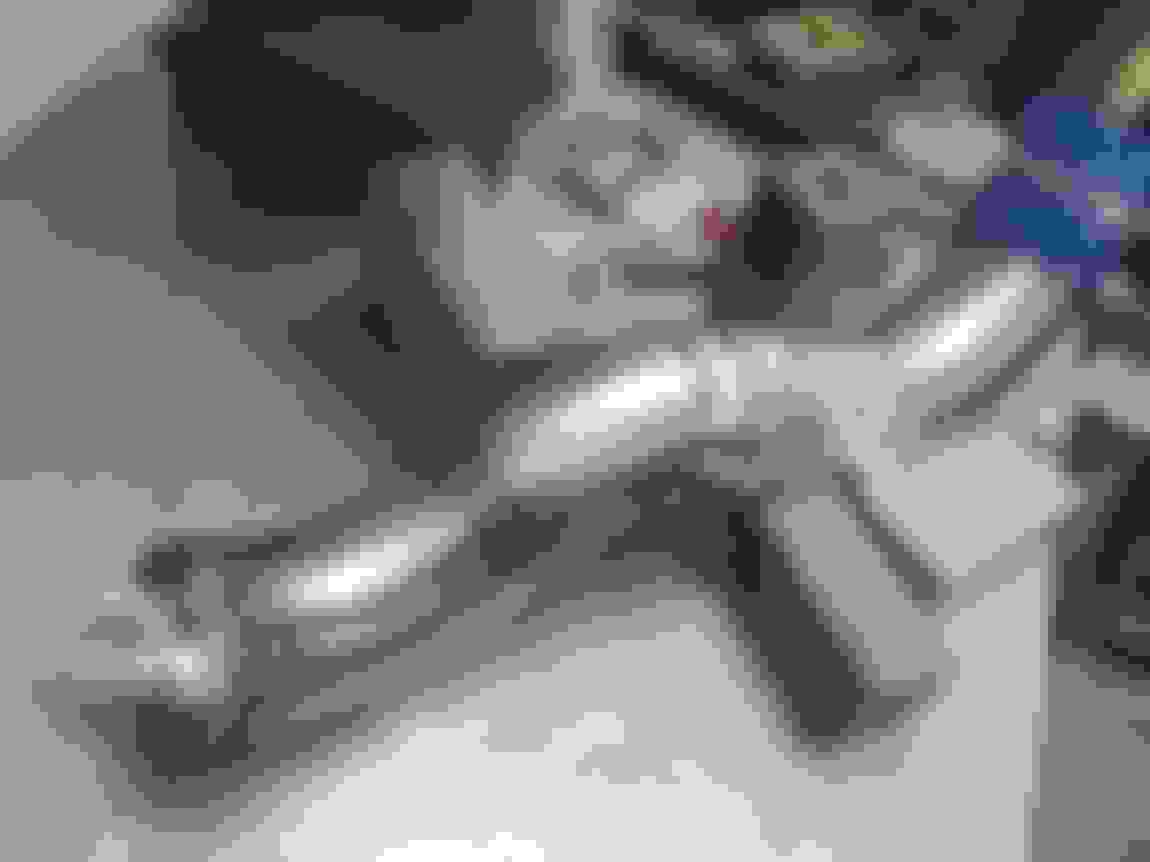
Yes it looks like they could have used more filler, but they still look FAWKING AWESOME!!! My net-enhanced eyecrometer says they're plenty thick to hold up to heat cycling and vibration. You'll have to decide from looking at them in person.
When I first welded my axle housing ends, some damn Internet experts (who I trust and respect) cast a little doubt on my sub-par first passes and it ATE AT ME until I finally launched a rework loop that delayed the project roughly a month. Mine were WAY WAY worse than what you've got here and they hold the vehicle up, so I think I had good reason to go back over them, but in your case we're talking about near perfect welds that could just use more filler. I would not look back. They are good!
After all that heat you deserve a few cold ones.
Originally Posted by frojoe
Tonight I'm going to pick up the injectors, and going to "borrow back" the engine hoist from a friend who's had it for years.
It's funny how that works with hoists. I left mine with my brother for roughly 10 years before I got it back for the LS swap. I was perfectly happy with letting him store it! The damn thing takes up a lot of space even when it's taken apart. I'm always thinking I'll sell it and just buy a new one next time I need it but I never act on that thought because I'm a tool hoarder!
Last edited by -TheBandit-; 03-21-2018 at 10:37 AM.
Yes it looks like they could have used more filler, but they still look FAWKING AWESOME!!! My net-enhanced eyecrometer says they're plenty thick to hold up to heat cycling and vibration. You'll have to decide from looking at them in person.
!
I agree totally. We better than I could do. I was just saying...... I am betting being a engineer, it will bug him bigtime until he fixes it.
Haha well the welded piping is still sitting on the weld bench about a foot away from the torch, so while the torch is still set up for thick stuff and has cooled down, I think I'll give some of the welds another pass just to clean them up a bit. Of course!
It's only my time.. how valuable could it possibly be?! I do like welding however... there's no such thing as "enough practice" when it comes to melting metal hehe.
CNC'ing the P/S pump and idler pulley bracketry now
I spent about 10mins going over the schedule 40 hot piping, upon re-evaluation there were only a few welds that were mildly undercut/underfilled.. so I smoothed those out, and then added a couple beauty passes to the most visible welds just to make them nice.
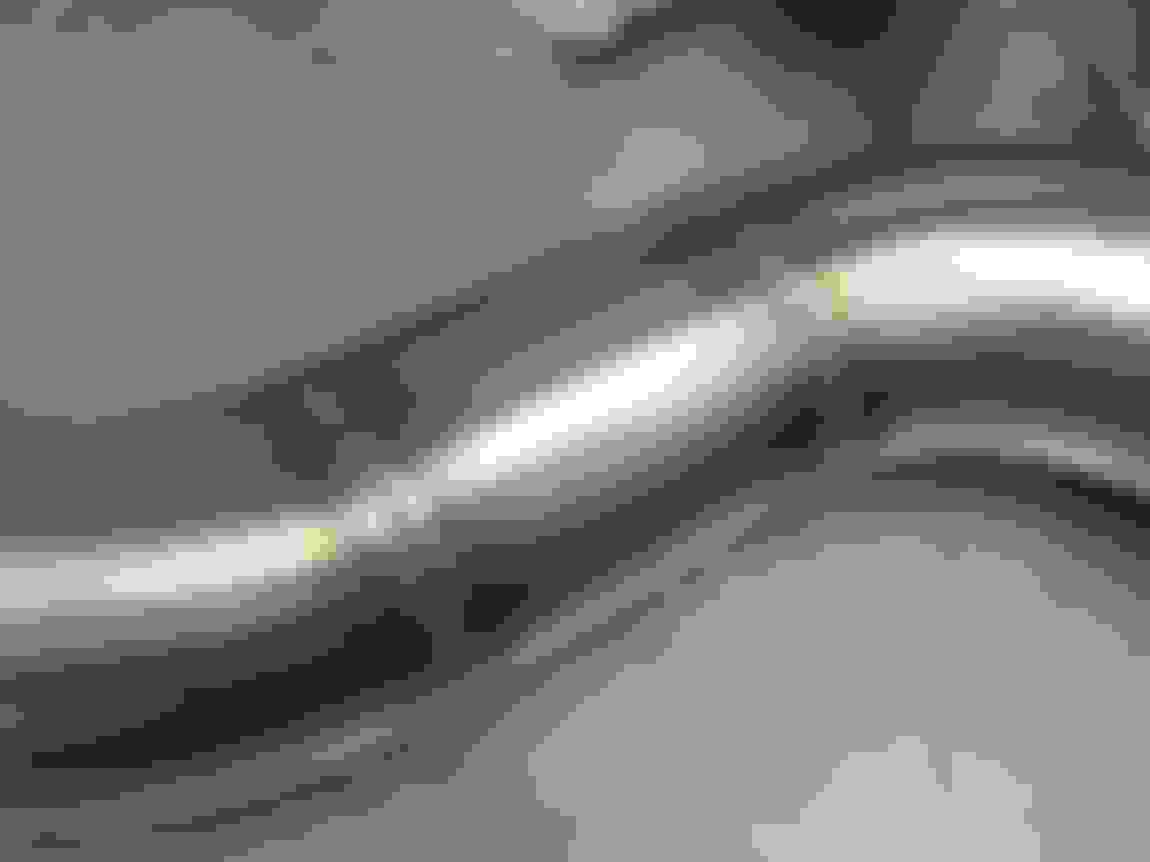
Last night I started fiddling with the thin gauge stuff (16ga). Started with the passenger side downpipe. I had nailed the miters pretty square and flat.. enough that I thought I'd try fusion welding instead of using filler wire. Also tried out the pulse function on the Dynasty 350... wow is this thing cool.. never thought I'd be welding with one hand again!
The settings I landed on for the pulse feature were 2.0 pulses per second, 95% peak amperage (AKA when pulse is "on", it is 95% of whatever pedal position I'm at), 55% background amperage, main amperage set to 80A, and was at about 3/4 pedal for most of it. No filler, and I was moving the torch at maybe 5-6 seconds to travel one inch. I used a 1/16" thoriated tungsten with about 3/8" stick out, and a #12 ceramic cup with about 25cfm. The heat control was mind-bogglingly sweet...
Sometimes you have to pick your battles, and with such a long list of stuff to still do, I farmed out the P/S pump bracket making to the CNC machine in the shop at work.
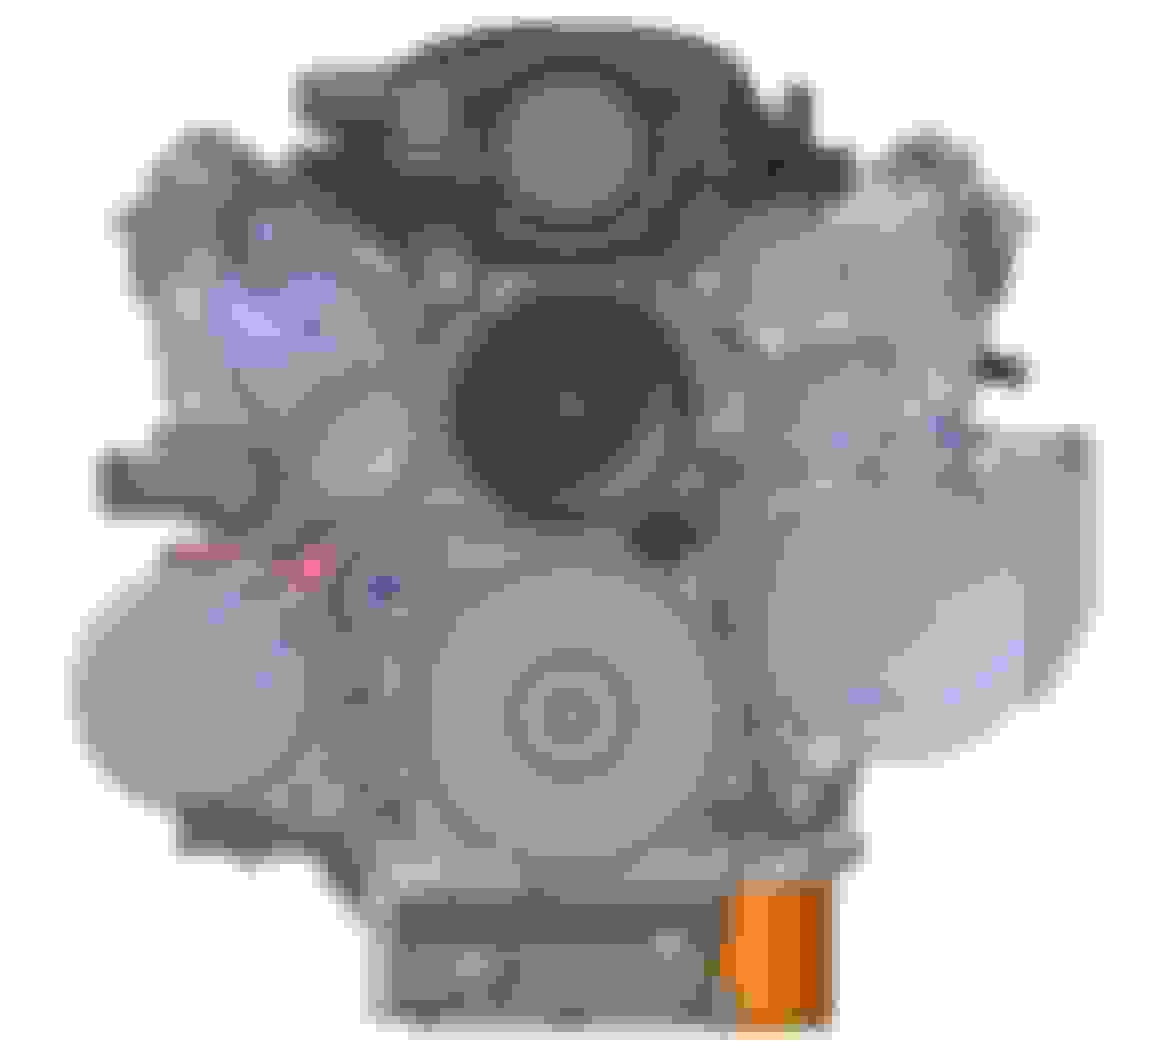
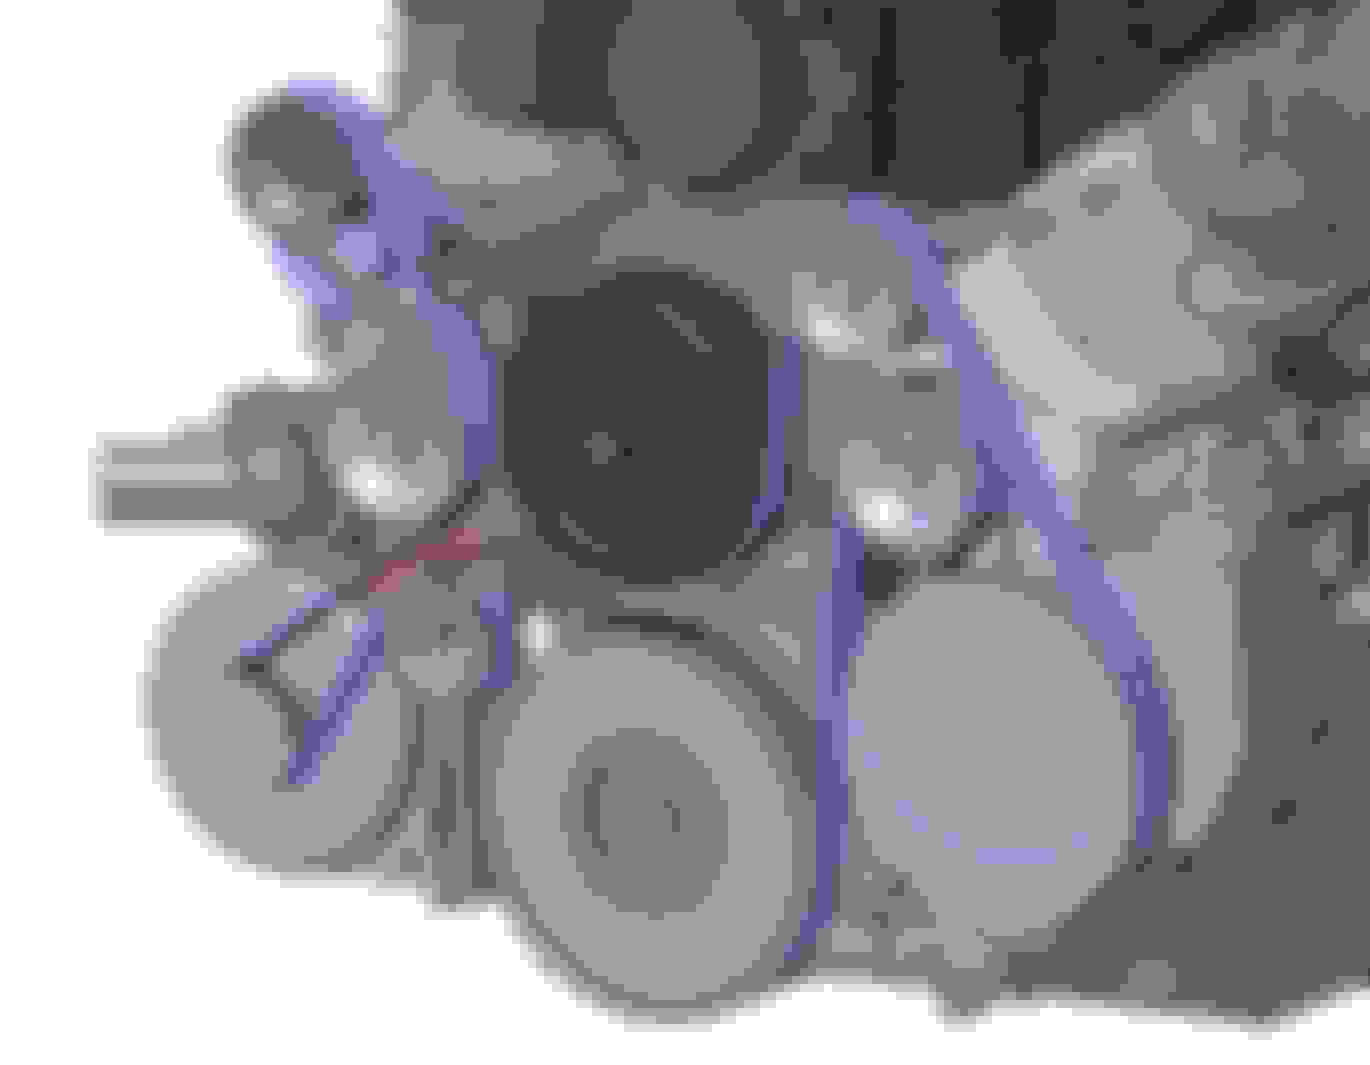
Here is "version 4.3" of accessory drive.. about as much wrap as the pulleys can possibly have. The idler pulleys are all OEM GM ones so quality shouldn't be a concern. The goal of this design revision from the last one several months ago was to move the P/S pump down 1-3" to get the pump reservoir away from turbo heat, and the current/past P/S pump pulley location is the blue sketched line. Also necessary was leaving room below/beside the pump for oil cooler lines to snake around, and maximizing belt wrap with the LS3 intake and '05-'08 Corvette LS3 waterpump.
The smooth idler pulley below the tensioner assembly is the biggest one I have (70mm OD).. I wanted to see if the design could theoretically hold a pulley that big, to reduce bearing speed. If in real life assembly the pulley is too close to the belt (to the right) after the tensioner settles, then I have a 60mm and 54mm OD pulleys that I can swap, to improve belt and thermostat clearance at the sacrifice of some pulley bearing life.
Got some good progress done on the car. I'm at the point of needing to remove or at the very least lift up the engine to swap oil pan.. so I thought I would remove the trans to get to make that job easier. The trans needs to come out anyways because I've had a McLeod Twin Street RXT clutch collecting dust for years just waiting to be install (from I think 2014!). As well, I got an F-body converted T56 Magnum that I'll be adding an oil sprayer pump setup too.
Got the rusty gross 2.5" years-old 'temporary' dual exhaust out from under the car and removed the driveshaft and the trans x-member. I have no idea why I was expecting the driveshaft to be a bit beat up.. I've put a lot of hurt on it.. but no scratches or chips or rust or anything.. it's 3.0" 0.80" wall (if memory serves correct) chromoly made locally. I should *hopefully* just need to swap out the slip yoke on the shaft from old 1350 26 spline unit to a new chromoly 31 spline 1350 unit.
While the trans was out, I needed to add an exhaust clearance notch on the driver side since when I made this trans x-member years ago I didn't think I'd end up twin turbo'ing it... oops!
Before I started any trans x-member work, I wanted to finish the stainless welding while the machine was all setup for small tungsten and pulsing..
Next was to modify the existing trans x-member, which is obviously for single passenger side exhaust. The notch is made of 1/4" thick 4" pipe, and the dimensions would allow up to a 8" wide single oval pipe, or dual 4" wide oval pipes. The high clearance nature of this setup meant I could run 2.5" tall exhaust completely tucked above the underside of the subframe rails.. so I wanted to just duplicate these dimensions onto the driver side.
The green tape shows the center line of the trans drain plug (bottom line) and the "outside profile" of where a pickup fitting would be when installed into the drain port, so this is an area that I'll need to notch and gain room for an oil feed adapter fitting and hose end from the trans drain port to the oil pump..
Utilizing the jigging table at work YET AGAIN.. this thing is so amazing. My current x-member fits the subframe/floor like a glove, so wanted to maintain the mounting points.. so drilled a couple brackets to locate all the holes, use some blocks to set the heights, and before/after modification should end up damn near identical!
Then cut it the hell up...
Gotta get creative when you want to bisect a 1/4" wall 4" pipe.. luckily we have a big honking bandsaw at work. If the fixturing setup works, it can't be ghetto, right?
These pics are just various states of building the trans x-member back up. The passenger side (right side of pic) I ended up narrowing the notch cutout down to 6" inner width (still super wide, a 4" pipe in oval size is 2.5"x4.875"). Narrowing the passenger side gains room for the passenger side trans drain port fitting (roughly mocked up by the machined aluminum block held by the yellow clamp). I just then copied this new notch width onto the driver side (left of pic).
Must be nice having access to all those jig tables! I wish I still worked somewhere with a capable job shop & associated tooling in house. In my current occupation, conventional machine work and fabrication is usually outsourced to big integraters or suppliers. I used to do in-house automation and I had access to nearly all the tooling, fabrication, and machining capabilities I could want. In short - you suck! hahaha
The stainless stuff turned out great. Nice progress on the crossmember. I hope the oil pan and clutch install go smoothly - its often the allegedly bolt-on parts that give me the most trouble. The stuff I make myself is always pure gold
I'm not going to lie, the fixturing table sure makes things waaaaay easier!
We'll see how the trans goes, the f-body bellhousing I have aligned well on my block.. let's hope the trans itself mounts concentrically to the bellhousing and it's a direct drop-in.
I'm an engineer at a mountain bike company headquarters/office, which is an open concept office area up front with about 20 desks, and then in the back of the building there's a machine shop of about 3000 sq.ft in size.
We do prototyping of aluminum mountain bike frames, but can really make anything. We have a HAAS VF-3 (if memory serves right) 3-axis, two manual mills, manual lathe, welding area with a Dynasty 350 and Synchrowave 250, grinding/dirty room with full dust collection and a bunch of toothed chop saws and various bench grinders, a couple drill presses and vertical and horizontal bandsaws. Also have an old powdercoating oven which we use for heat treating 7005 aluminum, that Bluco modular fixture table which is about 4ft wide by 6ft long (I think it's $100k+!) and more random/machined/raw chunks of metal for fabricating and fixturing than you can imagine!
Mark.. I got 95lb-hr/1000cc shorty LS3 injectors (that will work well on new LS3 intake) that are flow matched and should work well. I'll start with my previous 44psi baseline pressure (ramping up to 60psi with 16psi boost) and adjust the baseline fuel pressure up if needed, according to the WOT injector duty cycle. I've been told to try and keep injectors under 70psi so that's some buffer room, but I'm not anticipating having to raise my fuel pressure.
Jimbo, thanks! Hard to tell in my blurry camera phone pics, but all edges of the 1/8" wall tubing received bevels down to have the wall thickness, and the 1/4" plate edges got bevels down to about 2/3 the thickness. I've already welded up almost everything... I started in the middle and worked out to both ends, except for the two-hole mounting plates on either end. There was some distortion/shrinkage as I expected, so I will confirm fit on the car before adding some reinforcement gussets throughout, and then final weld the end plates after.
Mostly-welded x-member placed back on jig to check alignment...
Driver side alignment is pretty good..
Some welding on the driver side notch (was previously the passenger side notch), but not a ton..
Trans mount alignment is pretty good
Passenger side has more linear butt welds...
And there's the shrinkage. Very interesting that the passenger side doesn't have too many more welds but all the shrinkage occurred on the one side. To make my life easier I'll probably just slot the holes laterally instead of make a new side plate or space the side plate out and add a filler plate or just filler weld...
That is a lot of movement even on a long part like that. Did you have that bolted down while you welded? Since that end plate is not welded on you might consider cutting the tacks and bolting it down where you want it then bend the adjacent piece until they match and finally weld.
That said, I would probably slot all the holes anyway. Makes fitting the cross member and shifting the trans to wherever is needed that much easier and gives you wiggle room.
Yeah those are 3/8" holes so about 1/8" shrinkage.. more than I thought but that's why I didn't fully weld it up. Realistically I'll slot those hole more than that amount to the right, and a bit to the left, and just call it good. I don't really feel like trying to re-bend 1/4" thick plate/tube since the trans-mount area is still the correct height, so I don't want to throw that off relative to the notch hoops.

 03-21-2018, 04:56 AM


 My net-enhanced eyecrometer says they're plenty thick to hold up to heat cycling and vibration. You'll have to decide from looking at them in person.