LQ4 into a 3rd Gen/1972 Nova
 05-30-2011 | 01:39 AM
#502
11 Second Club
Joined: Mar 2008
Posts: 445
Likes: 1
From: New Westminster, B.C., Canada
It increases the capacity. Just keep adding oil till you see it on the dipstick.
Seriously though, you could weld it up at your work. I tried but as it cooled the welds kept cracking. I ordered a new one.
Seriously though, you could weld it up at your work. I tried but as it cooled the welds kept cracking. I ordered a new one.
05-30-2011 | 08:06 AM
#503

Frojoe sorry I asked about the capacity. What about this: since you have all this talent and the machines to use, make your own custom pan. I have no doubt you could make an awesome one off pan for your specific needs. I am sure you can make better than the dumbasses at Moroso. An aluminum sheetmetal pan with the properly located bung and baffling. Make the oil filter a remote location and use that to supply the oil to the turbo.

 05-30-2011 | 05:55 PM
#506
Thread Starter
TECH Fanatic
iTrader: (10)
Joined: May 2007
Posts: 1,792
Likes: 28
From: Vancouver BC, Canada
I appreciate all the suggestions, but the original reason for modifying the truck pan a 2nd time was to save money as well as time. Since the pan has been modified already, it doesn't make much sense to use an LS1 pan, because even if it does have the same oil capacity that my modded truck pan has, it would still need to have the notch mod done to it to make it clear the steering linkage.
Also, I did think of making my own pan, whether it be sheet steel or aluminum, but it'd be too much work to mill my own flange for either material. And cutting the flange off my used one would be out of the question because there would be so little material left, that even with good clamping and copious tack welds, I'd be afraid that the cast flange would warp. That is also not to mention sandblasting & scotchbrite cleaning the entire flange perimeter, which wouldn't guaruntee that the porous cast aluminum was clean, oil can soak in and weep out quite a lot.
Now I just need to create two oil return/drain holes into it and it'll be over with haha.
05-30-2011 | 09:44 PM
#508
Thread Starter
TECH Fanatic
iTrader: (10)
Joined: May 2007
Posts: 1,792
Likes: 28
From: Vancouver BC, Canada
I just banged myself up biking so progress will have to wait until later in the week, but I'm reeeeeally hoping that I can have it idling if not driveable by my bday at the beginning of July.

 06-04-2011 | 12:46 AM
#513
Thread Starter
TECH Fanatic
iTrader: (10)
Joined: May 2007
Posts: 1,792
Likes: 28
From: Vancouver BC, Canada
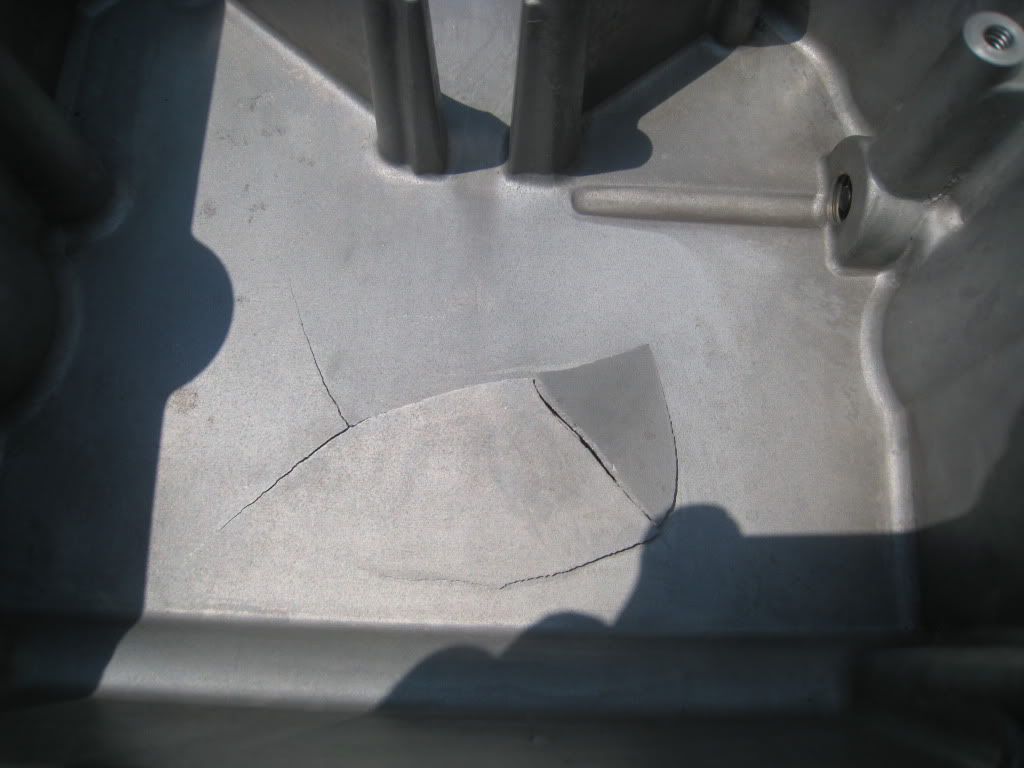
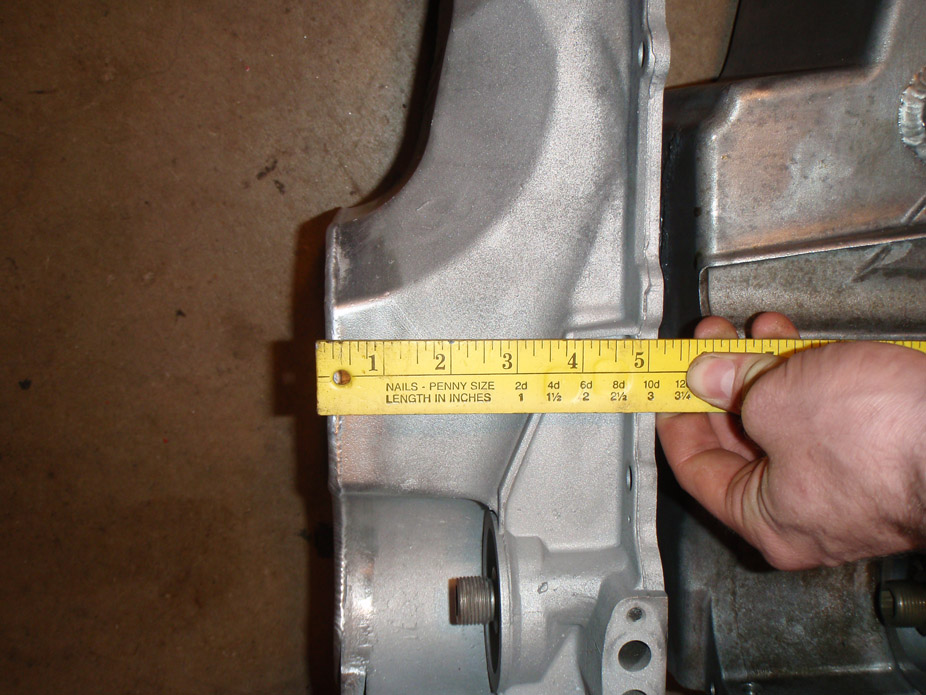
Oil pan stuff. I was too lazy to find the oil level sensor to plug my pan, and Mark's pan has, well, cracks in it, so measuring/comparing capacity didn't happen, but here are some comparison pics of my modded truck pan to a stock fbody. The one thing that concerns me is the level/height of the oil filter receptacle (better word for it??).
Sharpied area is what would still have to be chopped and removed to clear short idler/pitman arm assembly on my Nova, making my draglink stick out the furthest back from the crossmember. Sharpied area extends about 2" into the pan, towards the back of the pan.


I modded the bolt-on tray thingy that keeps oil in the sump and made it more badass, probably gonna tack in a v-shaped baffle like the fbody too.


Sharpied area is what would still have to be chopped and removed to clear short idler/pitman arm assembly on my Nova, making my draglink stick out the furthest back from the crossmember. Sharpied area extends about 2" into the pan, towards the back of the pan.
I modded the bolt-on tray thingy that keeps oil in the sump and made it more badass, probably gonna tack in a v-shaped baffle like the fbody too.
06-04-2011 | 12:51 AM
#514
Thread Starter
TECH Fanatic
iTrader: (10)
Joined: May 2007
Posts: 1,792
Likes: 28
From: Vancouver BC, Canada
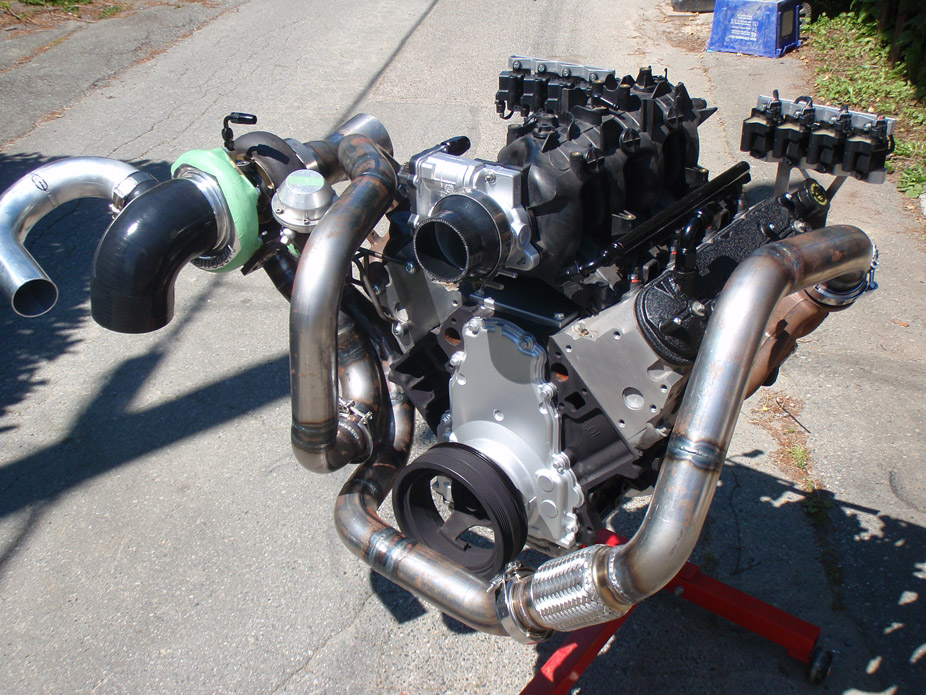
Flipped the driver side coil pack bracket to make all the coil packs "face in towards the engine" at the request of everyone under the sun haha. It doesn't look as bad as I thought it would with the coil packs' controller wiring on top.

Always liked the crinkle paint look on valvecovers, dunno why, makes the engine look a little more different than normal. Pics definitely don't do the finish justice, the end result far exceeded what I was expecting out of a spraybomb can.


Always liked the crinkle paint look on valvecovers, dunno why, makes the engine look a little more different than normal. Pics definitely don't do the finish justice, the end result far exceeded what I was expecting out of a spraybomb can.
06-04-2011 | 01:06 AM
#515
Thread Starter
TECH Fanatic
iTrader: (10)
Joined: May 2007
Posts: 1,792
Likes: 28
From: Vancouver BC, Canada
I didn't want to spend $240+shipping on a Wilwood 7/8" brake master cylinder that would be more blingy-looking than I want anyways, so went OEM (which I prefer the look of, call me crazy). After much internet searching, found a 7/8" bore aluminum M/C from an '85-89 Isuzu Trooper. Thing is super light and simple, functional looking... I like.


Supporting plate to go on engine side of firewall, to space the M/C out from the firewall a bit to give clearance to unscrew the reservoir cap, as well as to add rigidity to the enginebay side of the firewall where the brake pedal bracket bolts to the firewall.
Also has a pocket milled into it so the bracket for the combination/proportioning valve can flushmount behind it.

I'm cheap and think I threw out my old cast iron manual M/C, so I just made my own pushrod/clevis for the 240SX brake pedal. Clevis pivot hole is drilled so the bolt is a tight hand press-fit into the clevis, but the brake arm hole has a loose clearance fit so things rotate freely. The nut on the bolt bottoms out on the shoulder of the bolt before pinching the clevis giving everything nice easy rotation, and I also drilled a cotter pin hole so none of this jiggles loose and I loose braking connection.


Clean, compact packaging with a non-descript raw aluminum look.

Supporting plate to go on engine side of firewall, to space the M/C out from the firewall a bit to give clearance to unscrew the reservoir cap, as well as to add rigidity to the enginebay side of the firewall where the brake pedal bracket bolts to the firewall.
Also has a pocket milled into it so the bracket for the combination/proportioning valve can flushmount behind it.
I'm cheap and think I threw out my old cast iron manual M/C, so I just made my own pushrod/clevis for the 240SX brake pedal. Clevis pivot hole is drilled so the bolt is a tight hand press-fit into the clevis, but the brake arm hole has a loose clearance fit so things rotate freely. The nut on the bolt bottoms out on the shoulder of the bolt before pinching the clevis giving everything nice easy rotation, and I also drilled a cotter pin hole so none of this jiggles loose and I loose braking connection.
Clean, compact packaging with a non-descript raw aluminum look.
06-04-2011 | 06:21 AM
#516
10 Second Club

Joined: Aug 2010
Posts: 4,336
Likes: 132
From: Harford Co. Maryland
As for the coil packs I guess you'll need to flip them and keep the bracket the way it is....PITA I'm sure 

Having access to an end-mill and lathe is great, ain't it Love when the boss goes on vacation
Nice work !
Having access to an end-mill and lathe is great, ain't it
Love when the boss goes on vacation Nice work !
06-05-2011 | 10:49 AM
#517
11 Second Club
Joined: Mar 2008
Posts: 445
Likes: 1
From: New Westminster, B.C., Canada
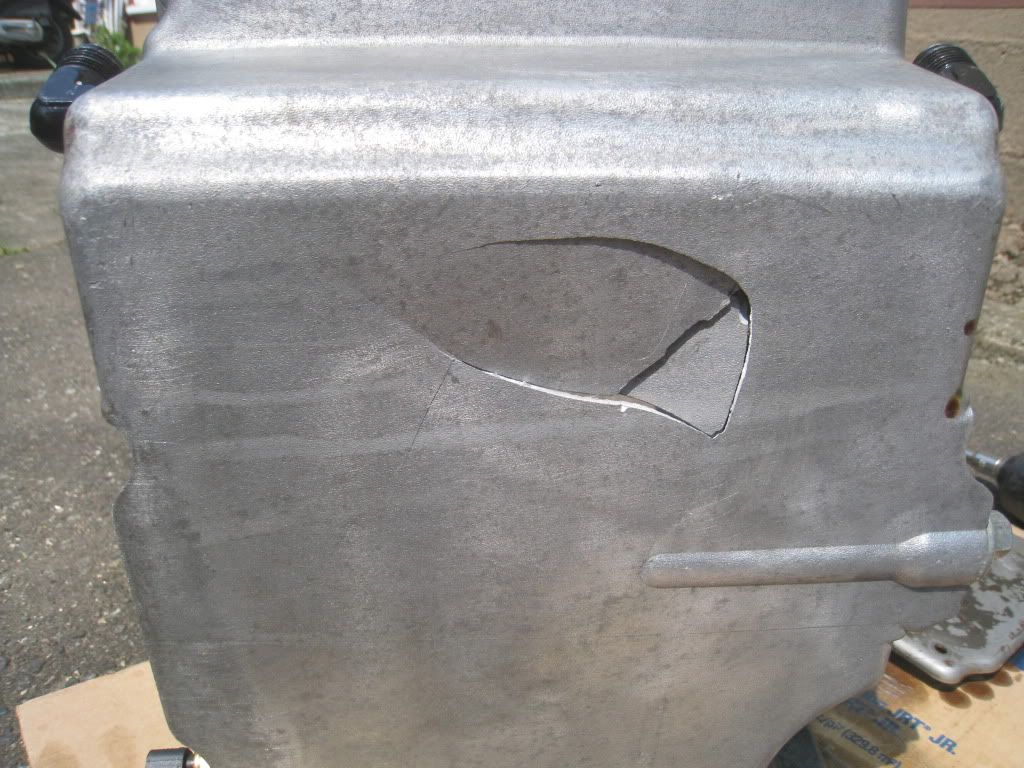
I was lowering the car down off of the jackstands, lifting at the front cross member, when the wheel fell off my trolley jack, the jack stopped moving and the car lurched forwards making the jack's lifting pad thing hop off of the cross member and land on the pan. Needless to say, the weight of the car on the oil pan was a bit too much.