
3 Point SFC's???

 10-04-2011, 08:10 PM
#122
On The Tree

Received mine around noon today. Have not opened or even seen the package yet as it is at my parents' house 2 hours away. May have my dad open it to confirm they are black and I hope to install next time I get back home. Will update again once I see them. Thanks again Ryan and the rest of the UMI crew.

 10-09-2011, 04:57 PM
#126
TECH Regular

I installed mine today, car feels AMAZING!! I don't have any install pictures because I did the work in the driveway but I'll try and get some pictures within the next couple of days. Everyone who's procrastinating, hurry up and install them and get a spirited cruise in before winter comes!
10-10-2011, 08:47 AM
#127
On The Tree
I installed mine today, car feels AMAZING!! I don't have any install pictures because I did the work in the driveway but I'll try and get some pictures within the next couple of days. Everyone who's procrastinating, hurry up and install them and get a spirited cruise in before winter comes!


 10-11-2011, 07:32 AM
#129

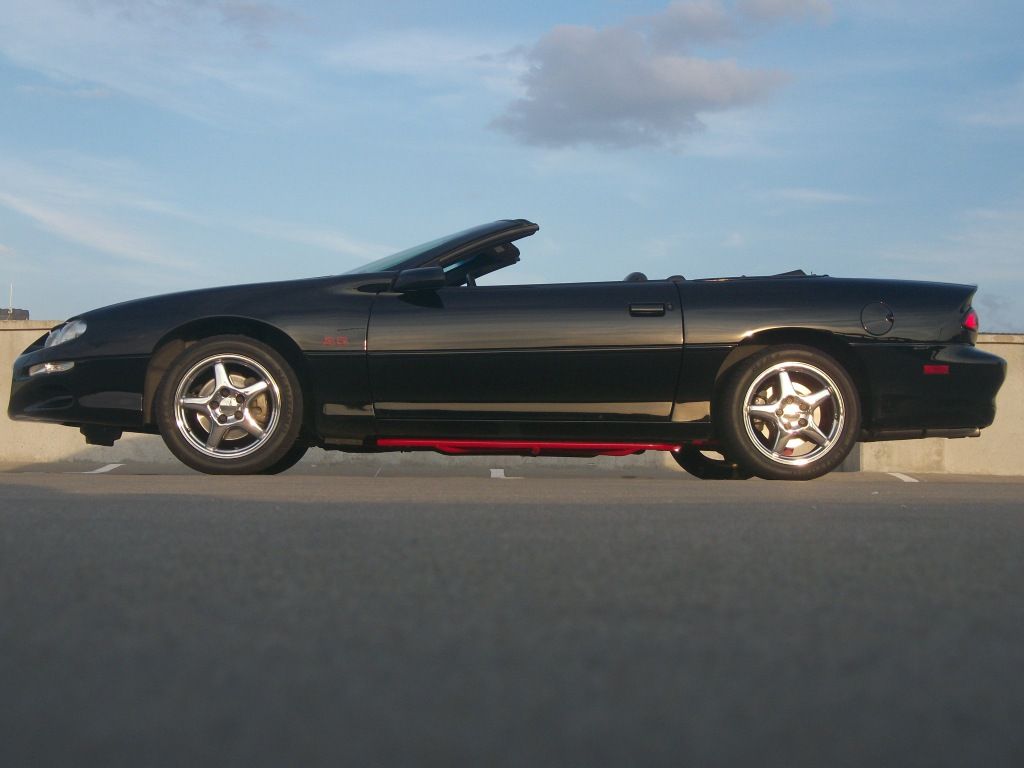
Excellent pictures! Those things look really cool hanging down like that... I bet a lot of people will be asking what in the world is under there 
My car is a WS6 so you can't see them stick out like that...
We will be adding these to our site for others to see!
My car is a WS6 so you can't see them stick out like that...
We will be adding these to our site for others to see!
10-11-2011, 11:00 PM
#131
TECH Regular

No problem! And for anyone who is worried that they might show "too" much, you honestly have to step back a good 15-20 feet and kneel down to see them. They do tuck very well and I'm very impressed with how much tighter the car feels. I honestly think that all I need to do is lower the car about an inch and it will look and handle just perfect!
10-16-2011, 08:19 AM
#133
Launching!
iTrader: (2)
Join Date: Aug 2007
Location: Terre Haute,IN
Posts: 234
Likes: 0
Received 0 Likes
on
0 Posts
Same here, got about an hour in putting em on and STILL haven't gotten the middle bolts in (got a DS loop also, so its not helping). Car hasn't been wrecked, I'm no beginner by far, and I haven't even started the other side. Hope it goes better than this one, gonna pull my hair out. Otherwise, they look great. Curious to see the difference between the 2 point and 3 point. I also have a 6pt bar in it so it might not be as much as most of you guys.
10-16-2011, 12:19 PM
#134
TECH Regular
I didn't really have any bug issues putting mine on, the instructions were pretty much spot on (except my bolts were 19mm instead of 18mm per instructions ) and I did it in the driveway on ramps, stands and a jack. I'd have to say bolting the front was a tad bit difficult but that was just because I had to try and get the bolt to catch on to the plate. Install took me about an hour and a half but I was taking my time.
) and I did it in the driveway on ramps, stands and a jack. I'd have to say bolting the front was a tad bit difficult but that was just because I had to try and get the bolt to catch on to the plate. Install took me about an hour and a half but I was taking my time.
10-16-2011, 05:47 PM
#135
Teching In

Join Date: Jun 2010
Location: Texas
Posts: 11
Likes: 0
Received 0 Likes
on
0 Posts
To get the front I used another jack to hold up the SFC. Then I used a pen magnet, through the frame, to hold the plate still while I threaded one bolt. Tightened that one bolt all the way down to hold the plate still while I threaded the other one. Last, I loosened the other bolt till I was ready to tighten everything up together.
10-16-2011, 08:09 PM
#136
Here is how I recommend installing them:
Install the rear control arm mount bolt first, but do not tighten it.
Swing the SFC up and install the two front bolts, do not tighten these bolts, let them loose.
Now install the center bolts, there should be a little movement in the SFC if needed to line a hole up.
Repeat on other side.
Once all bolts are installed load the chassis before tightening all bolts.
I hope that helps!
Ryan
10-16-2011, 11:30 PM
#137
Teching In
Join Date: Jun 2010
Location: Texas
Posts: 11
Likes: 0
Received 0 Likes
on
0 Posts
That's how I did it, rear first. I then used the jack just to basically hold up SFC while I tried to align the nut plate in the frame with SFC and install the bolts. With mine it was hard to push the SFC all the way flush while trying to align everything an keep that plate still. The pen magnet helped to keep the nut plate from moving. Jack kept it all in place. Thanks again for the awesome product.
10-17-2011, 06:39 PM
#138
On The Tree
Got my SFC installed today. All was nice and I did it exactly as the instructions said, except the 18mm bolt was actually 19mm, but that was stated earlier. Only issue was the center points did not line up with the nuts where the tunnel brace goes. Had pry the driver's side sfc forward a little to get the bolt holes to line up. On the passenger side I had to grind the holes bigger roughly a 1/4" more to get the bolt to thread in. Still plenty of metal left around the bolts. Still love them and they look great even make the car feel stiffer with me having a 4pt roll bar in the car already. Thanks again UMI
10-22-2011, 09:32 PM
#139
Install went really smooth, and these tuck up extremely tight. Took me about an hour from start to finish.
On the front, a simple trick is to use the old bolts from the control arm to hold the bar nut into place, see attached pic. On the passenger side, the middle mount was about 1/8" off, nothing that a little work with a big c-clamp couldn't fix.
On the front, a simple trick is to use the old bolts from the control arm to hold the bar nut into place, see attached pic. On the passenger side, the middle mount was about 1/8" off, nothing that a little work with a big c-clamp couldn't fix.
10-23-2011, 10:45 AM
#140
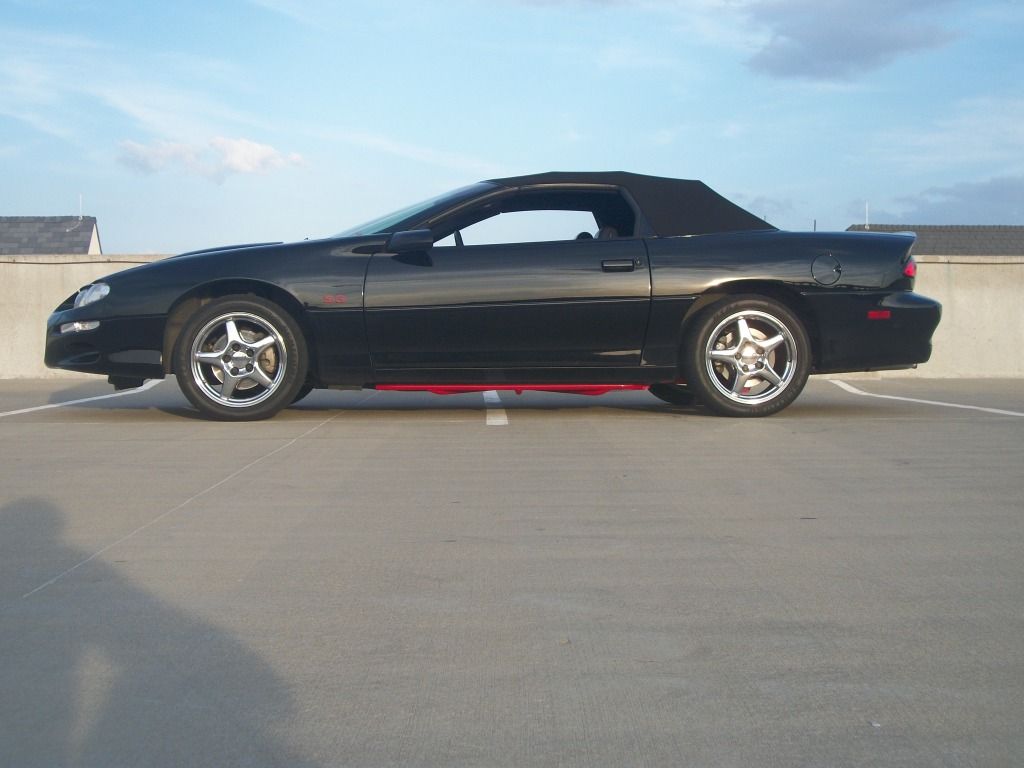
Took the car for a drive today, is a night and day difference. Over small bumps in the road, the car is much tighter, feels solid now. My car is lowered, so the only way anybody is going to see these is if they get down and look under the car.
Great product, UMI. Thanks for putting these together!
Great product, UMI. Thanks for putting these together!