The Turbo Ta Build Thread
#484
Finally got a little bit of work done this past weekend. We didn't get quite as much done as I would have liked, but progress none the less. So Friday I dove into closing up some holes in the car. I started on the driver side because just like the tub itself, it was more complicated.
I started on the rounded piece which I just eyeballed.


Then I went to the big piece which I may have made more than once...


You can also see the small lower piece in that last pic. I may cut that out and make it nicer, but then again it will probably never been seen again anyway. We will see how my OCD holds up.
Now for the very boring passenger side

While I was doing that, Chris was working on wiring. Here he is chopping, and organizing the old wiring which he kind of rushed last time around.

Here is the new leash board on the old wiring panel after Chris spent some time stripping all the wiring and old labels.

I know it doesn't look like a whole lot, but it was tedious time consuming work this weekend. Saturday Chris did a bit more wiring work, and we also made up templates for the most complicated hole in the car. That is where we left it for the weekend. I have quite a bit of work on various parts for the car to do during the week. I will have pics of all of those things as I get them done. I think we got through what is needed to finish up the car, and Chris got everything ordered up. We should really start to fly though stuff now, well it will at least look like more was done by the time the weekend is over As always, thanks for following along!
Sean
I started on the rounded piece which I just eyeballed.


Then I went to the big piece which I may have made more than once...


You can also see the small lower piece in that last pic. I may cut that out and make it nicer, but then again it will probably never been seen again anyway. We will see how my OCD holds up.
Now for the very boring passenger side

While I was doing that, Chris was working on wiring. Here he is chopping, and organizing the old wiring which he kind of rushed last time around.

Here is the new leash board on the old wiring panel after Chris spent some time stripping all the wiring and old labels.

I know it doesn't look like a whole lot, but it was tedious time consuming work this weekend. Saturday Chris did a bit more wiring work, and we also made up templates for the most complicated hole in the car. That is where we left it for the weekend. I have quite a bit of work on various parts for the car to do during the week. I will have pics of all of those things as I get them done. I think we got through what is needed to finish up the car, and Chris got everything ordered up. We should really start to fly though stuff now, well it will at least look like more was done by the time the weekend is over
 As always, thanks for following along!
Sean
#486
I have been a bit lazy, but its update time! We will start with two weeks ago, since I just took those pics off the camera 
We didn't get a ton done, and I cant really remember why. I think I had some family thing or something. Who can be bothered to remember these things?! ANYWAY, here is what we did get done that weekend.
Chris did more wiring (and I over exposed the pic)

I closed off the holes in the floor where the cage goes through, with some help from Chris.
Passenger side

Driver side

Then I installed the new lower shock mounts, and bolted in a shock to check it out


Now for this past weekend, where we did a little better and got some work done.
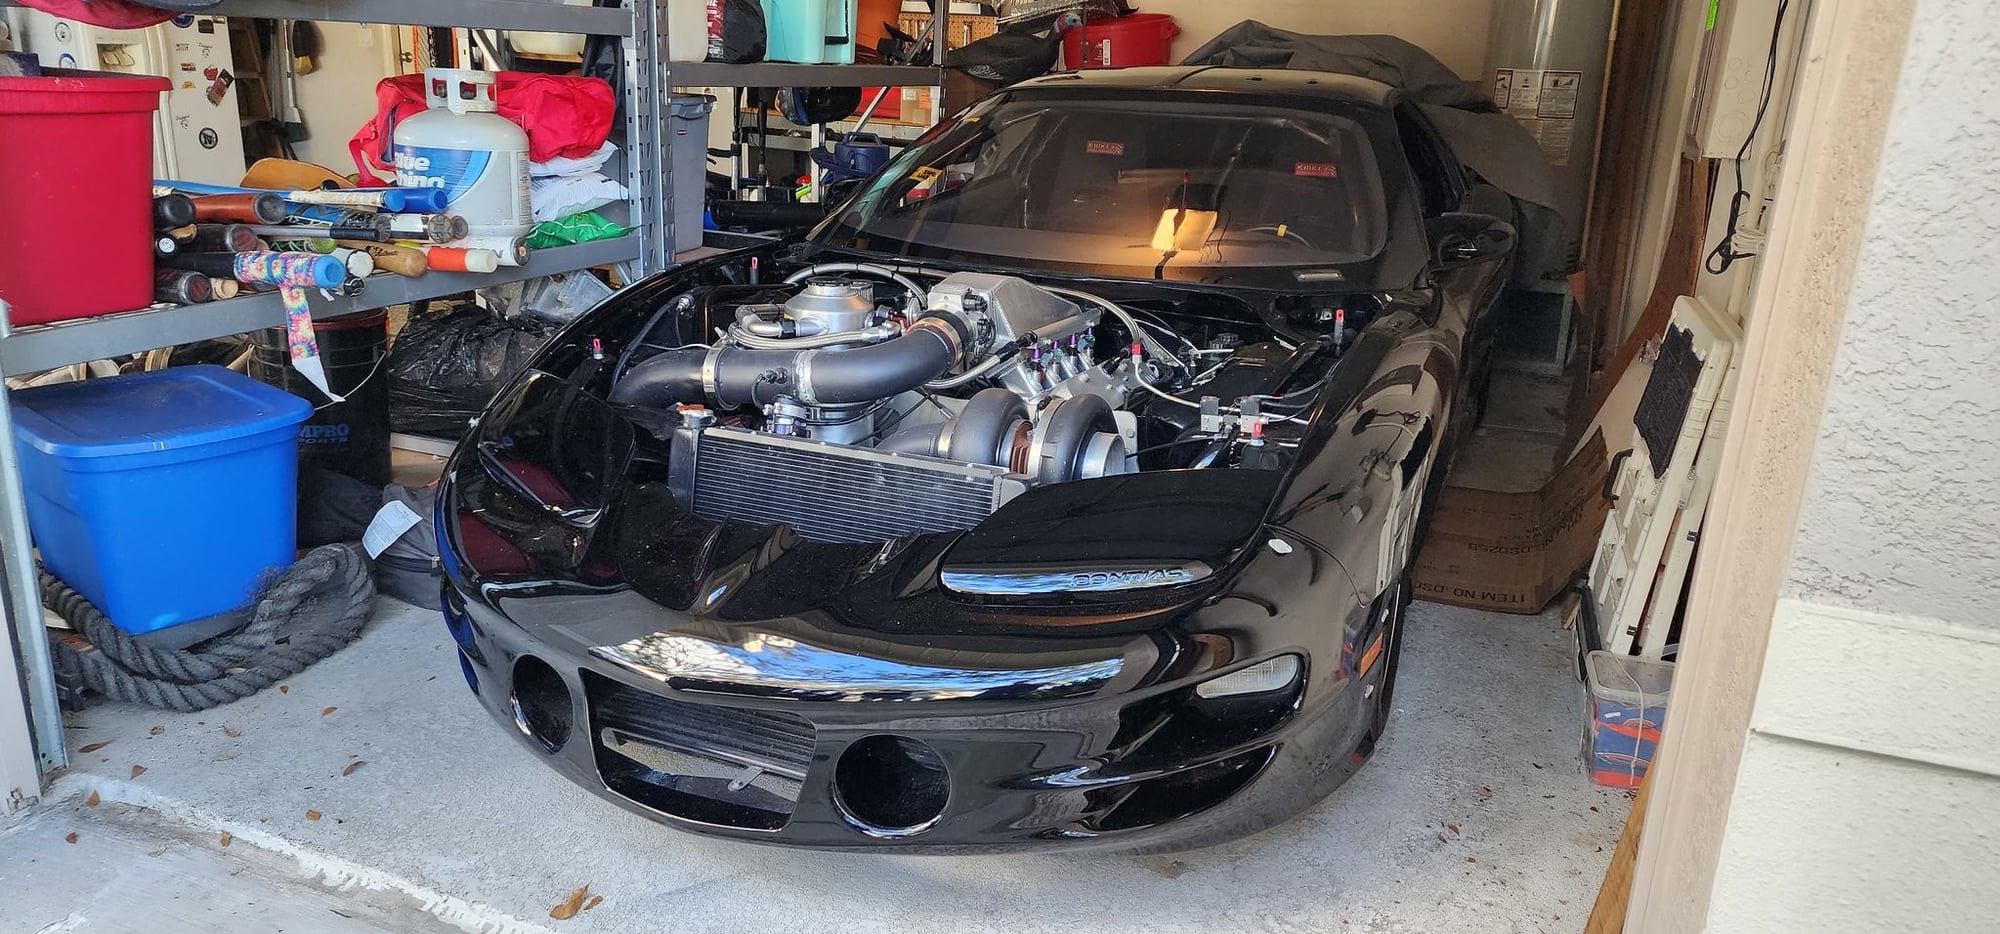
We started by getting the motor in for the last time along with the converter and trans (Which will probably come back out). Before anyone asks, I will explain why you can clearly see it on the mounts here, and on a plate later. For now the motor will be on the mounts (as you can tell) and also use the motor plate. The motor plate is needed for the alternator mounting, so it needed to be on the car now. The mounts are staying on because we cant get to the mid plate this year (too much in the way) and we also don't have the time to cut the mounts out and reinforce the k-member. Now that THAT is out of the way, onto the pics!

Gratuitous turbo shot

During the week Chris and his Fiance' Rachel seam sealed all of the patches, and put some under coating on the tubs.


Also during the week, Chris modified the switch panel with some new, easier to use switches.

Chris was plugging away at the wiring, but also helping with the motor and motor plate install of course.

Finally got the motor plate in and done!


That's about all for now. We did a few other small things here and there, nothing worth mentioning really. We want to be pretty much ready to fire the car next weekend, but I don't think we will be quite ready. Once Chris finishes up the wiring I have 2 more small holes to patch, then carpet can go in. Then comes the joy of fitting the dash... We have all the hardware, and material to do the front end support too so that should be coming up soon. Anyway that's about all for now! Thanks as always for following along!
Sean

We didn't get a ton done, and I cant really remember why. I think I had some family thing or something. Who can be bothered to remember these things?! ANYWAY, here is what we did get done that weekend.
Chris did more wiring (and I over exposed the pic)

I closed off the holes in the floor where the cage goes through, with some help from Chris.
Passenger side

Driver side

Then I installed the new lower shock mounts, and bolted in a shock to check it out


Now for this past weekend, where we did a little better and got some work done.
We started by getting the motor in for the last time along with the converter and trans (Which will probably come back out). Before anyone asks, I will explain why you can clearly see it on the mounts here, and on a plate later. For now the motor will be on the mounts (as you can tell) and also use the motor plate. The motor plate is needed for the alternator mounting, so it needed to be on the car now. The mounts are staying on because we cant get to the mid plate this year (too much in the way) and we also don't have the time to cut the mounts out and reinforce the k-member. Now that THAT is out of the way, onto the pics!

Gratuitous turbo shot


During the week Chris and his Fiance' Rachel seam sealed all of the patches, and put some under coating on the tubs.


Also during the week, Chris modified the switch panel with some new, easier to use switches.

Chris was plugging away at the wiring, but also helping with the motor and motor plate install of course.

Finally got the motor plate in and done!


That's about all for now. We did a few other small things here and there, nothing worth mentioning really. We want to be pretty much ready to fire the car next weekend, but I don't think we will be quite ready. Once Chris finishes up the wiring I have 2 more small holes to patch, then carpet can go in. Then comes the joy of fitting the dash... We have all the hardware, and material to do the front end support too so that should be coming up soon. Anyway that's about all for now! Thanks as always for following along!
Sean
#489
Sorry about that buddy, been very busy around here. You found it though, Bob will take great care of you, and he has the best products!
If you are talking about the pimp slap a mustang frame, I think Chris got that on here YEARS ago. Last time he tried to pimp slap a mustang though it got him arrested and the car impounded.
Sean
If you are talking about the pimp slap a mustang frame, I think Chris got that on here YEARS ago. Last time he tried to pimp slap a mustang though it got him arrested and the car impounded.
Sean
#490
11 Second Club
iTrader: (2)
Yea it all looks quality. Thanks for this thread. Giving me some great ideas. And no thanks to you I went from wanting about $1k in suspension to getting the full front end race kit from MWC, shocks, and front and rear bumper supports. My wife hates you 
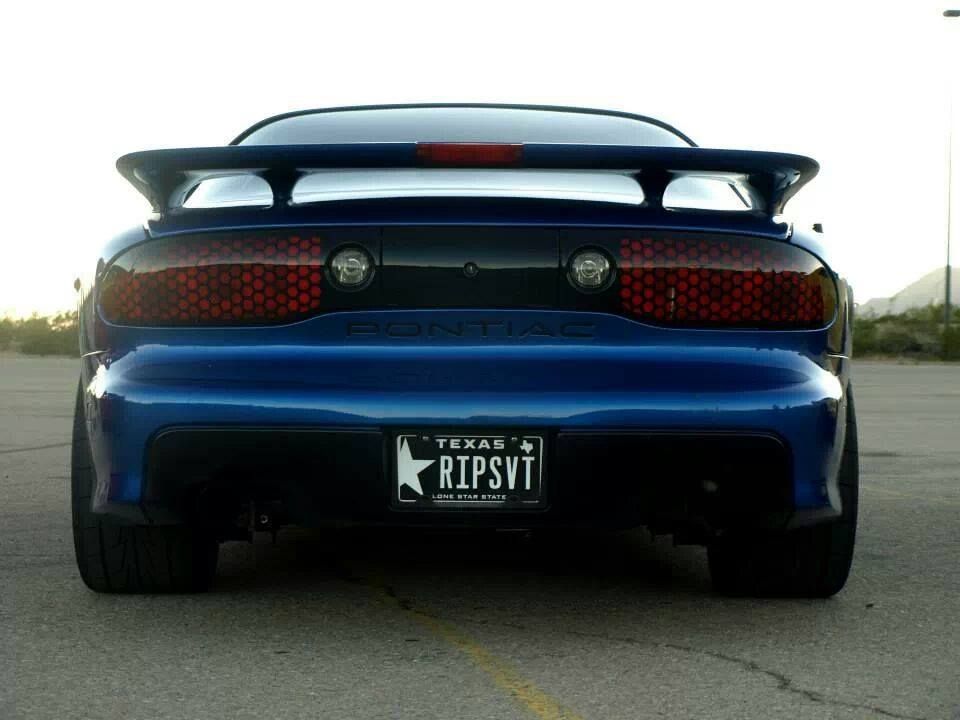
Well I'll have to keep searching for that frame. I think it would go well with my plate. Where I live its mustang city but I'm about to lay the smack down on the next fastest street car competition in all motor class.


Well I'll have to keep searching for that frame. I think it would go well with my plate. Where I live its mustang city but I'm about to lay the smack down on the next fastest street car competition in all motor class.

Last edited by Jc803; 06-24-2014 at 08:03 PM.
#491
The time has come for me to part ways with this bad *** car! i have made a for sale thread, and am going to sell the car as a rolling chassis with turbo kit, all suspension, Holley dominator, Fuel system, ect. Add a motor and trans and you are ready to go.
The motor will be listed for sale seperatly. To view the sale thread please go to.
https://ls1tech.com/forums/vehicle-c...l#post18765357
The motor will be listed for sale seperatly. To view the sale thread please go to.
https://ls1tech.com/forums/vehicle-c...l#post18765357
The following users liked this post:
sugey (11-25-2023)


