
2000 WS6 F1A Build thread!!!


 01-07-2011 | 11:12 AM
#83
01-07-2011 | 11:17 AM
#84


 01-09-2011 | 01:52 PM
#86
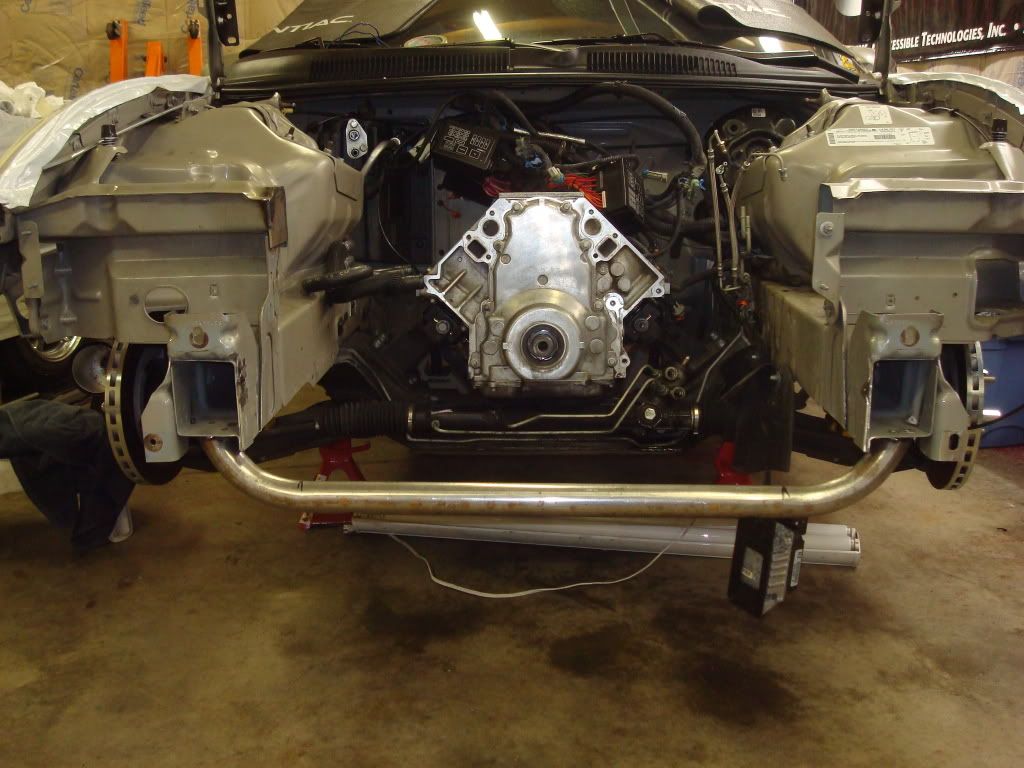
Well got some more stuff done this saturday. Went and picked up our steel tubing and round bar we need. Got back to the barn and started bending our bottom radiator support.
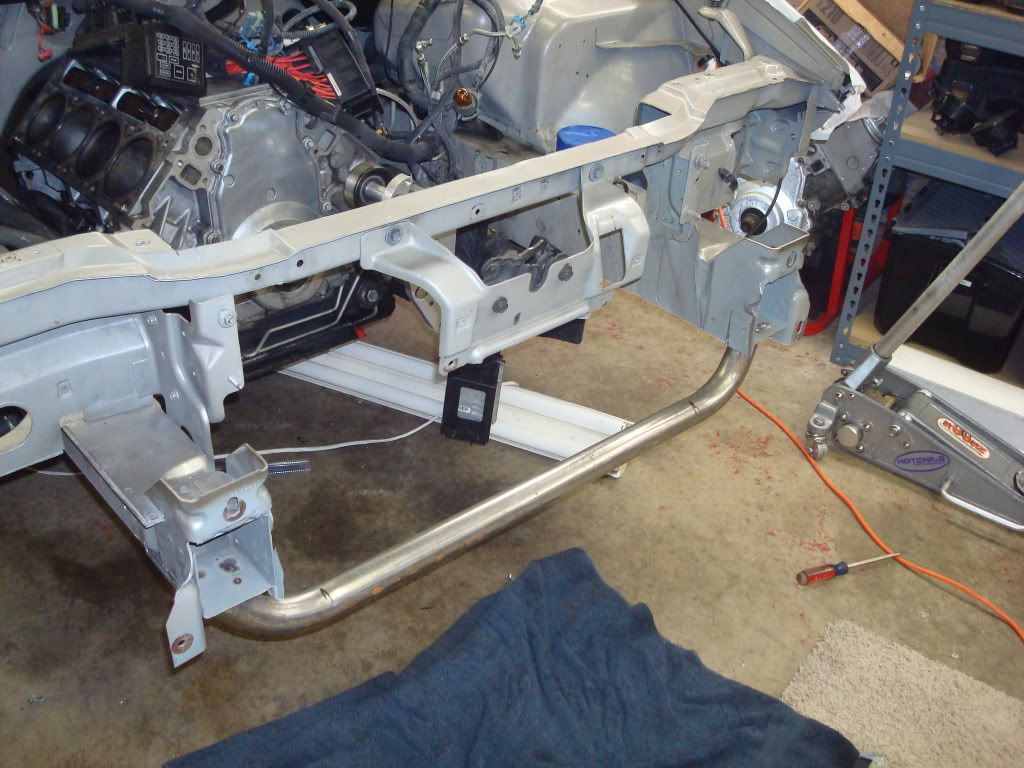
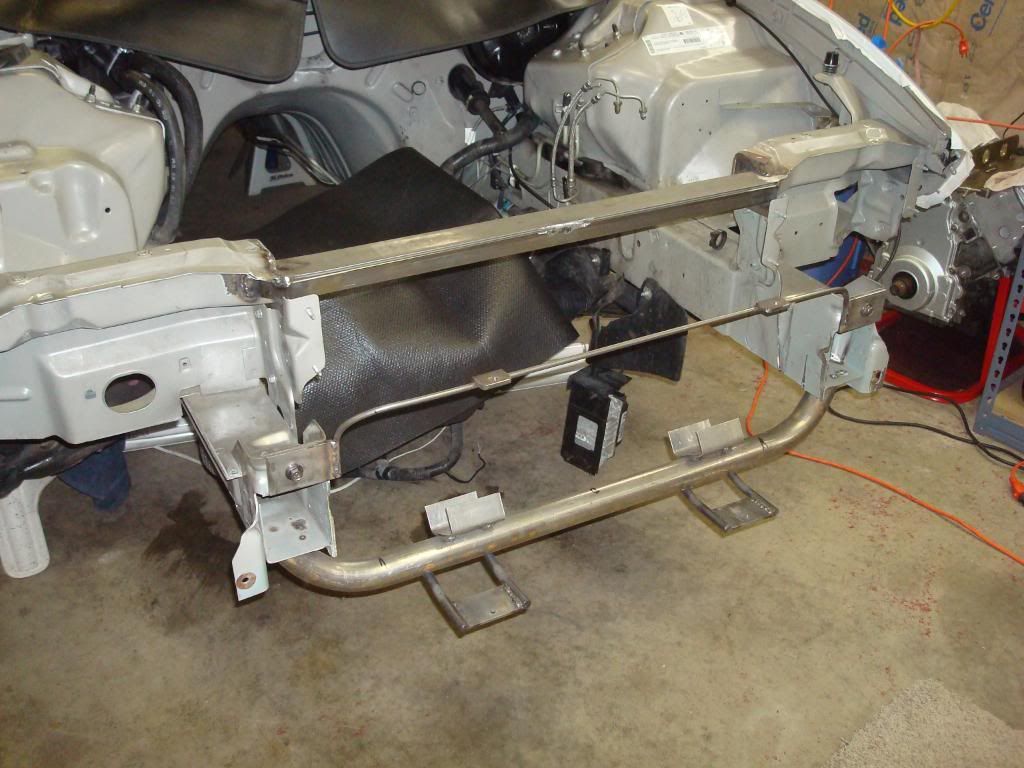
We then were going to start working on the upper radiator support and boxing it in.....but after we spent some time looking at it and as much as I wanted to keep the factory front part of the core support. We decided to cut it out and use the 1X1 square tubing cause it was going to be alot easier and alot stronger in the long run. So we cut it out and started to box in the end of the support and we go to run and grab our 1X1 tube.
Monday night we will pull the motor pull off the parts I need to get out to powder coating and hopefully finish the upper support and start working on the intercooler and radiator mounting tabs.
01-14-2011 | 02:52 AM
#89

On The Tree
Joined: Apr 2005
Posts: 185
Likes: 1
From: Texas
I would look at a better intercooler, I have seen that specific intercooler on the dyno loose power compared to the twin procharged ones same dyno same day 30 minutes apart.. made a custom one and it gained power..
01-14-2011 | 08:01 AM
#90
I really wanted to have Bell Intercoolers make us one but we are planning to modify this one for now. I might add a turning vein to the inlet side and the outlet side will be changed to a 3.5" outlet. We'll see if that helps at all, If not I'm sure the IAT's can be controlled with the dual nozzle Alky Control kit to be installed.
01-15-2011 | 02:28 PM
#92
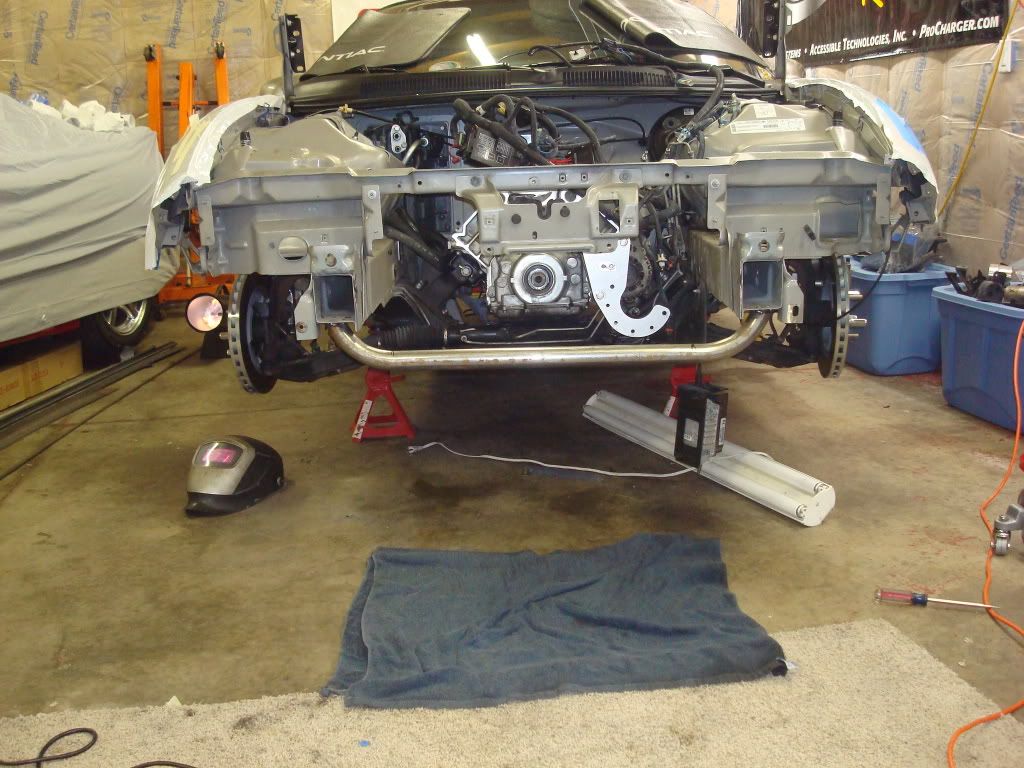
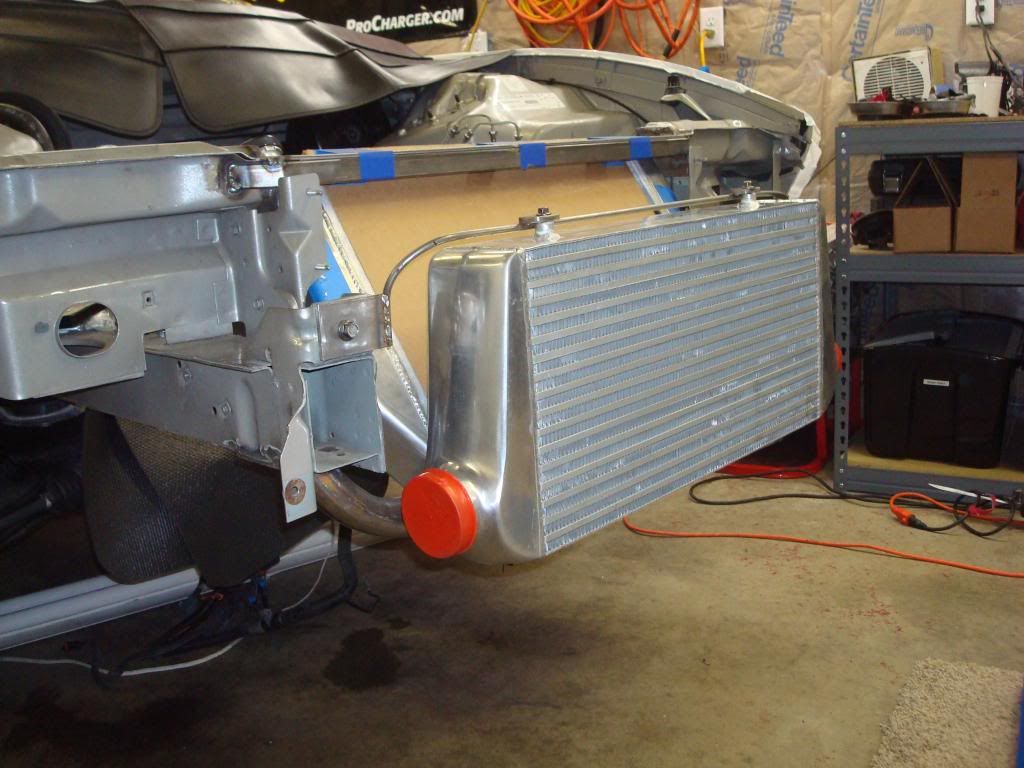
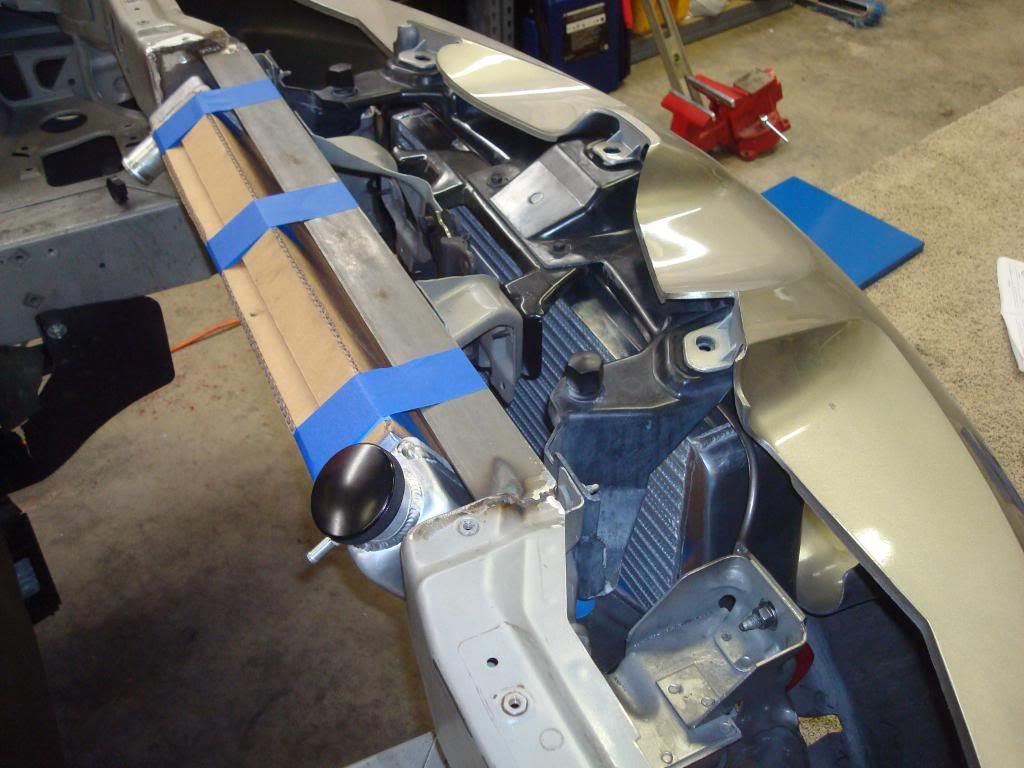
Well here is the progress we have made! Got radiator mounts figured out and also the intercooler mounted. All the welds are just tacked, Nate still has to finish up all the welding, then do some clean up and it will be off to paint. Got the motor out also, I ended up finding that when the motor let go I cracked the water jacket on cylinder #7 so my original block is junk!! 
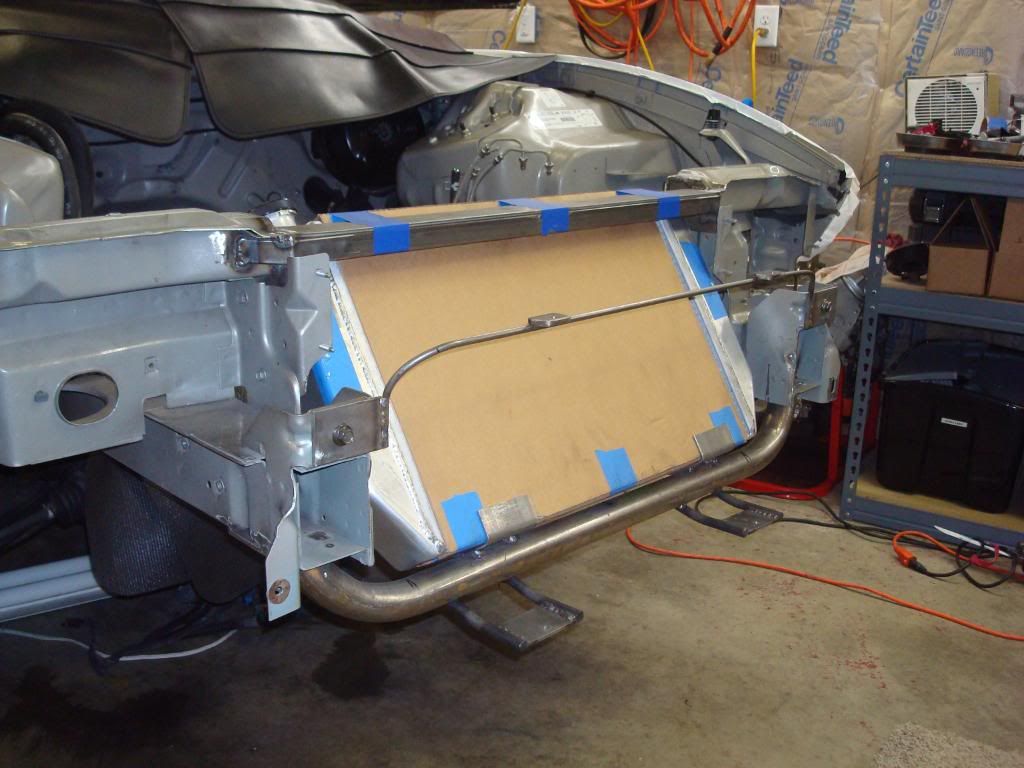
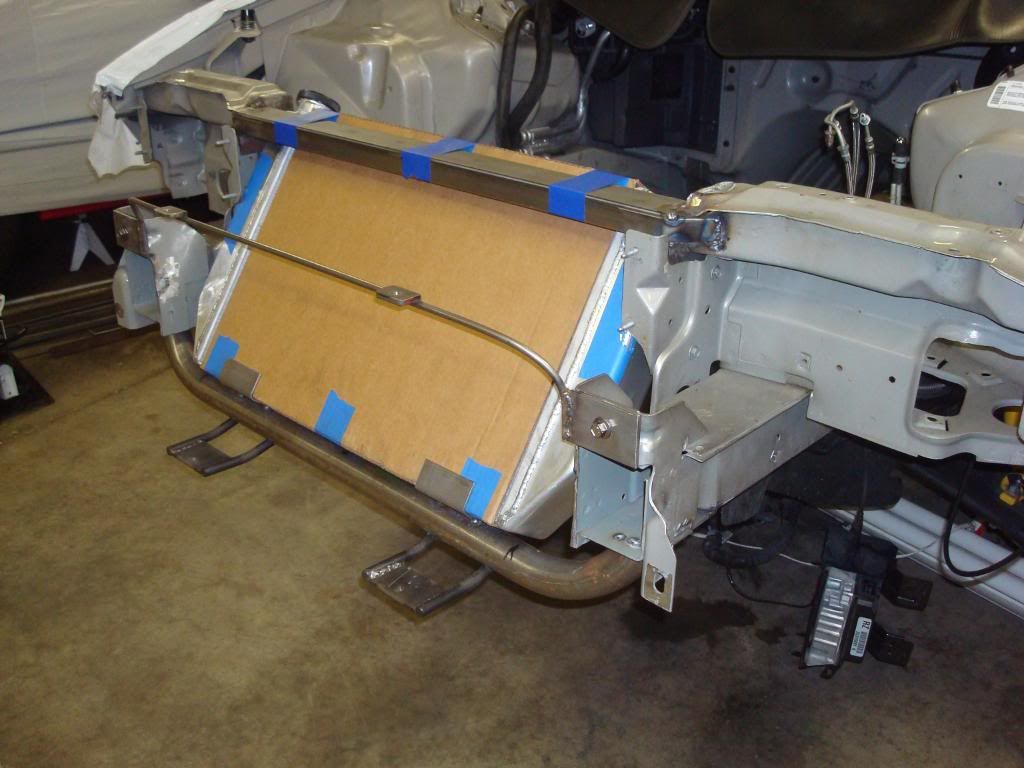
^^This picture shows how we mounted the intercooler and the lower radiator supports.
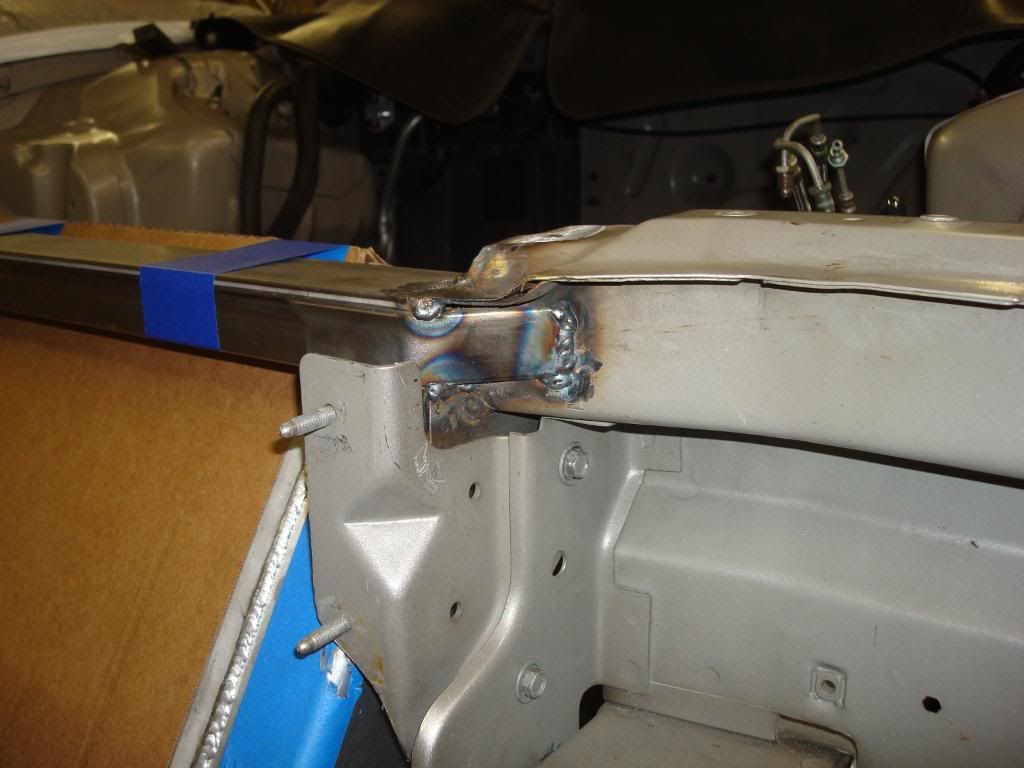
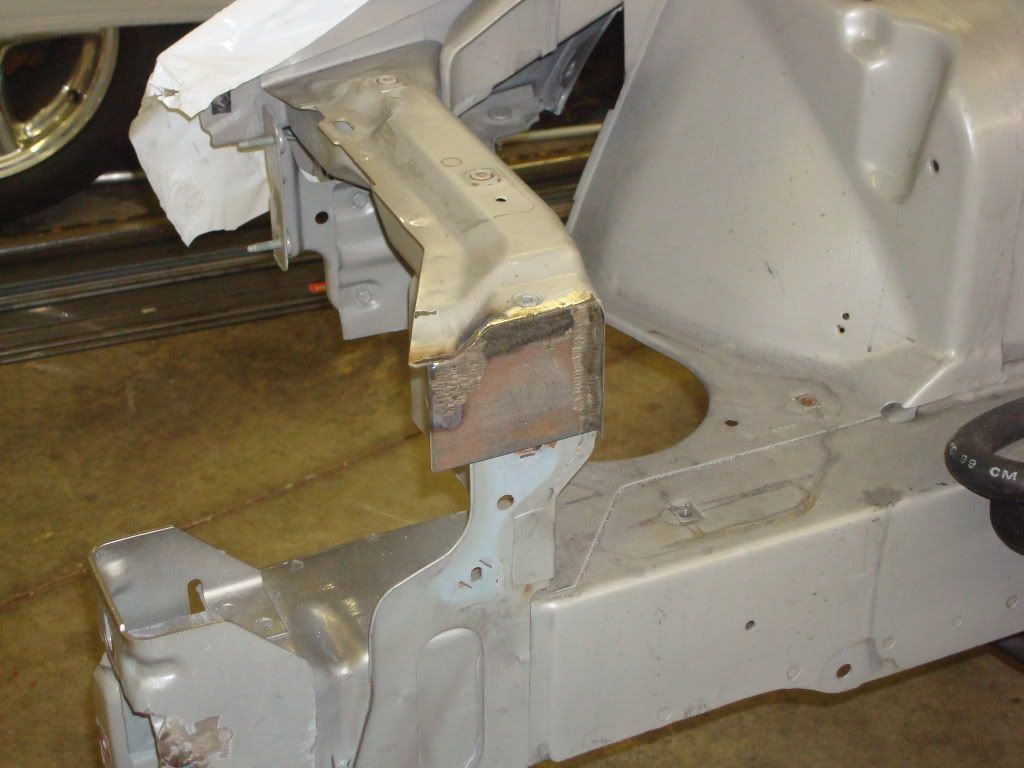
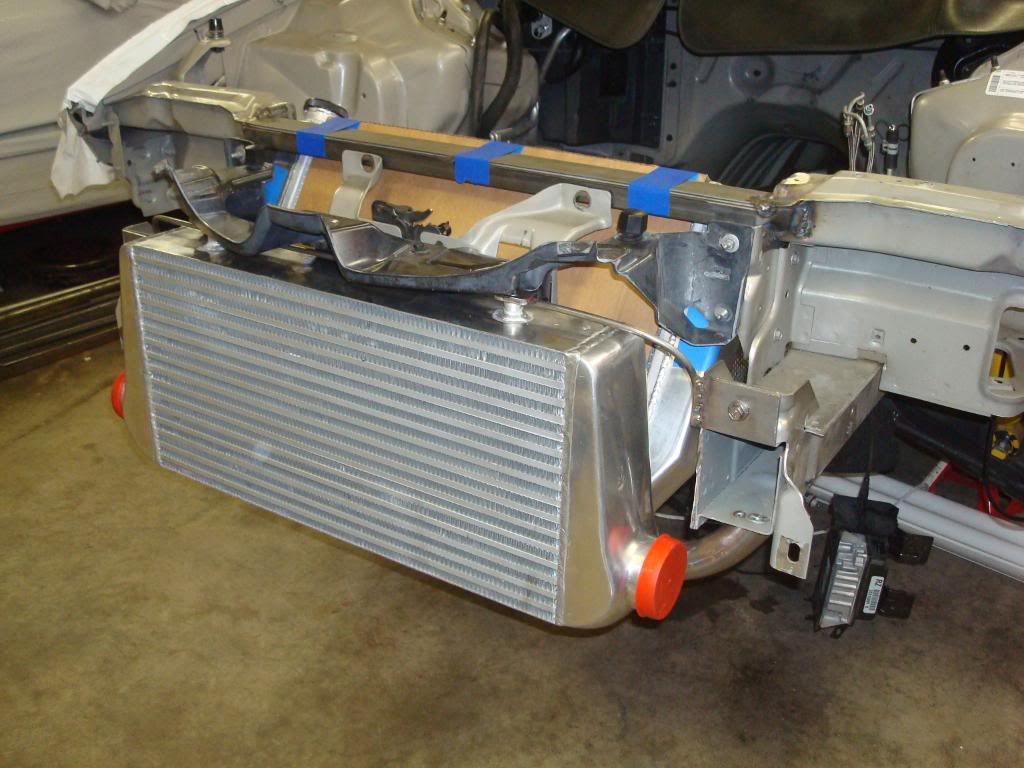
^^This picture shows how we closed in the ends of the square tube. It makes it blend in nicely and I think will look awesome when painted and finished.
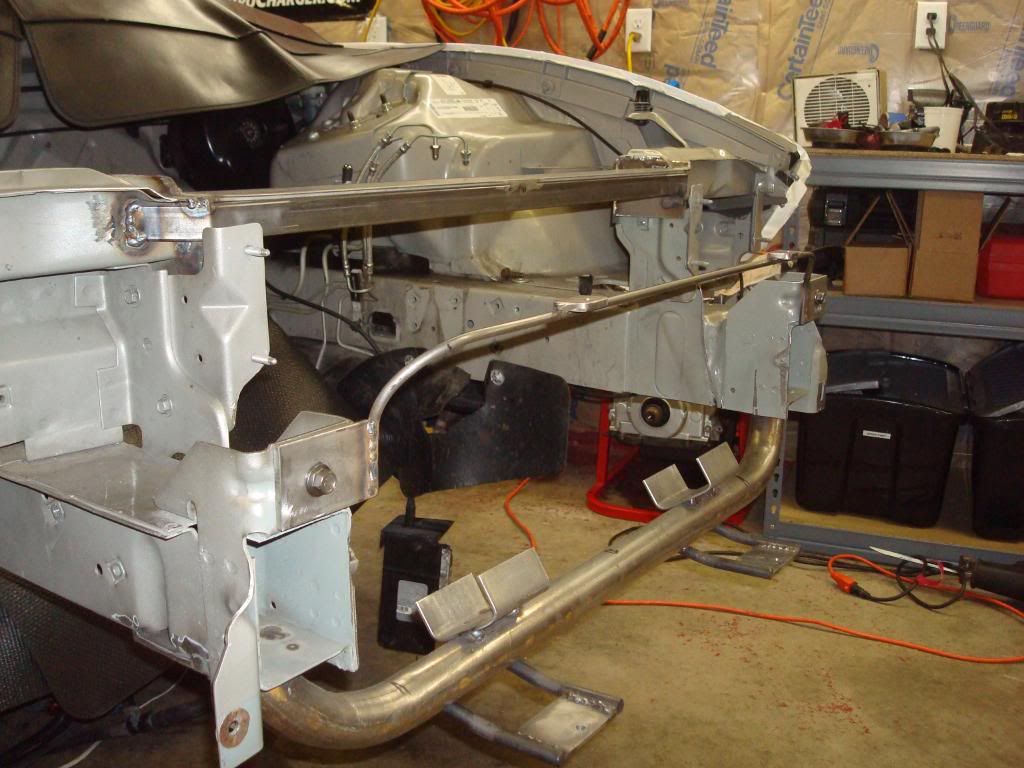
^^Radiator in place with the mounts
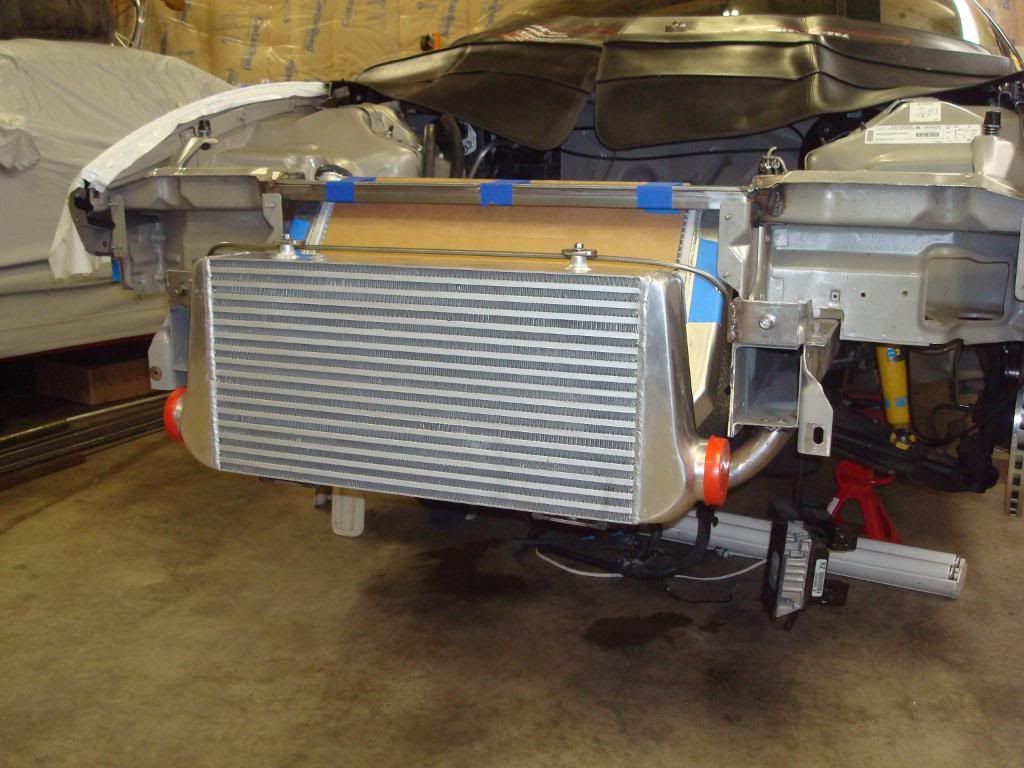
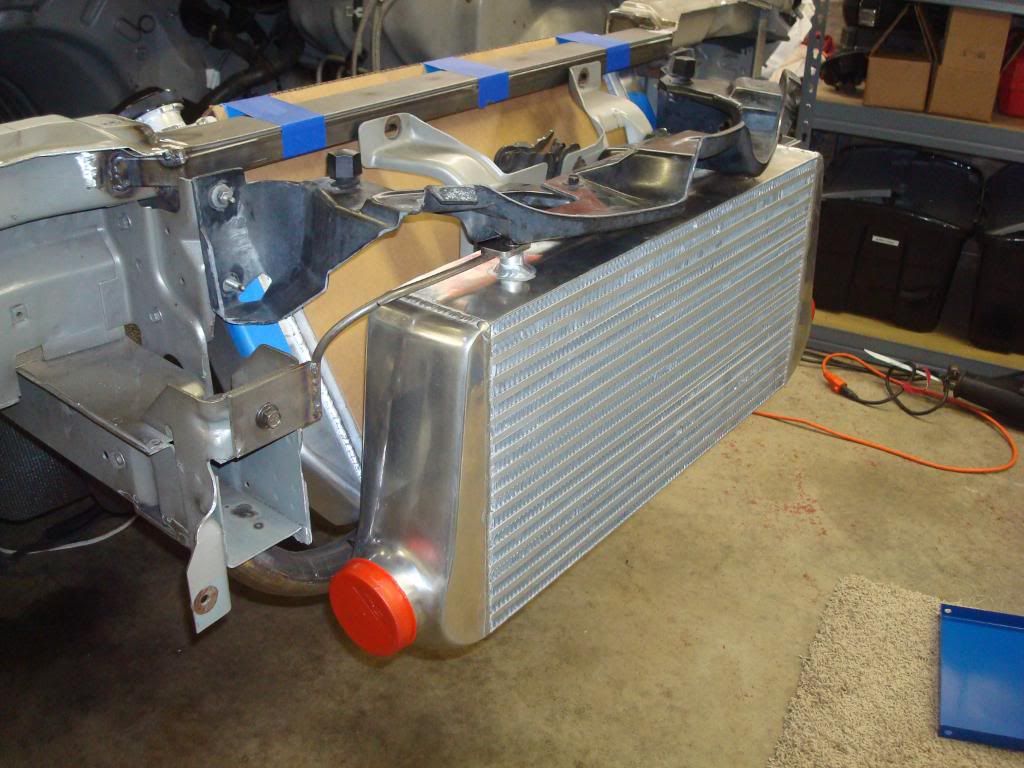
^^Intercooler all mounted!!
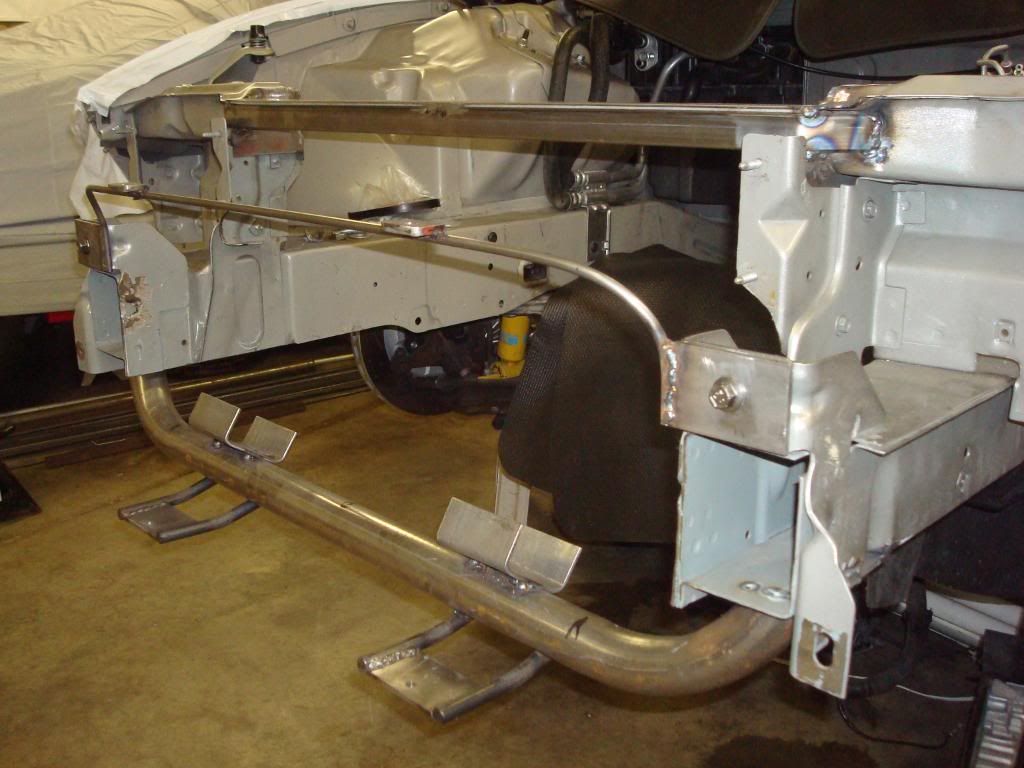
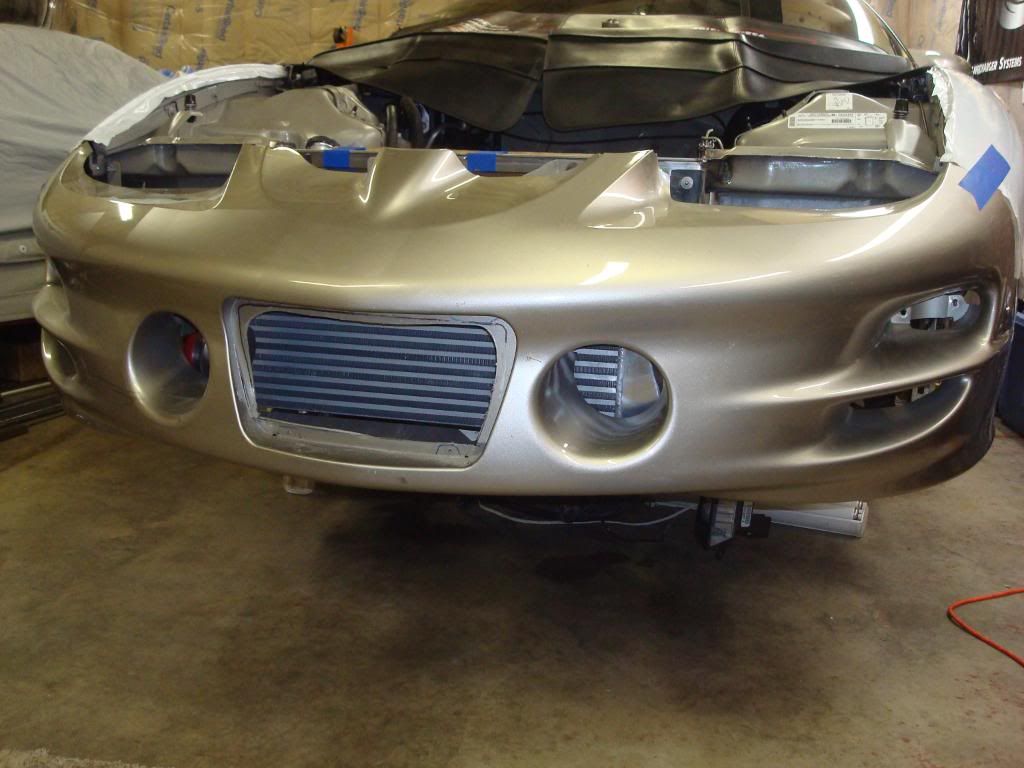
^^Hood latch and front bumper mount on....you can see we put the intercooler as high as possible.
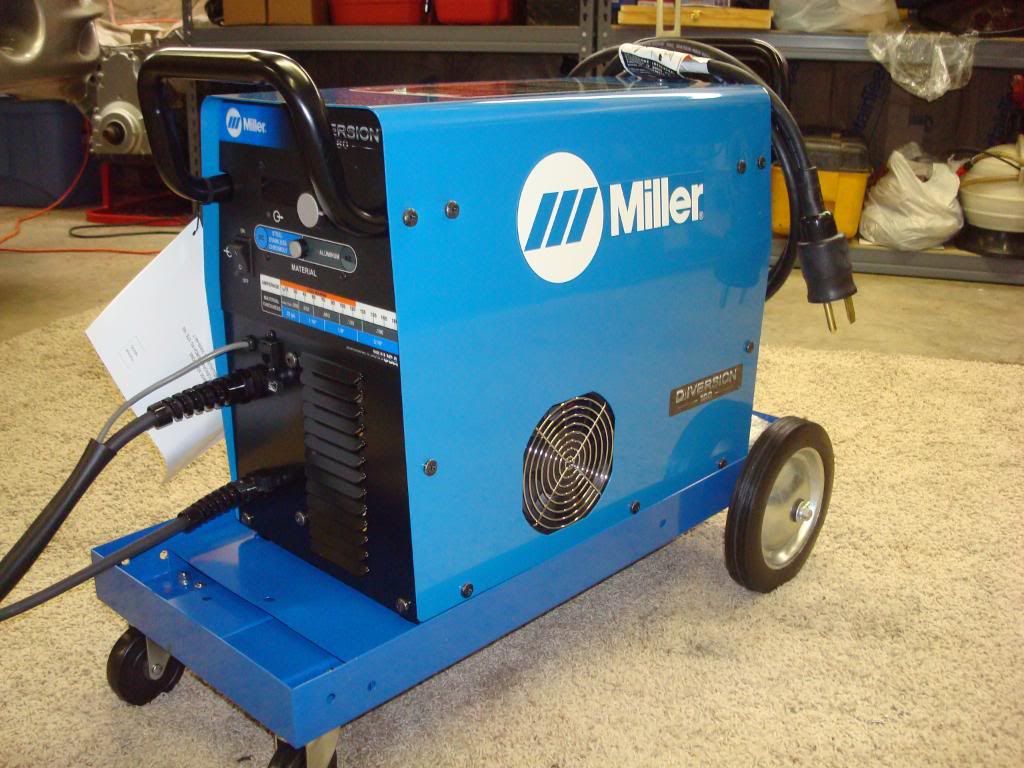
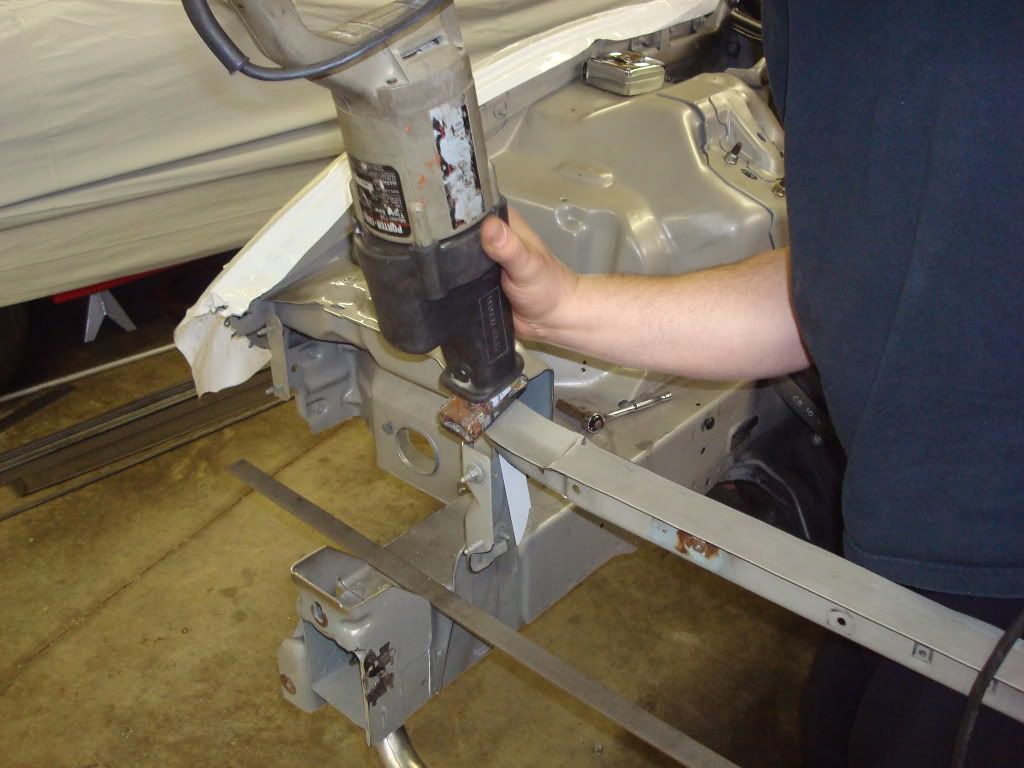
^^Nate's new Miller Diversion 180 Tig welder!! Amazing piece of equipment!!
Got the motor out also, I ended up finding that when the motor let go I cracked the water jacket on cylinder #7 so my original block is junk!! ^^This picture shows how we mounted the intercooler and the lower radiator supports.
^^This picture shows how we closed in the ends of the square tube. It makes it blend in nicely and I think will look awesome when painted and finished.
^^Radiator in place with the mounts
^^Intercooler all mounted!!
^^Hood latch and front bumper mount on....you can see we put the intercooler as high as possible.
^^Nate's new Miller Diversion 180 Tig welder!! Amazing piece of equipment!!
01-16-2011 | 02:55 AM
#95
On The Tree
Joined: Apr 2005
Posts: 185
Likes: 1
From: Texas
I really wanted to have Bell Intercoolers make us one but we are planning to modify this one for now. I might add a turning vein to the inlet side and the outlet side will be changed to a 3.5" outlet. We'll see if that helps at all, If not I'm sure the IAT's can be controlled with the dual nozzle Alky Control kit to be installed.
01-17-2011 | 10:30 AM
#97
Thanks for all the comments. Its been a fun project and I realy can't wait to see the end results. Fyi all the welding has been done with a 110 mig so far I cant wait to clean things up and final weld the project with the new welder.