383 Lt1 F1-r Blower build
 08-18-2011, 12:49 PM
#21
Launching!
Thread Starter
Join Date: Mar 2009
Location: Weatherford Tx 76085 corner of N. Hwy 51 and 150 Green branch Rd.
Posts: 274
Likes: 0
Received 0 Likes
on
0 Posts

 08-18-2011, 06:43 PM
#22

Well nothing new going on with the build, Buisness gets in the way of it all but no complaints from me  I am on the other hand going a new direction with my setup. I have been waiting on the blower spacer from being machined its taken awhile but after waiting that long I've decide to just go ahead and do the Efi 24x connection
 Ls1 pcm and the Ls2/(D585) pickup coils sounds pretty good to me. I made plans on setting the motor back in the car about 2 weeks ago but glad I'm not going to put the opti-spark back in it! I will order everything hopefully on Monday, I'll keep updates.
I am on the other hand going a new direction with my setup. I have been waiting on the blower spacer from being machined its taken awhile but after waiting that long I've decide to just go ahead and do the Efi 24x connection Ls1 pcm and the Ls2/(D585) pickup coils sounds pretty good to me. I made plans on setting the motor back in the car about 2 weeks ago but glad I'm not going to put the opti-spark back in it! I will order everything hopefully on Monday, I'll keep updates.
08-23-2011, 09:43 PM
#23
Launching!
Thread Starter
Join Date: Mar 2009
Location: Weatherford Tx 76085 corner of N. Hwy 51 and 150 Green branch Rd.
Posts: 274
Likes: 0
Received 0 Likes
on
0 Posts
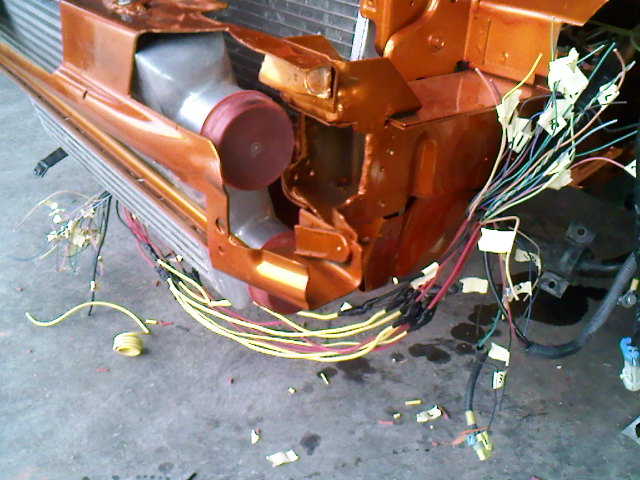
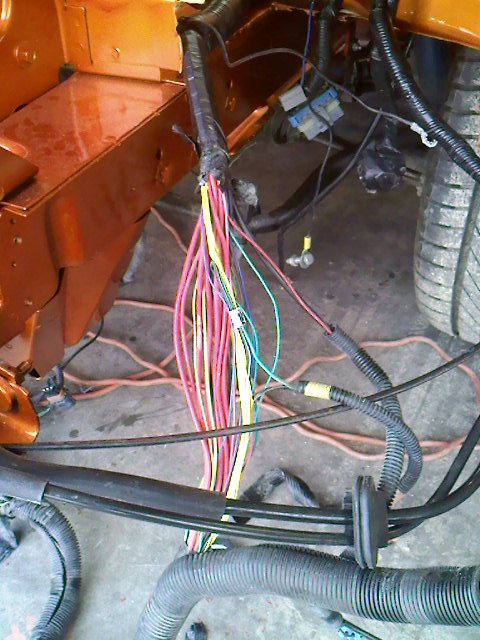
Got my Efi connection yesterday. I've decided to go with the DIY Route and I have already pinned most of the wires. It really is not bad at all, as long as you have your schematics and pin layouts and with a little patience you can really save some money this way. I'm working on it right now.

 08-24-2011, 05:46 PM
#26
Got my Efi connection yesterday. I've decided to go with the DIY Route and I have already pinned most of the wires. It really is not bad at all, as long as you have your schematics and pin layouts and with a little patience you can really save some money this way. I'm working on it right now.
08-26-2011, 09:44 PM
#27
Launching!
Thread Starter
Join Date: Mar 2009
Location: Weatherford Tx 76085 corner of N. Hwy 51 and 150 Green branch Rd.
Posts: 274
Likes: 0
Received 0 Likes
on
0 Posts
http://www.facebook.com/media/set/?s...81eb6b2&type=1
Ati Big Block steel hub (6 bolt) with 10% underdrive aluminum damper.
Well been about a month now and I'm still waiting on the motor, once I get it back I can really get things going but for now I have to just wait it out.

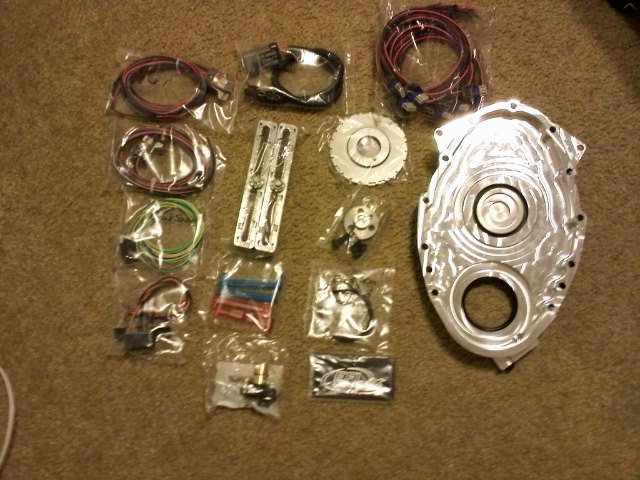
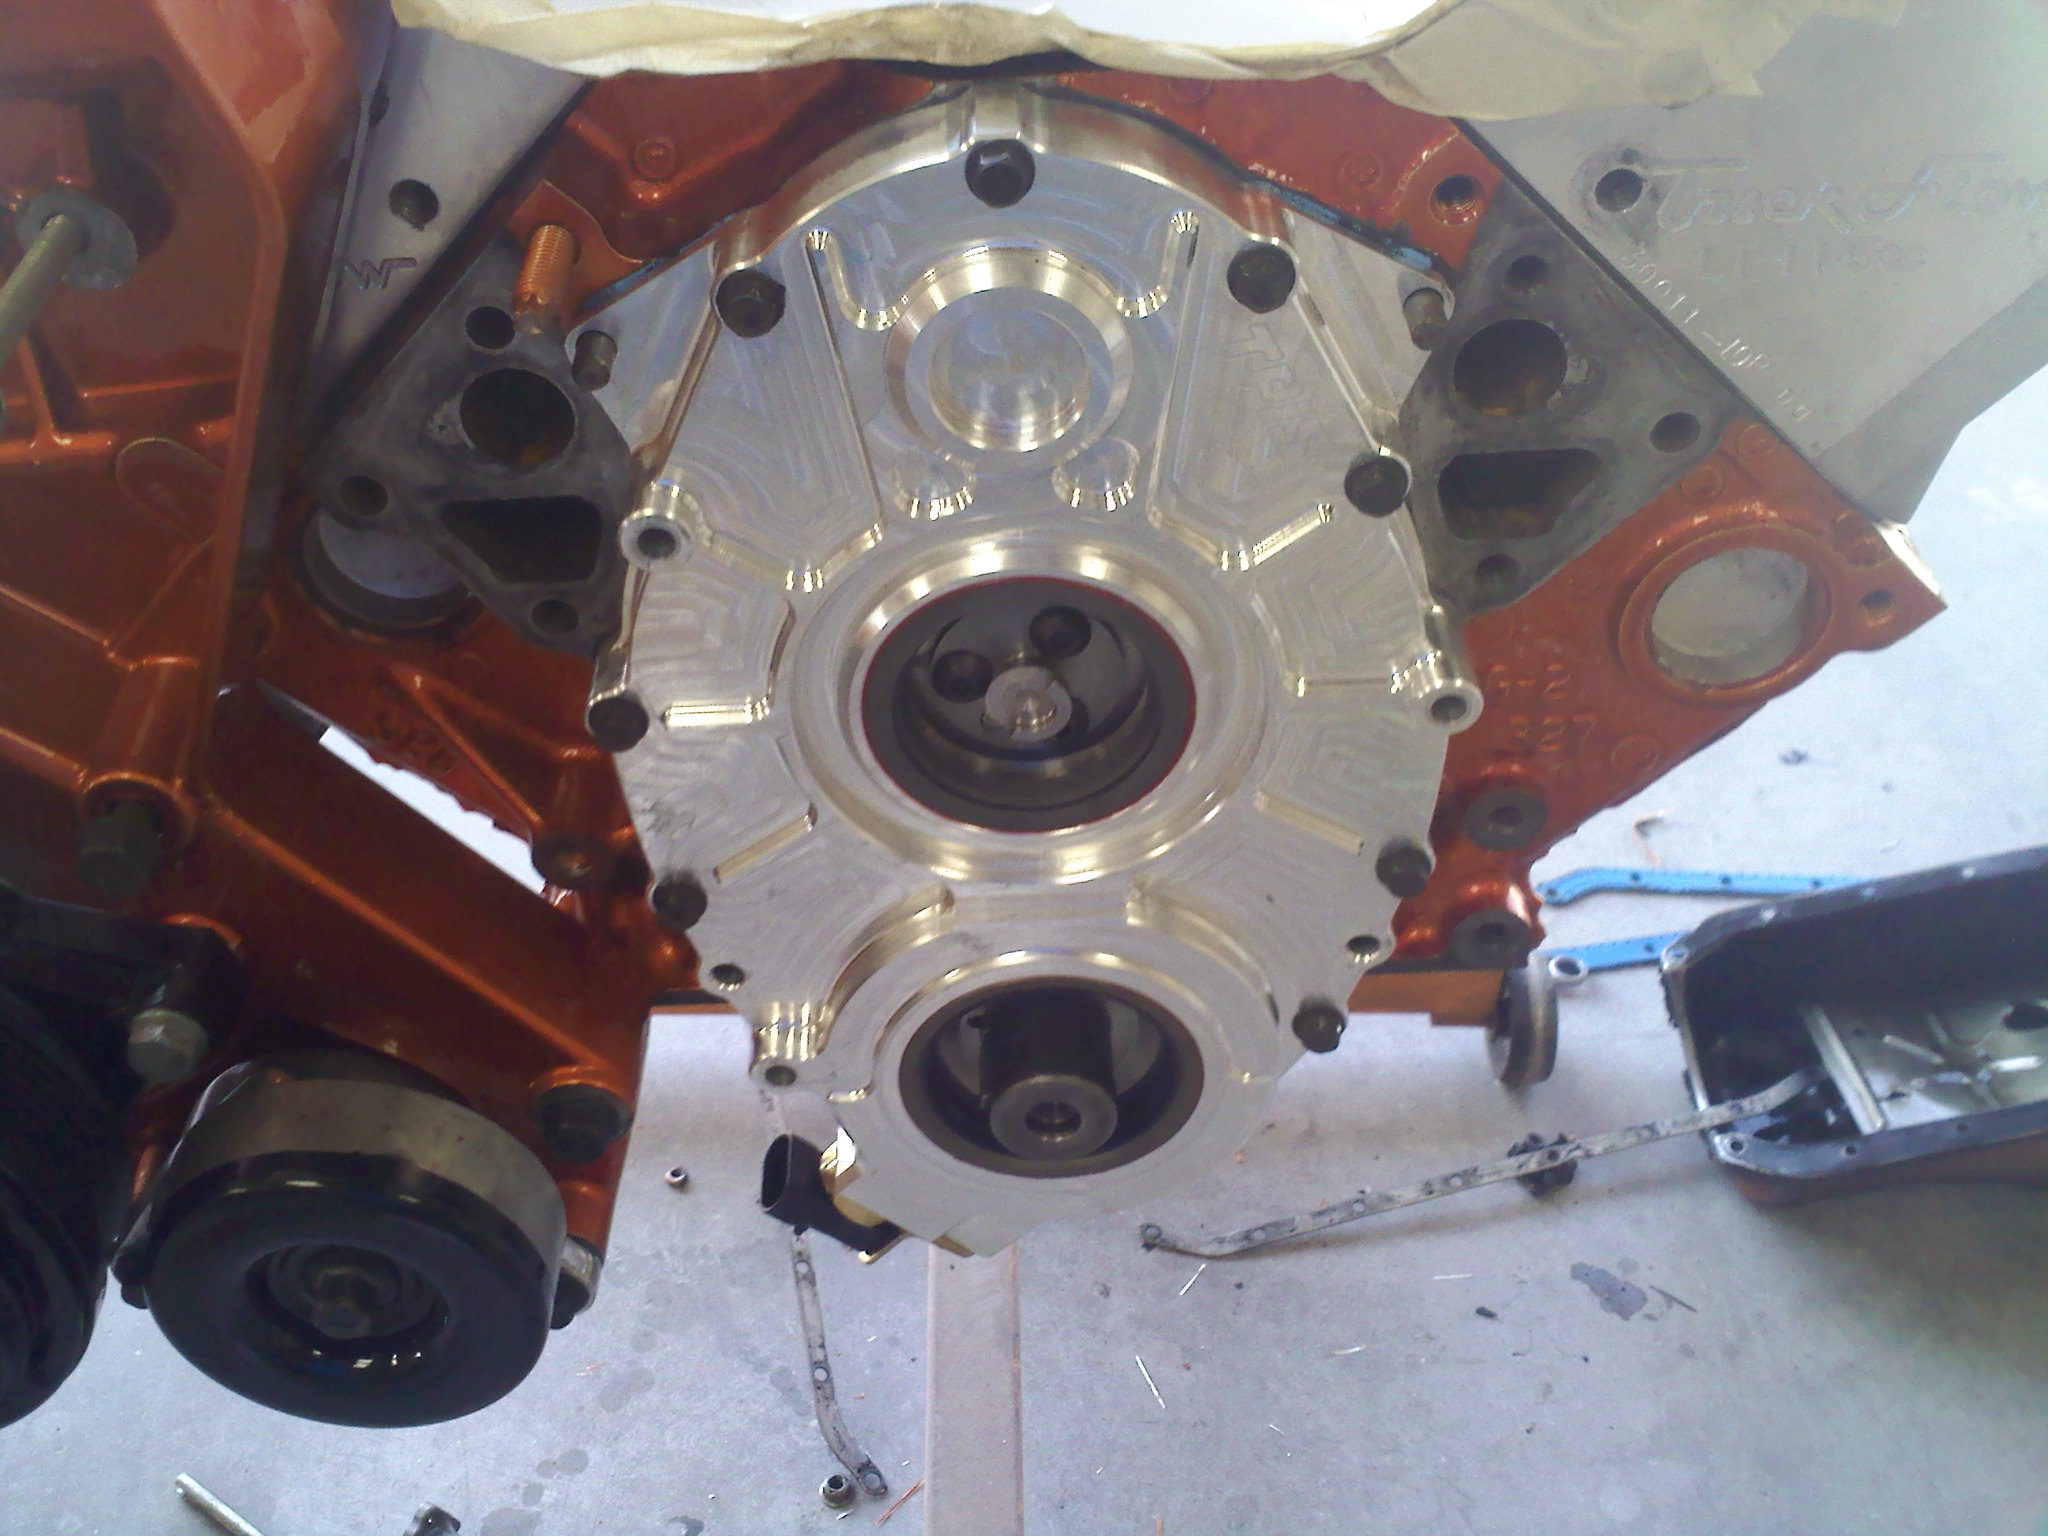
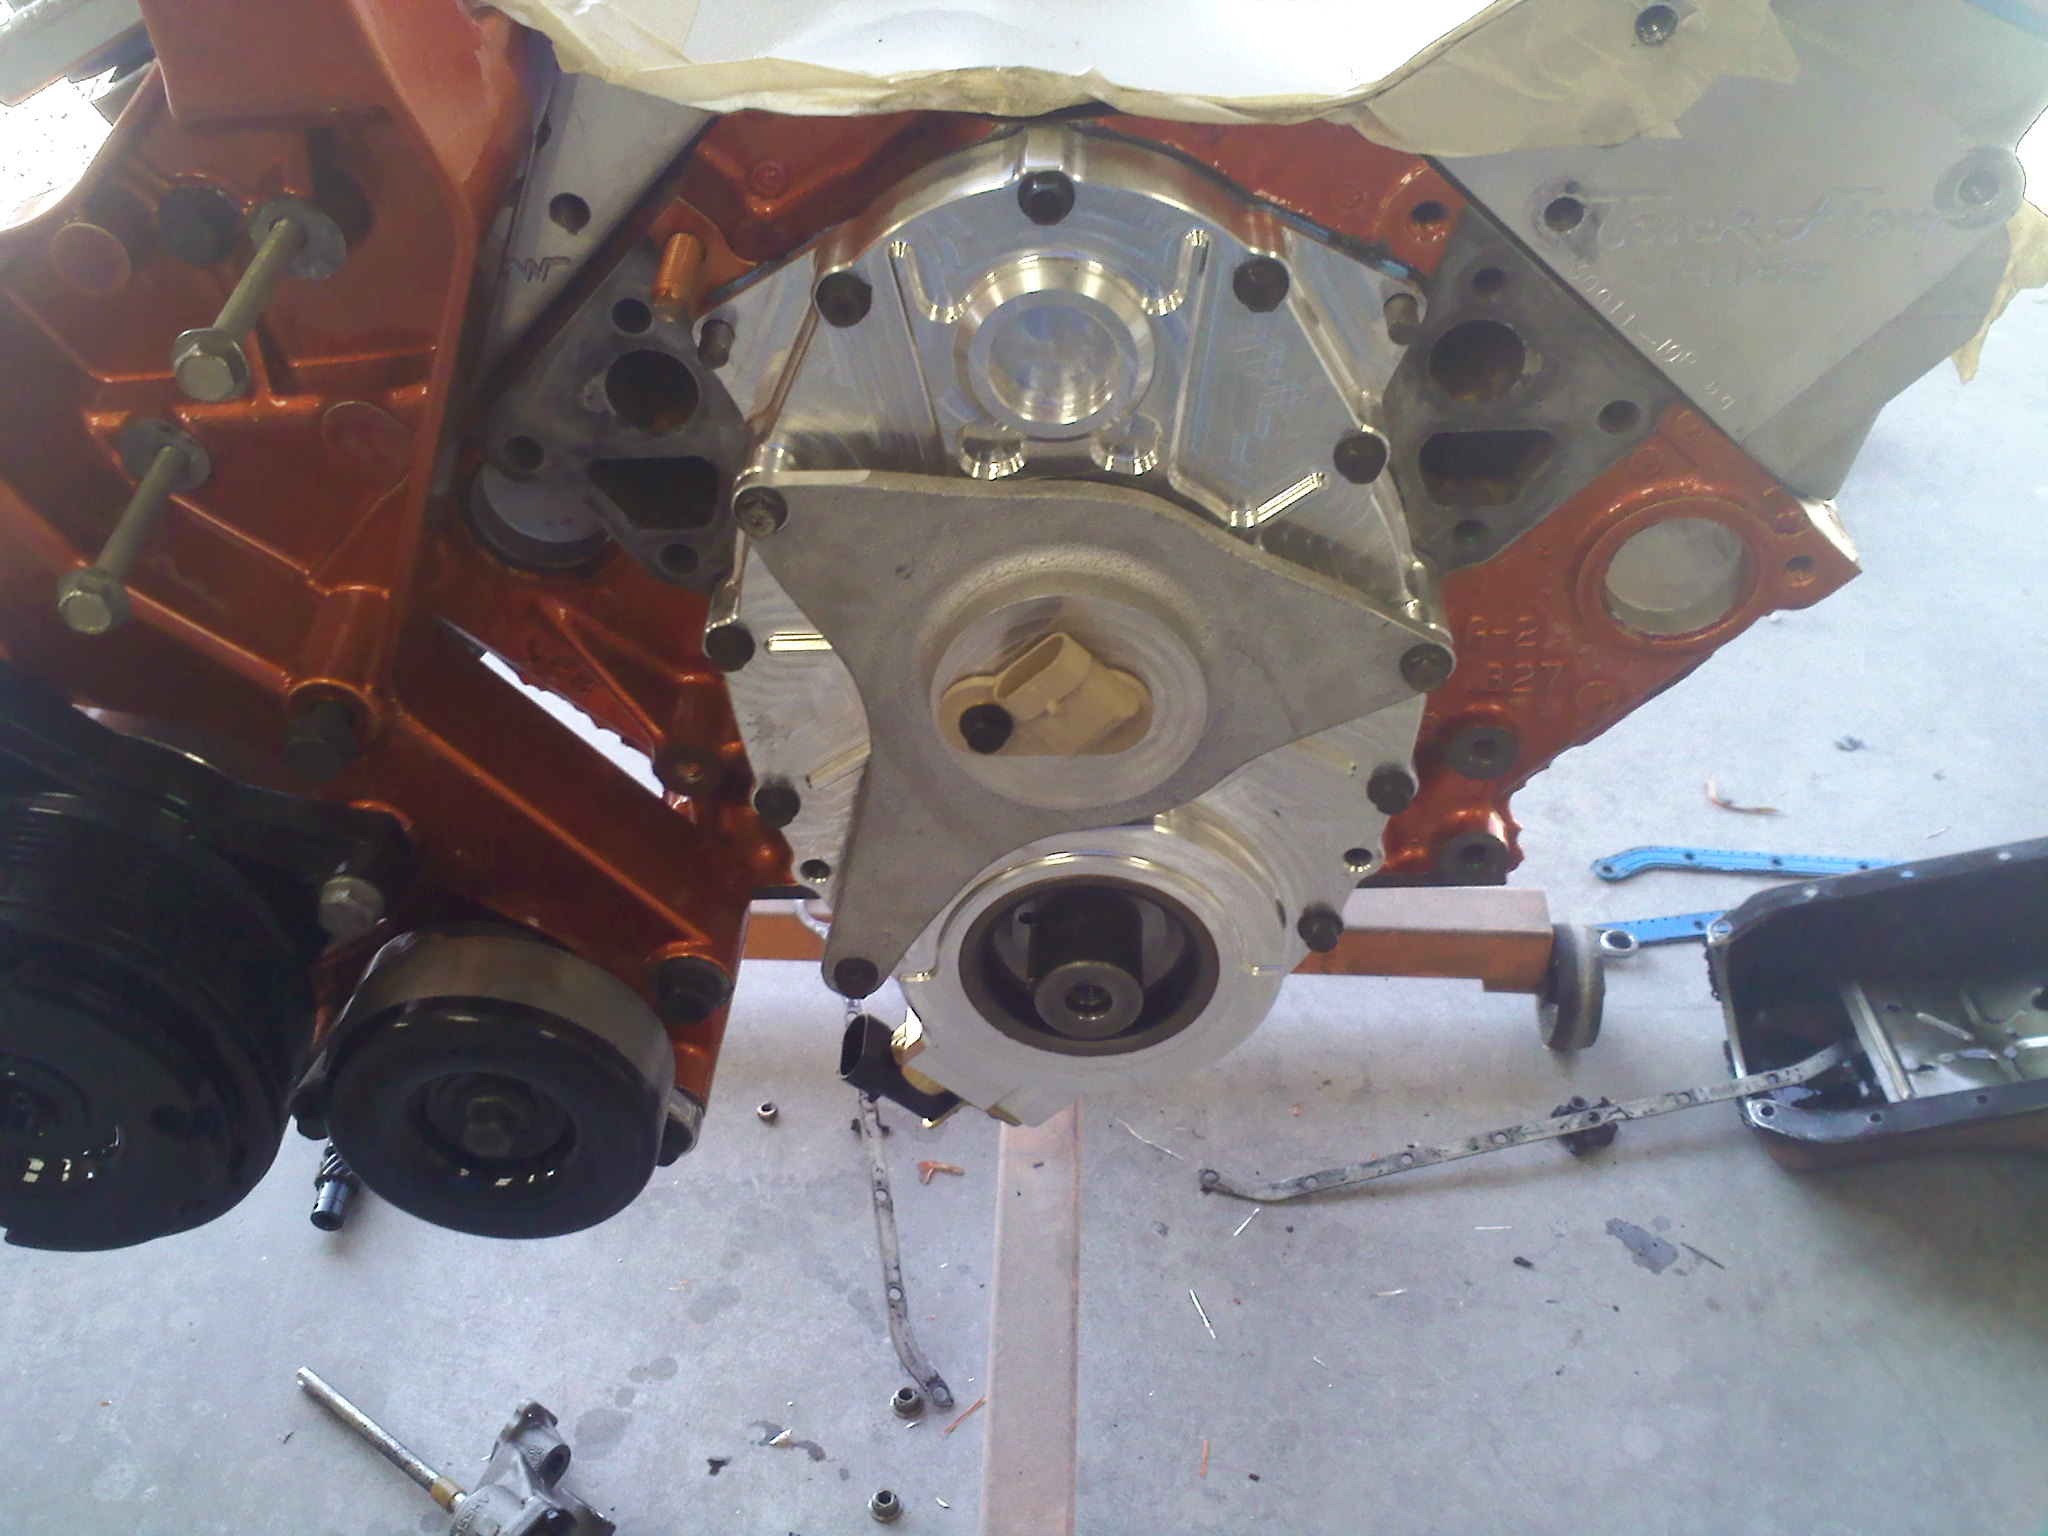
Ls1 EFI 24x connection DIY kit and timing cover for electric water pump and for the Big Block hub.
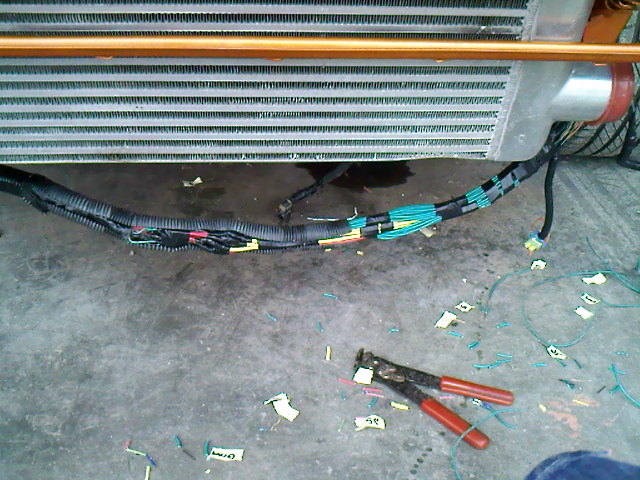
Extended the wires underneath the Intercooler and out of sight.
Last edited by 96famaro; 12-25-2011 at 03:51 PM.
09-01-2011, 11:45 PM
#28
Launching!
Thread Starter
Join Date: Mar 2009
Location: Weatherford Tx 76085 corner of N. Hwy 51 and 150 Green branch Rd.
Posts: 274
Likes: 0
Received 0 Likes
on
0 Posts
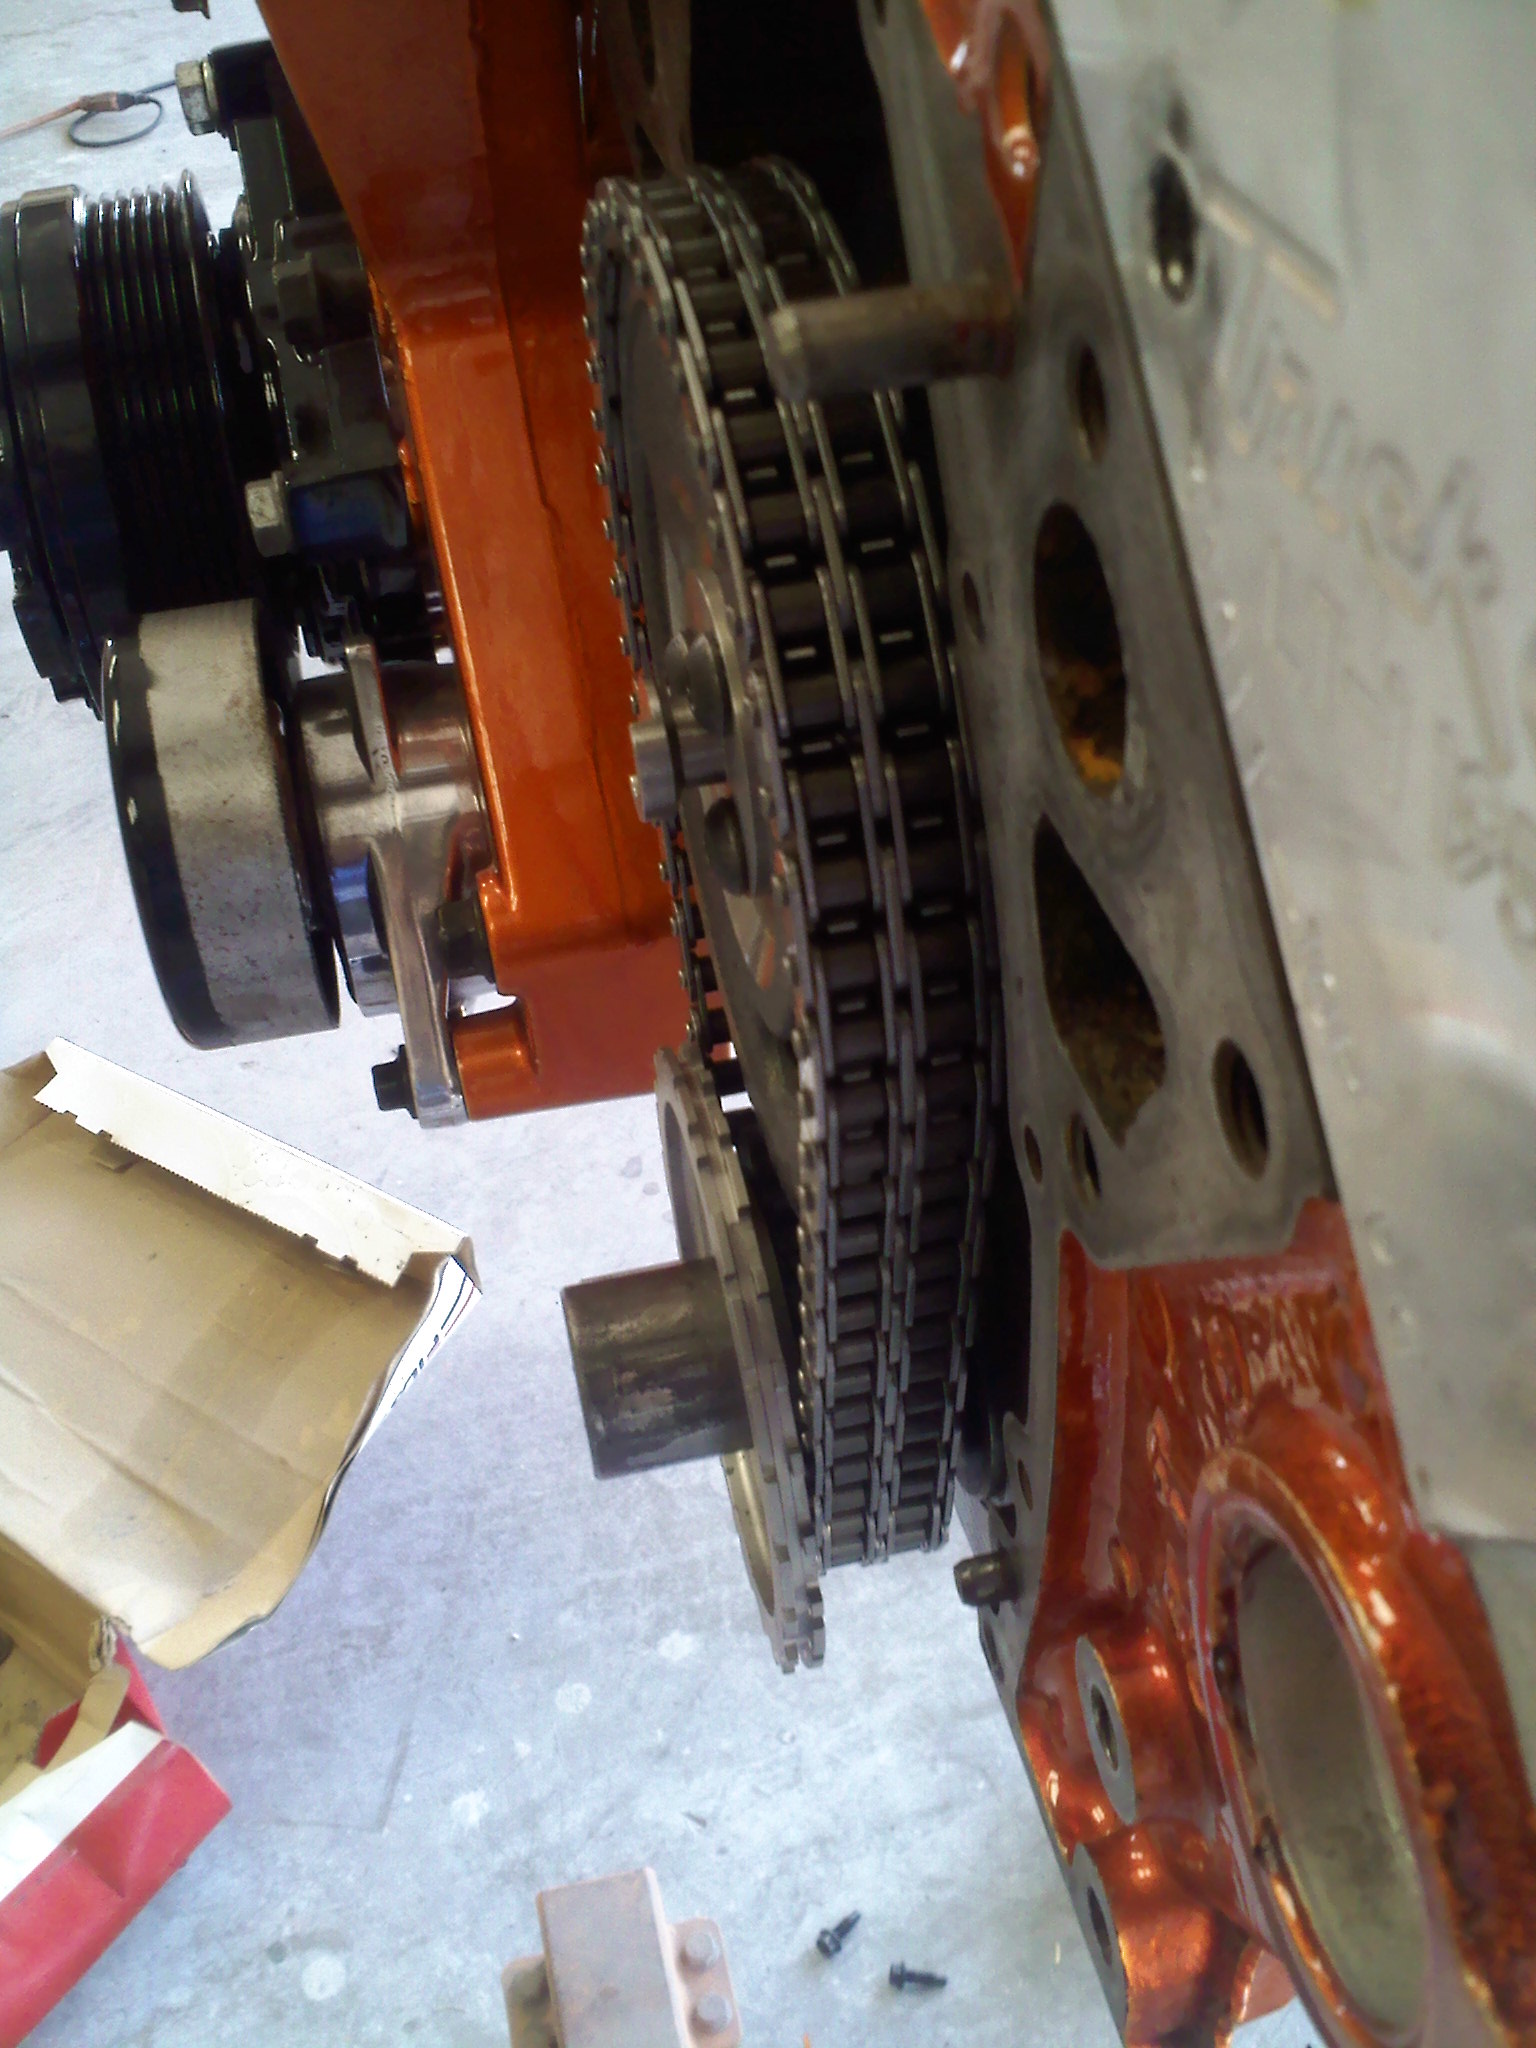
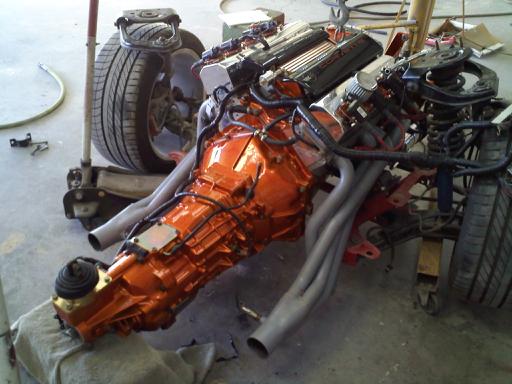
got my motor today from machine shop. Everything looks great I got a fair amount of work done on it today. Here's some more pics.

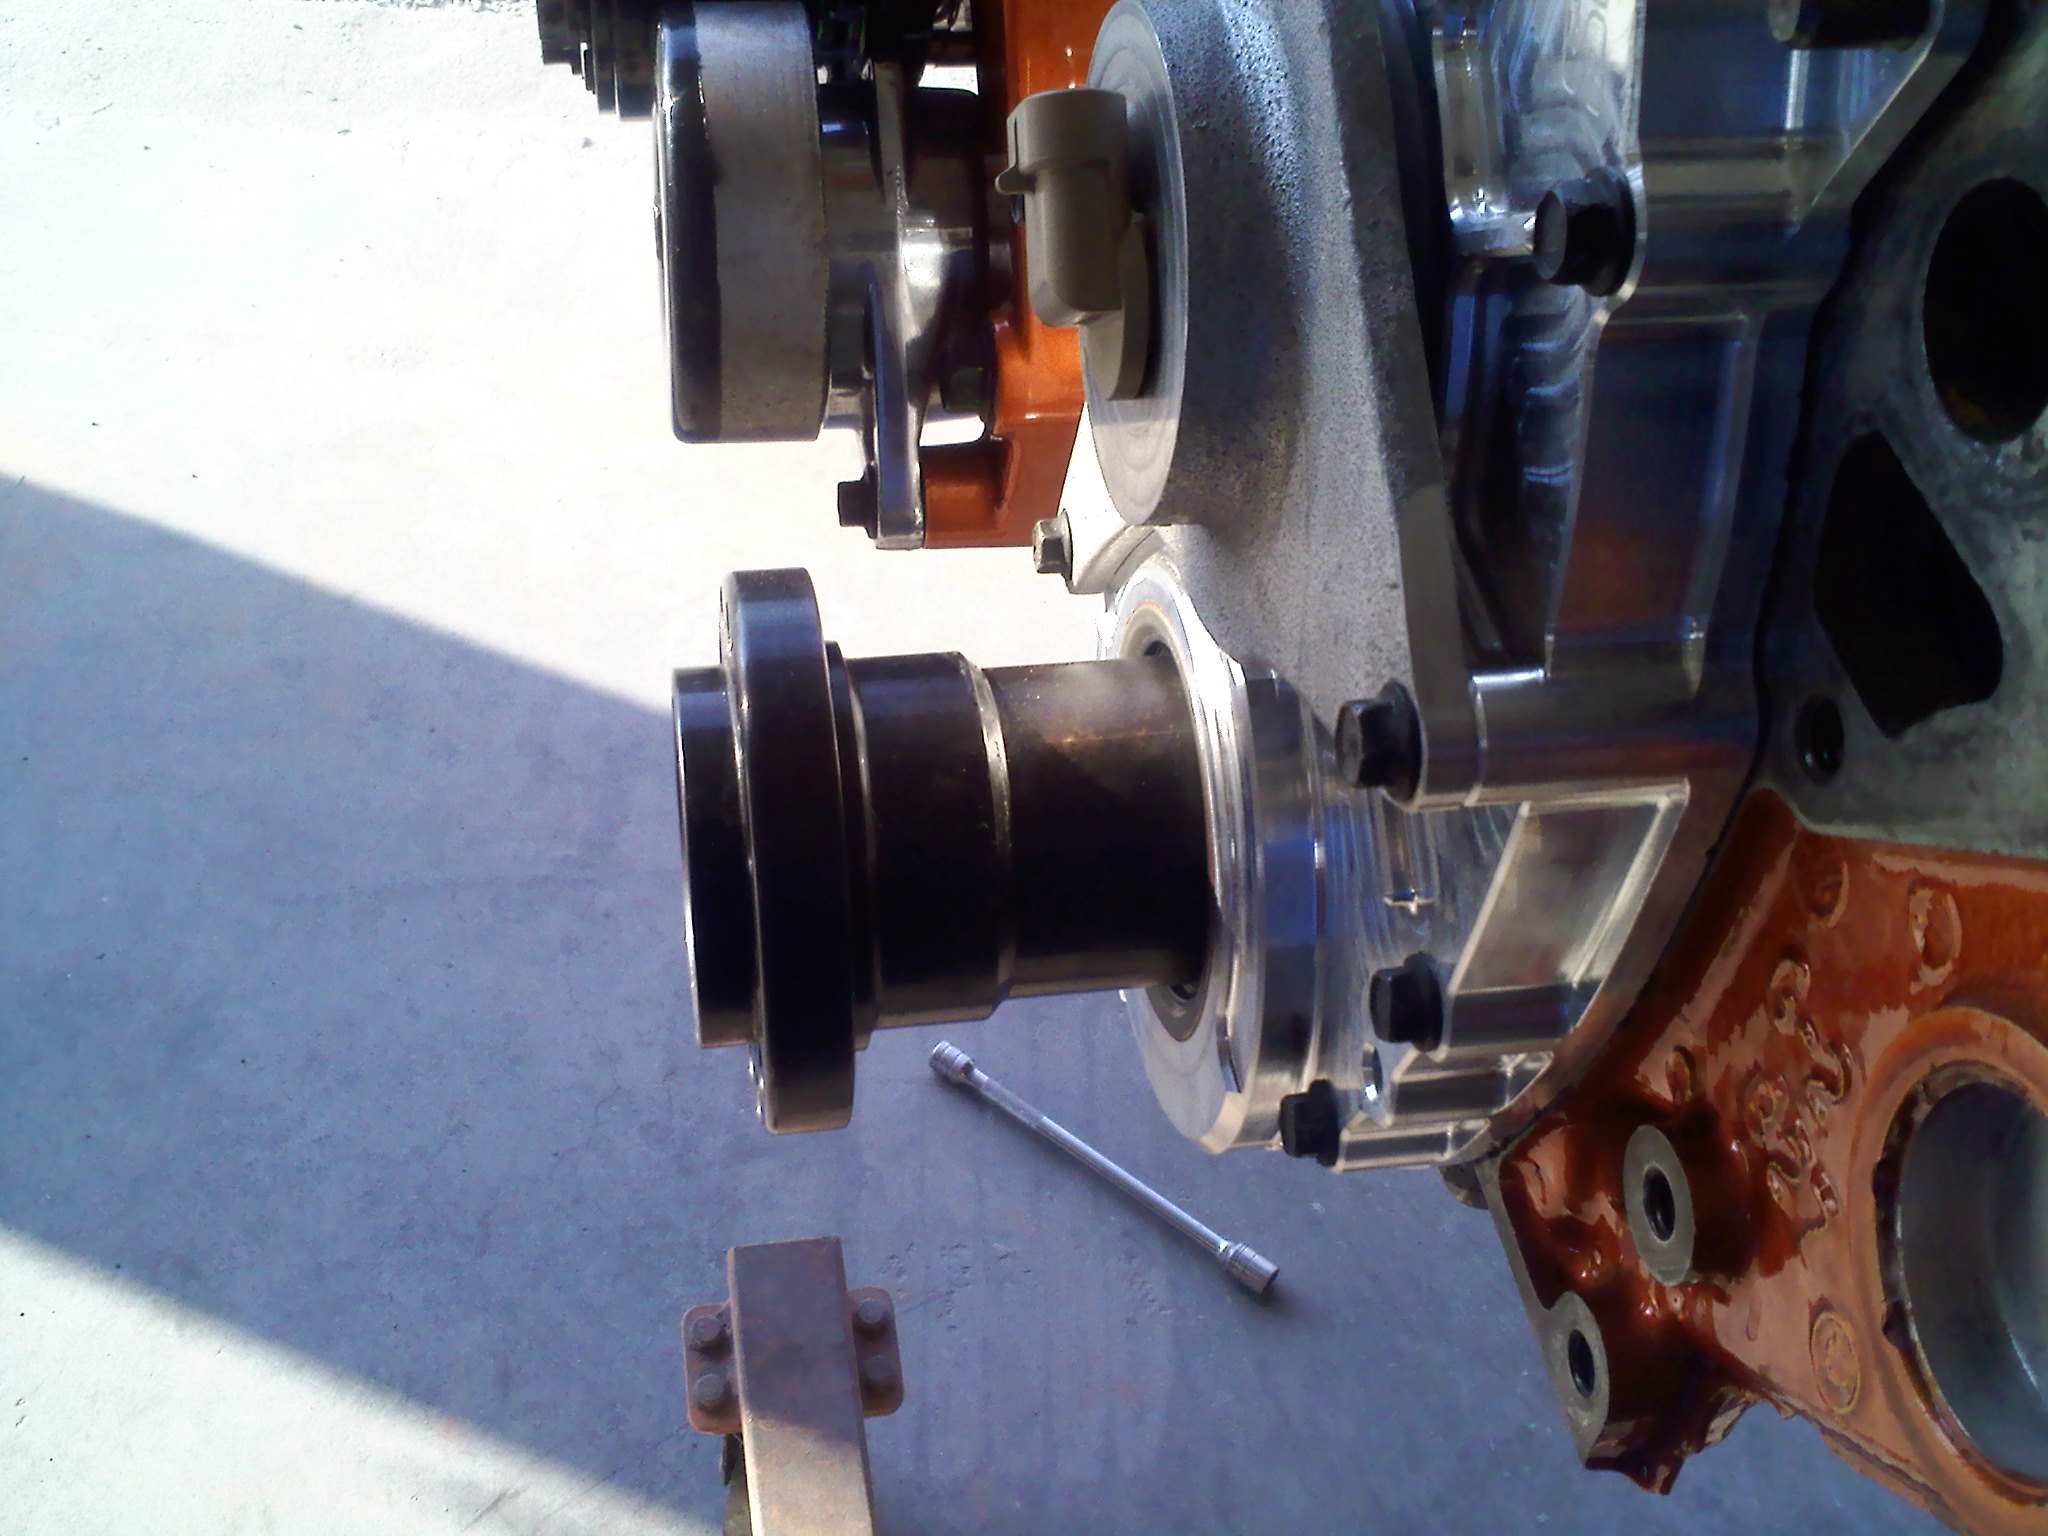
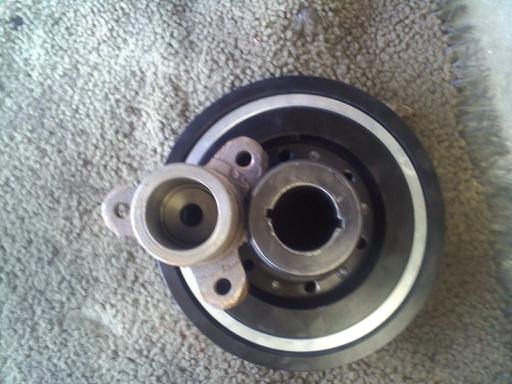

Stock vs Ati BB hub The stock hub is junk.
Last edited by 96famaro; 12-24-2011 at 11:23 PM.
 09-02-2011, 09:45 PM
#30
Launching!
Thread Starter
Join Date: Mar 2009
Location: Weatherford Tx 76085 corner of N. Hwy 51 and 150 Green branch Rd.
Posts: 274
Likes: 0
Received 0 Likes
on
0 Posts
Sure does huh. But seems like every time I have something completed 10 more things add to the list, basically feels like a brick wall I have to jump over but can't Lol 
I need some advice. what fuel injector would be good for me to go with? I was thinking the Siemens 80lb injector high impedance would be good enough figuring that there isn't very much options out there that I can find I was also looking at the bosch Ic 1000cc injectors I don't know if they fit Lt1 fuel rail assembly but I do like these more I'm just done with having to buy things twice and want to have room to grow in the future if i wanted. If any one can give me some insight that will be much appreciated thanks.
I need some advice. what fuel injector would be good for me to go with? I was thinking the Siemens 80lb injector high impedance would be good enough figuring that there isn't very much options out there that I can find I was also looking at the bosch Ic 1000cc injectors I don't know if they fit Lt1 fuel rail assembly but I do like these more I'm just done with having to buy things twice and want to have room to grow in the future if i wanted. If any one can give me some insight that will be much appreciated thanks.
10-07-2011, 08:02 PM
#33
Launching!
Thread Starter
Join Date: Mar 2009
Location: Weatherford Tx 76085 corner of N. Hwy 51 and 150 Green branch Rd.
Posts: 274
Likes: 0
Received 0 Likes
on
0 Posts
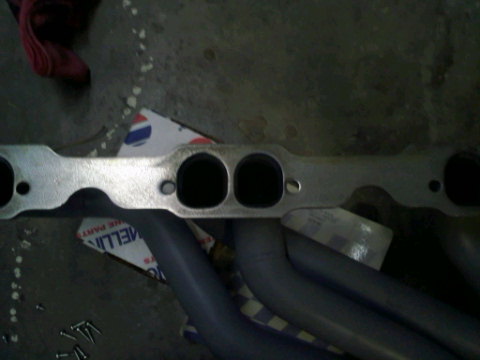
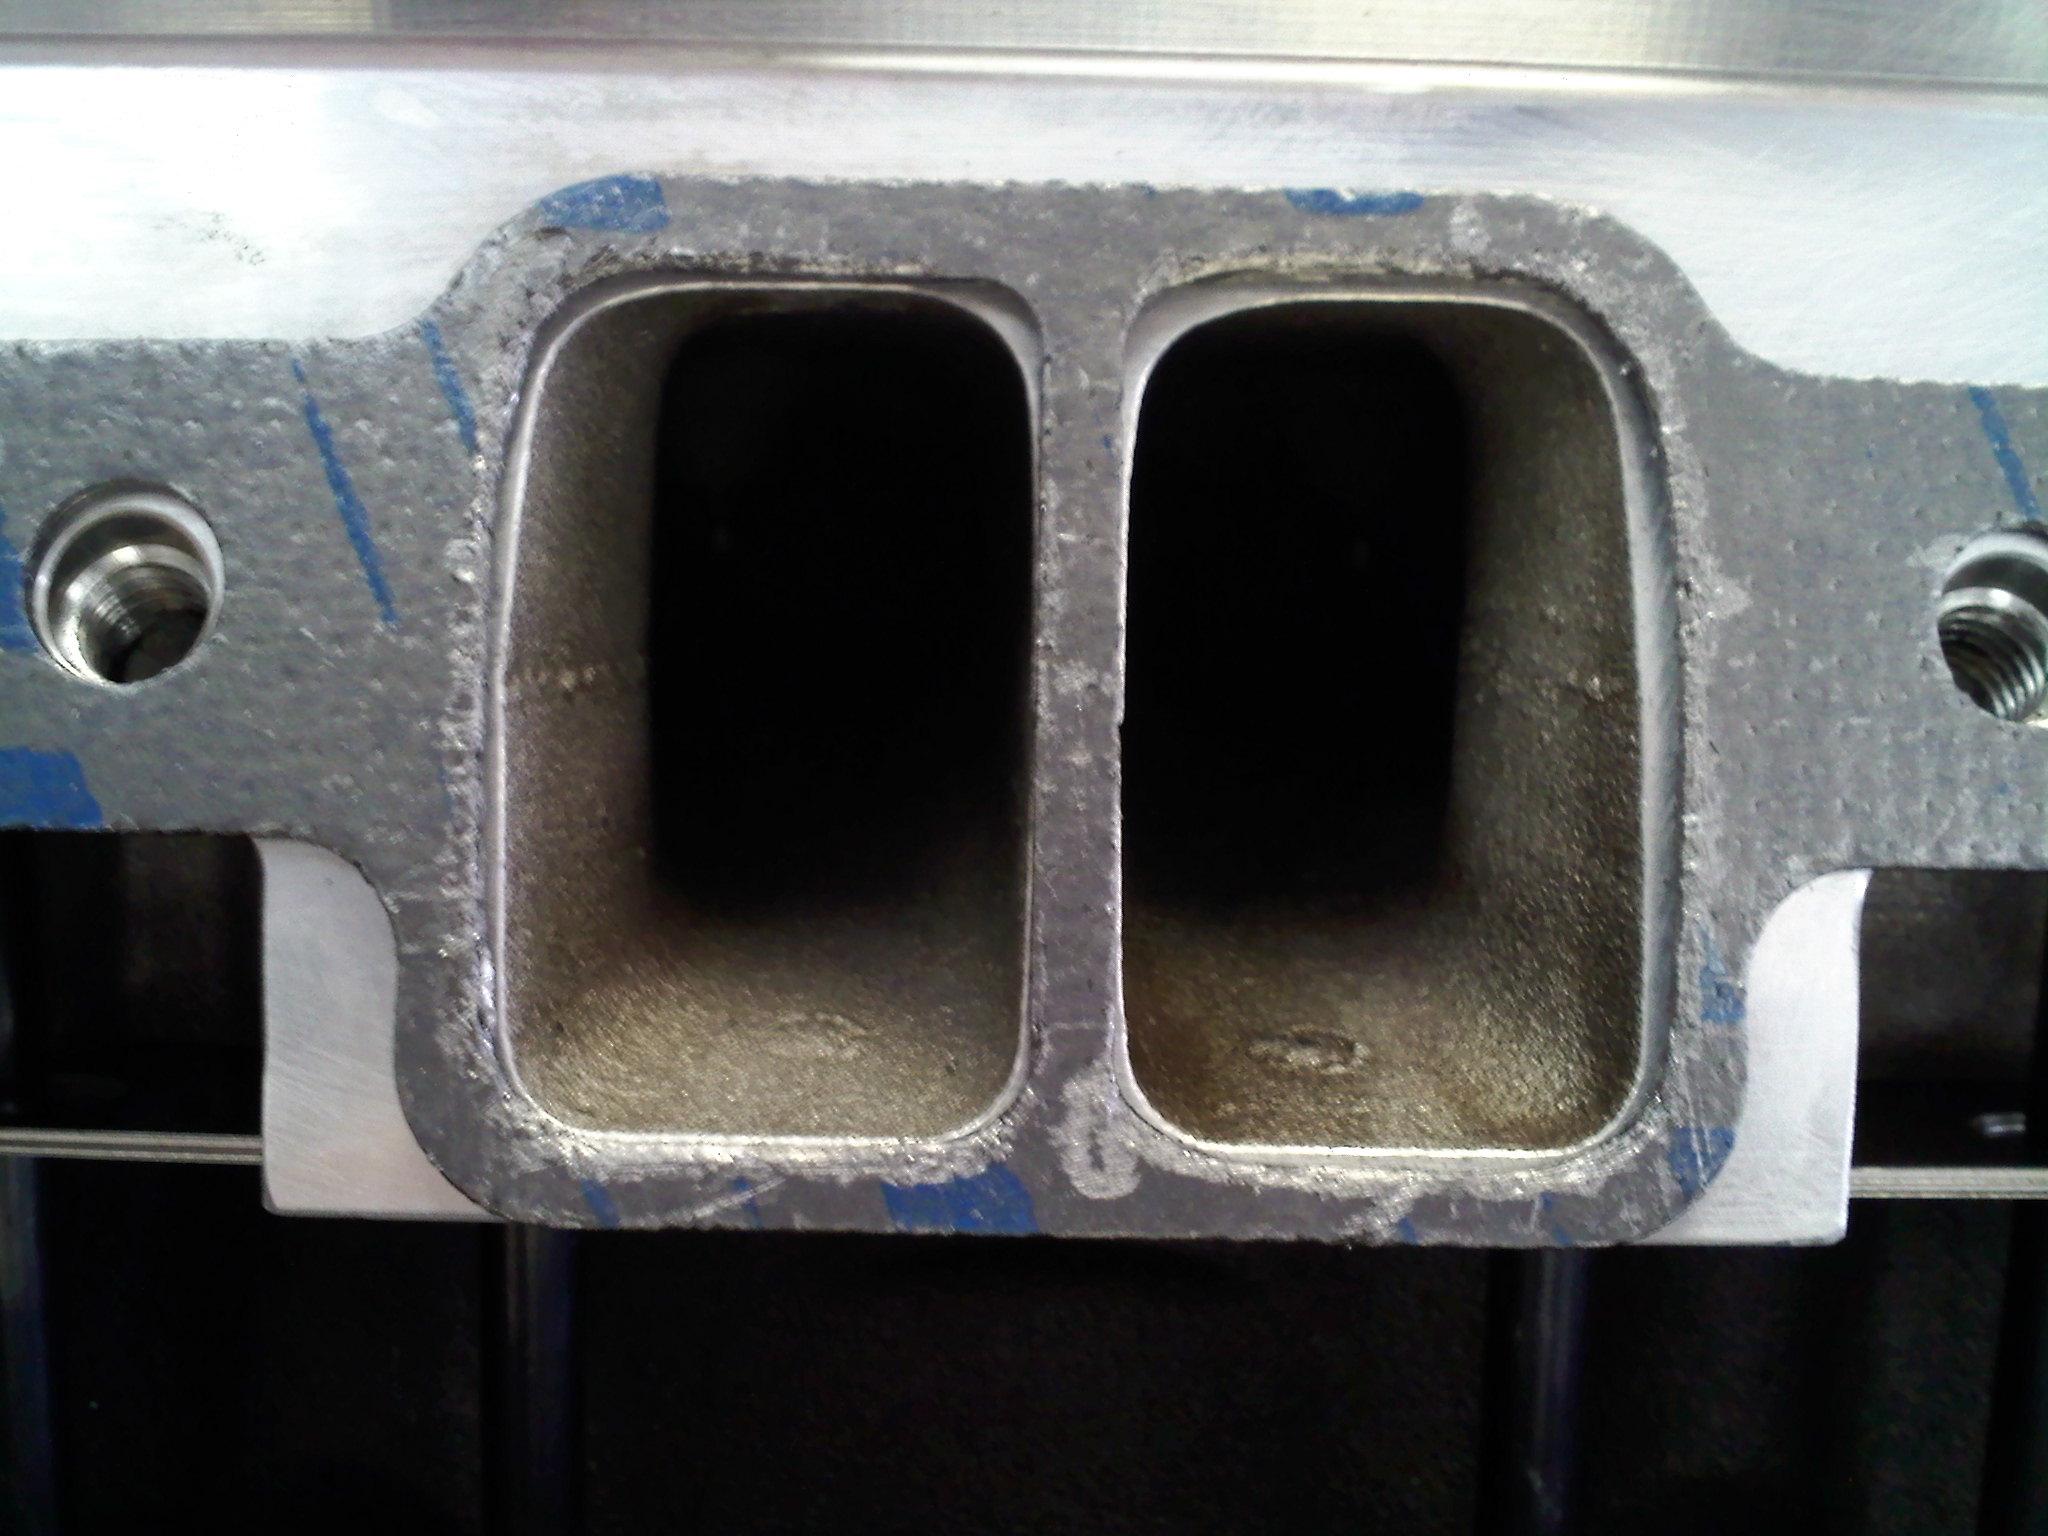
another update 10/7/11 I am just about ready to get this thing running almost. I just need more time to work on it which I don't have much. I smoothed out the Pace setter header inner welds on the primaries it was some what rough. I also had to cut and trim the intake gasket a pretty good amount as well. I also modified my steam line setup. I just need alot of little things to finish up.


Last edited by 96famaro; 12-25-2011 at 12:04 AM.
11-11-2011, 11:04 PM
#34
Launching!
Thread Starter
Join Date: Mar 2009
Location: Weatherford Tx 76085 corner of N. Hwy 51 and 150 Green branch Rd.
Posts: 274
Likes: 0
Received 0 Likes
on
0 Posts
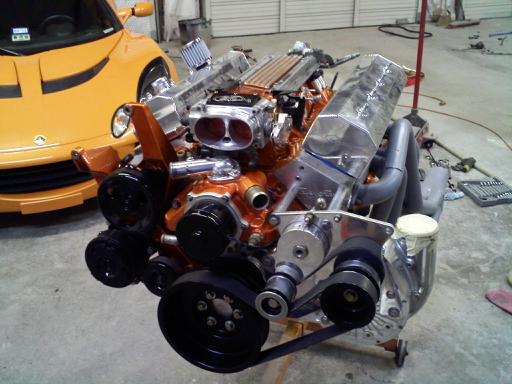
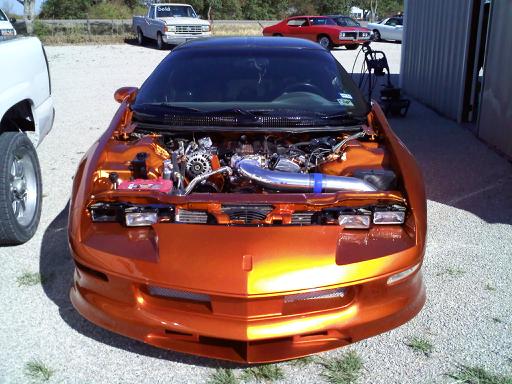
11/11/11 update I've got mostly everything done on the build. I just need to get a custom exhaust made and waiting on Lonnie's double fuel pump setup to get here and then I will have the car towed to get it dynoed. I'm hoping I can get it going within these weeks coming!
11-17-2011, 10:08 PM
#39
Launching!
Thread Starter
Join Date: Mar 2009
Location: Weatherford Tx 76085 corner of N. Hwy 51 and 150 Green branch Rd.
Posts: 274
Likes: 0
Received 0 Likes
on
0 Posts
thanks, I will post up some pics when I get a chance.
The steam mod is just me not using the factory metal steam tube and doing away with the rubber seals that goes on each head. So I used some screw on fittings instead, and used a T fitting to get both lines to come together. The sensor is the Oil pressure that you see and water is the only thing that runs in the steam line.
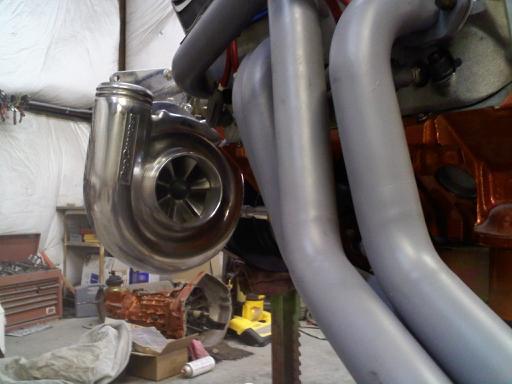
I will get some detailed shots of everything that I did once I get it all done. I also made extra support brackets for the blower to prevent flexing. The procharger bracket alone has alot of flex to it. With the brackets I made it hardly moves now.
I've yet to see a Camaro/Trans Am with an F1-c or F1-r blower it should make ok power. I live in Tx and I had to keep my A/C no way around that one lol.
Last edited by 96famaro; 12-25-2011 at 03:56 PM.
