
Building a 1300hp A/A Intercooler system!!
 10-10-2012, 01:33 PM
#1

So some of you may have seen my thread where i realized how ineficient my old intercooler was. I was loosing almost 15psi through my "600hp" ebay intercooler!
I ended up deciding on the Treadstone TRV259.. here are the specs:
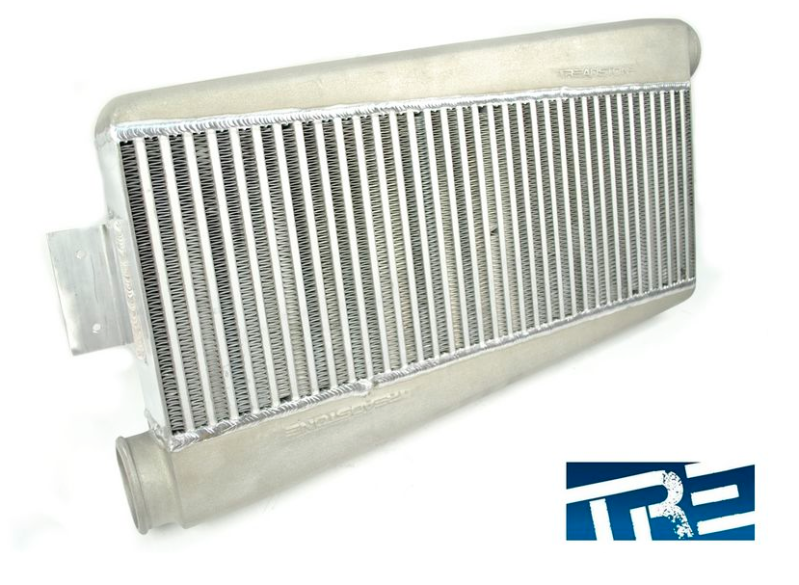
1300 HP rated
Flows 1950 CFM @ 2psi pressure drop
Overall Size 26.50" X 15.00" X 3.50"
Core Size 25.00" X 9.00" X 3.50"
Vertical tube Cross-flow design
Cast end tanks with flow dividers
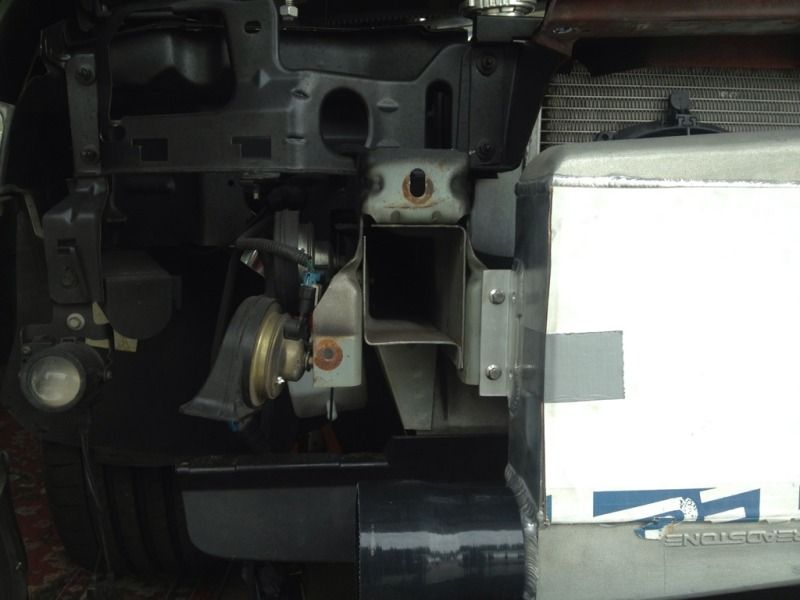
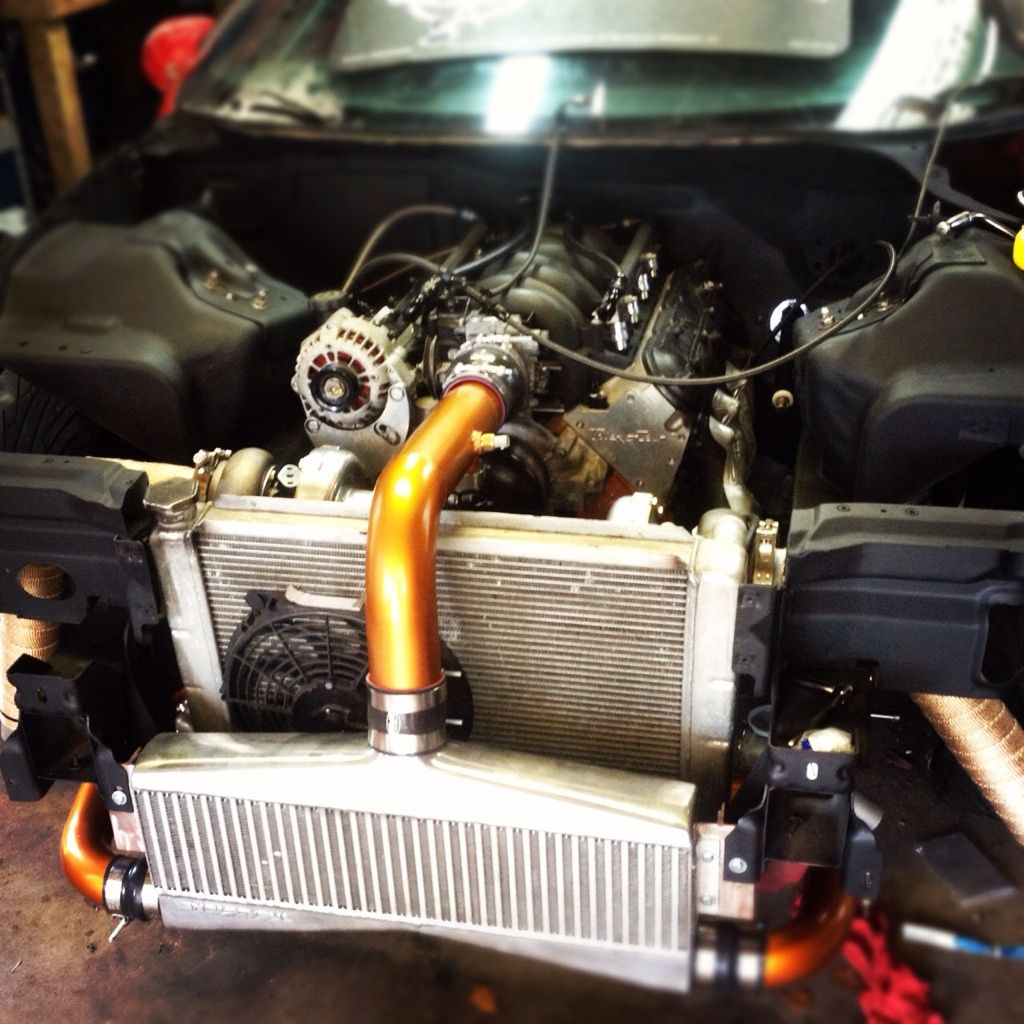
There are a few reasons why I went with this over a thicker horizontal tube unit. After talking with a few manufacturers, the general consensus is that a horizontal tube will have a higher pressure drop vs. a vertical. Most reccomend a vertical design for large displacement motors under 30psi. another benefit to a vertical is that you dont need as much core thickness to achieve the same cooling. This one is only 3.5" and is rated for 1300hp. This is very important in an Air to Air setup on our cars because the IC is blocking the radiator. Too thick of an IC could cause cooling issues. I wanted the best of both worlds, which is why I chose this IC.
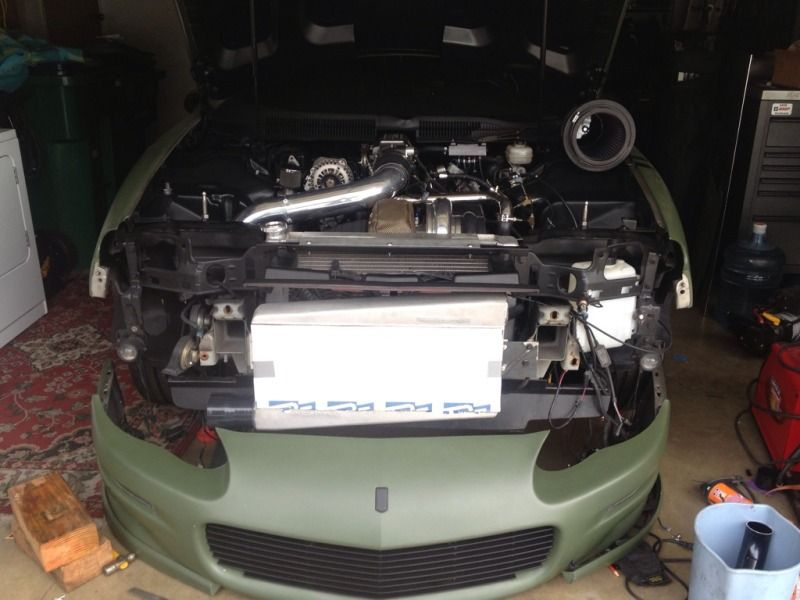
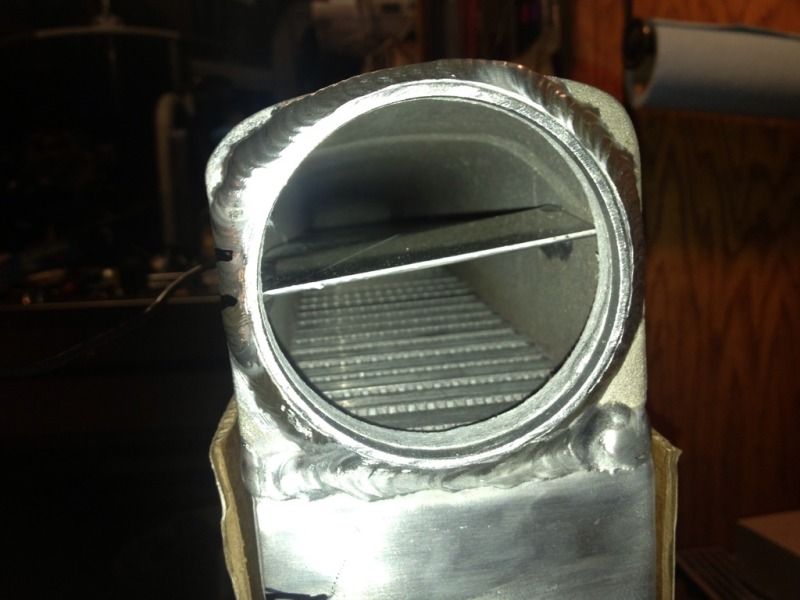
Heres the downside: These are much harder to route tubing to and from because of the inlet and outlet locations. I had to cut off the inlet flange and weld on a cast 90 bend because it would have hit the headlight on the drivers side.
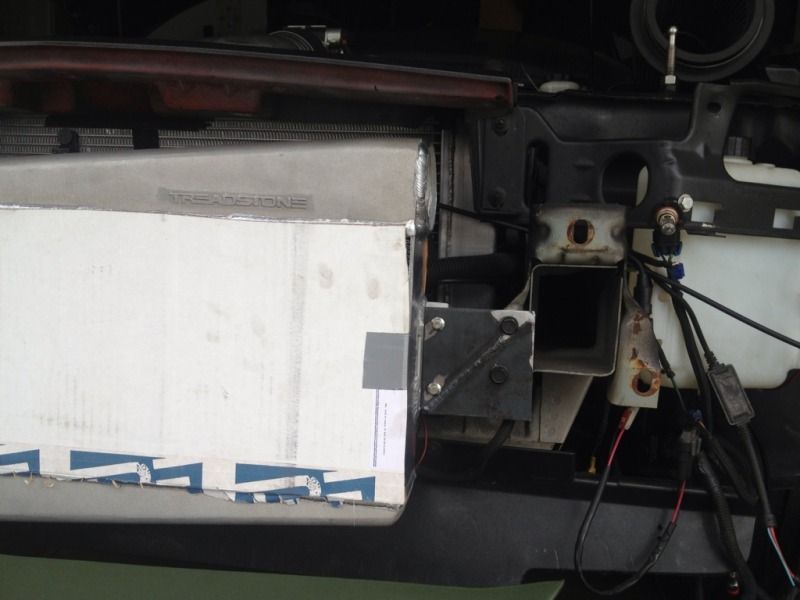
Im right in the middle of building it right now, and so far I got the IC mounted and 90% of the tubing cut and routed. Now all i need to do is finish up welding and add the bungs for IAT, Meth, and the BOV.
p.s. I just bought an eastwood TIG welder. I taught myself to TIG aluminum in a couple hours, and so far have only had it a week! I think i'm doing pretty well considering that!
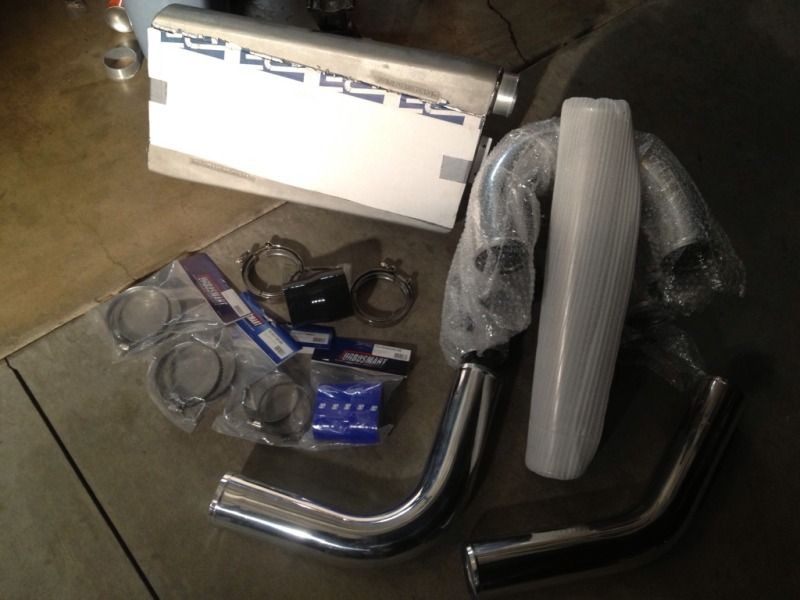
I'll get more picture of the tubing later today!
I'm also going to do a seperate thread on "how to build an Intercooler system" with tips and trick for people who have never done it before!
I ended up deciding on the Treadstone TRV259.. here are the specs:
1300 HP rated
Flows 1950 CFM @ 2psi pressure drop
Overall Size 26.50" X 15.00" X 3.50"
Core Size 25.00" X 9.00" X 3.50"
Vertical tube Cross-flow design
Cast end tanks with flow dividers
There are a few reasons why I went with this over a thicker horizontal tube unit. After talking with a few manufacturers, the general consensus is that a horizontal tube will have a higher pressure drop vs. a vertical. Most reccomend a vertical design for large displacement motors under 30psi. another benefit to a vertical is that you dont need as much core thickness to achieve the same cooling. This one is only 3.5" and is rated for 1300hp. This is very important in an Air to Air setup on our cars because the IC is blocking the radiator. Too thick of an IC could cause cooling issues. I wanted the best of both worlds, which is why I chose this IC.
Heres the downside: These are much harder to route tubing to and from because of the inlet and outlet locations. I had to cut off the inlet flange and weld on a cast 90 bend because it would have hit the headlight on the drivers side.
Im right in the middle of building it right now, and so far I got the IC mounted and 90% of the tubing cut and routed. Now all i need to do is finish up welding and add the bungs for IAT, Meth, and the BOV.
p.s. I just bought an eastwood TIG welder. I taught myself to TIG aluminum in a couple hours, and so far have only had it a week! I think i'm doing pretty well considering that!
I'll get more picture of the tubing later today!
I'm also going to do a seperate thread on "how to build an Intercooler system" with tips and trick for people who have never done it before!
Last edited by KILLER-LS1; 10-10-2012 at 03:57 PM.
 10-10-2012, 01:53 PM
#4
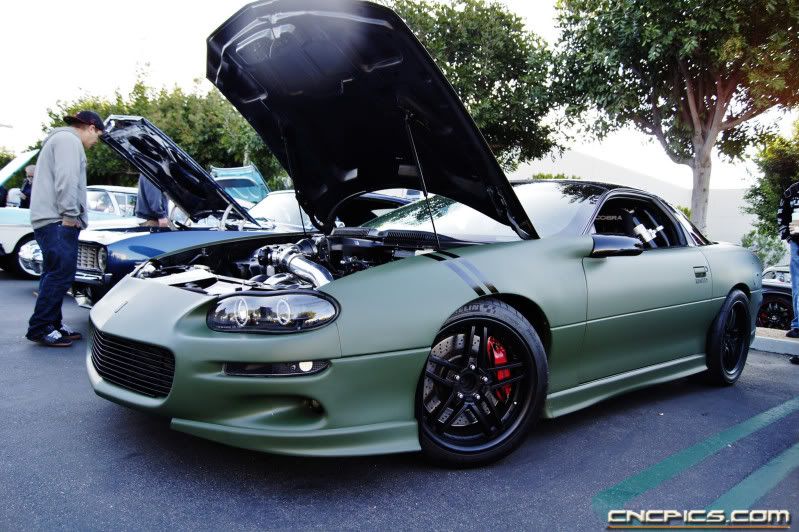
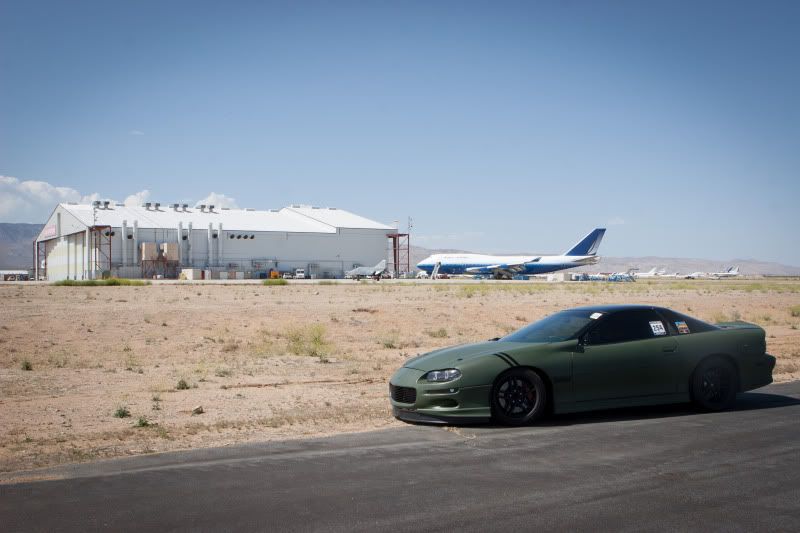
Haha it been like that for 6 months or so... I vinyl wrapped it in matte military green.

And the TIG welder, I was a little skeptical, but I love it!
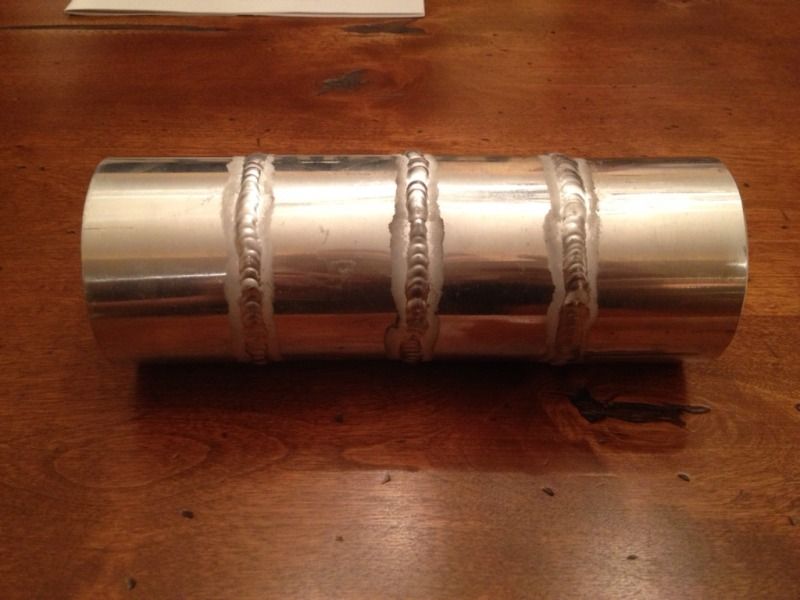
I made this weld within an hour of turning the thing on and TIG'ing for the first time. I have NEVER TIG'd before, just watched a couple youtube videos and went at it! Not too bad i think. I'm getting a lot better at it now. Running off a 110V power strip (i know its not recommended) thats simultaneously running Florescent shop lights, a halogen light, and my garage stereo, it still has enough power to weld 1/4" alum. I tried some thicker stuff but it kept blowing the breaker on the strip. Does steel no problem. I'm happy so far!
And the TIG welder, I was a little skeptical, but I love it!
I made this weld within an hour of turning the thing on and TIG'ing for the first time. I have NEVER TIG'd before, just watched a couple youtube videos and went at it! Not too bad i think. I'm getting a lot better at it now. Running off a 110V power strip (i know its not recommended) thats simultaneously running Florescent shop lights, a halogen light, and my garage stereo, it still has enough power to weld 1/4" alum. I tried some thicker stuff but it kept blowing the breaker on the strip. Does steel no problem. I'm happy so far!
 10-10-2012, 04:40 PM
#7
I forgot to add... Im going to be making a shroud IN FRONT of the intercooler to force air into it. Should be pretty cool and one of a kind. I'll also be working on that tonight.
Thanks man! It took about 4 months from the photoshoot until my copy came in the mail!
Thanks man! It took about 4 months from the photoshoot until my copy came in the mail!
Trending Topics
10-10-2012, 04:50 PM
#8
I am curious to see the results of this. Good job on the tig welding. Not bad for a first timer. I learned to tig weld at a young age because thats what my dad does for a living, and I bought a miller dialarc 250hf about a month ago. I was looking at the eastwood machine, but ended up getting this setup for cheaper. Aluminum is tricky and you seem to have picked it up well. Cast is a little harder.


 I'll get some pressure drop and IAT readings as well!


 08-04-2013, 09:14 PM
#18
Love your car and all the work you�ve done, bad ***. Just a quick note on welding aluminum; It is very important to remove the top layer of oxidation. The oxidized aluminum has almost twice the melting point as the aluminum under it. If you don�t remove it with a clean stainless steel brush you might have some trouble. Hit it with the brush and clean it with some acetone. Work the pedal as you go. Looks great so far, but waned to share some helpful info that I didn�t quite get at first. Keep up the great work.
 08-05-2013, 04:33 AM
#20

I got treadstones TRST9 which is rated identical to that on my CTSV, like it a lot!
Funny im getting ready to do the v in the military green to, or atleast considering it. But looks soo sick on yours!
[IMG] [/IMG]
[IMG] [/IMG]
Funny im getting ready to do the v in the military green to, or atleast considering it. But looks soo sick on yours!
[IMG]
 [/IMG]
[IMG]
 [/IMG]
 Last edited by B_ROCKS_IT; 08-05-2013 at 04:39 AM.