Front Mount Ls1 Third Gen w/ Truck Mani Kit
 06-19-2014, 08:25 PM
#61
TECH Apprentice
Thread Starter
iTrader: (3)

Join Date: Sep 2011
Posts: 305
Likes: 0
Received 0 Likes
on
0 Posts

However, I got a little even more unlucky.
A couple saturdays ago I was driving a buddy around and My crank pulley backed off. I found it all and put it back on in the parking lot and drove the car home.
Well a day later i started having some strange oil pressure problems.
Drained the oil tonight and sure enough, a copper/gold dust in the oil.
Took the pan off and found some copper chunks in the pickup tube screen. FML
Im pretty broke now after this build and since I got the vette.
I put the top end of the motor together, and bought the shortblock so Ive never dealt with a bottom end before.
How would I go about checking to see which bearing it is? I noticed in the pan when i removed it that same copper material was in the rear of the pan as if it came from either of the rear two rod bearings.
Also Ive heard people have had luck with replacing them in the car?
Any ideas/comments/suggestions are more than welcome at this point
 06-21-2014, 08:05 AM
#62

Engine needs to come out and be torn down. Throwing bearing from under the car wont solve the problem, only bandaid the problem until the new bearing are wrecked in short order
Find another LQ4 shortblock and throw it in for the mean time while you rebuild this one
Find another LQ4 shortblock and throw it in for the mean time while you rebuild this one
06-21-2014, 09:19 AM
#63
TECH Apprentice
Thread Starter
iTrader: (3)
Join Date: Sep 2011
Posts: 305
Likes: 0
Received 0 Likes
on
0 Posts
This shortblock is forged which is why I'd really rather get all new bearings in this one.
I started taking apart everything off yesterday and just need to remove the water pump and front cover then I'll take the cam out and peek in there.
If all still looks fine, I'm going to start taking off the main caps and rod caps.
Anyone know how much is typically cost to replace go through and replace all the bearings and reassemble the shortblock.
06-21-2014, 04:54 PM
#64
This shortblock is forged which is why I'd really rather get all new bearings in this one. I started taking apart everything off yesterday and just need to remove the water pump and front cover then I'll take the cam out and peek in there. If all still looks fine, I'm going to start taking off the main caps and rod caps. Anyone know how much is typically cost to replace go through and replace all the bearings and reassemble the shortblock.
 06-24-2014, 12:32 PM
#68
On The Tree
Join Date: Nov 2013
Location: Waterford, MI
Posts: 193
Likes: 0
Received 0 Likes
on
0 Posts
slapping bearings in will not last very long, your best bet especailly if you have money into a forged engine is to pull it out strip it down have the block washed and machine the crank and then get the right bearings for the cut crank, not something that would be worth even trying to do in car considering heads etc have to come off anyways, would spend more time under the car getting oil dripped on you than its worth in my opinion.
05-07-2015, 08:33 PM
#69
TECH Apprentice
Thread Starter
iTrader: (3)
Join Date: Sep 2011
Posts: 305
Likes: 0
Received 0 Likes
on
0 Posts
Haven't really updated in a while.
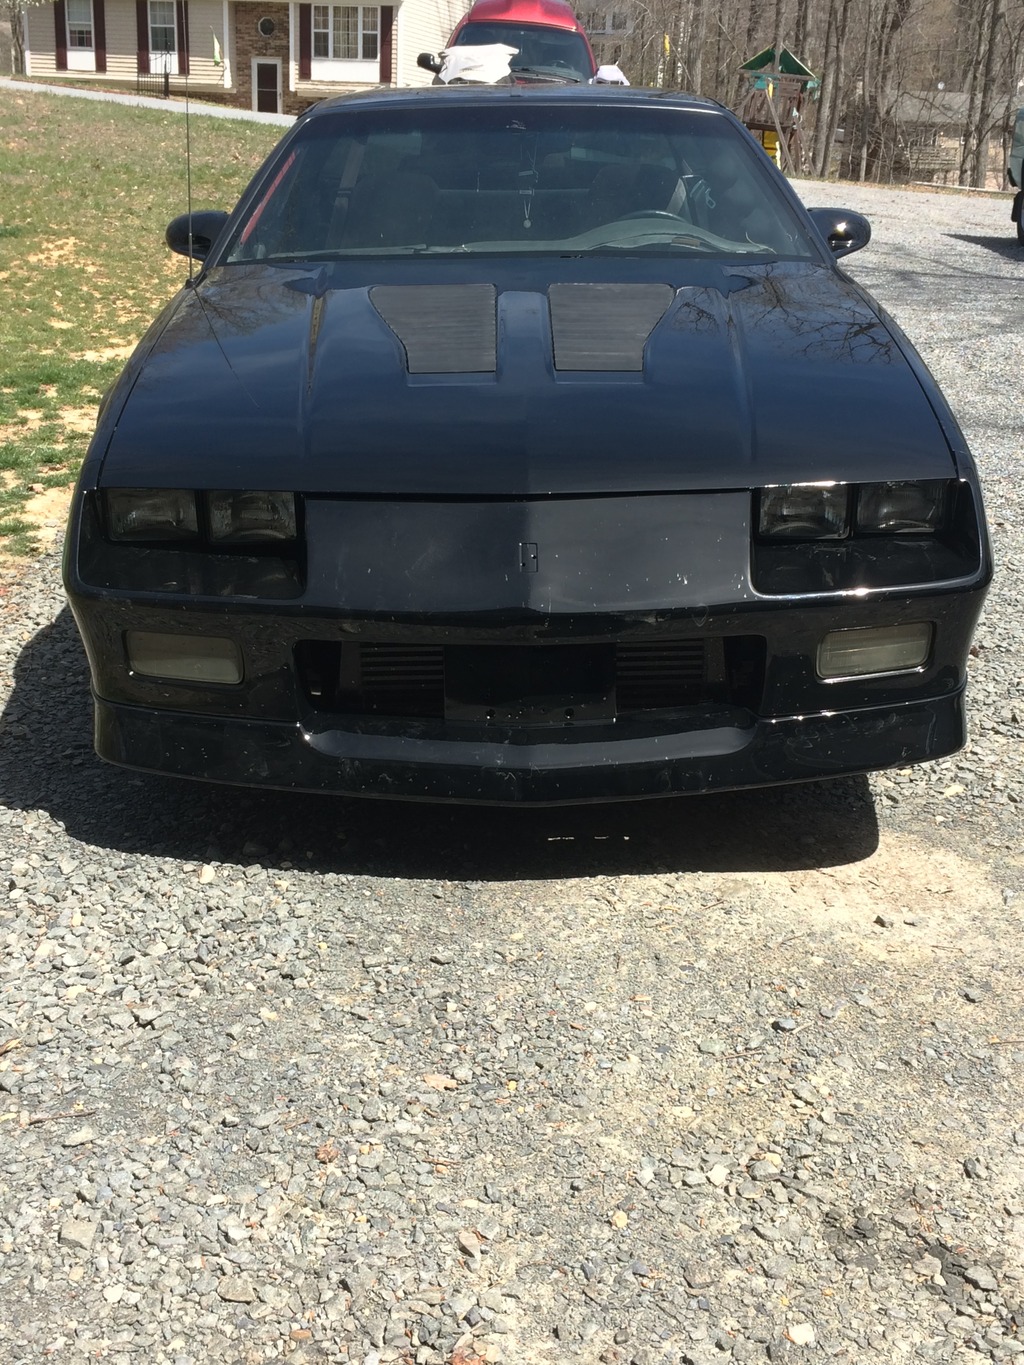
Ended up getting everything fixed up for a while and just drove the car around and had fun. Even got some paint on the old girl.
Stealthy stealthy
Just recently got the boost creep fixed. Can you say twin gates!?
Old single
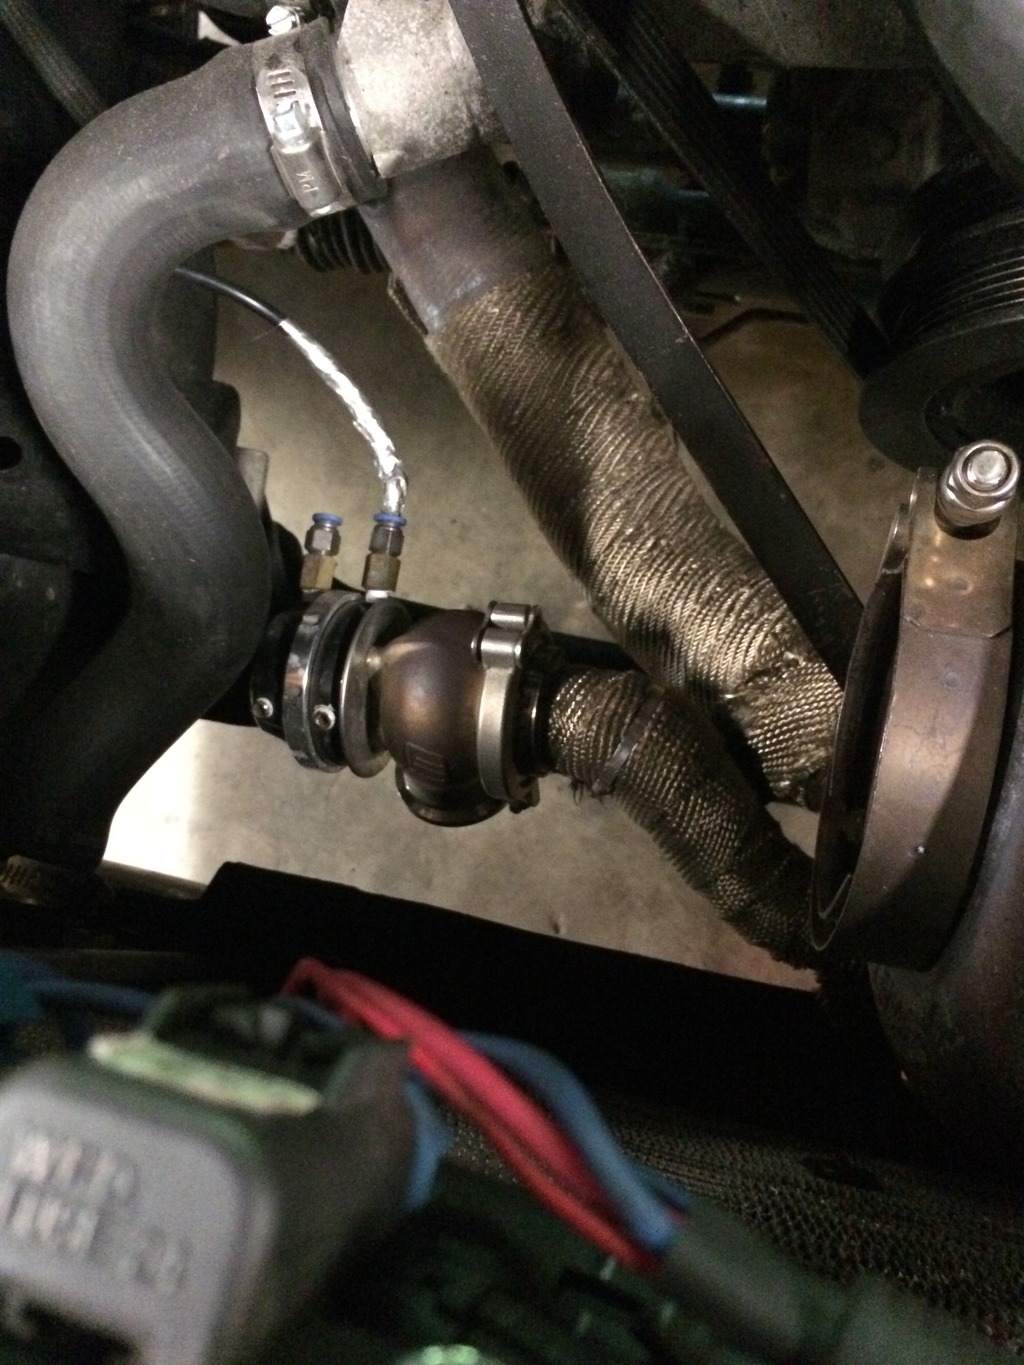
Twins
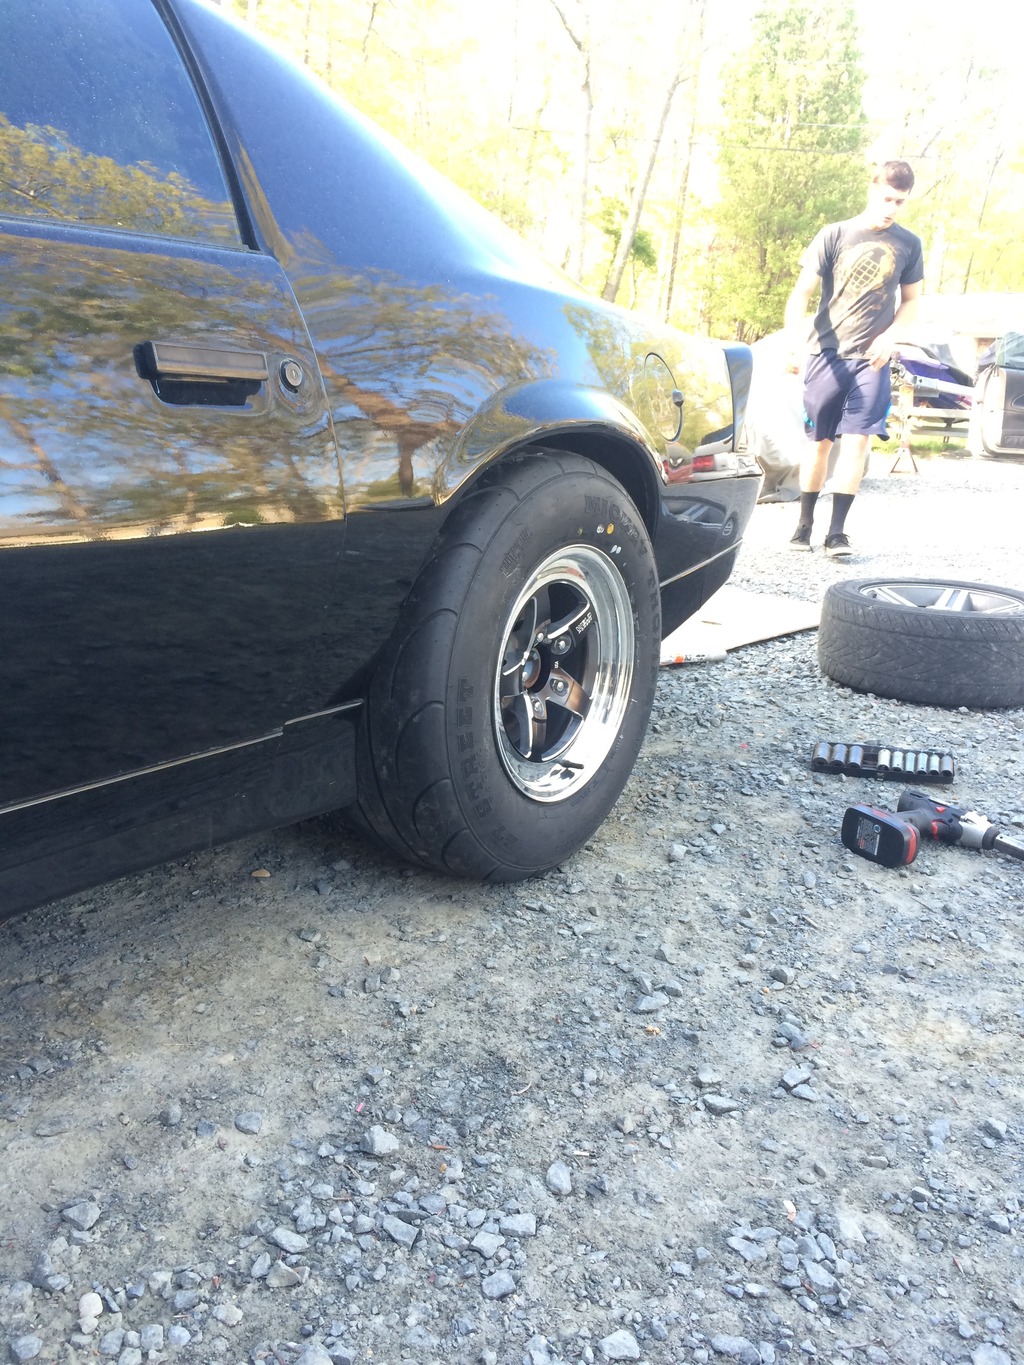
And FINALLY ended up getting a tire on this car. It's only had stock wheels since '88.
Rears only for now
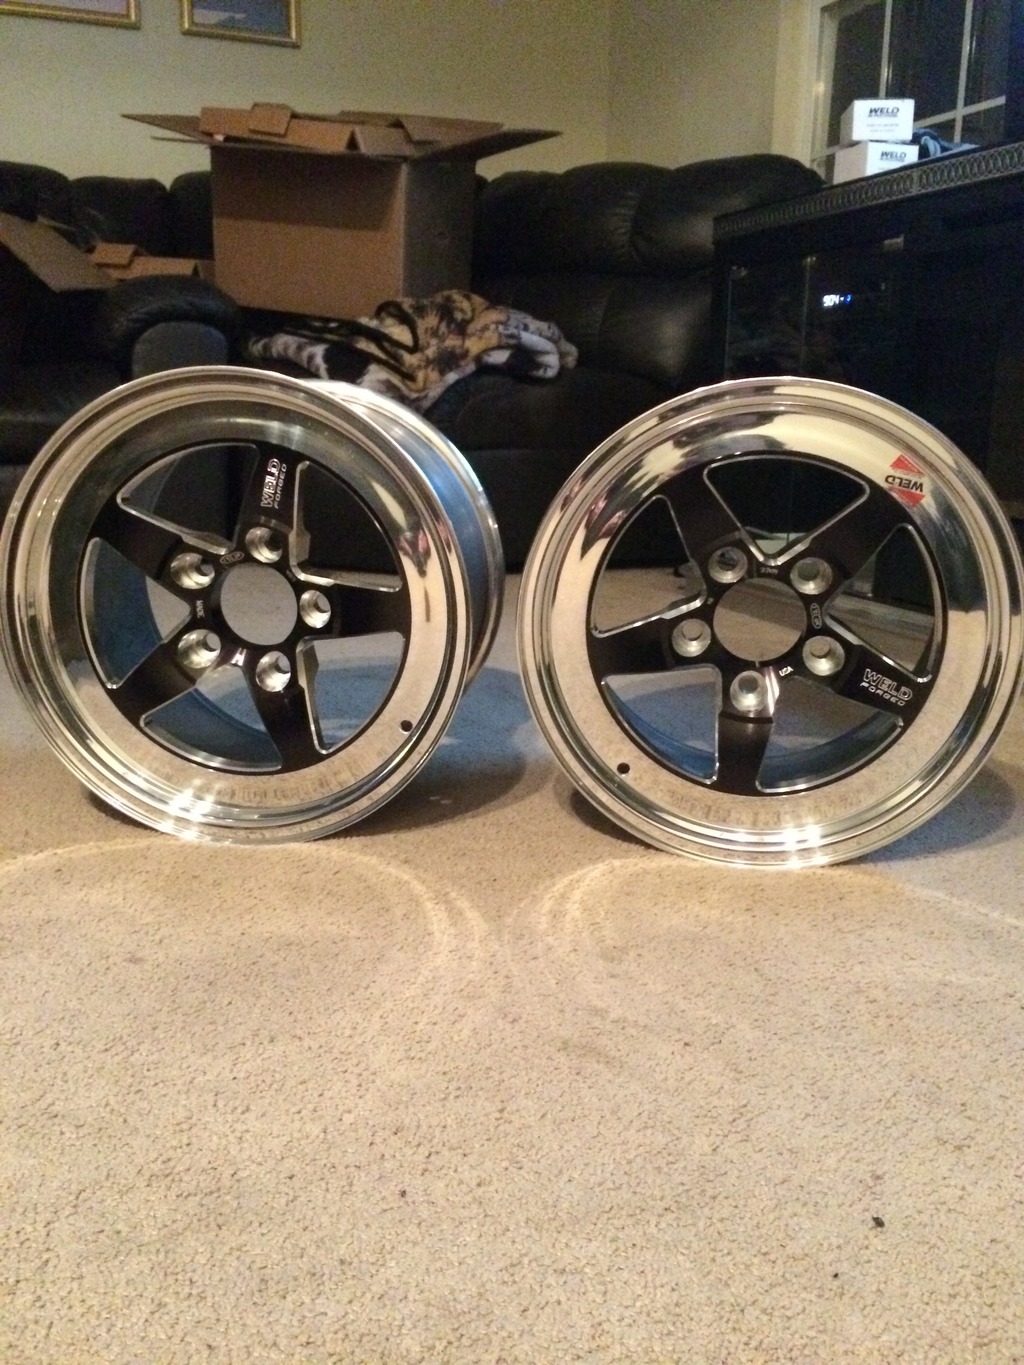
Sexay
However with the progress their is always setbacks.
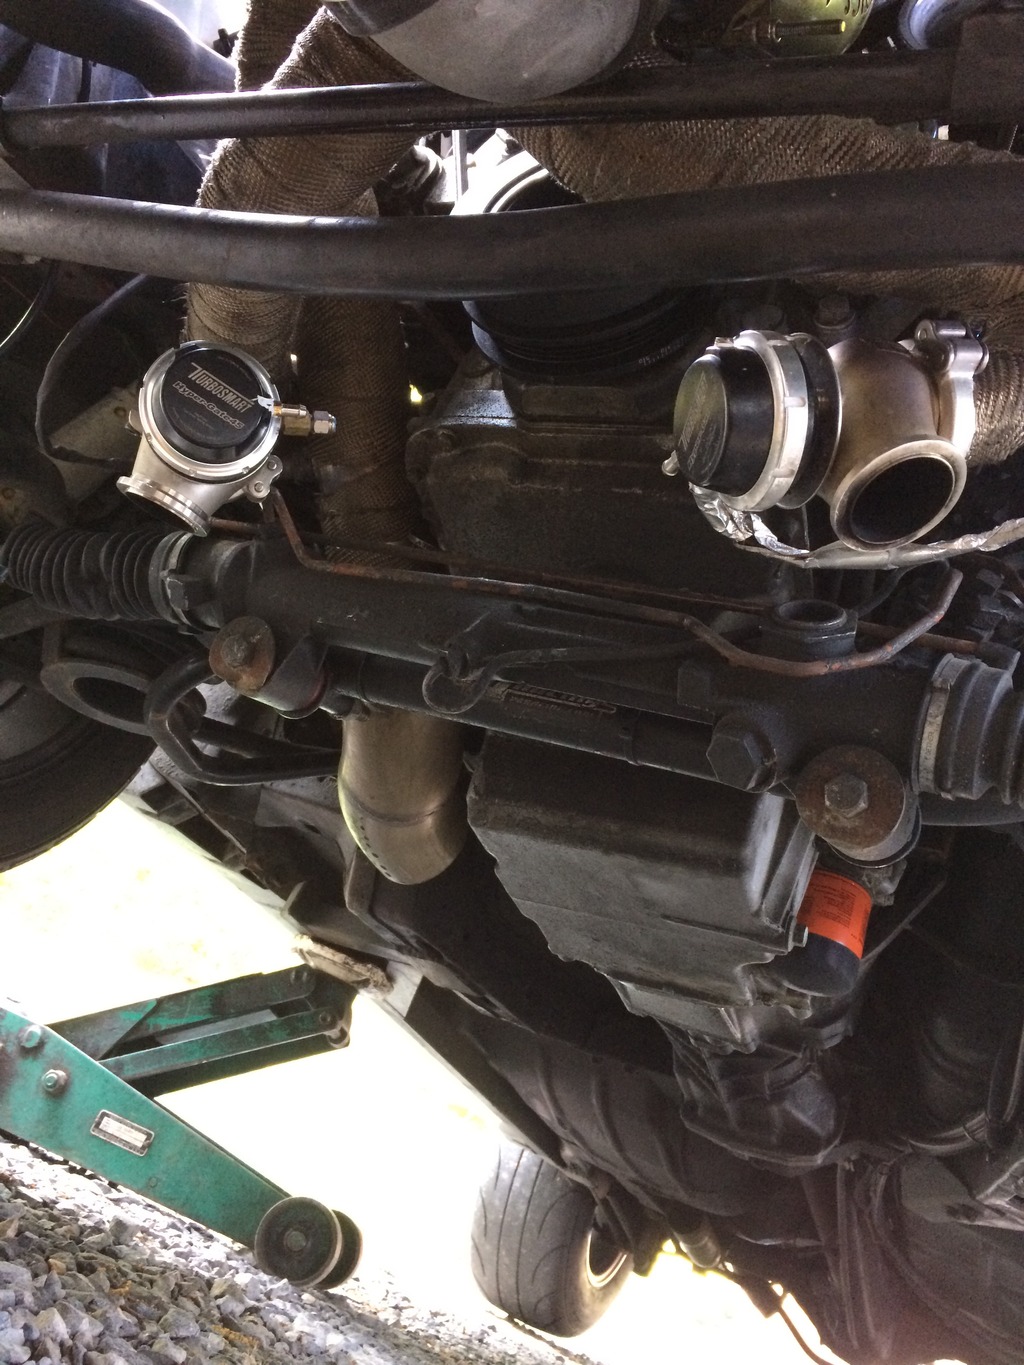
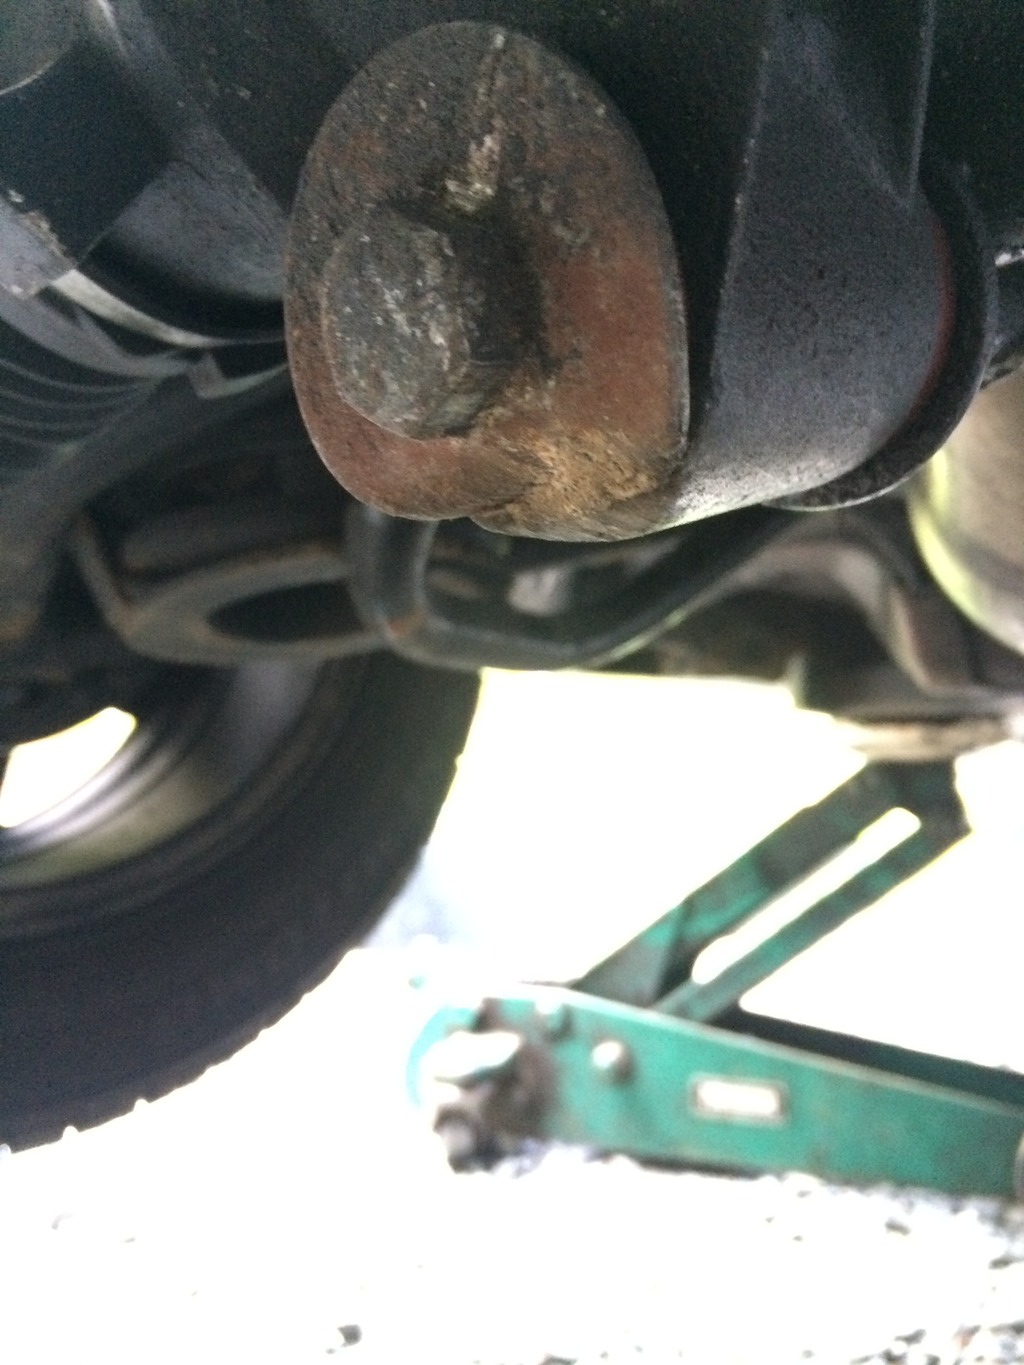
I was working on the car tonight and found at the bottom where the motor mount coming off the body of the k-member has a crack at the weld.
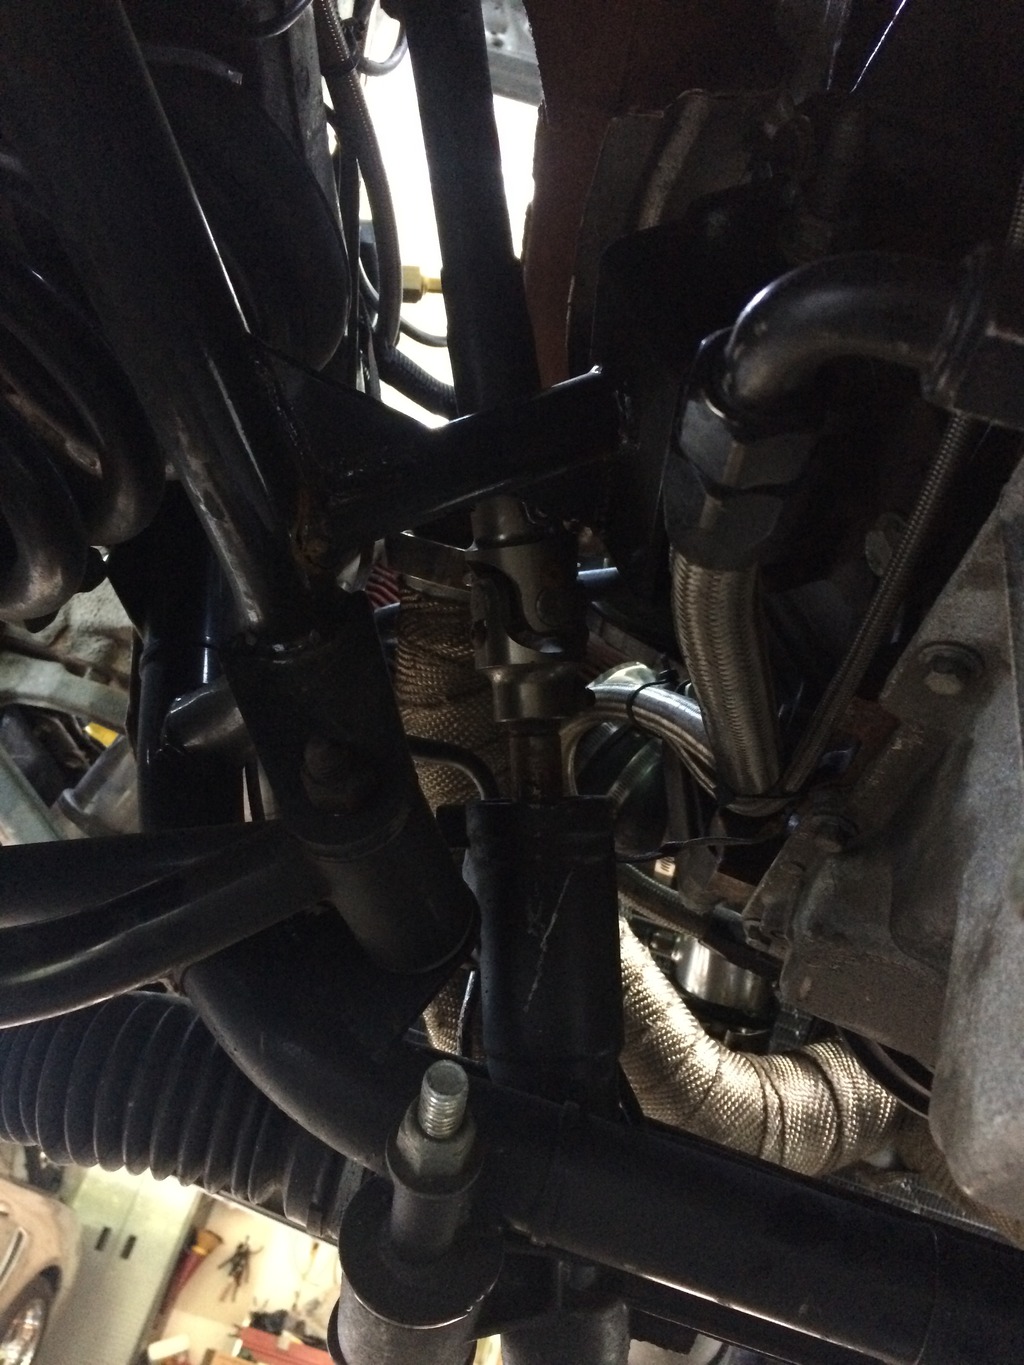
Close up
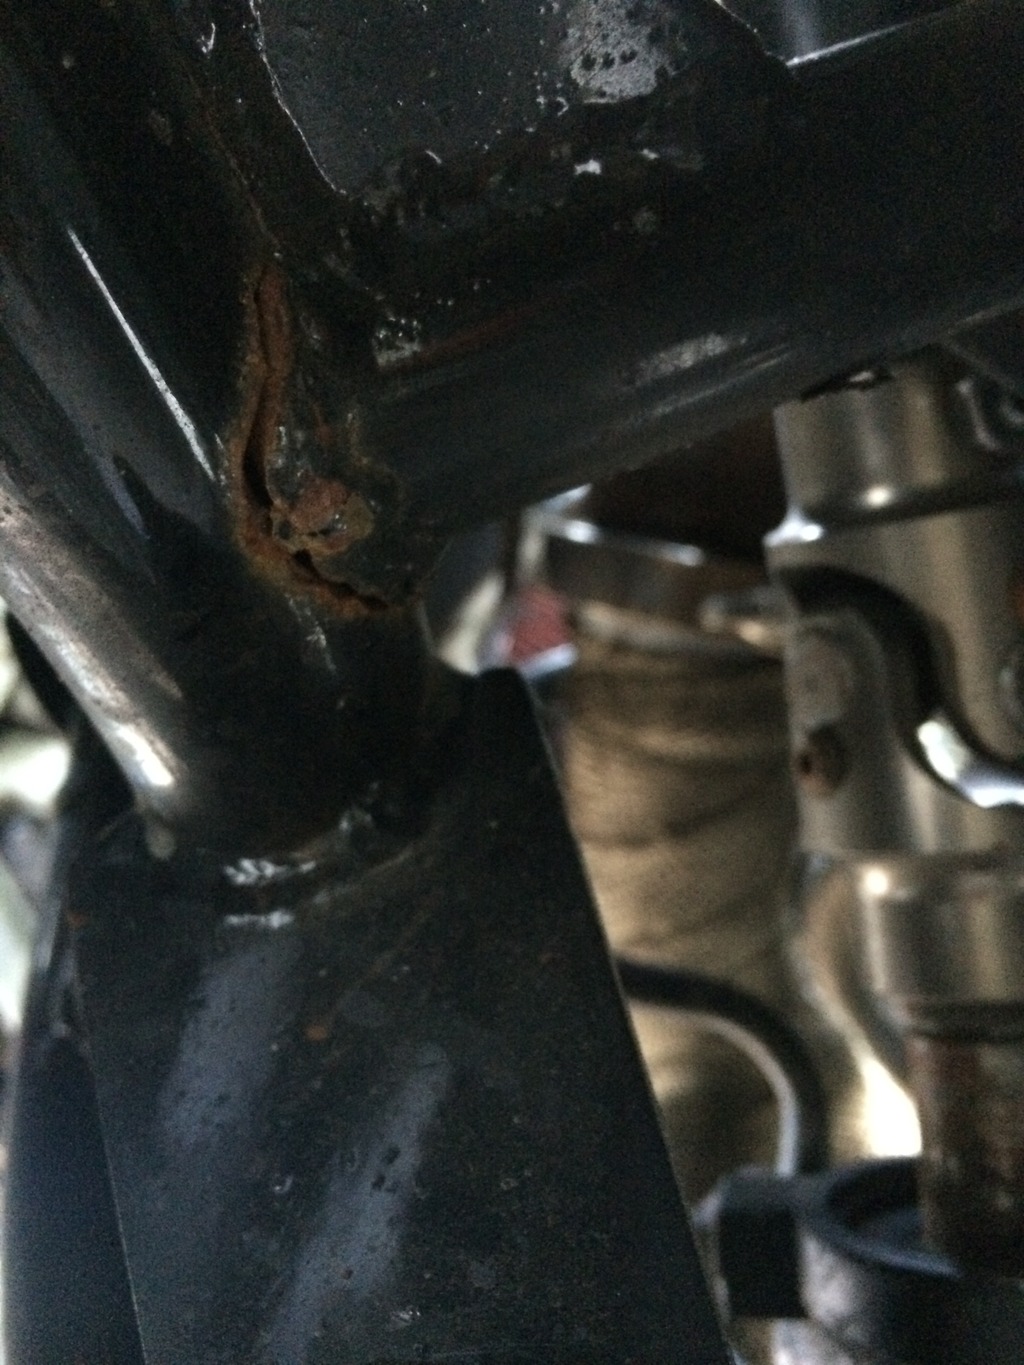
It almost makes me want to try a different brand as this will now be my third pa racing k member.
Also after doing a little burnout with the new rear tire setup, it must of pushed the k member over as the rack now hits the top of the motor mount on the driver side. And it feels like it moved the transmission over too, it's a lot harder to find reverse now since I have to really push the stick over.
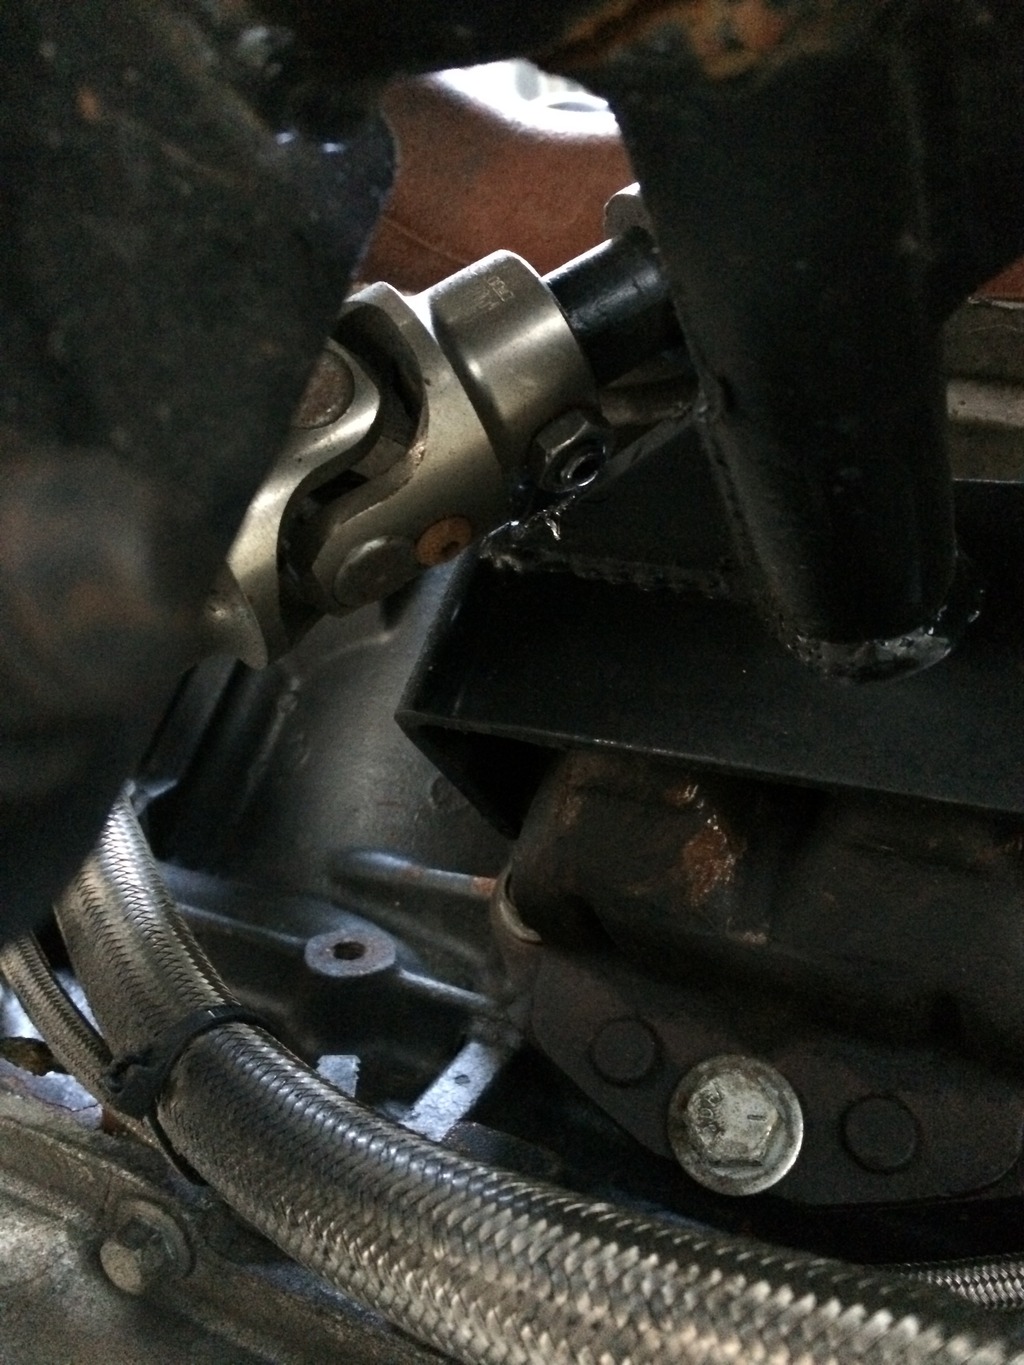
Last but now least is since the k member had to be fixed, I'm hoping I can raise the mounts on the steering rack as it scraps pretty bad over bumps.
Ended up getting everything fixed up for a while and just drove the car around and had fun. Even got some paint on the old girl.
Stealthy stealthy

Just recently got the boost creep fixed. Can you say twin gates!?
Old single

Twins

And FINALLY ended up getting a tire on this car. It's only had stock wheels since '88.
Rears only for now

Sexay

However with the progress their is always setbacks.
I was working on the car tonight and found at the bottom where the motor mount coming off the body of the k-member has a crack at the weld.

Close up

It almost makes me want to try a different brand as this will now be my third pa racing k member.
Also after doing a little burnout with the new rear tire setup, it must of pushed the k member over as the rack now hits the top of the motor mount on the driver side. And it feels like it moved the transmission over too, it's a lot harder to find reverse now since I have to really push the stick over.

Last but now least is since the k member had to be fixed, I'm hoping I can raise the mounts on the steering rack as it scraps pretty bad over bumps.

Last edited by 88blackiroc; 05-07-2015 at 08:45 PM.
07-17-2015, 07:02 PM
#70
Teching In

Join Date: Sep 2011
Posts: 37
Likes: 0
Received 0 Likes
on
0 Posts
Right now it's mounted on the k-member. I've been slacking and buying stuff to finish the motor so I can drop that in.
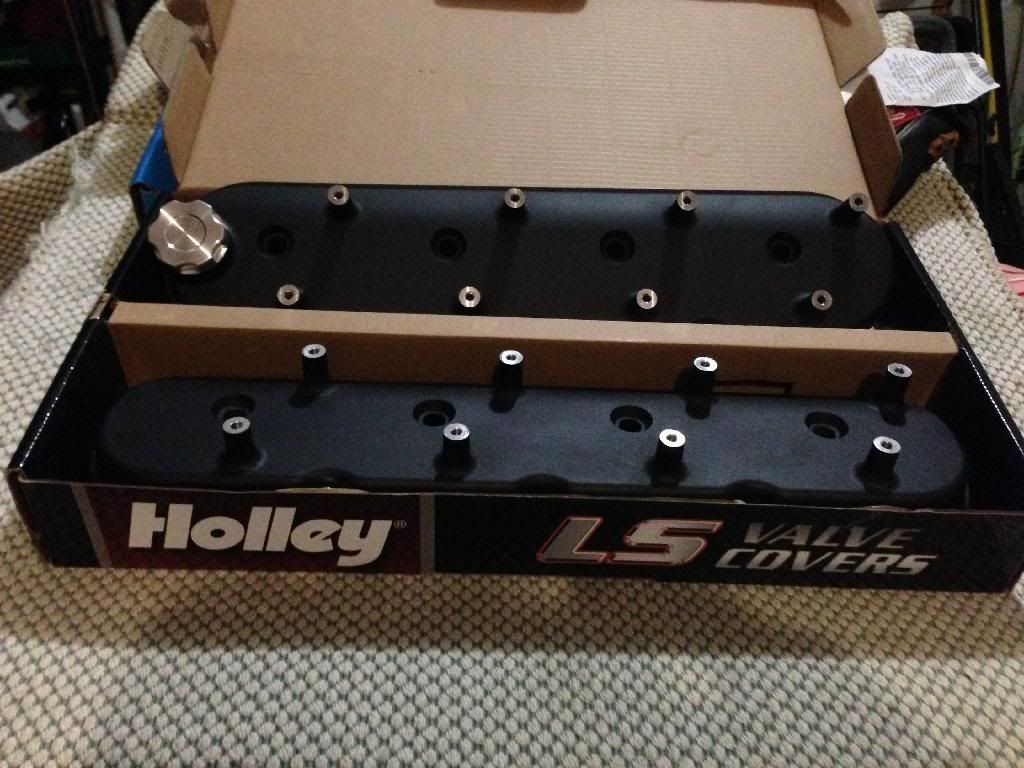
New valve covers
Heads torqued down, valve covers just laying on top.
And the steering rack mounted


Just need to find the time/money to get that wrapped up!
Should have some big updates soon!
New valve covers

Heads torqued down, valve covers just laying on top.

And the steering rack mounted


Just need to find the time/money to get that wrapped up!
Should have some big updates soon!
Hey, I know I am late here.. reading you thread here. Not sure if I missed it or not but I was curious as to which rack you went with, what modification was needed and how does the steering feel?

 07-04-2016, 10:53 AM
#73
TECH Apprentice
Thread Starter
iTrader: (3)
Join Date: Sep 2011
Posts: 305
Likes: 0
Received 0 Likes
on
0 Posts
Update:
Well even after getting fixed, it turns out that machine shop had a horrible reputation and only 'replaced versus fixed' the bearings that were an issue. So motor came back out AGAIN and is off to a very reputable builder here in Southern MD.
However, while the motor is getting redone, i decided to go ahead and change the build dramatically, ditching the single for twin pt6766's and go for 1000whp or bust. I know the turbos seem HUGE, but id rather go a hair on the bigger side as i know ill always want to grow and grow. Eventually ill end up going with a 6 bolt head bolt to hopefully fully utilize the turbos.
Anyways, another big part of the build is that ill be building the whole kit myself which should turn out fun, reusing a lot of the old parts as well as updating and adding new stuff.
Motor will be gone over, not just being rebuilt. Plan on changing the 317's out to LSA heads, using stock valves, PRC dual valve springs and trunion rockers. Hoping this will bump the compression up a hair while also holding a little better under boost with the better casting.
As far as intake manifold I'm still up in the air.
But this time around I'm hoping the car will be up and running before the end up the year, right now I'm just waiting on getting the motor back before i can throw the heads on and start working fabbing the hot/cold side up!
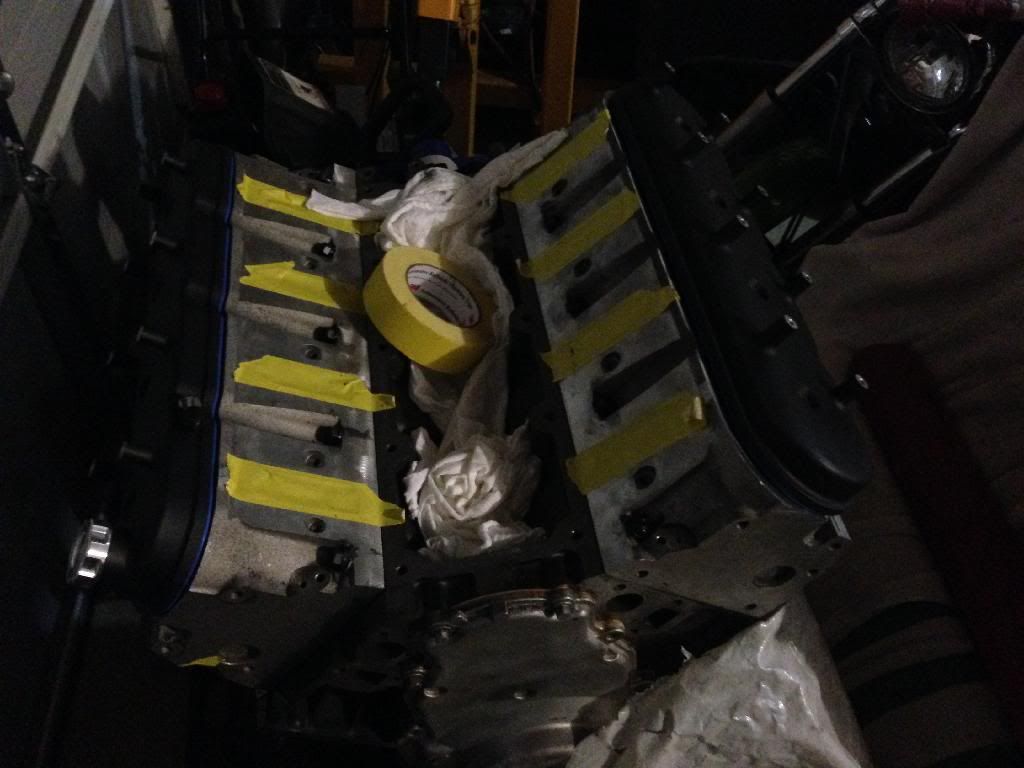
As it sits now

Well even after getting fixed, it turns out that machine shop had a horrible reputation and only 'replaced versus fixed' the bearings that were an issue. So motor came back out AGAIN and is off to a very reputable builder here in Southern MD.
However, while the motor is getting redone, i decided to go ahead and change the build dramatically, ditching the single for twin pt6766's and go for 1000whp or bust. I know the turbos seem HUGE, but id rather go a hair on the bigger side as i know ill always want to grow and grow. Eventually ill end up going with a 6 bolt head bolt to hopefully fully utilize the turbos.
Anyways, another big part of the build is that ill be building the whole kit myself which should turn out fun, reusing a lot of the old parts as well as updating and adding new stuff.
Motor will be gone over, not just being rebuilt. Plan on changing the 317's out to LSA heads, using stock valves, PRC dual valve springs and trunion rockers. Hoping this will bump the compression up a hair while also holding a little better under boost with the better casting.
As far as intake manifold I'm still up in the air.
But this time around I'm hoping the car will be up and running before the end up the year, right now I'm just waiting on getting the motor back before i can throw the heads on and start working fabbing the hot/cold side up!
As it sits now
