When you click on links to various merchants on this site and make a purchase, this can result in this site earning a commission. Affiliate programs and affiliations include, but are not limited to, the eBay Partner Network.
This is my first turbo build, and I figured this was a good way to keep me motivated, and a nice format to document my progress with the car.
The car is a 2000 Trans Am that I bought towards then end of summer 2015. The car was bought with 143k miles on the clock. Included a set of 243's, long tube headers, an SLP BlackWing lid and almost every spare part to do a cam swap.
I wasn't originally sure of the goals for the car, so I went ahead and did the FBO thing with a tune. I enjoyed for about three months and then decided it was time to do a cam.
Once the cam swap was completed the car was a ton of fun to drive. We have a track locally here in Abilene Texas so throughout the next year I was able to enjoy the car for both street and strip purposes.
The car had started to become mildly modified and the final mod list ended with this. 2000 Pontiac Trans Am
Performance:
LS6 Intake
Pacesetter long tube headers
Pacesetter off road y pipe
Slp LM1 cat back exhaust
243 heads
F.A.S.T. 36lb injectors
Lunati Custom Cam
234/242@.50 .601/.601 On a 111lsa
Patriot gold dual .700" lift springs
Titanium retainers and seats
Texas Speed 3/8 7.450 hardened pushrods
Rear end:
Ford 8.8
GM 7.5 Tubes
Moser 31 Spline Custom Axles
Ford Racing 4:10 Gear Set
Ford Racing Cobra LSD Differential
Performance Girdle
Royal Purple Gear Oil
Suspension:
Kyb AGX 8 way adjustable shocks (front)
Competition Engineering 3 way adjustable drag shocks (rear)
Heater hose mod
18x9.5 +35 ESR SR01 wheels
Front: 275/40 Nitto NT555
Rear: 295/35 Nitto NT05
Rear:15X10 Dark Stars with 26x10.5 MT ET Street for the strip
Spohn Performance lower Control Arms
Spohn Performance Pan Hard Bar
Electronics:
AEM Uego AFR gauge
Tuned ECU: Tuned by Rob@RKtuning
HP Tuners software
Round about August of this year, a little over a year of owning the car, I spun a rod bearing coming across the line at the Big Country Raceway. Oil PSI dropped to zero and the car shut off just as I was finishing the pull. Managed to get it started back up and get it back to the pits. Let the car cool down and drove it home.
Let the build begin.
Tear Down:
Hard to see here, but the oil was pretty glittery.
The catch can looked like one of my daughters art sets. Glitter everywhere.
When I drained the oil, I used a paper towel to let the oil filter through. It worked well to catch the bearing material that was floating in the oil.
Clearly, this is self explanatory
So, lets yank this motor out.
Parts/Rebuild:
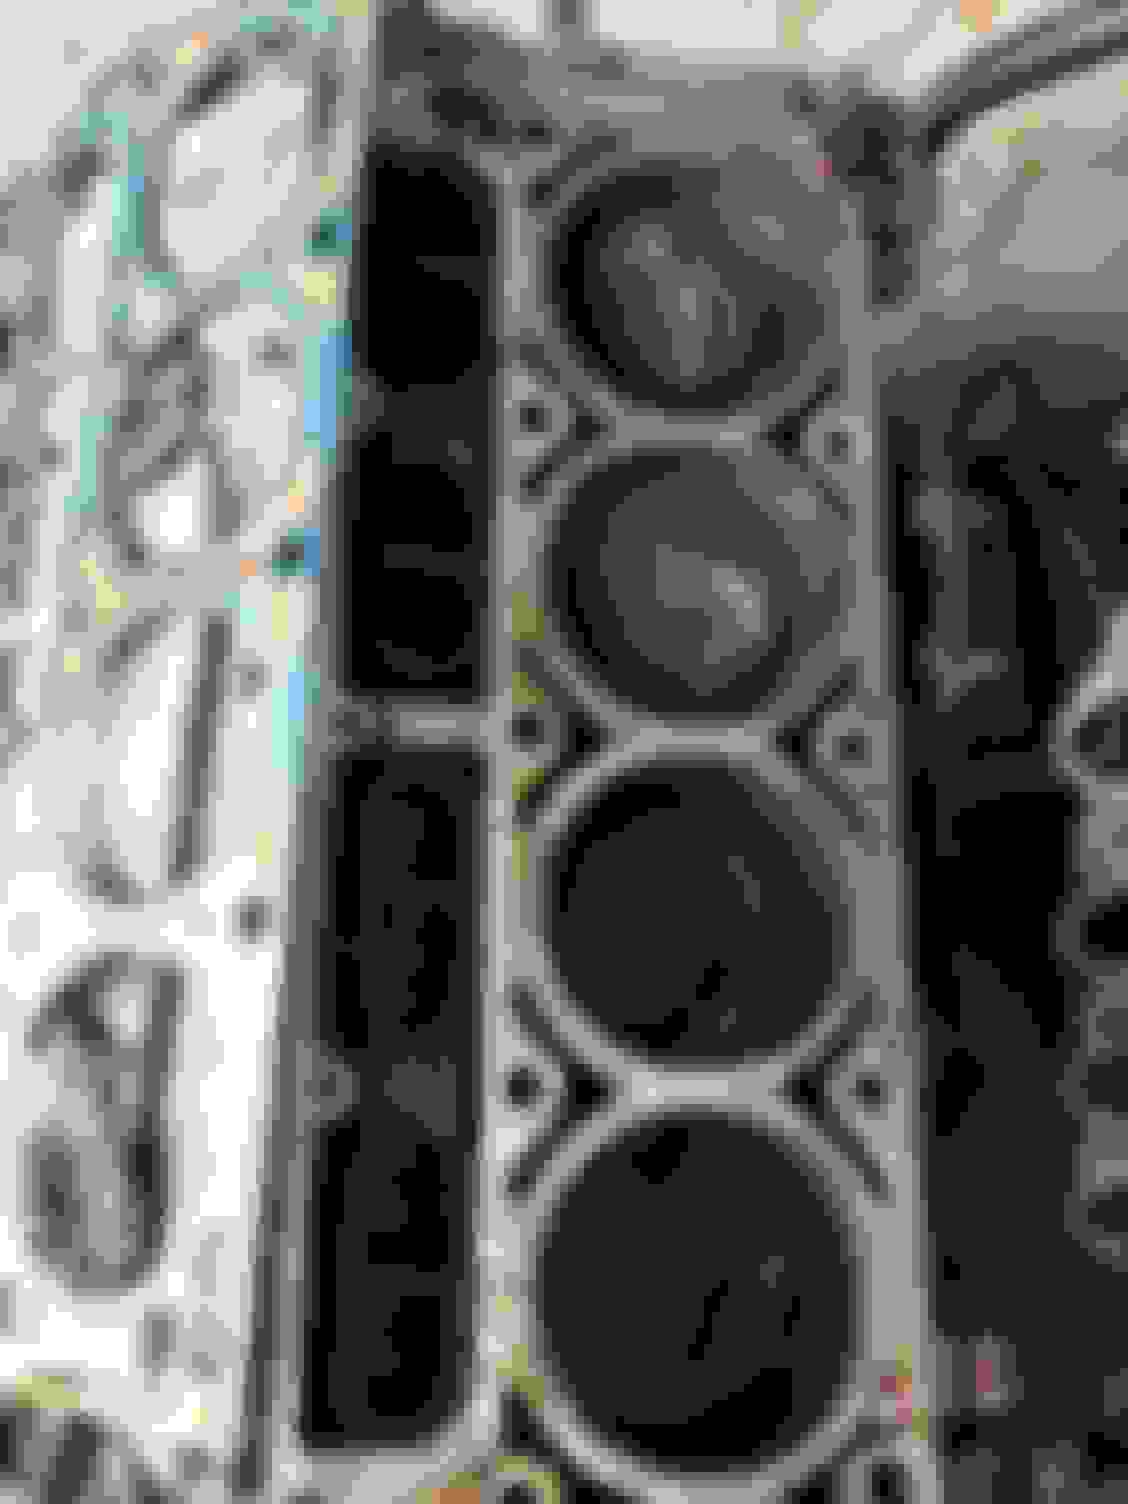
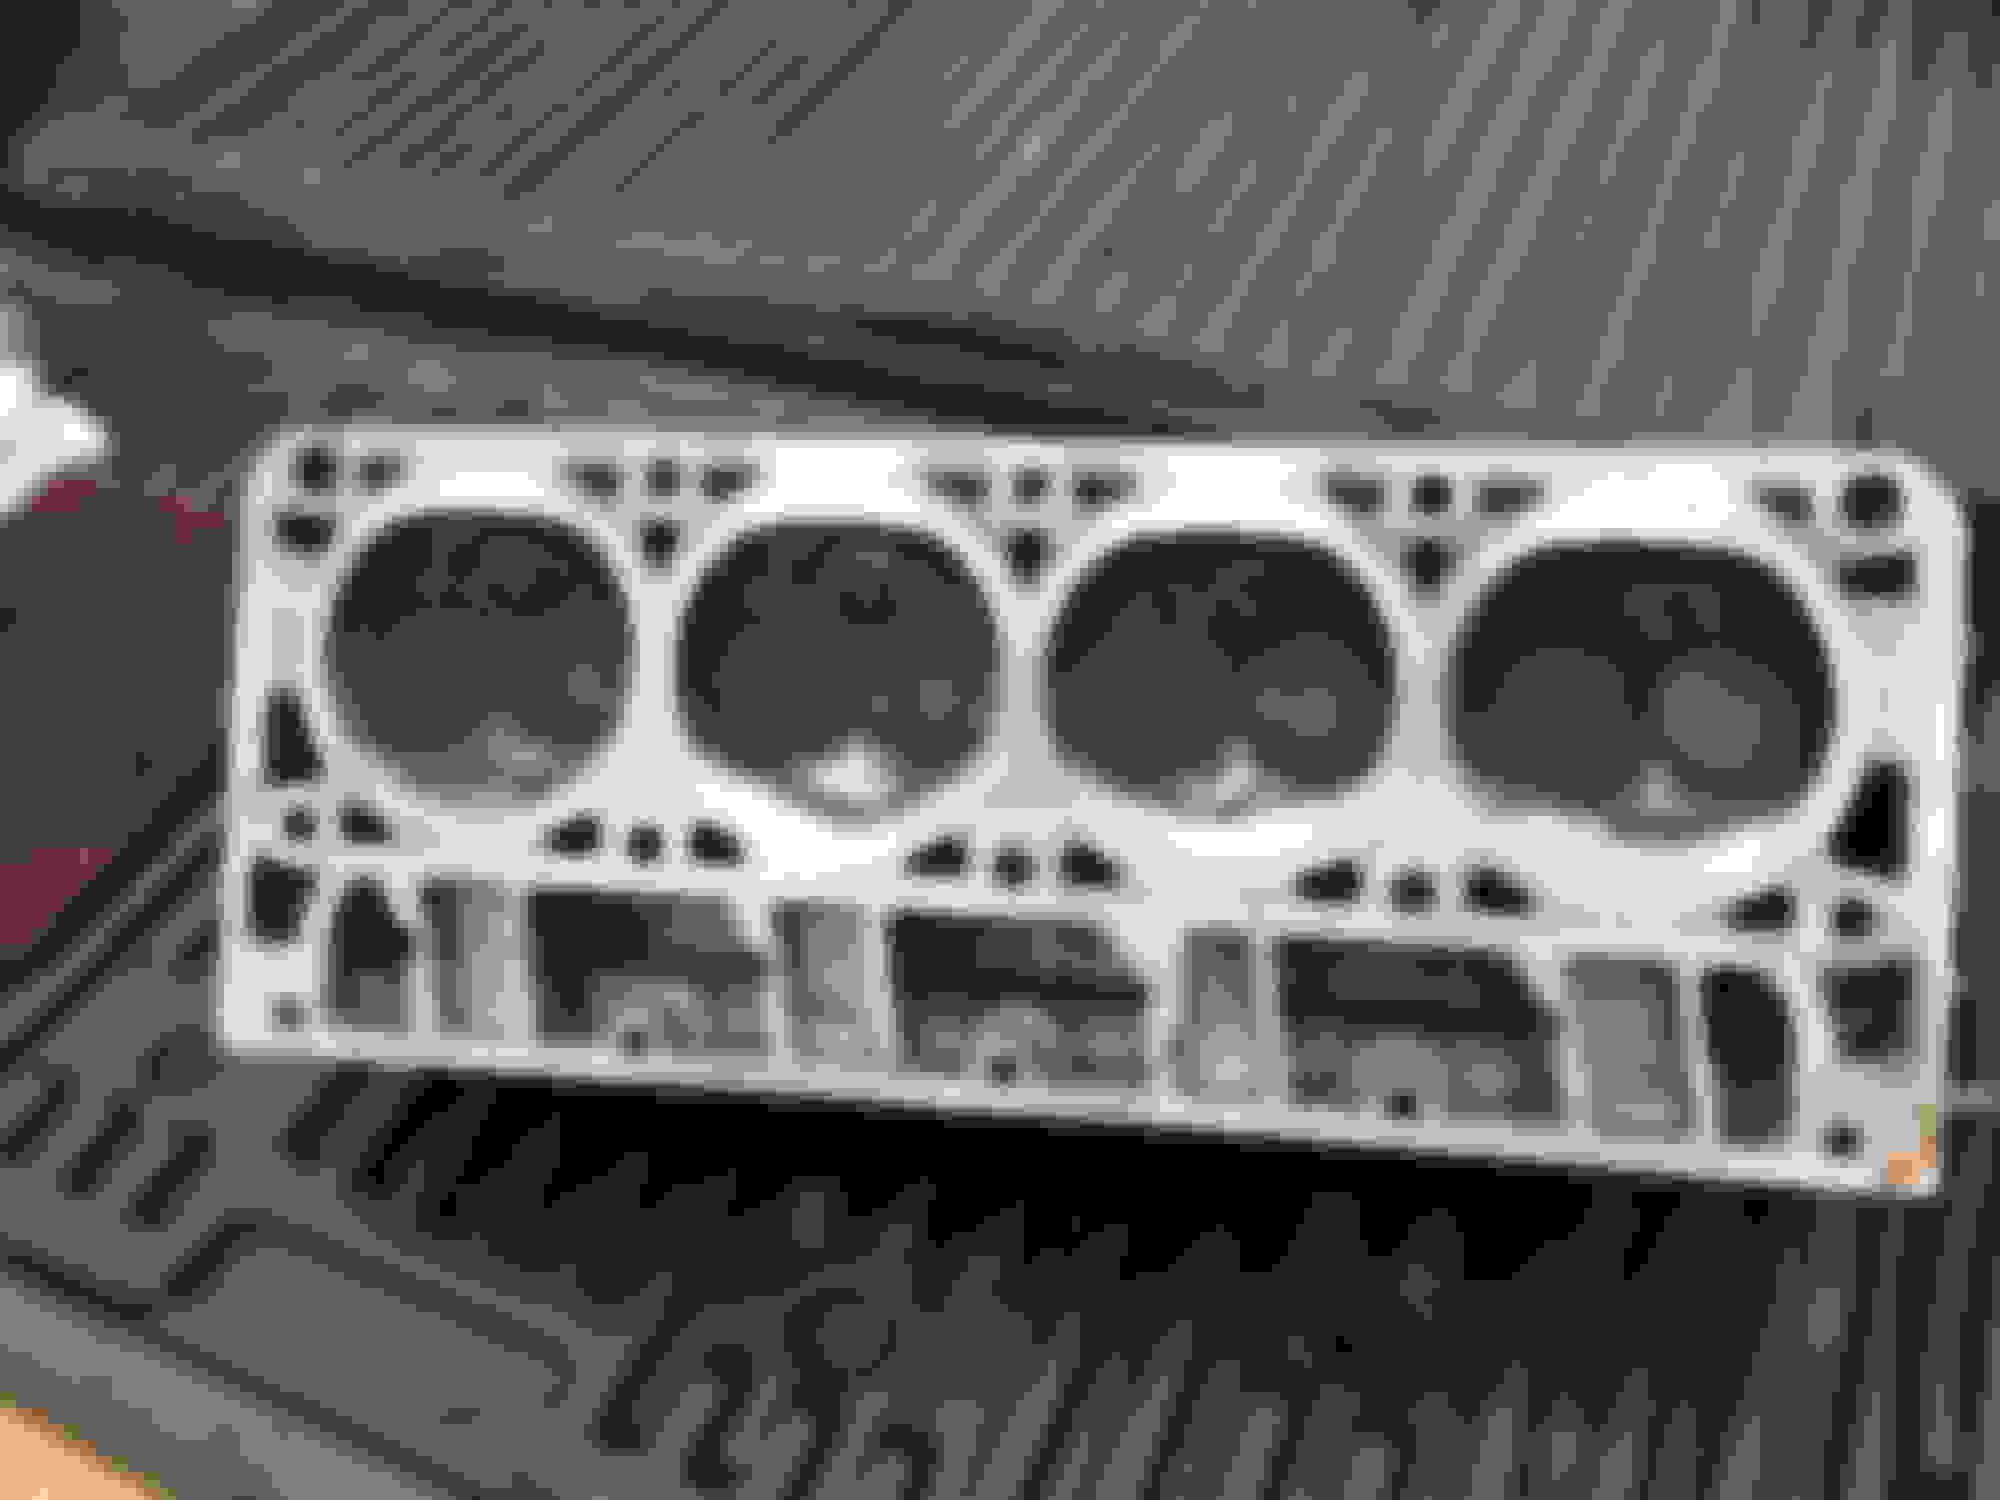
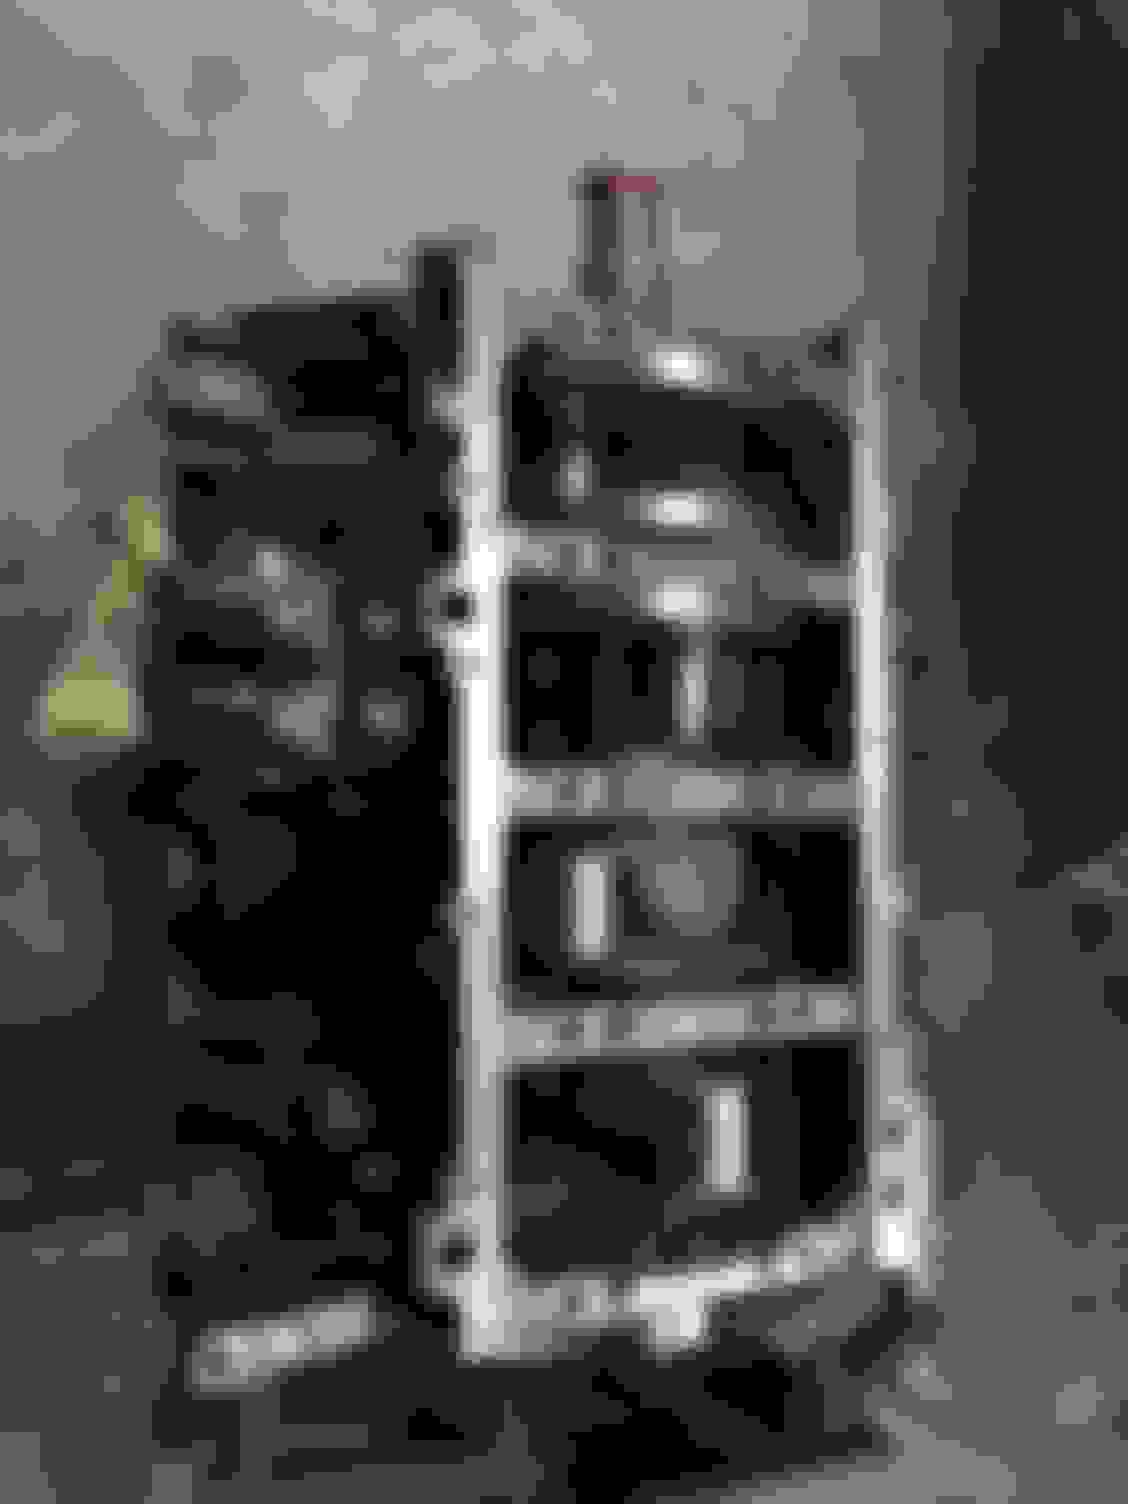
Now I was trying to decide what combination I wanted to run. I finally settled on a Gen3 5.3 block with a Gen4 SBE rotating assembly. I found one kind of local in Dallas. The individual just happened to have exactly what I needed so I loaded up the family and headed out of town. Upon arrival I gave the gentleman $260 bucks for the parts and headed back home.
Pretty dirty but they cleaned up very well.
luckily my buddy Daniel was switching up his combination as well. I managed to get his on3 78/75mm turbo and Intercooler for $400 bucks.
The traditional turbo picture. This reminds me, I should get a beer.
You might recognize this picture from another build currently going on as well. Its posted in this same section.
From this point forward I started collecting the necessary Items I needed in order to get a good jump on this build. Unfortunately I deploy early next year, so I'm attempting to get as far as I can before that time comes.
Managed to score a TDP Diamond Stage 2 clutch from an LSX Ebay page for $185 shipped. Clutch looks brand new.
Flywheel resurface. Looks brand new.
ARP 2000 Rod Bolts, should help keep that SBE together.
All the bottom end gaskets. Also I decided to go with the TFS 216/220 Cam that Matt Hapel often runs.
LS9 Head gaskets should help keep the boosties inside.
ARP Crank bolt, Chinese Head Studs and a ring compression install tool.
Decided to replace all of the bearings in the 5.3 I picked up. The Ring gap will be opened a bit as well to keep the motor happy.
This Friday, I will be assembling the short block and Saturday the long block.
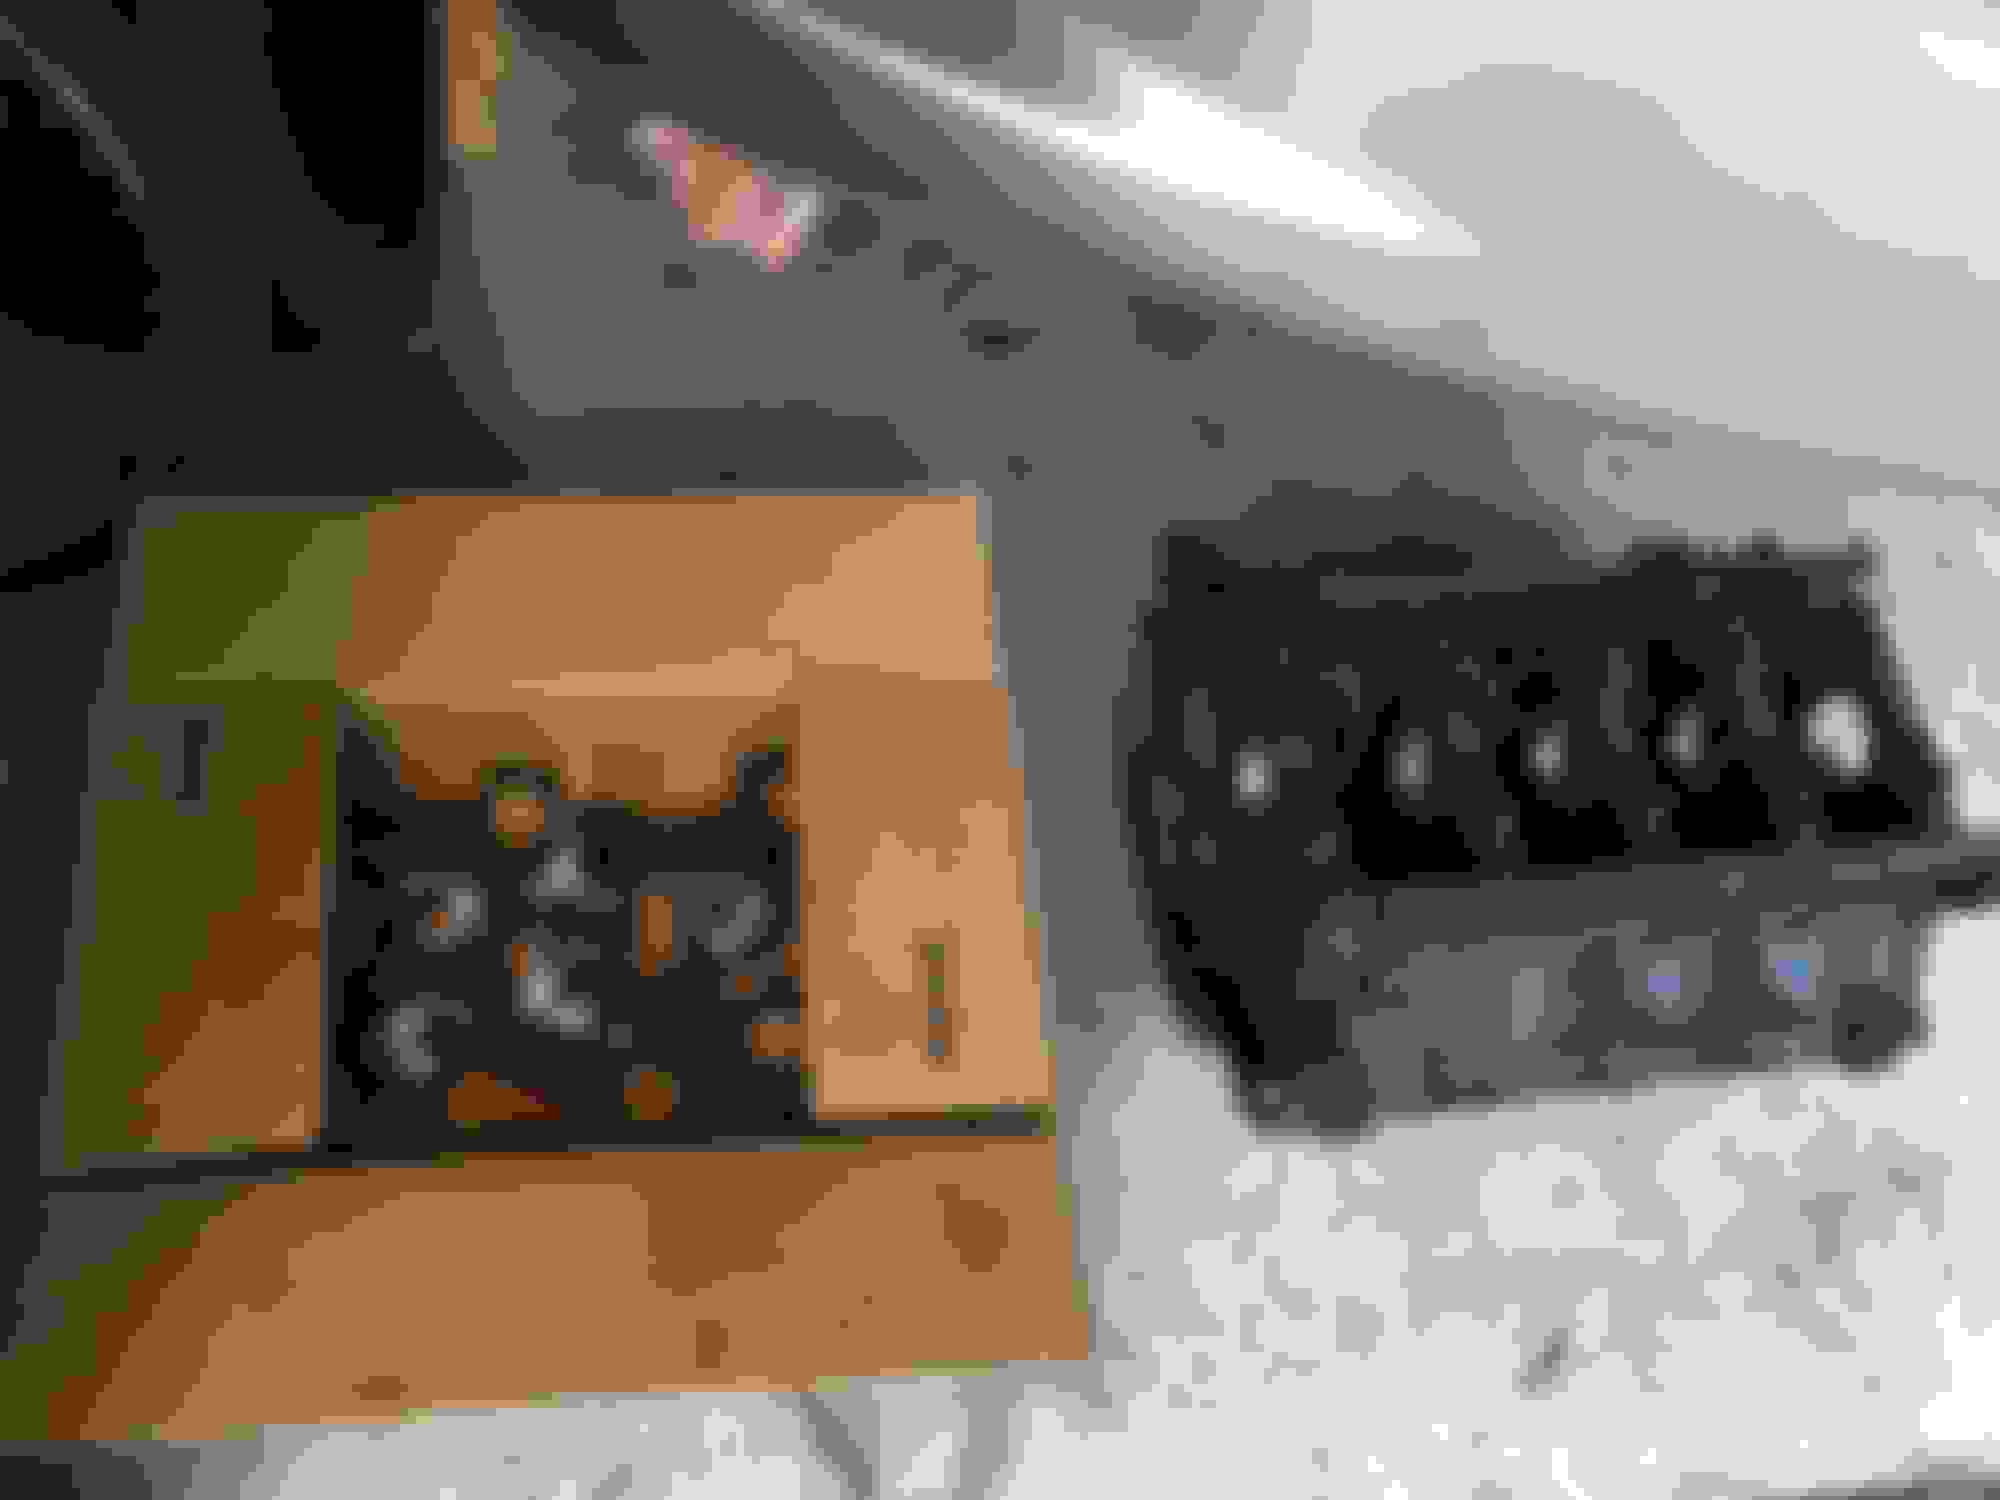
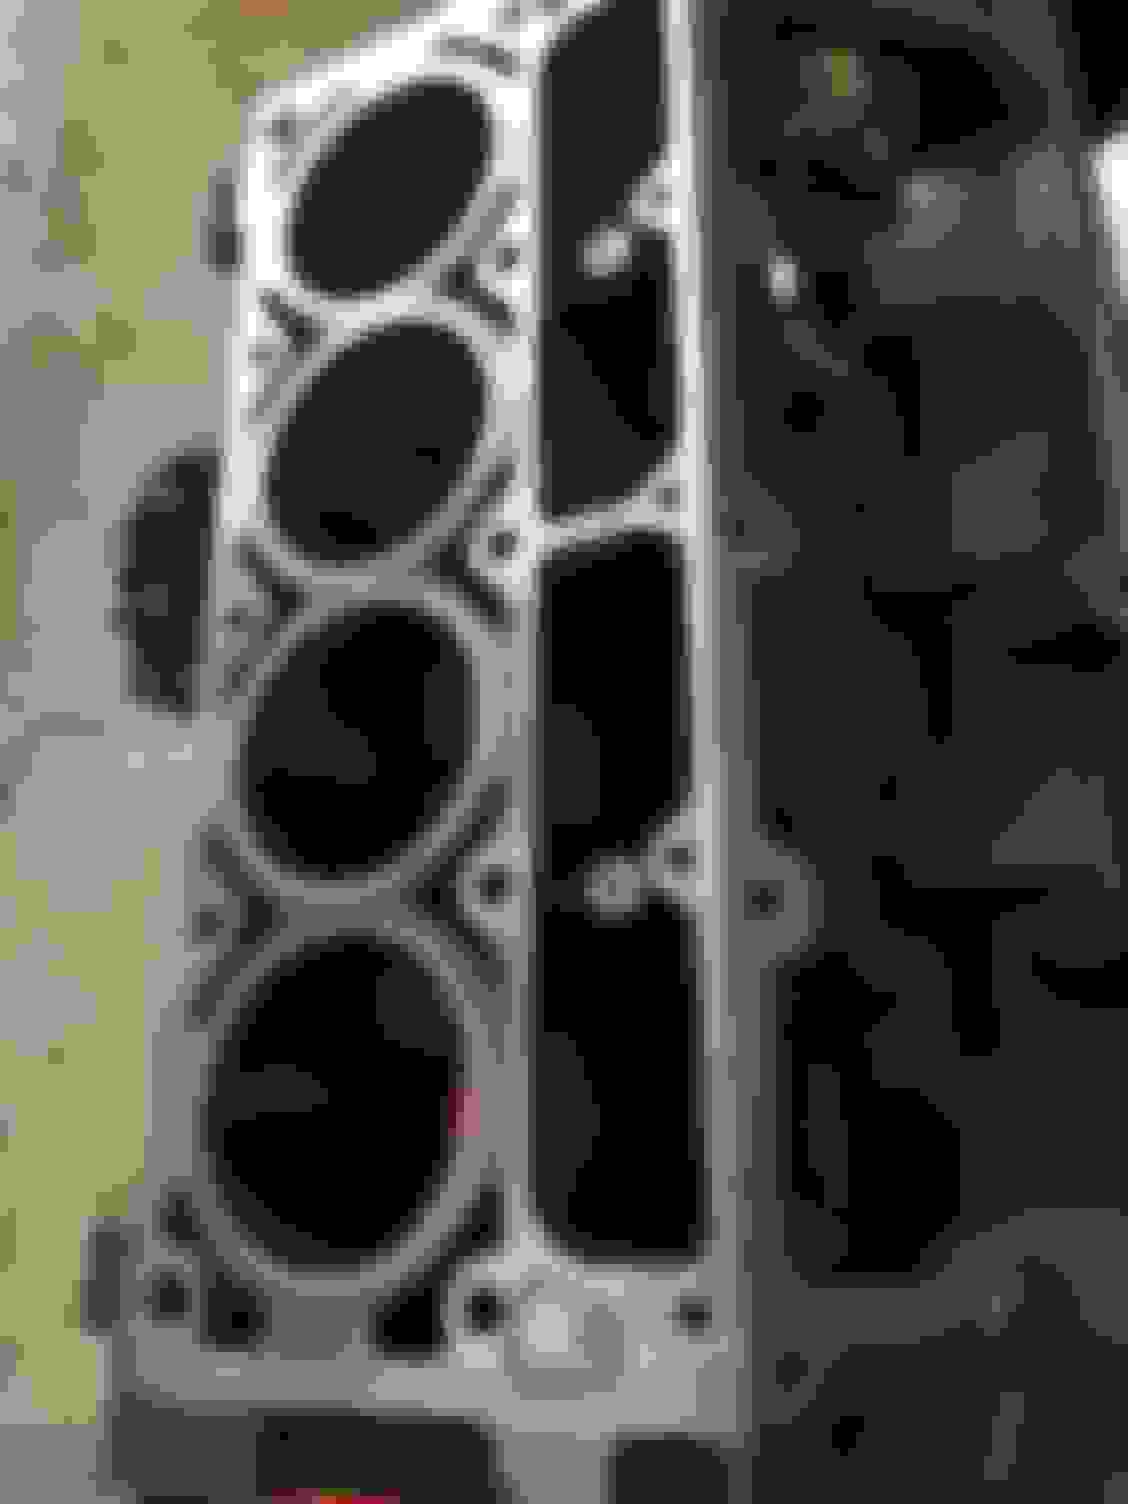
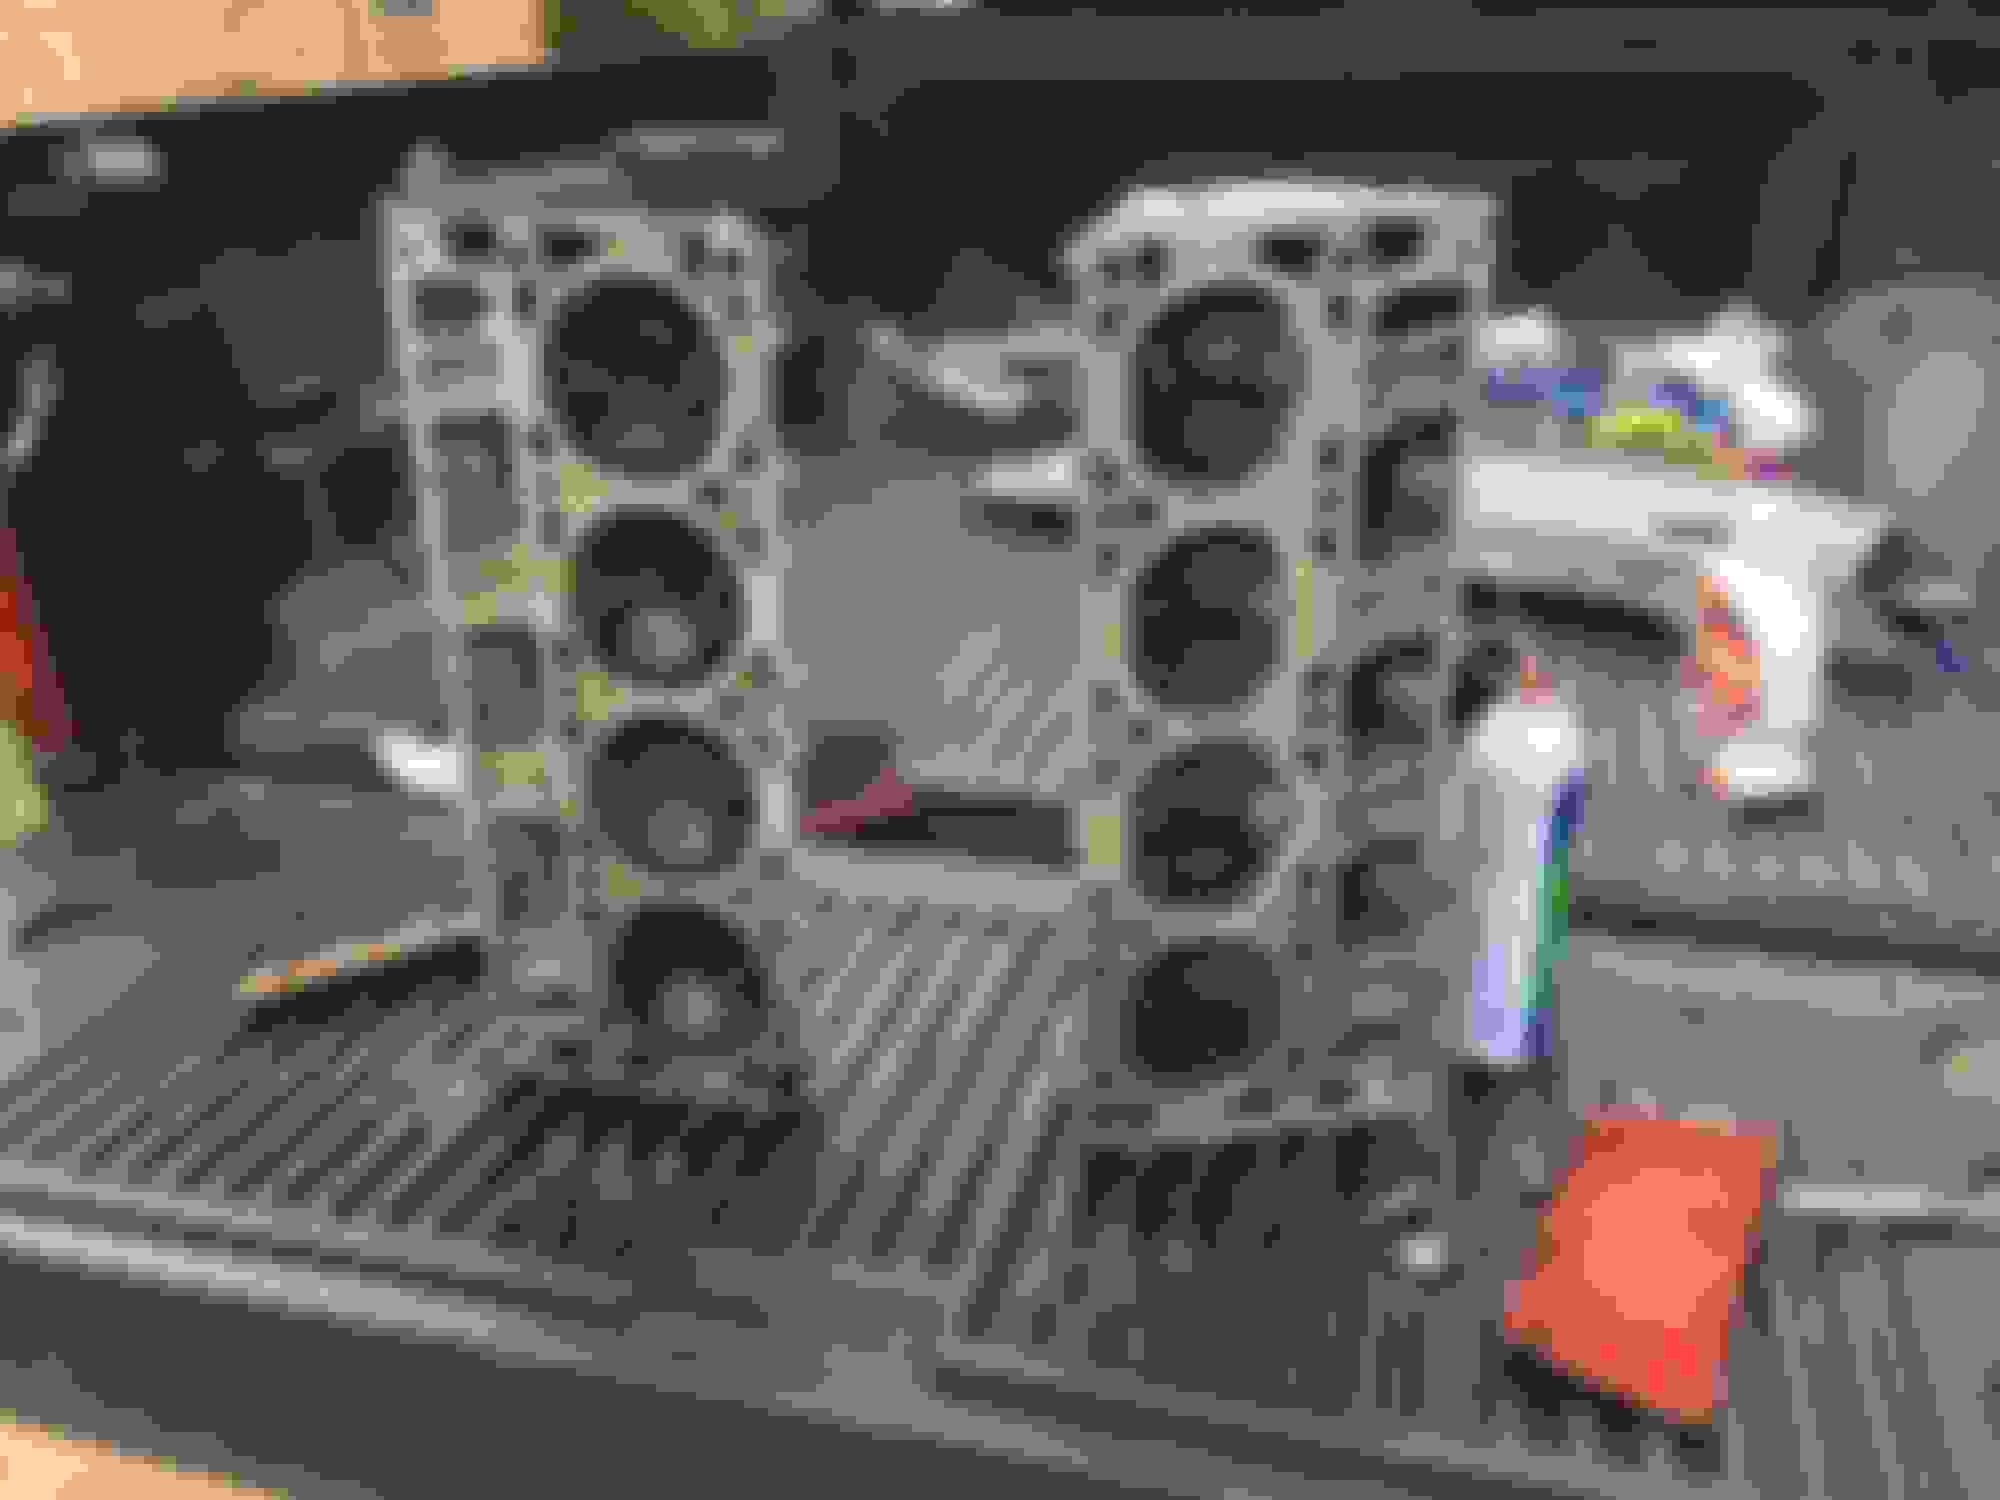
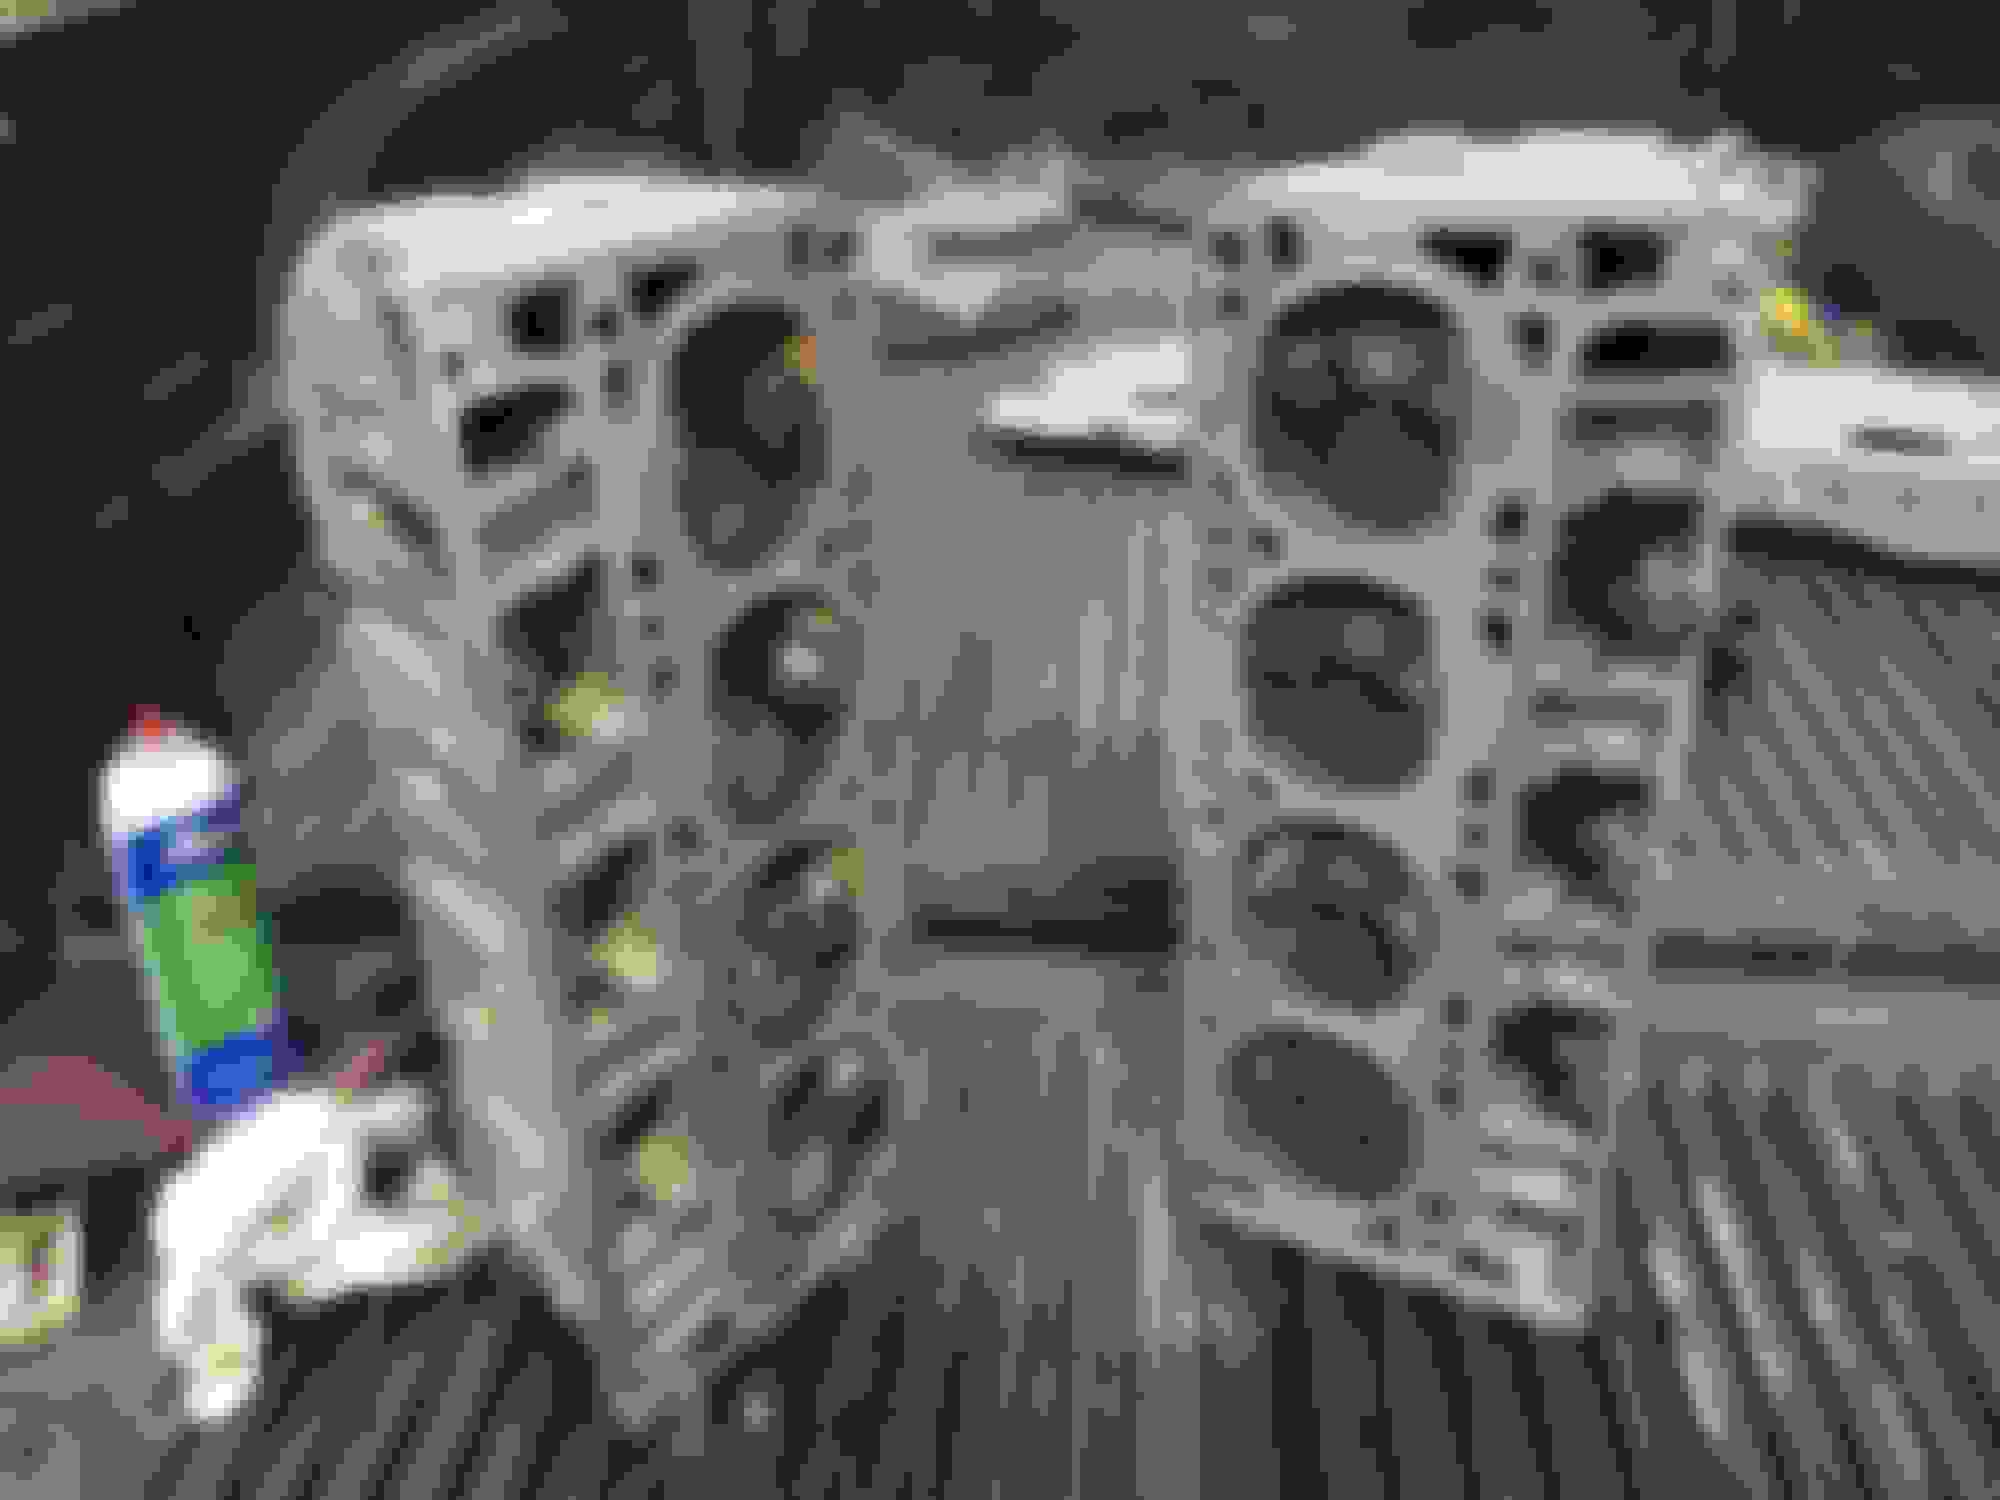
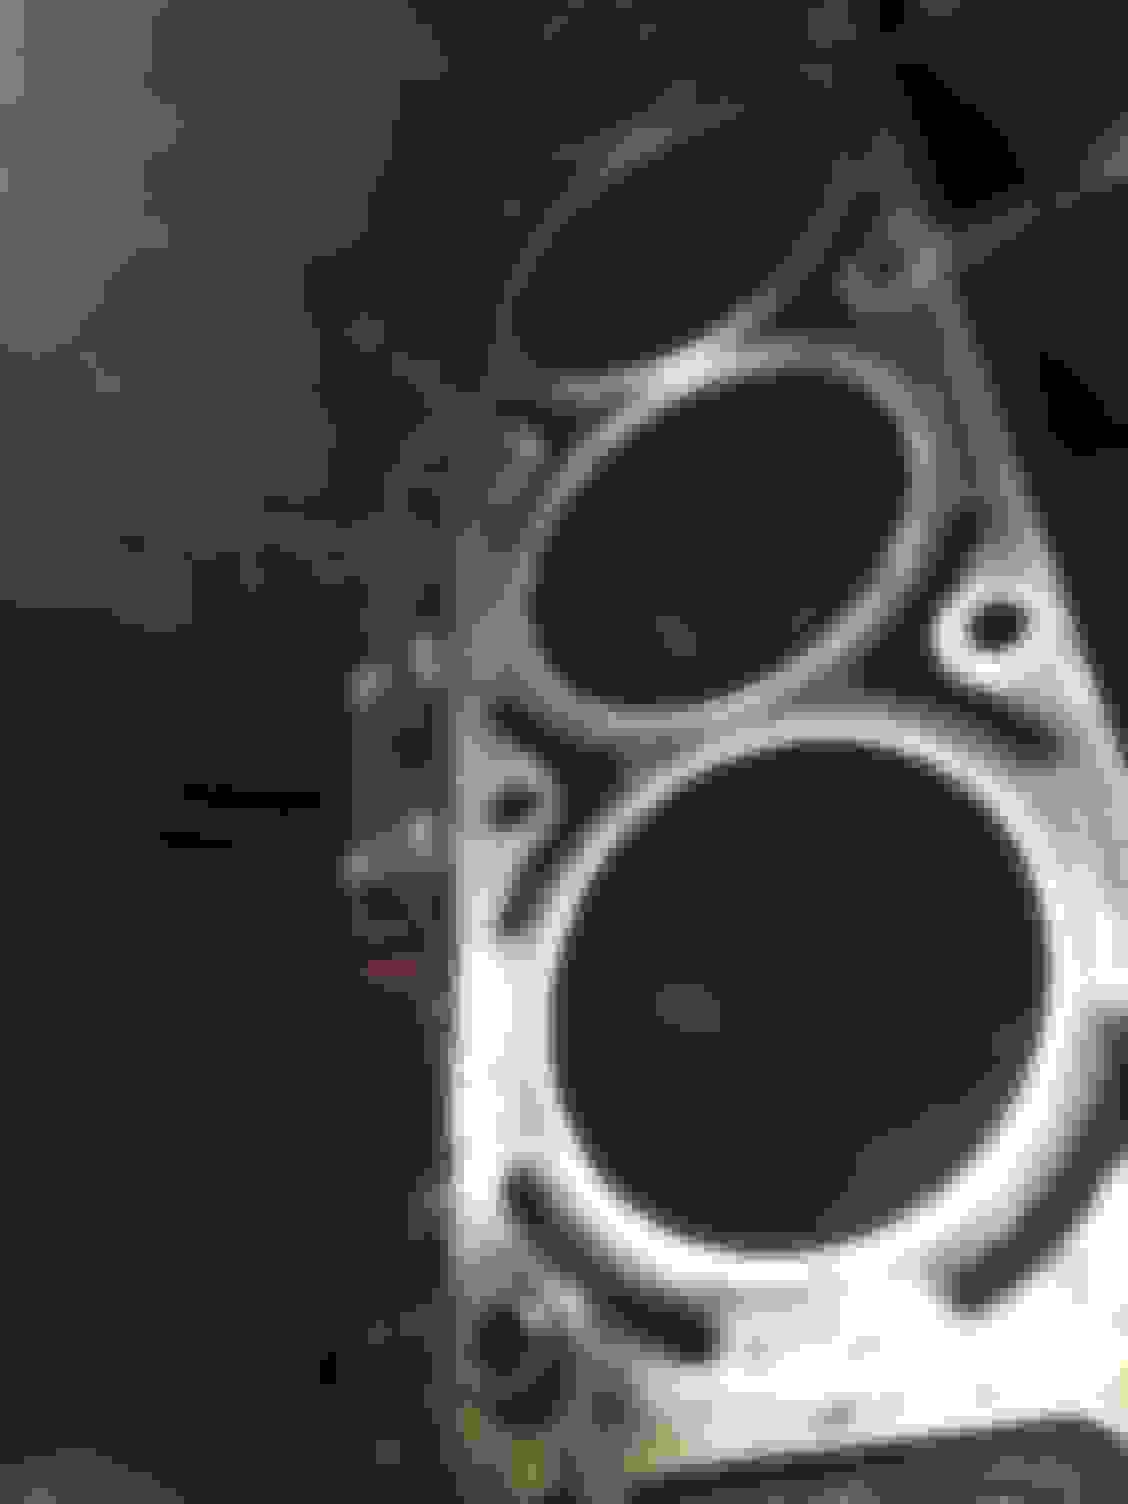
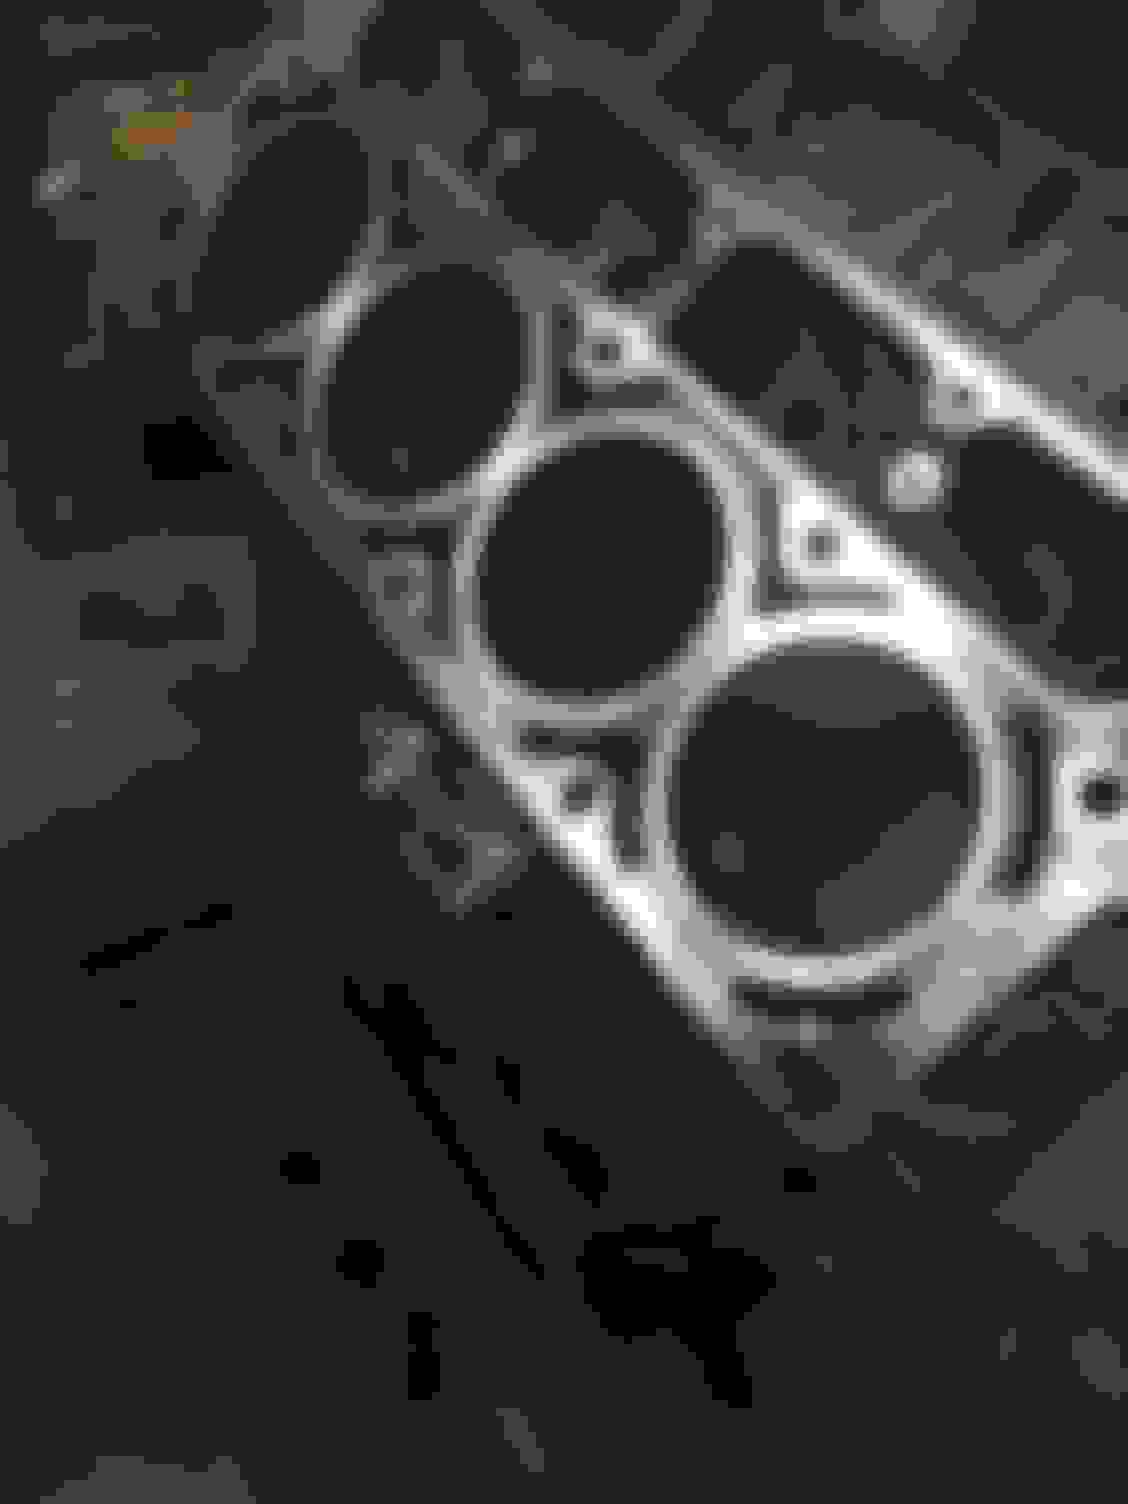
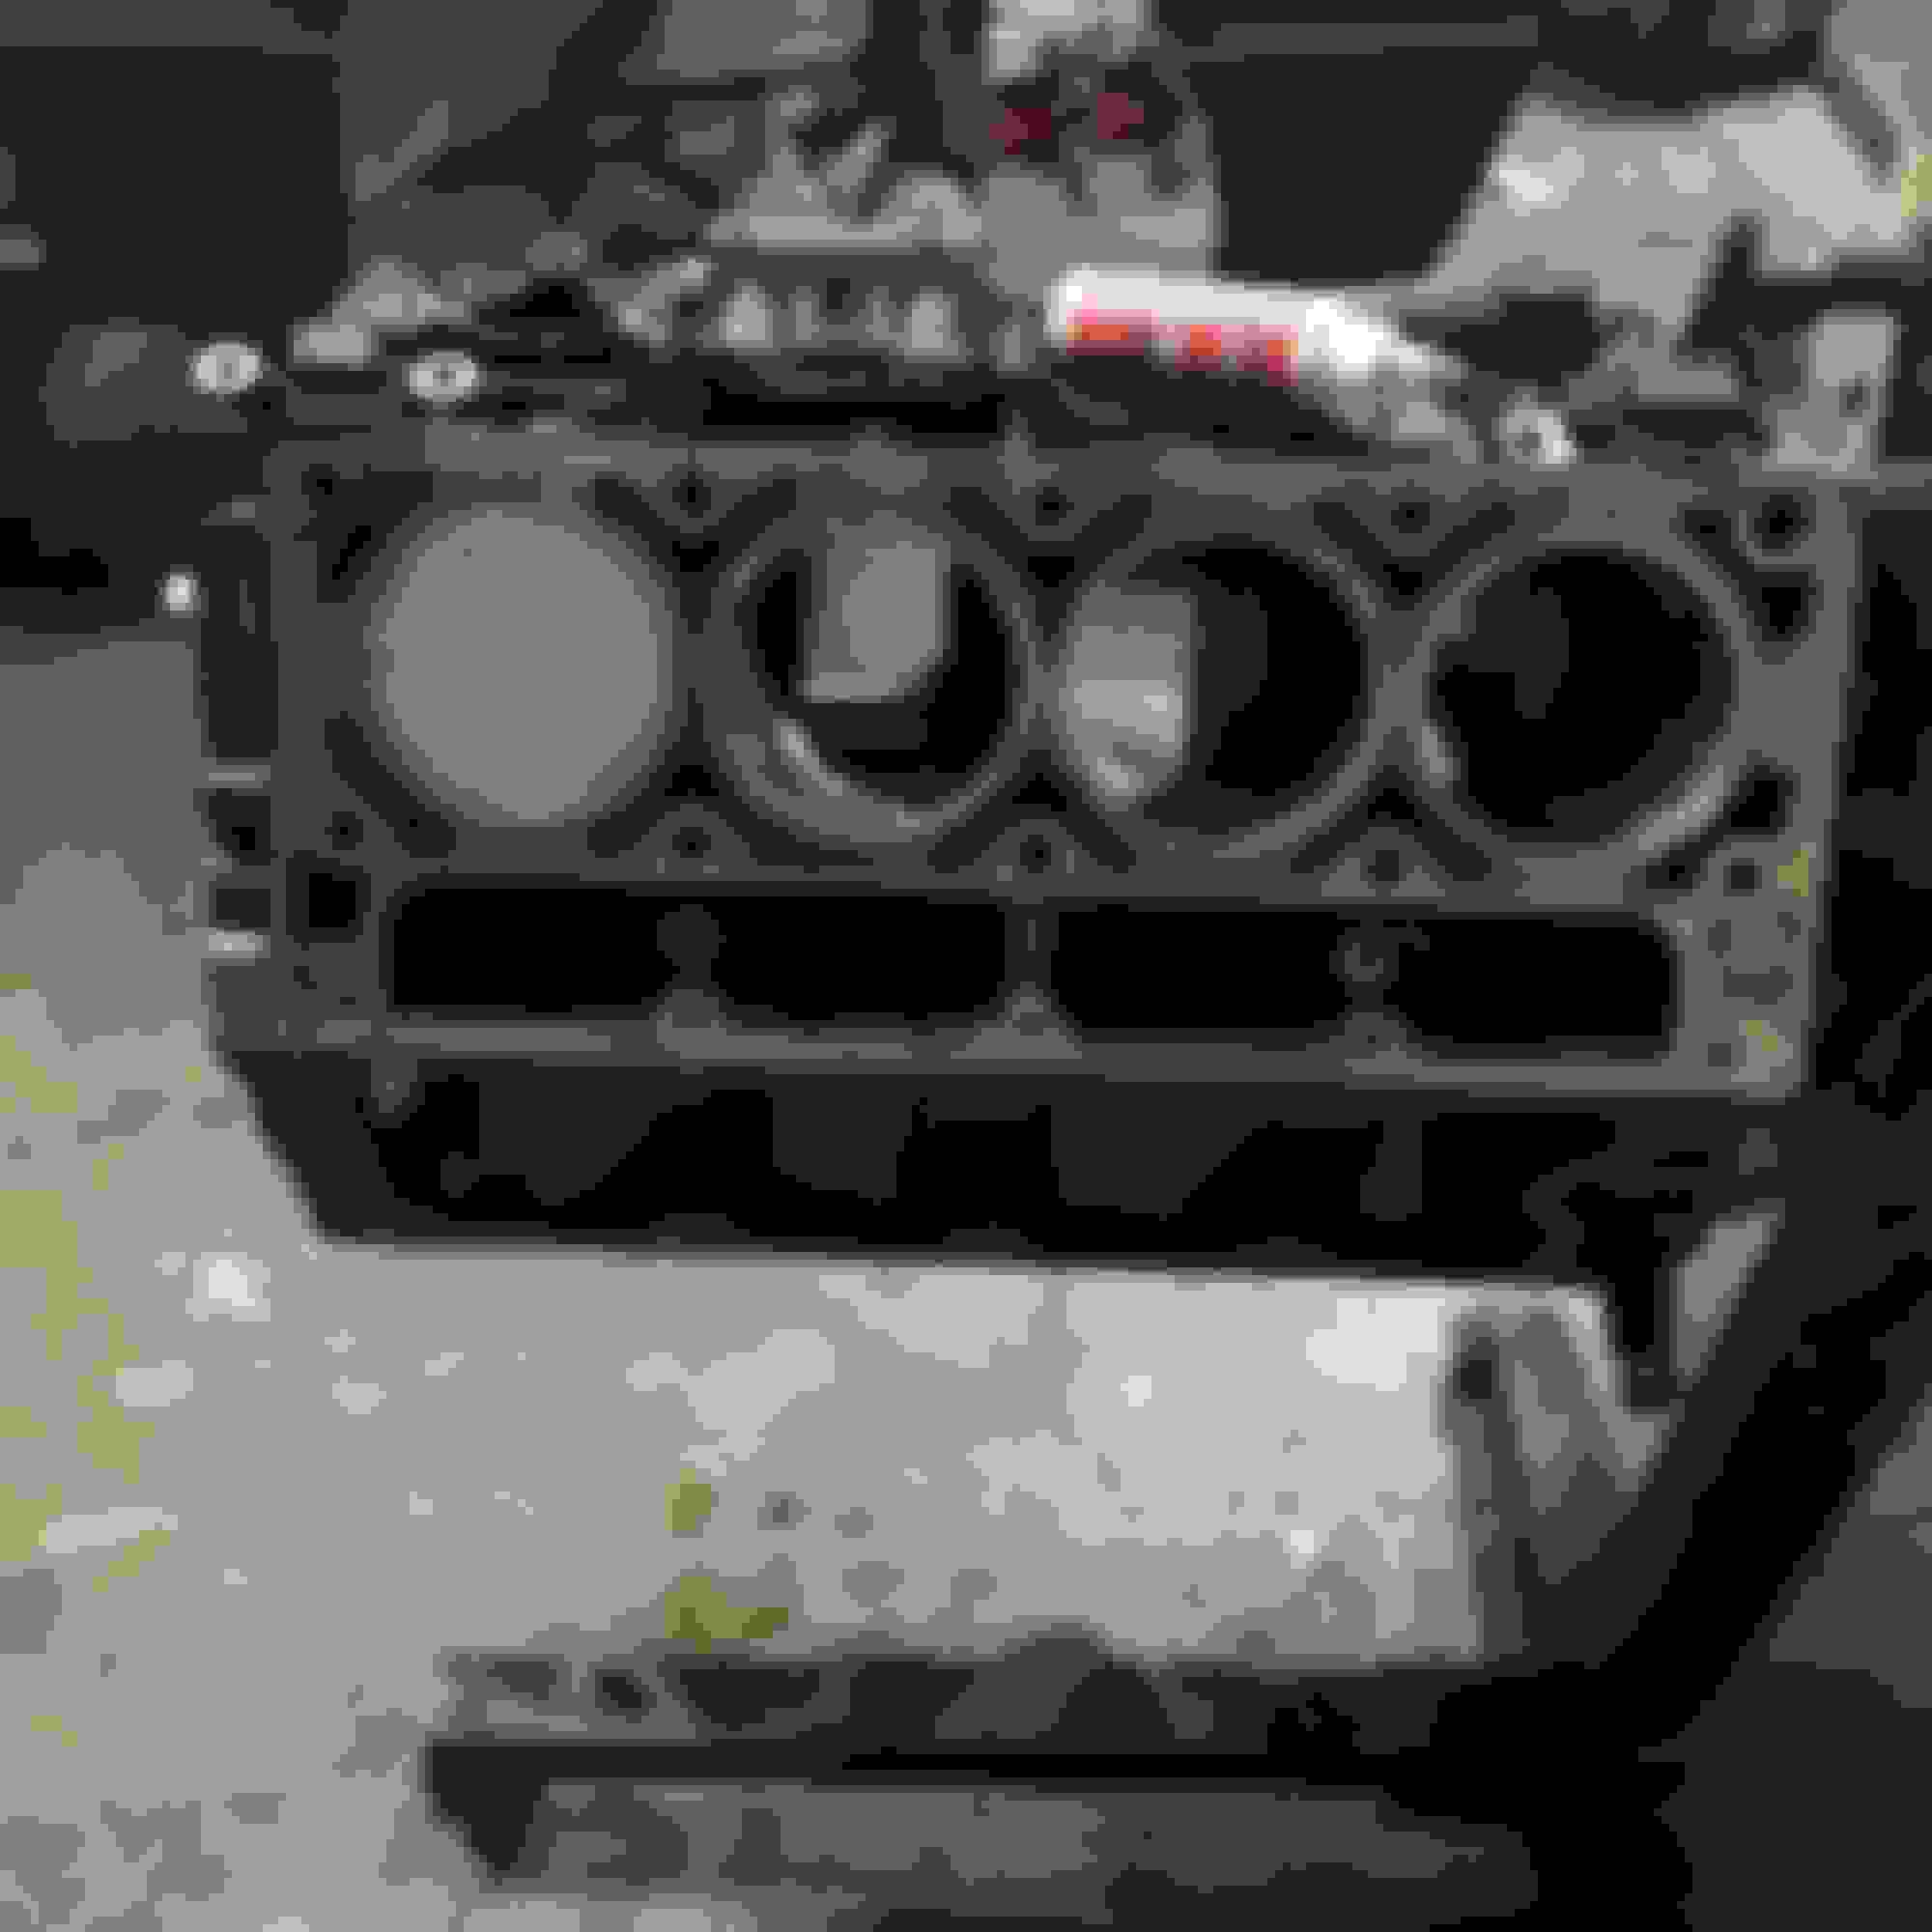
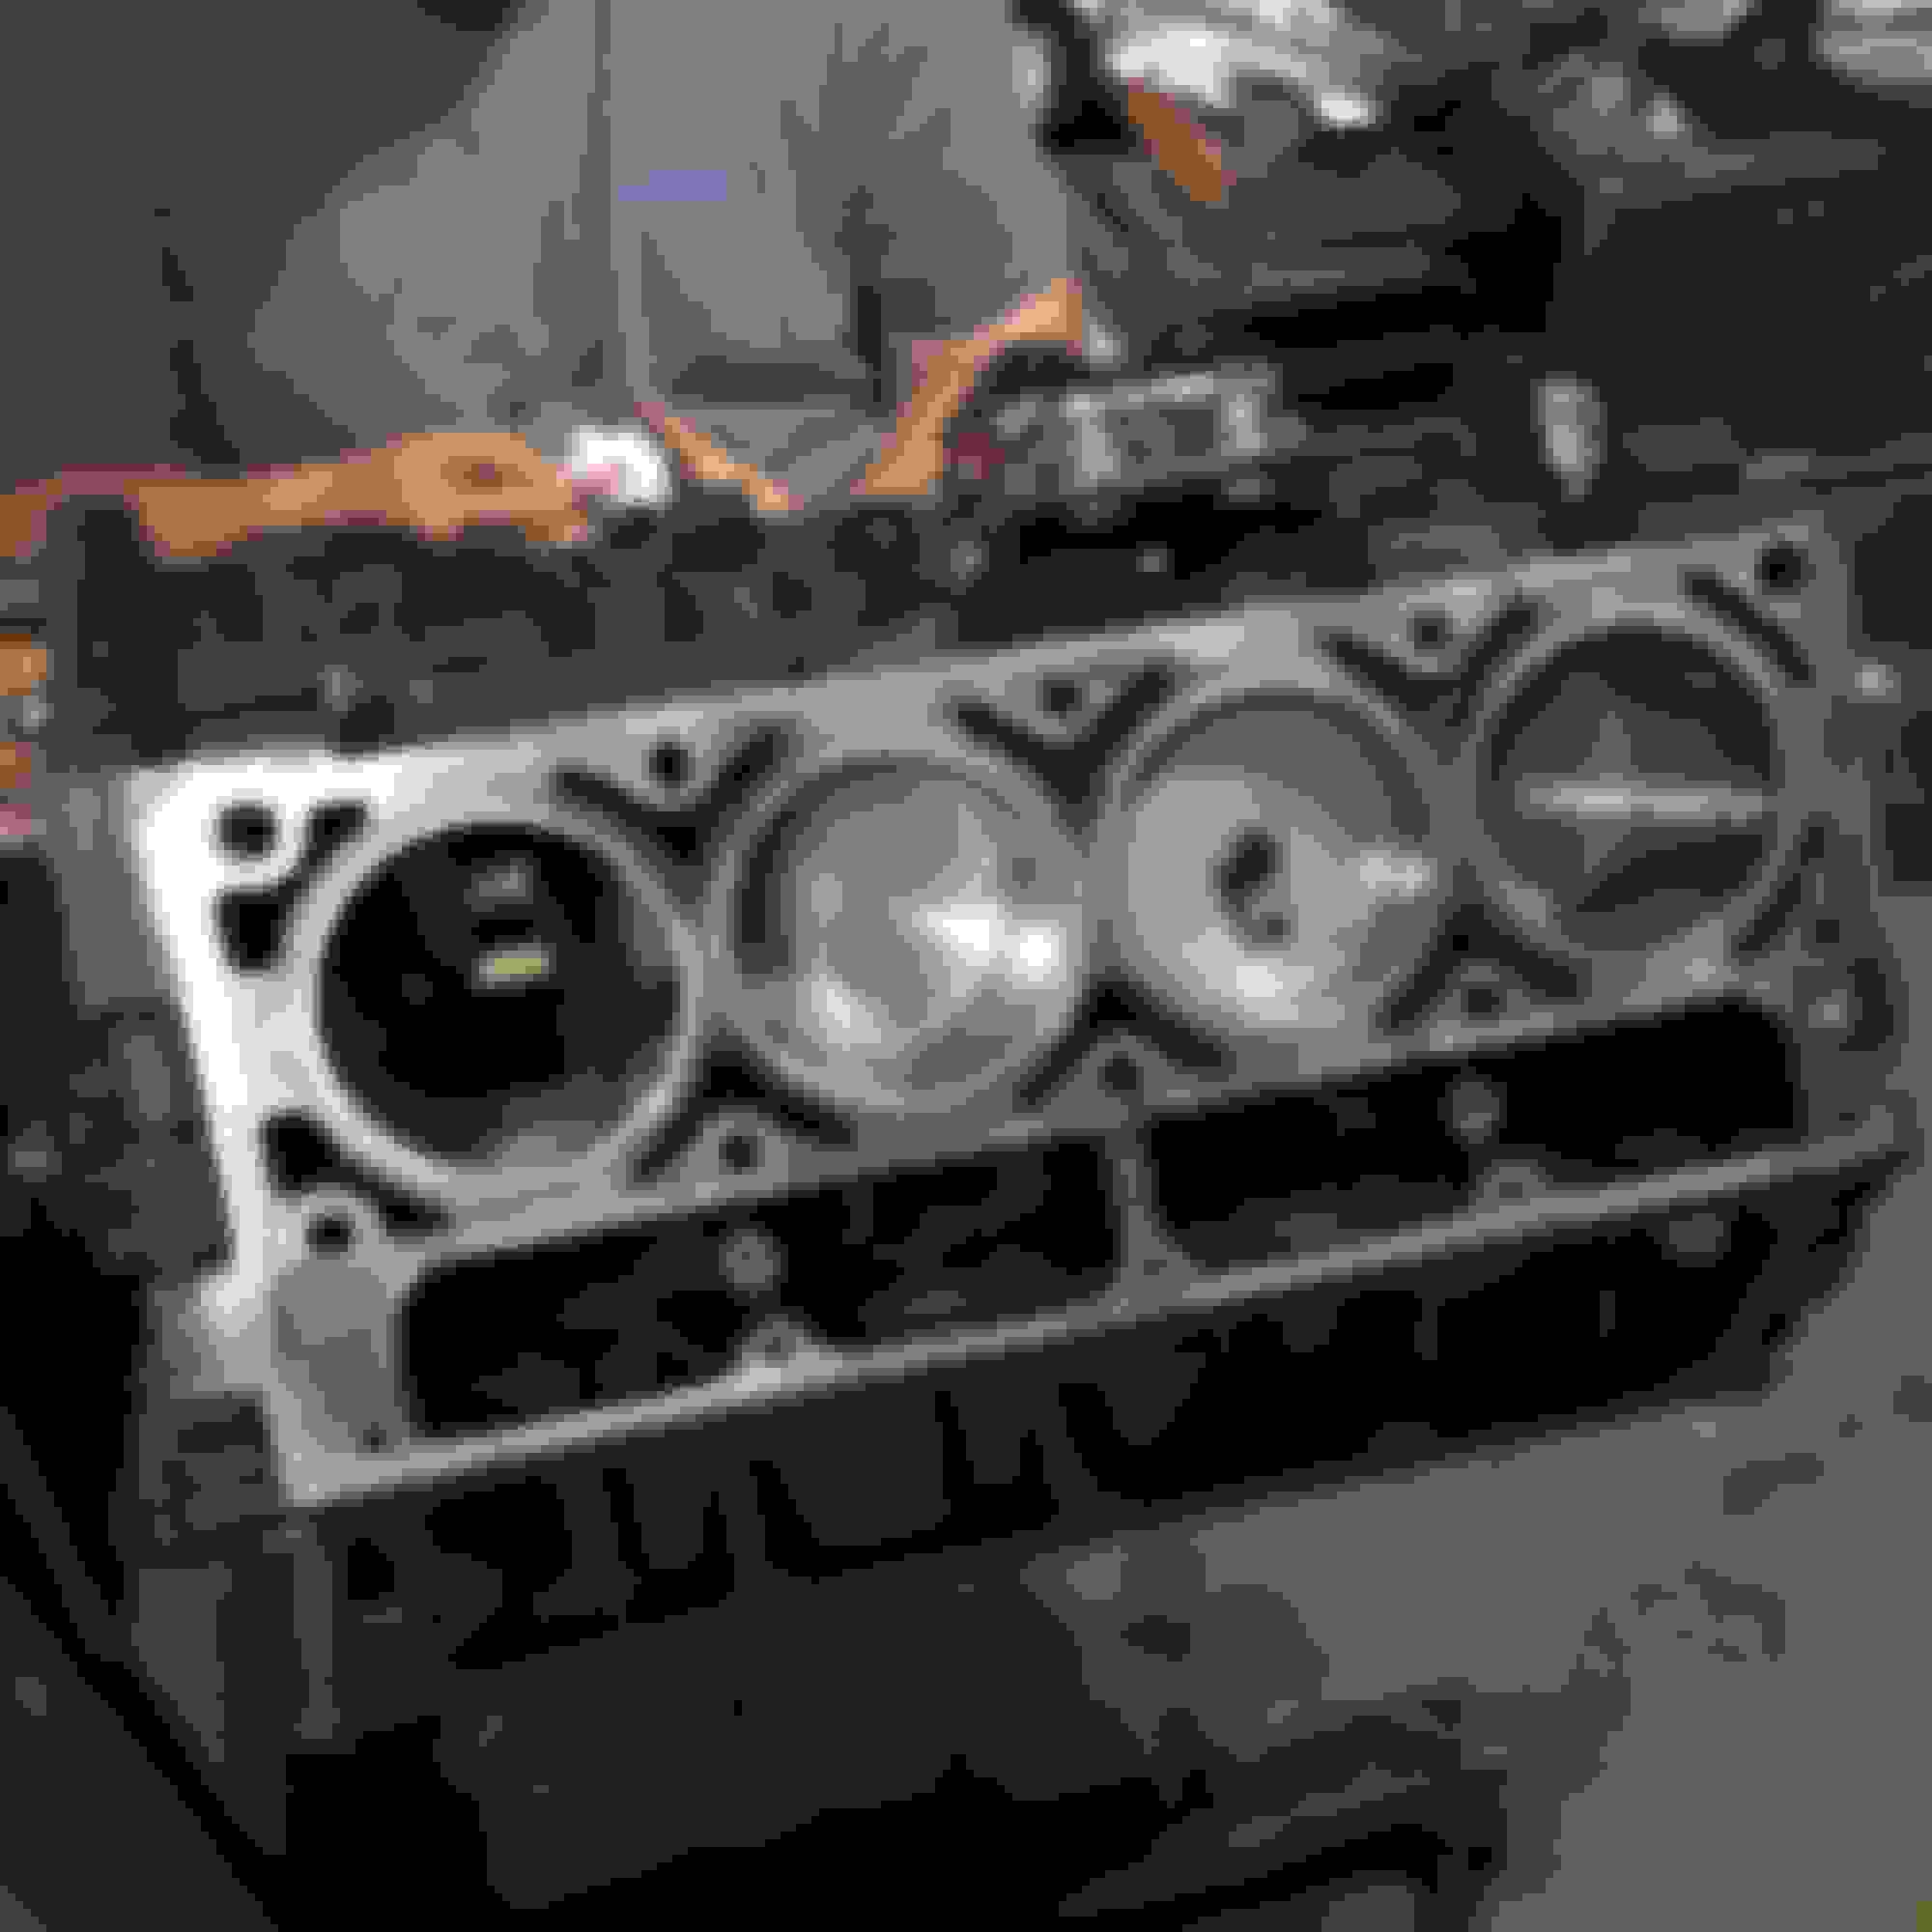
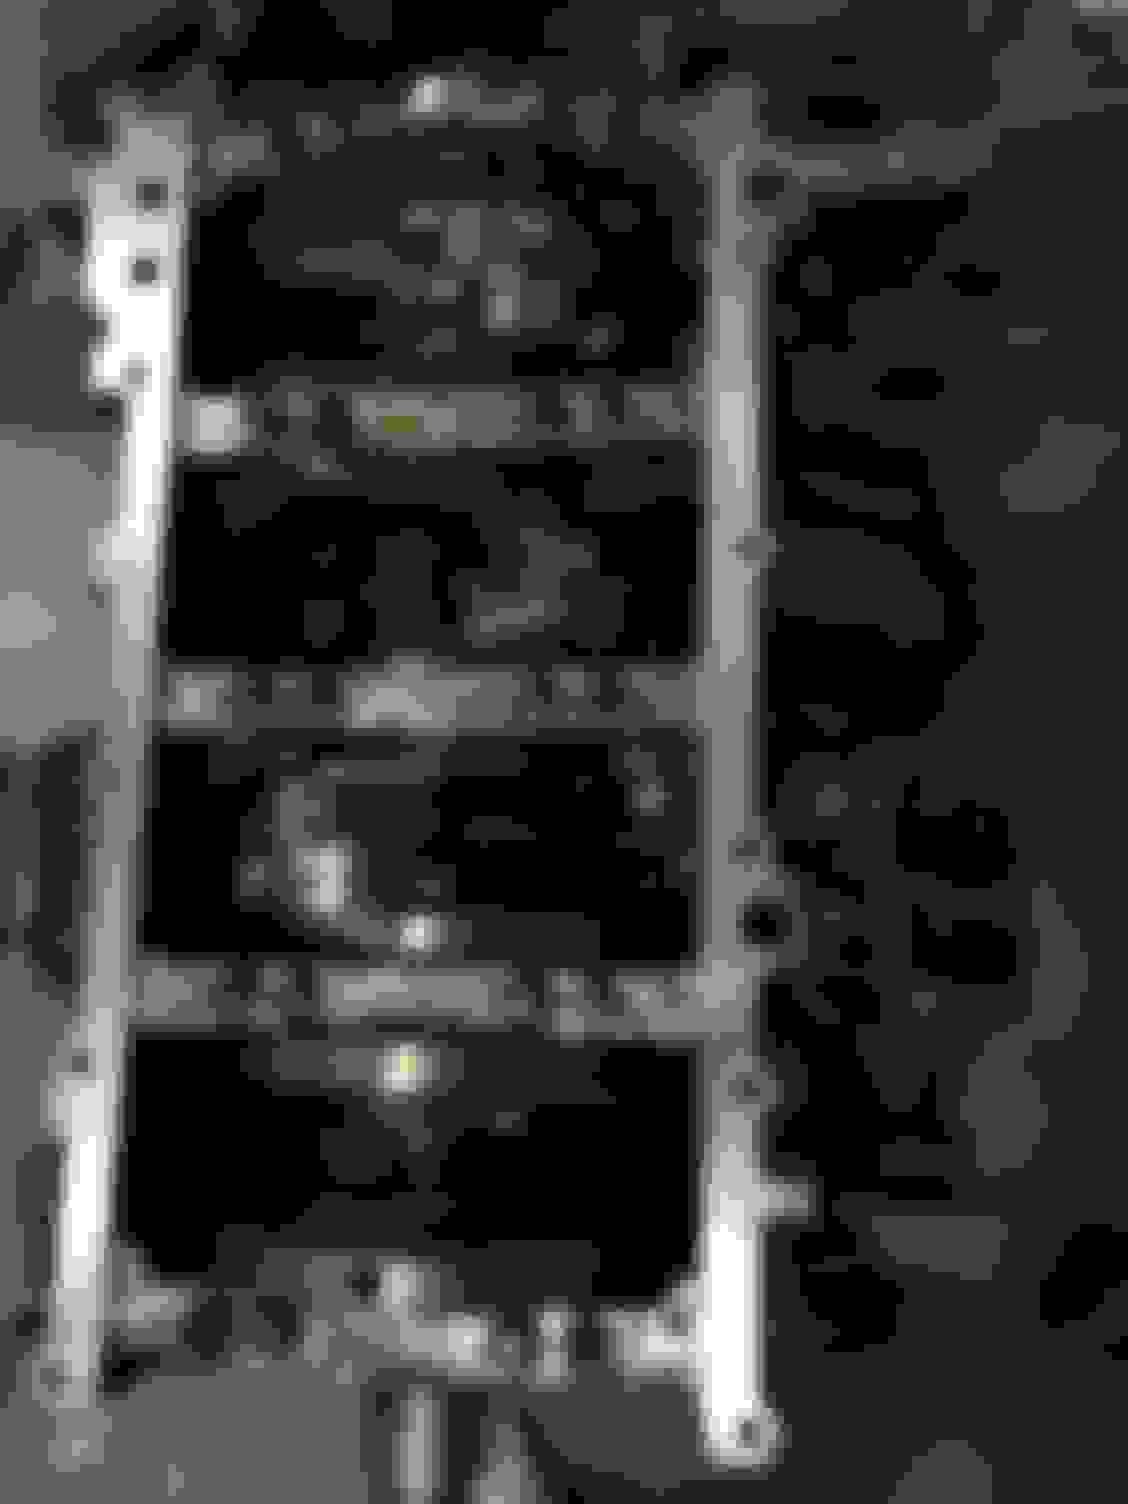
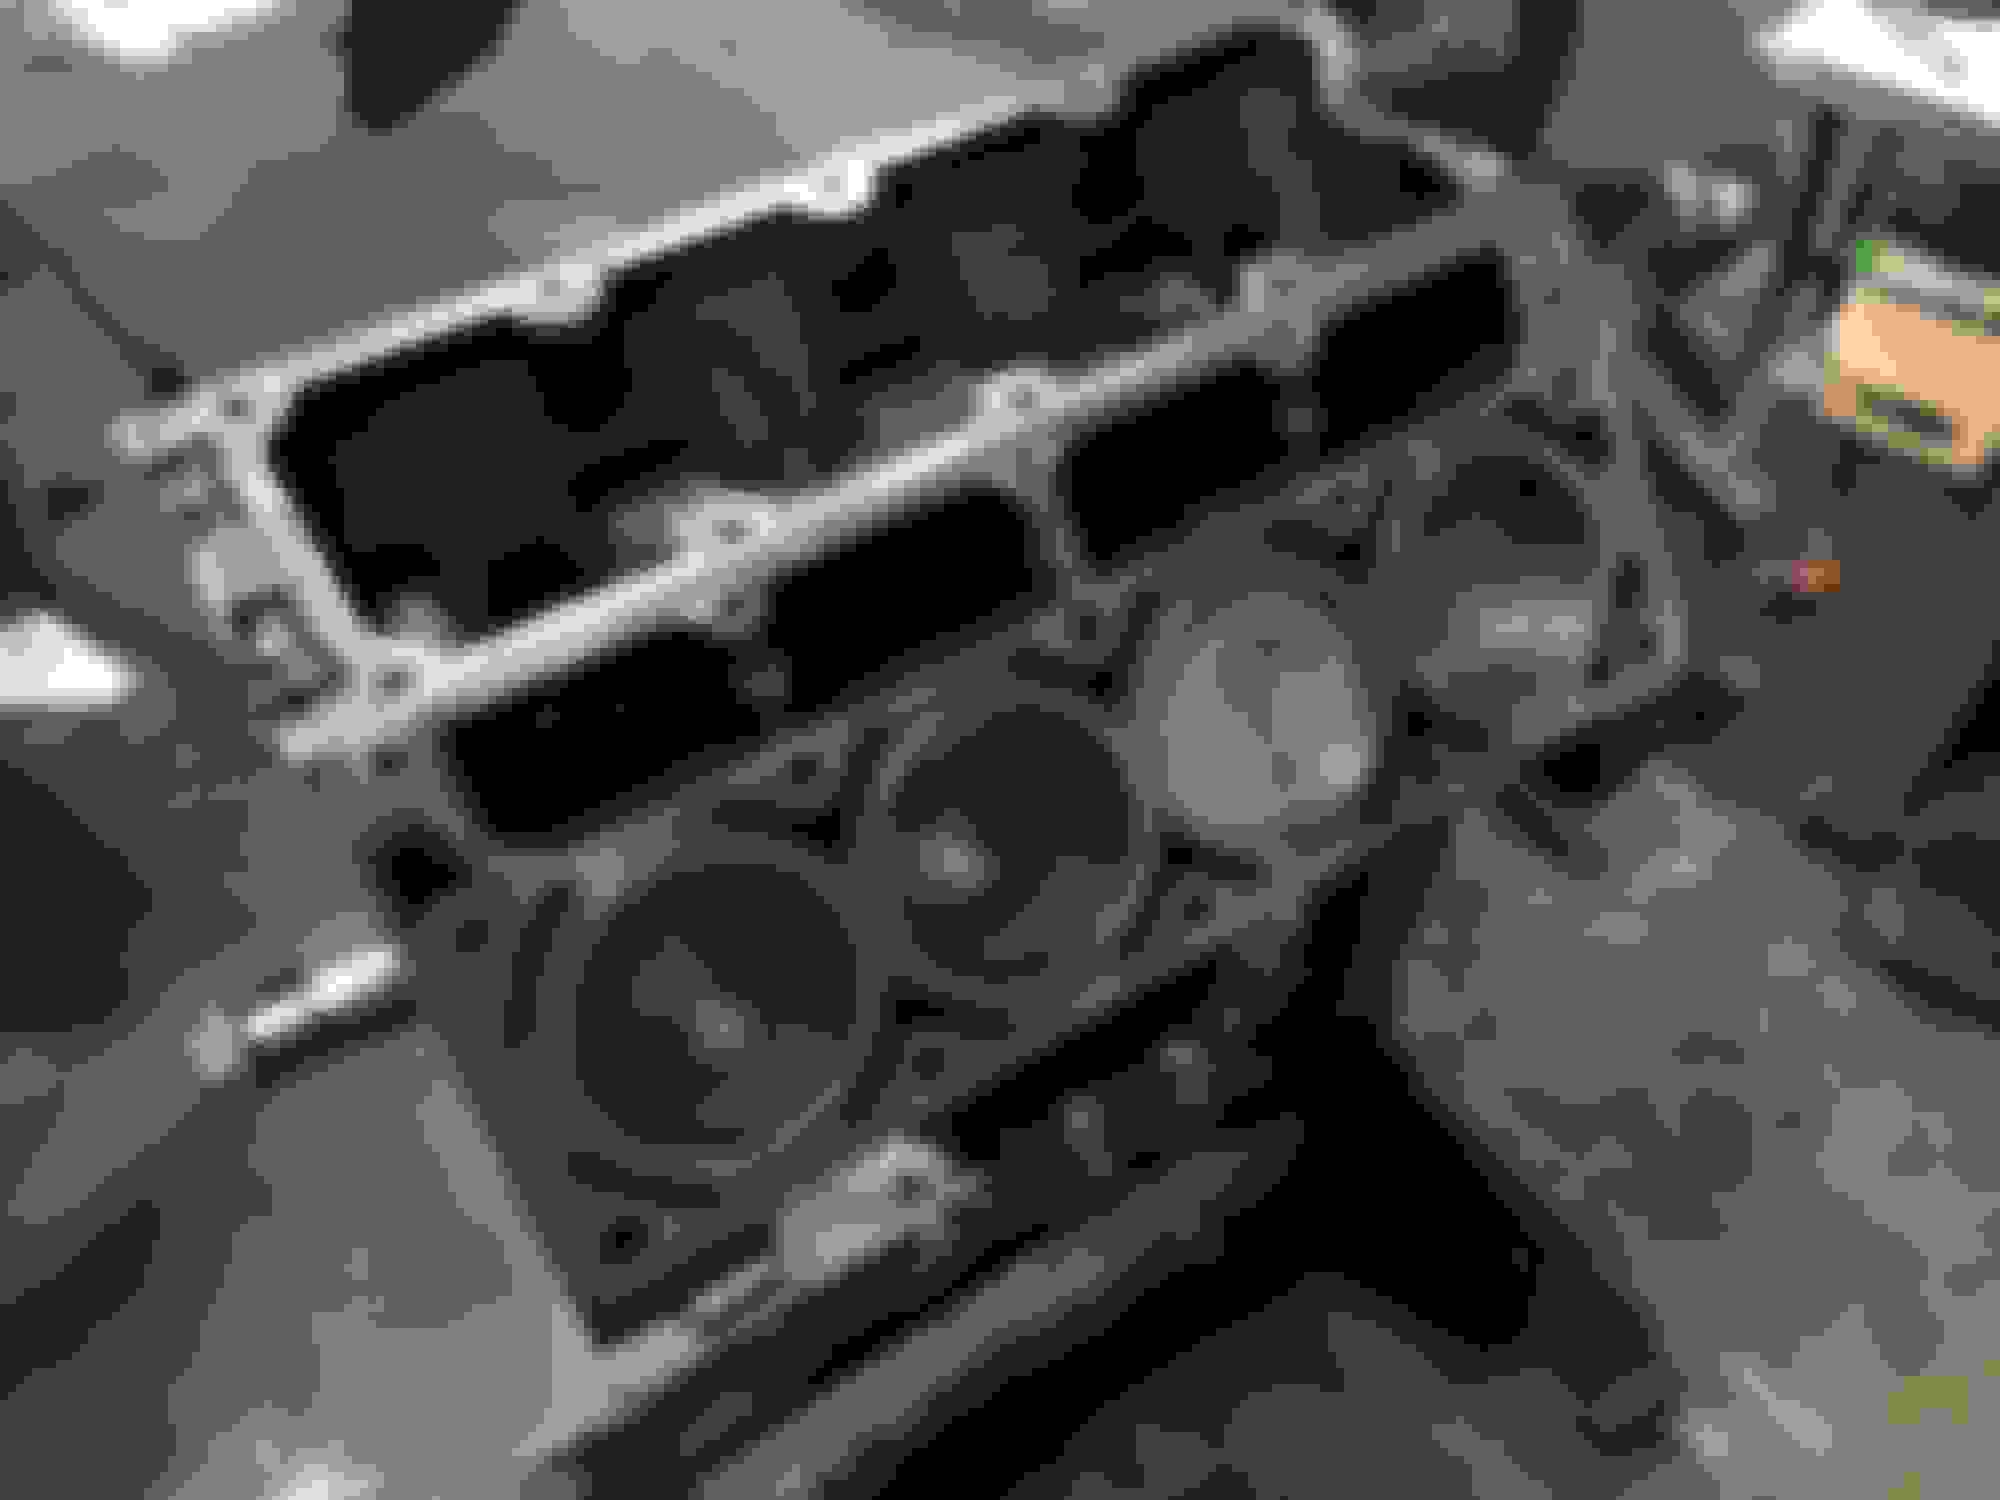
I will be reusing the 243 heads that are already assembled from my previous build. The block and heads came out nice looking after a good cleaning with some Brake Clean and scotch brite pads.
After cleaning
Before cleaning
After some cleaning
Left dirty, Right cleaned.
Both cleaned.
Also, my buddy from back home, Joey Myers. (S/N 223Hawk) painted and sold his OEM Hawk hood to me so that will be on the car as well once the build is complete.
The Paint match was absolutely perfect. Thanks again Joey!
Ill continue to update as more happens. I still need to order the CXRacing hot side/cold side kit and then get the fuel system figured out. Im currently leaning toward dual 320lph AEM pumps, FAST Rails, Magnafuel Pressure Reg and Deka 80# injectors. The Feed will be -8 and return -6. Rob Kats of RKtuning in New Jersey will once again be tuning this build as well. Great guy, check him out on FB.
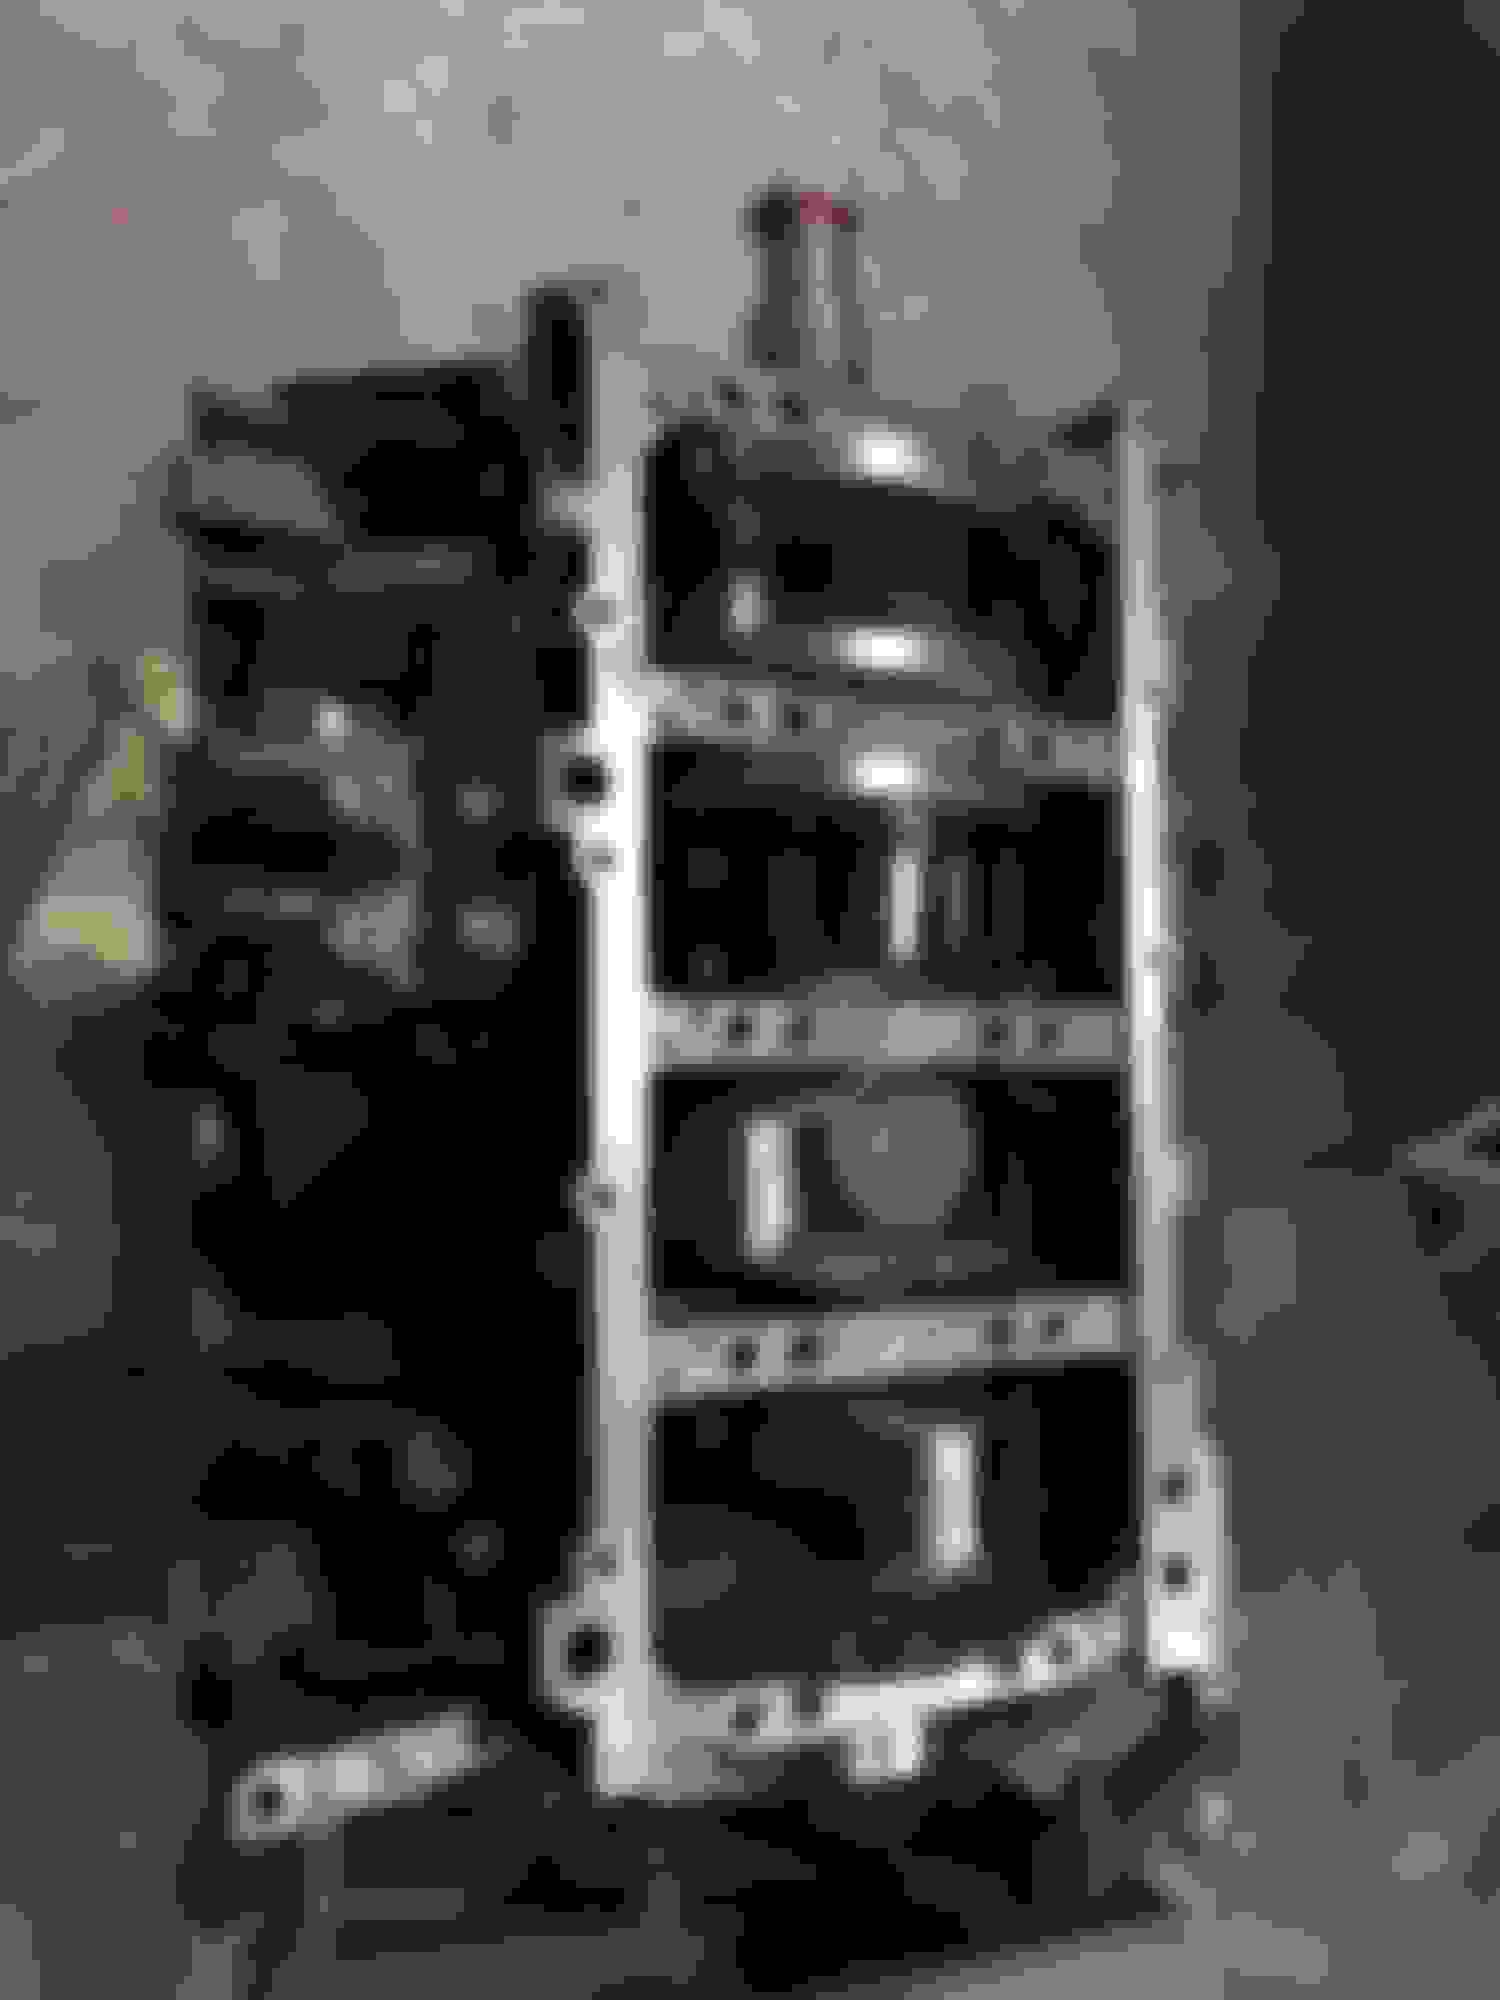
Made some more progress today. We would have had the short block done, but realized we were sent the wrong rings. Of course this wasn't until we spent time filing them to the proper ring gap.
More to come over the weekend.
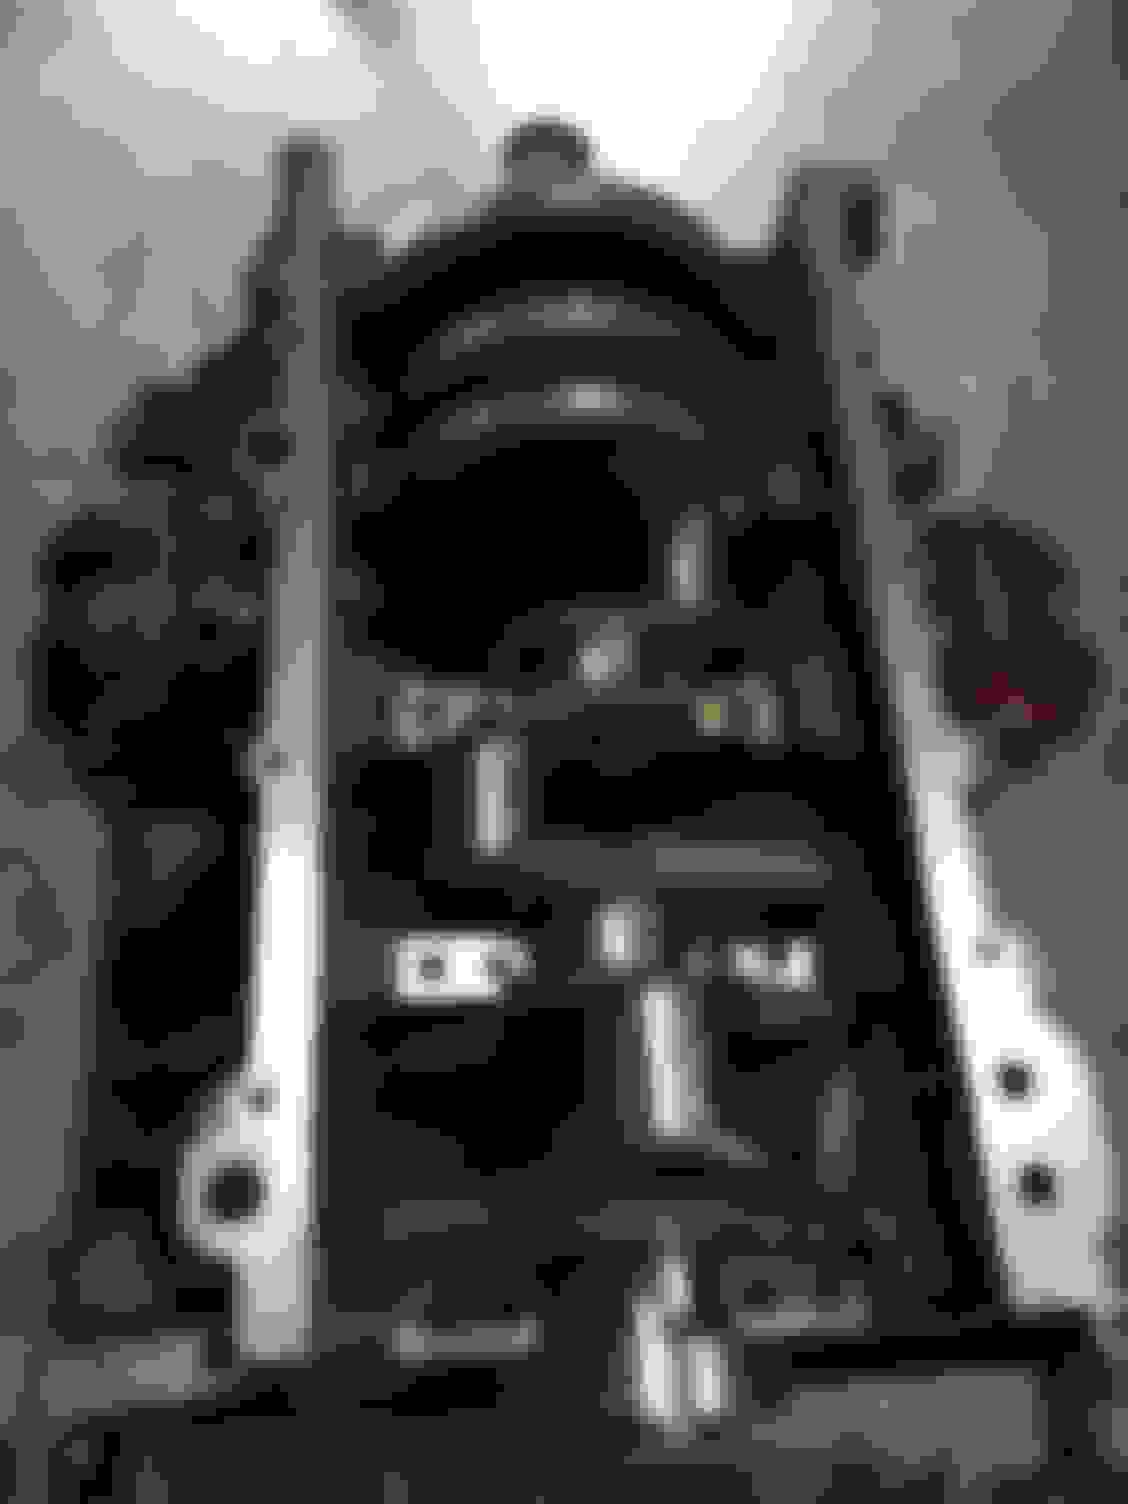
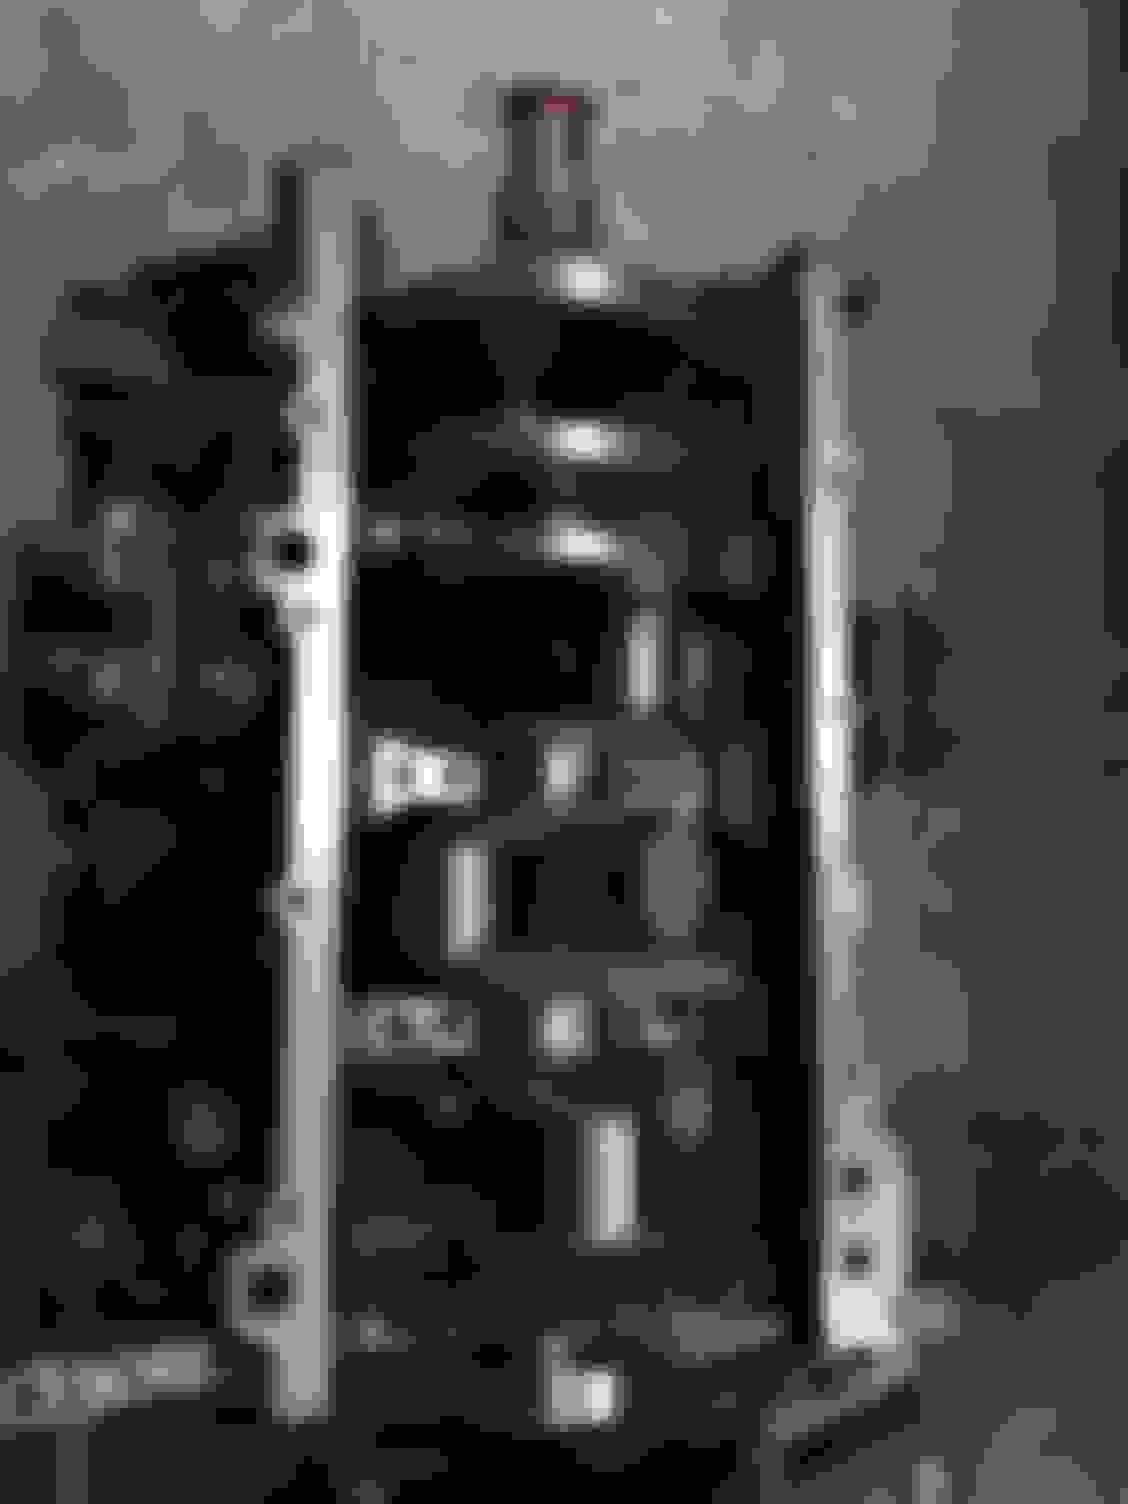
The mains were torqued to angle shortly after this picture.
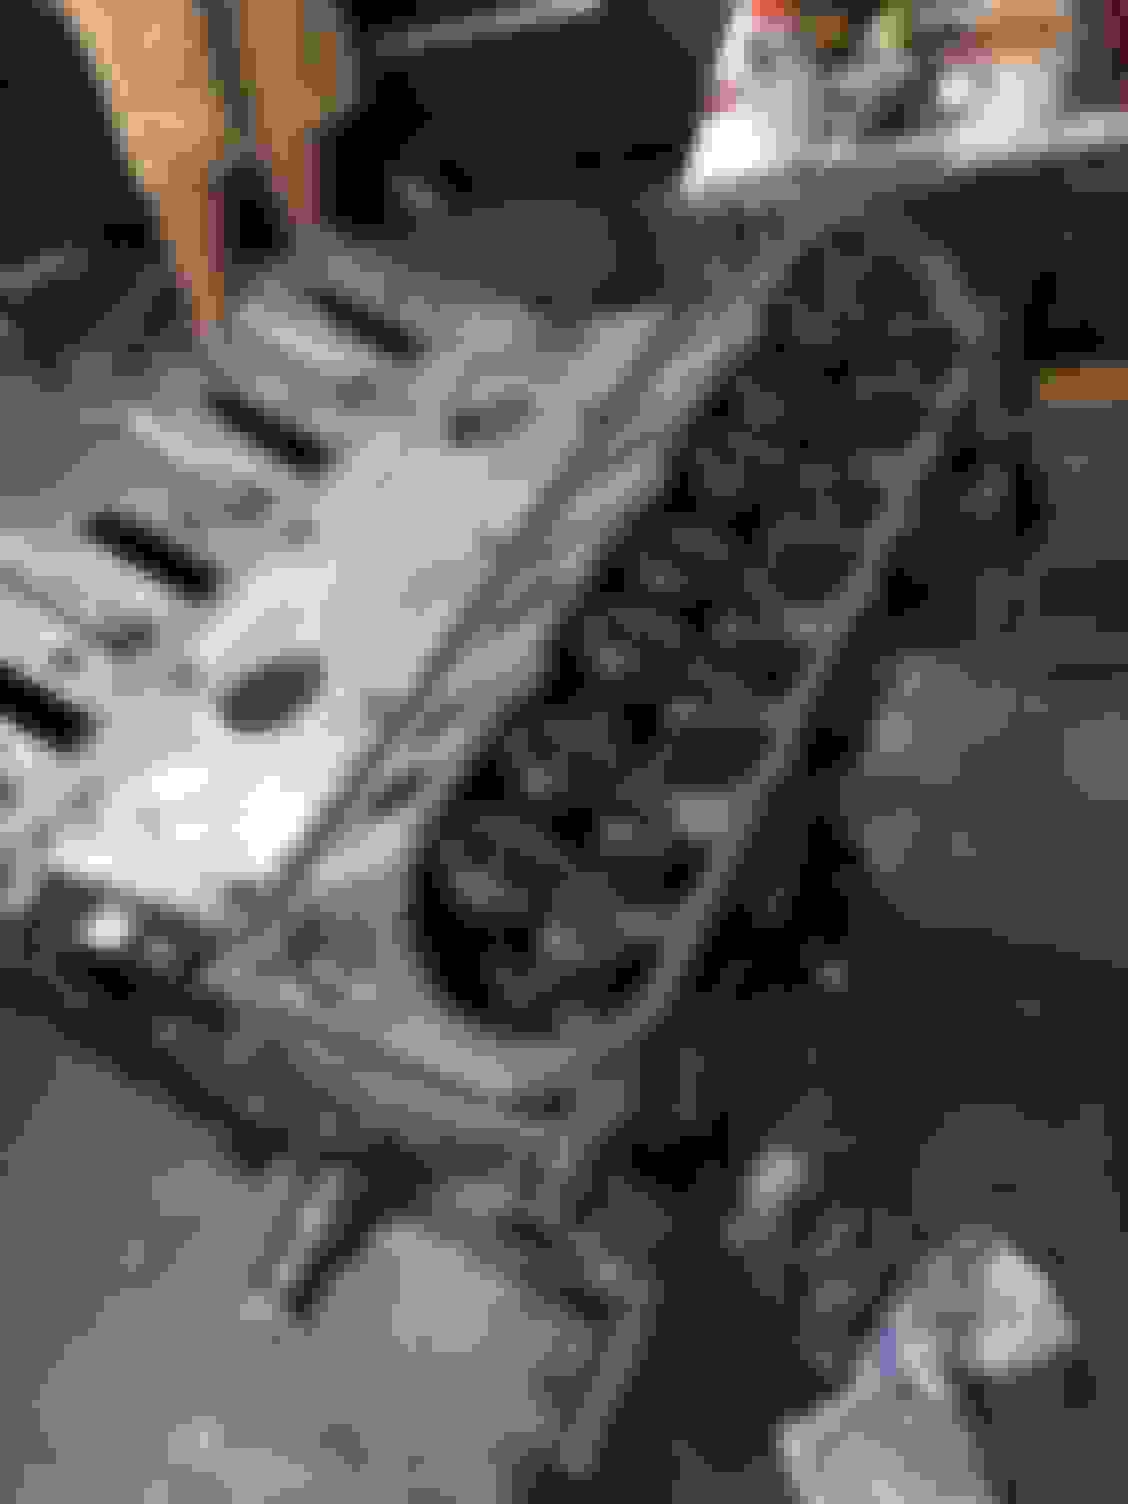
Cross hatch
More cross hatch
Even more cross hatch
Cross hatch, but different
Cross hatch, but closer.
The other side's cross hatch.
Crank set in place.
First time Ive ever done bearings so this was a great learning experience.
Sorry its been a while since I updated. Although no one else have really commented so at this point, this thread is purely for my enjoyment LOL.
Ok, so we ran into a snag, either myself or summit got the order for the piston rings wrong, but I ended up overnighting the correct rings and the next day we got back to it. This is right after we filed them, and started installing my pistons.
Theres really nothing to note with this picture. Other than the bad *** bumper exhaust on my buddies Mustang Coupe.
Making sure the rods come down properly and placing the bearings on the crank.
This time with two hands.
ARP 2000 Rod bolts!
Getting it together.
More of the hardware.
Again.
Oh yes the other side is now together.
All of the pistons and rods are now installed.
Time for some china doll studs! Sticking to that budget... can't seem to remember setting one though.
More studs!
LS9 Head Gaskets should handle all of the boosties.
Valley cover installed.
Heads installed. Springs were already installed from the last build.
Got the rockers in and torqued. The pushrods are TSP hardened rods and this motor will be running the TFS 216/220 .588 on a 114LSA cam.
Long block complete.
Got it home and finished bolting a few other things on.
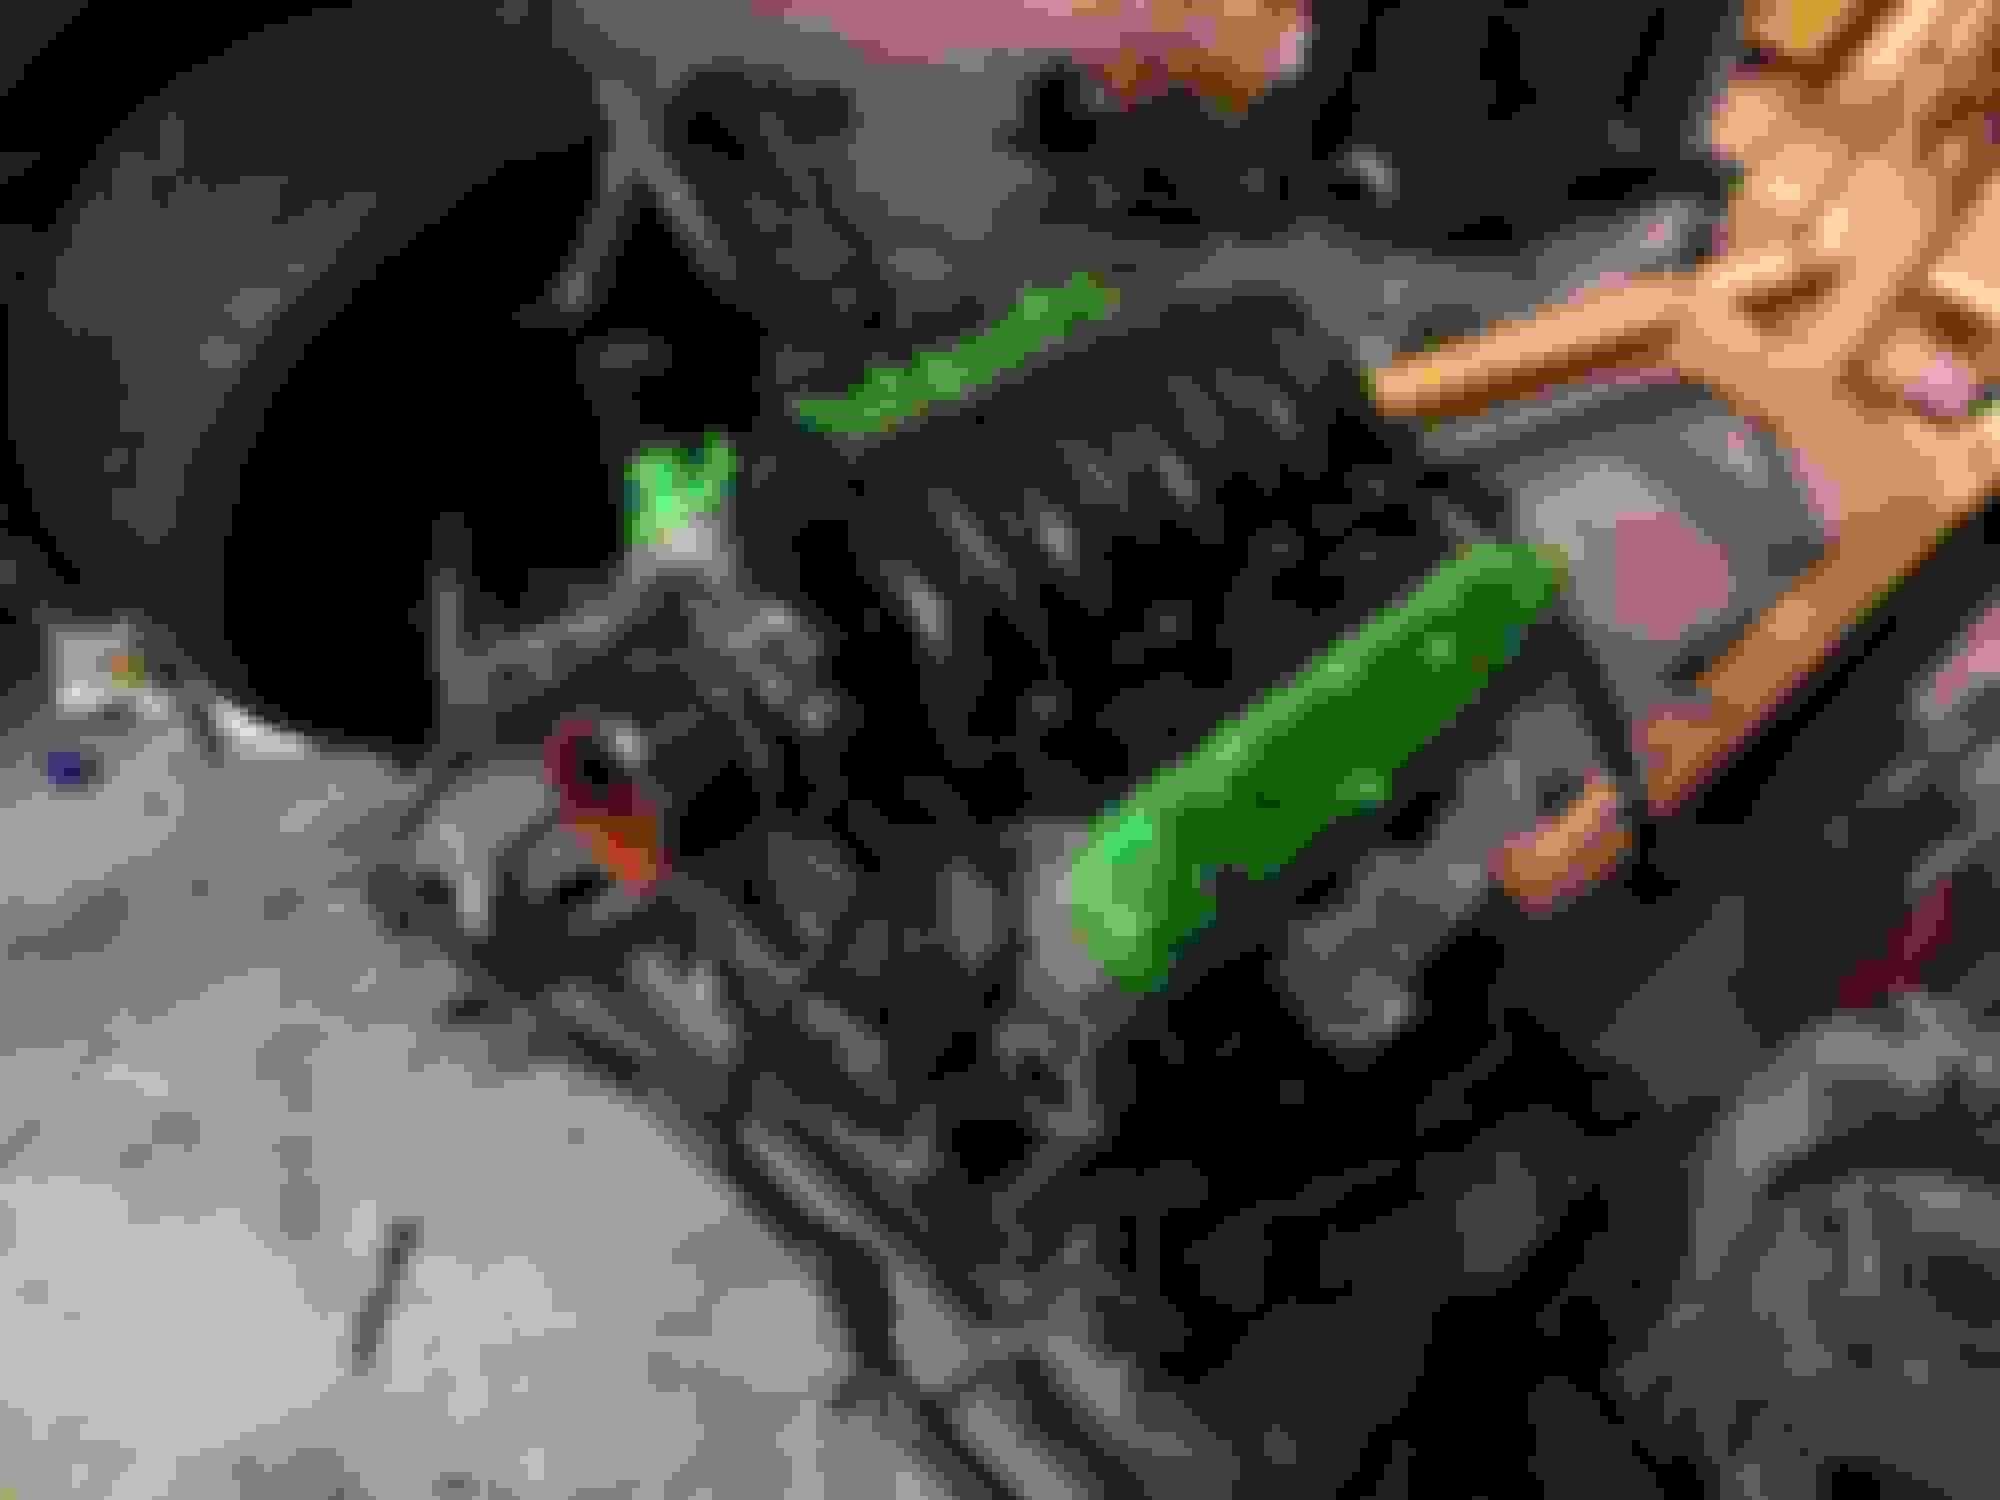
As I have stated this is a budget build. I decided to go against the grain here and run the CXRacing Single Turbo kit. This damn thing is legit. I got the hotside, BOV, WG, Cold side piping, Clamps and everything in between minus literally their turbo and their intercooler. All of it was shipped to my door for $900. I cannot be happier with the kit. I took a lot of pictures of it as well because it seems I couldn't find a ton of info on anyone running this kit. I know before they had fitment issues, but they have clearly eradicated those issues.
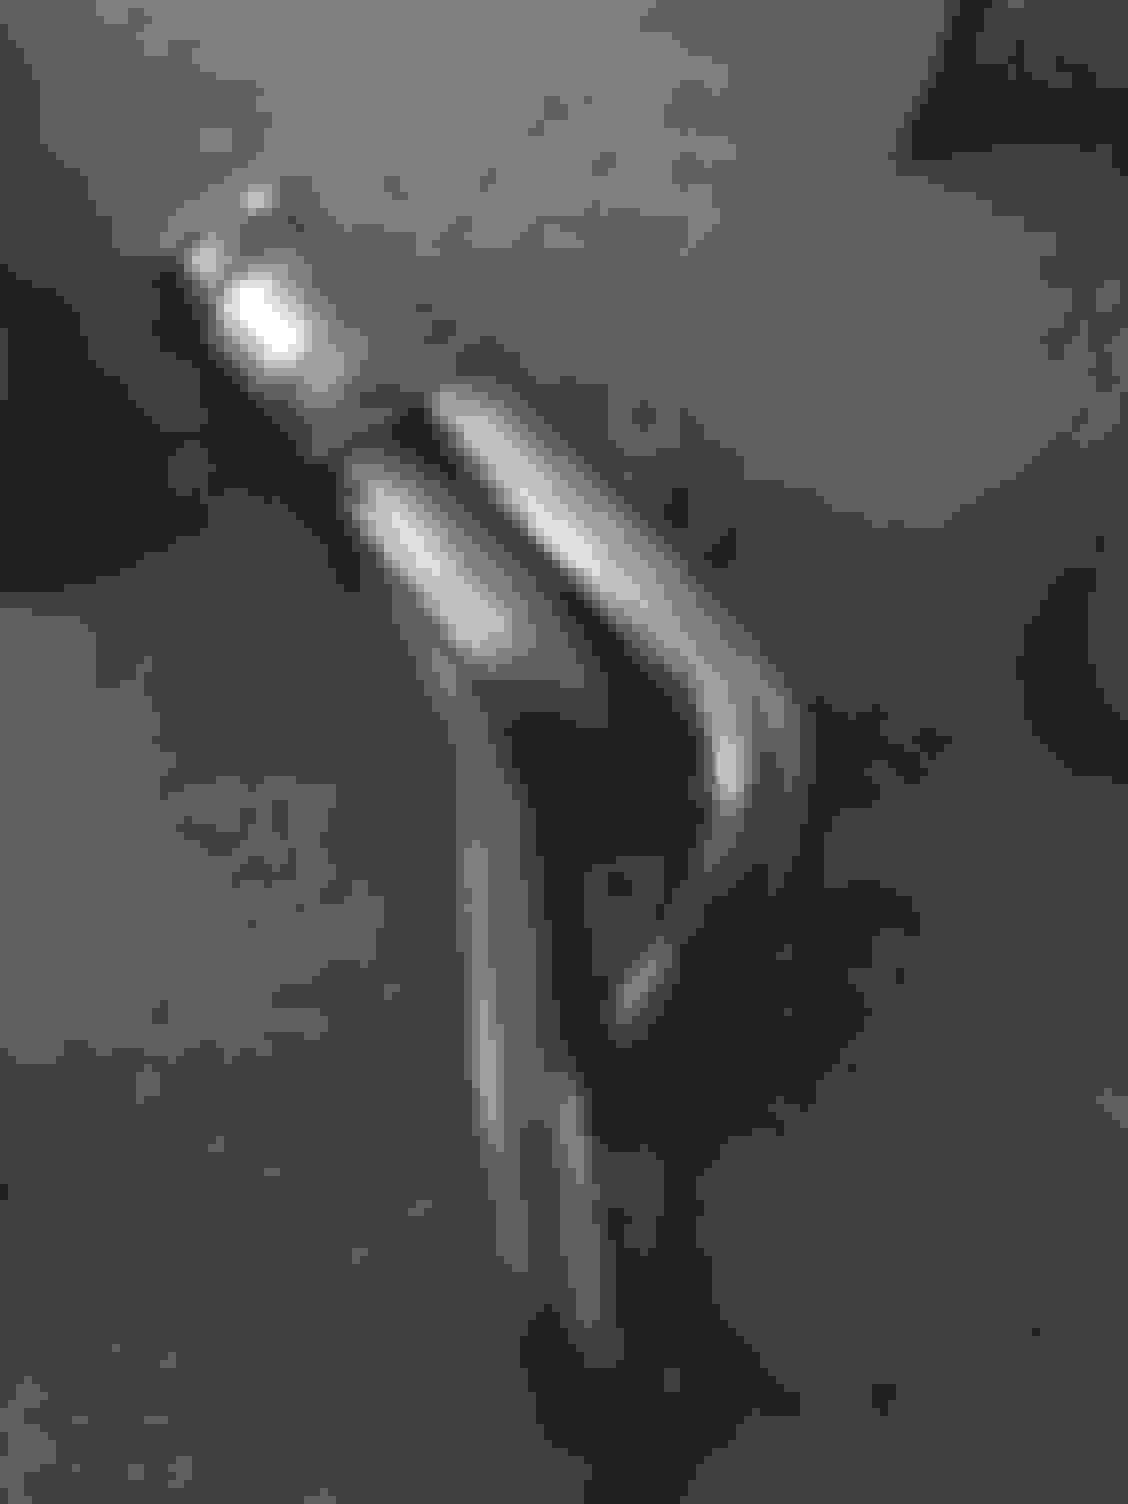
unboxing the kit, this is a pic of the crossover pipe. The welds are fantastic with zero blowouts or non-wetting. First impression is great!
Packaging was top notch as well.
Cold side piping, silicones and Greddy style Knock off BOV. I will run this until I decide not to.
R2D2 looking Waste gate. Comes from CX racing with a 10lb spring installed.
Silicone Clamps.
One of the turbo headers. My buddy has the truck manifold On3 Kit for his TA. He swears up and down this kit is hands down a cleaner setup and wishes he would have went this route.
More of the headers.
Flanges are nice and thick.
Another shot of the Crossover pipe.
They even go as far as to de-slag and de-bur the insides of the headers. Their QC is exceptional in my opinion.
The Tig welds are outstanding, and the fitment is top notch.
Heres how CXRacing's Cold side looks. Don't mind the mess.
Headers installed
Mocking up the kit.
This thing fit like a champion.
Spark plug access is nearly non existent but today I unbolted the headers and loosened their V band connections at the Cross over pipe and had plenty of play to change the previous AL103's for NGK BR7EF's
That On3 78/75 looks right at home.
Im over the moon with this kit.
Getting the FMIC mocked up.
It fit so well I went ahead and mocked up the bumper for the cutting of the intercooler hole.
I cannot wait to get this baby back on the road. Couple of Ford boys need that *** drug.
I'm happy for you man. You will be smiling ear to ear for about a half hour after the first time that you stand in it. It's nice to see someone just doing it. In other words not none of this "I'm considering" or "I want to make 1300rwhp on low boost, 2,300 on kill" type stuff. Not sure why no one is showing you any love, but the build looks nice.
Kit looks real nice man. Great progress on your build. Does the turbo sit high enough to avoid having to run a scavenge pump? Does the kit require a standup radiator and pusher fans?
Sorry its been a while since I updated. Although no one else have really commented so at this point, this thread is purely for my enjoyment LOL.
We are here, just haven't had any need to comment seems you have it figured out. My thread doesn't get much action either lol like 99% posts of mine 1% other. I do it just to document my build and to be able to go back for reference.
Looks like a fun build. Is that a 4th gen 58X wheel on the crank. What's the workaround to get it to work with your 3rd gen ECM? I thought we needed the 24X?
Looks like a fun build. Is that a 4th gen 58X wheel on the crank. What's the workaround to get it to work with your 3rd gen ECM? I thought we needed the 24X?
Hey sorry everyone I hadn't checked back for a good bit, but I'll go through and answer each of y'all's questions.
Game ova, thanks! I'm essentially just looking for something that is fun and can hang with the middle of the pack here in Texas. A nice 700whp car should be completely doable from this build.
Thanks brick I'm very excited!
Chop, unfortunately the turbo will require a scavenge pump. I tried to avoid it at all costs but the turbo is just too low.
Yep 24x crank
And finally I got the kit directly from cxracings website. The fitment is great the only downsides are the low turbo location and the spark plug spacing which is exactly none lol. However I will say Jake Vasquez of cxracing was very helpful and even offered me a discounted military rate. I mainly wanted to do this build thread because there really isn't a lot of information available on this kit. I'm still standing by the quality being top notch.
Ended up making quite a bit more progress this weekend. Next will be a stand up radiator and a derale pusher fan. This kit allows you to use your stock radiator but not the fans.
Once the engine is buttoned up I will begin saving for the fuel system. Going with 80# DW injectors, single 450lph walbro pump, -8 feed, stock feed will be the new return,Holley fpr, and finally a meth kit will be added as E85 is not readily available here.
 10-12-2016, 08:52 PM