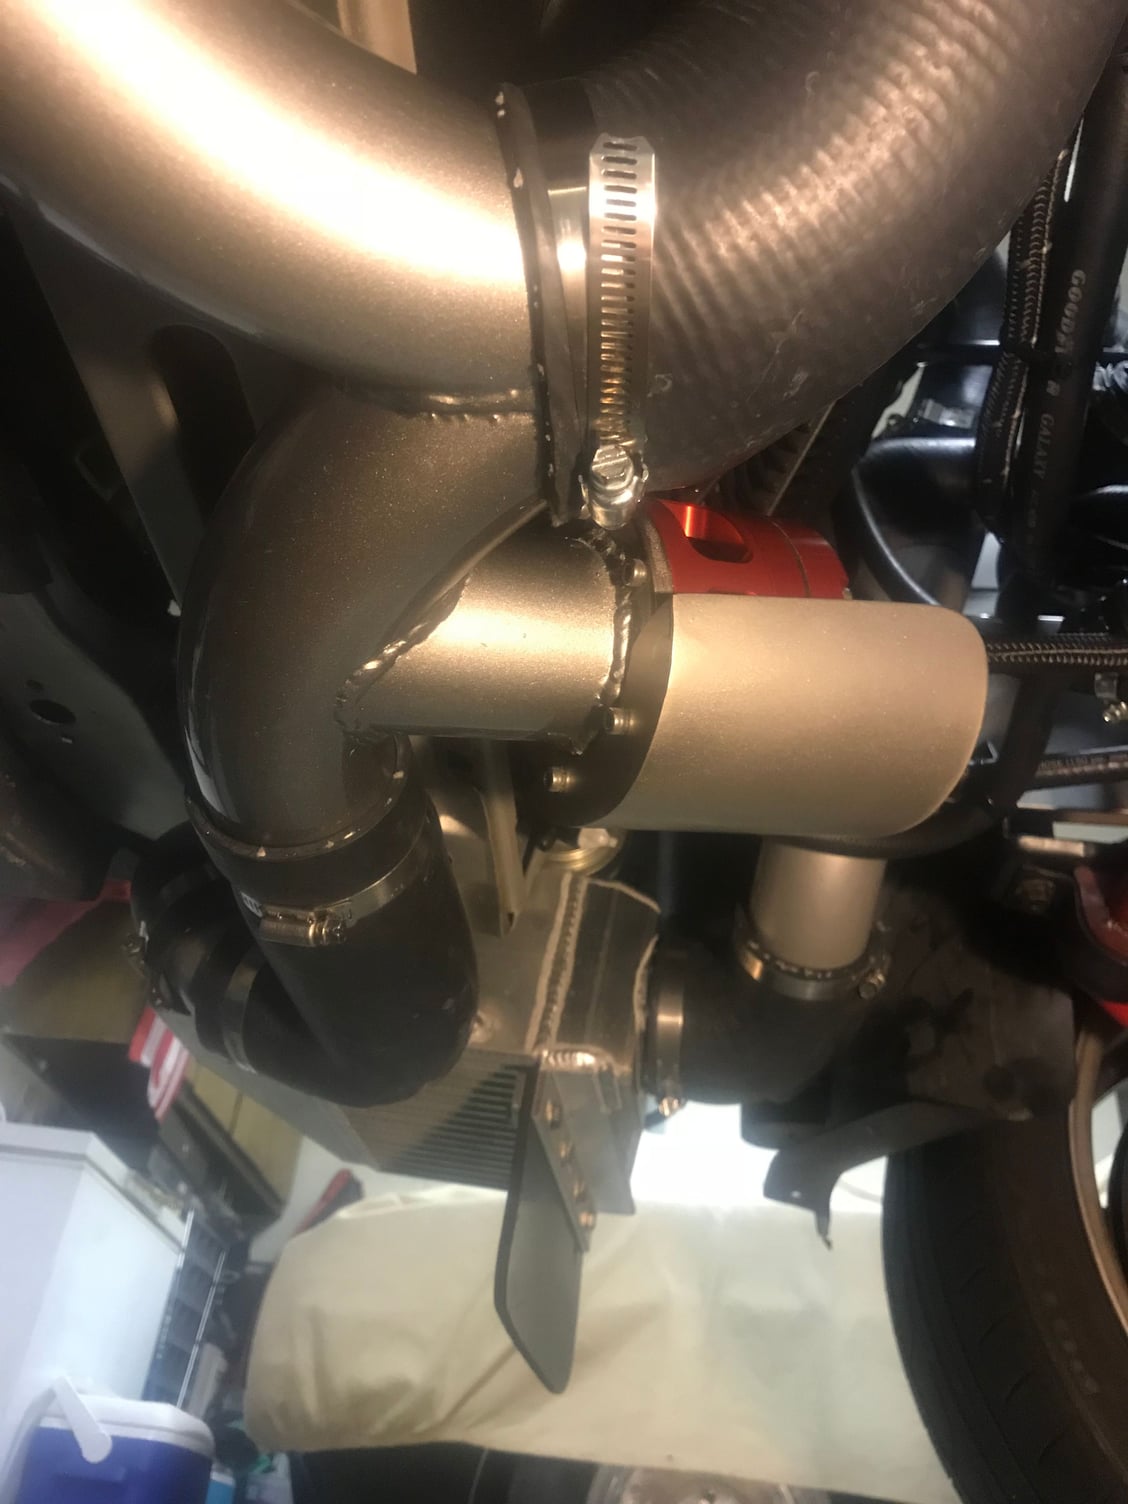
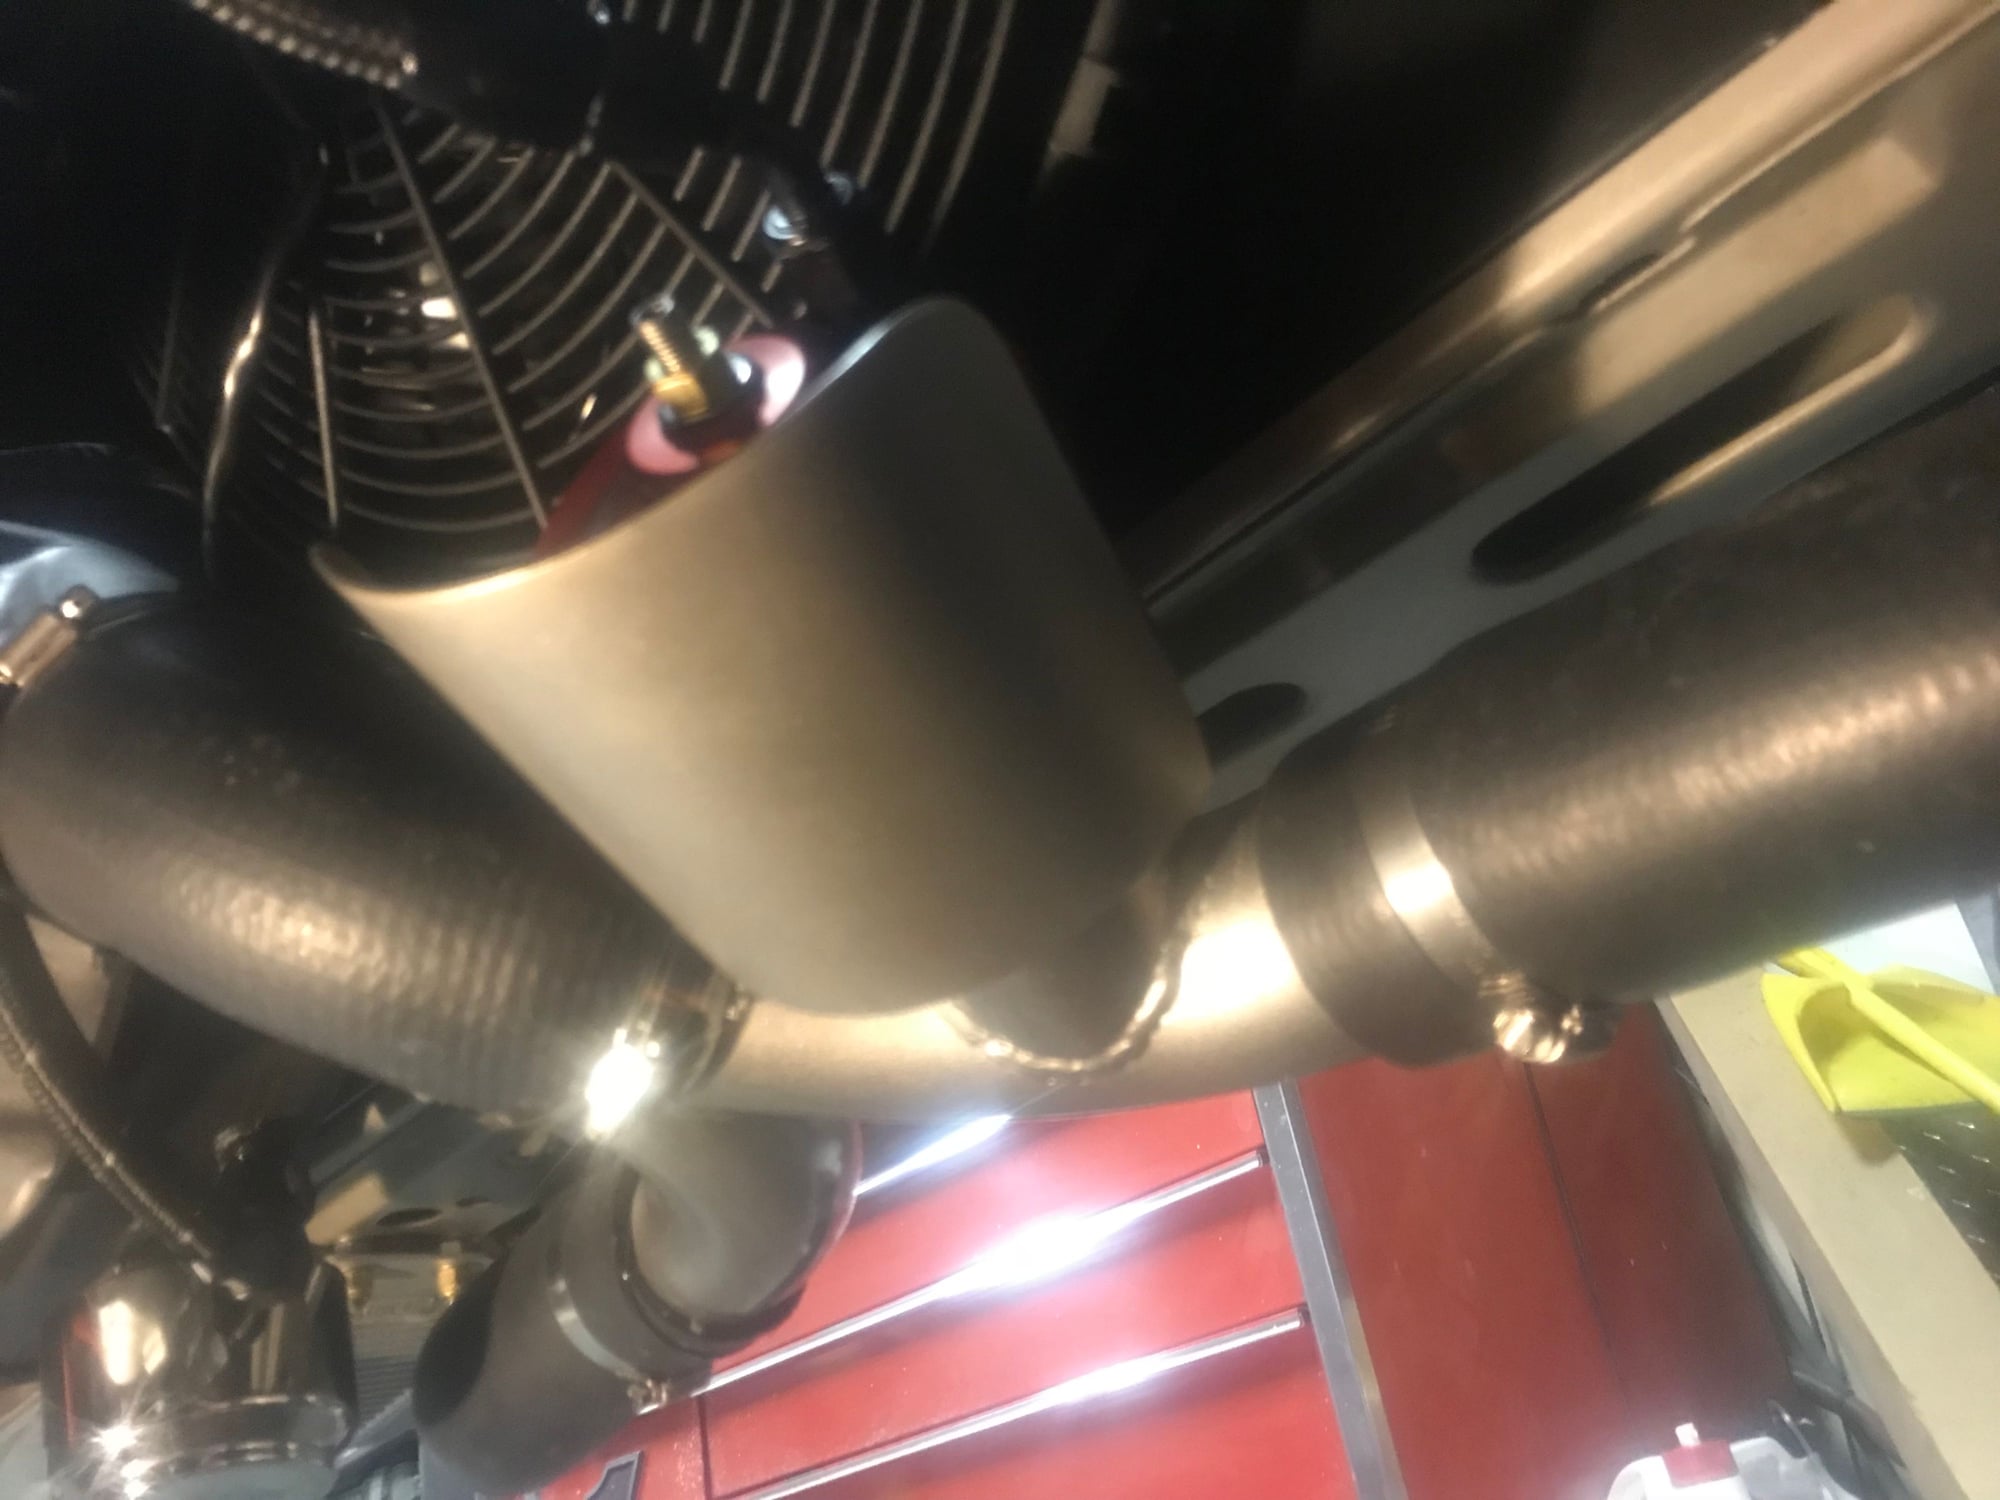
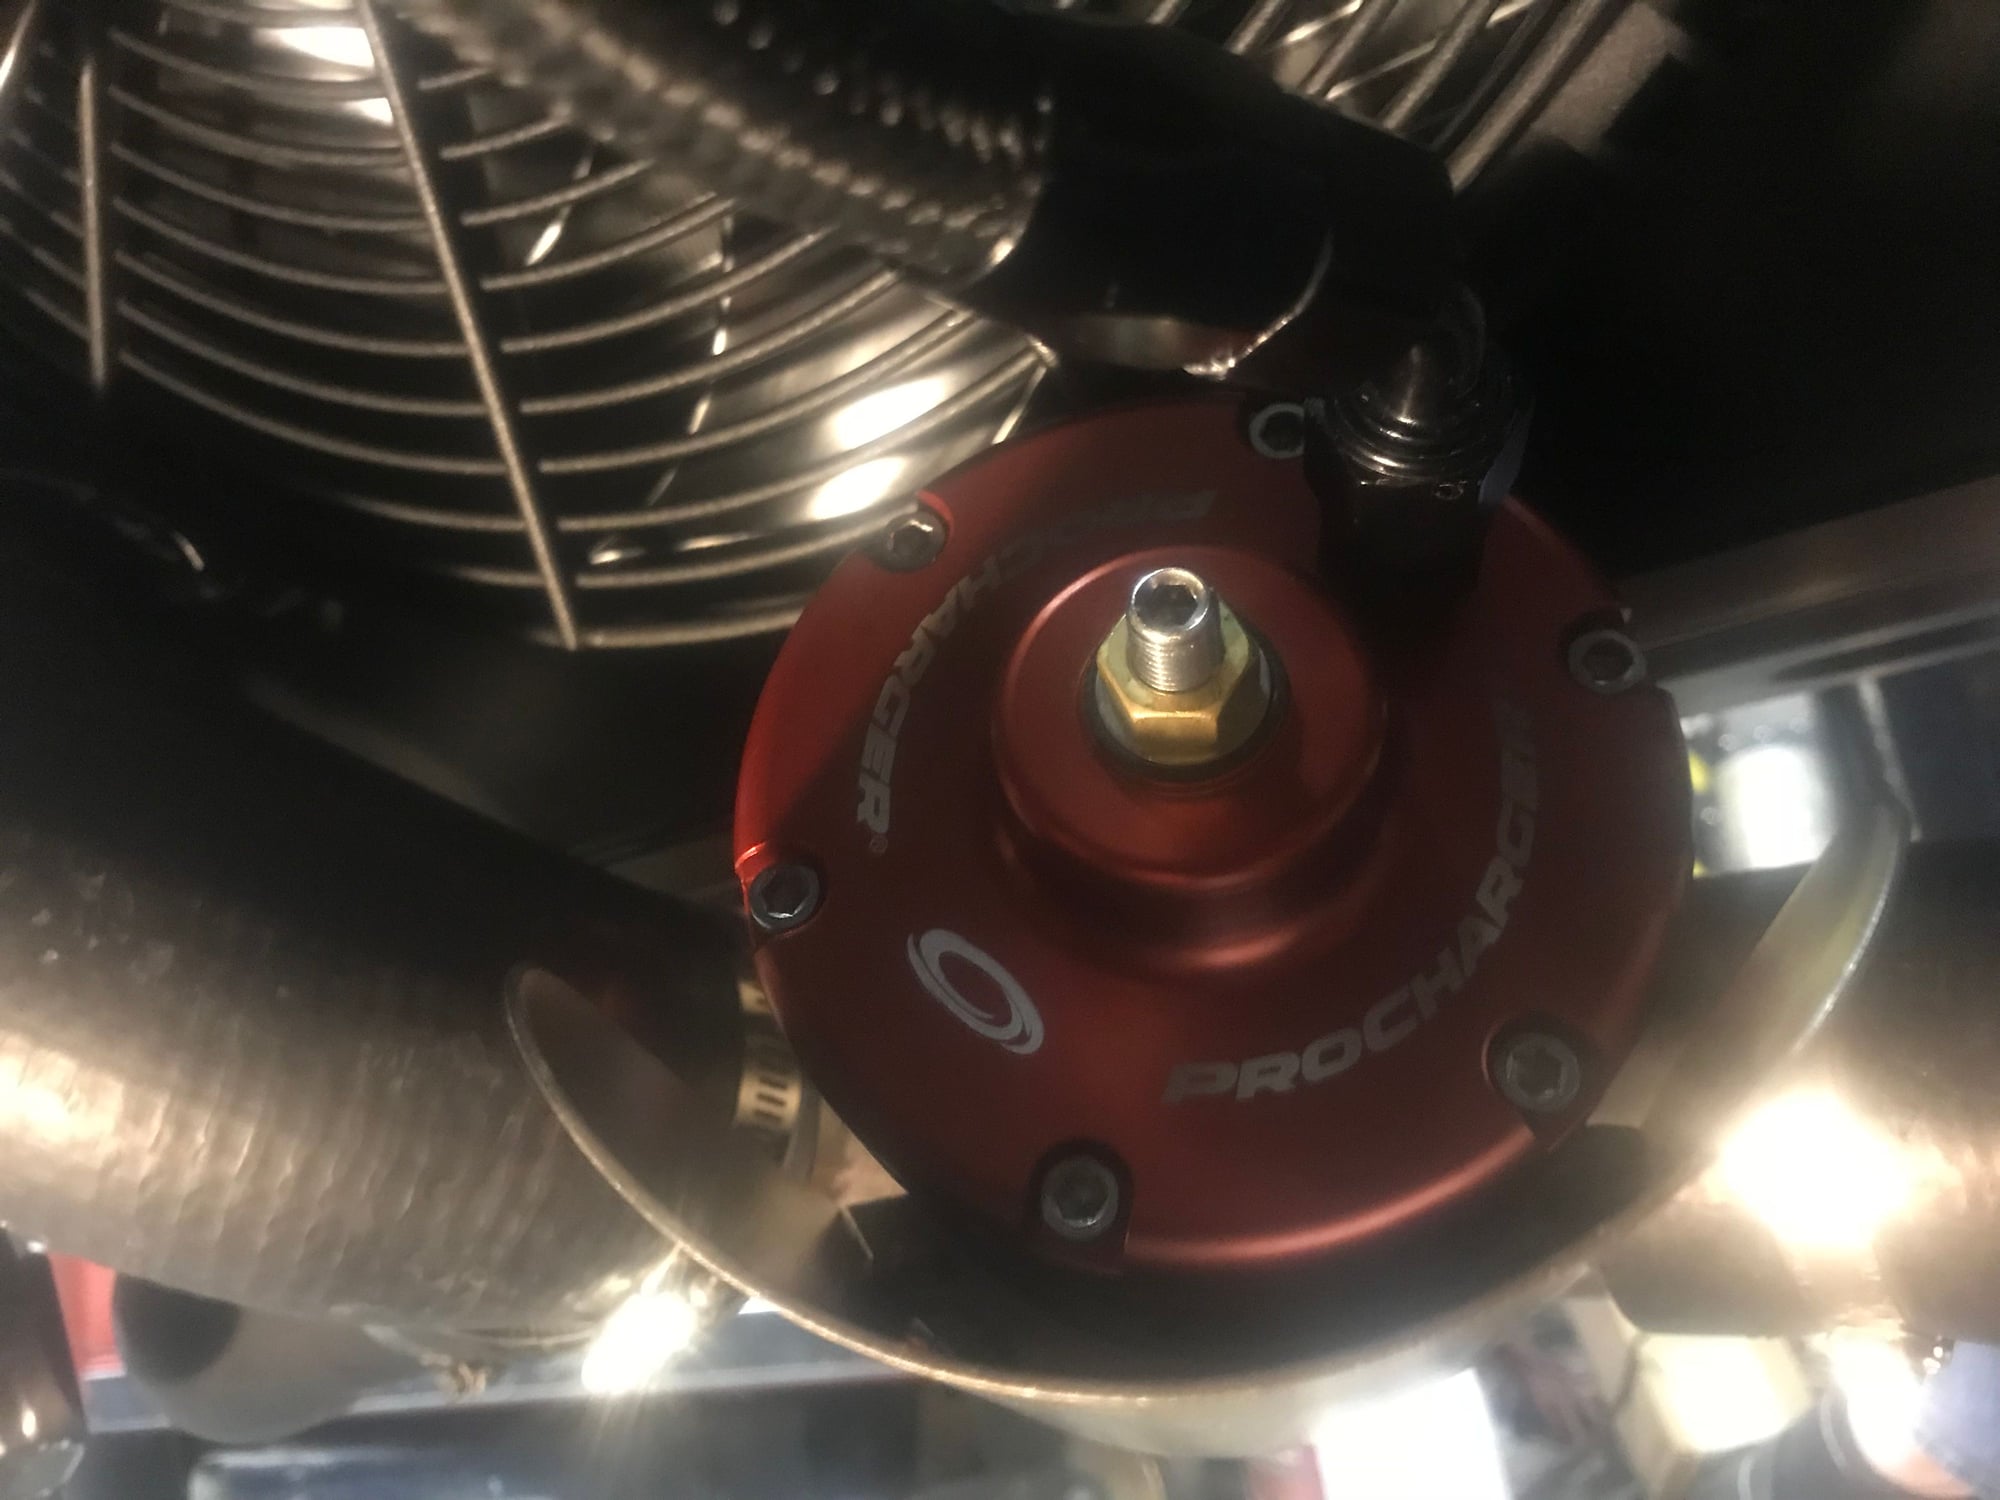
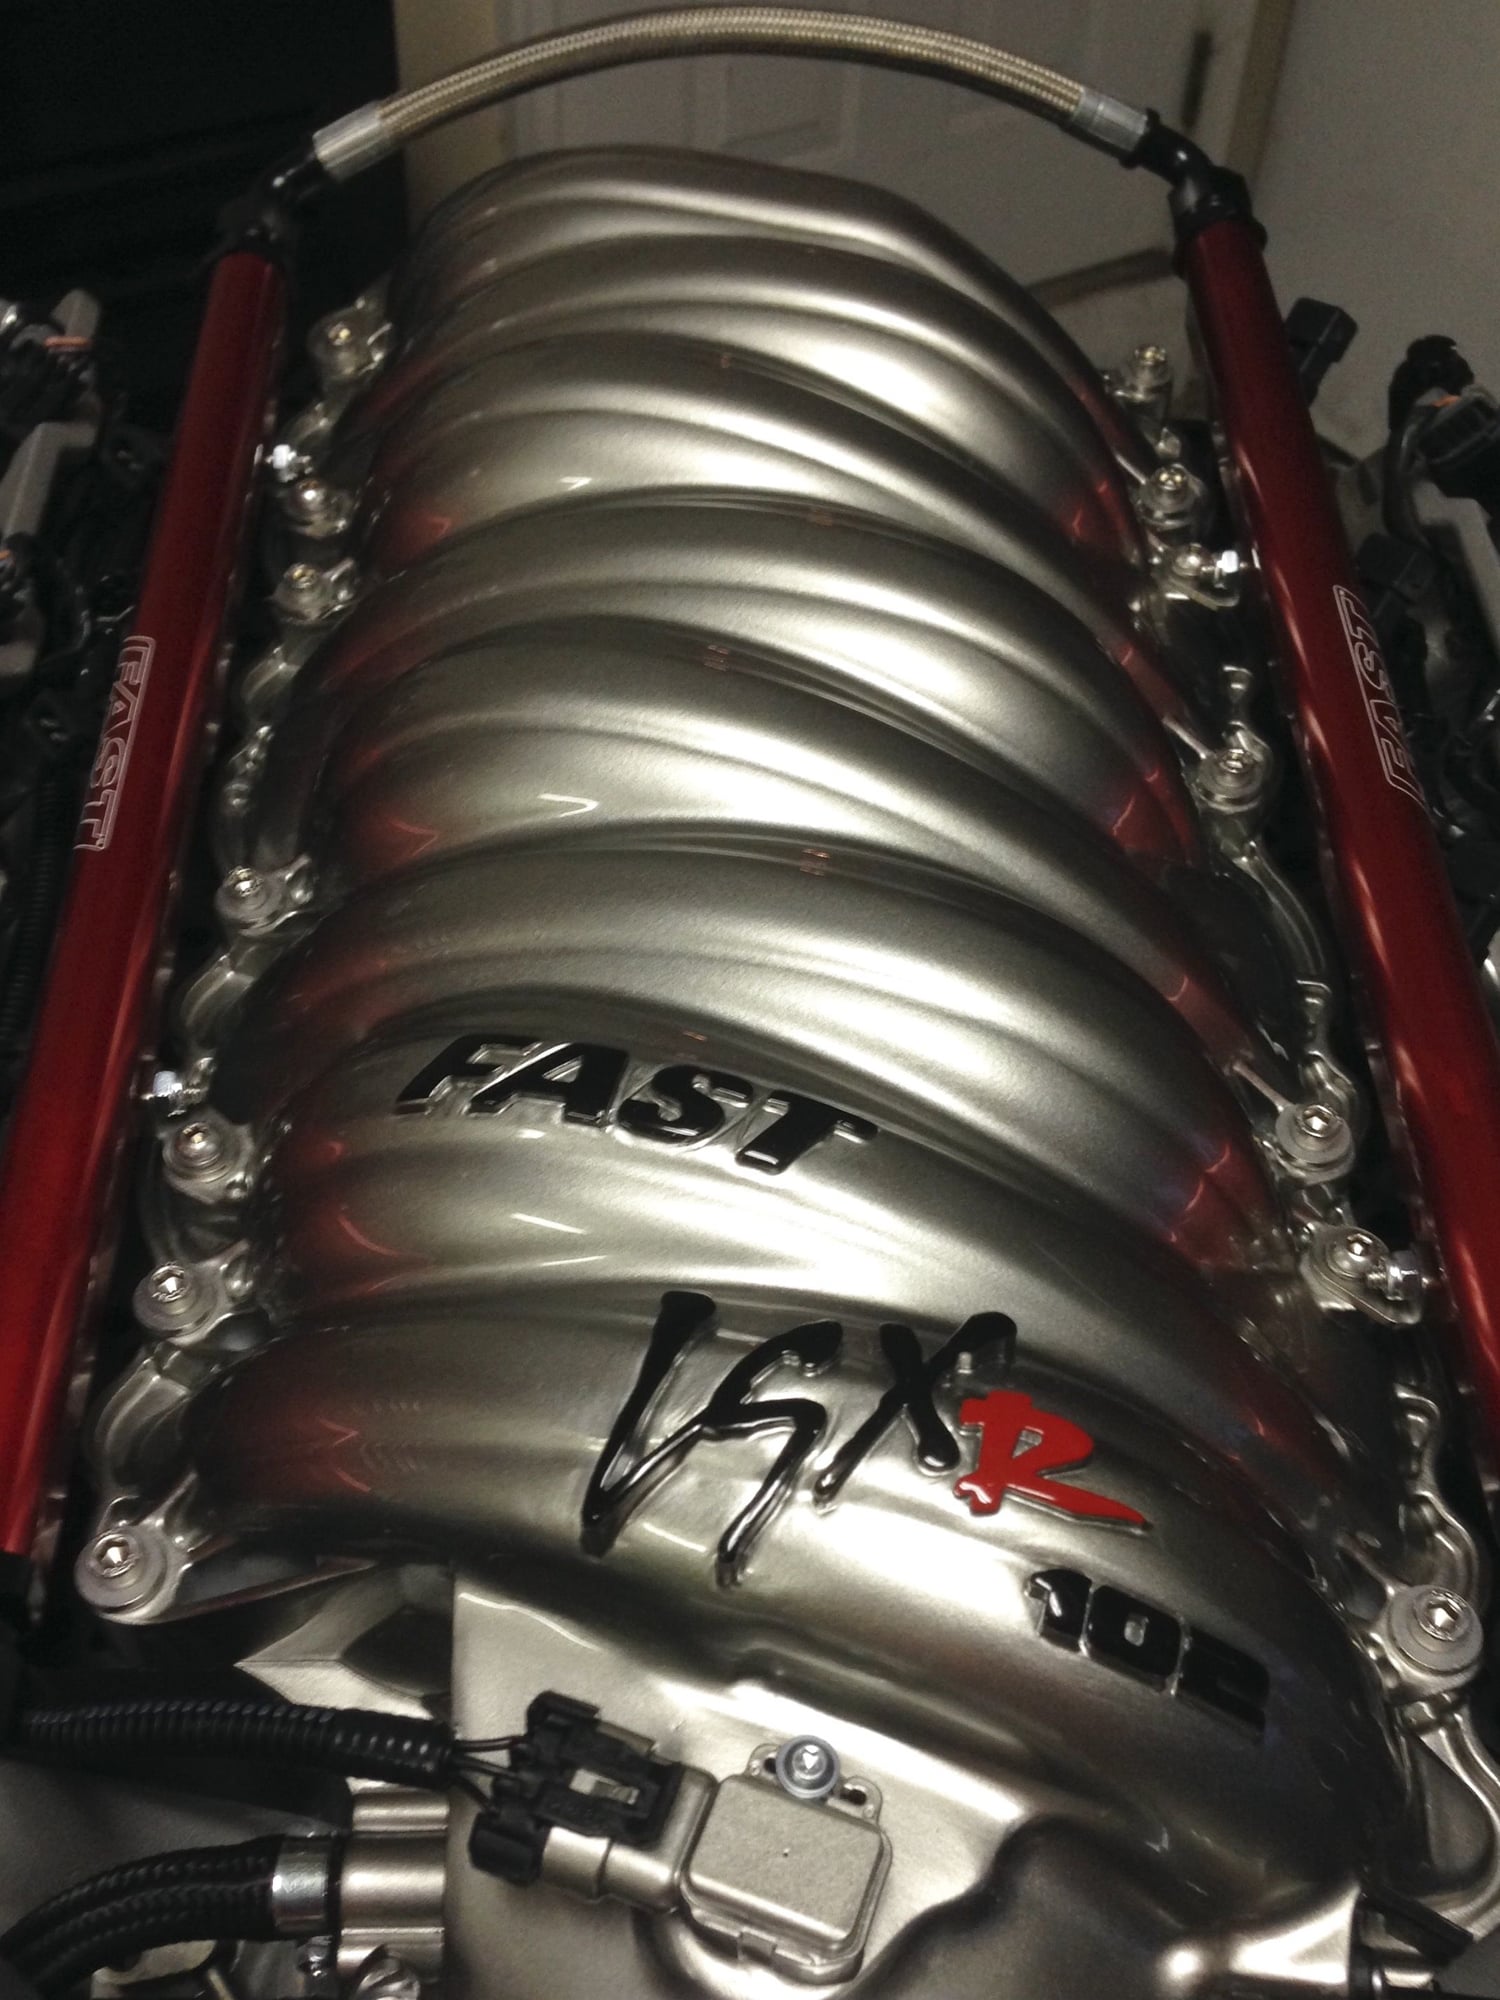
New build-404 cid Procharger with custom Inner fender close out panels
#1
Teching In
Thread Starter
Join Date: Jul 2014
Location: Bonaire, Ga.
Posts: 37
Likes: 0
Received 0 Likes
on
0 Posts

Vengeance Racing has done the base tune and we will be taking to them for the dyno tune when final assembly completed. Vengeance has gone out of their way to answer questions and help keep us on the right track. Hopefully we will be pushing 750-800 rwhp on the dyno and look forward to some quarter mile runs in the near future.
Last edited by blown69; 02-21-2018 at 09:27 AM.
#2
Teching In
Thread Starter
Join Date: Jul 2014
Location: Bonaire, Ga.
Posts: 37
Likes: 0
Received 0 Likes
on
0 Posts
#4
Teching In
Thread Starter
Join Date: Jul 2014
Location: Bonaire, Ga.
Posts: 37
Likes: 0
Received 0 Likes
on
0 Posts
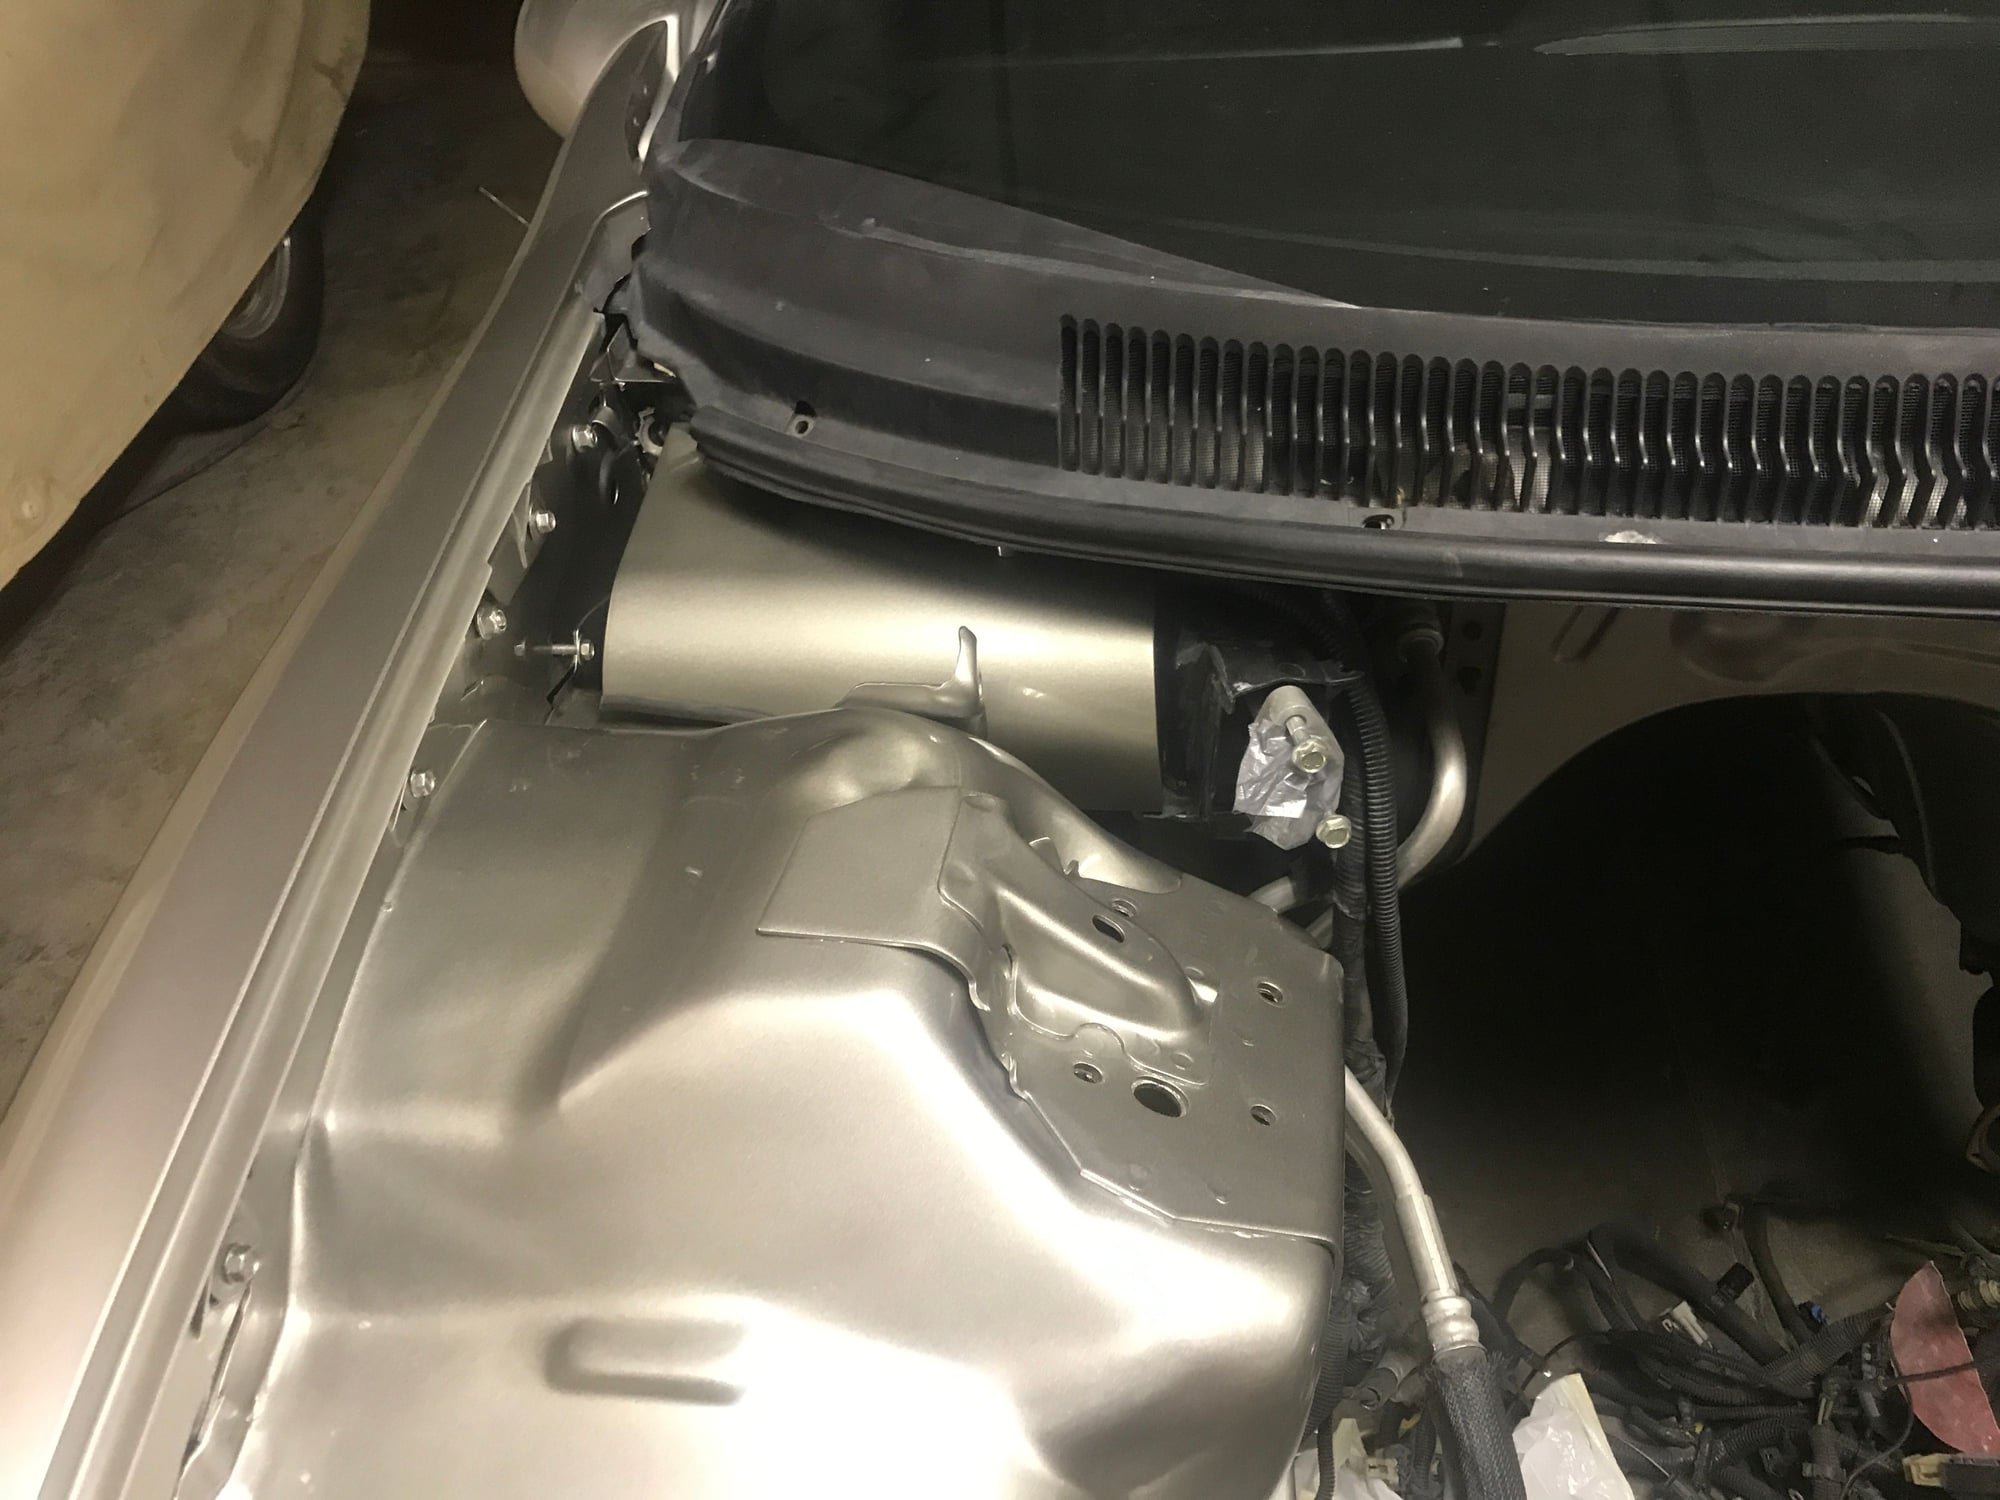
PCM cover made out of 18 gauge sheet metal

2 piece inner fender cover plate with Zeus fasteners for quick access. This covers factory coolant reservoir.
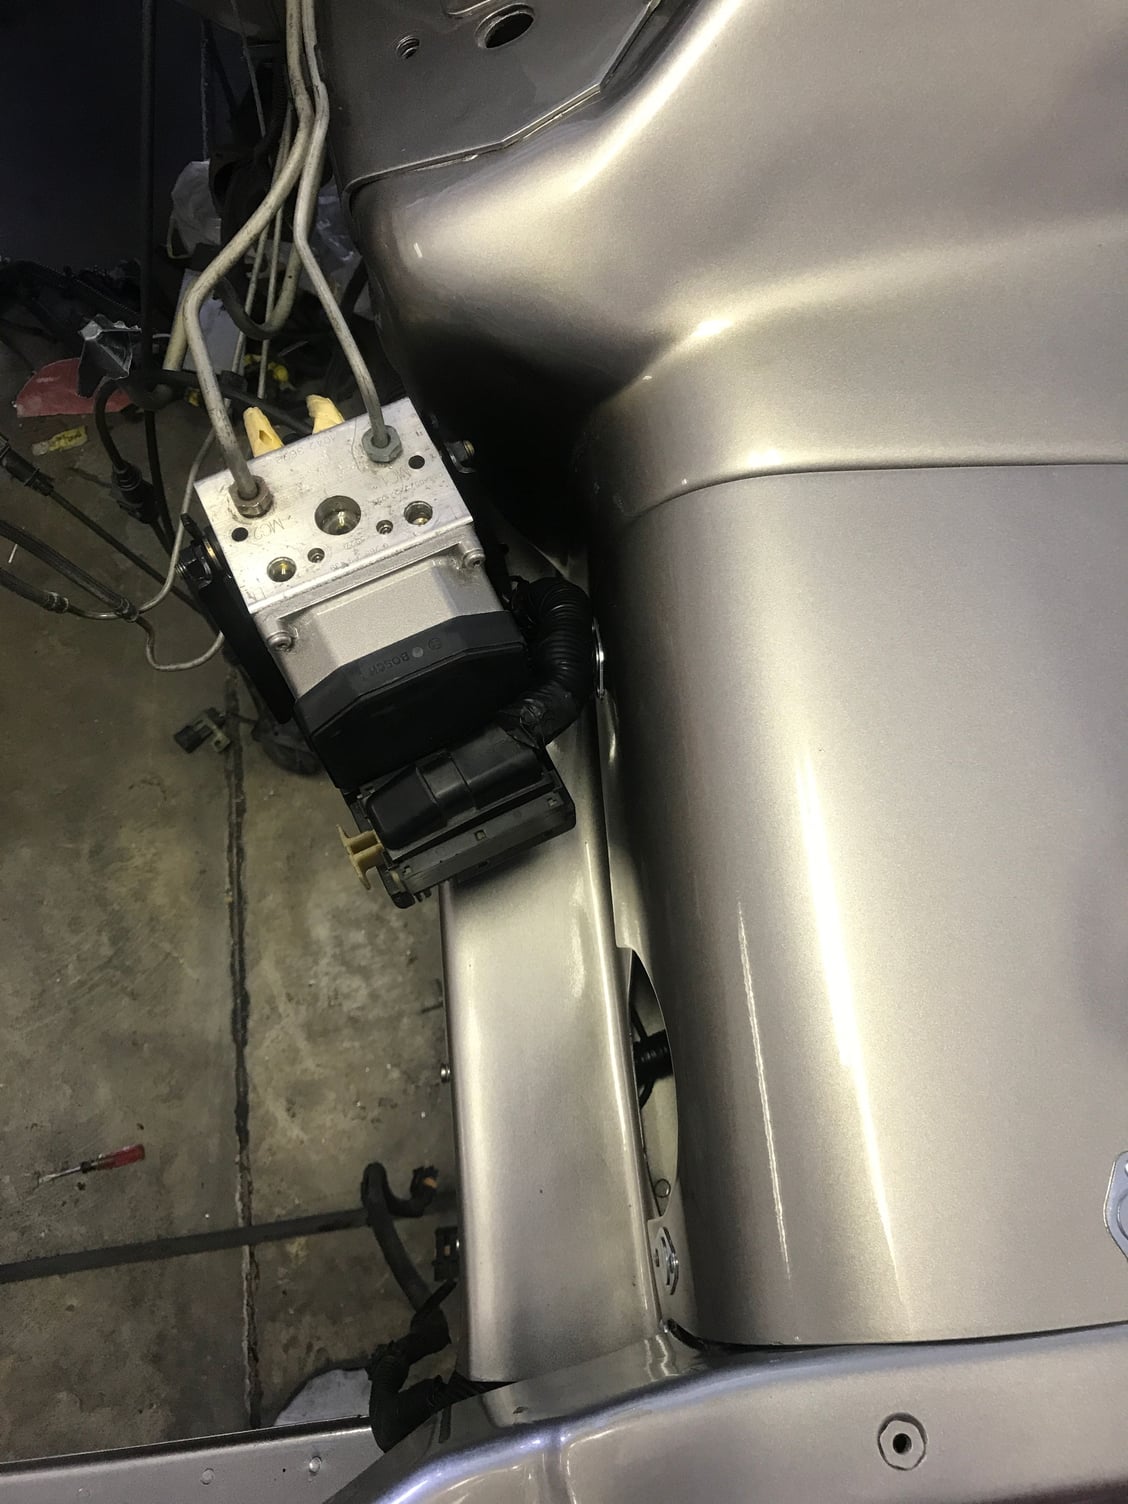
Driver’s side 2 piece inner fender cover with lower portion of cover hiding wiring that runs on top of frame rail( 1” above ) and upper cover hides typical ugly fuse/relay panels and ball of wiring.
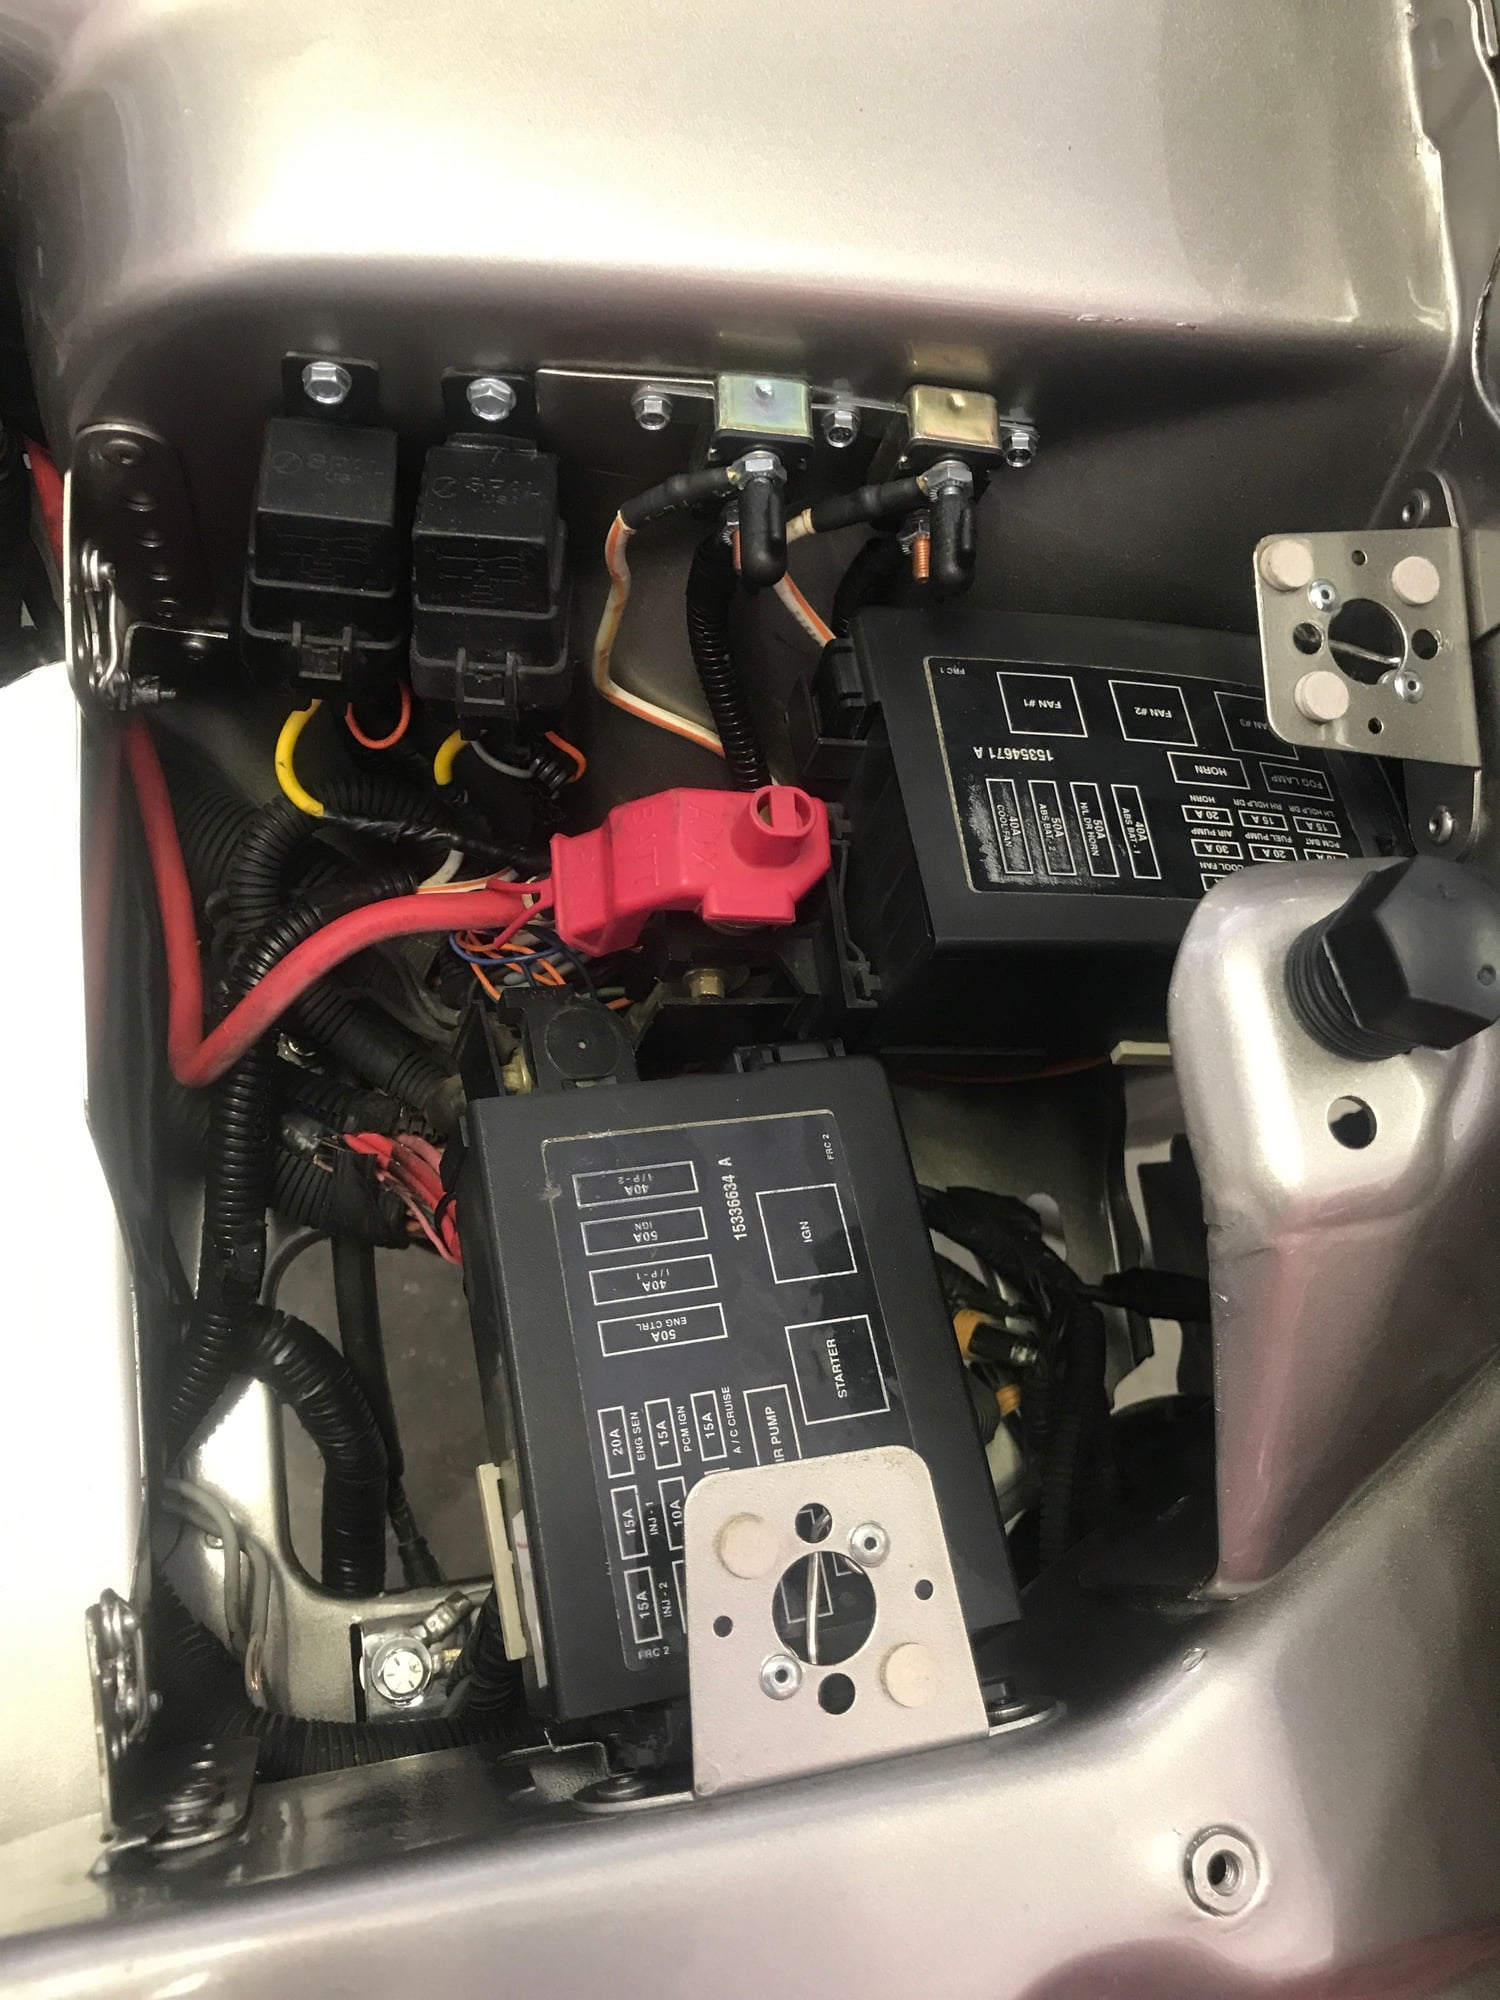
Fuse/relay panel ugliness that the cover panel hides with room for the Procharger to plenum pipe to run thru.
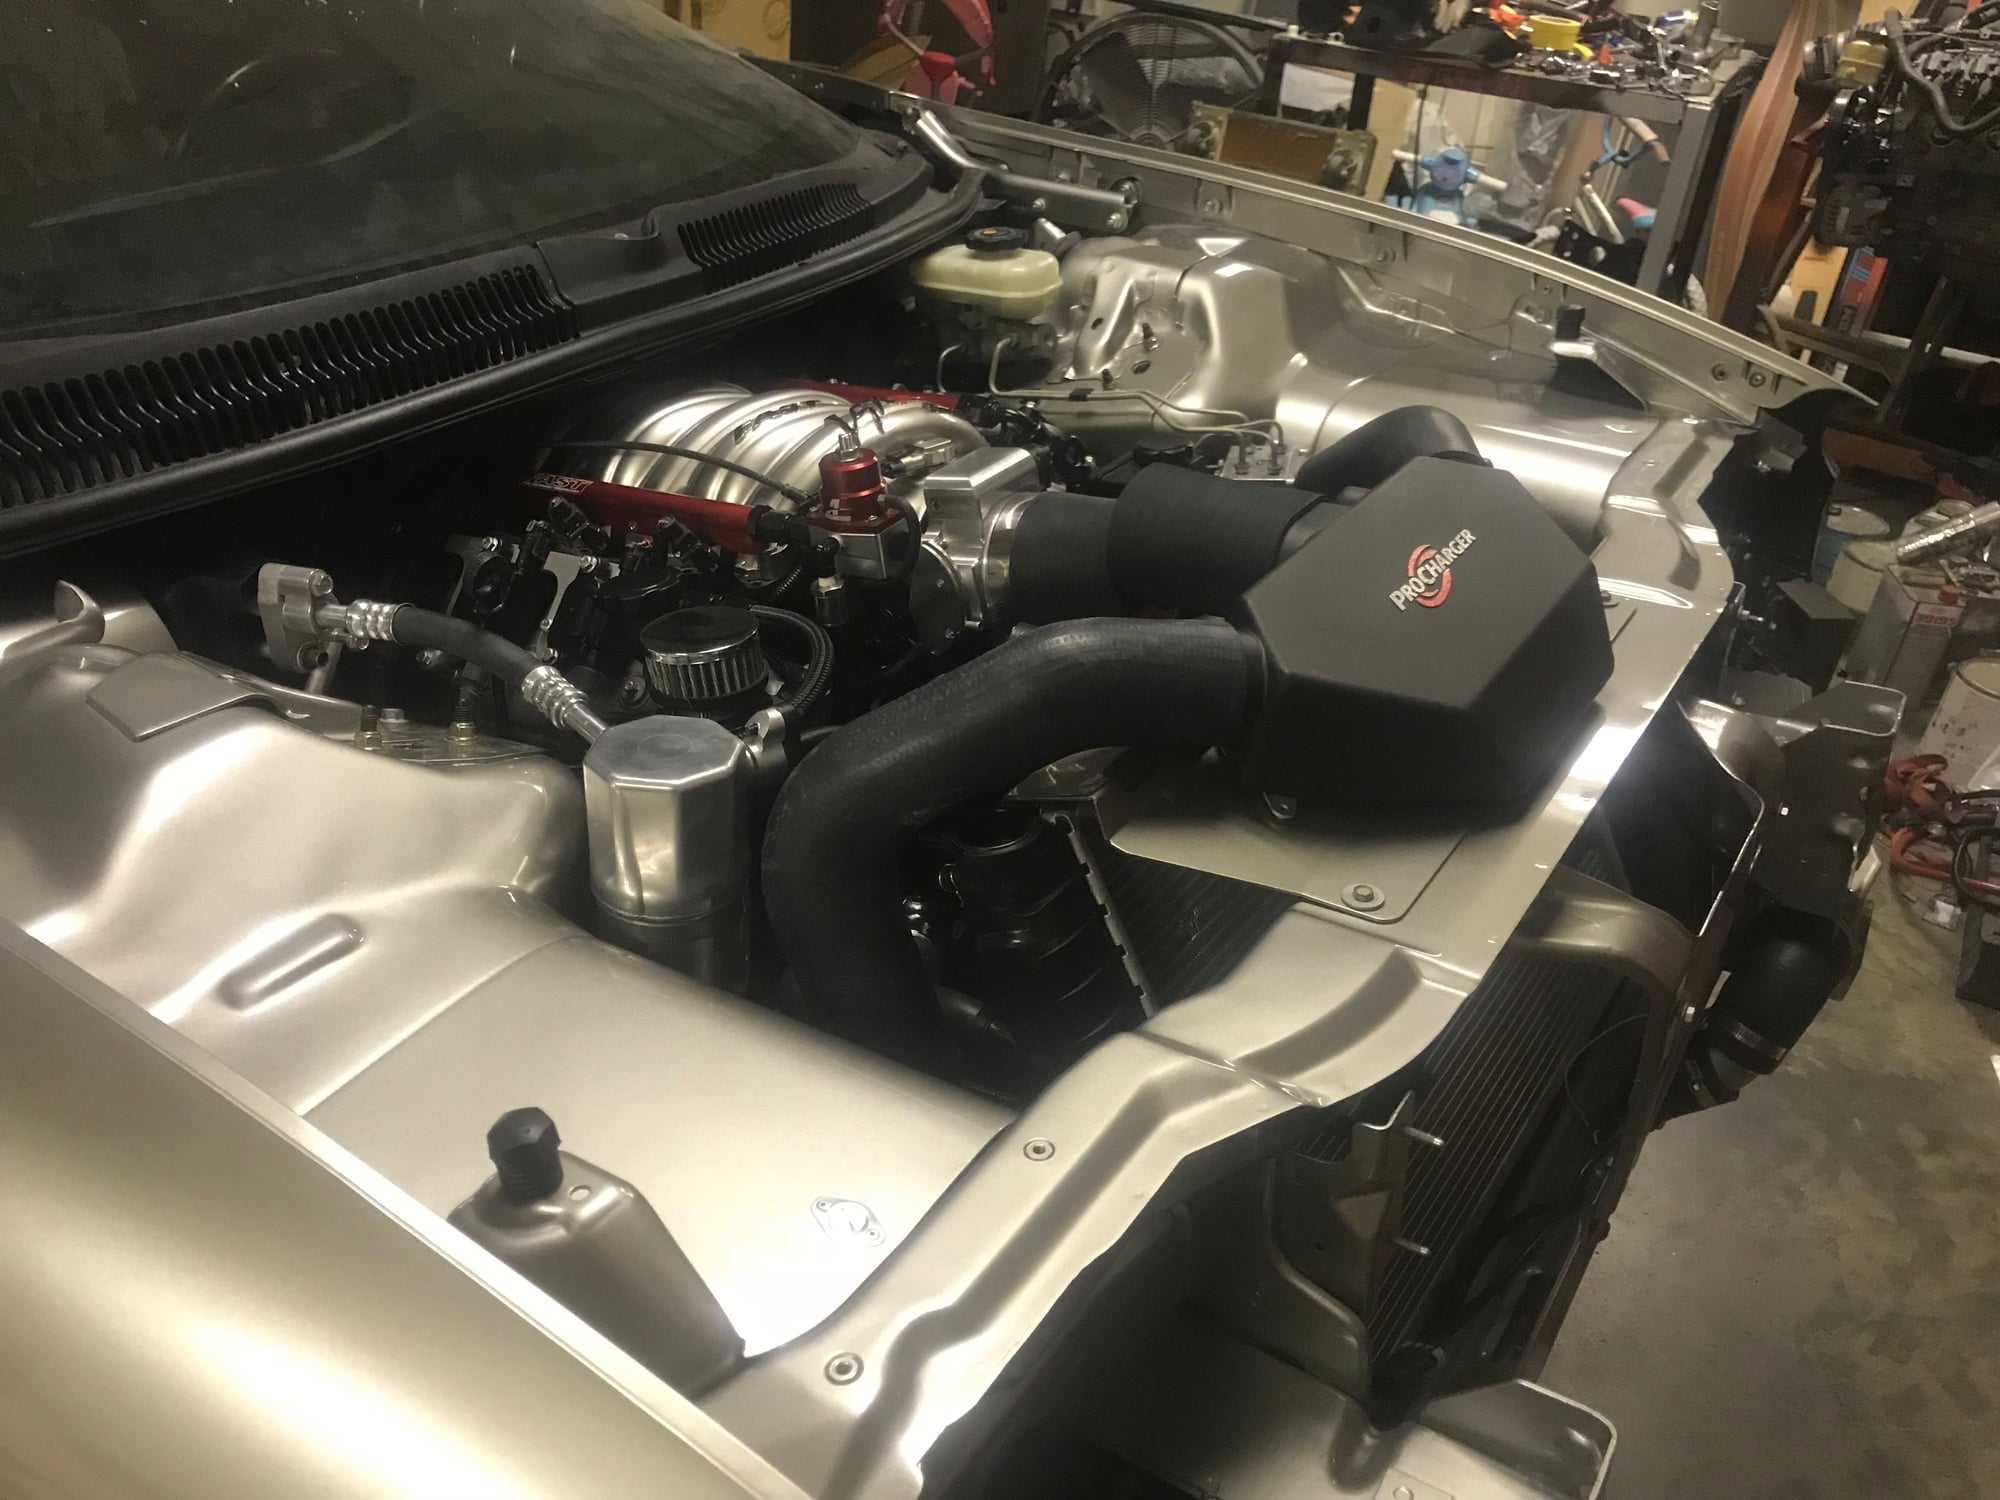
Shot of inner covers with painted letters on procharger plenum.
#7
LS1Tech Sponsor
iTrader: (65)
Very well done, that looks great!!
__________________

Featuring 6 different turbo kits for your F-body!
Check us out on Facebook at: www.facebook.com/HuronSpeed

Featuring 6 different turbo kits for your F-body!
Check us out on Facebook at: www.facebook.com/HuronSpeed
Trending Topics
#8
Teching In
Thread Starter
Join Date: Jul 2014
Location: Bonaire, Ga.
Posts: 37
Likes: 0
Received 0 Likes
on
0 Posts
#9
LS1Tech Sponsor
iTrader: (16)


Your car looks great, is this Cody? Bob
__________________
ATI ProCharger and Moser Sales 260 672-2076
PM's disabled, please e-mail me
E-mail: brutespeed@gmail.comob@brutespeed.com
https://brutespeed.com/ Link to website

ATI ProCharger and Moser Sales 260 672-2076
PM's disabled, please e-mail me
E-mail: brutespeed@gmail.comob@brutespeed.com
https://brutespeed.com/ Link to website

#11
Teching In
Thread Starter
Join Date: Jul 2014
Location: Bonaire, Ga.
Posts: 37
Likes: 0
Received 0 Likes
on
0 Posts
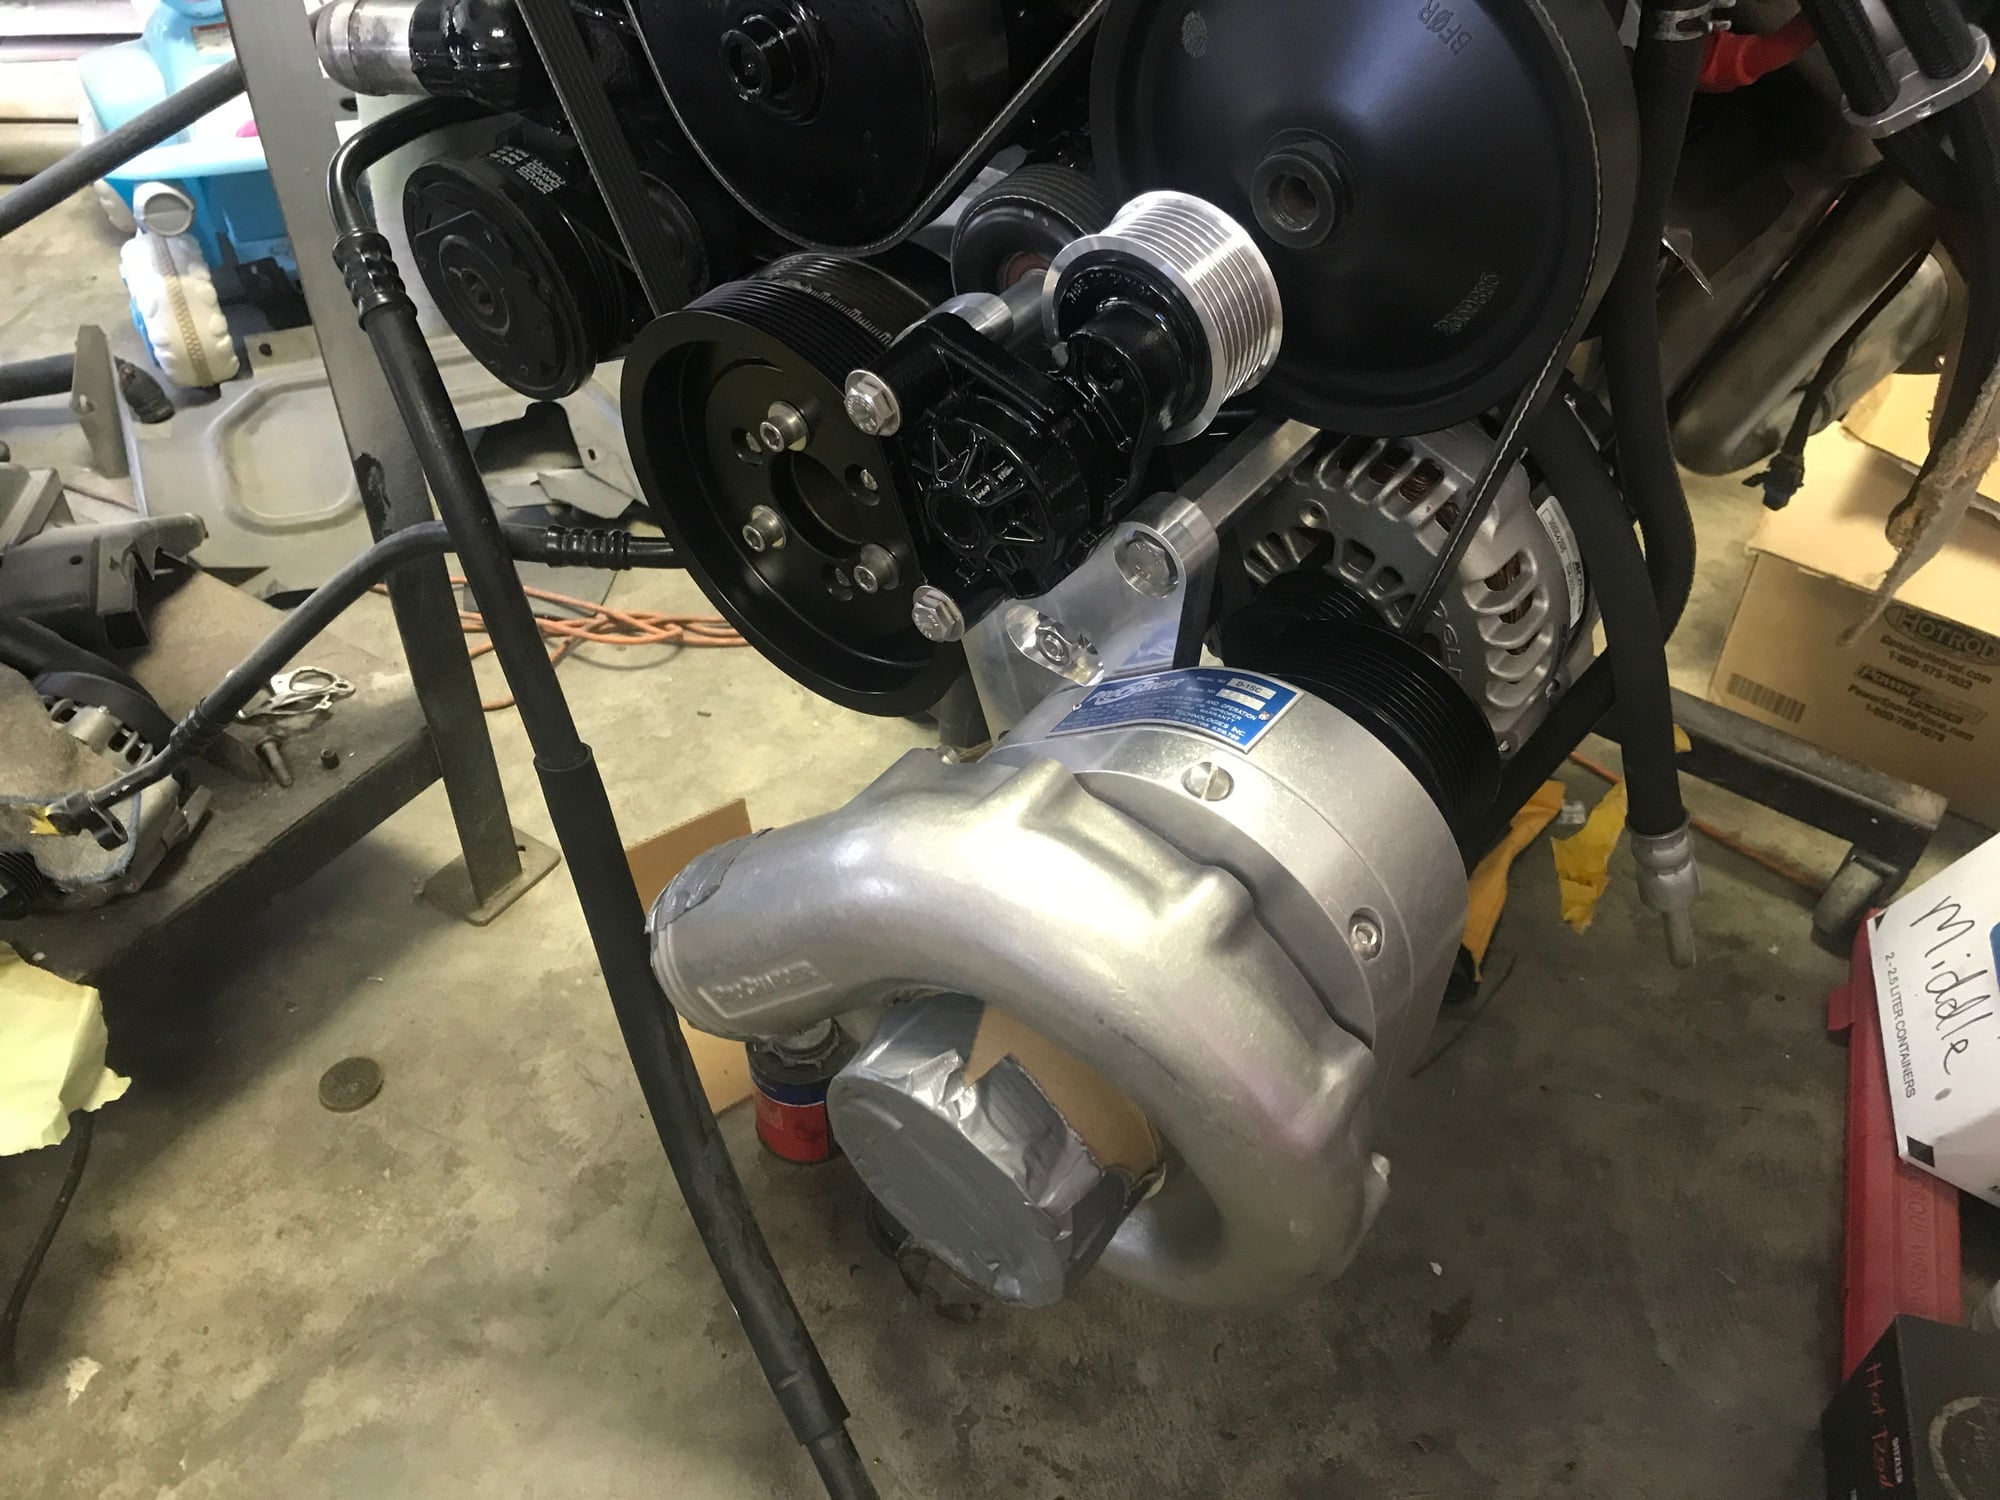
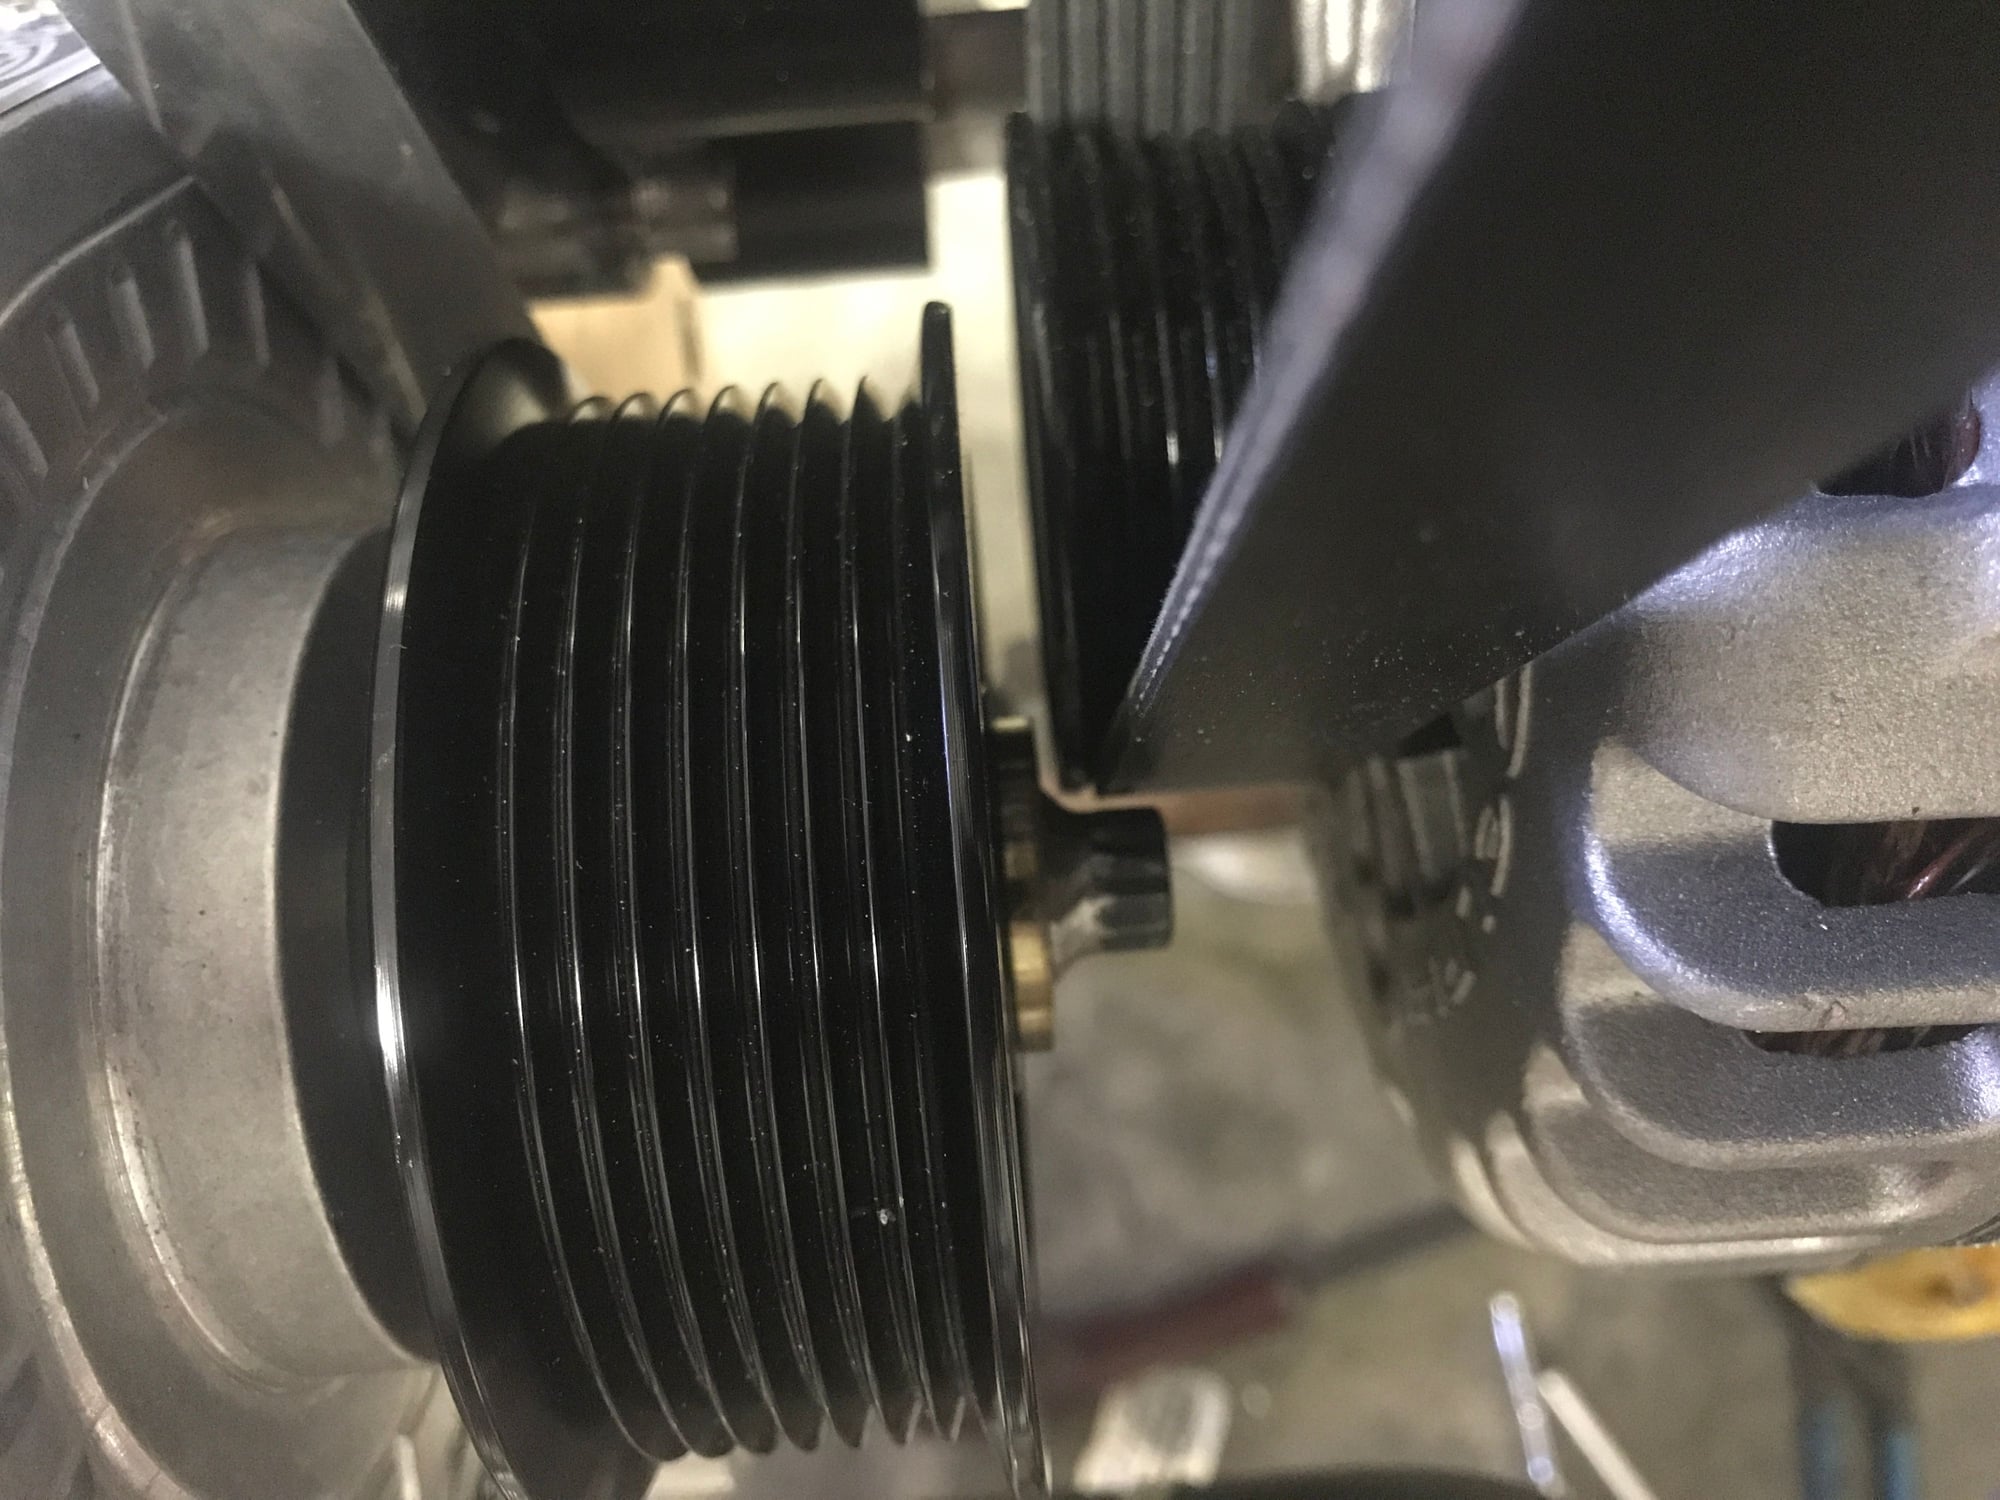
The bolt is s 12 point arp I picked up from summit racing that came in a two pack. Probably can use something else but heard of bolts snapping so the high grade arp seems to be the smart choice. I don’t remember the exact length but look at the factory procharger bolt for length and get about the same length. If I remember correctly the bolt was about an 1/8 “ longer and was a replacement connecting rod bolt. Remember to use lock tight on the threads. I just happened to be at summit picking up some other parts and I asked and they had what I needed. I chucked the bolt up in my drill, turning it slowly using the drill, and held against the corner of my grinding stone on my bench grinder while it was running to radius the bolt shoulder. I then ground some of the procharger pulley retaining washer off to thin it down( maybe a 1/16 or so) for clearance. It is tight but everything clears and I don’t have any f-body alternator issues and have the reliability of the 140amp truck alternator. When I get a chance I will find the ARP bolt part # and post it. On second thought... I likely have the other bolt as two came in the pack. Let me know If you want and I may can help you out?!
Last edited by blown69; 02-27-2018 at 11:12 AM.
#12
Teching In
Thread Starter
Join Date: Jul 2014
Location: Bonaire, Ga.
Posts: 37
Likes: 0
Received 0 Likes
on
0 Posts
Bob, Yes it is. Thanks to you for all of your help with the Aster bracket kit and big red valve. We finally got the car running and taking to Vengeance racing soon for our dyno tune. Looking forward to some numbers and track time in the near future. We originally started this project three years ago(shortage of money, money, and more money) and finally got to drive it last weekend. Still have several things to wrap up but thanks to guys like you it is progressing. Will keep you guys up to date as we move forward
Last edited by blown69; 02-27-2018 at 10:37 AM.
#13
Teching In
Thread Starter
Join Date: Jul 2014
Location: Bonaire, Ga.
Posts: 37
Likes: 0
Received 0 Likes
on
0 Posts
https://ls1tech.com/forums/appearanc...g-harness.html
I have many pm request for "how to" on making the closeout panels. The link is above for a few pictures and a brief explanation. If you want me to elaborate further post up and I will try to help you make. I also have many request to know if I will make closeout and pcm panels for sale. If there is enough interest I would consider but as of now have a full time job with several projects going on at this time. But willing to help anyone anyway I can.
On a different note my son and I would like to recommend Steve at Monster Clutch for your clutch needs. I had contact with him several times and he has bent over backwards to help and answer my questions. That is rare for someone to take such a personal interest along with selling a top quality product to you. Thanks Steve. Also Bob At Brute Speed, David at Vengeance Racing, and Mighty Mouse for answering my questions and selling me a quality product for my Procharger build. Thanks Guys!
#14
LS1Tech Sponsor
iTrader: (16)
https://ls1tech.com/forums/appearanc...g-harness.html
I have many pm request for "how to" on making the closeout panels. The link is above for a few pictures and a brief explanation. If you want me to elaborate further post up and I will try to help you make. I also have many request to know if I will make closeout and pcm panels for sale. If there is enough interest I would consider but as of now have a full time job with several projects going on at this time. But willing to help anyone anyway I can.
On a different note my son and I would like to recommend Steve at Monster Clutch for your clutch needs. I had contact with him several times and he has bent over backwards to help and answer my questions. That is rare for someone to take such a personal interest along with selling a top quality product to you. Thanks Steve. Also Bob At Brute Speed, David at Vengeance Racing, and Mighty Mouse for answering my questions and selling me a quality product for my Procharger build. Thanks Guys!
I have many pm request for "how to" on making the closeout panels. The link is above for a few pictures and a brief explanation. If you want me to elaborate further post up and I will try to help you make. I also have many request to know if I will make closeout and pcm panels for sale. If there is enough interest I would consider but as of now have a full time job with several projects going on at this time. But willing to help anyone anyway I can.
On a different note my son and I would like to recommend Steve at Monster Clutch for your clutch needs. I had contact with him several times and he has bent over backwards to help and answer my questions. That is rare for someone to take such a personal interest along with selling a top quality product to you. Thanks Steve. Also Bob At Brute Speed, David at Vengeance Racing, and Mighty Mouse for answering my questions and selling me a quality product for my Procharger build. Thanks Guys!
You're welcome, thanks! Bob
__________________
ATI ProCharger and Moser Sales 260 672-2076
PM's disabled, please e-mail me
E-mail: brutespeed@gmail.comob@brutespeed.com
https://brutespeed.com/ Link to website

ATI ProCharger and Moser Sales 260 672-2076
PM's disabled, please e-mail me
E-mail: brutespeed@gmail.comob@brutespeed.com
https://brutespeed.com/ Link to website

#15
Teching In
iTrader: (2)
Hey, looks good!
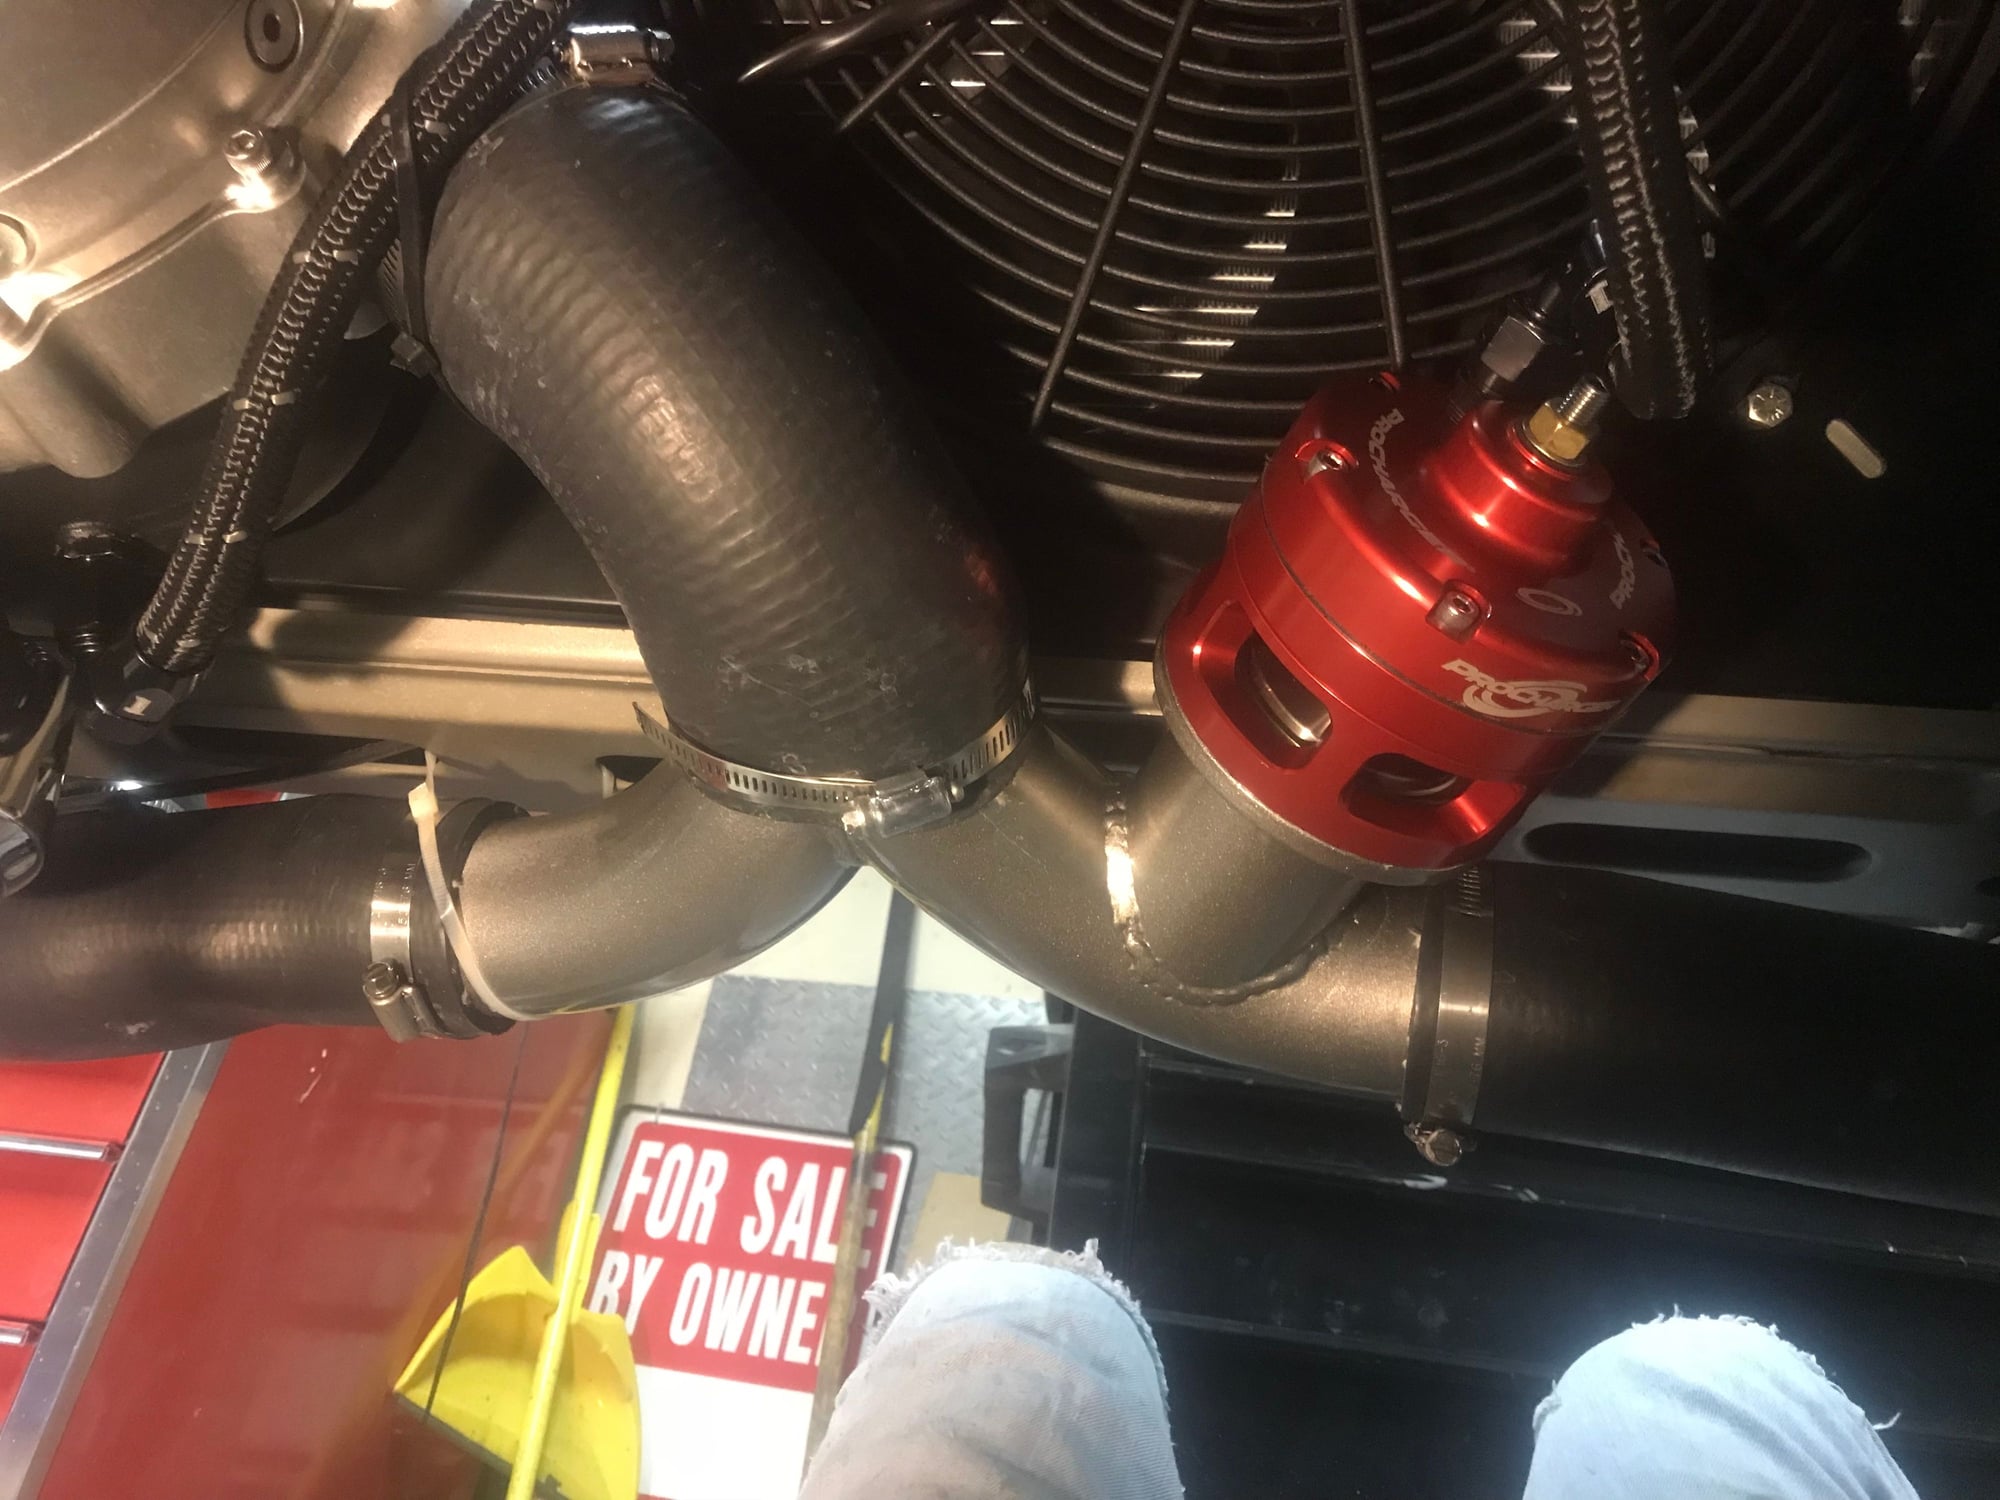
I'm sure you want it to stay pretty clean too, something I ran into with the red race valve is dust!!! I have fmic and mine is placed in a different location. I made a "shield" to divert the air being blown out away from the ground. No joke the city you live in should pay you to drive around and clean the streets. Haha
mines an f1 setup and moves a lot of air and the d1 will as well.
I used the same mount ' from valve to flange and got some longer bolts and made this my connection for the shield.
since then I don' have a completey dust covered engine bay and car.
enjoy the daily doses of boost!!!
#16
The 140 amp alt clearance issue was why I had to remove it and reinstall the stock alt. At the time my creative thinking wasn't working so thought only solution would be to move the alt topside to the passenger side. Even tried swapping the alt pulleys as one had a larger shoulder but still not enough clearance. I think however, that the charger head pulley makes a difference too, so still might not work with the 4 inch pulley currently installed on my D1.
Am going to take another look tomorrow and see if what you did will work. Image a round allen head bolt might work as well (same type of what holds the charger head on the j bracket). Those are easy to find almost anywhere (Ace hardware, Fastenal etc).
Thanks for the tip.
Am going to take another look tomorrow and see if what you did will work. Image a round allen head bolt might work as well (same type of what holds the charger head on the j bracket). Those are easy to find almost anywhere (Ace hardware, Fastenal etc).
Thanks for the tip.
#17
Teching In
Thread Starter
Join Date: Jul 2014
Location: Bonaire, Ga.
Posts: 37
Likes: 0
Received 0 Likes
on
0 Posts
Hey, looks good!
I'm sure you want it to stay pretty clean too, something I ran into with the red race valve is dust!!! I have fmic and mine is placed in a different location. I made a "shield" to divert the air being blown out away from the ground. No joke the city you live in should pay you to drive around and clean the streets. Haha
mines an f1 setup and moves a lot of air and the d1 will as well.
I used the same mount ' from valve to flange and got some longer bolts and made this my connection for the shield.
since then I don' have a completey dust covered engine bay and car.
enjoy the daily doses of boost!!!
I'm sure you want it to stay pretty clean too, something I ran into with the red race valve is dust!!! I have fmic and mine is placed in a different location. I made a "shield" to divert the air being blown out away from the ground. No joke the city you live in should pay you to drive around and clean the streets. Haha
mines an f1 setup and moves a lot of air and the d1 will as well.
I used the same mount ' from valve to flange and got some longer bolts and made this my connection for the shield.
since then I don' have a completey dust covered engine bay and car.
enjoy the daily doses of boost!!!
#18
Teching In
Thread Starter
Join Date: Jul 2014
Location: Bonaire, Ga.
Posts: 37
Likes: 0
Received 0 Likes
on
0 Posts
The 140 amp alt clearance issue was why I had to remove it and reinstall the stock alt. At the time my creative thinking wasn't working so thought only solution would be to move the alt topside to the passenger side. Even tried swapping the alt pulleys as one had a larger shoulder but still not enough clearance. I think however, that the charger head pulley makes a difference too, so still might not work with the 4 inch pulley currently installed on my D1.
Am going to take another look tomorrow and see if what you did will work. Image a round allen head bolt might work as well (same type of what holds the charger head on the j bracket). Those are easy to find almost anywhere (Ace hardware, Fastenal etc).
Thanks for the tip.
Am going to take another look tomorrow and see if what you did will work. Image a round allen head bolt might work as well (same type of what holds the charger head on the j bracket). Those are easy to find almost anywhere (Ace hardware, Fastenal etc).
Thanks for the tip.
#19
Teching In
Thread Starter
Join Date: Jul 2014
Location: Bonaire, Ga.
Posts: 37
Likes: 0
Received 0 Likes
on
0 Posts
