My build - Lots of pics
 06-29-2010, 08:01 PM
#221


^ You basically have the whole setup that I want to stick into my 93 although with four changes. The rear (narrowed 4 / side), same wheels (different size and BS), coilovers instead, and the same front end only with PS, but everything else the same. I just don't have the money to be messing with it right now.
I also just not an hour ago picked up a moser 9 inch housing narrowed 5.5 / side, solid ARB, narrowed mounts, and wheelie bar mounts from the freight depo. I got it for $450ish shipped so it was hard to pass on. That too will be sitting for a long time though.
On the k member I need to fit a single 5'' pipe with the AC system in there. I know I can do it with the BMR k member I have. Down the road once I get everything running, have extra money to mess with it though I'll want to swap things out, and I know it would work with my second round of revisions.
I will put a coilover in the rear when i have some more free cash. right now the An lines are kicking my ***. I swear its every week, another 200-400 dollars to try to finish the car.
I think i have most of it, not its just fluids, and some wire. no biggie

Chris
 07-01-2010, 02:14 AM
#222
Teching In

Join Date: Jul 2009
Posts: 13
Likes: 0
Received 0 Likes
on
0 Posts
What a great build. thanks for all the pictures you posted.
some guy totaled my z28...looking to get a SS tomorrow. another guy tried to talk me into buying a cobra, but im going to stick with the lsx.
I hope to see the finished product soon man.. great job.
some guy totaled my z28...looking to get a SS tomorrow. another guy tried to talk me into buying a cobra, but im going to stick with the lsx.
I hope to see the finished product soon man.. great job.
07-01-2010, 03:04 AM
#223
Sweet!
I will put a coilover in the rear when i have some more free cash. right now the An lines are kicking my ***. I swear its every week, another 200-400 dollars to try to finish the car.
I think i have most of it, not its just fluids, and some wire. no biggie
Chris
I will put a coilover in the rear when i have some more free cash. right now the An lines are kicking my ***. I swear its every week, another 200-400 dollars to try to finish the car.
I think i have most of it, not its just fluids, and some wire. no biggie
Chris
07-11-2010, 06:36 PM
#224
Well boys and girls, we got back after it this weekend and got some work done! After taking the holiday weekend off we spent Friday night, and all day Saturday working on the car. We started out by finally mounting the water pump. We had actually decided where we wanted it a couple of weeks ago, but I was hesitant on welding in the bracket "just in case". Well Friday came around and I said **** it! I double checked everything, cleaned up the metal and welded it in. Once that was done I started to make the lower radiator hose which was a -16 from the pump to the radiator. Thats when Chris said, "Are we sure it will clear the turbo?", to which I replied "Of course it will, it should be no where near it!". Well wouldn't you know it, the turbo was in the way of the planned routing. No big deal, just cut some metal out of the way, flip the fittings around and run the line around the frame rail in the area behind the bumper.
Here is the line I whipped up...
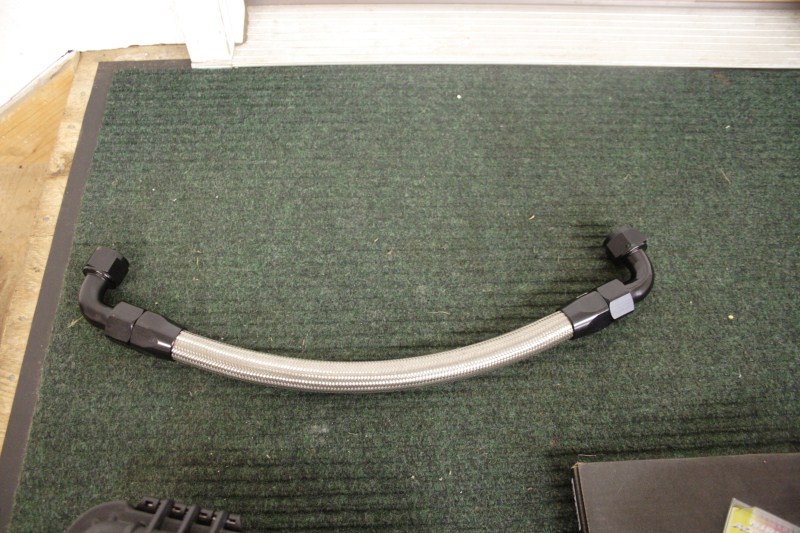
And here is the final product with the pump mounted and just the -16 run.
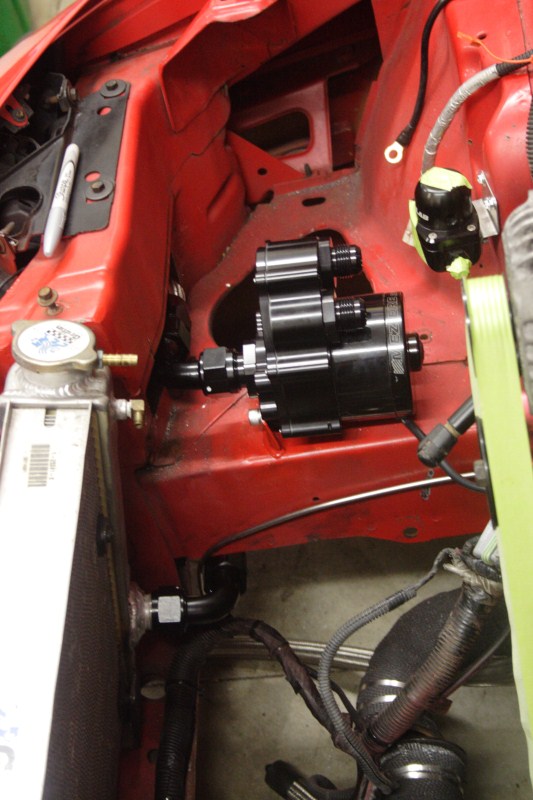
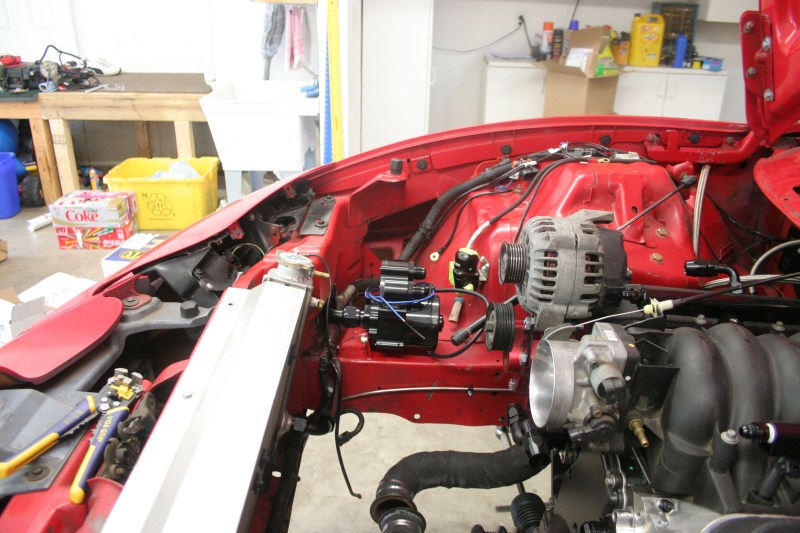
Here it is with the harness back in place.
Next up was the transmission, which as you could imagine was not something I could take pictures of during the process. It did go relatively smooth however so that was good. Started by throwing a quart of trans fluid in the converter.
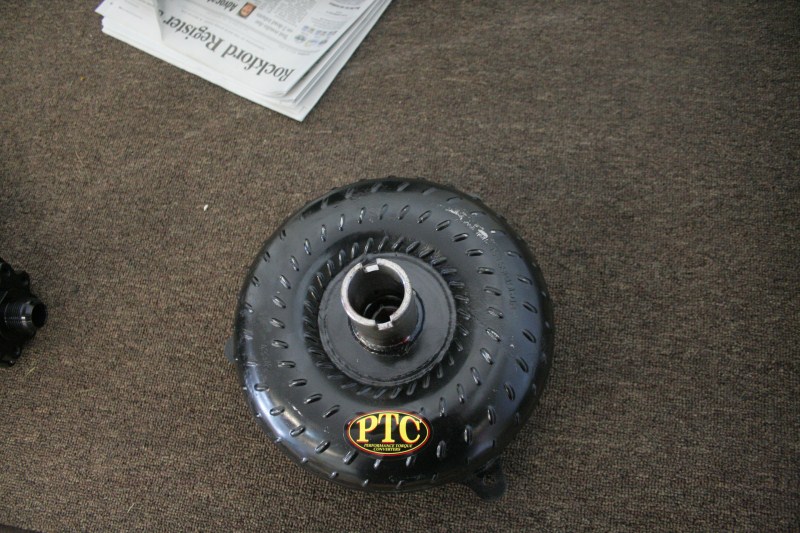
Then we put the TCI flex plate in (no pictures), put the converter in the trans making sure we properly engaged the pump (no pictures), and got ready to put the trans in. This was not as bad as we thought, but we planned well and took our time. Everything lined up the way it was supposed to the very first time and just fell into place. The hardest part of the whole process was installing the trans blanket. Also for anyone wondering we installed the dipstick AFTER the trans was in!!
Here it is all bolted in! The pan is going to be replaced, we didn't realize how beat up it was until it was installed.
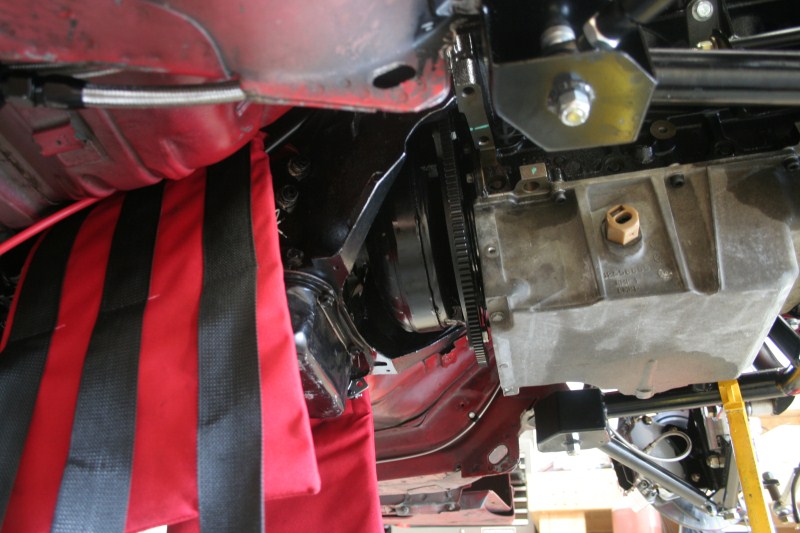
Here you can see the Midwest Chassis Aluminum cross member, and poly mount. I am also planning on re-routing the shifter cable so just ignore that
You can also see the 3.5" aluminum PST drive shaft in that picture. It is a VERY nice piece, but we did have some trouble getting the rear u-joint installed. Also we had to drop the drive shaft safety loop in order to get it in, but its in
After I muscled the drive shaft in, Chris rough adjusted the front coil overs for height.
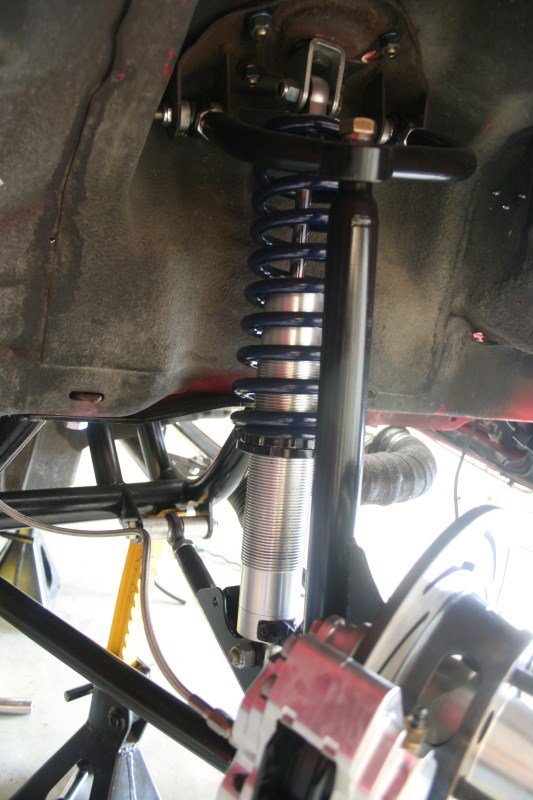
Once the car is done and running it will get a full on adjustment and alignment.
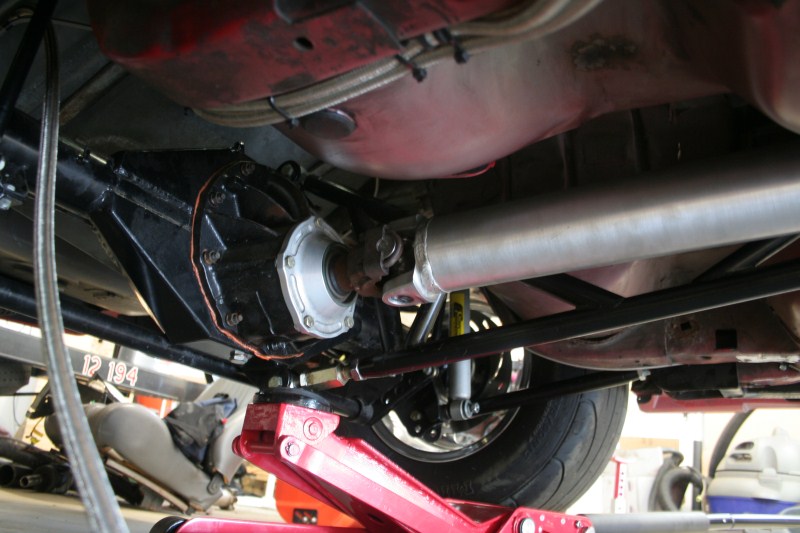
While he labored away on that, I took on the easy tasks of final mounting the trans cooler and fan, and also the radiator overflow. Here you can see the radiator overflow, also mounted in the back of the car.
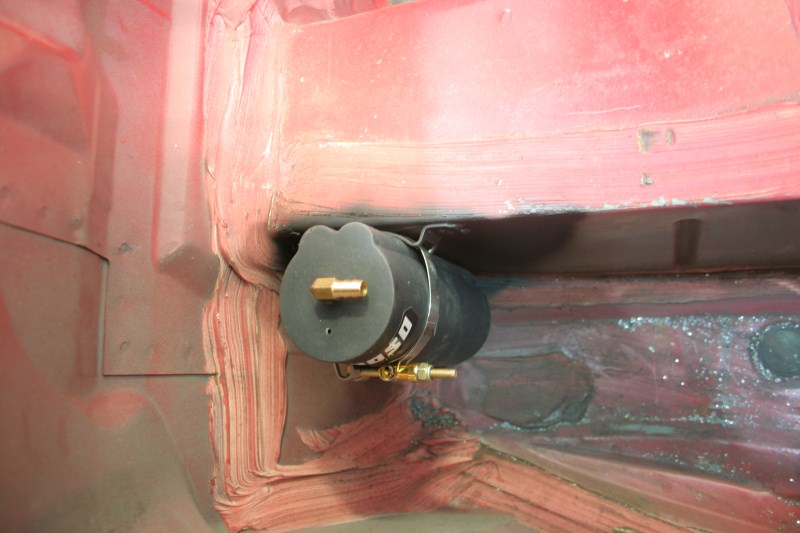
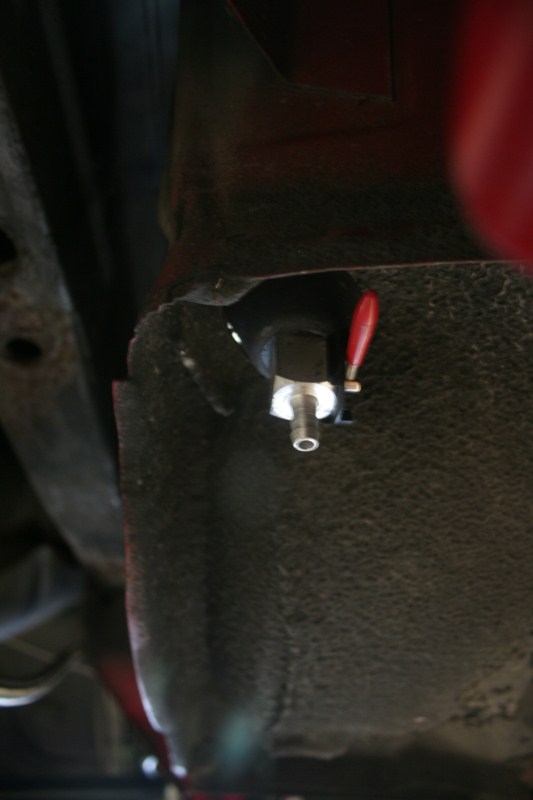
And the drain valve coming out of the bottom of the car.
Again the reason for mounting it in the rear of the car was two fold, firstly for space and second for safety. Since we only have 4 bolt heads there is a good chance we will push water sooner or later, so if we push enough to overflow the overflow I would much rather have it come out behind the rear tires.
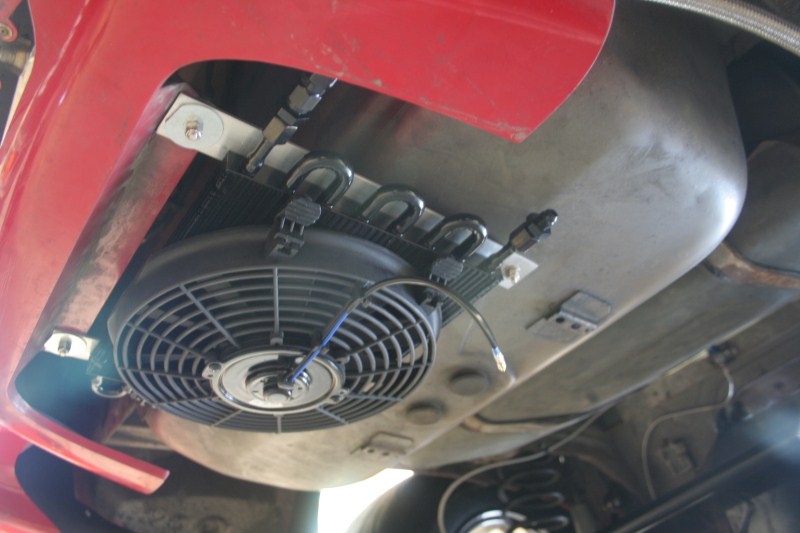
Lastly here you can see the trans cooler with fan all done and ready to be plumbed. I started on one line, but we needed clamps and more -6 for the second line so its not finished yet.
That is all for this week, it was really the last large project that needed to get done. We have plenty of plumbing and wiring yet to do, and the never ending wait for the fuel fittings (ordered 4 months ago) continues. So barring us getting the last of the fuel fittings we should be firing it up in the next couple of weeks. Well as always thanks for looking!!
Sean
Here is the line I whipped up...
And here is the final product with the pump mounted and just the -16 run.
Here it is with the harness back in place.
Next up was the transmission, which as you could imagine was not something I could take pictures of during the process. It did go relatively smooth however so that was good. Started by throwing a quart of trans fluid in the converter.
Then we put the TCI flex plate in (no pictures), put the converter in the trans making sure we properly engaged the pump (no pictures), and got ready to put the trans in. This was not as bad as we thought, but we planned well and took our time. Everything lined up the way it was supposed to the very first time and just fell into place. The hardest part of the whole process was installing the trans blanket. Also for anyone wondering we installed the dipstick AFTER the trans was in!!
Here it is all bolted in! The pan is going to be replaced, we didn't realize how beat up it was until it was installed.
Here you can see the Midwest Chassis Aluminum cross member, and poly mount. I am also planning on re-routing the shifter cable so just ignore that
You can also see the 3.5" aluminum PST drive shaft in that picture. It is a VERY nice piece, but we did have some trouble getting the rear u-joint installed. Also we had to drop the drive shaft safety loop in order to get it in, but its in
After I muscled the drive shaft in, Chris rough adjusted the front coil overs for height.
Once the car is done and running it will get a full on adjustment and alignment.
While he labored away on that, I took on the easy tasks of final mounting the trans cooler and fan, and also the radiator overflow. Here you can see the radiator overflow, also mounted in the back of the car.
And the drain valve coming out of the bottom of the car.
Again the reason for mounting it in the rear of the car was two fold, firstly for space and second for safety. Since we only have 4 bolt heads there is a good chance we will push water sooner or later, so if we push enough to overflow the overflow I would much rather have it come out behind the rear tires.
Lastly here you can see the trans cooler with fan all done and ready to be plumbed. I started on one line, but we needed clamps and more -6 for the second line so its not finished yet.
That is all for this week, it was really the last large project that needed to get done. We have plenty of plumbing and wiring yet to do, and the never ending wait for the fuel fittings (ordered 4 months ago) continues. So barring us getting the last of the fuel fittings we should be firing it up in the next couple of weeks. Well as always thanks for looking!!
Sean
07-12-2010, 05:23 AM
#226
Thank you! It is the Meziere high output pump, I am sure Chris will know the exact model number. Yes those are the Meziere pump adapters on the block. One thing to keep in mind if you ever use them is you will need (4) -12 straight cut o-ring to -12 male adapters. Same thing with the pump, you need and adapter fitting for everthing. In our case it was 2 fittings for the inlet (I think -16 straight cut o-ring to -12 male) and one for the outlet (-20 straight cut o-ring to -16 male). We didnt realize that we would need all of the extra adapter fittings at the time which added more cost than we expected. Remember each fitting is usually 15-20 bucks a pop (some more), and we needed 7 more than we planned for in our case.
Thanks,
Sean
Thanks,
Sean
Last edited by Broke EF; 07-12-2010 at 05:28 AM.
07-13-2010, 11:03 AM
#231
 07-18-2010, 12:50 PM
#233
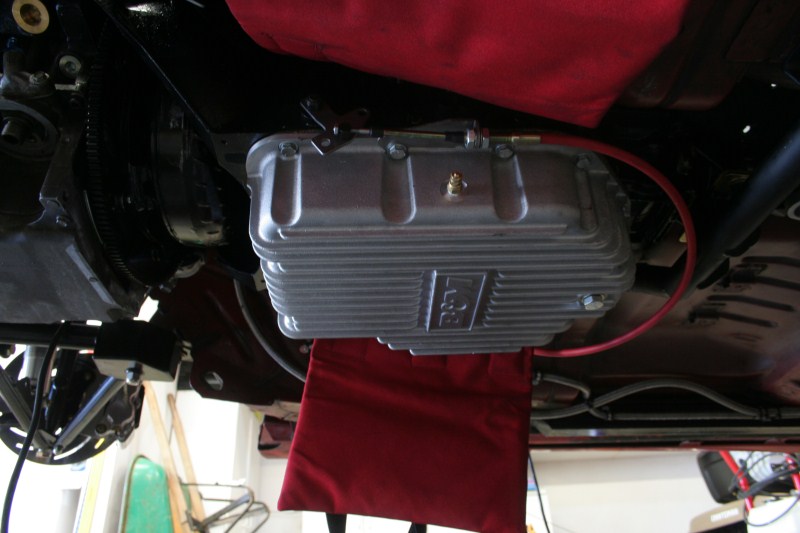
Another weekend of work has come and gone. I started this weekend changing out the trans pan for the new B&M Aluminum pan. Here is a quick pic.
Unfortunately when I changed the pan I tried to reroute the shifter cable because it was sticking last weekend. After spending a good amount of time on it I thought I had figured out that the problem was where the cable came out of the car. The thought was that the hole wasn't big enough and it was putting stress on the cable. I decided to just wait till Chris could help look at it on Saturday. We opened up the hole, and it did nothing to help the problem, the shifter still sticks when going into third. So we have to call B&M on Monday and see what they say.
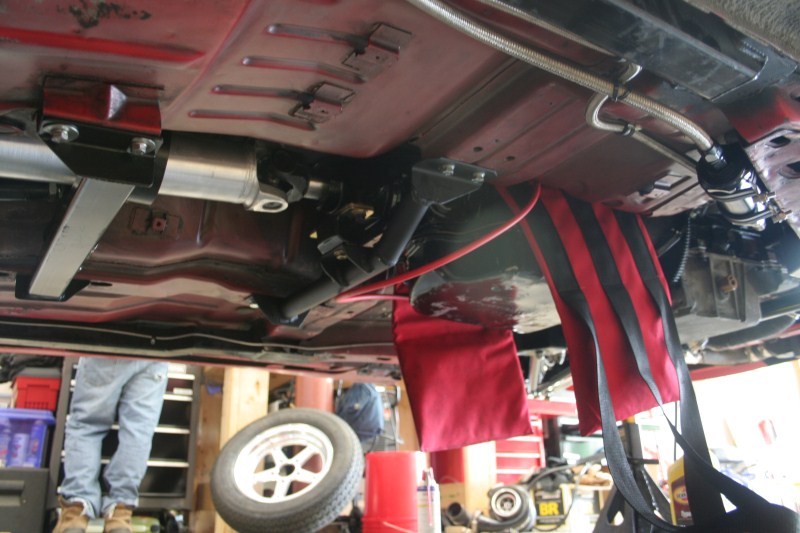
Then I started to plumb the trans cooler lines, and found out that the new piece of line was going to be short!!! Instead of undoing the work I already did, and buying a new piece (which would have left us a spare 10' piece that we would likely never use. we decided to use a -6 to -6 fitting and just have a short piece splice in. Once that decision was made, Chris jumped under the car and finished routing and terminating the rest of the cooler lines. Here you can see the coupling just above the fuel filter, and the finished lines.
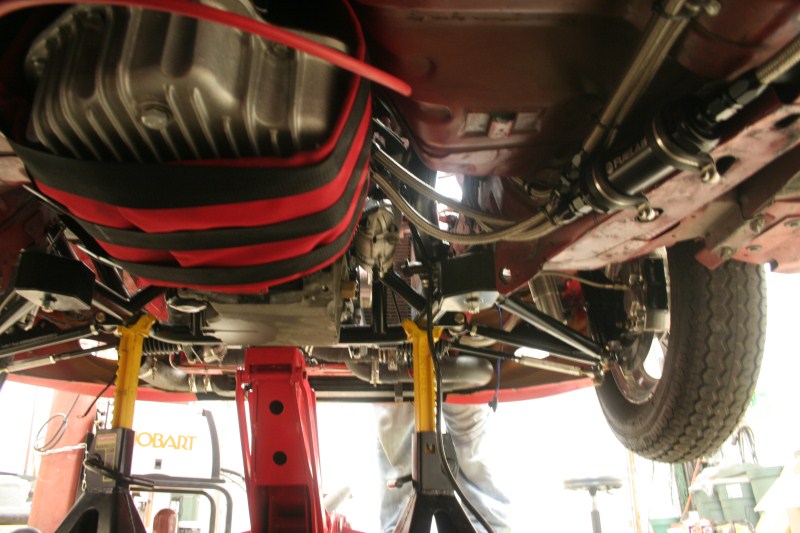
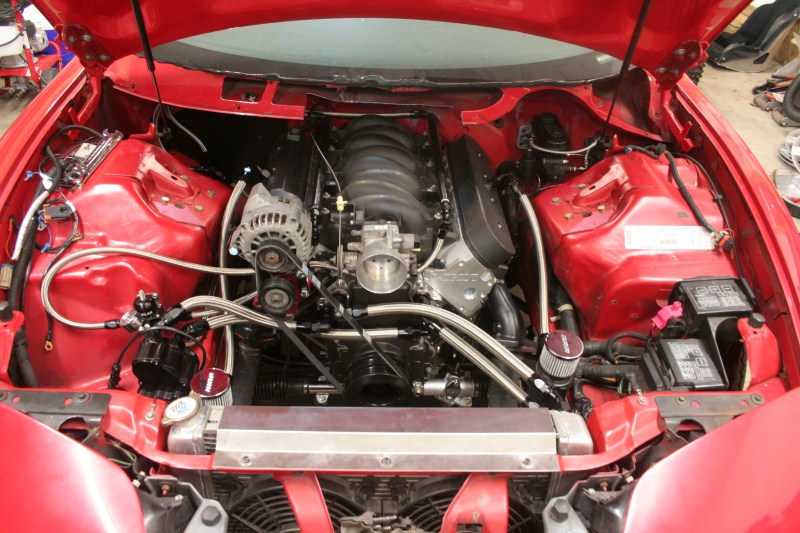
We were basically done with under the car at that point, so we decided to just attack under the hood. Nothing real exciting here, just redid the fuel rail feed lines, the fuel rail return lines, the main return line, radiator lines, breathers etc. Installed the manifolds, the crossover, had the turbo on and off (need new bolts), just basically put everything together!


That is all for this weekend, we are starting to get very close to startup. We measured for plug wires this weekend, so if they come in by next weekend we should be firing it up! If not then it will be the following weekend. Thanks as always for looking!
Sean
Unfortunately when I changed the pan I tried to reroute the shifter cable because it was sticking last weekend. After spending a good amount of time on it I thought I had figured out that the problem was where the cable came out of the car. The thought was that the hole wasn't big enough and it was putting stress on the cable. I decided to just wait till Chris could help look at it on Saturday. We opened up the hole, and it did nothing to help the problem, the shifter still sticks when going into third. So we have to call B&M on Monday and see what they say.
Then I started to plumb the trans cooler lines, and found out that the new piece of line was going to be short!!! Instead of undoing the work I already did, and buying a new piece (which would have left us a spare 10' piece that we would likely never use. we decided to use a -6 to -6 fitting and just have a short piece splice in. Once that decision was made, Chris jumped under the car and finished routing and terminating the rest of the cooler lines. Here you can see the coupling just above the fuel filter, and the finished lines.
We were basically done with under the car at that point, so we decided to just attack under the hood. Nothing real exciting here, just redid the fuel rail feed lines, the fuel rail return lines, the main return line, radiator lines, breathers etc. Installed the manifolds, the crossover, had the turbo on and off (need new bolts), just basically put everything together!
That is all for this weekend, we are starting to get very close to startup. We measured for plug wires this weekend, so if they come in by next weekend we should be firing it up! If not then it will be the following weekend. Thanks as always for looking!
Sean
07-24-2010, 10:16 AM
#234
10 Second Club
iTrader: (1)

Join Date: May 2010
Location: Dirty J'Ville
Posts: 123
Likes: 0
Received 0 Likes
on
0 Posts
I like the tranny cooler in the back, but if you get into what Cookie Monster got into, you're going to tear it up. link below...
http://www.horsepowerjunkies.com/for...66#post1386866
http://www.horsepowerjunkies.com/for...66#post1386866
07-25-2010, 12:23 AM
#235
we got it started tonight. Really didn't have any issues! im sure Broke Ef will do a full post on sunday, but for now its video time.(sorry for quality its off my phone)
http://www.youtube.com/watch?v=_EnFL5jjdY0
http://www.youtube.com/watch?v=_EnFL5jjdY0
Last edited by Sideways240sx; 07-25-2010 at 12:41 AM.
07-25-2010, 02:39 AM
#236
Congrats on getting it running. You're closing in on the end. Who made that alt relocation bracket with the tensioner there? That's quite smart. How long have you had that fuelab pump? I've heard some mixed reviews on their reliability. Do you like it so far?
07-25-2010, 10:24 AM
#238
Congrats on getting it running. You're closing in on the end. Who made that alt relocation bracket with the tensioner there? That's quite smart. How long have you had that fuelab pump? I've heard some mixed reviews on their reliability. Do you like it so far?
Sean
The following users liked this post:
n2xlr8n66 (09-01-2021)
07-25-2010, 08:03 PM
#239
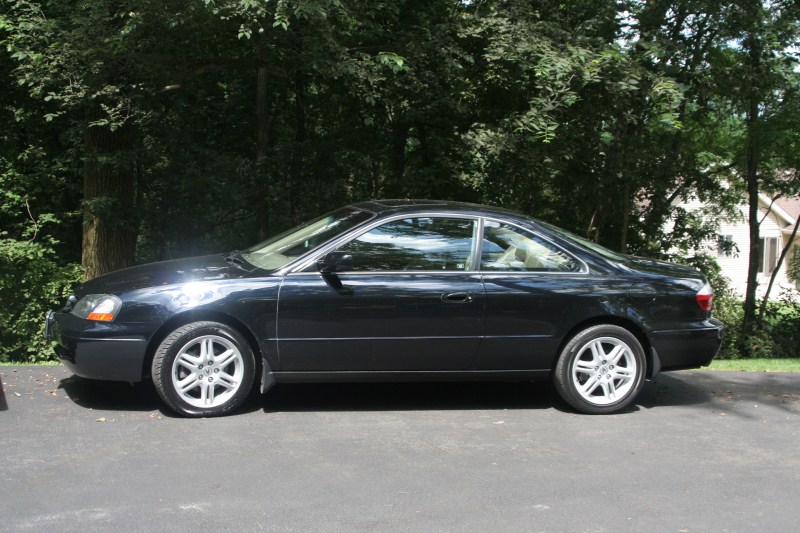
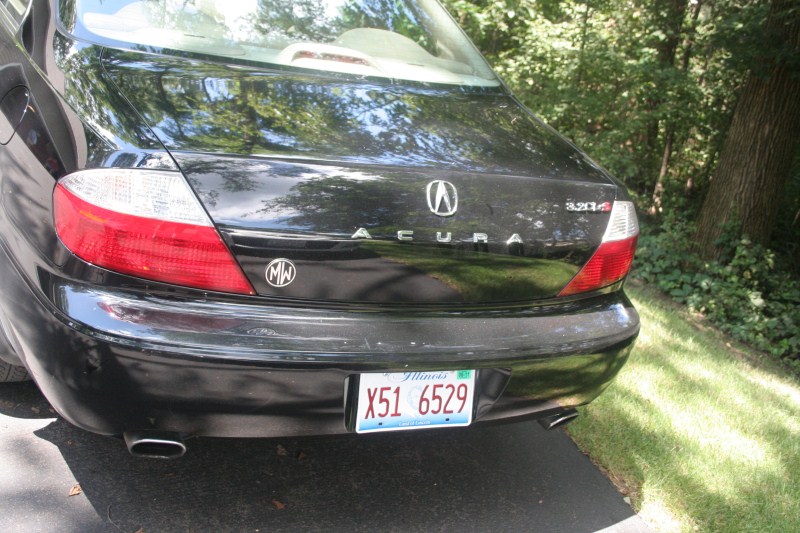
This was a busy/eventful weekend to say the least! As you can see we did indeed get the car running, but that is getting ahead of ourselves. One of the first things this week was my car finally being deemed totaled! So that meant getting a new car, which I was going to put off till Monday since I wanted to work on the TA. For some reason I decided to check out one more car on Friday before going by Chris, and then that led to me buying the car I had looked at earlier in the week. That meant that I was MIA for Friday, and want able to get there till Saturday afternoon. So here is the car I picked up, a 2003 Acura CL Type-S with 71,000 miles.
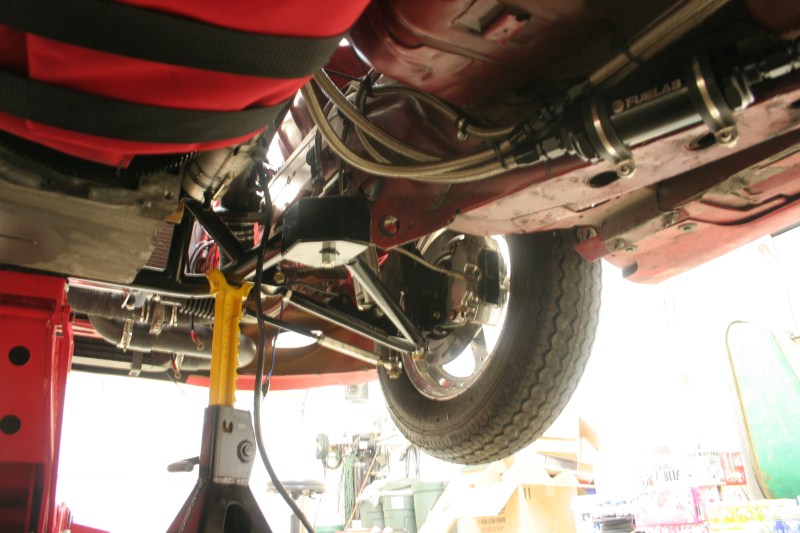
But enough about non TA related things, and on to the good stuff! The work this weekend actually started during the week, when Chris installed the main distribution blocks and wired a few things in. Friday he worked on more wiring, but mainly just crashed (hard to stay motivated on Fridays). Saturday he hit the ground running, determined to get the car running this weekend. Since I wasn't there I didn't get any pics of his handy work, but he finished wiring all of the main power and grounds. While he was wrapping that all up I arrived and started working on the fuel pumps. I had already made the mount for the pumps a few weeks back, but I still needed to mod the upper part of the mount. More or less we removed all of the metal lines that come out of top of the pump mount/tank only leaving one that acts as a vent. Of course that left a bunch of holes that needed to be filled, so I started by welding them all up, and those fumes were no fun. After I had sealed it all up I then drilled for the -8 and -6 bulkhead fittings and installed them. After that was done I wired the pumps together, and then plumbed in the Y block. Here is the finished result!
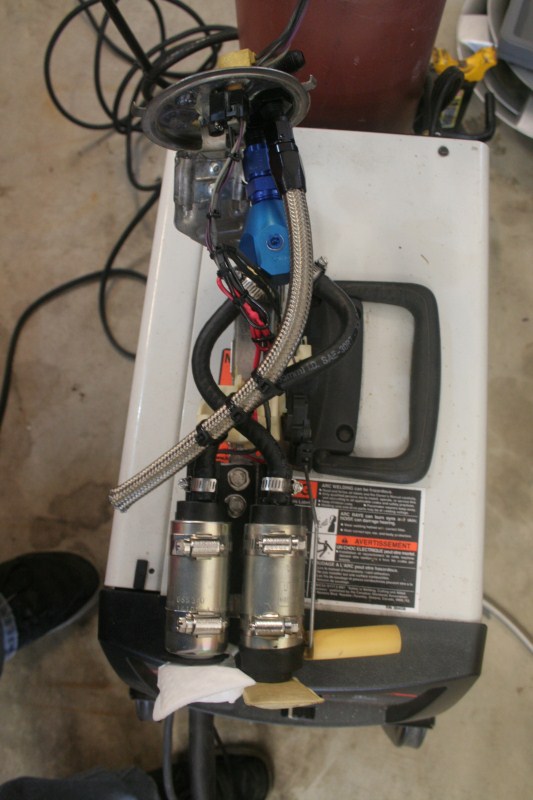
The AN line is just a piece of -6 we threw in there so that the fuel would not dump over the pumps, probably not needed, but what the hell. That is actually the ONLY pic I have of any work Chris and I did all weekend. As you saw in the video above, the car did start and run just fine. There was really no drama in it, which is good. We started by disconnecting the injectors and cranking it to get the oil moving. Once we knew it was then we tried to fire it up, but had no spark. A quick "temp in" of the main harness grounds and that problem was solved. Round two of trying to start told us the coil packs were not right, so we swapped them front to back on both sides and wallah it lit right up!! We are still a long way away from driving, but we needed to hear it come to life.
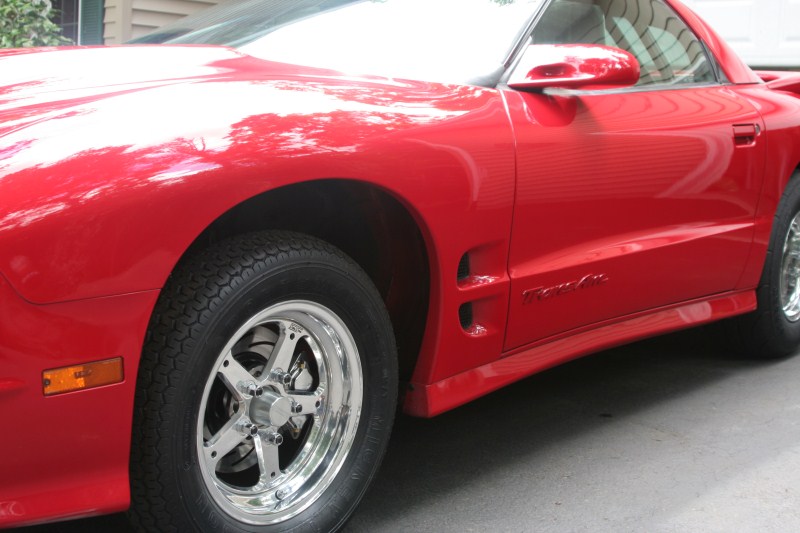
Now on to Sunday, when I actually took some pics...because I wasn't working Chris has been wanting to get the car detailed for a while now, and since we are nearing completion he set it up for Sunday morning. David (blue-sun) showed up about 9:30 in the morning, and busted his *** till just about 3:00, and it looked awesome! On with the pics,
Before
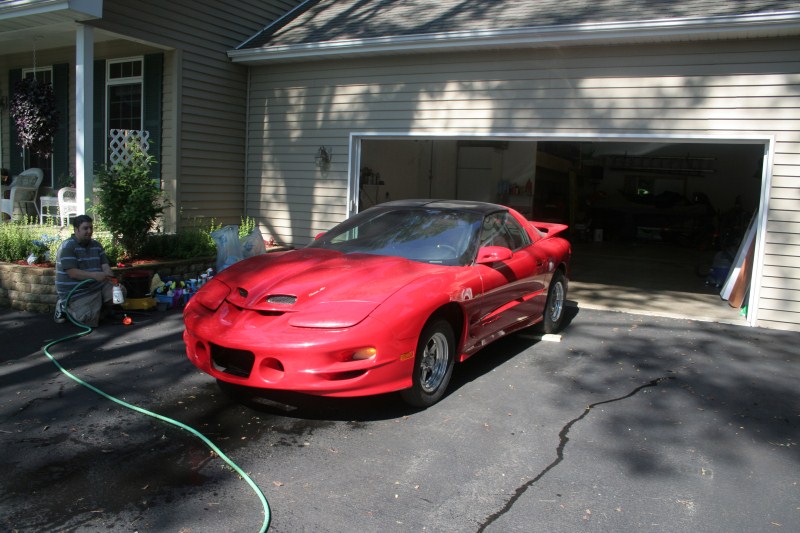
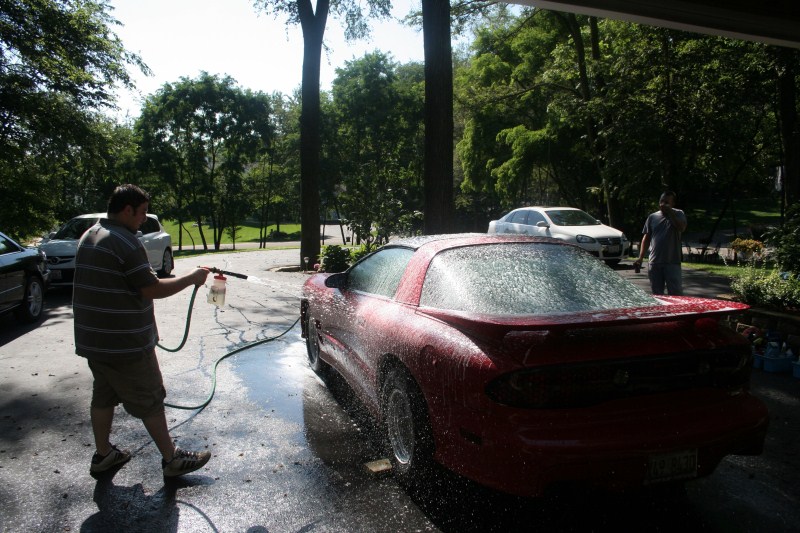
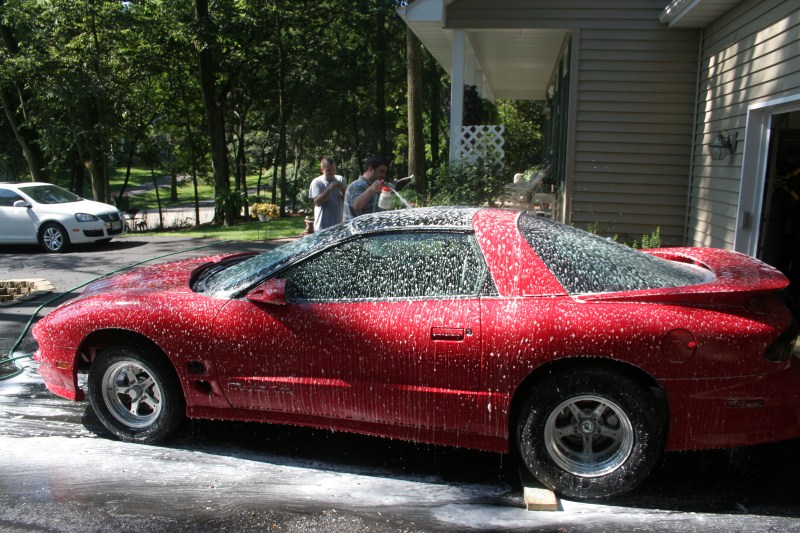
Starting the wash
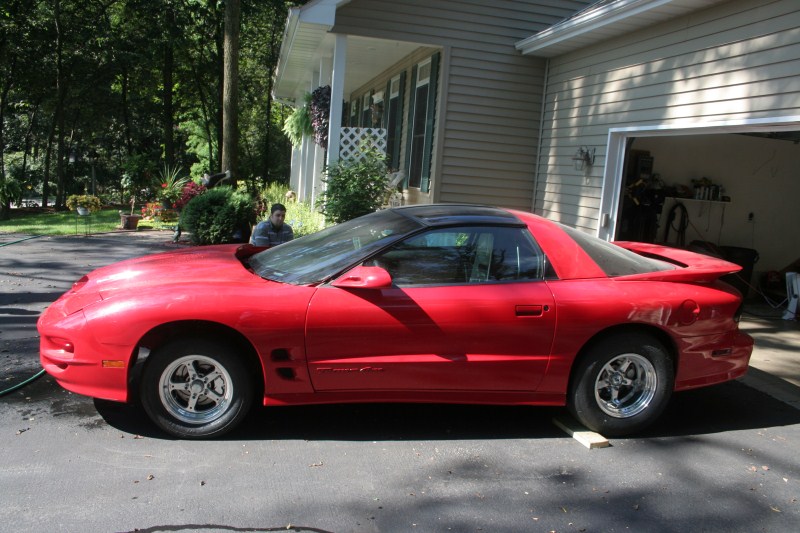
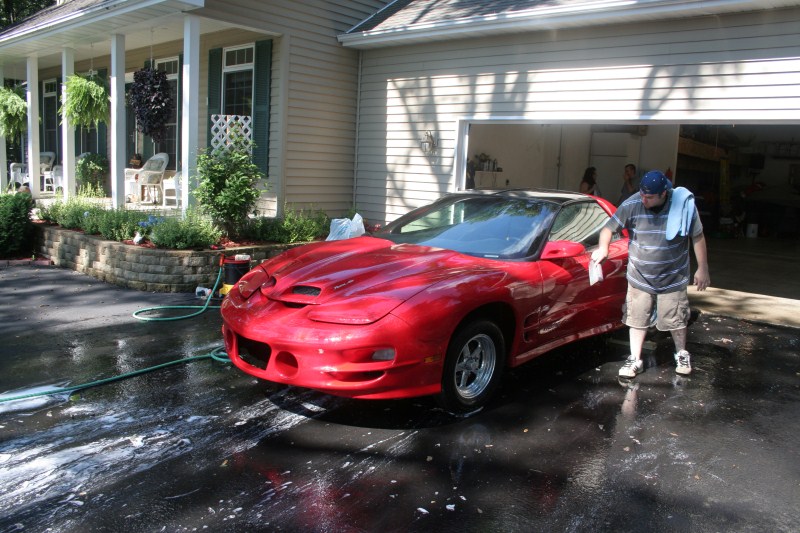
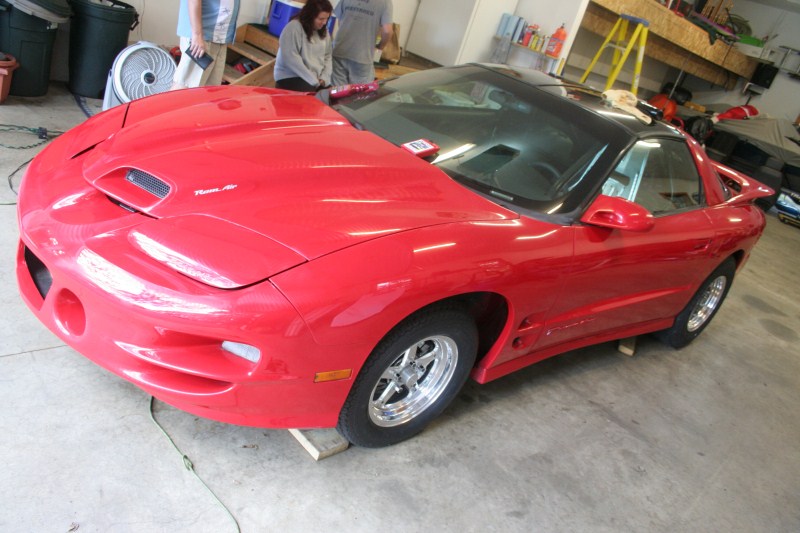
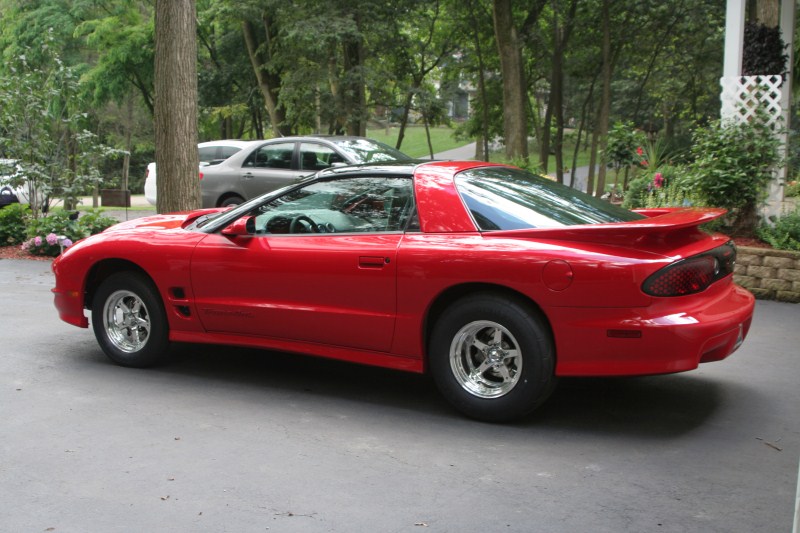
After the wash, and the clay, and the wash, drying it off
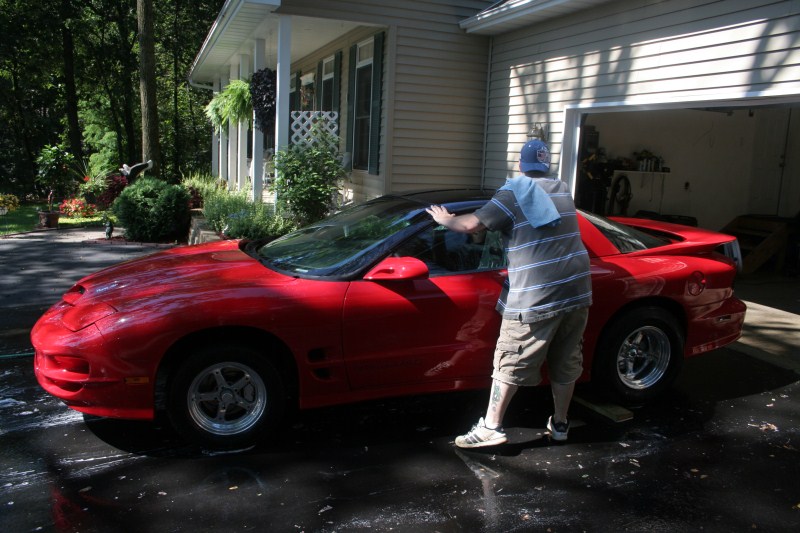
Already looks 100 times better
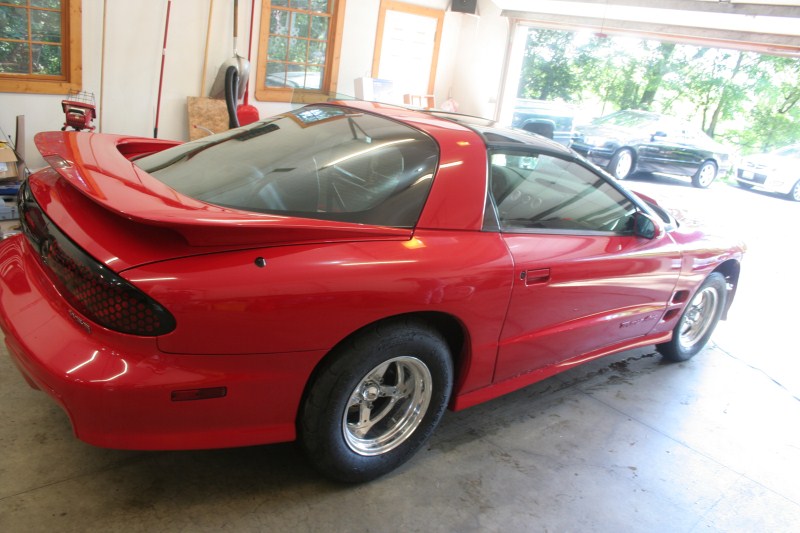
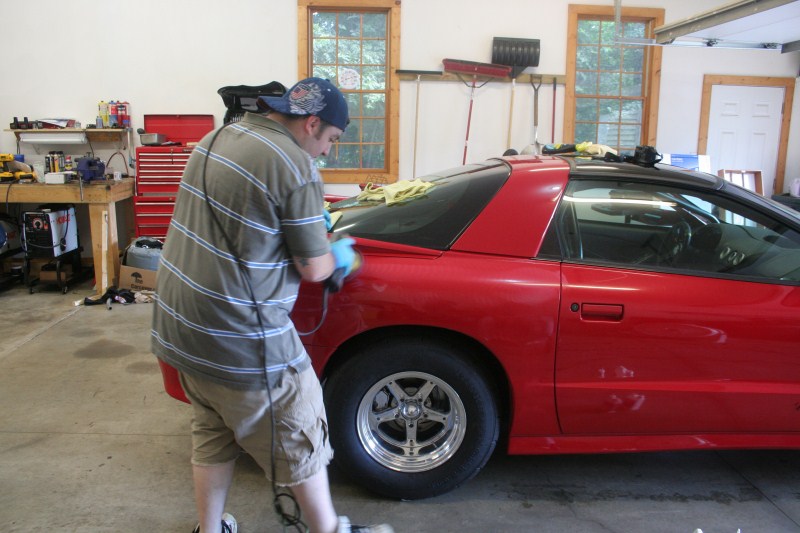
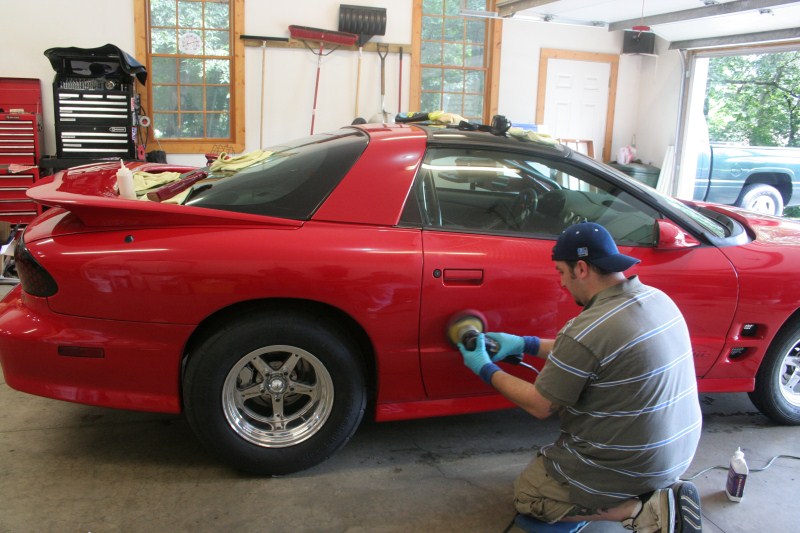
Back in the garage to start the real work
Polishing
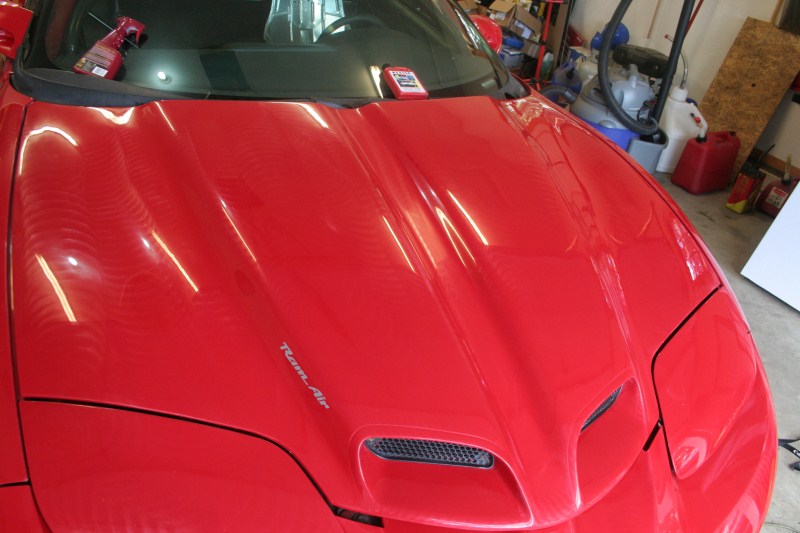
Wax on
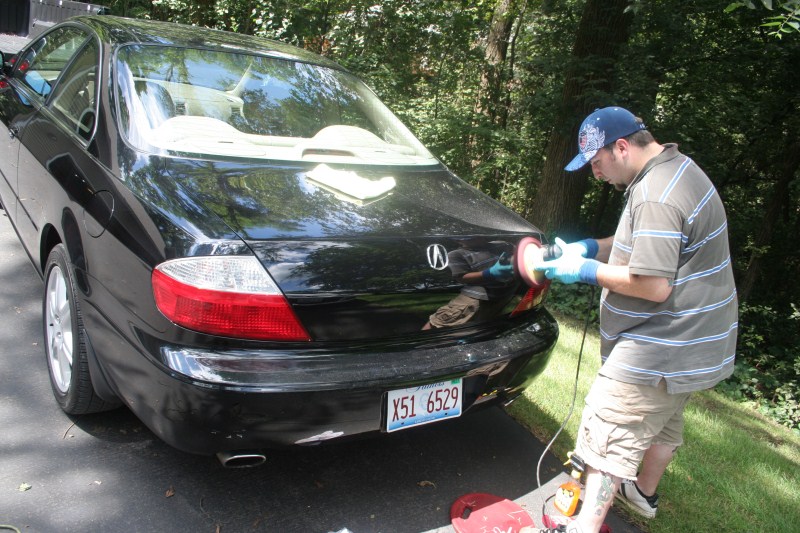
While the wax was setting up on the TA, I stole David away and put him to work on my car I generally don't like emblems so they needed to go!
Before
During
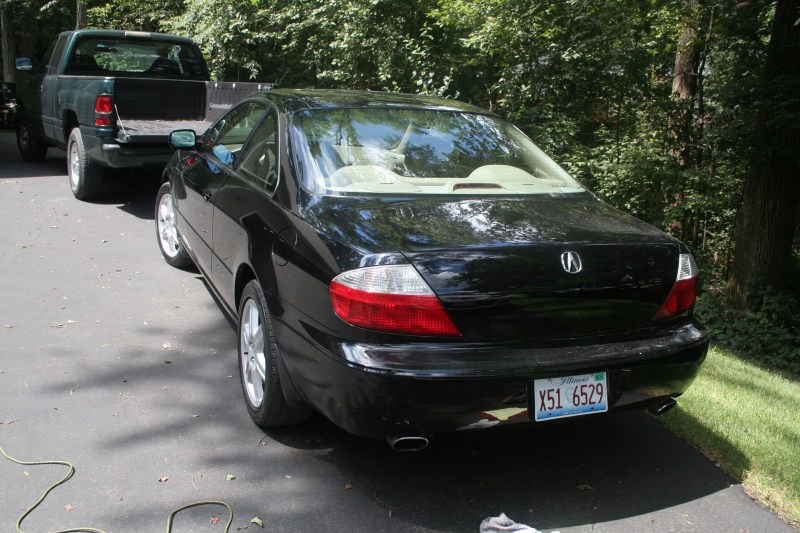
After (much better)
 \
\
Now I just need him to do my whole car, so it can look this nice!!

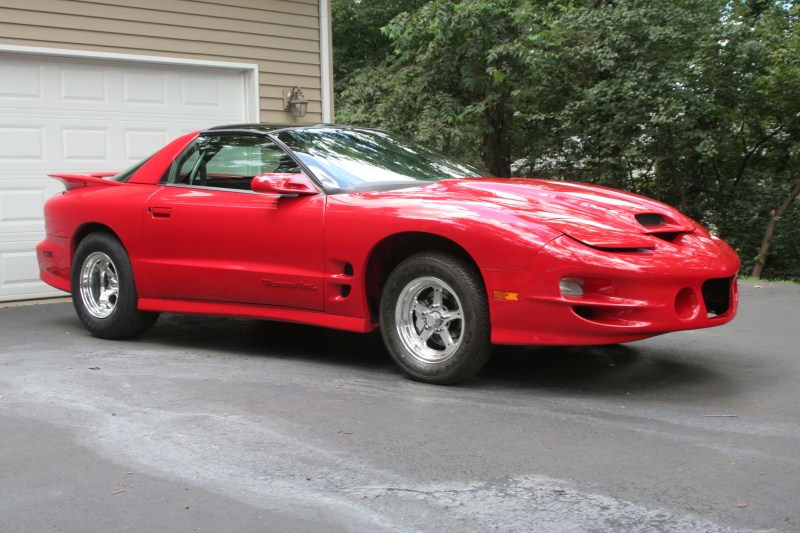
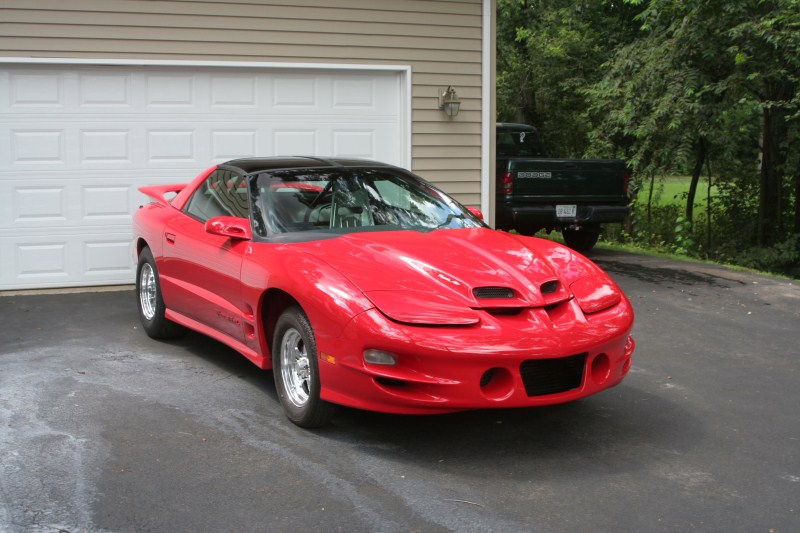
Well I think you get the idea, it looks GREAT! Anybody in the Chicago land area, looking for a detailer that can come to you I would highly recommend David. Well that is all for this weekend, we should be wrapping up all the odds and ends for the next two weekends or so, then off for an alignment and maybe a tune, then to the track!! We are getting close now!! Thanks for looking!
Sean
But enough about non TA related things, and on to the good stuff! The work this weekend actually started during the week, when Chris installed the main distribution blocks and wired a few things in. Friday he worked on more wiring, but mainly just crashed (hard to stay motivated on Fridays). Saturday he hit the ground running, determined to get the car running this weekend. Since I wasn't there I didn't get any pics of his handy work, but he finished wiring all of the main power and grounds. While he was wrapping that all up I arrived and started working on the fuel pumps. I had already made the mount for the pumps a few weeks back, but I still needed to mod the upper part of the mount. More or less we removed all of the metal lines that come out of top of the pump mount/tank only leaving one that acts as a vent. Of course that left a bunch of holes that needed to be filled, so I started by welding them all up, and those fumes were no fun. After I had sealed it all up I then drilled for the -8 and -6 bulkhead fittings and installed them. After that was done I wired the pumps together, and then plumbed in the Y block. Here is the finished result!
The AN line is just a piece of -6 we threw in there so that the fuel would not dump over the pumps, probably not needed, but what the hell. That is actually the ONLY pic I have of any work Chris and I did all weekend. As you saw in the video above, the car did start and run just fine. There was really no drama in it, which is good. We started by disconnecting the injectors and cranking it to get the oil moving. Once we knew it was then we tried to fire it up, but had no spark. A quick "temp in" of the main harness grounds and that problem was solved. Round two of trying to start told us the coil packs were not right, so we swapped them front to back on both sides and wallah it lit right up!! We are still a long way away from driving, but we needed to hear it come to life.
Now on to Sunday, when I actually took some pics...because I wasn't working
Chris has been wanting to get the car detailed for a while now, and since we are nearing completion he set it up for Sunday morning. David (blue-sun) showed up about 9:30 in the morning, and busted his *** till just about 3:00, and it looked awesome! On with the pics,Before
Starting the wash
After the wash, and the clay, and the wash, drying it off
Already looks 100 times better
Back in the garage to start the real work
Polishing
Wax on
While the wax was setting up on the TA, I stole David away and put him to work on my car
I generally don't like emblems so they needed to go!Before
During
After (much better)
\Now I just need him to do my whole car, so it can look this nice!!
Well I think you get the idea, it looks GREAT! Anybody in the Chicago land area, looking for a detailer that can come to you I would highly recommend David. Well that is all for this weekend, we should be wrapping up all the odds and ends for the next two weekends or so, then off for an alignment and maybe a tune, then to the track!! We are getting close now!! Thanks for looking!
Sean