


Project Pewter Turbo install

Thread Starter
TECH Addict
iTrader: (34)
Joined: Jun 2007
Posts: 2,346
Likes: 1
From: Alberta, Canada
Well, was a long almost 2 months. I had all my ducks lined up in a row than 2 packages with multiple very important parts got lost via the border 
Needless to say, was a long process to regain some of these parts. I was taken care of but some of them are still on the way and should all HOPEFULLY be here this week.......................... or I will be irate.
The install honestly wasn't that bad but I like to take my time and do things right the first time. I researched allot and hopefully got all of the bugs worked out before hand.
Enough of this, I have a built 370 and 4l80e that was recently finished being built but while waiting deciding, **** this summer is too short so started to put the kit on. If I would have known this streak of bad luck I would have waited for the built powertrain. Oh well, will still be fun.
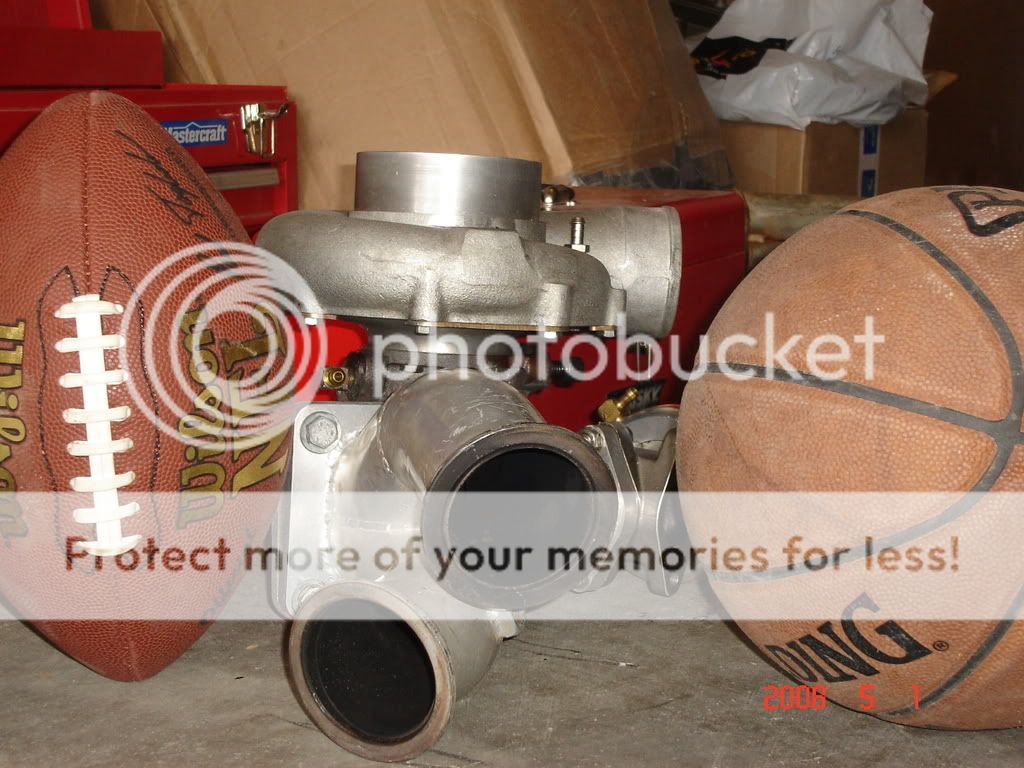
Basically, stock motor but stuffed a cam in it while I did the turbo install. Why not, was basically nothing with everything torn out. Turbo is T80gts and will be running off the 7psi wastegate.
I got a 3200 stall and 3.42 gears. Will take it for one shake down and hope it stays together for the rest of the summer. Should since it will be mostly cruzing and not racing all the time.
Here's my basketball and football
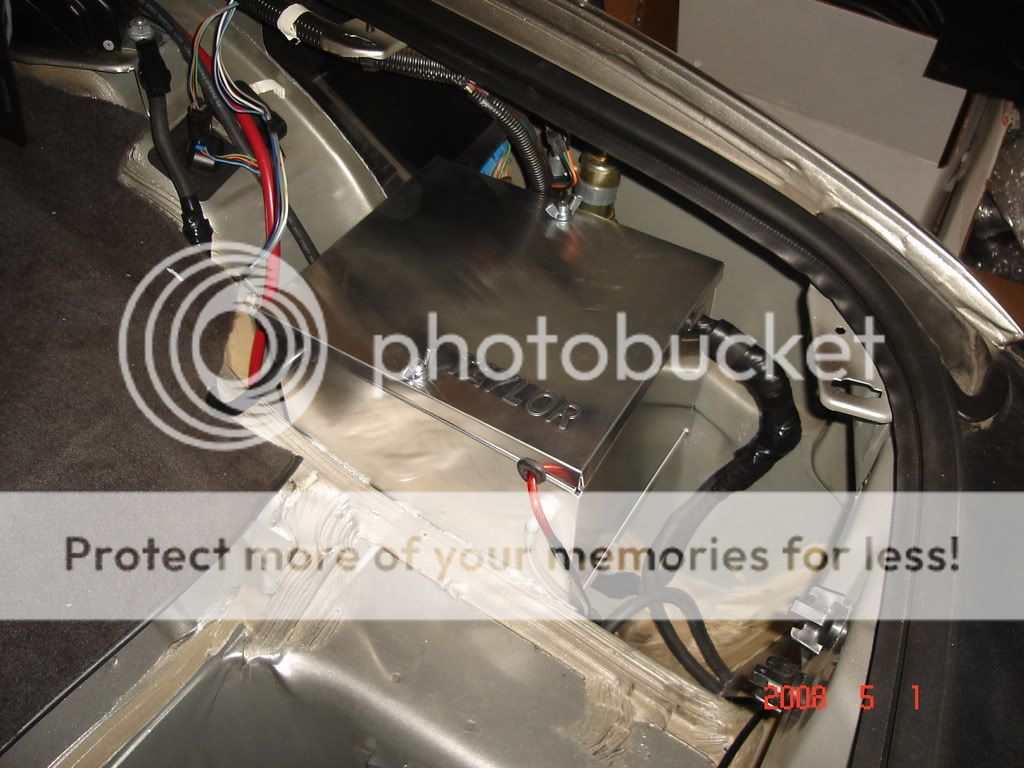
Started off with the battery Relocate which was a decent job itself doing it right with a cutoff switch. I only did this since I am running a A2W intercooler and putting the reservoir where the battery is.
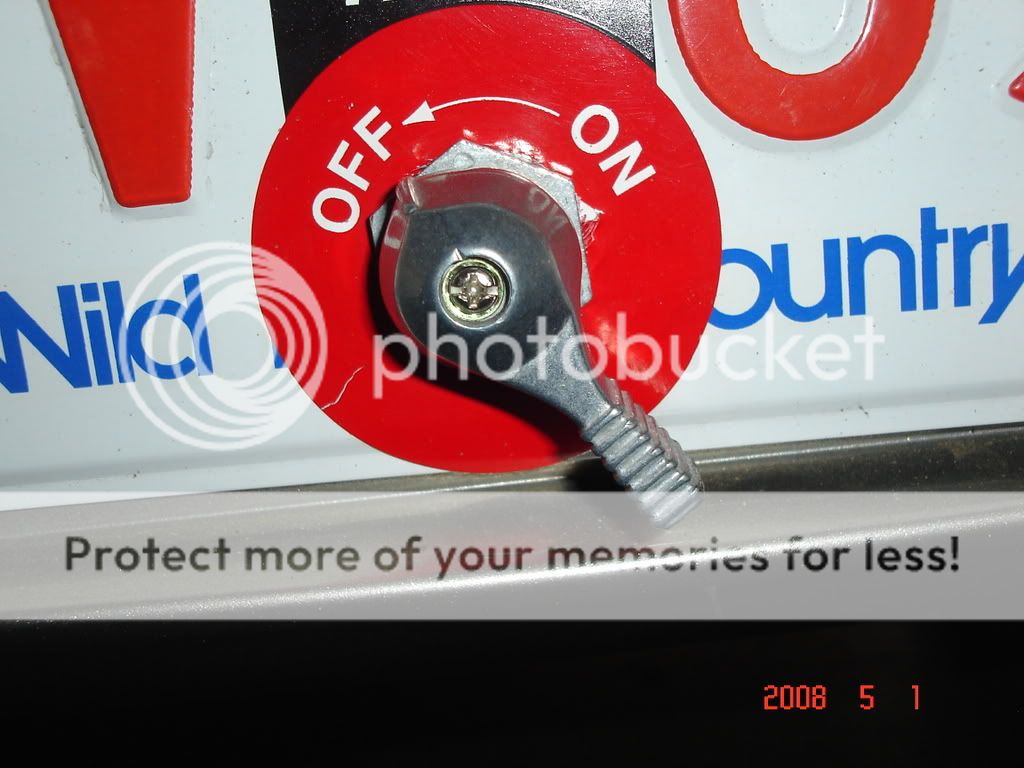
Made a lil template here to cover the wires, switch, etc. Nothin' special
Here's where I ran the wire's
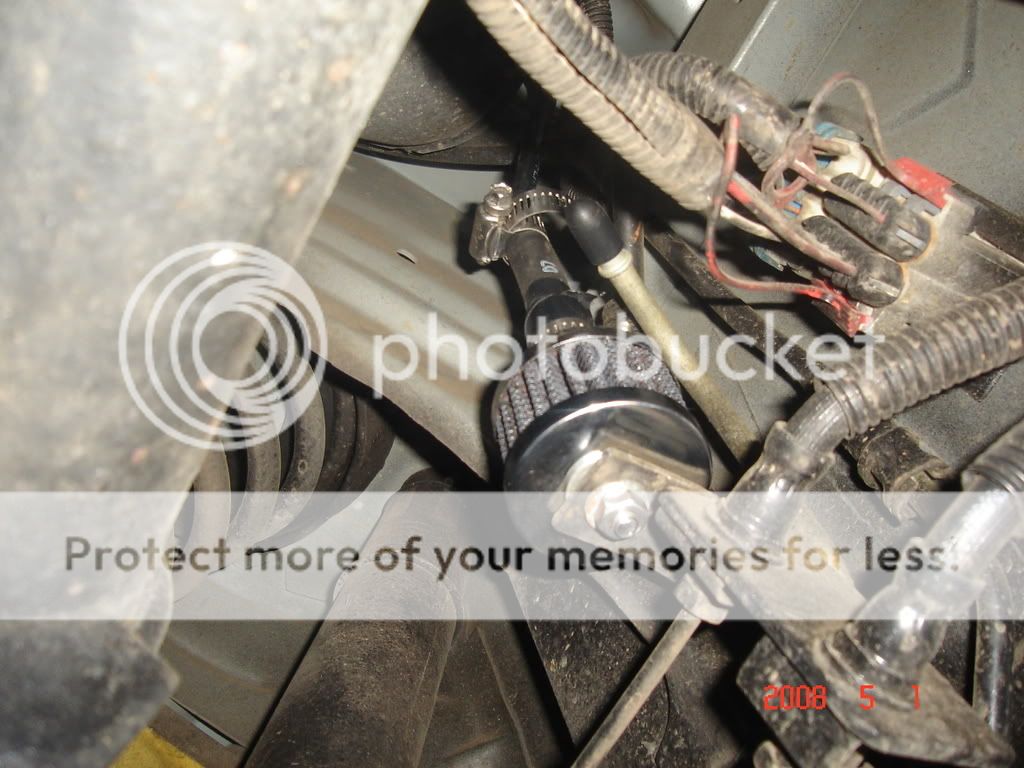
I decided to get rid of that ugly evap system, so I capped it under the hood on the hardline and disconnected it at the hardline at the rear under the car. I than installed and mounted this small breather/filter on the line to enable the tank to breathe instead of building pressure. Don't smell it at all in my garage running or not
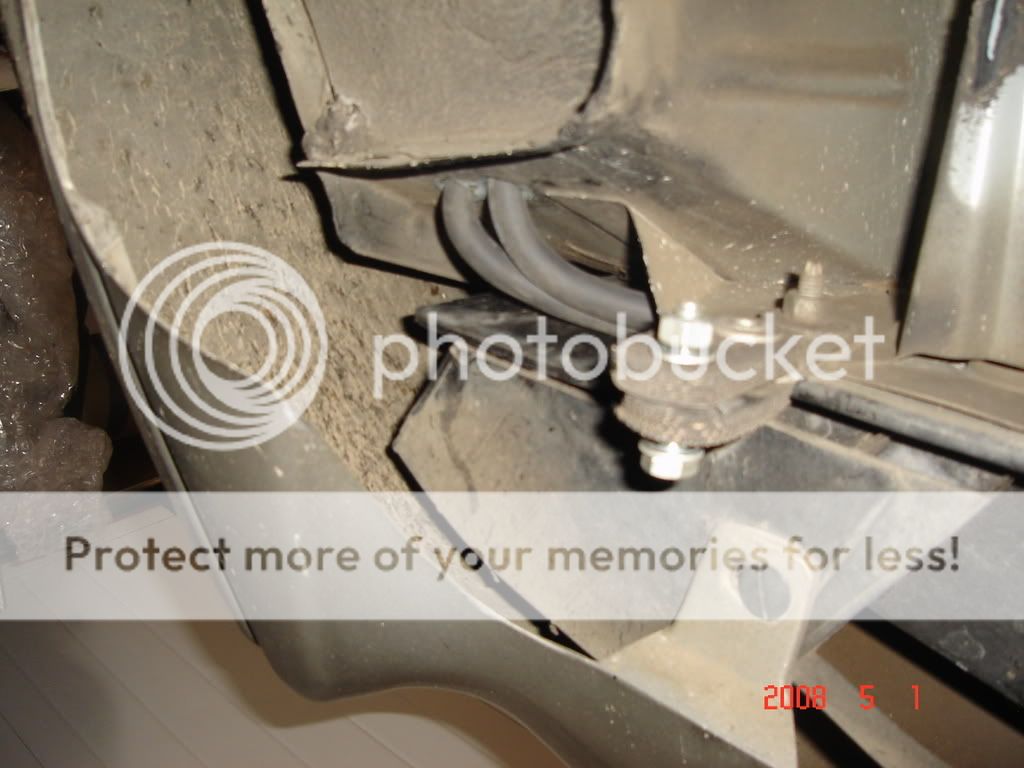
Solid motor mounts so i don't burn the drivers side from the downpipe. I bet you can guess what kit I have now
PCV/evac system to be installed like MightMouse did except I'll have a catchcan added.
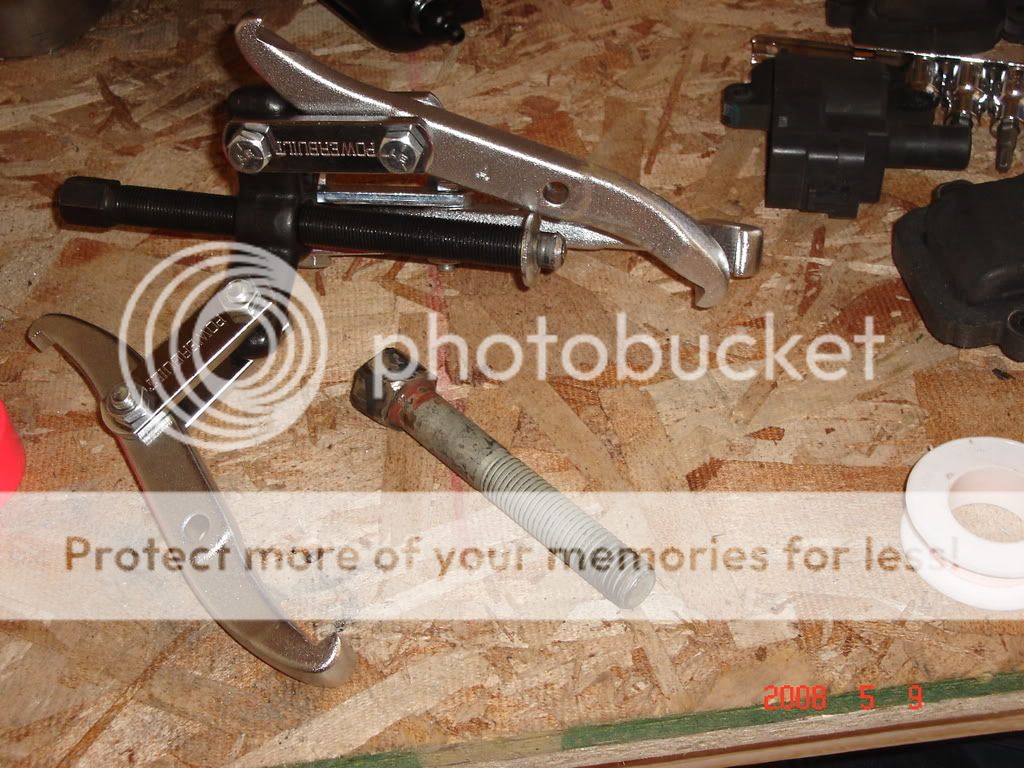
Bought this puller from Crappy tire for 50 bucks and worked like a damn. Only needed to use a smaller socket pressed on the bolt since the rod was a tad short. I ground the collar off my old bolt and screwed it in all the way butting up against the crank snout. Was able to pull it all the way off wiothout reajusting. Was cake and off in no time.
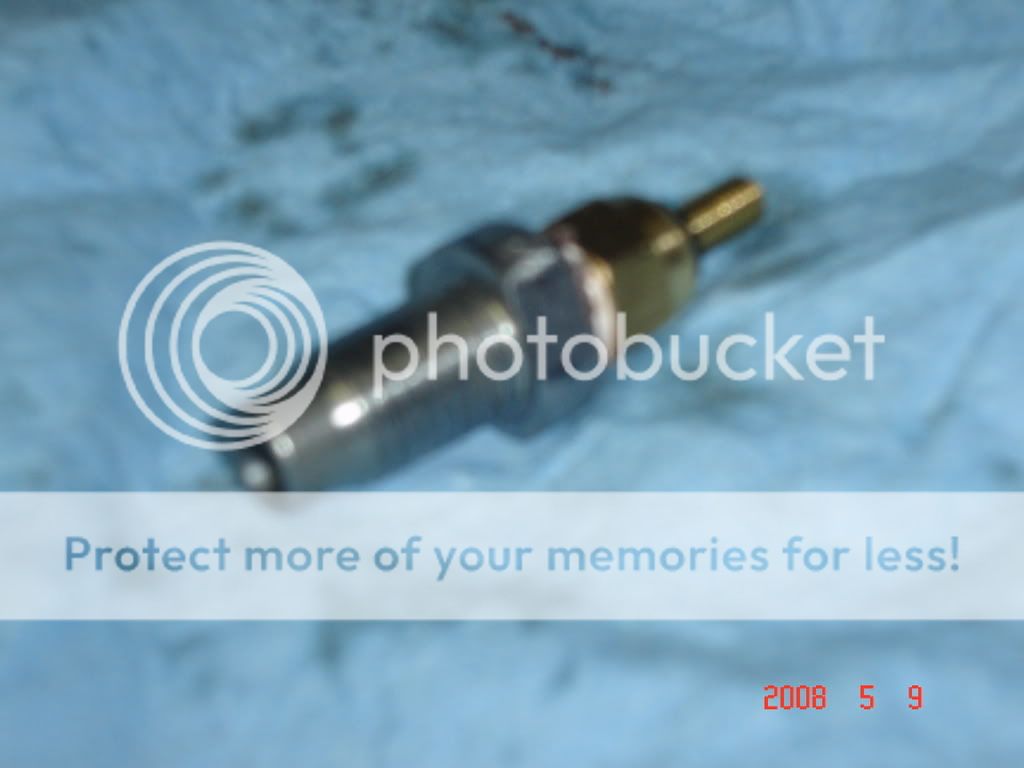
Water temp sensor. I removed the plug from the rear pass head and drilled and tapped for a 1/8 npt thread. I than grinded off an edge on either side to fit like a glove on some size wrench, can't remember which size. I had to do this since the plug was a hex drive to start with.
Sensor installed and so far no leaks!

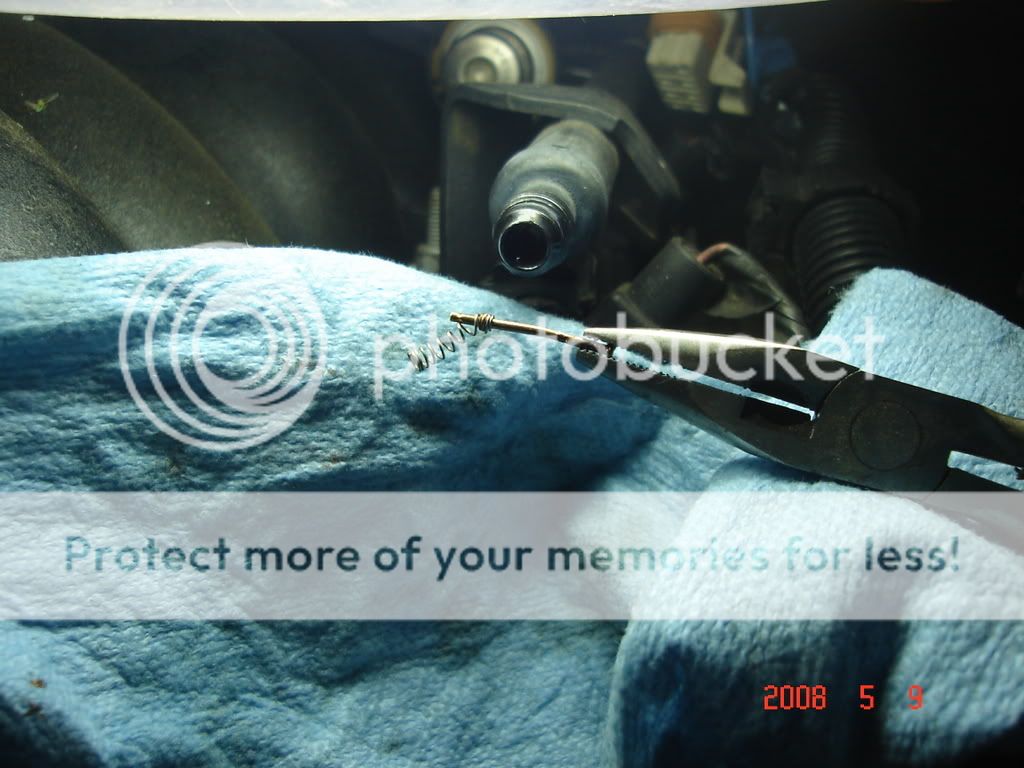
Shrader valve removed from stock driver's fuel rail for pressure sender.
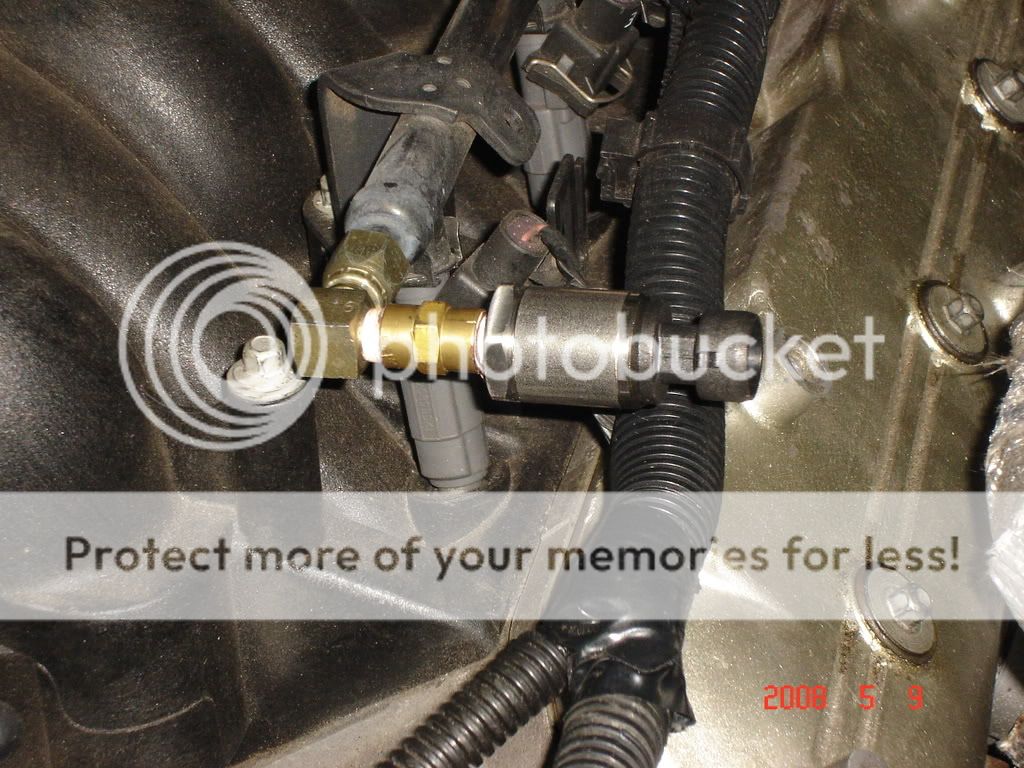
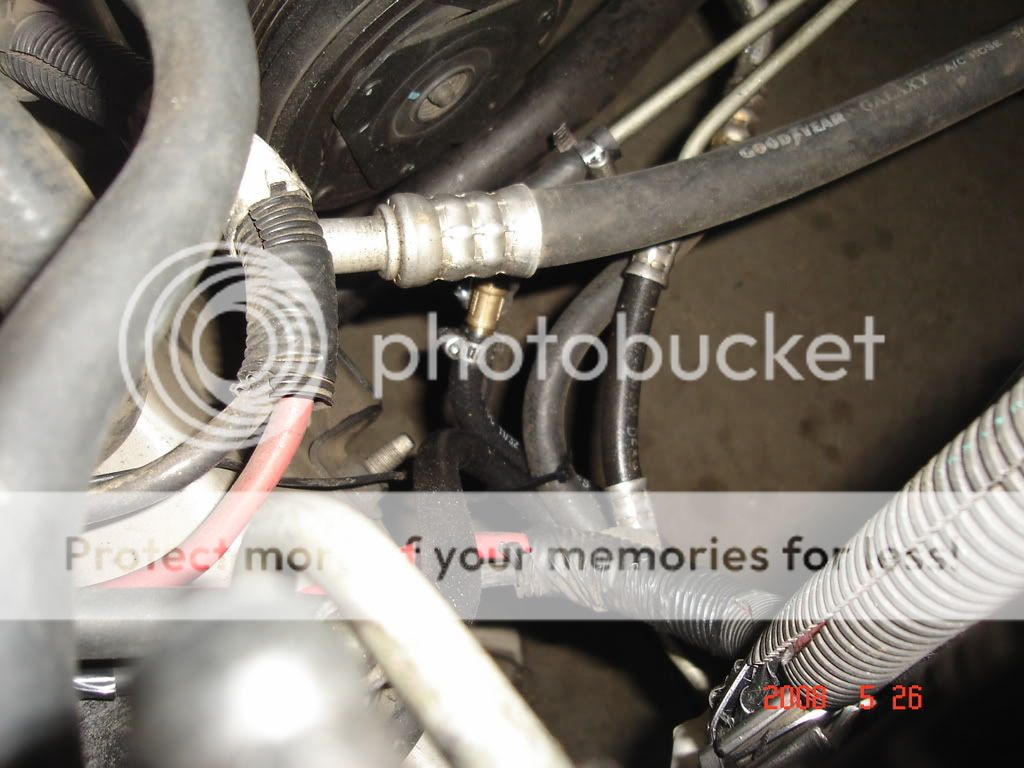
Trans temp sensor installed in line from trans to stock cooler, I than have an auxillary cooler inline with it that I installed b/w the condensor and rad. You will see why.
Needless to say, was a long process to regain some of these parts. I was taken care of but some of them are still on the way and should all HOPEFULLY be here this week.......................... or I will be irate.
The install honestly wasn't that bad but I like to take my time and do things right the first time. I researched allot and hopefully got all of the bugs worked out before hand.
Enough of this, I have a built 370 and 4l80e that was recently finished being built but while waiting deciding, **** this summer is too short so started to put the kit on. If I would have known this streak of bad luck I would have waited for the built powertrain. Oh well, will still be fun.
Basically, stock motor but stuffed a cam in it while I did the turbo install. Why not, was basically nothing with everything torn out. Turbo is T80gts and will be running off the 7psi wastegate.
I got a 3200 stall and 3.42 gears. Will take it for one shake down and hope it stays together for the rest of the summer. Should since it will be mostly cruzing and not racing all the time.
Here's my basketball and football
Started off with the battery Relocate which was a decent job itself doing it right with a cutoff switch. I only did this since I am running a A2W intercooler and putting the reservoir where the battery is.
Made a lil template here to cover the wires, switch, etc. Nothin' special
Here's where I ran the wire's
I decided to get rid of that ugly evap system, so I capped it under the hood on the hardline and disconnected it at the hardline at the rear under the car. I than installed and mounted this small breather/filter on the line to enable the tank to breathe instead of building pressure. Don't smell it at all in my garage running or not
Solid motor mounts so i don't burn the drivers side from the downpipe. I bet you can guess what kit I have now
PCV/evac system to be installed like MightMouse did except I'll have a catchcan added.
Bought this puller from Crappy tire for 50 bucks and worked like a damn. Only needed to use a smaller socket pressed on the bolt since the rod was a tad short. I ground the collar off my old bolt and screwed it in all the way butting up against the crank snout. Was able to pull it all the way off wiothout reajusting. Was cake and off in no time.
Water temp sensor. I removed the plug from the rear pass head and drilled and tapped for a 1/8 npt thread. I than grinded off an edge on either side to fit like a glove on some size wrench, can't remember which size. I had to do this since the plug was a hex drive to start with.
Sensor installed and so far no leaks!
Shrader valve removed from stock driver's fuel rail for pressure sender.
Trans temp sensor installed in line from trans to stock cooler, I than have an auxillary cooler inline with it that I installed b/w the condensor and rad. You will see why.
Last edited by Websy21; Jun 23, 2008 at 01:09 AM. Reason: pics
Thread Starter
TECH Addict
iTrader: (34)
Joined: Jun 2007
Posts: 2,346
Likes: 1
From: Alberta, Canada
One puller and one pusher.
My cockpit, put water temp down low and can still see at a easy glance. I got all 2 1/16'' gauges not realizing that I should have got the 2 5/8 for the vent. I had to make a small bezel and paint it.

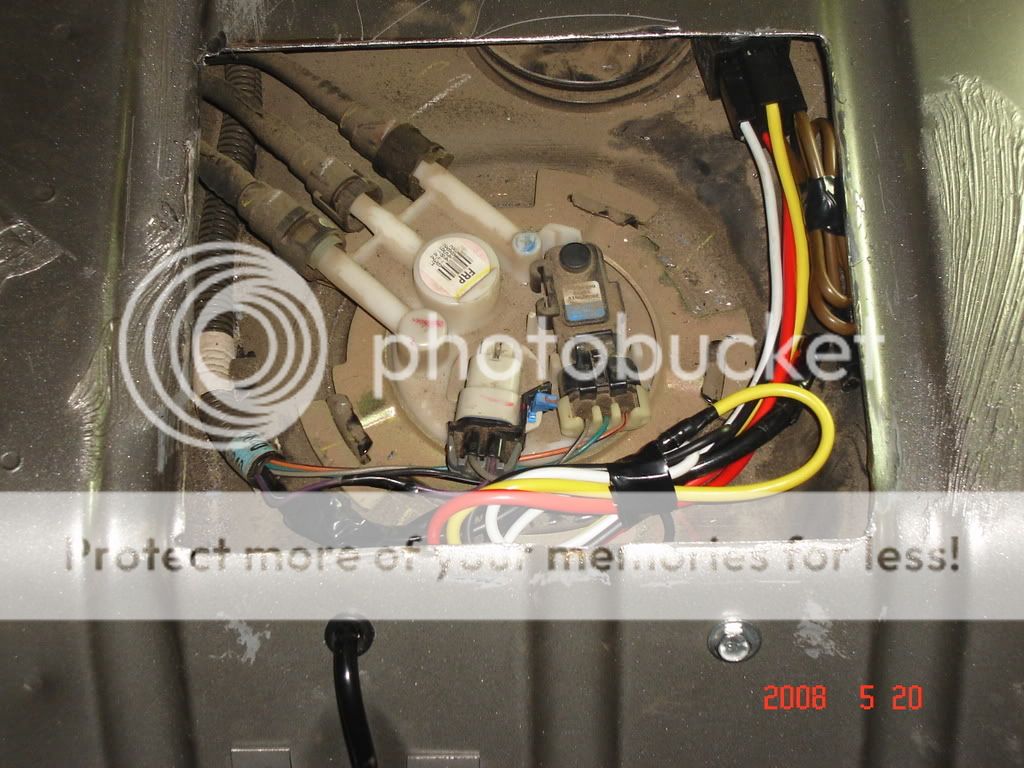
Access door for fuel pump and installed my 'homemade hotwire kit'. Still waiting on a sock for my walbro pump so I can toss it in.
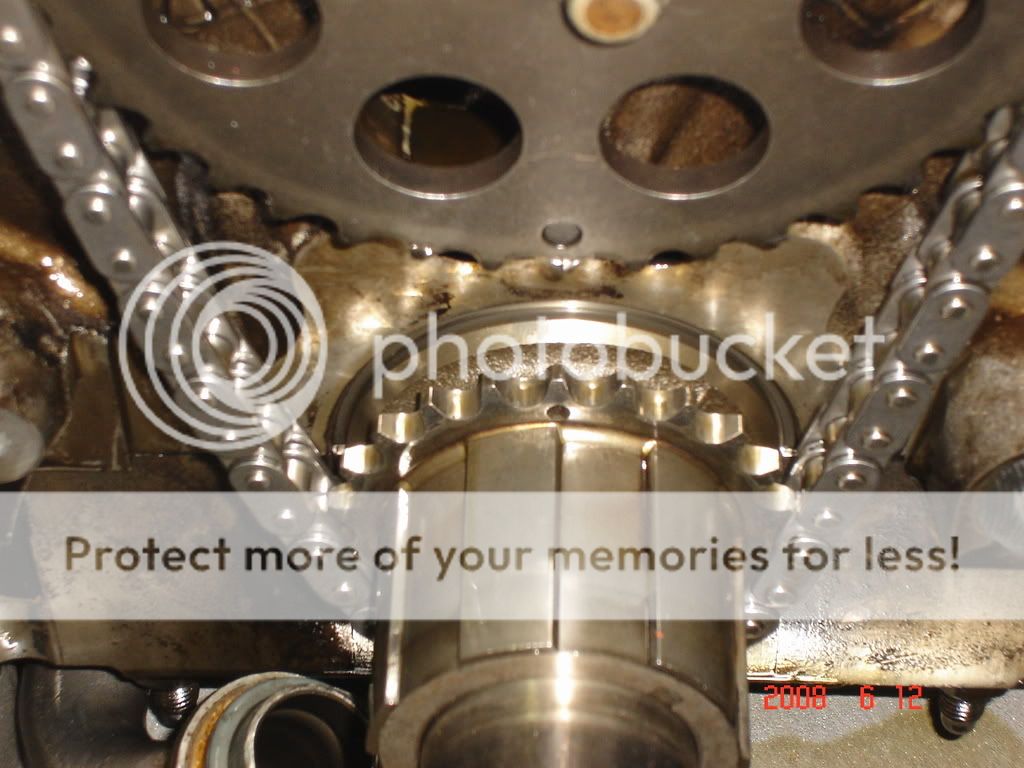
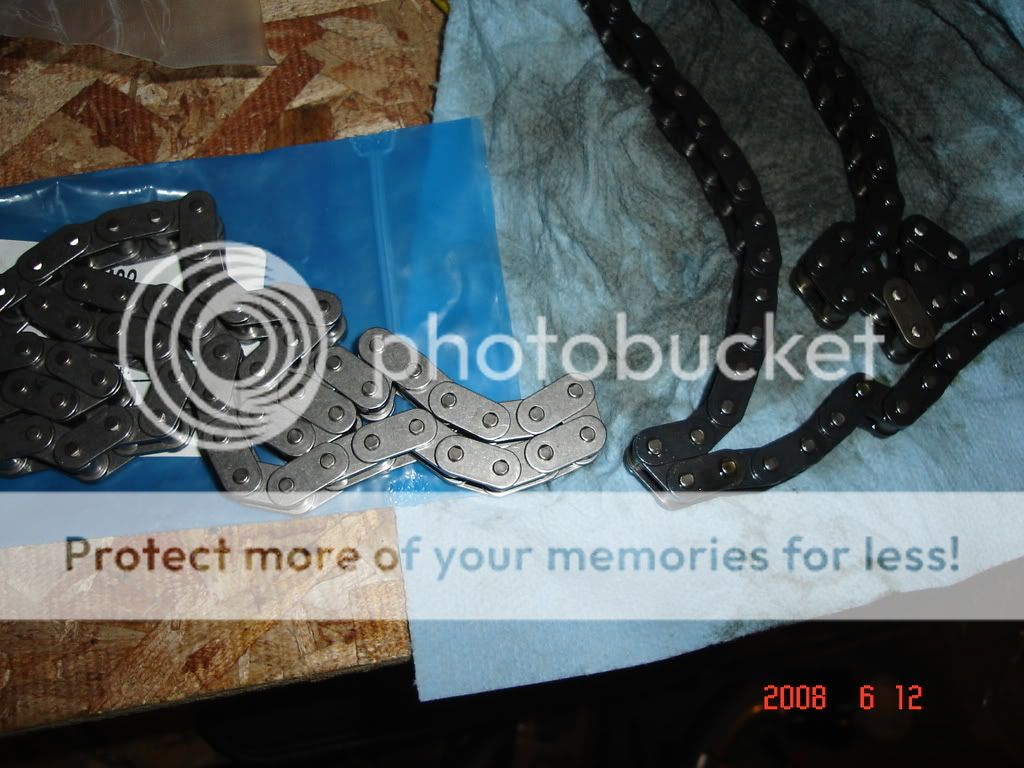
LS2 chain installed with 224/224 .581/.581 114 LSA cam.
Texas Speed had a way better comparison on there website, I took a few pics but really didn't turn out that good. I need a new camera.
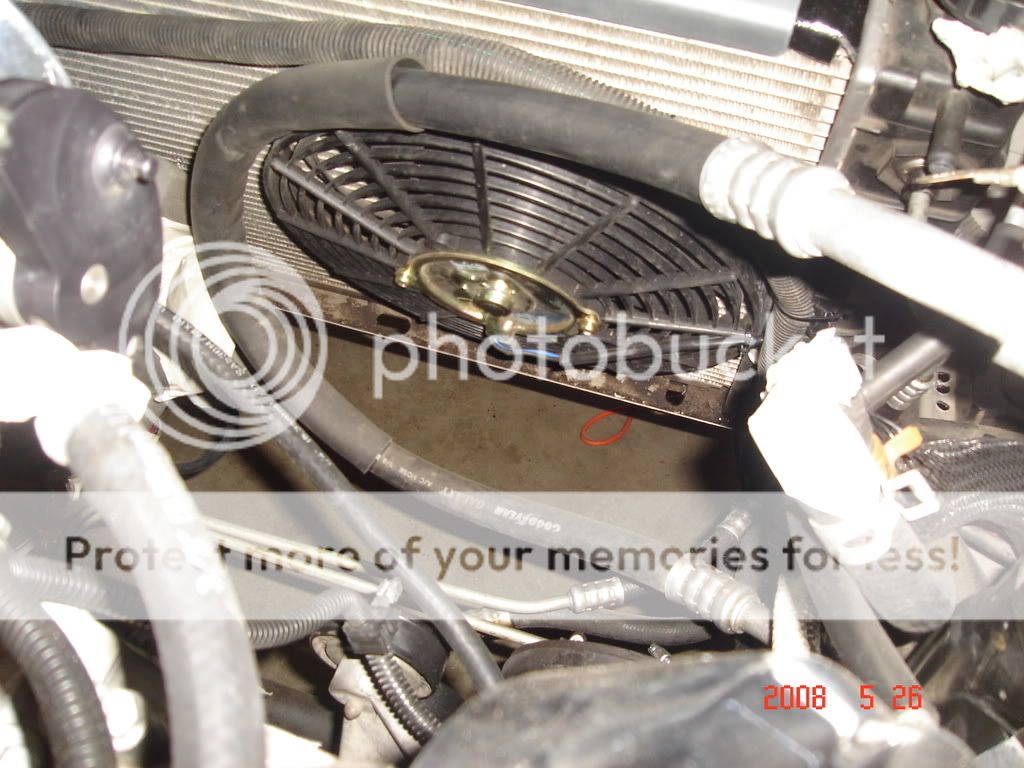
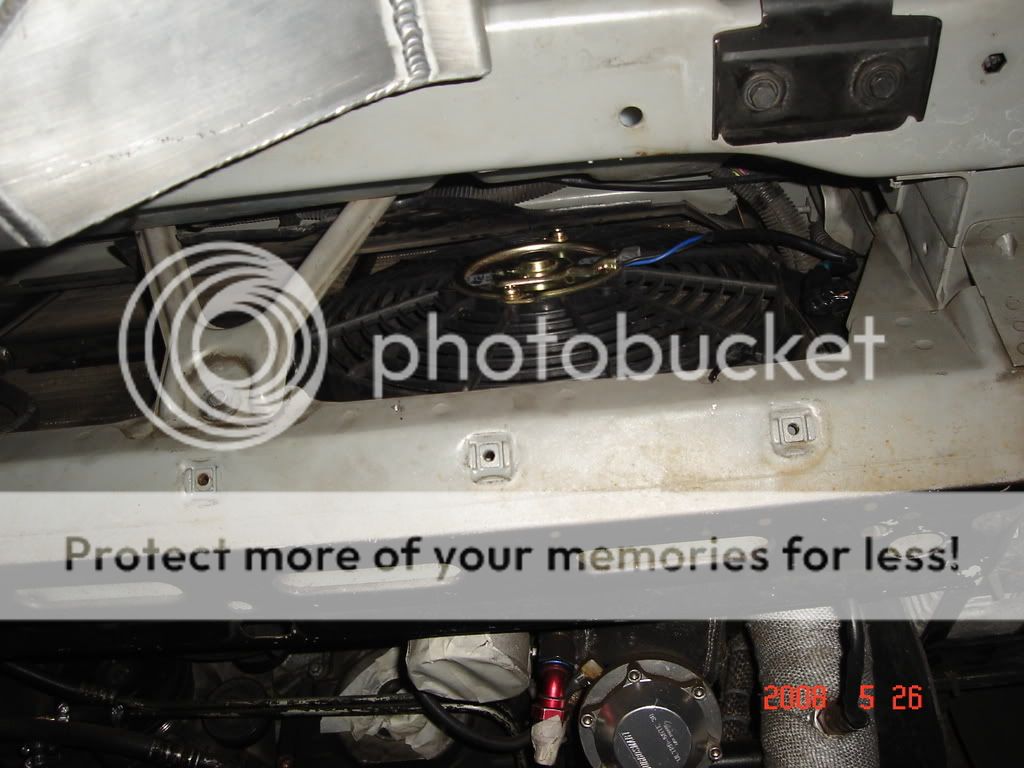
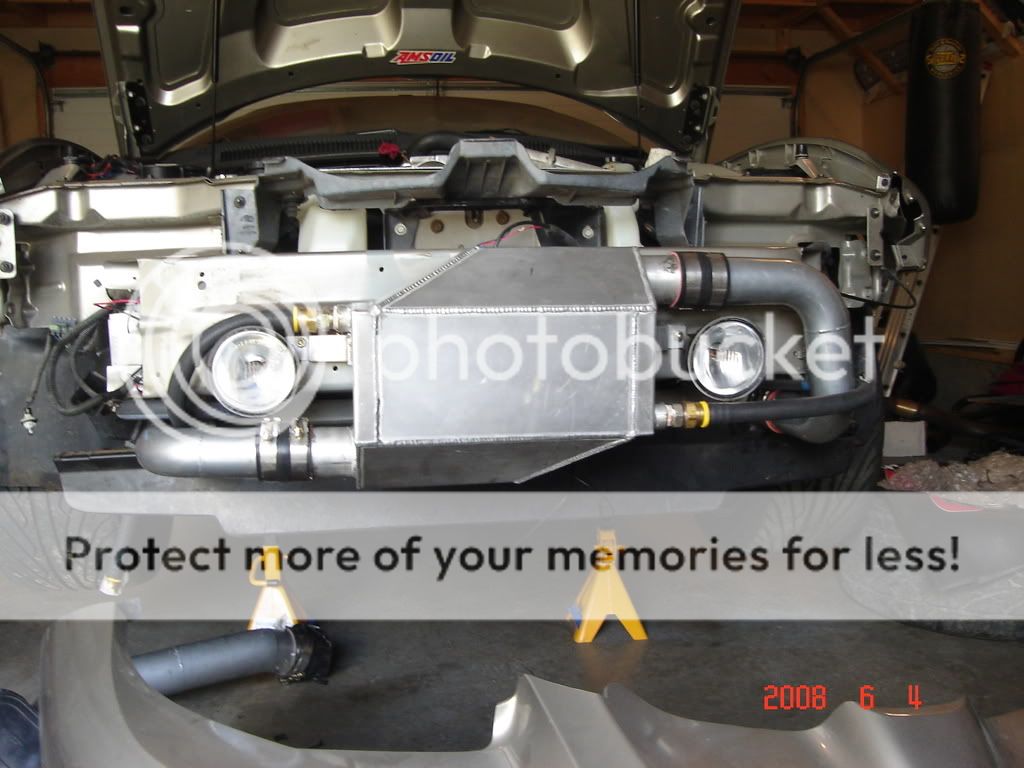
A2W setup installed, still waiting for my inline radiator and fan assembly that will be installed beside the pusher fan.
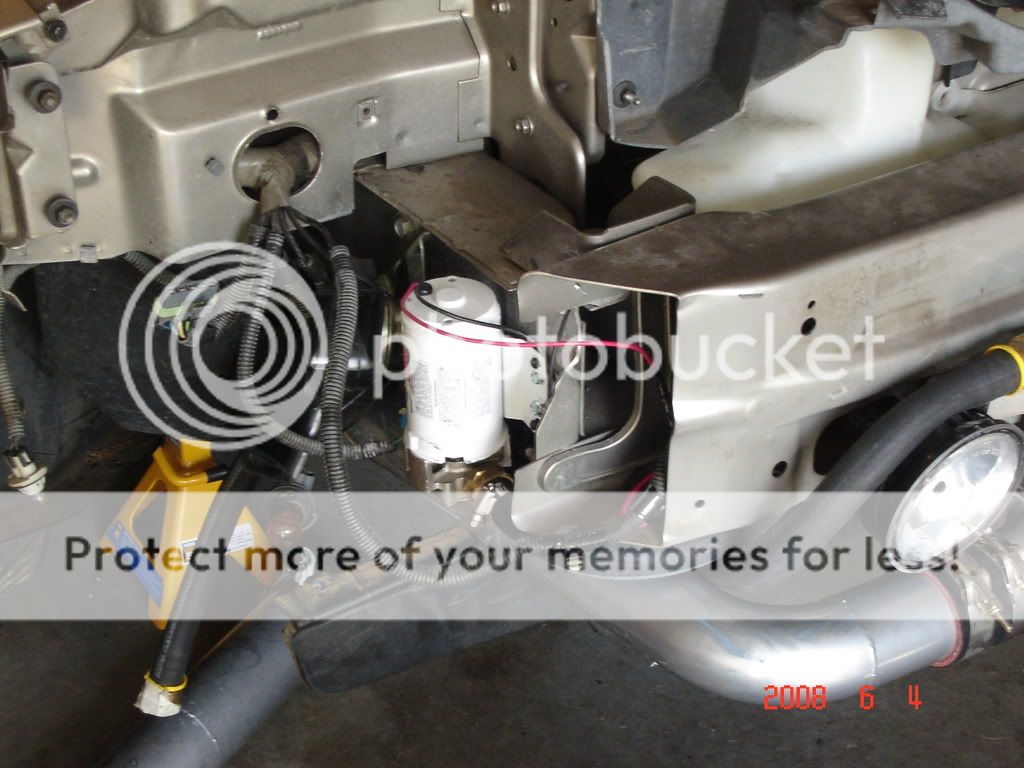
Pump mounted and waiting on the reservoir to show up too!
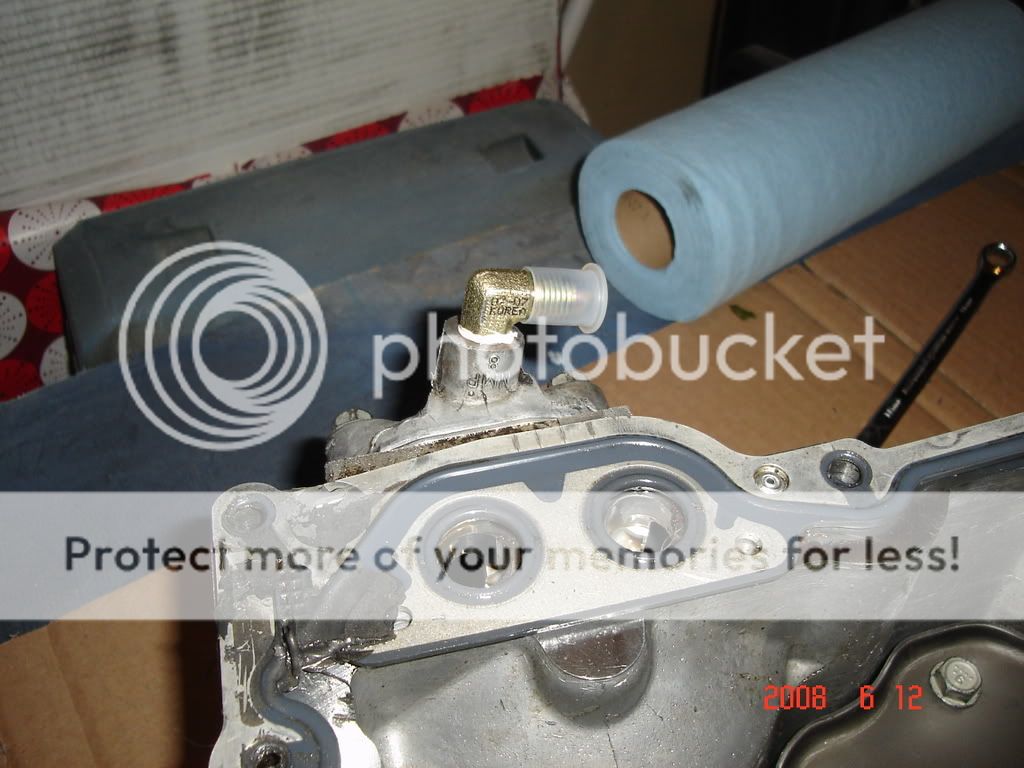
Oil drain drilled and tapped in the wing of the pan. Was really fun dropping it out and reinstalling it
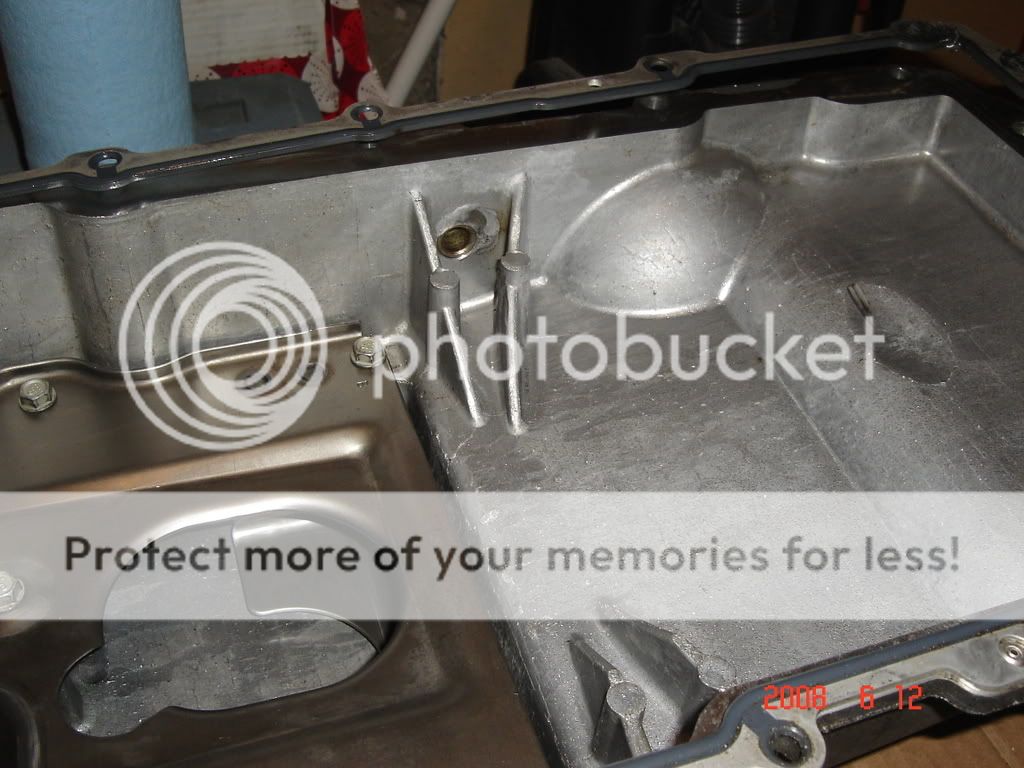
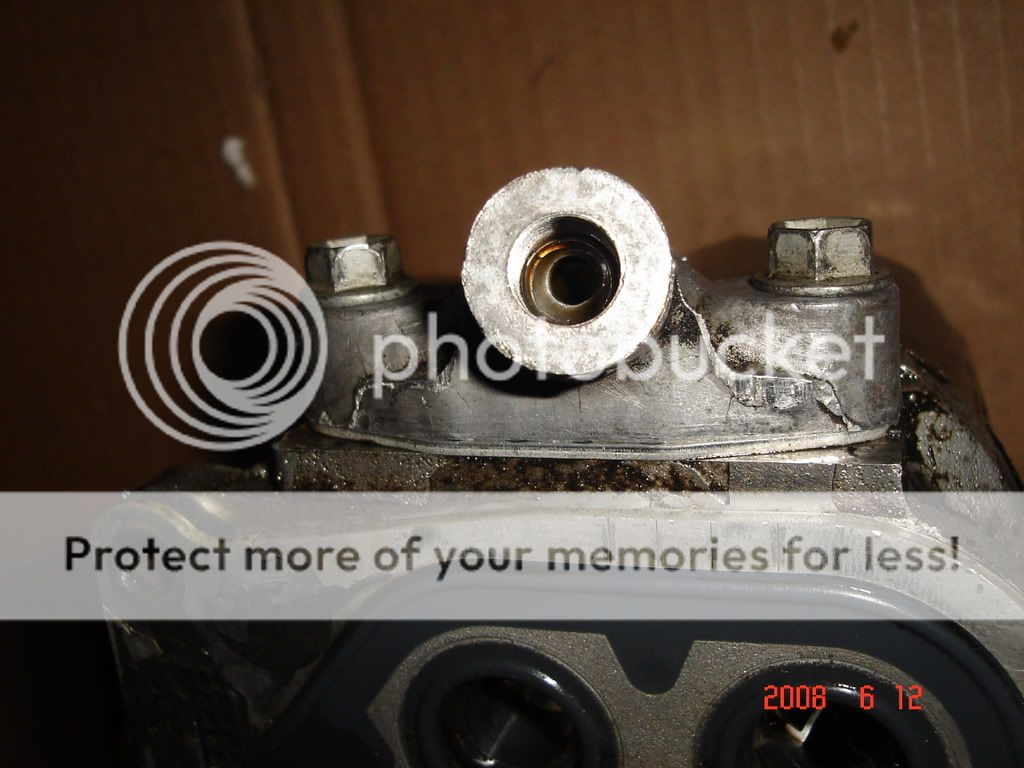
Oil feed drilled and tapped in the oil filter pressure port. I than got a different housing and drilled smaller in this pic after reading about over oiling issue's. I found the norm to be having a .060 or so Nitrous jet so I calculated it out with the apporpriate drill bit and did it that way. Seems to be oiling and draining thus far but haven't put it to the series test yet. Knock, knock!
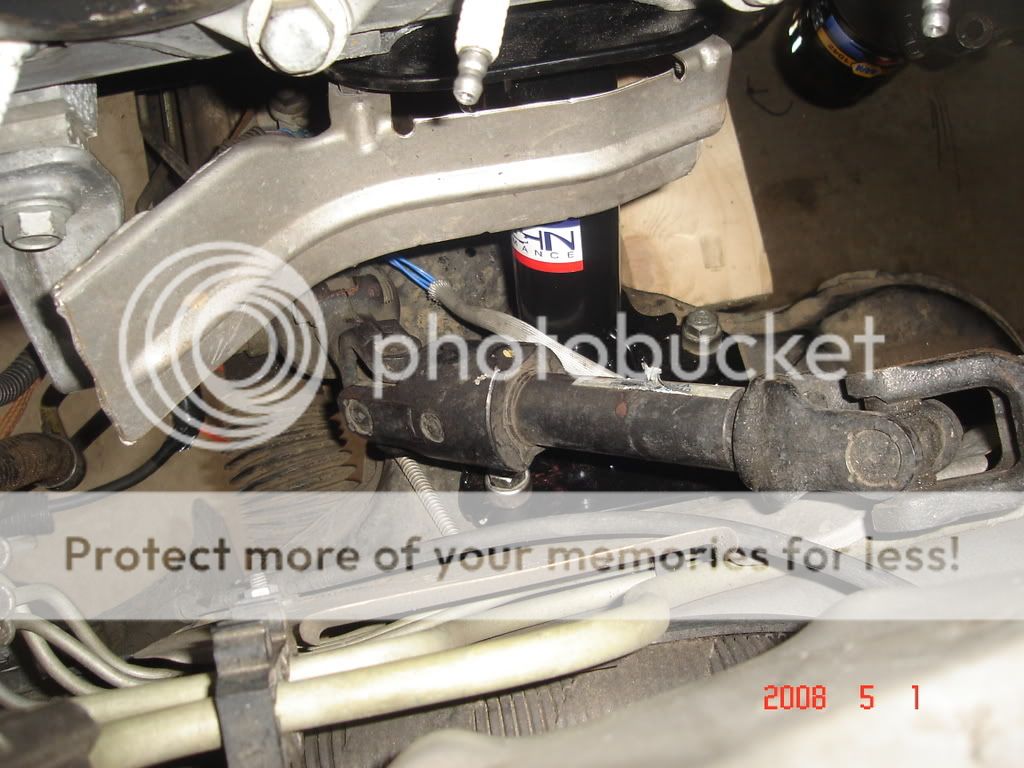
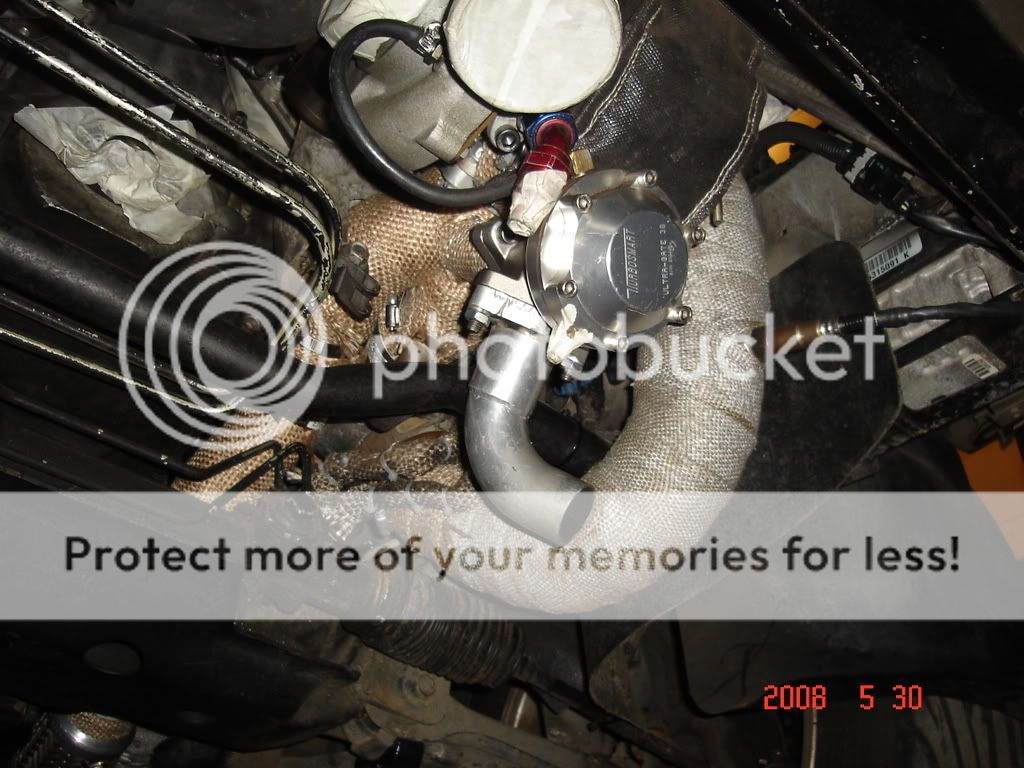
Here is the downpipe and crossover connections.

Need a lil bling here and there Also got a indash DVD navigation as well.
I think I have more pics yet but sill on camera and been busy as ***** b/w this, work and many other things always on the go. I'll post them up once I get some time and will get a vid from when I hopefully get her strapped down on the rollers very soon. Of course I'll get some street action too
My cockpit, put water temp down low and can still see at a easy glance. I got all 2 1/16'' gauges not realizing that I should have got the 2 5/8 for the vent. I had to make a small bezel and paint it.
Access door for fuel pump and installed my 'homemade hotwire kit'. Still waiting on a sock for my walbro pump so I can toss it in.
LS2 chain installed with 224/224 .581/.581 114 LSA cam.
Texas Speed had a way better comparison on there website, I took a few pics but really didn't turn out that good. I need a new camera.
A2W setup installed, still waiting for my inline radiator and fan assembly that will be installed beside the pusher fan.
Pump mounted and waiting on the reservoir to show up too!
Oil drain drilled and tapped in the wing of the pan. Was really fun dropping it out and reinstalling it
Oil feed drilled and tapped in the oil filter pressure port. I than got a different housing and drilled smaller in this pic after reading about over oiling issue's. I found the norm to be having a .060 or so Nitrous jet so I calculated it out with the apporpriate drill bit and did it that way. Seems to be oiling and draining thus far but haven't put it to the series test yet. Knock, knock!
Here is the downpipe and crossover connections.
Need a lil bling here and there
Also got a indash DVD navigation as well.I think I have more pics yet but sill on camera and been busy as ***** b/w this, work and many other things always on the go. I'll post them up once I get some time and will get a vid from when I hopefully get her strapped down on the rollers very soon. Of course I'll get some street action too
Last edited by Websy21; Jun 23, 2008 at 01:13 AM. Reason: pics
Thread Starter
TECH Addict
iTrader: (34)
Joined: Jun 2007
Posts: 2,346
Likes: 1
From: Alberta, Canada
One thing I want to say so far is that it's adle temp I was impressed with. I was seeing a constant 190 in my garage and driveway on a 90 degree day. I also have a 160 thermostat that was already installed on the car but not sure if its tuned to have the fans come on earlier or not.
The only problem I have so far is that the trans temp will not register at all. It starts at 100 degress and thought that it would be easily over this idling. I took it for a spin and never seen it come up but wasn't very long and only glanced once since I only have fire and theft right now
What are normal temps at idle? I put a voltmeter on it and the seperate power source along with the seperate light power source read the same while the sender was reading almost half that value. This tells me that its hooked up right and I don't have any wire crossed? Its a brand new autometer gague too? Tomar I will be taking it for an actual cruize as I plan to sefoam the gal tomarrow so she's nice and fresh for its new tune.
Any help and or suggestions would be awesome. I am hoping it come around tomorrow. I don't want to sound like I am complaingin about low tranny temps but doesn't seem right to me but what do I know.
For those who didn't red its b/w the a/c cond and rad with one puller and pusher. I also sealed off from side to side and bottom to top b/w the cond & red to direct the air allot better which I think is helping me out a bit anyways.
very nice so far, just wondering why still keep all that A2W ducting up front with the bumper support still there? it LOOKS like it would be a overheating thing blocking that much air, but like you've already said you havnt overheated or anything, just wondering
damn looks good! It looks like the turbo sit high enough that you can drain it to the timing cover, any particular reason you dropped the pan?
Last edited by Hennytime; Jun 23, 2008 at 08:42 AM.
Thread Starter
TECH Addict
iTrader: (34)
Joined: Jun 2007
Posts: 2,346
Likes: 1
From: Alberta, Canada
Ya, I was a bit concerned of the car overheating having all the A2W accessories but seems to be doing just fine. That is why I sealed it off b/w the condensor to get a good air flow.
I don't think the turbo sits high enough to go to the timing cover. to be honest I never looked that hard but after talking to several I didn't even consider it. Do what works
Size fans I am unsure of. They came with the kit. When I get time I might be able to look into them a bit more. You wondering on the cfm or the dimensions?
Trending Topics
LS1 Tech Stories
The Best V8 Stories One Small Block at Time

6 Common C5 Corvette Failures and What's Involved In Repairing Them
Pouria Savadkouei
Retro Modern Bandit Pontiac Trans AM Comes With Burt Reynolds' Autograph
Verdad Gallardo
Top 10 Greatest Cadillac V Series Performance Models Ever, Ranked
Pouria Savadkouei
Top 10 Most Powerful Chevy Trucks Ever Made!

Hennessey's New Supercharged Silverado ZR2 Has 700 HP
Verdad Gallardo
Coachbuilt N2A Anteros Is an LS2-Powered C6 Corvette In Italian Clothes
Verdad Gallardo
Awesome K5 Blazer Restomod Comes With C7 Corvette Power
Verdad Gallardo
10 Camaros You Should Never Buy

10 LS Engine Myths That Refuse to Die
Verdad Gallardo Thread Starter
TECH Addict
iTrader: (34)
Joined: Jun 2007
Posts: 2,346
Likes: 1
From: Alberta, Canada
BTW when you think about it itw only on the one side that I will have the A2W radiator and it will also have a fan on it as well to help the airflow on that side. As well as the puller on the oposite side too. Beside the A2W rad is the pusher so I think that it should be ok.
Thread Starter
TECH Addict
iTrader: (34)
Joined: Jun 2007
Posts: 2,346
Likes: 1
From: Alberta, Canada
To be honest with you I jsut went out and was a lil difficult to measure right now being on the car but I believe from the top to the bottom of the shroud itself its 15'' diameter.
Thread Starter
TECH Addict
iTrader: (34)
Joined: Jun 2007
Posts: 2,346
Likes: 1
From: Alberta, Canada
Yes, I believe that someone did that with this kit or similar. I thought about that but who knows if I will ever go back to stock so I don't want to hack up the stock fan assembly myself.