When you click on links to various merchants on this site and make a purchase, this can result in this site earning a commission. Affiliate programs and affiliations include, but are not limited to, the eBay Partner Network.
Starting a new erra in my life and its time for me to learn how to build/rebuild an engine. I was thinking i could just do this on FB but wanted to keep everything in the same library. Hoping this helps some when i purchase my first c5 vett.(purchased a C6 in 2018)
Ok, some background. I purchased a 5.3 for ~300s buck that included the harness and all accessories. I spend a month or so learning learning all the parts that interface the PCM and labeled them along with learning what each pin on my ECM controls. Not a grand feet but still kept interested. After I felt I was somewhat comfy, I decided to start my engine on the stand just to make sure it ran at the very least. ----Guess the bargain for the engine included a bad starter...not much of an issue really because i could use it in my 2001Silverado DD.
One of the issues I had was the process of sending fuel while on the stand to the engine. I decided I would purchase a cheap ~ebay fuel pump. I was/am worried this will work for an overall evaluation of my build. But cheap non the less.
Did get the motor to start and run. I also learned that the heads had 3 bolts snapped off. 2 on the passenger side and 1 on the drivers side. After the start/run, I started the teardow, I noticed the head manifold bolts must have been like this for some time. Lots of black around all the exhaust ports. More to come.....
***Update***
Summary of what you will find below with pictures and Q&A:
Machine Shop Details
Magnuflux
Clean
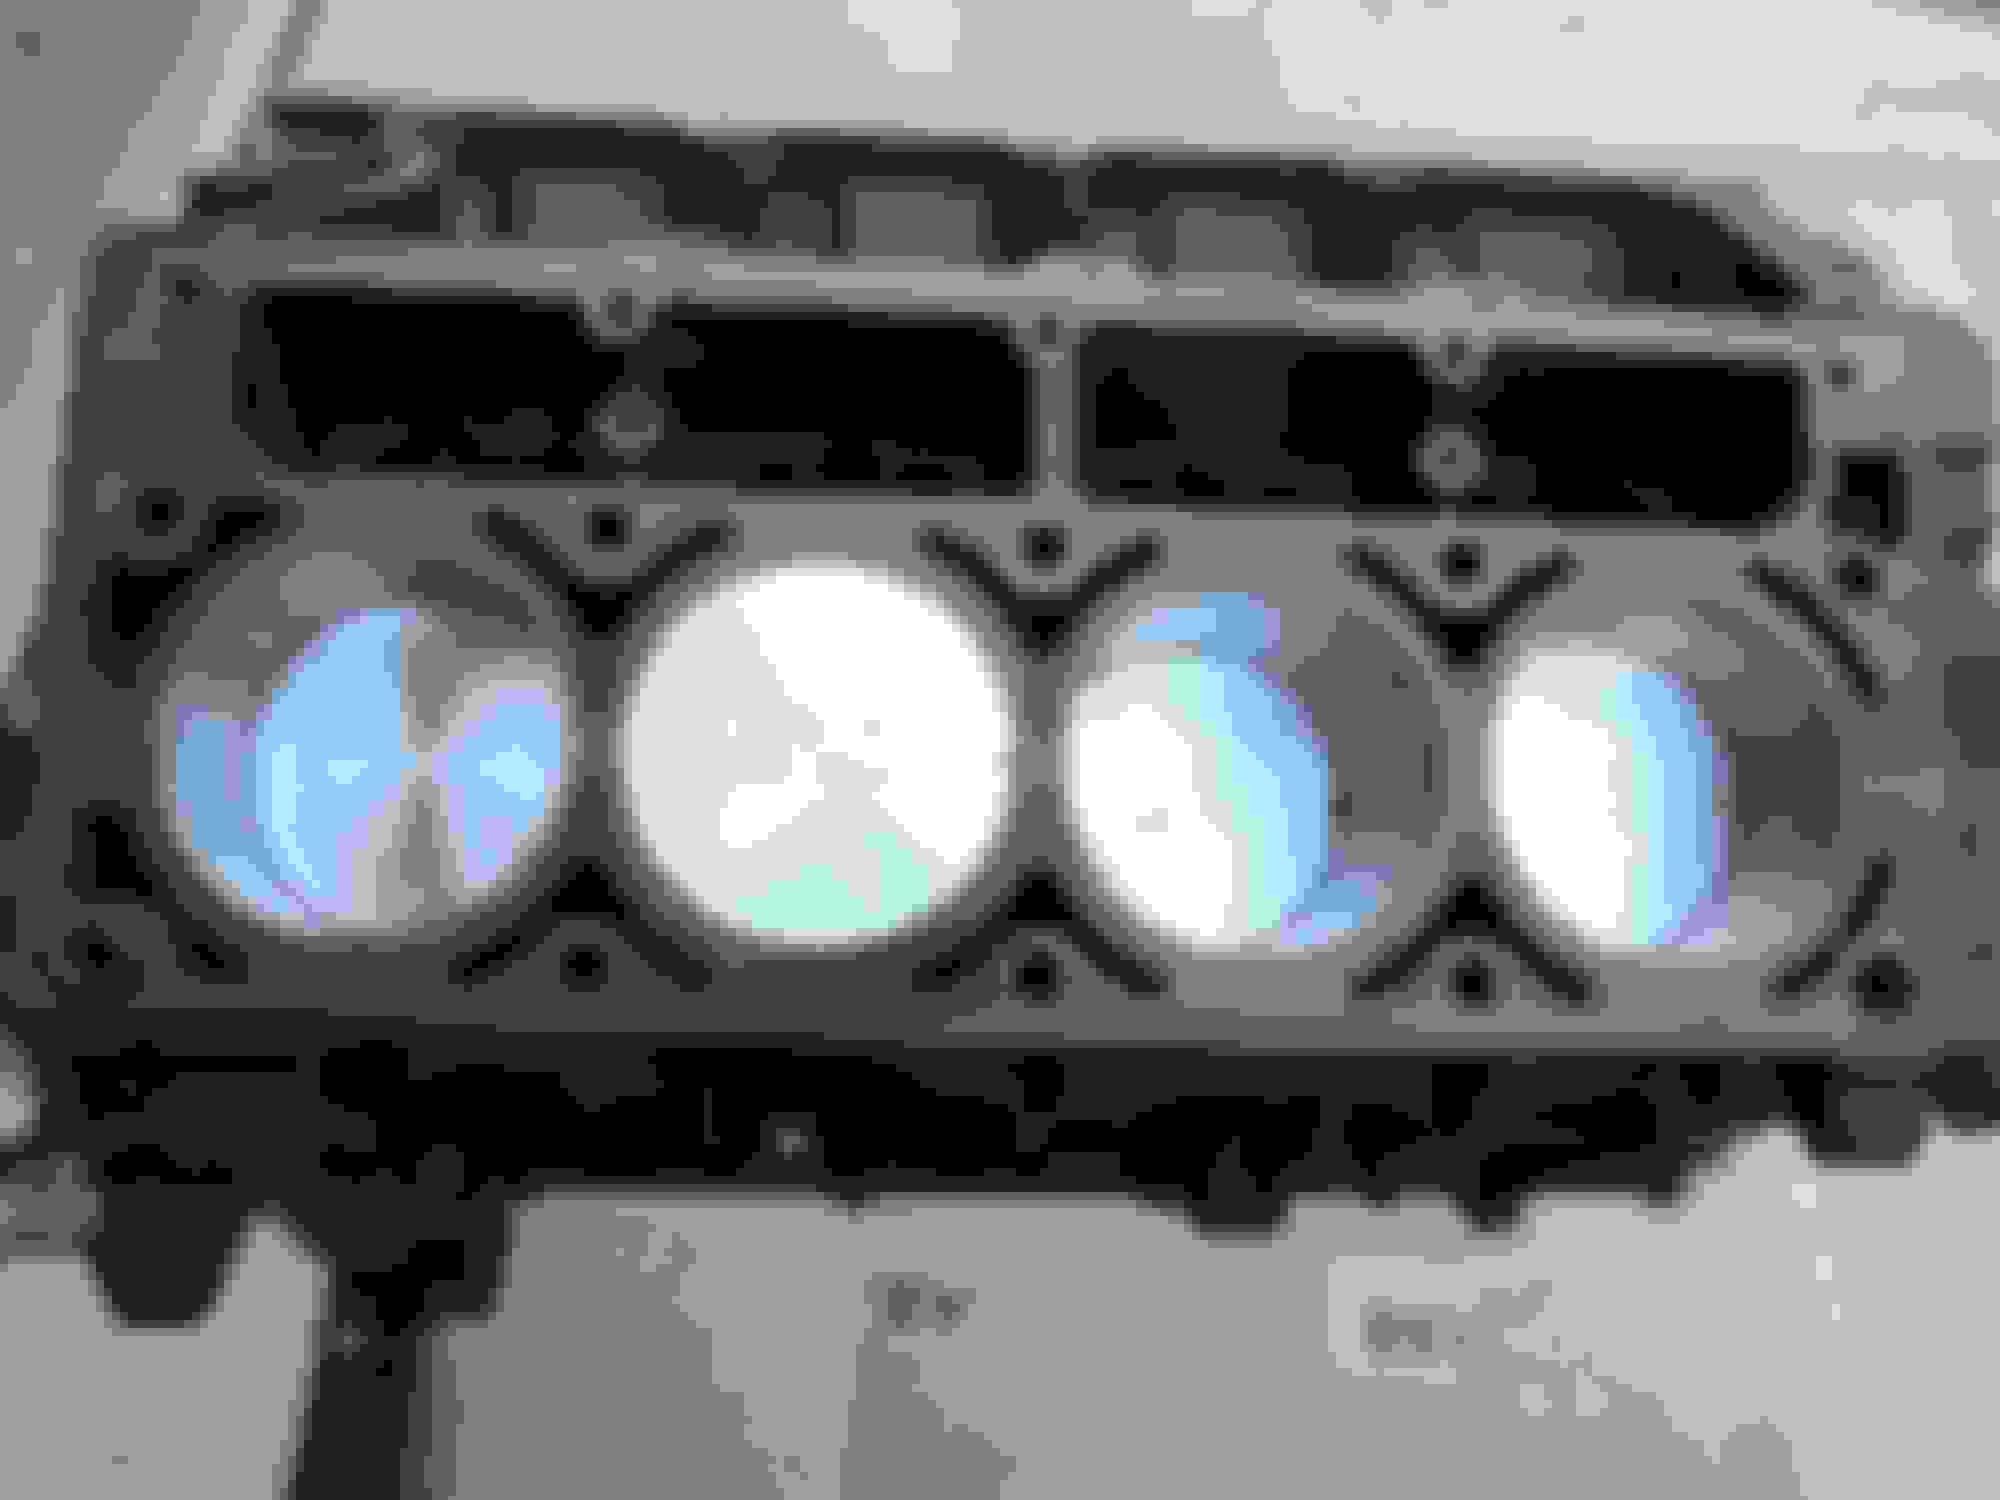
Bore 5.3 to 5.7
Install cam bearing
Crank Polish
Presswork (reused the rods and bought some flat top pistons/w piston rings from ws6store)
Align bore-Not sure what that was for
Assemble bottom (Had to disassemble and send out to get balanced afterwards)
Cam bearings (TBD)
Main bearings (King M5293L-Std 1,2,4,5 and King F5293L-Std 3)
Rod bearings (King CR807SI-Std)
Pistons & Rings (WS6store, P3081 w/ 38918 rings)
Removed (3) broken exhaust bolts from heads.
Heads cleaned up and Heli coil used to repair (1) botched exhaust bolt attempt.
Crank mains clearance: 1,2,4,5= .0015, 3=.001-.0015
Crank end play: .004
Last edited by Underachieved; 04-12-2019 at 06:27 PM.
Reason: Update 11/3/18
Taking my original cam with when I pick the block up, so I can test fit and make sure everything fits like it should. I have read to many stories on new cam bearing install issues with cam fits. Crossing my fingers.
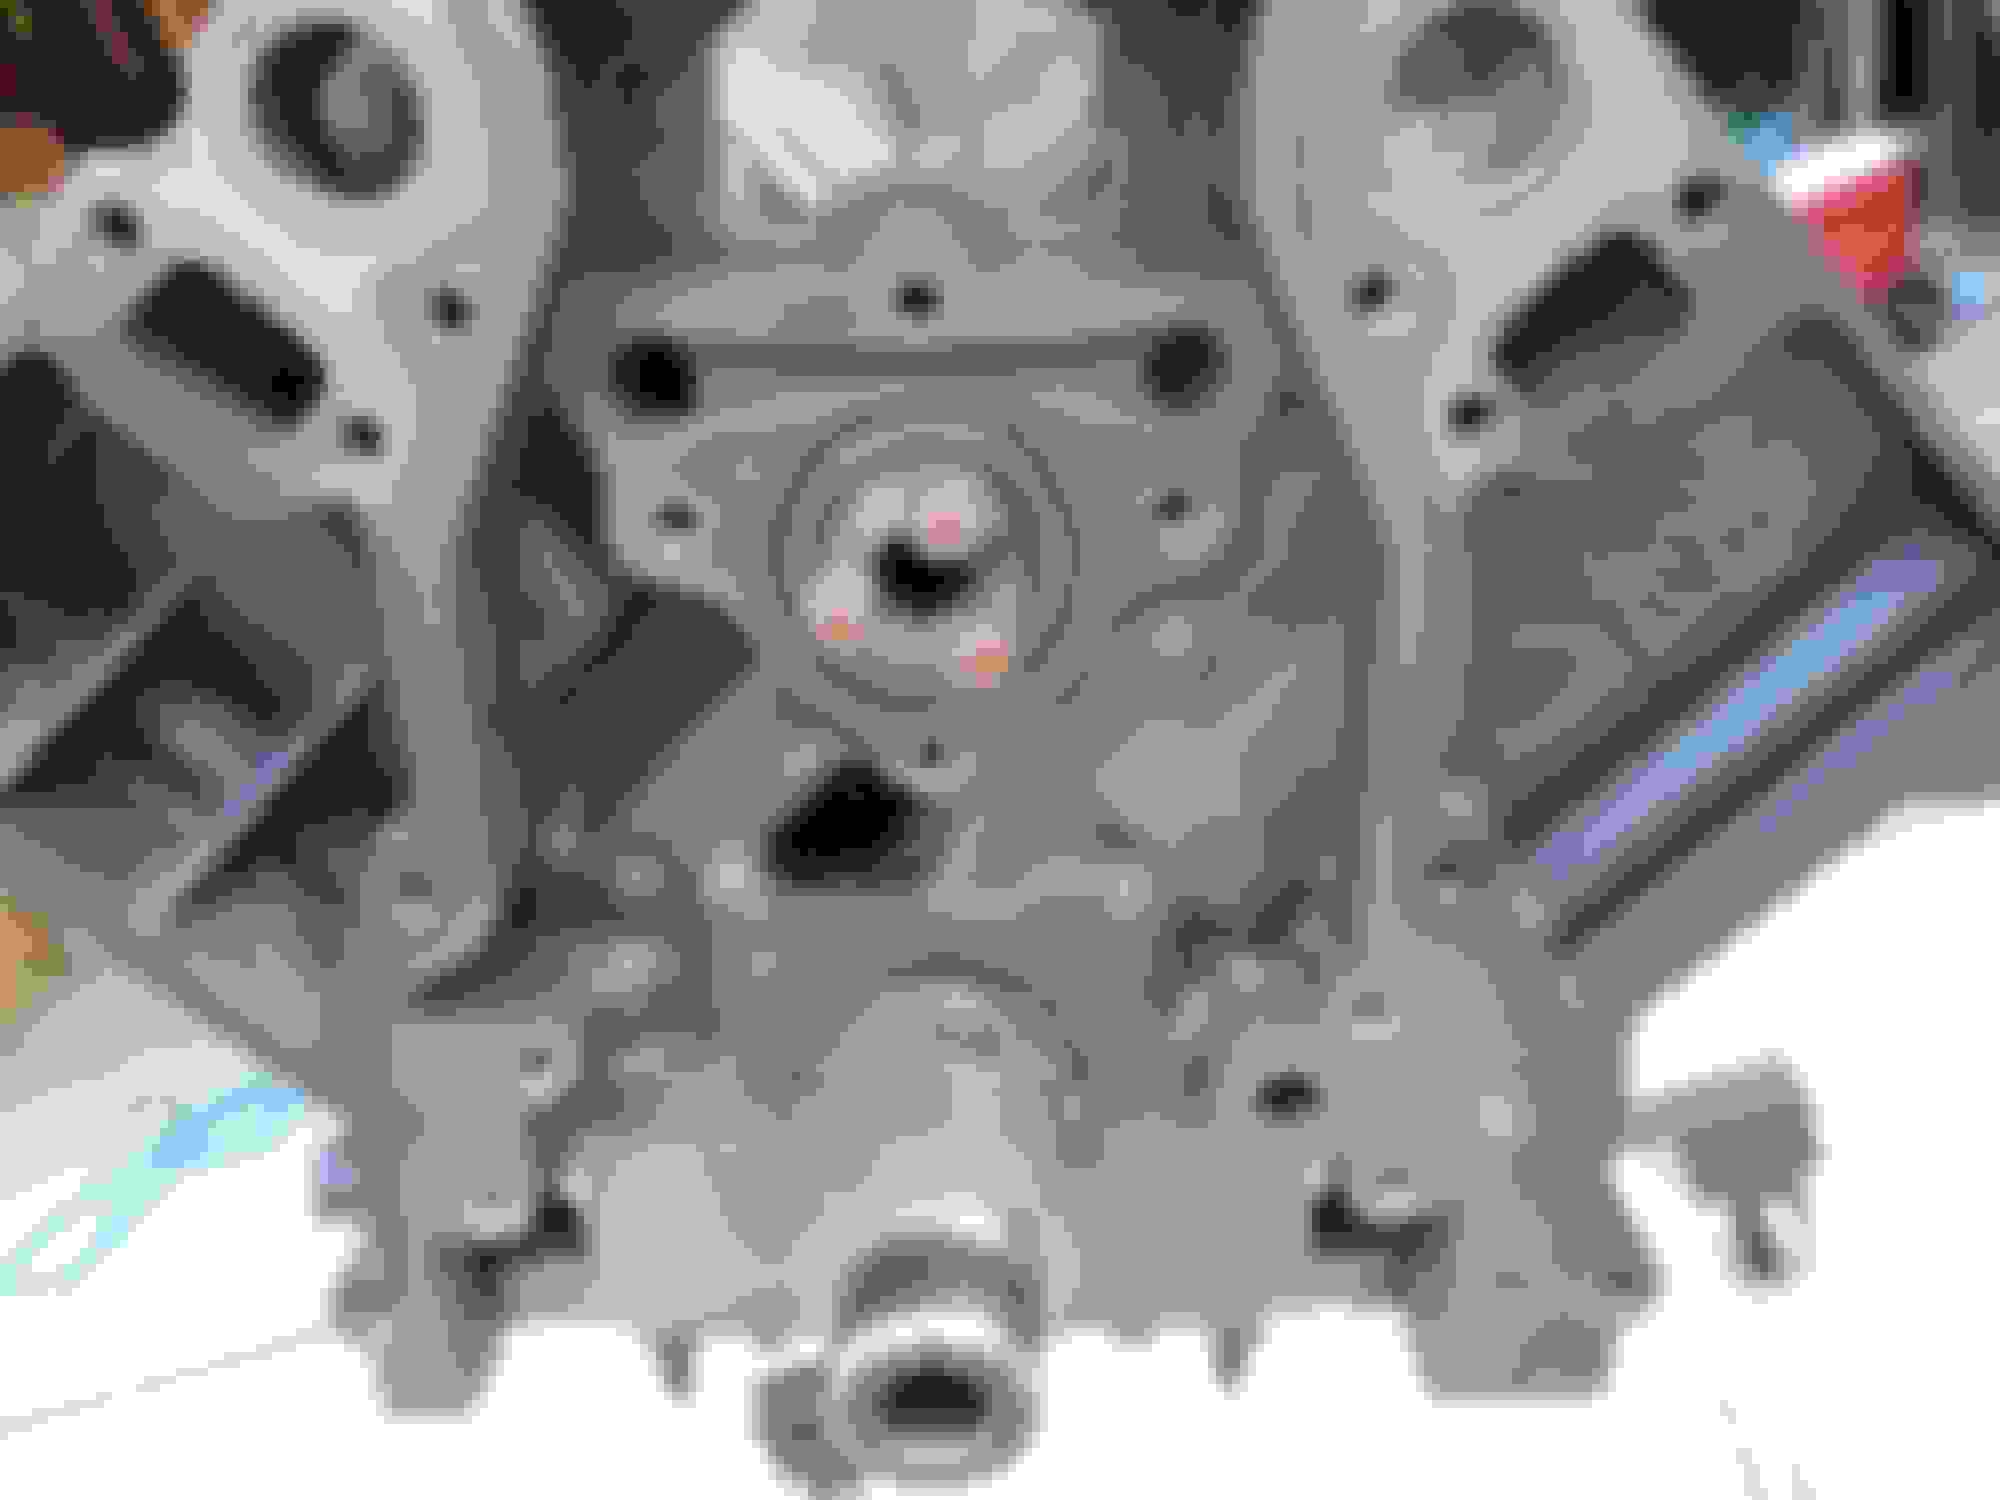
I picked up my block today. I asked to test fit the stock cam to make sure everything was good. Cam slid in nice and snug. I can turn it by hand but its tight.
Looks like they actually sprayed painted the block in spots. Is that common? I will post pictures tomorrow.
I have read alot about people replacing cam gear and chain. Would this be something that I need to consider in my budget? The stock looks good to me.
Machine Shop Details
Magnuflux
Clean
Bore to 5.7
Install cam bearing
Crank Polish
Presswork (reused the rods and bought some flat top pistons/w piston rings from ws6store)
Align bore-Not sure what that was for
Assemble bottom
Cam bearings
Main bearings
Rod bearings
It would be a VERY good idea to. I run the n motion billet timing set with German IWIS chain on my 3 personal 2500hd trucks. They are mostly stock but i want the added durability and precision. They are $85 for the set.
I also run the melling 10295 pump. We didnt offer our ported pumps then or i would have ran them.
We have all the major brand cams plus 3 of our own that fit alot of applications. Let us know how we can help.
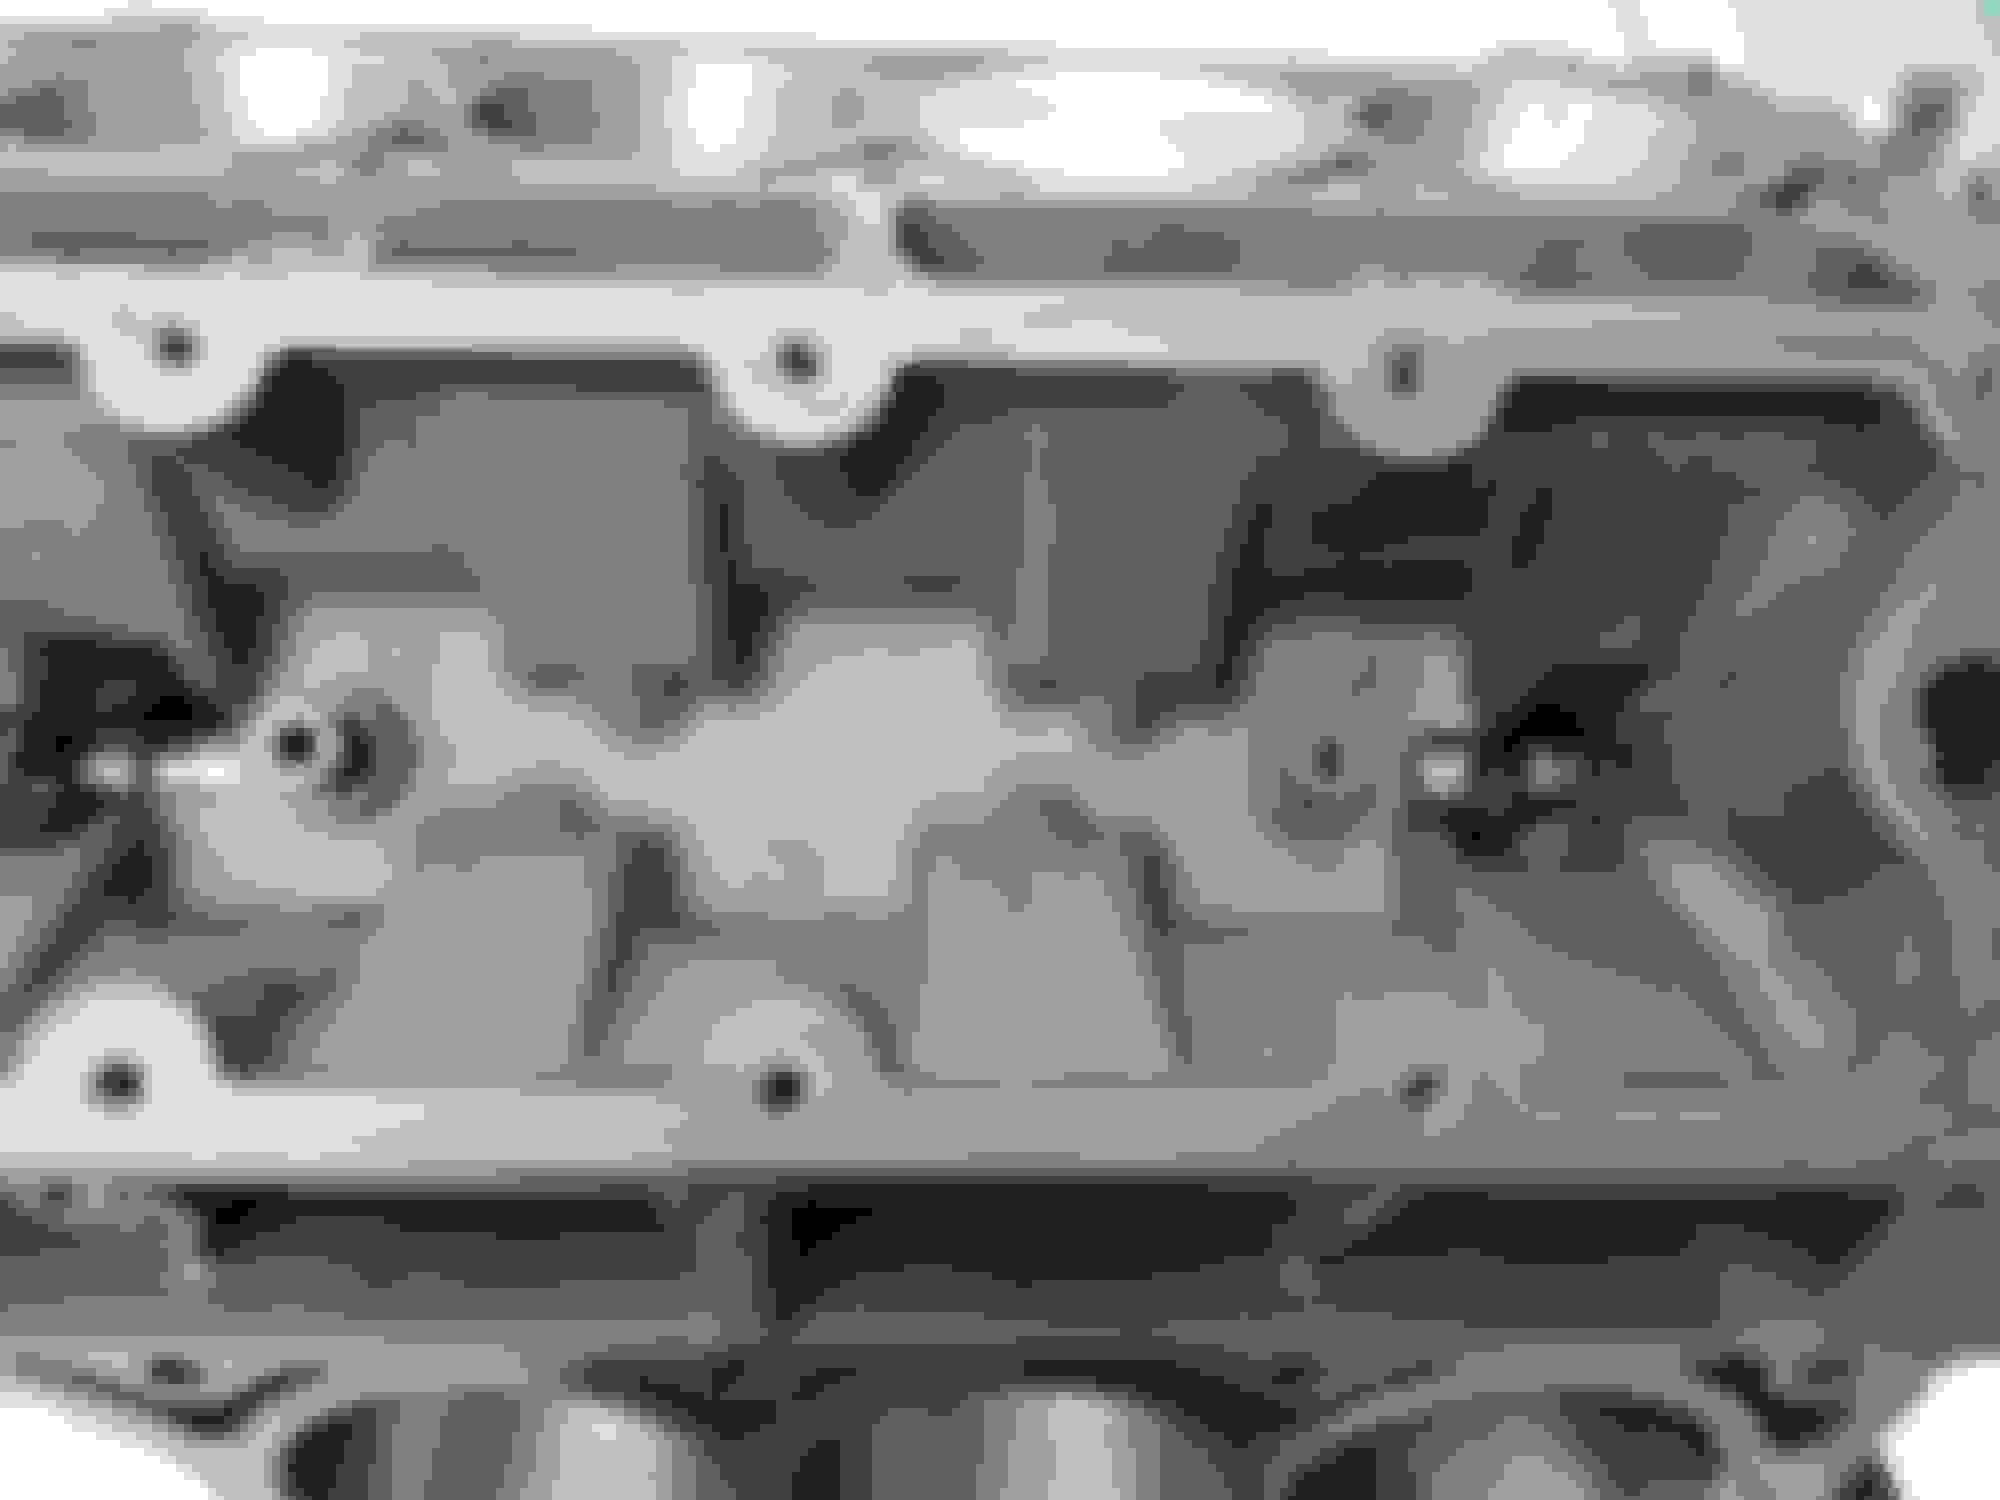
A closer look shows that I will need to chase all the threads. I thought that block cleaning would take care of that but I guess not. Anyone have a recommendation on keeping rust out of the cylinders during a long duration build?
Nice build! Are you having the 862's machined for the 2 inch intake valves?
I plan on tearing them down and see what I have to work with. Alot will depend on cost of the machine work for the heads to 2". I really have not thought much about the heads but probably should inline with the cam choice.
I plan on tearing them down and see what I have to work with. Alot will depend on cost of the machine work for the heads to 2". I really have not thought much about the heads but probably should inline with the cam choice.
I had plans on boring a 5.3 to 5.7 and running a 5.7 flat top with milled 862's machined for the 2" intake valves. You'd be in the neighborhood of 11.5 on compression. Go a step further and stroke it to 383, with a 236/242 cam on a 112+4 LSA in there and that thing would be a pretty potent setup. Build it for NOS and then put a 200 shot on it...
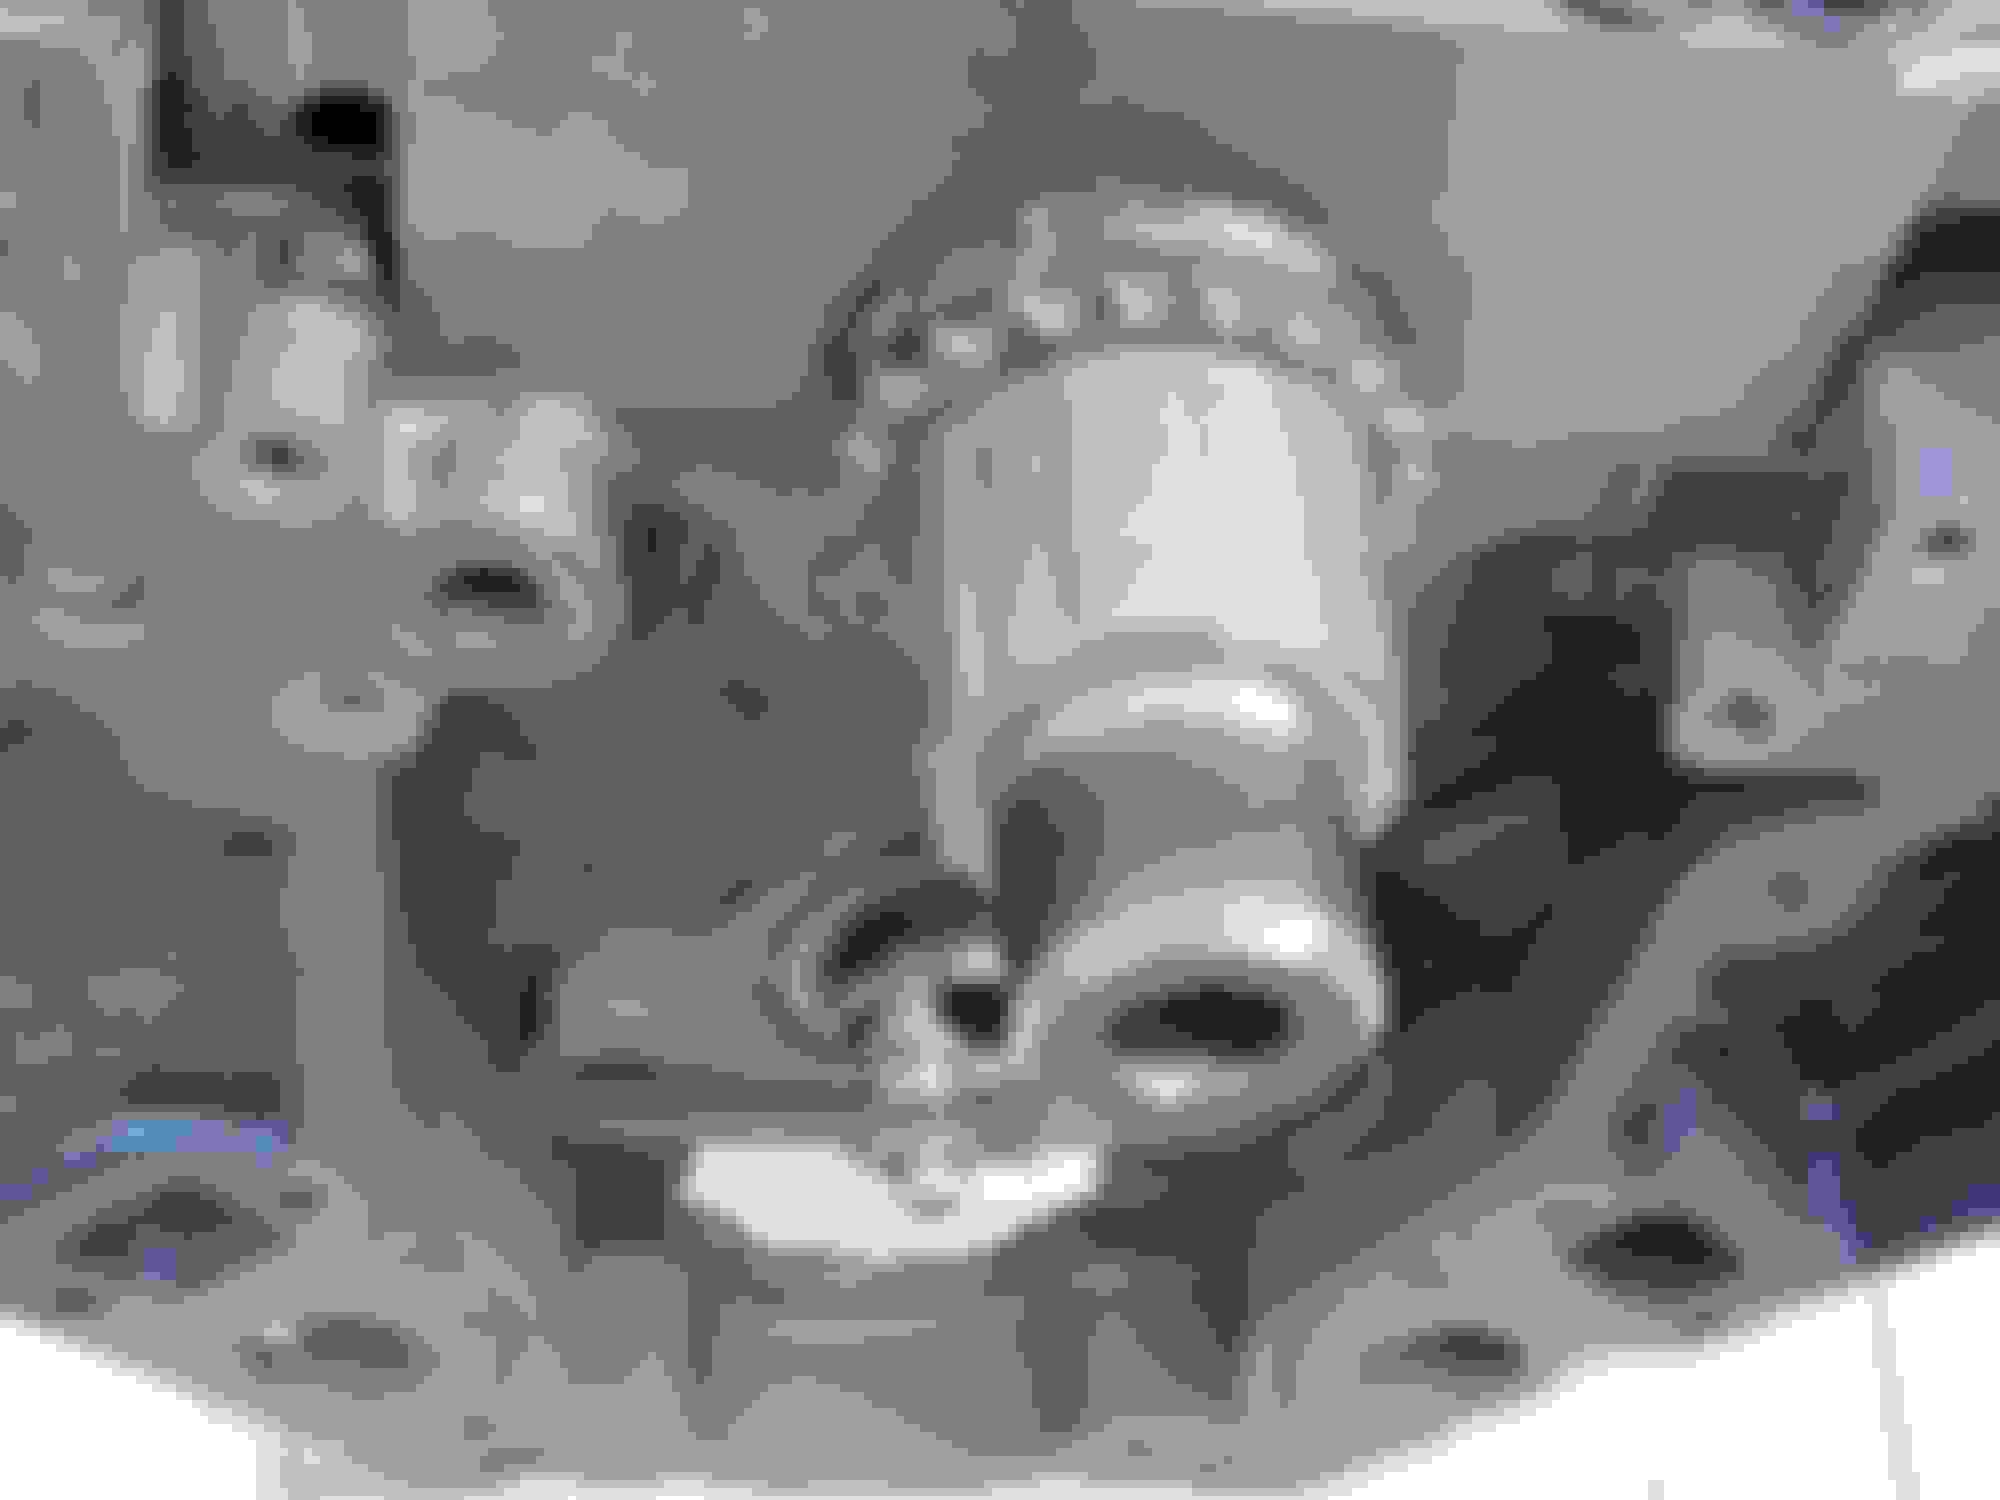
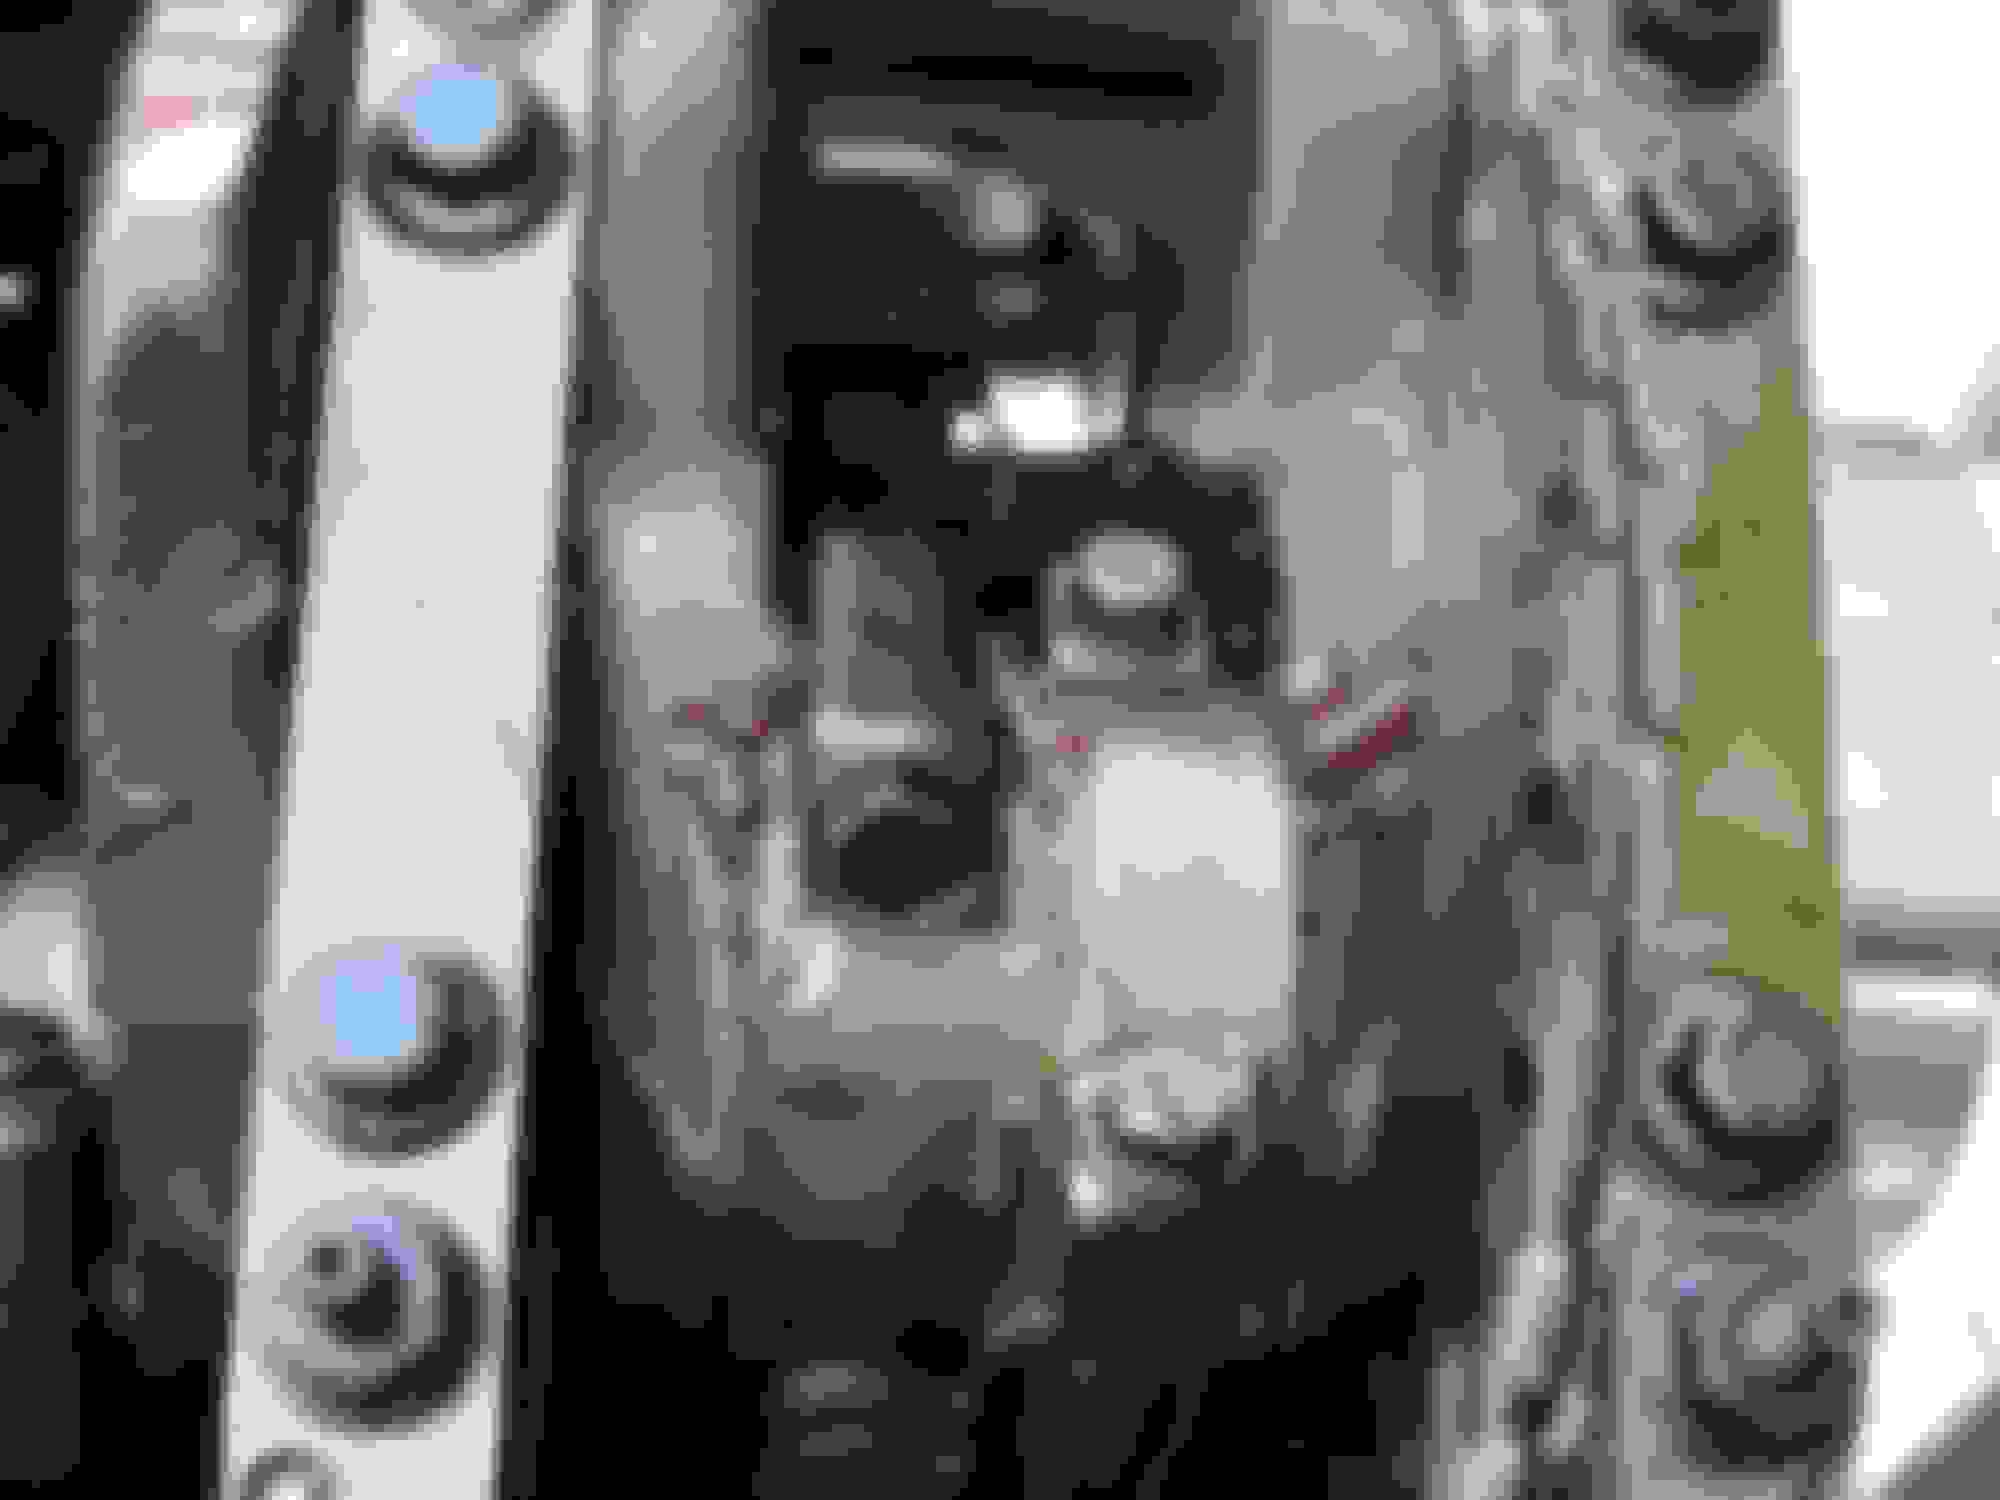
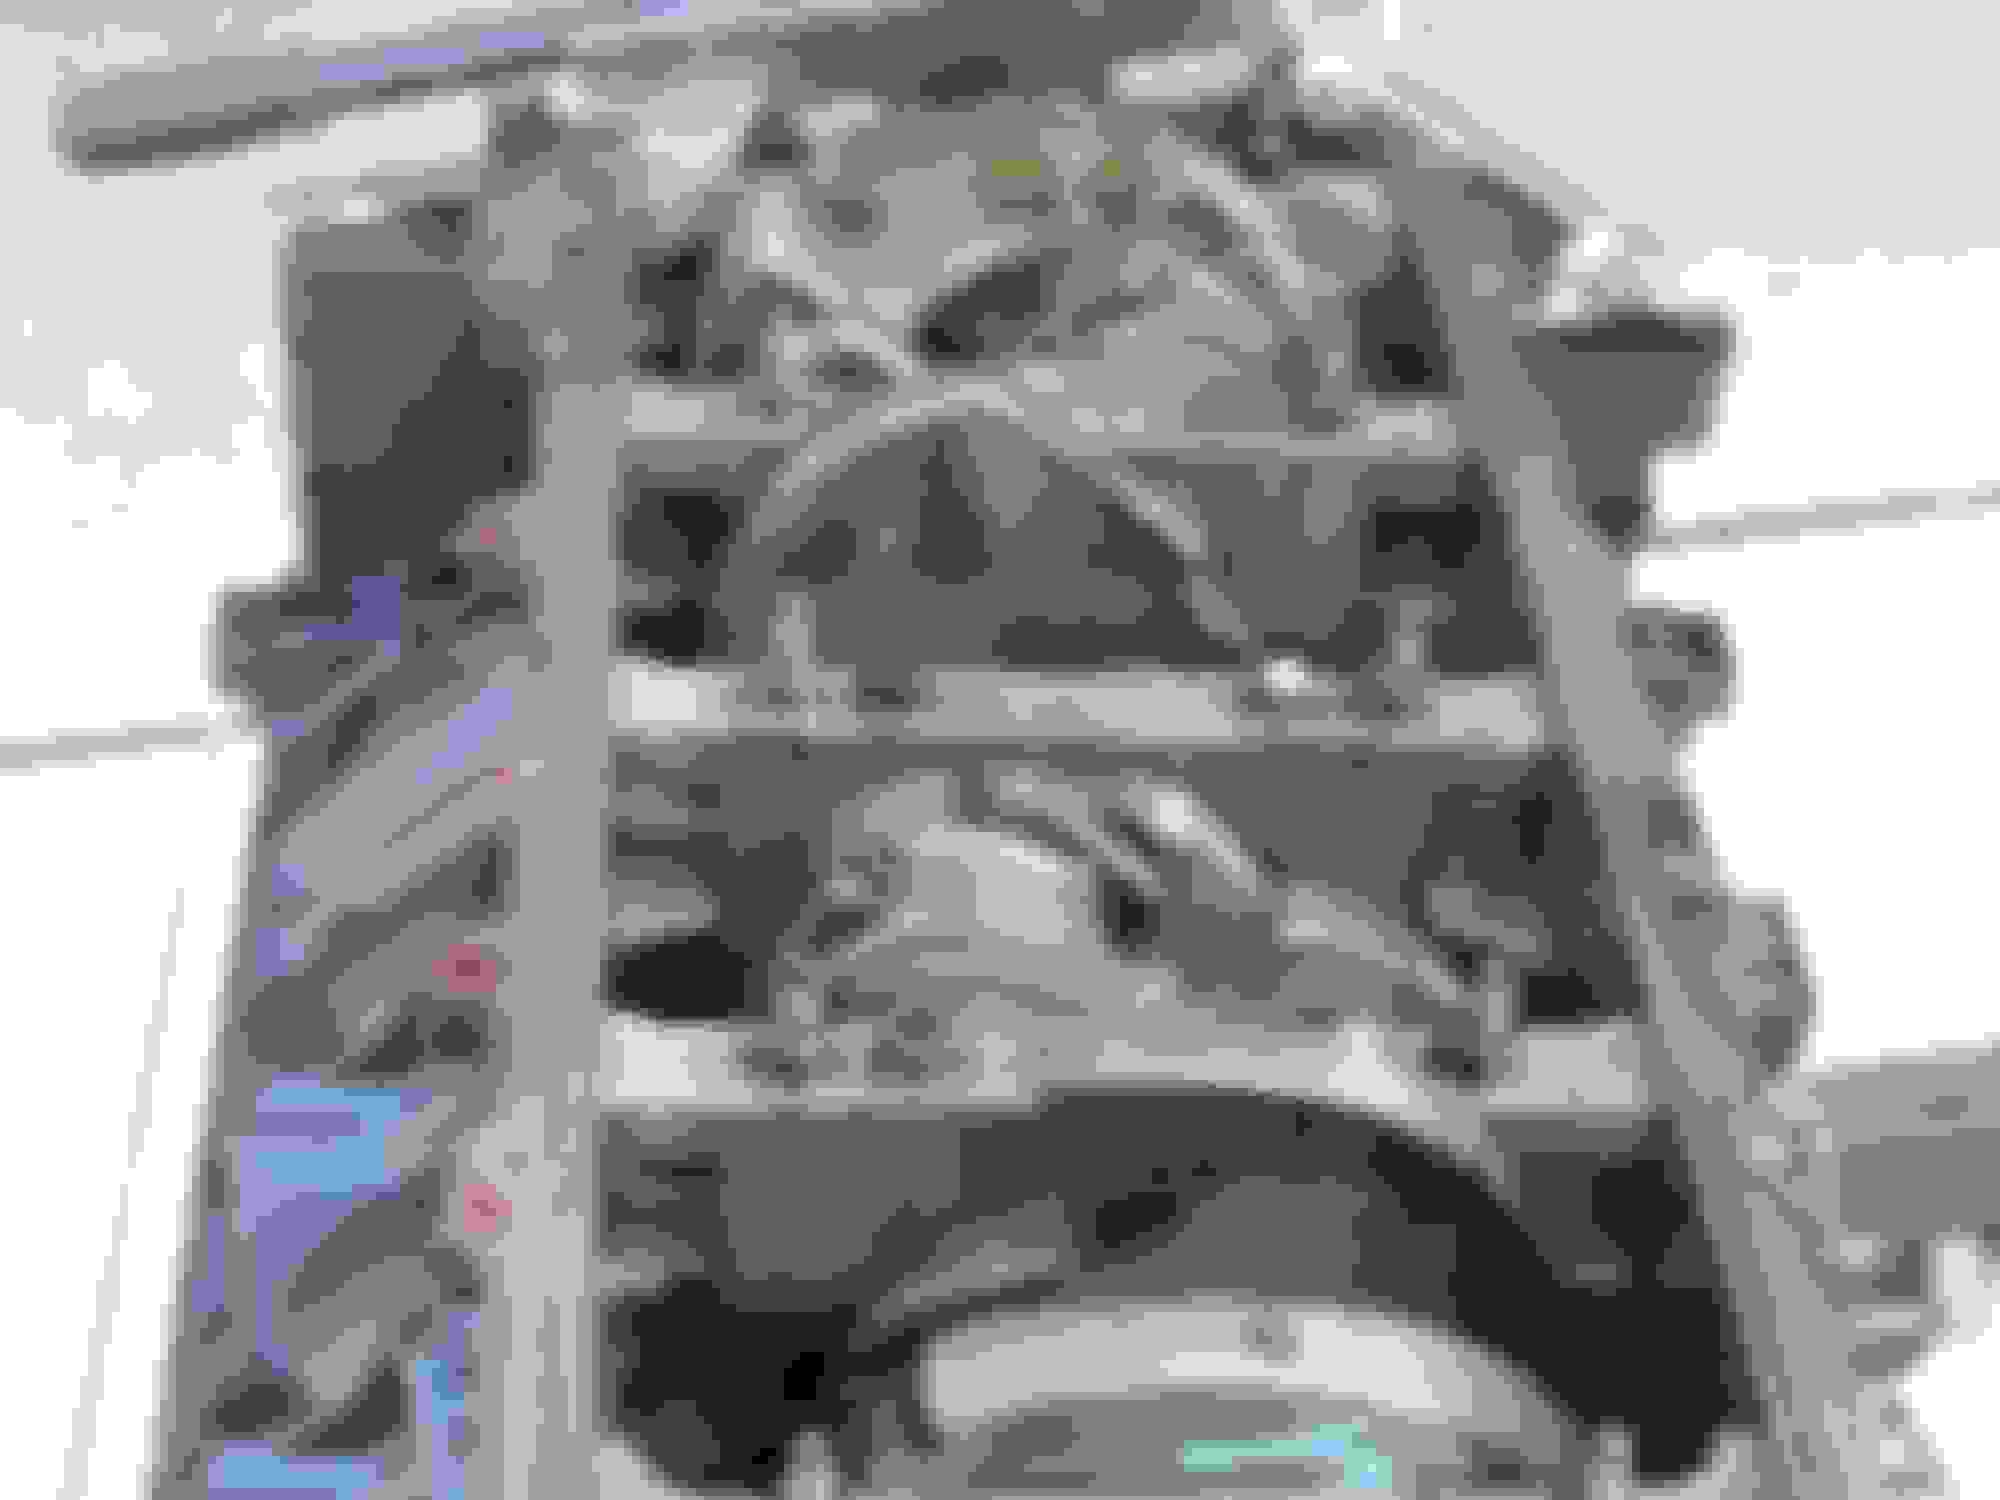
Have one of the heads tore down. Not sure how far I need to go before I send them off to get cleaned. I only removed the following:
Rocker assembly
Keepers(keys)
Valve stem cap
Springs
What else do i need to remove?
Picture below
Last edited by Underachieved; 09-26-2018 at 07:04 PM.
Reason: picture didnt post. I will try later.
If you've removed all the springs, valves and guide seals you will be down to a bare head. Did you mark the valves so you know what hole you pulled them from?
If you've removed all the springs, valves and guide seals you will be down to a bare head. Did you mark the valves so you know what hole you pulled them from?
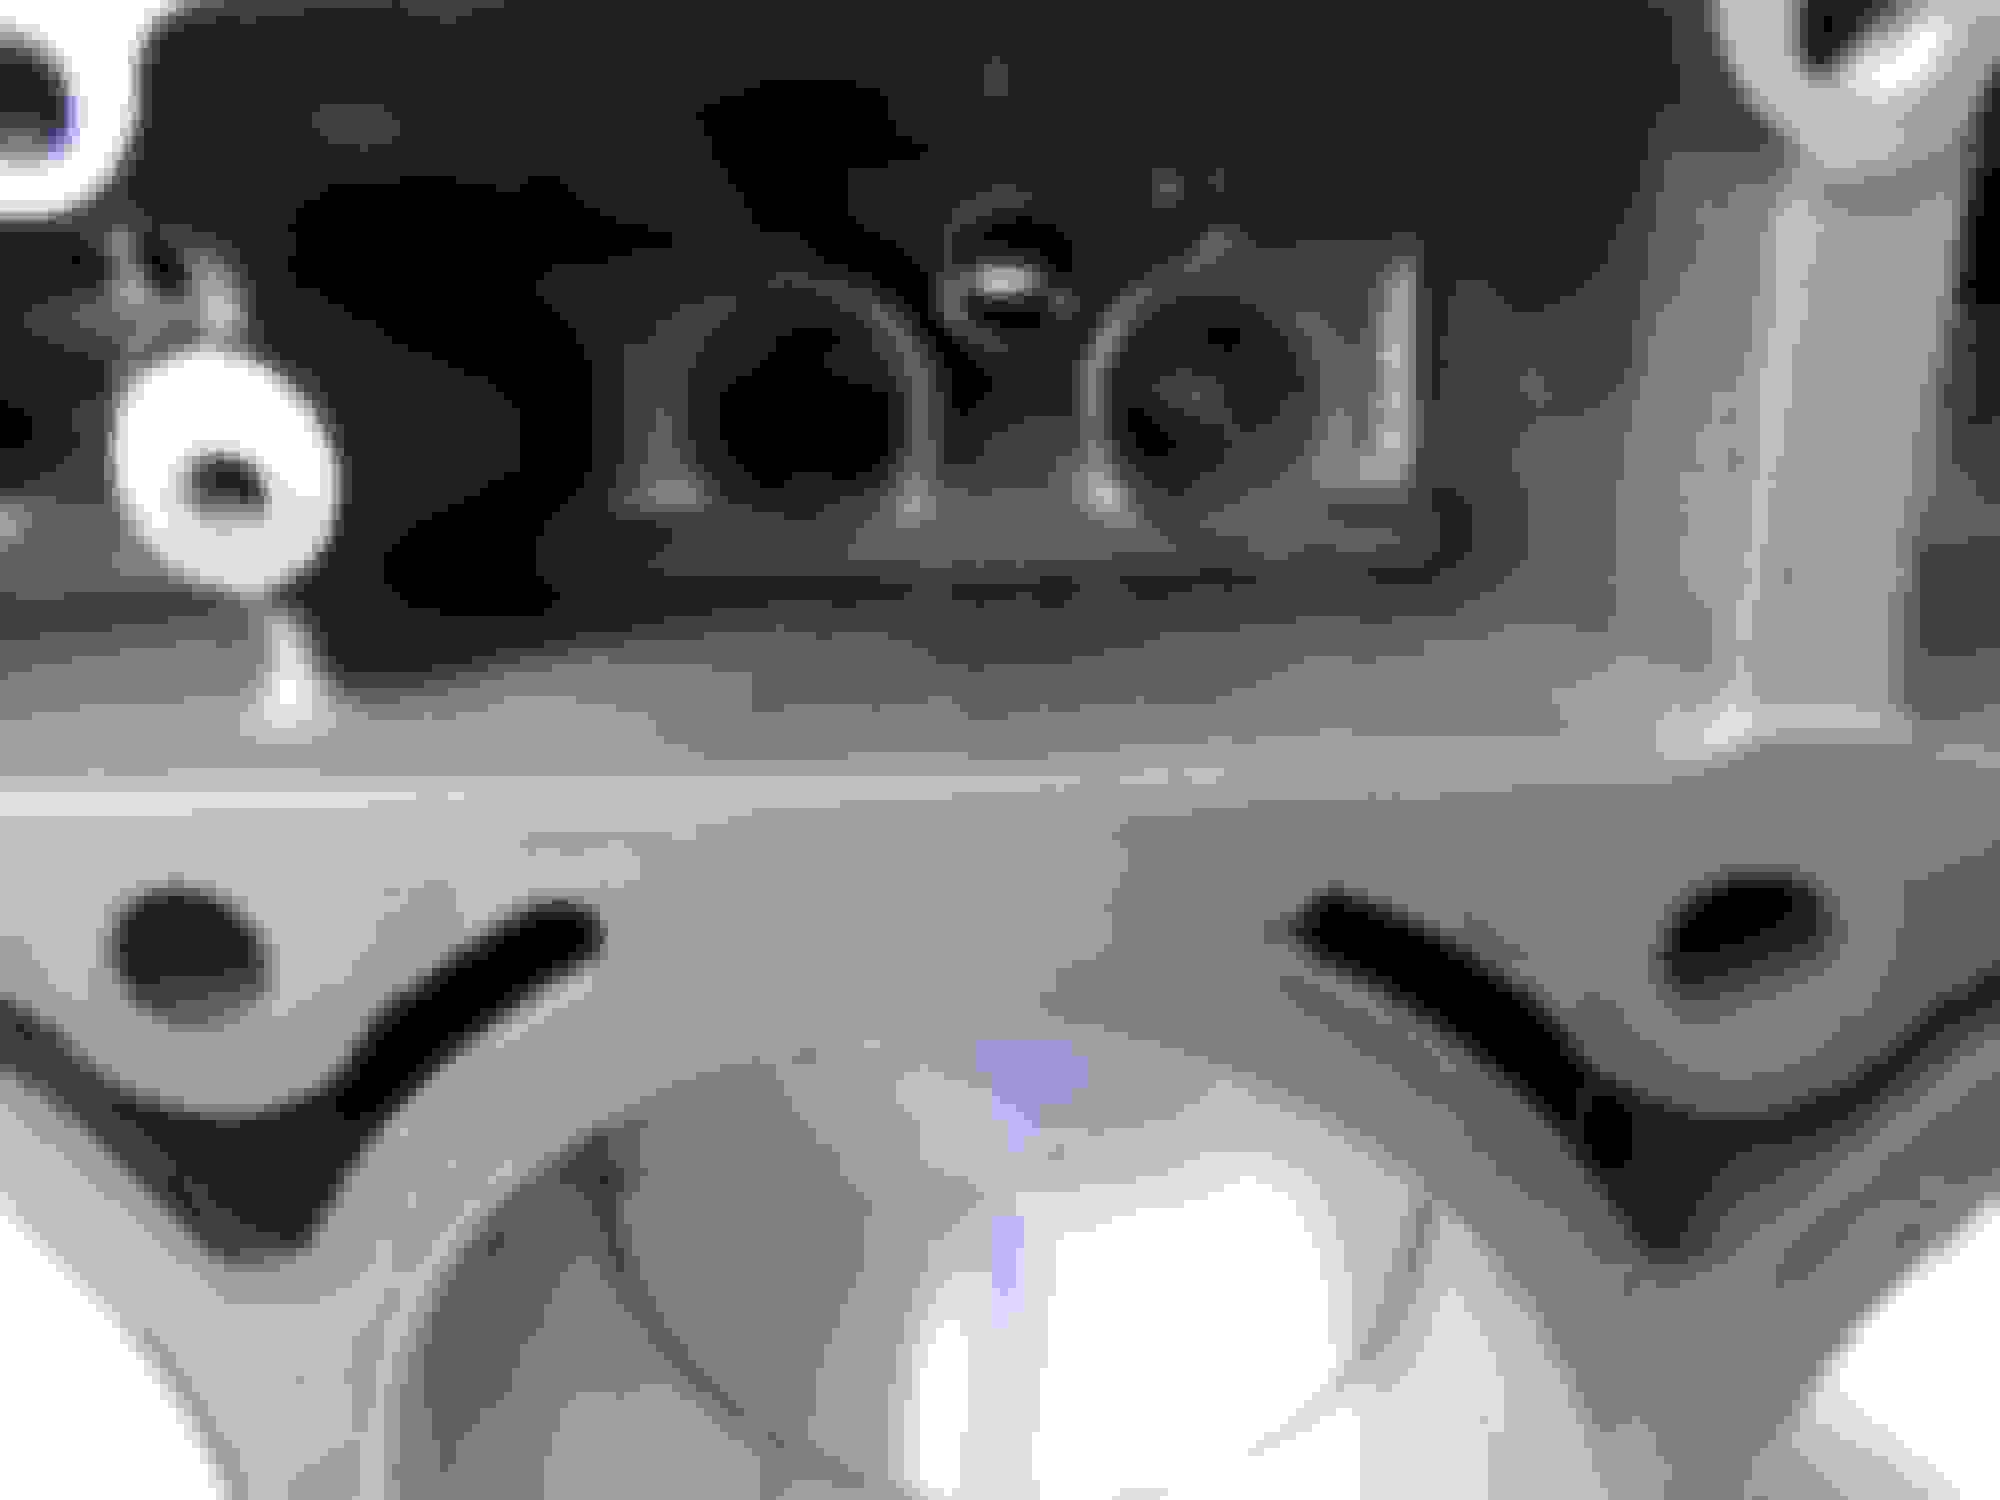
I kept all the parts in order to each valve. Are guides and seals two different parts? Looks like there maybe two more parts before all that is left is cast metal.
Looks like a rubber piece and metal top hat below that sitting on the surface of the head.
BTW....I used a HF spring compressor (spent ten minutes looking for a superman keeper)..Talk about a pain in the ****. I finally decided to use a small C clamp to keep the claws in place and seemed to work pretty good. I will post pictures of the valve assembly and the heads once I get the second head finished.
I kept all the parts in order to each valve. Are guides and seals two different parts? Looks like there maybe two more parts before all that is left is cast metal.
Looks like a rubber piece and metal top hat below that sitting on the surface of the head.
Those top hat style valve seals also needs to be replaced. Pick a new set up at the part store for around $30.
 09-16-2018, 06:26 PM