When you click on links to various merchants on this site and make a purchase, this can result in this site earning a commission. Affiliate programs and affiliations include, but are not limited to, the eBay Partner Network.
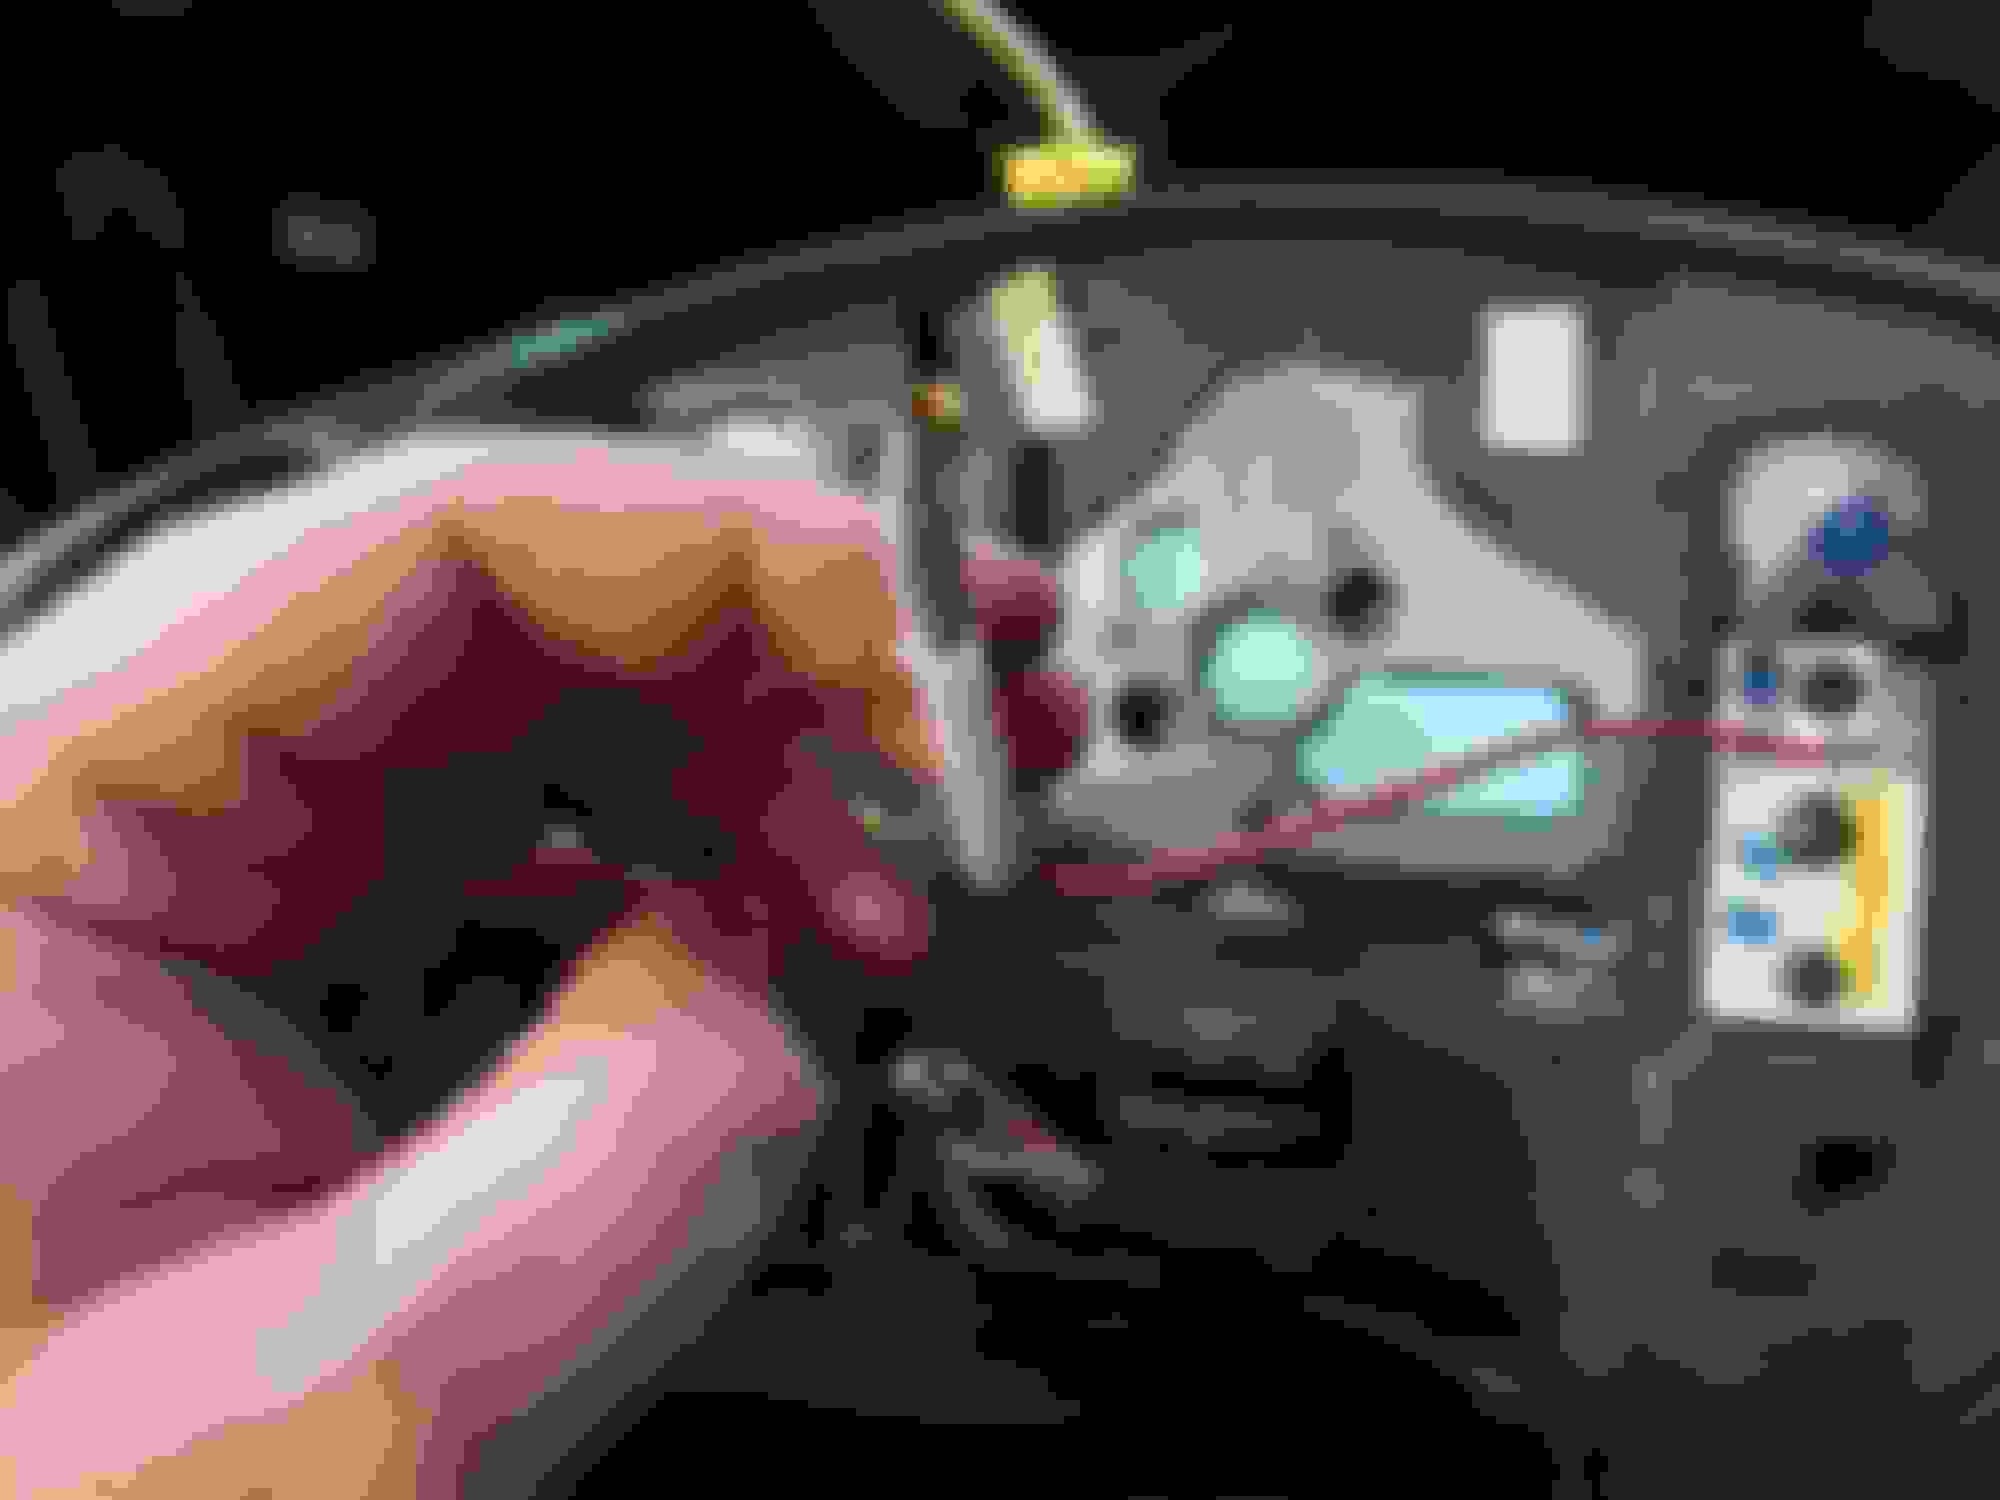
Hey gang. Been chasing down why my horn isnt working and found the issue. See pics. The retainer sleeve for the wiring that goes into the column is broken. But not on the wiring, it's the sleeve in the column. So my question is, is there anyway to replace that or will I have to get a new column to replace it? If I have to get a new column I'll just epoxy that plastic retainer and sleeve together.
Last edited by KissMyTushZ28; 06-28-2019 at 02:37 PM.
The part you're referring to is the horn cam. It's very hard to tell if it is indeed broken from the pics, but if it is, then you'll need to pull out the SIR coil (there's enough slack in the wiring to let it hang) and use a compressor tool so you can remove the lock plate. The horn cam is right underneath it. There's a very detailed thread documenting steering column teardown floating around this site somewhere.
Just in case you weren't aware, that wiring part for the horn contact on the steering wheel is supposed to be like that. It just floats on the horn cam.
It doesn't just sit in there loosely though, you push it in against the spring and turn it to lock it into place. The overhang that holds it into place is clearly broken as you can see in the pictures. It's the white plastic part inside that is broken. I'll look for that disassembly thread. Do you know if you can purchase this part?
100% the cam is broken. (I can see it in the first picture.) You can get them in bubble packs in the "Help!" section of any and every auto parts store. The turn signal cam is a common part for most GM cars made from the 60's through the 90's and beyond...
The cam comes out in step 17. You'll just need a lock plate compressor tool.
I highly recommend getting new turn signal cancel springs and putting them in while you are at it. They fatigue over time and often break somewhere between 75K and 150K miles. You don't want to do all this work and then have to tear up the column again to replace a $4 set of springs! (You can find these in the Doorman/Help! section, also.)
Last edited by wssix99; 07-01-2019 at 08:03 AM.
Reason: added detail on picture
100% the cam is broken. (I can see it in the first picture.) You can get them in bubble packs in the "Help!" section of any and every auto parts store. The turn signal cam is a common part for most GM cars made from the 60's through the 90's and beyond...
The cam comes out in step 17. You'll just need a lock plate compressor tool.
I highly recommend getting new turn signal cancel springs and putting them in while you are at it. They fatigue over time and often break somewhere between 75K and 150K miles. You don't want to do all this work and then have to tear up the column again to replace a $4 set of springs! (You can find these in the Doorman/Help! section, also.)
Awesome! Thank you for the info! I will definitely do that.
Awesome! Thank you for the info! I will definitely do that.
I forgot to mention that the wearing surfaces should have white lithium grease applied. If you go a little deeper into the column and lubricate all the sliding (white plastic and metal springs) parts on the turn signal switch (the piece that the cancel springs attach to) then the turn signal mechanism will feel fresh-from-the-factory afterwards.
I forgot to mention that the wearing surfaces should have white lithium grease applied. If you go a little deeper into the column and lubricate all the sliding (white plastic and metal springs) parts on the turn signal switch (the piece that the cancel springs attach to) then the turn signal mechanism will feel fresh-from-the-factory afterwards.
Can I do all of this with the column in the car? I just changed the rack and pinion and I just don't want to deal with the knuckle connection again hahaha. I don't have anyone to help me line things up and such.
Yea. You can practically disassemble the entire column in place. Back in the day, (particularly when 100% of GM's cars used this column) we did this all the time. In my thread, I was replacing a part (column in place) further down than the turn signal switch/mechanism. (On re-assembly, I took the opportunity to lube the turn signal switch.)
Mechanics offering a service will replace the column with a used one because the labor cost to disassemble the column (like you have started to do) is less than the plug-play-reprogram task of swapping in a used column. For some reason, a bunch of us shade tree types have needlessly adopted the same approach. If one knows what they are doing, these operations can be done just as as fast as a column swap.
Fyi, I had the same problem on my 97 with only 30k miles on it. My quick fix was to drill a 5/64 hole in the horn sleeve, then force the locating nipple at the bottom of the "inner" wiring sleeve down into the horn sleeve until it pops out of the drilled hole. Took about 5 min. Here's a pic-

 06-28-2019, 01:01 PM