


Homemade coil relocation setup?
Well it looks like its pretty cheap to get some all thread rod and a few other things to peice it together.. the problem is the wires are expensive from what I have seen.. Anyone got a hoockup on wires? I want it under my cowl..
I use these to build my plug wire for me coil relocation setup. and got a set of the 8.5 MSD universal wires and cut to fit and installed the LS1 boots and terminals.
http://www.msdignition.com/Products/...s,_2/Card.aspx
http://www.msdignition.com/Products/...ocket/HEI.aspx
http://www.msdignition.com/Products/...s,_2/Card.aspx
http://www.msdignition.com/Products/...ocket/HEI.aspx
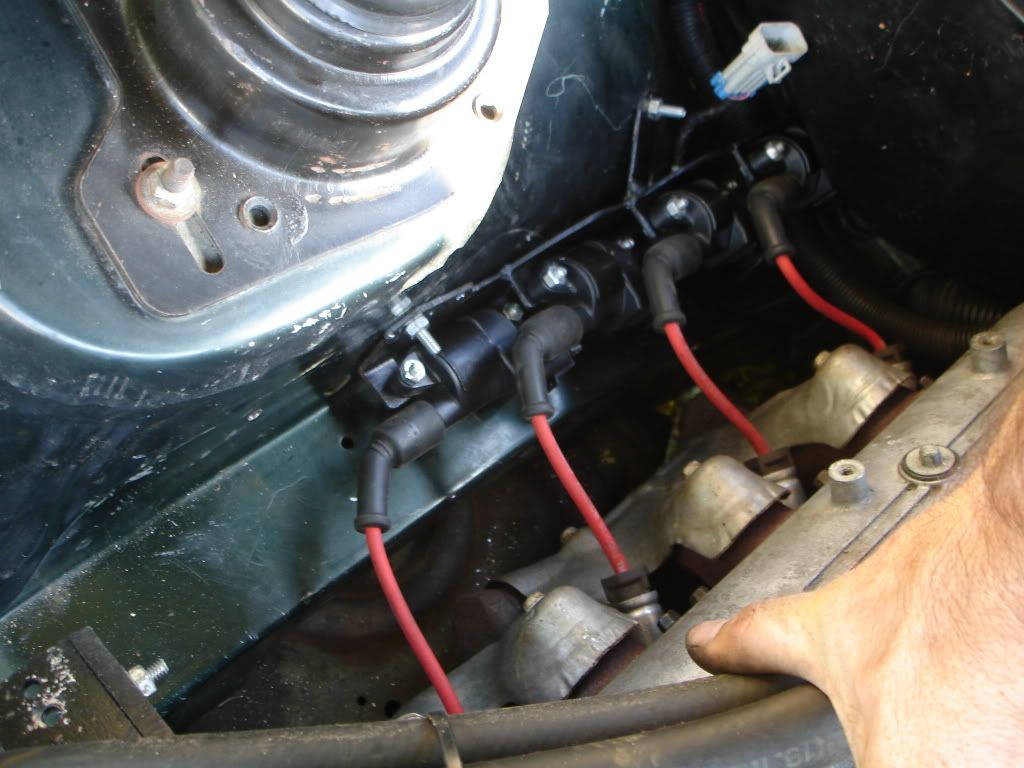
I mounted my coils under the cowl, but to do this you will need to shorten the coil wiring harness a bit, The coils are spaced across the valve covers and when you mount them under the cowl the coils will be stacked together and the coil harness will be hanging out every were. The bracket i made is with 1/8" all threads rod and tubing with a 1/8" or larger I.D. cut 1" long to space the coils apart and made a mounting plate out of aluminum and bolted it to the cowl
On The Tree
Joined: Aug 2010
Posts: 129
Likes: 0
From: indiana
LS1 Tech Stories
The Best V8 Stories One Small Block at Time

Topdon ONE vs. Artidiag 800 BT2: Which is the Diagnostic Tablet For You?
Pouria Savadkouei
Gas Monkey Built a 6-Wheel Ferrari Testarossa With a Corvette LT4 Engine
Verdad Gallardo
7 Most Reliable High-Performance Engines GM Has Ever Built
Verdad Gallardo
Amazing '71 Camaro Restomod Is Modern Muscle Car Under the Skin
Verdad Gallardo
6 Common C5 Corvette Failures and What's Involved In Repairing Them
Pouria Savadkouei
Retro Modern Bandit Pontiac Trans AM Comes With Burt Reynolds' Autograph
Verdad Gallardo
Top 10 Greatest Cadillac V Series Performance Models Ever, Ranked
Pouria Savadkouei
Top 10 Most Powerful Chevy Trucks Ever Made!

Hennessey's New Supercharged Silverado ZR2 Has 700 HP
Verdad Gallardo


This is my home made relocation kit. I bought the relocation kit from Thunder Racing that came with the universal 10.5 taylor wires. I used some of their kit and a few other custom pieces I made and it came out like this. It is still a work in progress and isnt fully done but here is what it is so far. I ran the plug wires under the headers to the plugs with the 45 degree angle boots.
I mounted them under the frame just in front of the radiator core support.

I then used some of the plastics from under the car that I deleted to make this box that fits around the coils to protect them from direct water splashes.

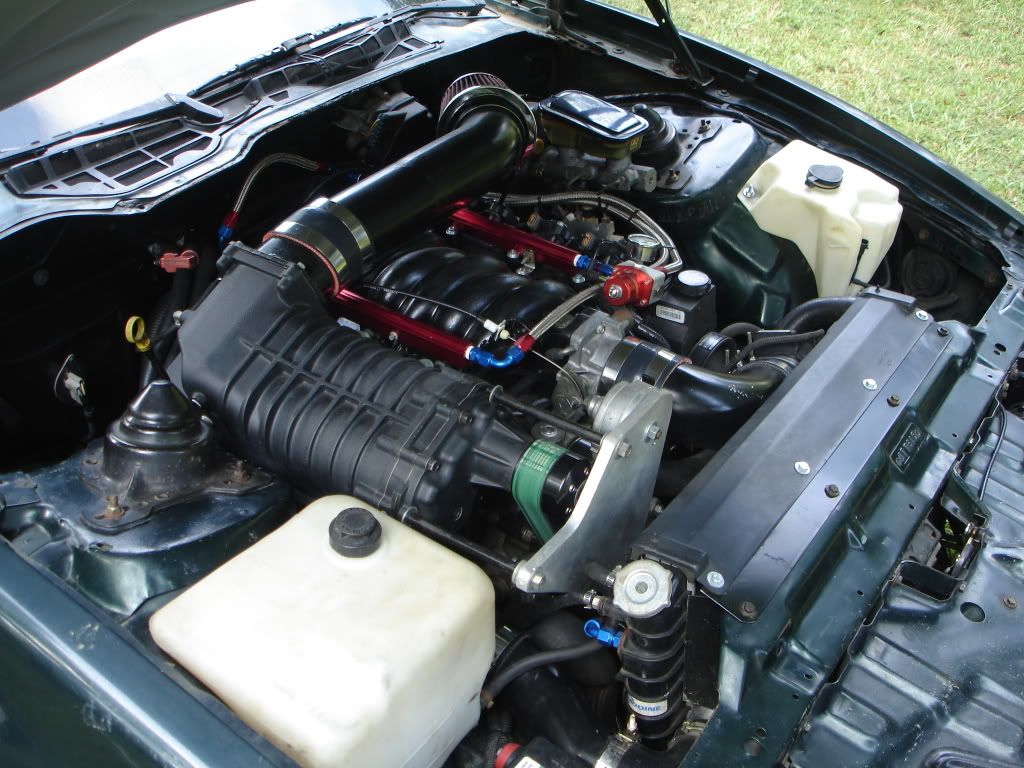
And this is what my motor looks like after those ugly coil packs are gone with my GMHTP valve covers.

I mounted them under the frame just in front of the radiator core support.
I then used some of the plastics from under the car that I deleted to make this box that fits around the coils to protect them from direct water splashes.
And this is what my motor looks like after those ugly coil packs are gone with my GMHTP valve covers.

FormerVendor
Joined: Mar 2009
Posts: 111
Likes: 0
From: Rancho Cucamonga CA.

I know I'm late to the party here but did the stock hood close without hitting the coils in this spot? Edit: pic from post #19.

