

block rear oil mod, learn from my mistake


 12-10-2010, 03:58 PM
#25
Same goes for this. I will have to look for leaks when doing the pressurized pre-lube, and after first start.
I'm out of blocks, and I've found 2 wrong ways of doing it yourself. But I have one more idea.
I have 3 rear covers, so that means I have a spare to play with. More pics soon.
I'm out of blocks, and I've found 2 wrong ways of doing it yourself. But I have one more idea.
I have 3 rear covers, so that means I have a spare to play with. More pics soon.
12-11-2010, 08:03 AM
#26
Teching In

Join Date: Apr 2010
Posts: 4
Likes: 0
Received 0 Likes
on
0 Posts
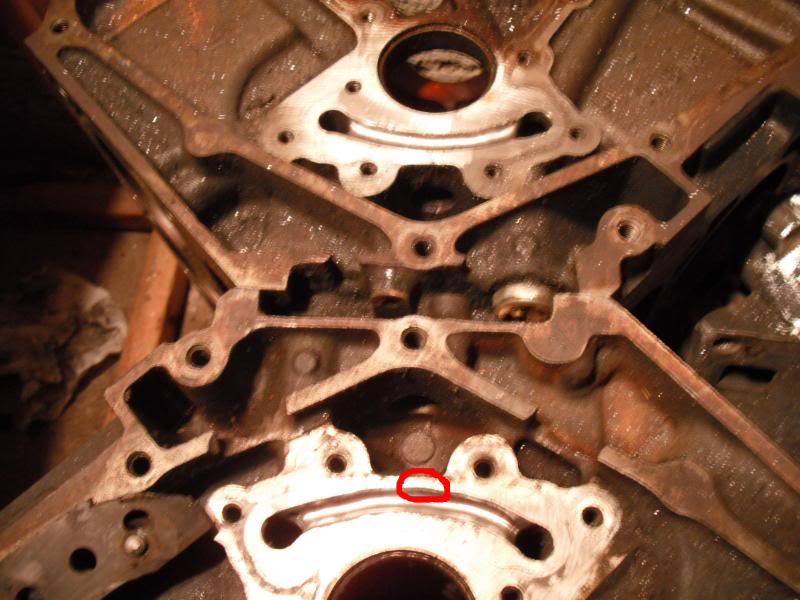
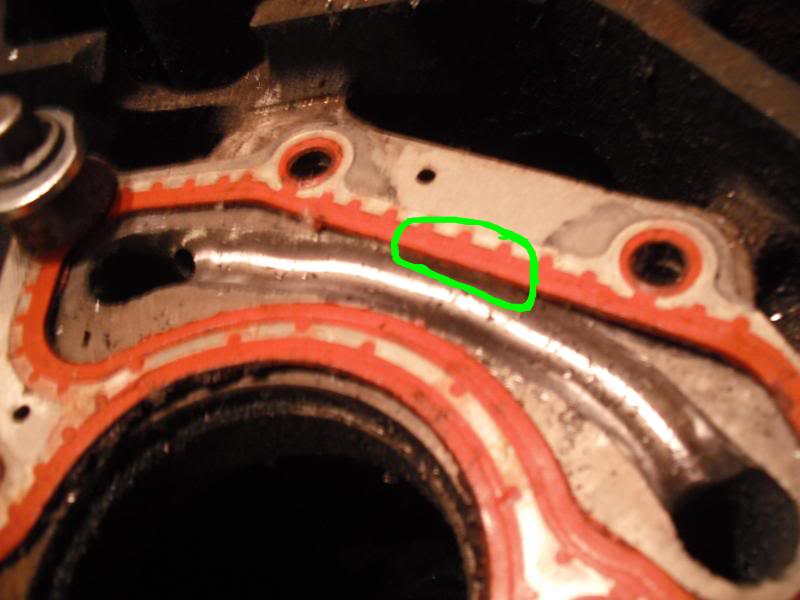
I can't really make out what the problem is....are the gaskets going over the groove? If so you could just trim the gaskets a little bit so oil won't try to squeeze under.
What would you say is the depth of your groove at its center? There's obviously a big difference between your design and the CNC one posted earlier.
What would you say is the depth of your groove at its center? There's obviously a big difference between your design and the CNC one posted earlier.
 12-11-2010, 09:38 AM
#28
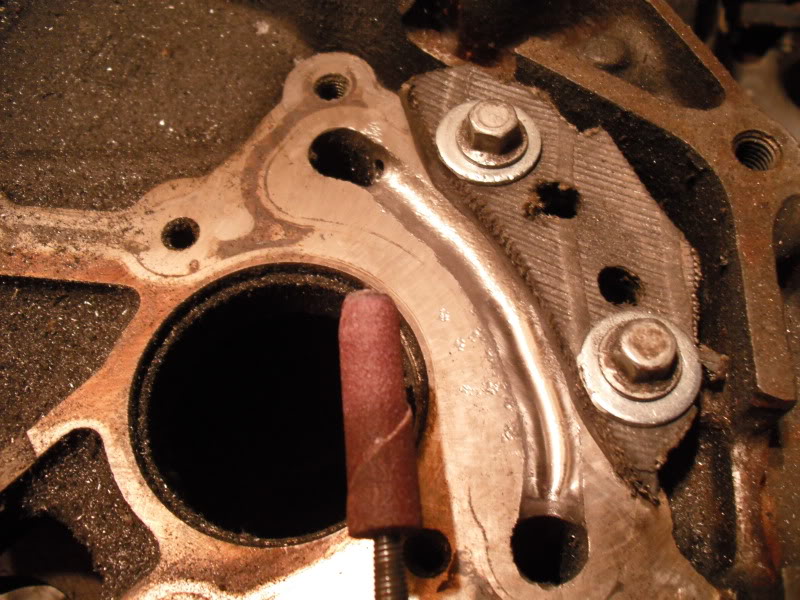
The gasket is just a bit of metal with a rubber o-ring groove made onto some edges of it. And where that rubber actually touches the block is just over 1/16" wide.
Considering the up-to-70 psi, the oil will get through very easily if you happen to cut more than halfway through that 1/16". RTV won't survive that kind of pressure.
If I do have a leak, I will get a pic, then stop, remove the rear cover, and clean things up. From there, I'll install another new gasket, but with JB Weld.
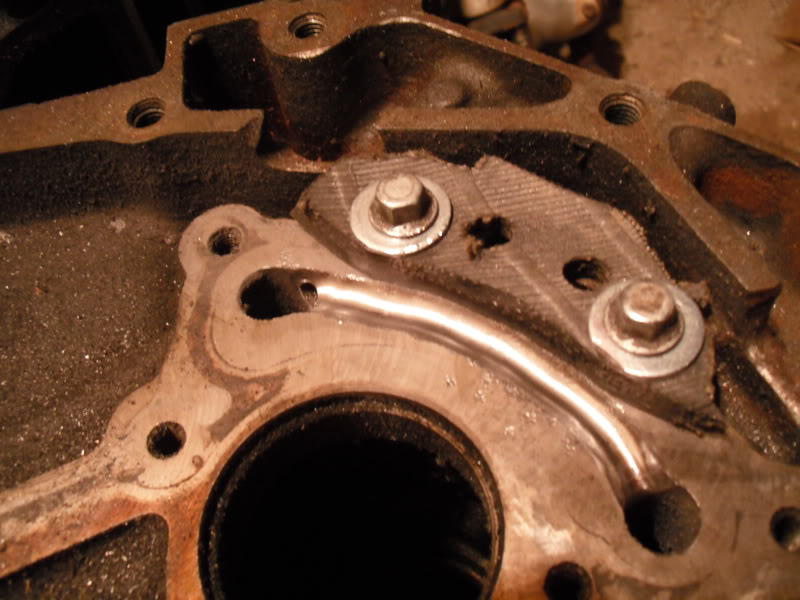
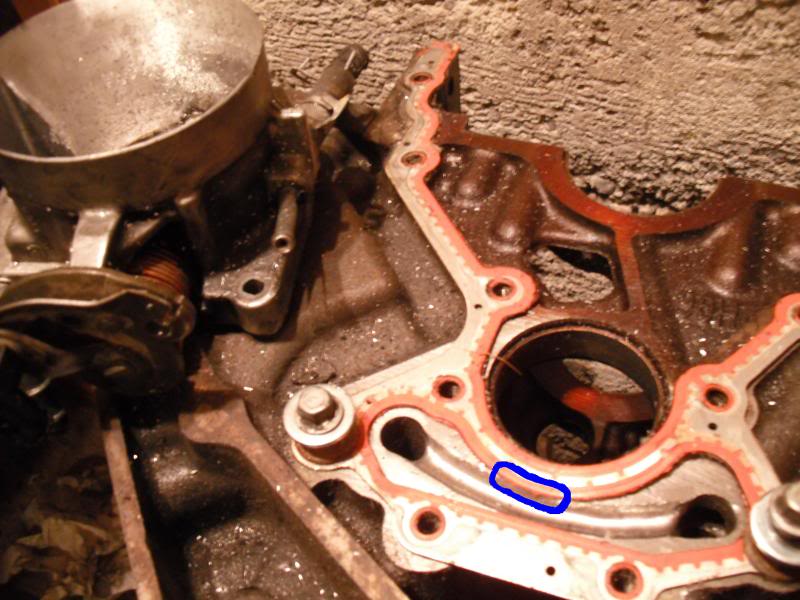
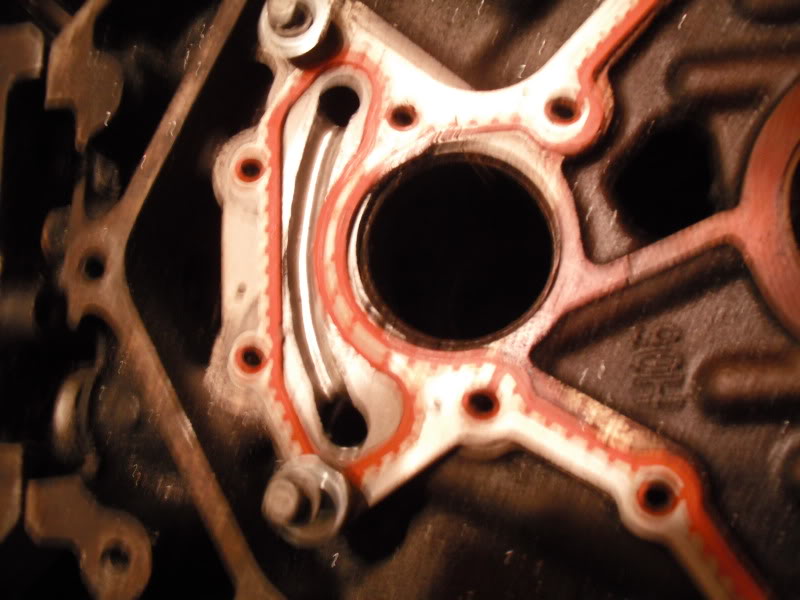
I didn't measure my depth, and didn't plan to. It's certainly enough to make a significant difference, nearly doubling the capacity of what was channeled through the stock rear cover.
Speaking of which, that's kind of square. Running a round carbide along it would surely increase it's flow a good bit. And is probably the safer bet.
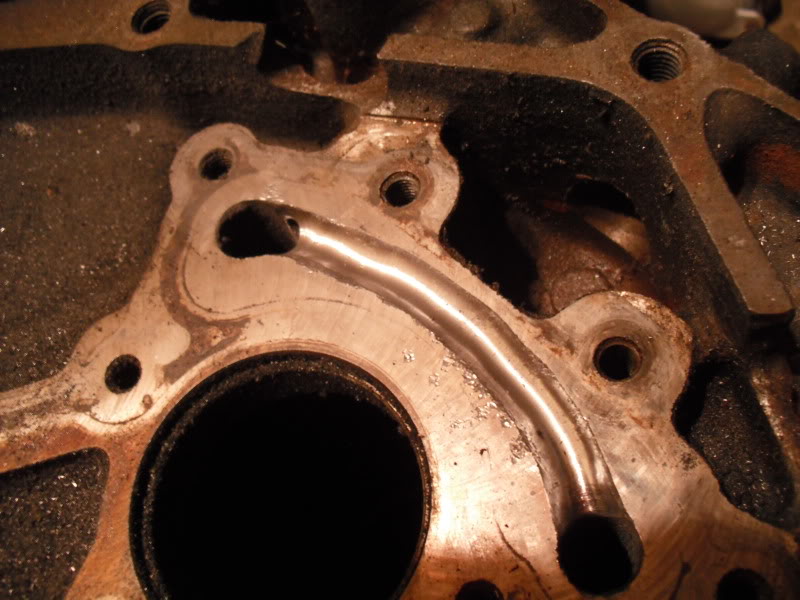
The next block I do, I am going to use a steel guide, and it will be shaped to protect both the top and bottom gasket areas. The hard rubber did keep the carbide sharp, but that was obviously false economy.
Considering the up-to-70 psi, the oil will get through very easily if you happen to cut more than halfway through that 1/16". RTV won't survive that kind of pressure.
If I do have a leak, I will get a pic, then stop, remove the rear cover, and clean things up. From there, I'll install another new gasket, but with JB Weld.
I didn't measure my depth, and didn't plan to. It's certainly enough to make a significant difference, nearly doubling the capacity of what was channeled through the stock rear cover.
Speaking of which, that's kind of square. Running a round carbide along it would surely increase it's flow a good bit. And is probably the safer bet.
The next block I do, I am going to use a steel guide, and it will be shaped to protect both the top and bottom gasket areas. The hard rubber did keep the carbide sharp, but that was obviously false economy.
12-11-2010, 02:04 PM
#29

im still confused why the metal template idea was never used? seems to me i would have used the gasket to decide how wide to make it and the path. cut it into a metal plate and bolt it down
12-11-2010, 04:18 PM
#32
TECH Regular
iTrader: (5)

Join Date: Feb 2010
Location: Celina, Texas
Posts: 456
Likes: 0
Received 0 Likes
on
0 Posts

Once you get the template, put a sealed bearing on the shaft on the bit. The same way a router bit has a bearing, this was the bearing will "ride" on the template and make an exact cut. This way the guide can be wood or aluminum.
12-11-2010, 11:33 PM
#33
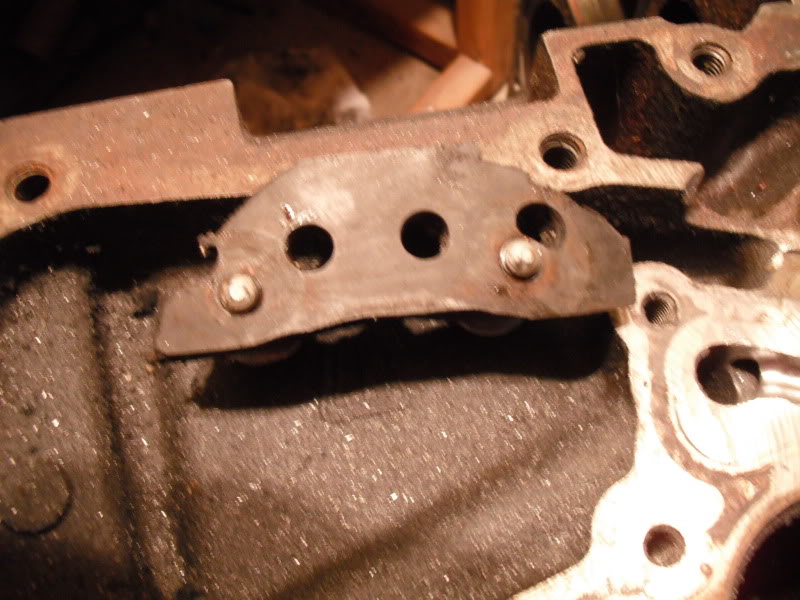
Because both blocks had deposits adjacent to clean bits showing where the original gaskets had lived, and because I am a steady hand at porting heads, I didn't think to get a gasket until after I'd attacked both blocks. Live and learn.
So my results aren't what anyone would want. At least now you all can KNOW 2 things that didn't work out. But we're all still better off than if I'd never tried what I've here shown.
Nothing to cry over. The 6.0 block was already cracked, and the other was a 5.3. Not like I hurt an aluminum block.
So my results aren't what anyone would want. At least now you all can KNOW 2 things that didn't work out. But we're all still better off than if I'd never tried what I've here shown.
Nothing to cry over. The 6.0 block was already cracked, and the other was a 5.3. Not like I hurt an aluminum block.
12-12-2010, 10:38 AM
#34

Try coating the JB weld that will be added to the block, the gasket surface on the block & the gasket itself w/ copper head gasket spray. It will act like a high temp glue to help the JB weld stay in place once high temp high pressure oil starts to attack it.
 12-15-2010, 12:14 PM
#38
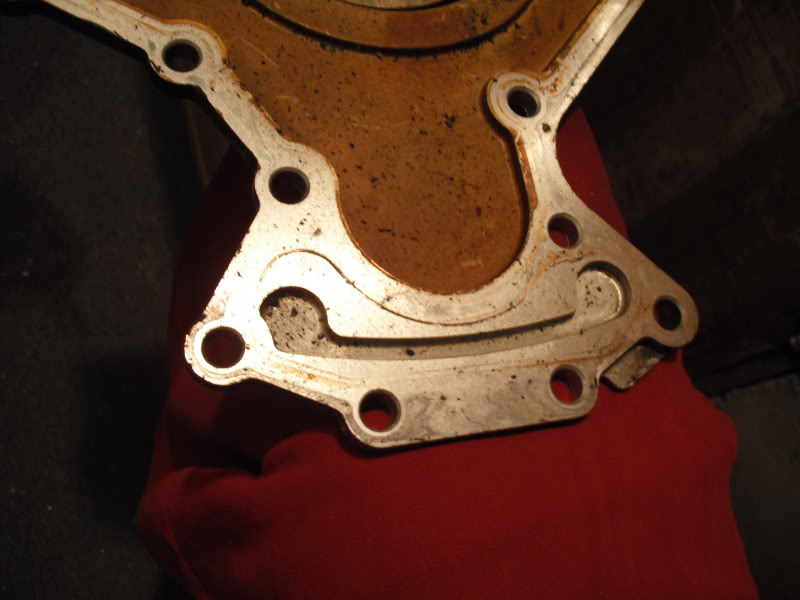
Thanks! I did this the exact same as I did both blocks. This carbide was supposed to be for iron, but it seems to do better on aluminum. It must be slightly dull now, since it did both iron blocks before this aluminum rear cover. I worked even slower than on the second block, and kept both hands on the air tool at all times. I'm right handed, I kept my right pinky finger closest to the carbide, with my left pinky against my right thumb. I used WD-40 to keep the carbide from loading up with aluminum. It works well.
Before I can safely recommend this much easier alternative, I need to test this modified rear cover, with a ported oil pump, that has a shimmed spring in it. We need to know if it will hold 70+ psi.
I'd guess the cover grinding alone should add 50% more flow, even with a virgin block.
Before I can safely recommend this much easier alternative, I need to test this modified rear cover, with a ported oil pump, that has a shimmed spring in it. We need to know if it will hold 70+ psi.
I'd guess the cover grinding alone should add 50% more flow, even with a virgin block.
12-15-2010, 03:52 PM
#39
On The Tree
iTrader: (1)

Join Date: Dec 2010
Location: Savannah,TN
Posts: 138
Likes: 0
Received 0 Likes
on
0 Posts
I use some kind of wax to keep bits from clogging up when working with al I dont recall the name off the top of my head but it comes in a tube like for a grease gun if worked well