When you click on links to various merchants on this site and make a purchase, this can result in this site earning a commission. Affiliate programs and affiliations include, but are not limited to, the eBay Partner Network.
Just a quick update, I decided to send out the 317 heads to TEA to get ported, I also went ahead and bought all the smalls items I needed, such as gaskets, head studs and such. It will be a couple of weeks till I get the heads back, once I get the heads I will have to start making choices on what head gaskets I will need. I wanna keep my compression ratio around 10:1 as this still allows me to use mid-range gas.
I went ahead and measured the piston deck hight, I get around .020-.021 when the piston is fully coming out of the deck. Not to bad even after squaring and surfacing the deck of the block at the machine shop.
Until I get the heads back and a few more parts I'll be pretty much idle.
FYI, I have already sold the LQ4 rods and pistons to a fellow user here. I do have some Clevite rod bearings I'm trying to let go for cheap on my ebay account for those who are looking for some. Here is the link http://www.ebay.com/itm/331286691491
Other than that, thank you for all followers. I'll post any updates as they come along.
I went with ls9 head gaskets and im right at 10.2:1 and I think my ls3 heads are 67, so depending on whats done to your 317 you should be able to just use a GM gasket.
I went with ls9 head gaskets and im right at 10.2:1 and I think my ls3 heads are 67, so depending on whats done to your 317 you should be able to just use a GM gasket.
Do you happen to know what part number that gasket was? Heads are now on their way back to me from TEA. Now I gotta start looking for a good set that will eventually be reliable for daily use, plus the use of nitrous on rare occasions when I go to the track.
Doing some math, according to the compression calculator from csgnetwork.com and I found this LS6 head gasket from GM (not sure if its the same one as mentioned) GM # 12622033. With everything added up it will bring me right at 10.36:1
Sorry didn't see your question in time, I just got done putting a 4l80e in with a 3600 stall and Love it, what tranny and cam you running again?
Mine will be a 95 4L60e that will be upgraded internally to a 4L65e with a Monster Transmission kit, it will also have a 24-2500 suggested stall and made by Circle D, cam is a Comp cam 54-416-11.
I am new to the site too.
I just finish my lq4. An I have my hole rotating assembley crank rods pistons heads 317 intake is crack but the fuel rail an injected are still good a pump an bracket power st an bracket if I can help give me a call 516 578-5696 Andy
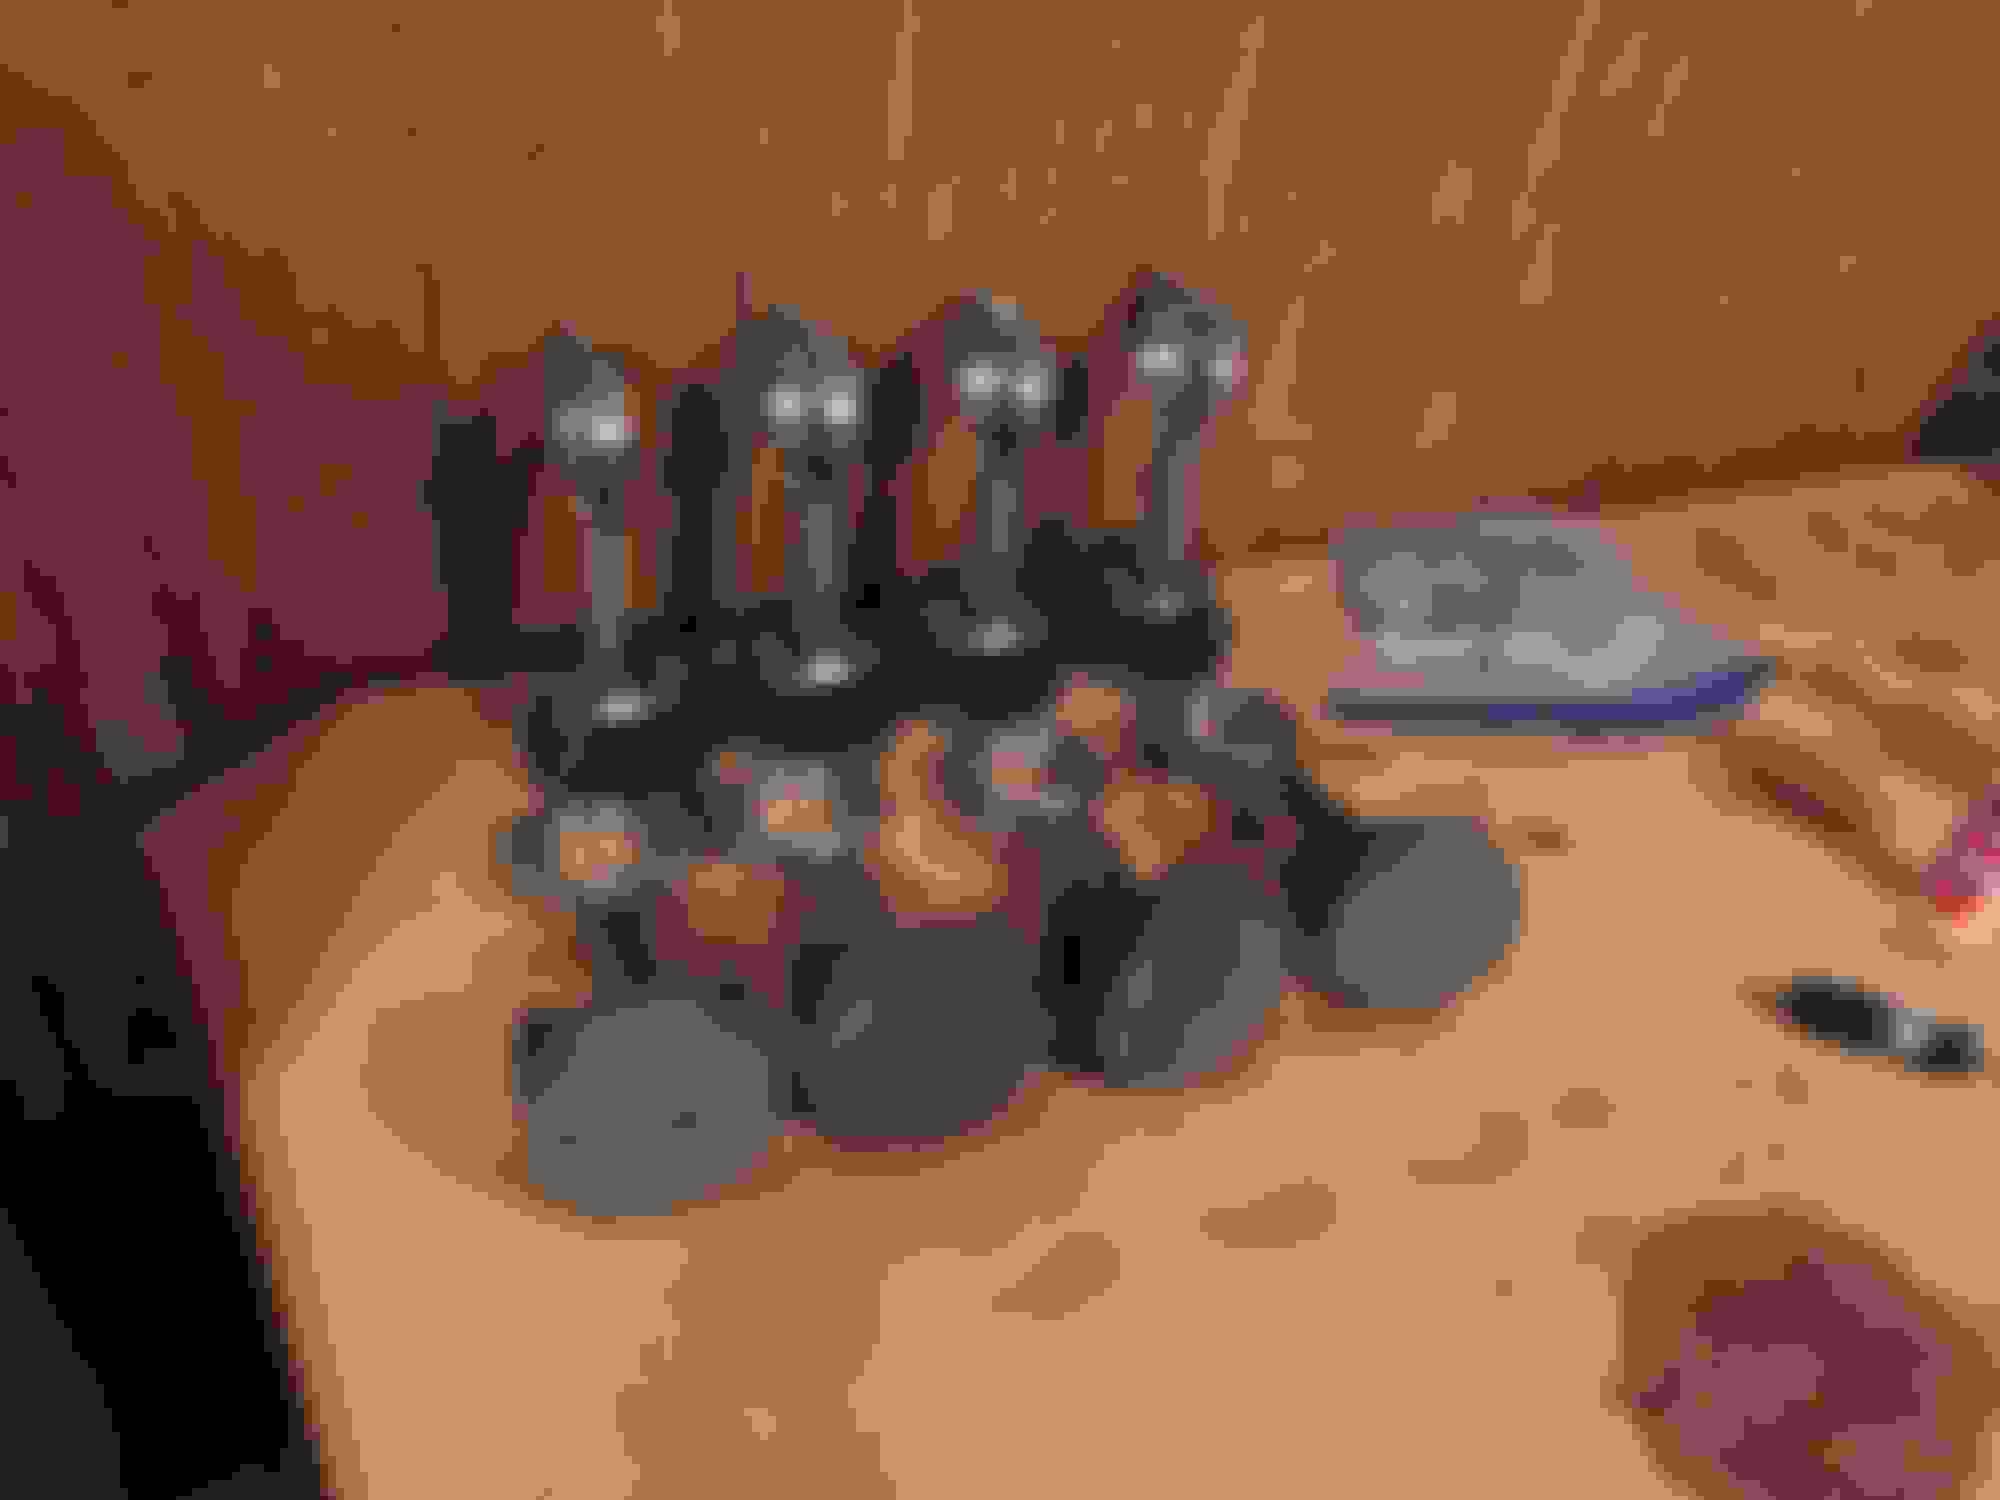
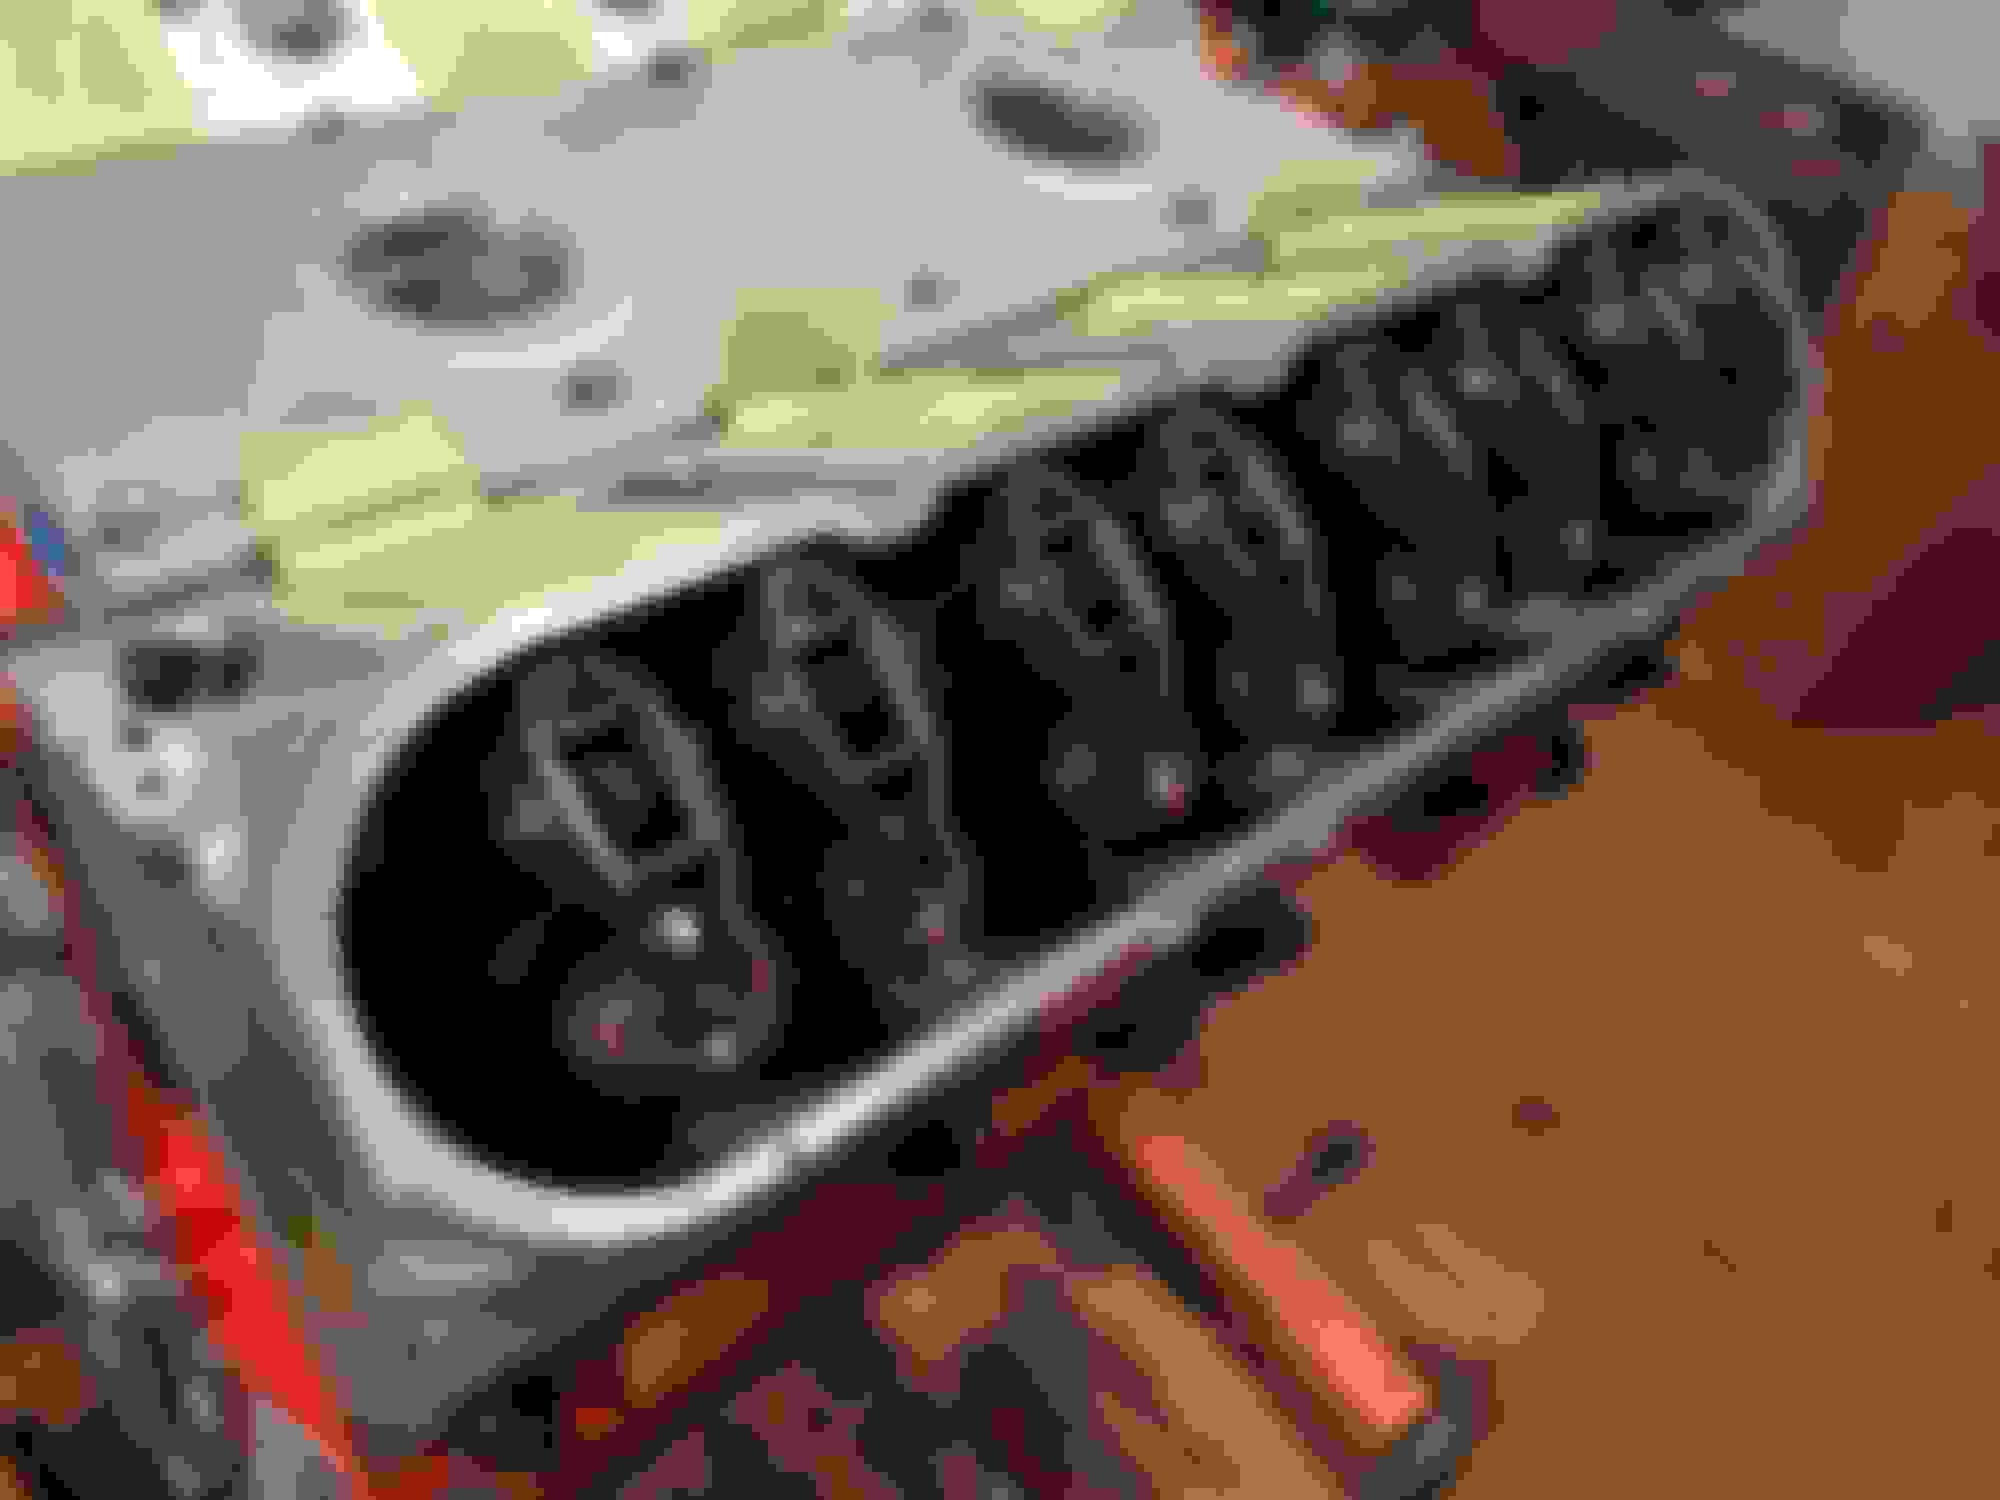
Got some work done on the engine this week. A few things to note before the pictures.
I had TEA port out my 317 heads, very good work by them, got them back in a good amount of time.
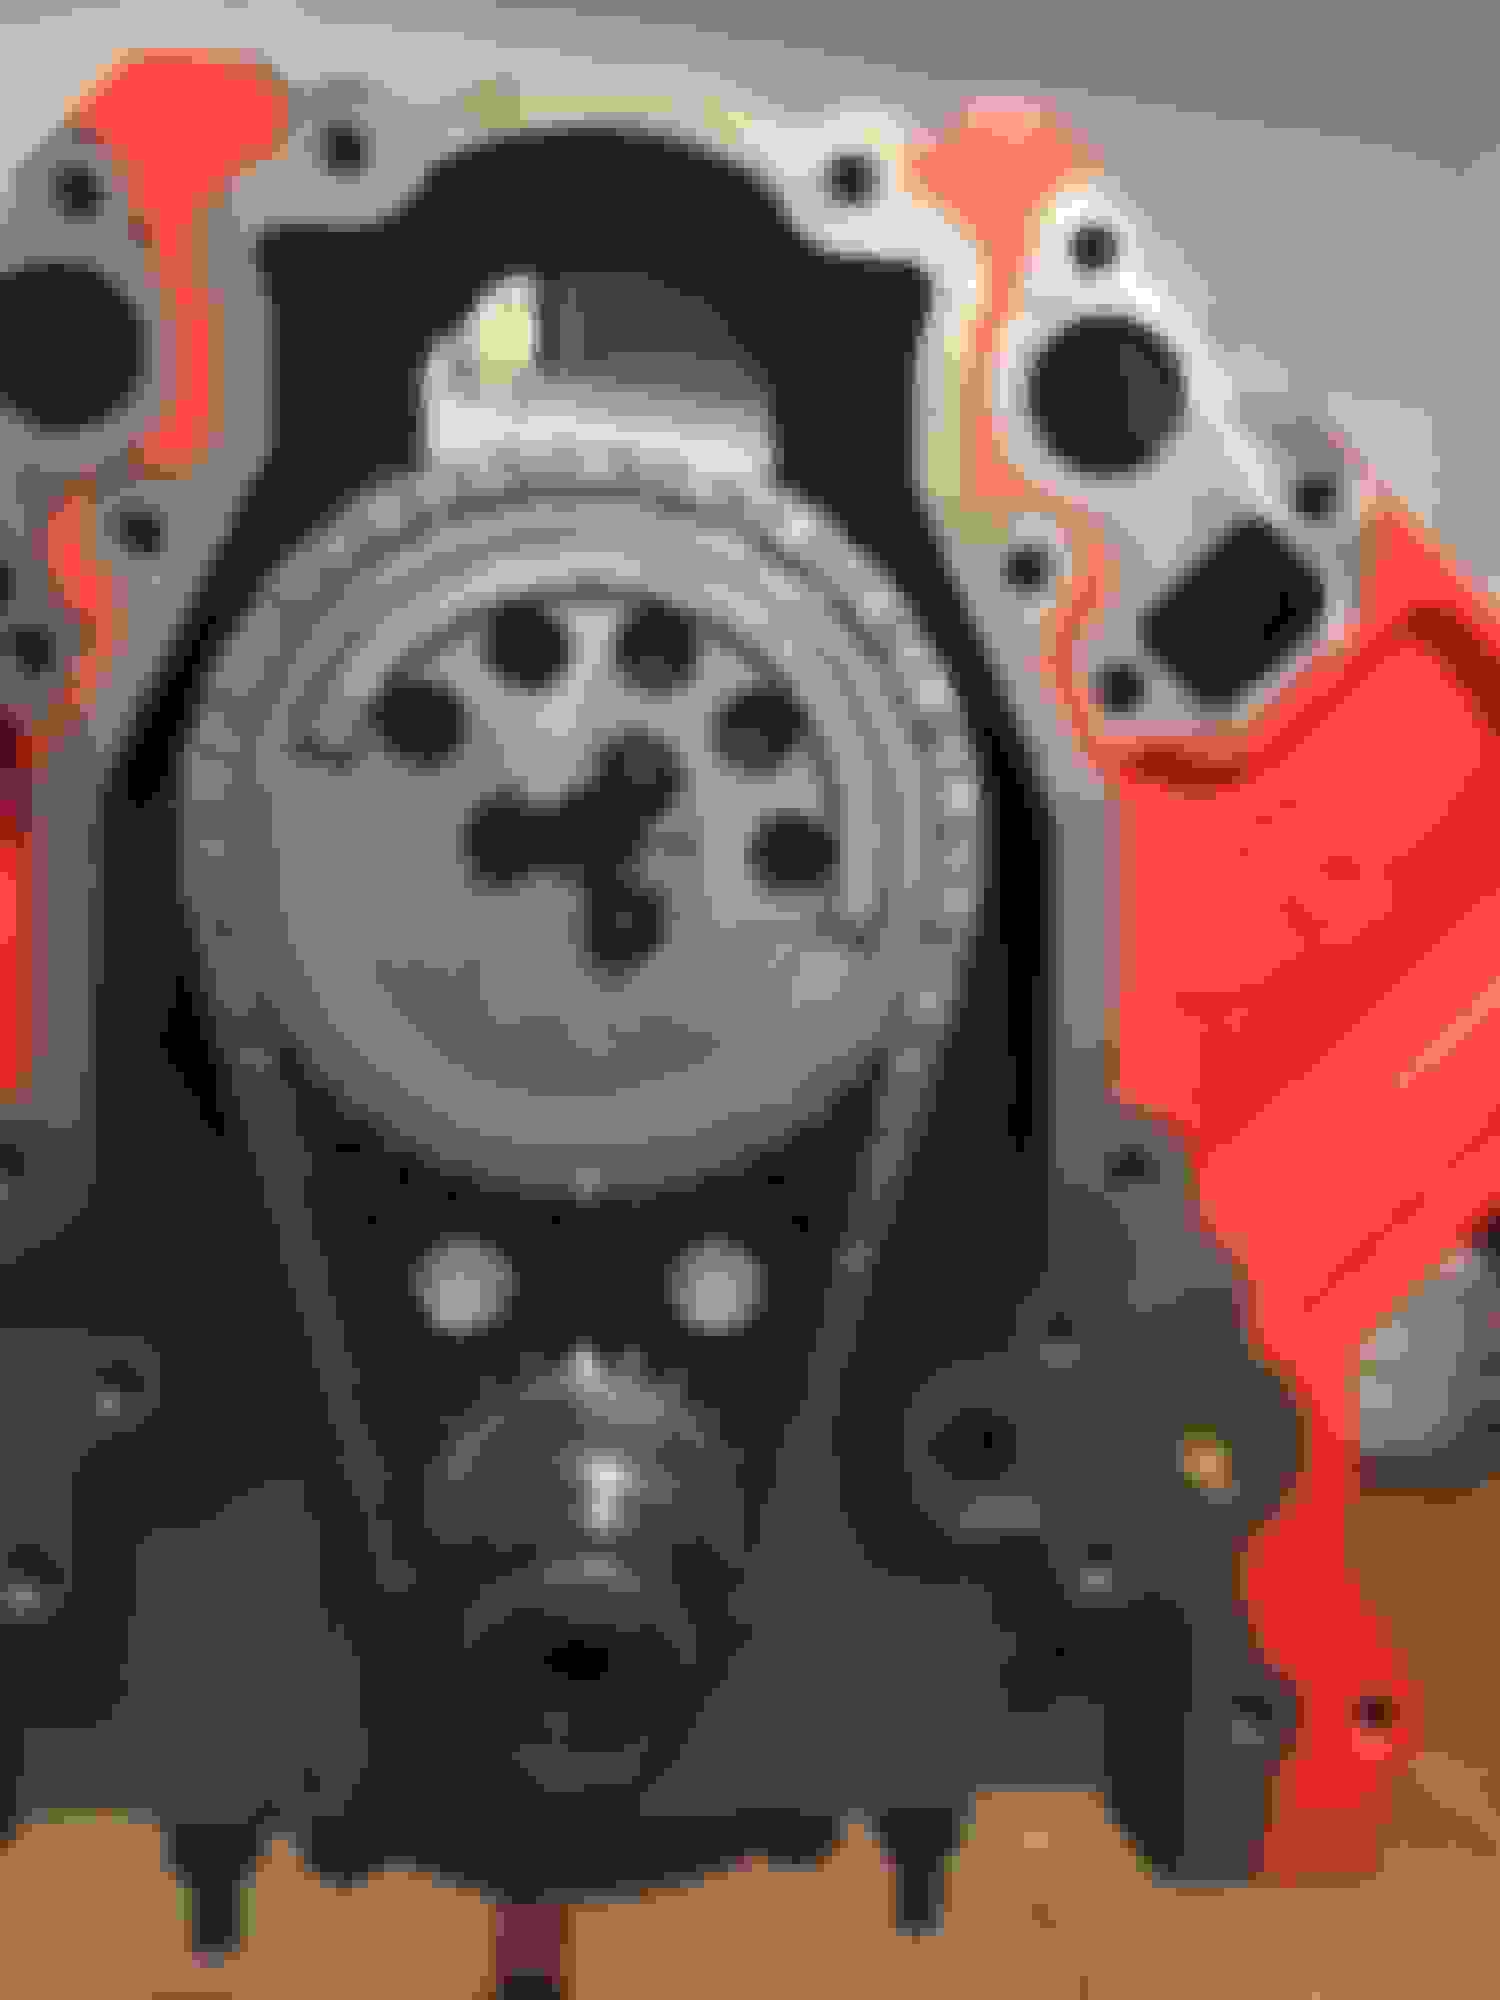
Installed the front and rear covers, I do know about the alignment, I "borrowed" a Harmonic balancer from O'reilly and used it to align the front cover, after it was bolted down, I returned the balancer. The rear cover, even though it went in fine, the bolts for the rear cover turned out to shorter. I almost couldn't tell.
Everything went straight forward until I tried installing Summit Racing's LS Trunnion Kit part no. SME-143002 the rocker bolt through the rocker, IT DID'NT FIT! Apparently I wasn't the only one, there were a few on the summit site that reviewed that they too had trouble fitting the stock rocker bolts through. I only had three at best that the rocker bolts fit fine, the others were just too tight and began scoring the bolt if I pushed the bolt through.
I chatted with Summit Racing, they will exchange the kit for another one and they made a notation about the issue. I'll get that done sometime in the next few days.
So with the rockers that did fit, I had converted two of my old lifters to solid lifters and with an adjustable push rod I did the "clay" checked piston to valve clearances, since I have mild-cam, there were no valve issues at all.
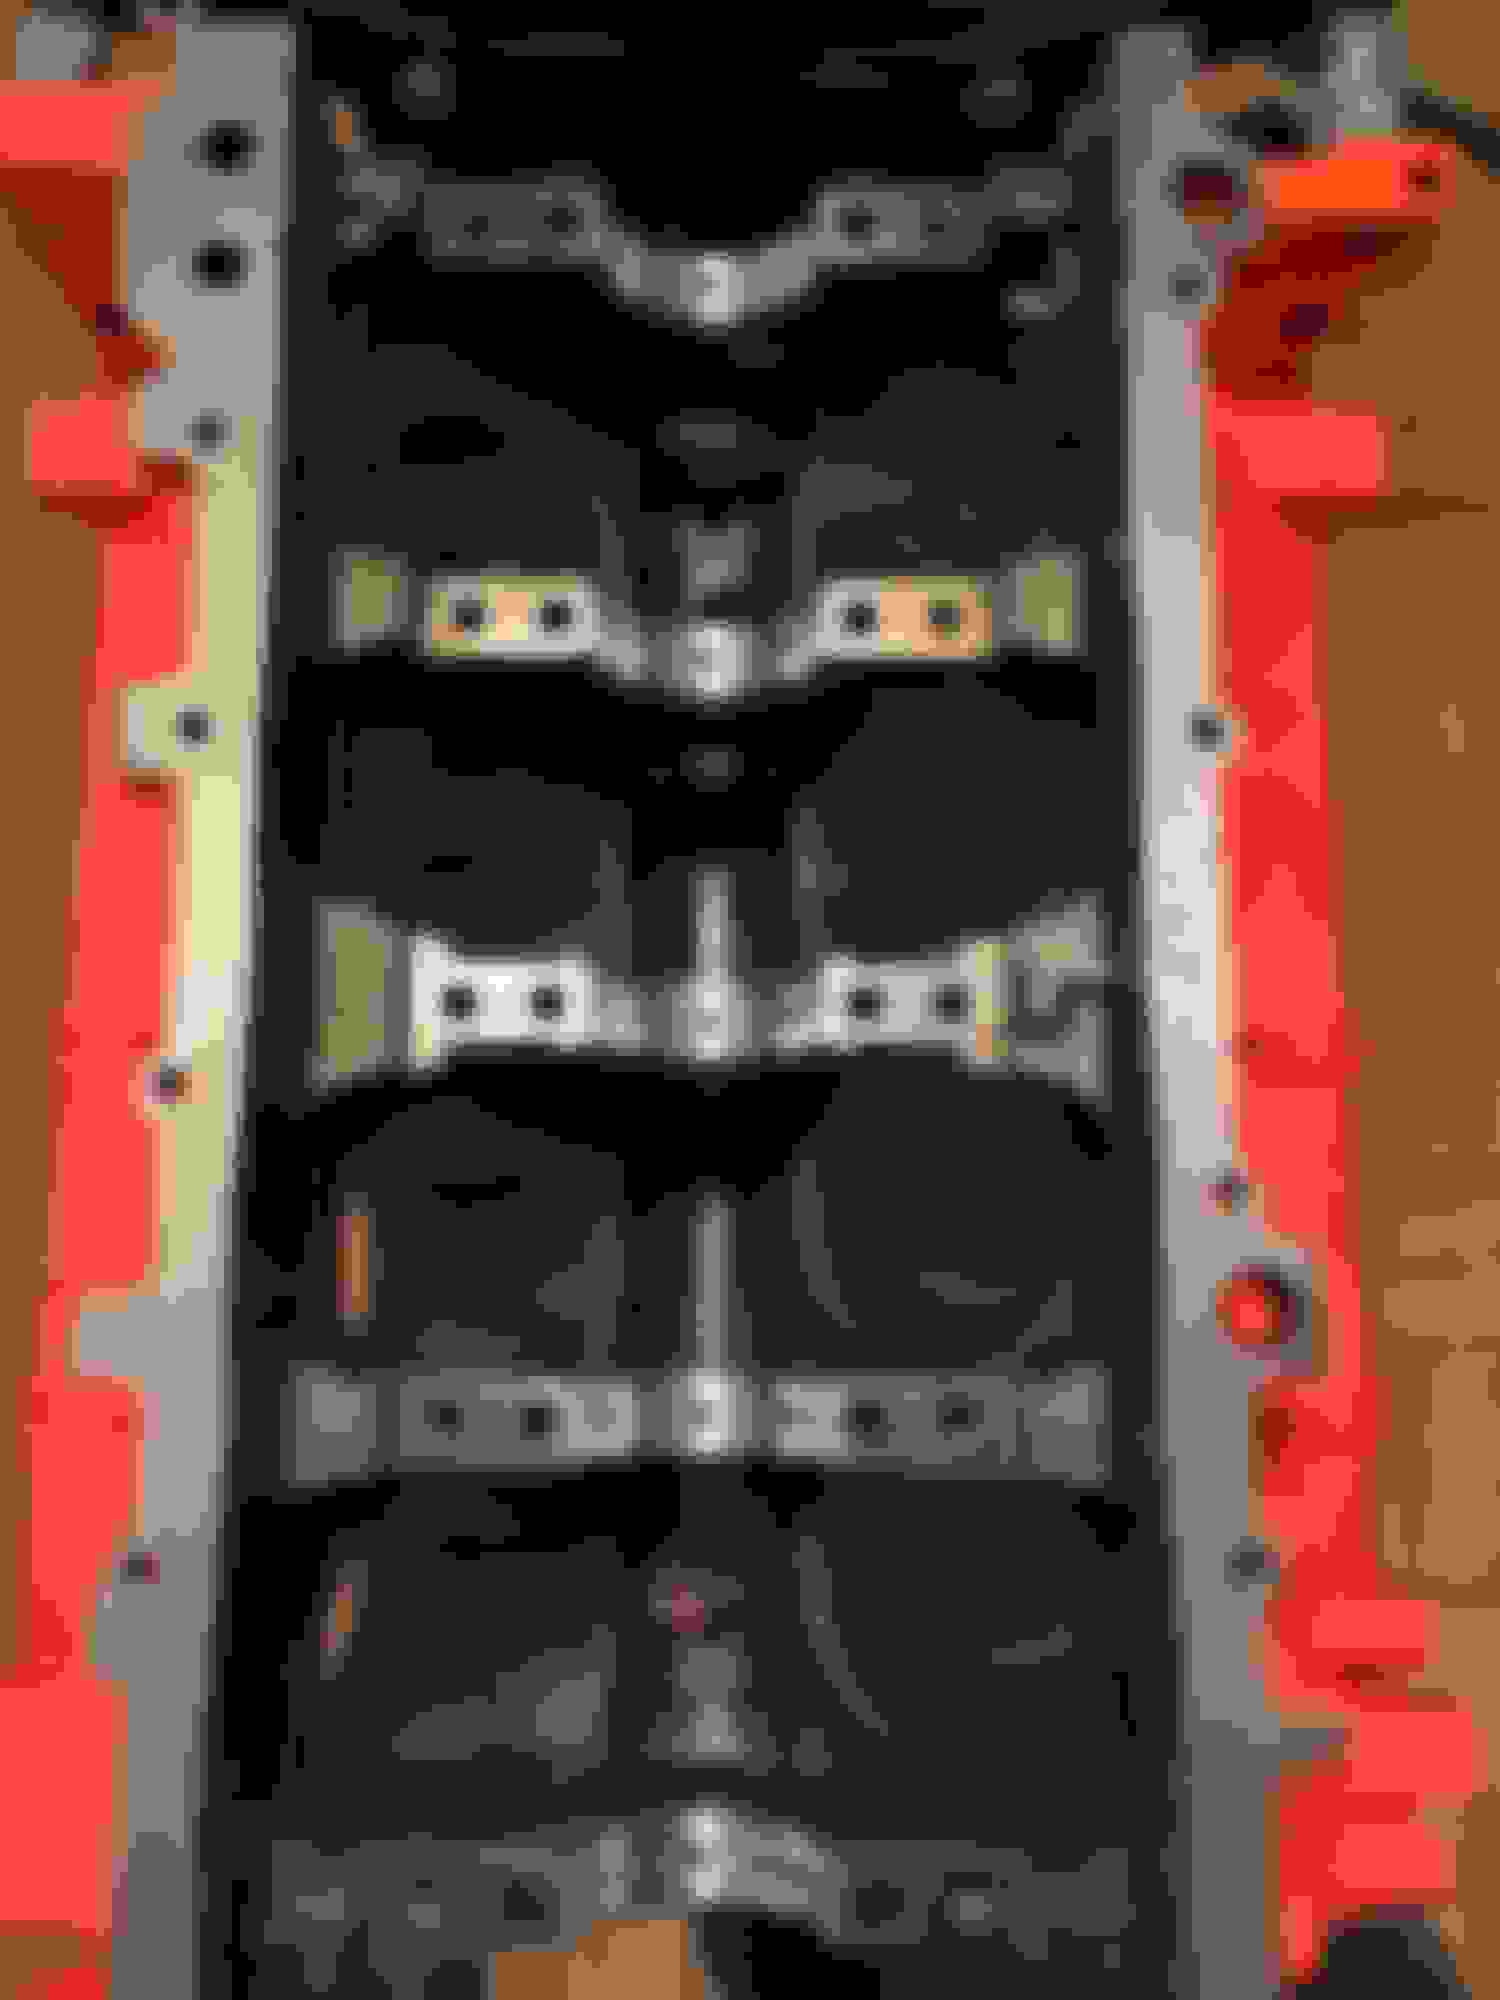
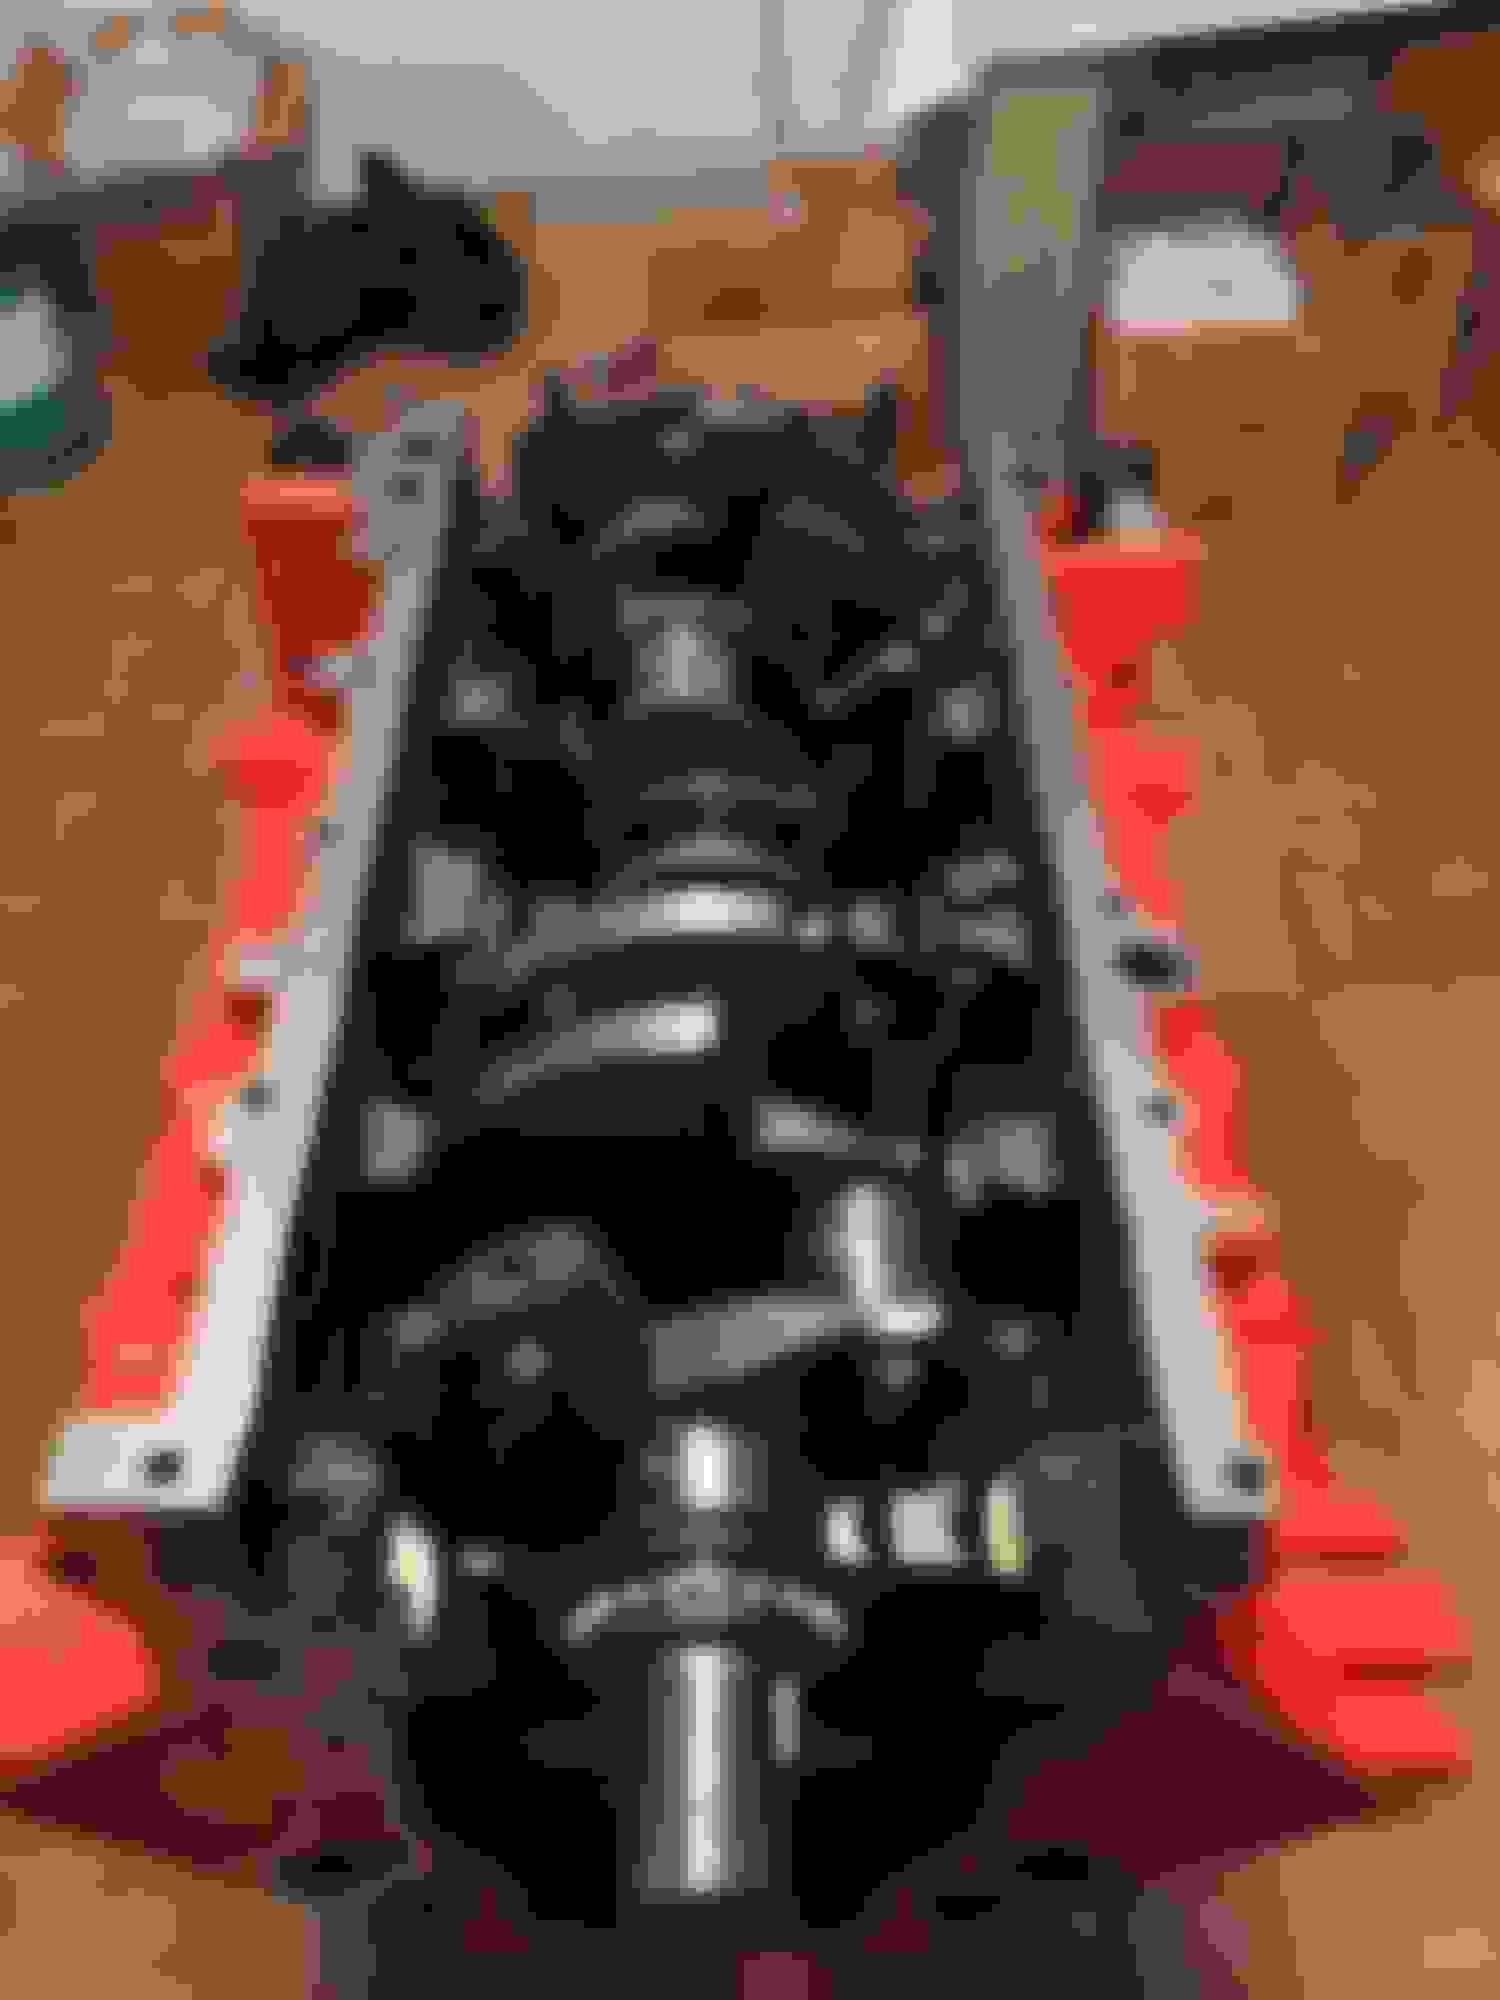
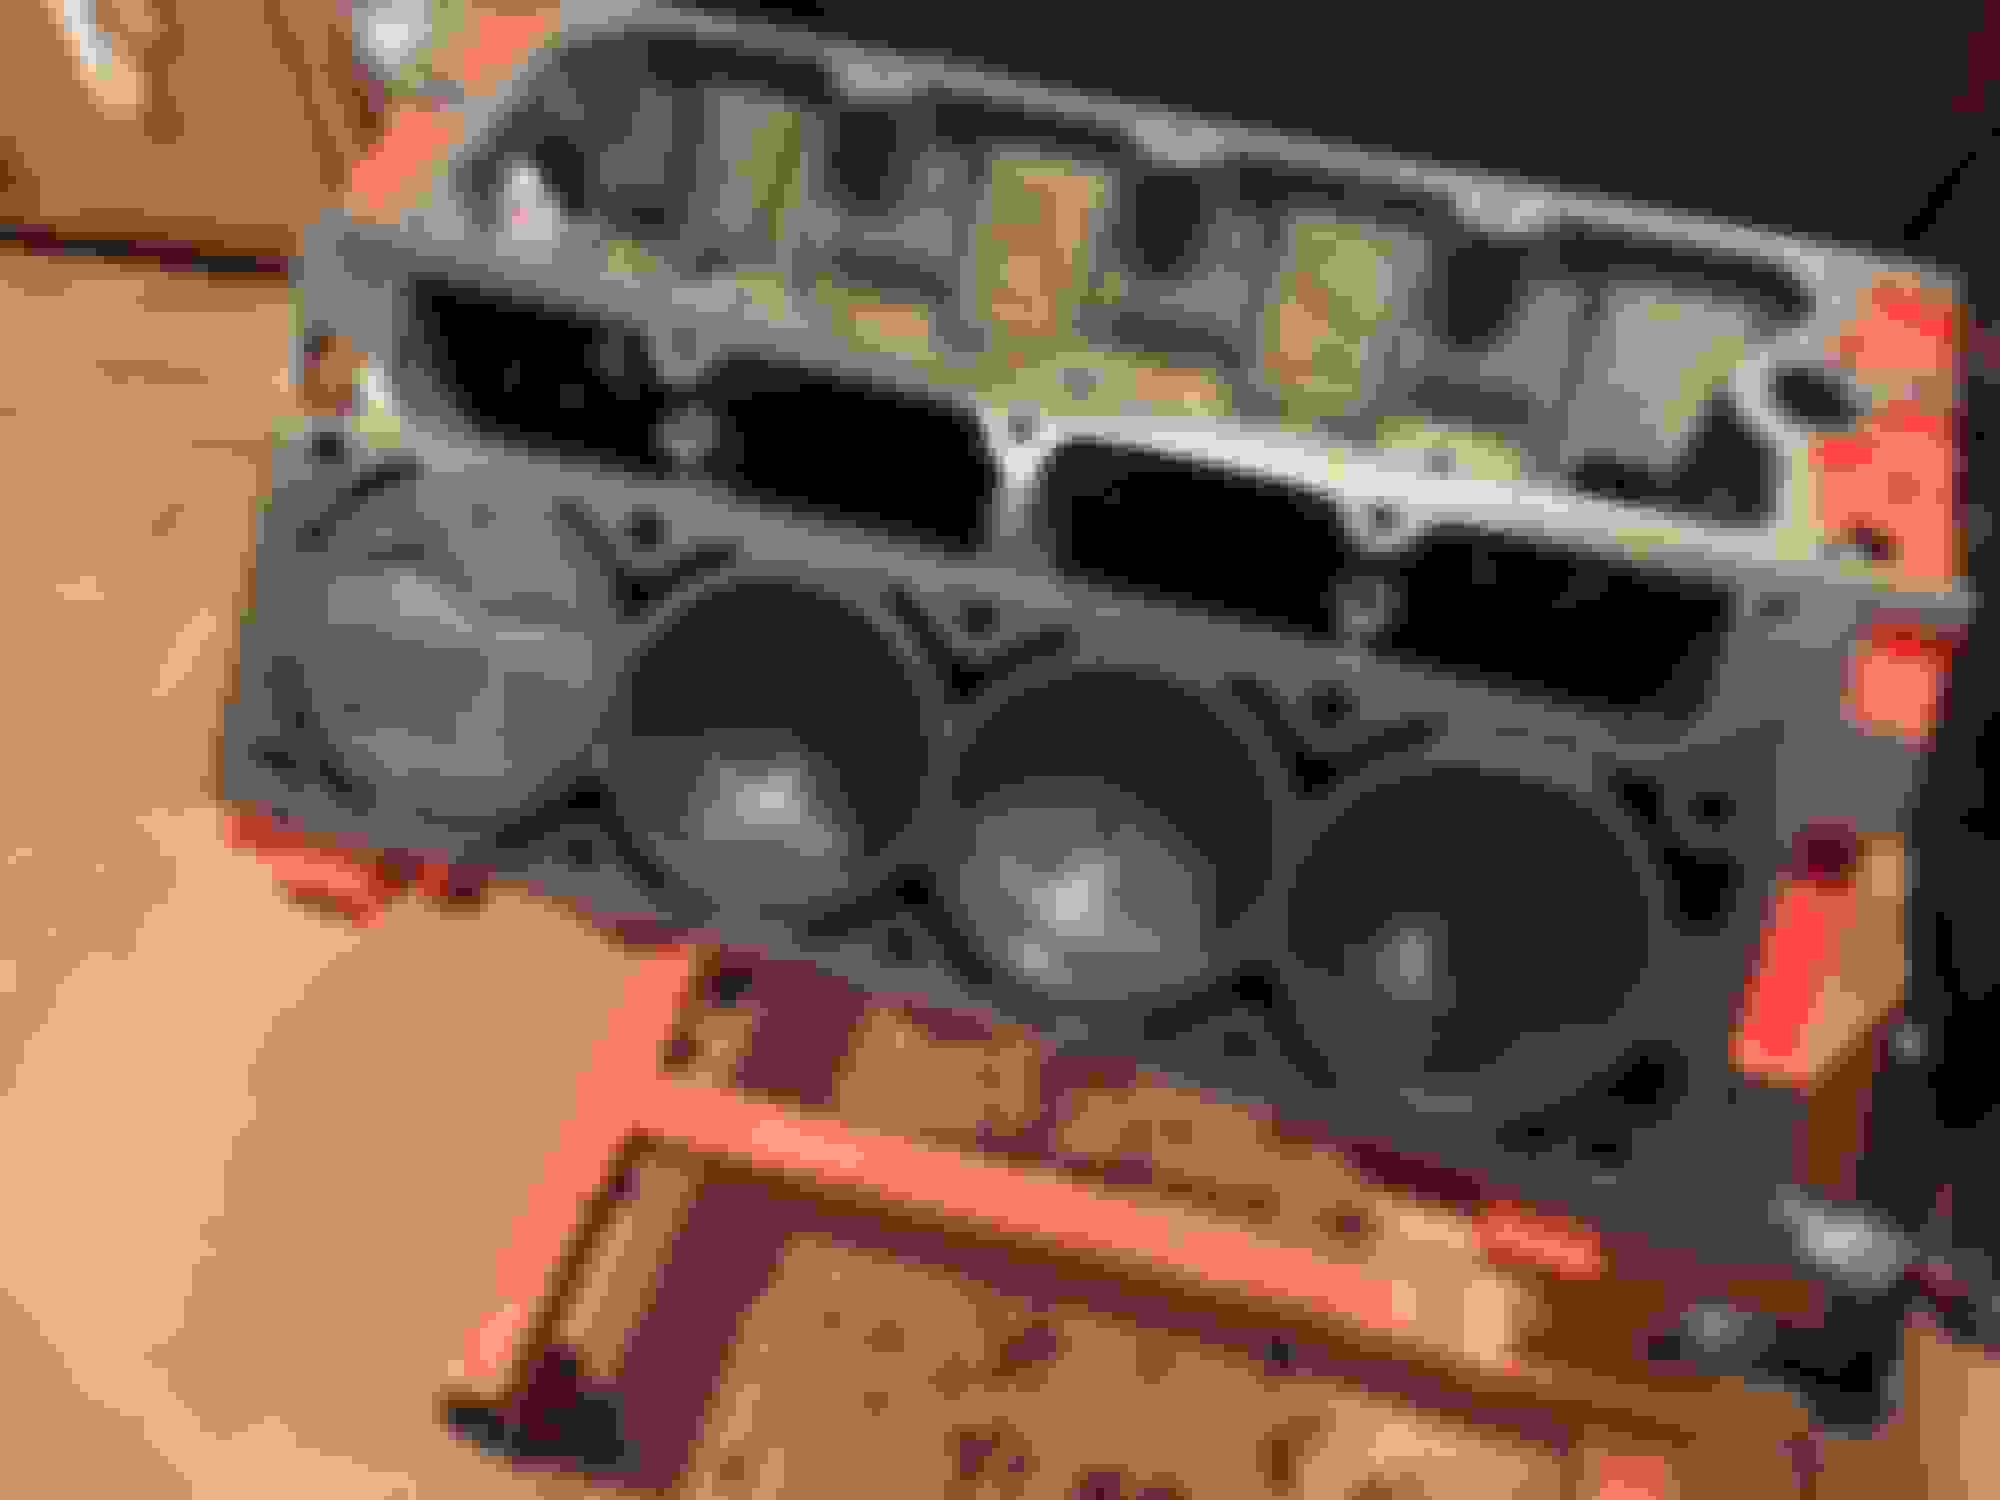
Installed ARP head studs and the head gaskets, heads went on with no issues.
Anywho, here are some pic's of the build for you all to enjoy.
After I had installed the upgrade kit is when I found out the rocker bolt wont fit.
Last edited by AnimeFunTV; 09-11-2014 at 02:53 PM.
Not much of an update. I need to order the pushrods and get the PCM flashed but at this time I'm kind of strapped for cash at the moment.
I did receive the replacement of the Summit Rocker upgrade; but again hardly any of the stock bolts fit!
Here are some photo's, I had to take a drill bit and get rid of the burrs that were inside, they (Summits private manufacture) must be using low quality bits.
Some fit.
Most didn't
If you look closely, you can see the burrs inside.
Well lots of stuff happened in 2015 that made me set aside the project, but now its 2016 and it looks like the project is back.
However since its been well over a year since I last worked on it, i have a few concerns now.
1. Crankshaft Balance
I'm a little leery on the balance done on the crankshaft (unless anyone can persuade me other wise) When the crank was balanced I supplied the connecting rod and piston to the machine shop; now a year later I've been reading a few articles about when balancing a crankshaft you need everything, pistons, rods, pins, locks, and rings to have a good balance. I know for a fact that I only supplied the one rod and one piston to the machine shop as thats all they needed. So my question to any of you who would know; what steps have you taken when taking the crankshaft to the machine shop to have it internally balanced?
2. Camshaft & PCM timing
When I had the block at the machine shop I had them install and degree the camshaft from compcams, he did tell me he had to retard the timing a few degree's to meet the specs on the cam card. Being that its already been a year, I had totally forgotten how many degree's he had retarded the cam. Now my question; would i even need to know how much the timing had been degreed for the PCM to properly run the engine?
3. Connecting Rod Bolts
When installing the SCAT rods they came with ARP fasteners, now the only thing is I am unsure how many times they had been torqued down as previously before installing I was taking clearance measurements and from what I read you can only reuse the ARP Rod bolts so much and they recommend replacing them.
I know that the Head Studs and Main studs can be reused multiple times, but the rod bolts have gotten me uneasy.
So with that, I'm back and I'm hopeful I can get this engine finished and installed by fall/winter of this year.
Last edited by AnimeFunTV; 01-01-2016 at 06:32 PM.
1) I don't feel I can give you good information on this, but I would think they should have had all the rods and pistons to balance properly. Again, this is just my gut feeling and everytime I have a motor balanced the machine shop has all of the components anyhow.
2) The PCM doesn't care about cam timing, your machinist retarded the cam to get it where the cam designer wants it. Performing a crank position variation relearn is always a good idea after the engine is together.
3) Don't sweat the rod bolts, as long as they are not over torqued you can install them as much as you need, within reason. In fact, most rod manufacturers recommend cycling the bolts to torque and back several times before final installation.
I talked with my second machine shop and from what they said, when it comes to balancing the crank all rods, pistons, bearings, rings, and pins need to weight for a true crankshaft balance. They did say though that the machine shop that did the balance could have used known weights of the rings and bearings and used that to calculate the bob weights. He said unfortunately since the rod and piston are already assembled, it will be next to impossible to balance the crankshaft without taking apart the rod and piston, which he advised not doing since damaging the piston is a real possibility when trying to remove the lock ring. He did say if there is any variation in the balance is to install a fluid dampener.
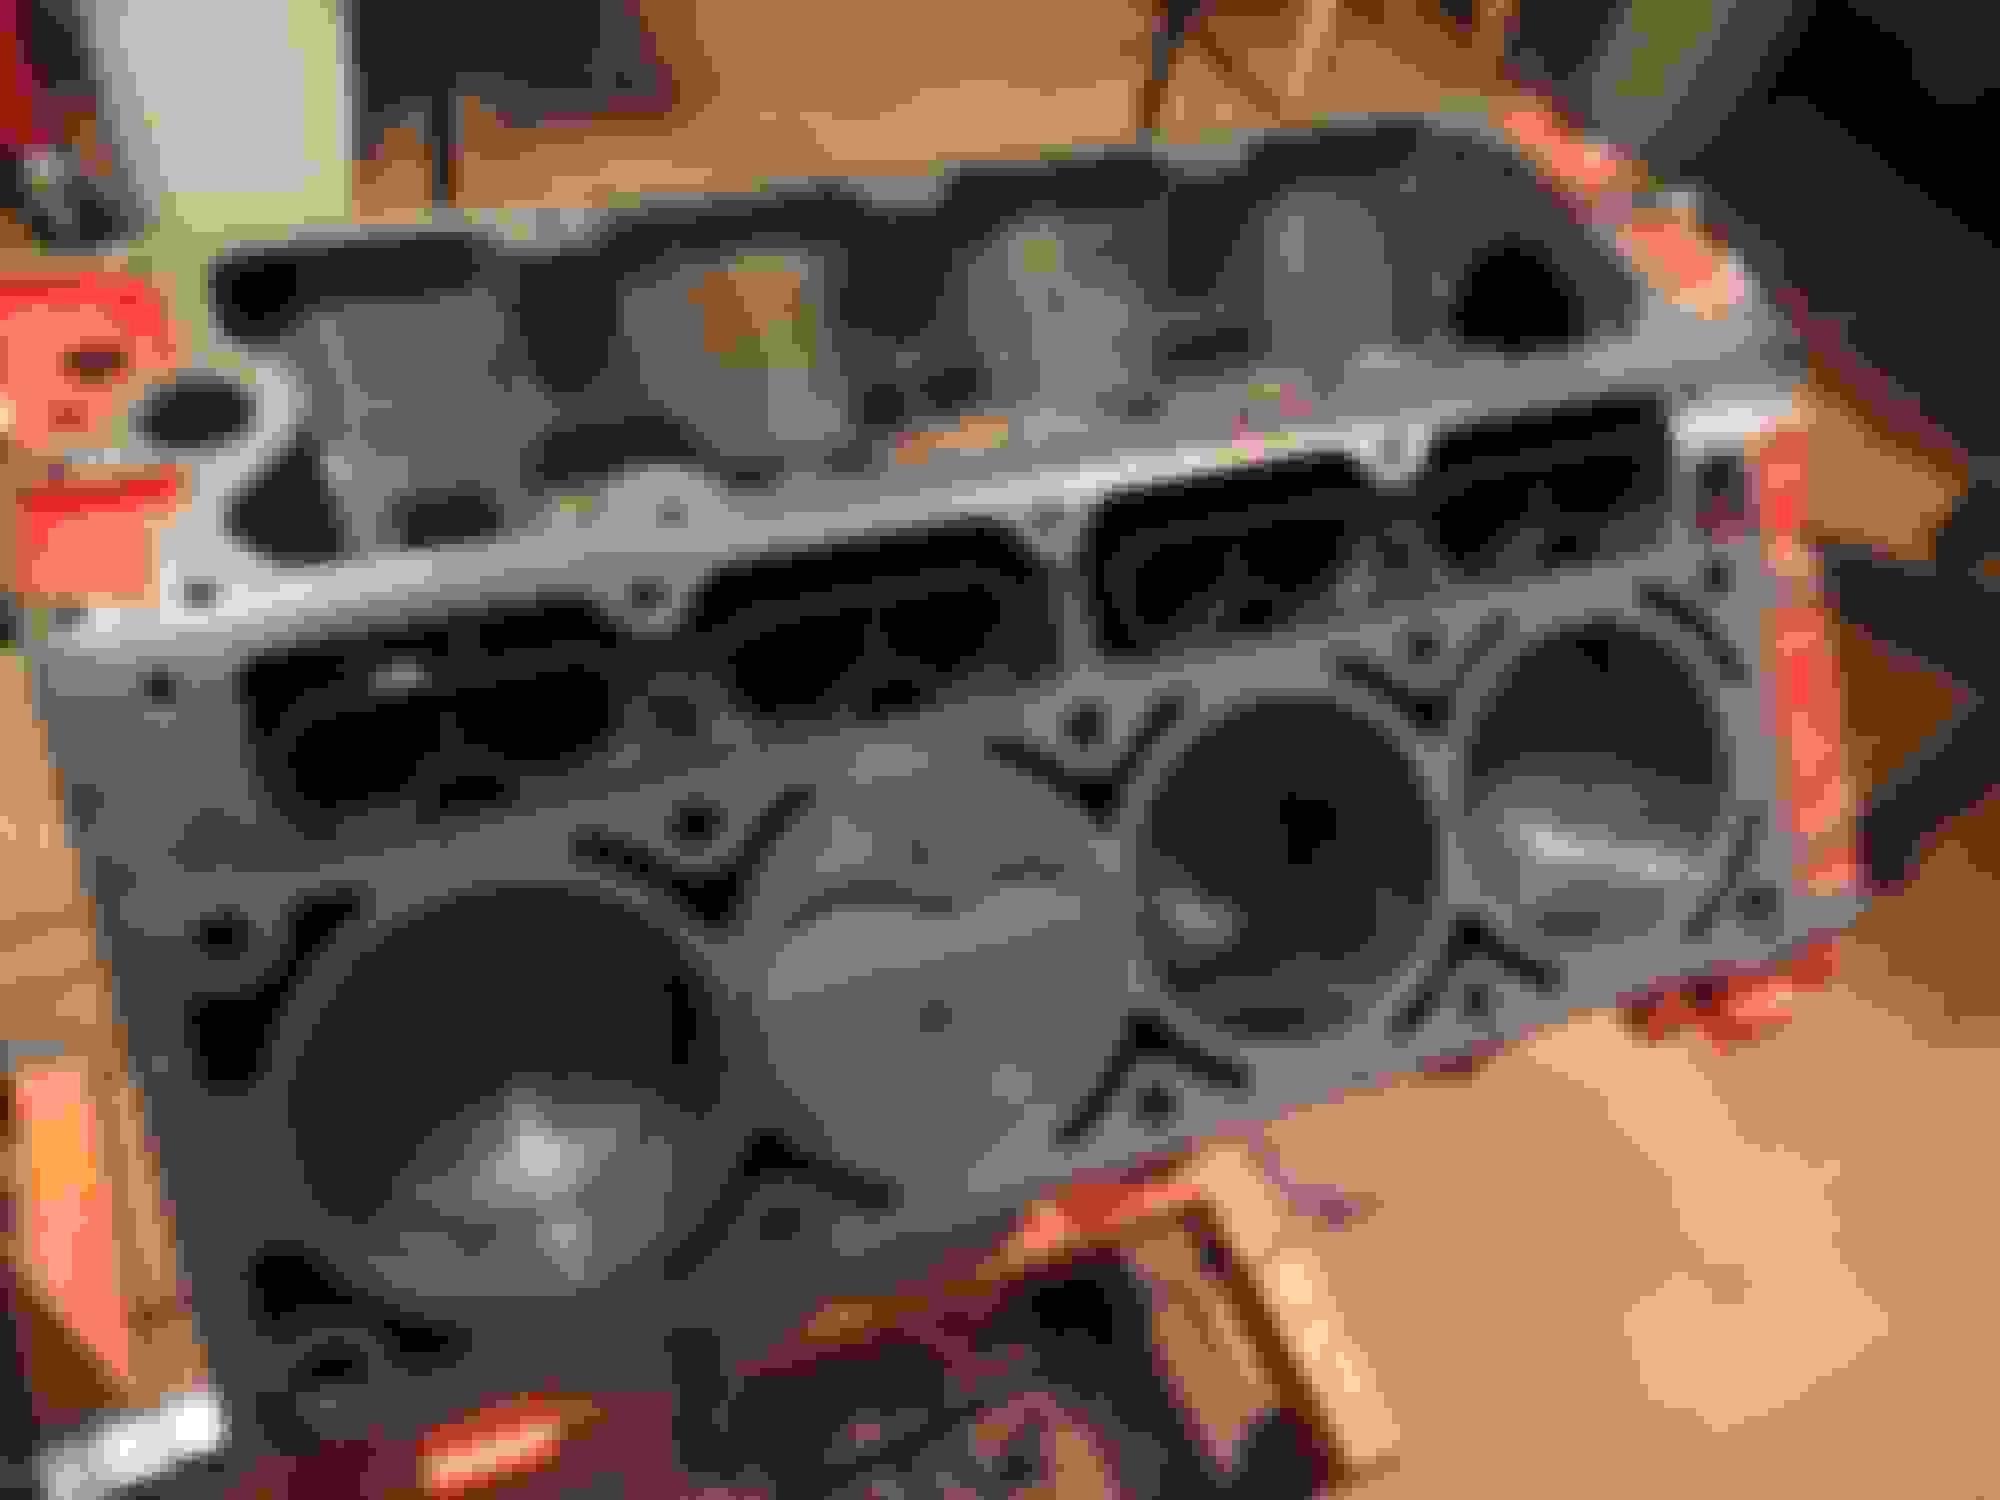
Well after close to a year I'm back! The last time ya'll heard from me was about getting the crankshaft re-balanced. Long story short, was a big mess but finally its done!
Re-installed everything and the engine is now back to long-block status!


 08-14-2014 | 11:32 PM