Removing old head gasket!
#1
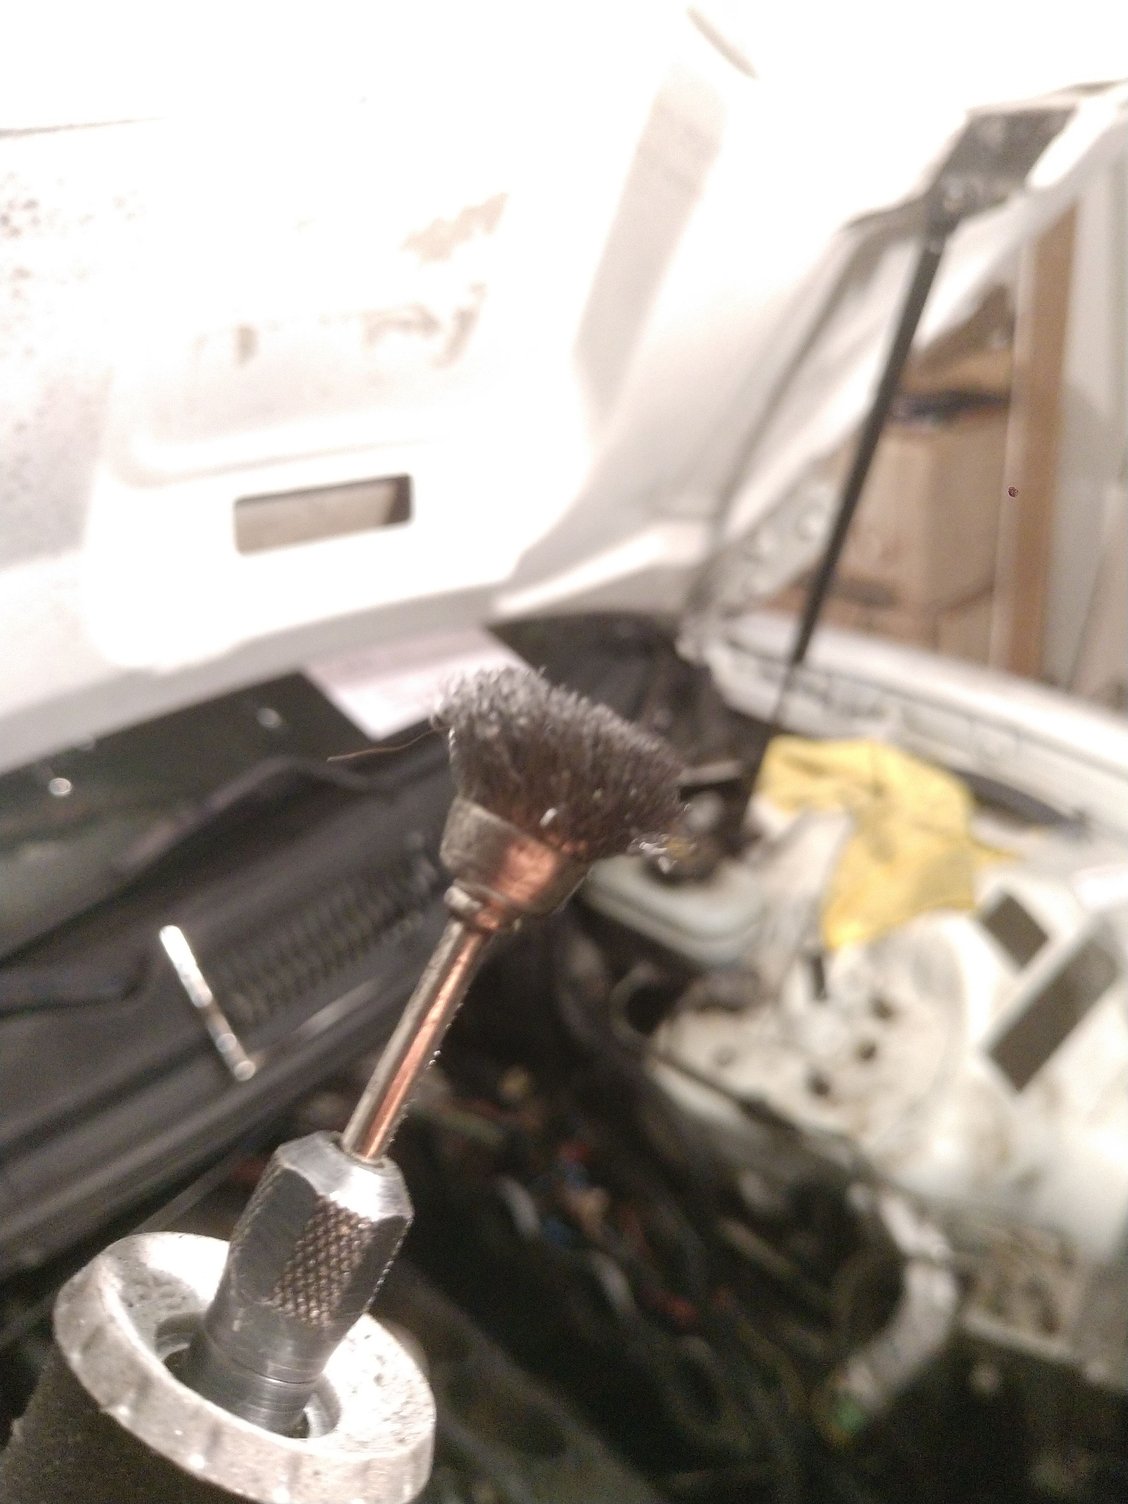
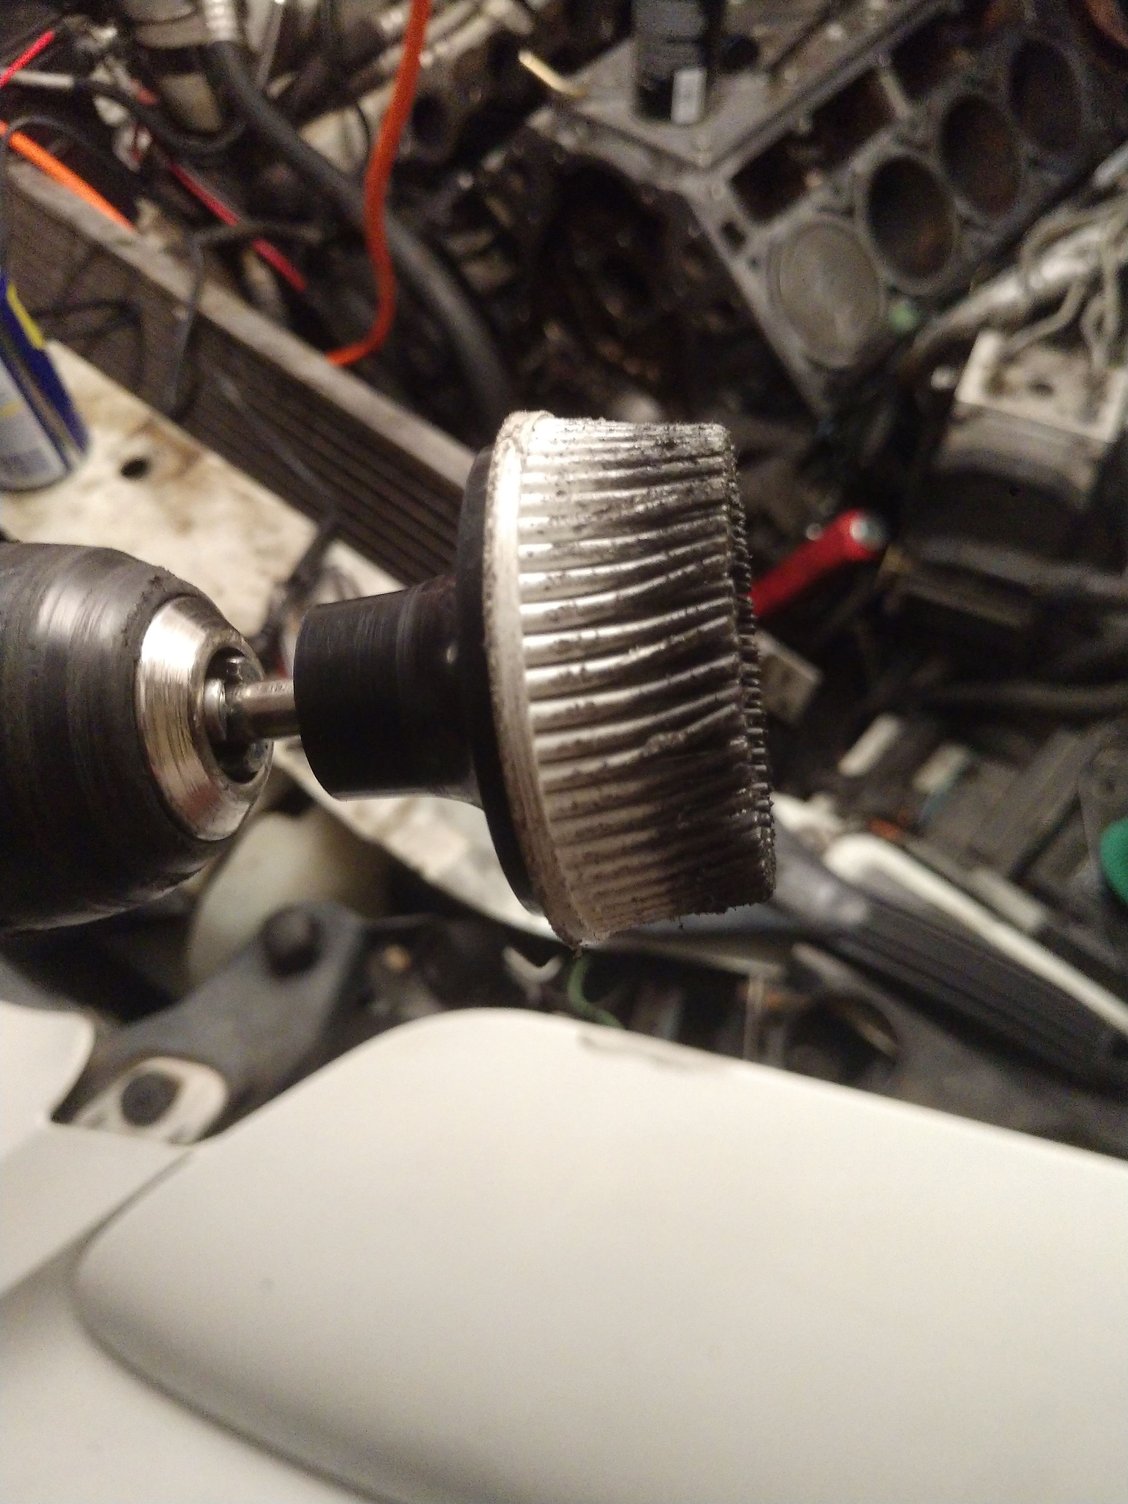
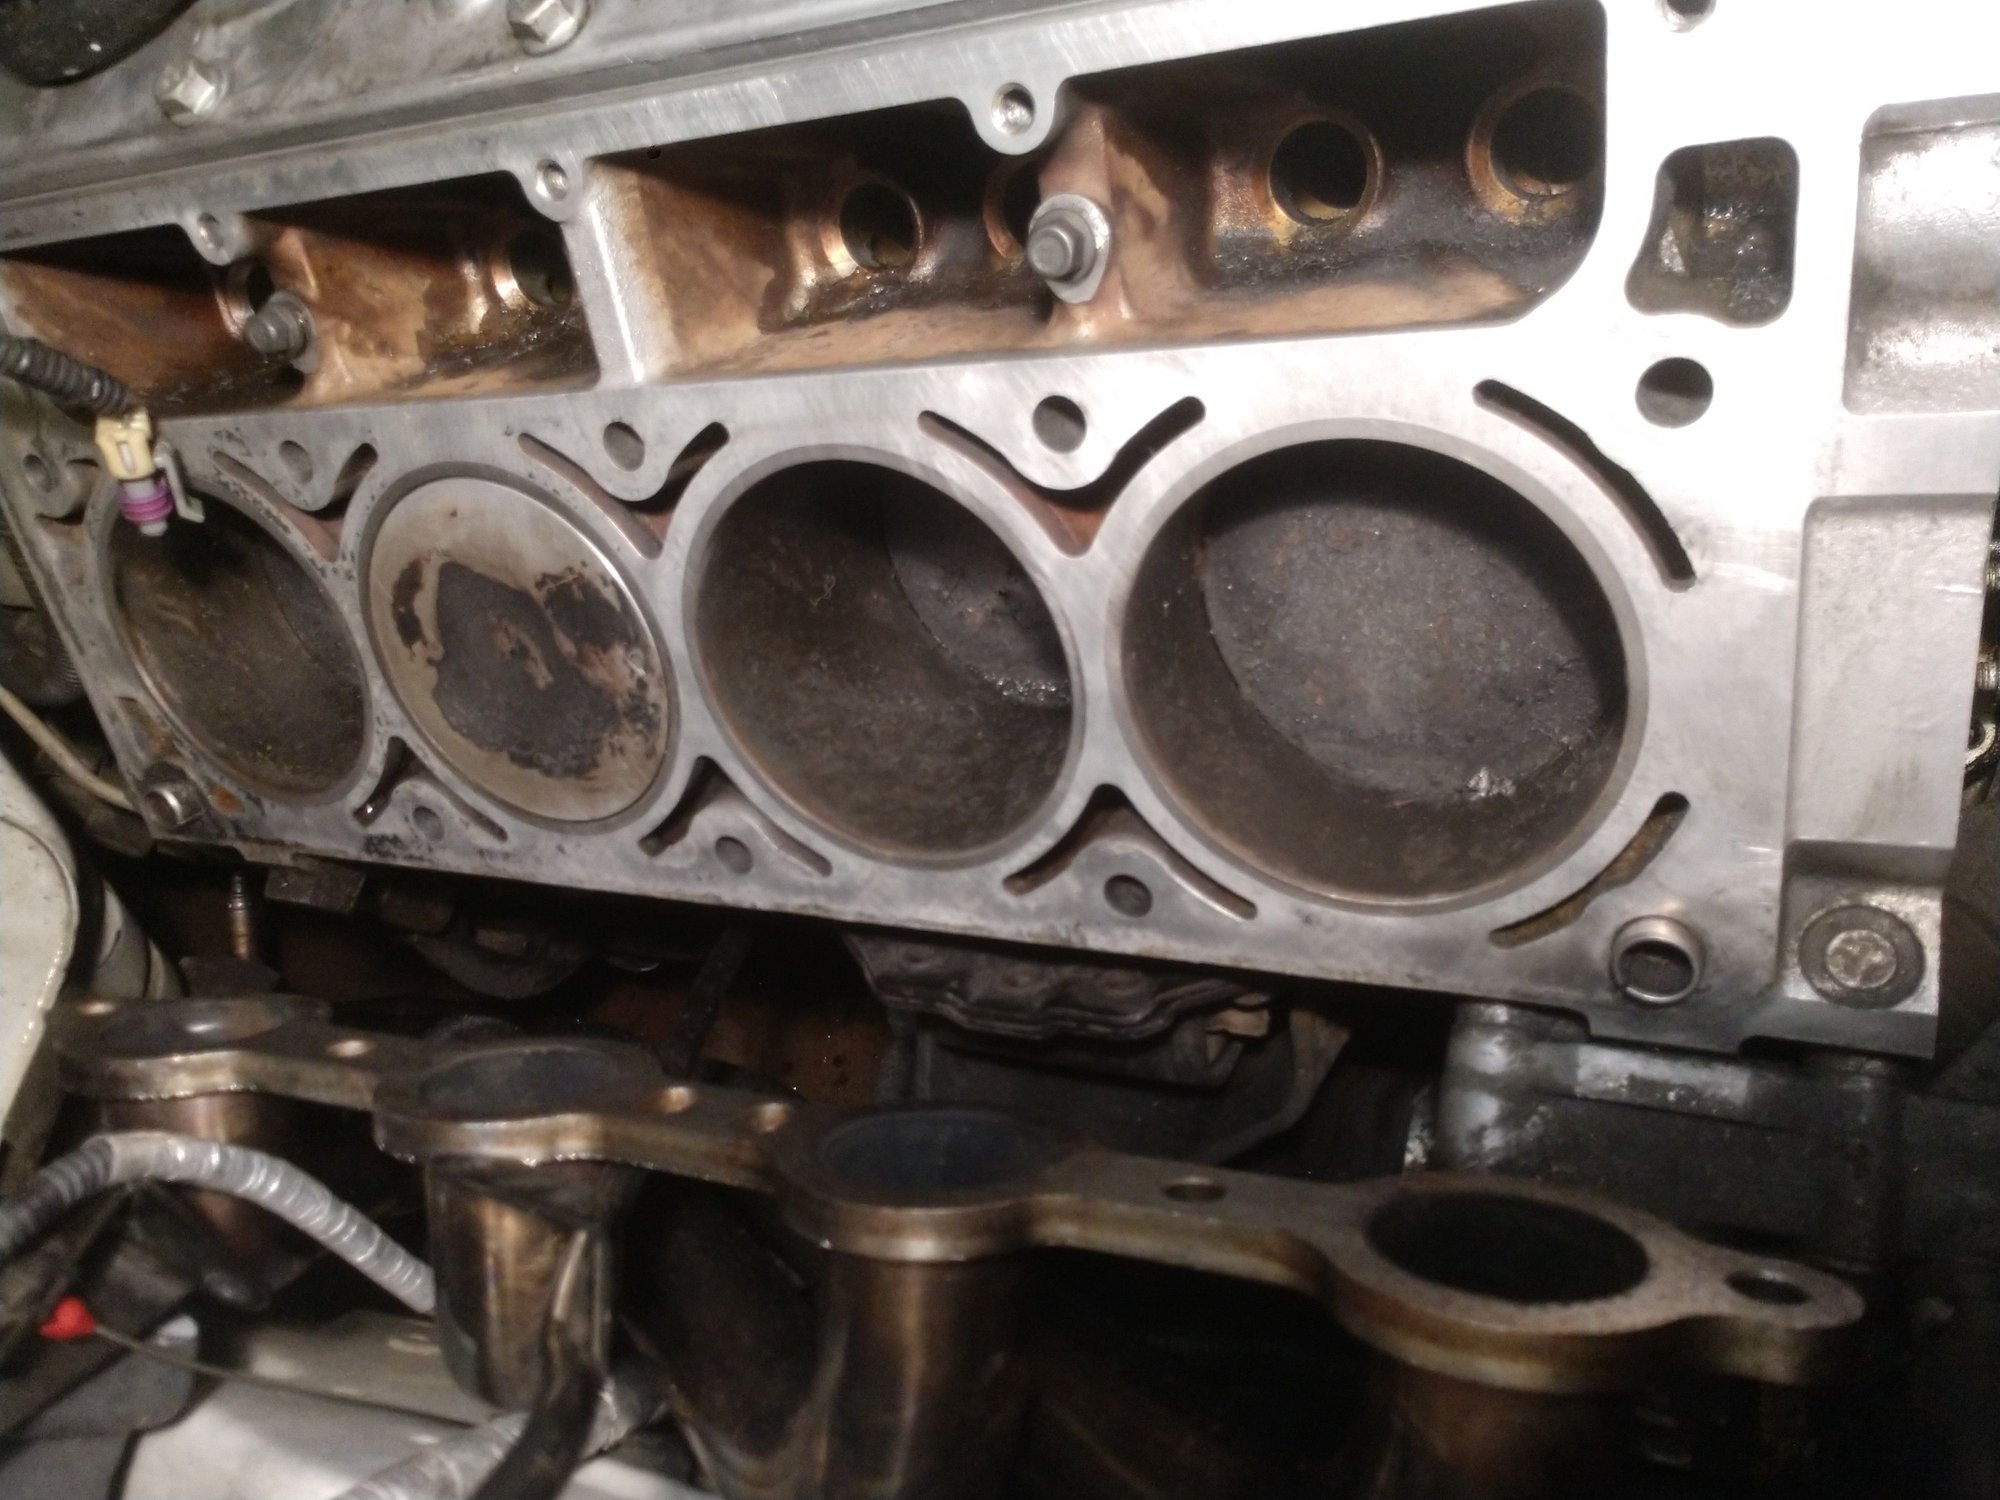
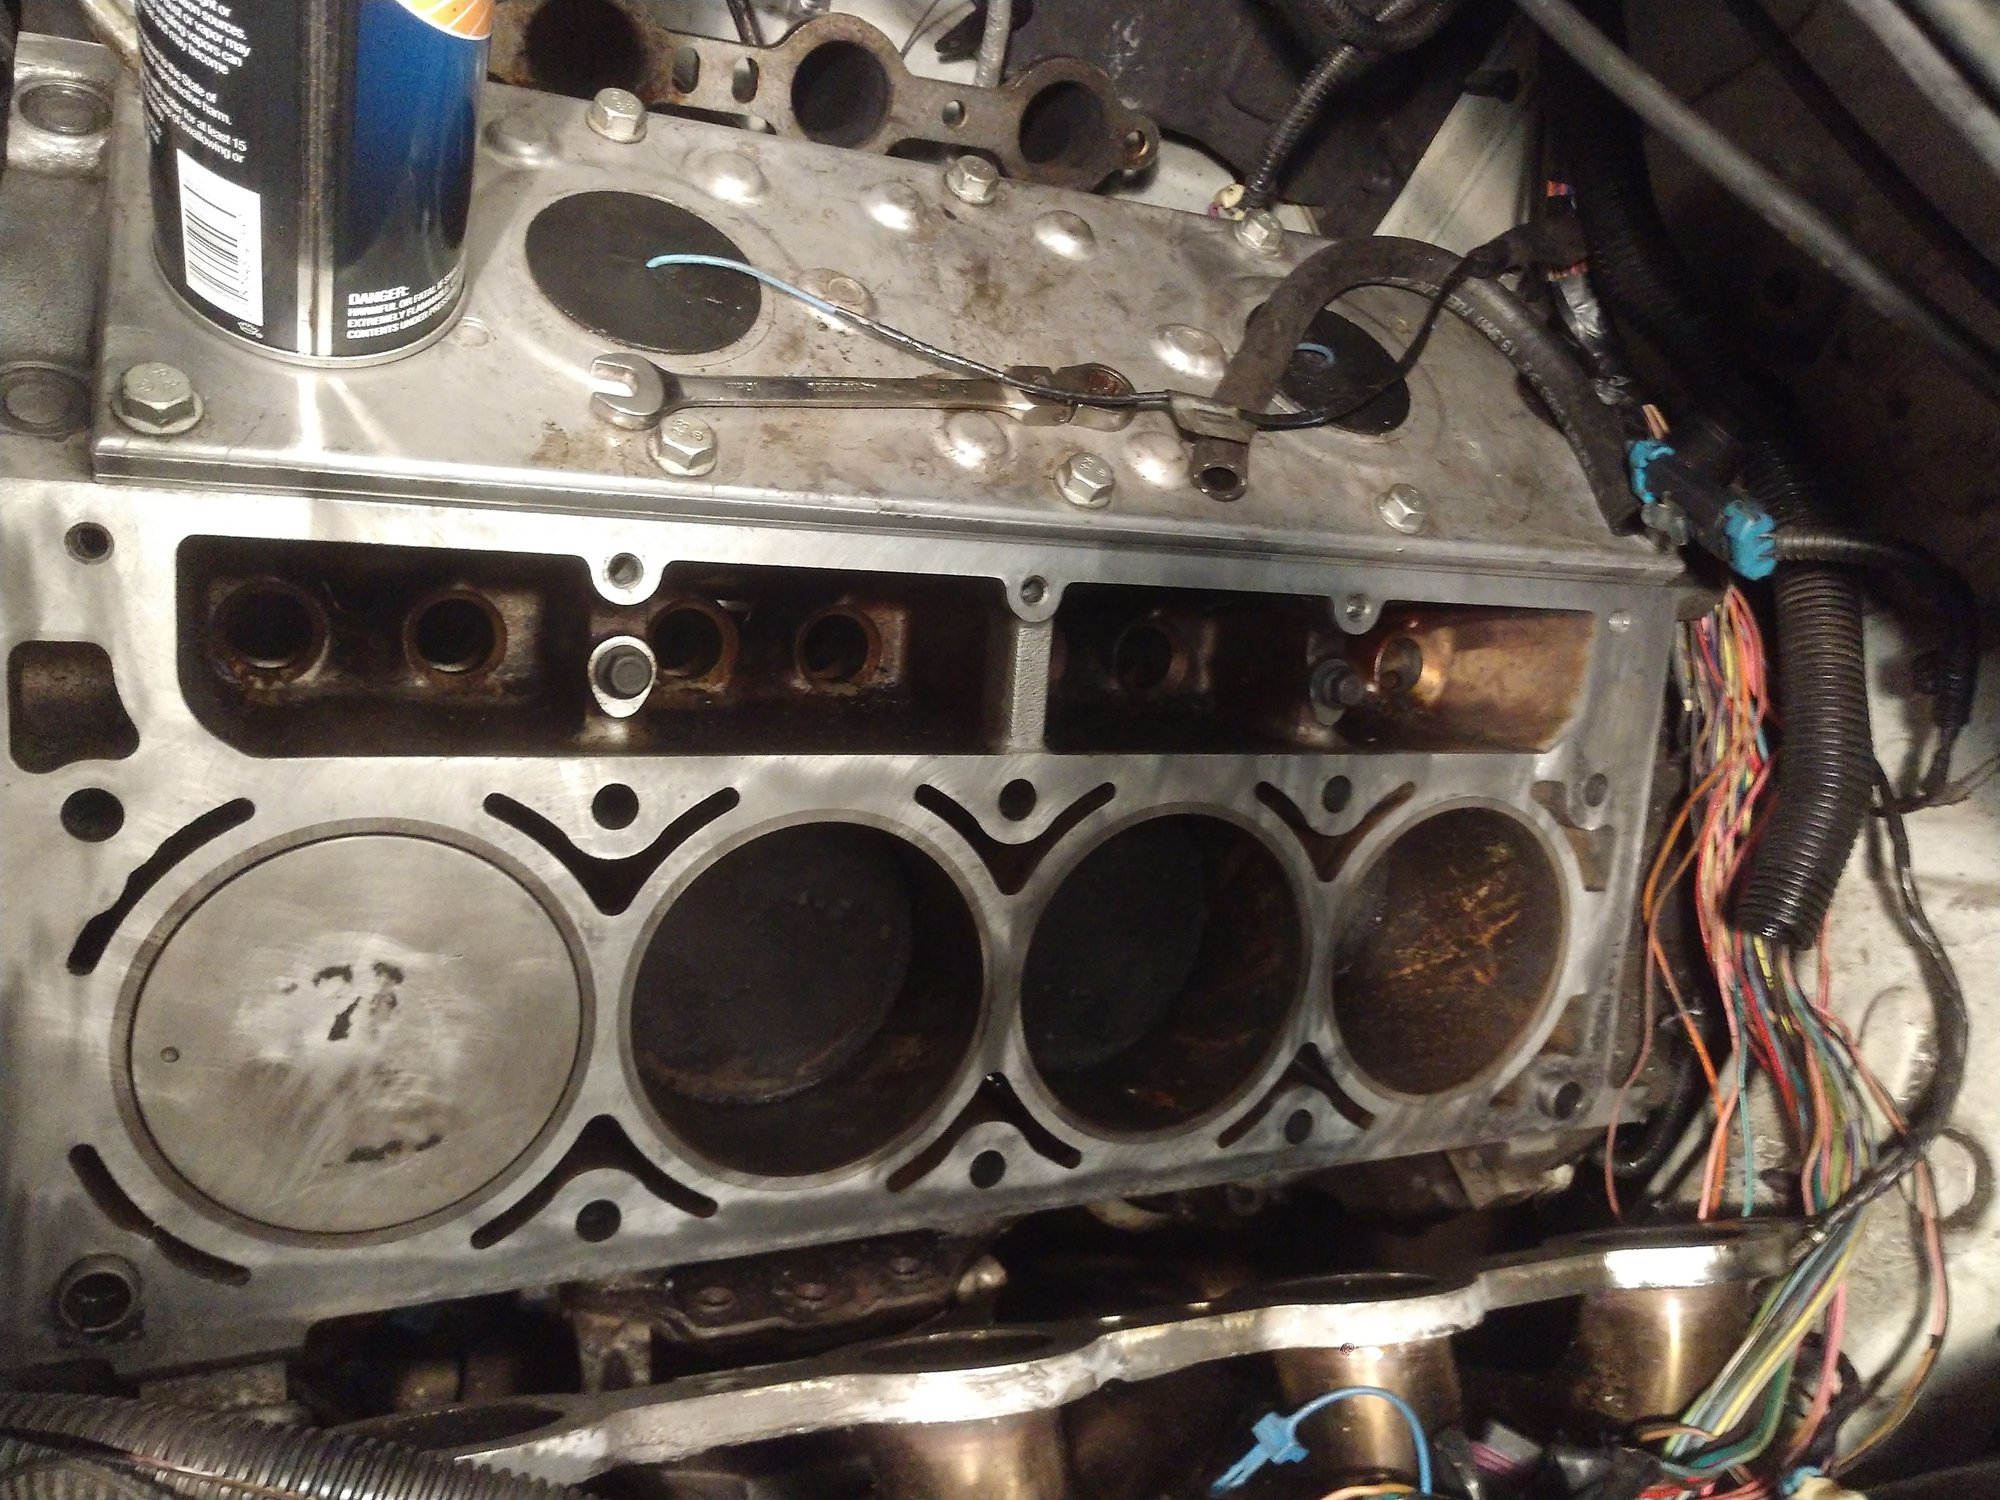
Hello ls1tech! Working on a h/c/ (possibly intake) swap... Have old heads removed, trying to get the surface of the engine deck clean of the old gasket... I've tried the gasket remover, bunch of ice scraper, and some scotch Britt green pads... So far this is what I have... I cheated a little with hooking my Dremel up to a small fire bit to get the carbon off the Piston... I can't find the green rotary scotch Brite piece but used something different... Am I risking damage with what I have or continue as follows? This is a PITA to clean!!
#2
TECH Addict
Easy Off Oven cleaner. Dab on let soak wipe off. Be careful it will peel your finger prints off.
Hope you sealed all the cylinders with a greased rag if your using scotch brite pads, the residue is brutal.
Hope you sealed all the cylinders with a greased rag if your using scotch brite pads, the residue is brutal.
#4
TECH Addict
Shop vac, I used a real fine compressed air nozzle years ago when I did it myself,, LOL
I rolled the motor over slowly and wiped each cylinder with kim wipes and light oil...
move piston to TDC, give it a little shot of oil then rotate the piston down, the oil makes
the green bits stick to the cylinder walls, then you follow with the kimwipes..
If I had the motor apart as far as you do,, the sucker would be gutted on the engine stand..
a gasket set/rings/bearings just too easy to do at that point.. Heck if I have one out it always
goes in for a clean and block check..
Trending Topics
#8
TECH Veteran
iTrader: (40)
I always clean the surface with a razor blade and I get the blade under the material and slide up under it and peel it off. After that step I rub the surface with the blade at a 90 degree angle to scrape the remaining stuff off and holding it at a 90 degree angle keeps it from hanging up on every little piece and keeps it from digging in.
I then lightly sand the surface with emory cloth.
Don't worry about the pistons, they'll be carboned up again real quick anyway and you're just putting more crap into the rings. Compressed air works good for blowing things out and you'll wanna blow out the head bolt holes really good to get any fluid out. You'll also want to chase the bolt hole threads. If you don't have a chaser you can do what I do and take a small angle grinder and cut off wheel and cut slots in an old head bolt and run it up and down. Do this with brake cleaner and blow out the holes repeating the process a few times each hole.
The other advice above was good too for cleaning everything
#10
TECH Apprentice
iTrader: (3)
The ports around the cylinders are the cooling jackets (part of your radiator/coolant system). The gaps between the piston and cylinder walls do end up in the oil pan, but the piston rings are there and should catch big gasket chunks. As mentioned, a shop vac and wipe down with a lint free rag should clean the cylinders up just fine.
#13
Looks good from my house. Might need a razor blade to finish up around those dowel pins. And don't worry about the "marks" left behind, there is sealant on the gaskets and there needs to be a slight "roughness" to the surfaces anyways.
#14
Pull out the dowel "pins" with channellocks or some such. They pop right out, and back in. Wouldn't hurt to get new ones, for that matter. They're real cheeeep. Too bad they don't come in gasket sets.
#15
TECH Veteran
iTrader: (40)
Avoid using power tools with bristle brush especially on aluminum, the metal goes away fast. And those metal brushes shed those little metal bristles a lot so I never use them inside an engine.
Use scrapers and razors and light sand paper
Or ask questions online and ignore the advice...
Hope it works out, that's a ton of trash on and in that motor
Use scrapers and razors and light sand paper
Or ask questions online and ignore the advice...
Hope it works out, that's a ton of trash on and in that motor
#17
Avoid using power tools with bristle brush especially on aluminum, the metal goes away fast. And those metal brushes shed those little metal bristles a lot so I never use them inside an engine.
Use scrapers and razors and light sand paper
Or ask questions online and ignore the advice...
Hope it works out, that's a ton of trash on and in that motor
Use scrapers and razors and light sand paper
Or ask questions online and ignore the advice...
Hope it works out, that's a ton of trash on and in that motor
I appreciate your criticism of my progress, but there's no need to brow beat anyone here. I'm sure at some point you were just as much of a noob at this as I am when you started lol

#18
The razor method I did try, guess I felt uncomfortable trying to use it since I was worried about nicking the surface by accident. Adding in the sand paper part I didn't try yet, think I over read that part. The 3M bristle method I read about on a few other forums, figured it would be worth a try. Didn't think it eat up the metal since it's basically a rubber brush, that's why I used it. I'll try the sand paper tonight, see where I get with that and move on to the next step.
#19
TECH Apprentice
iTrader: (3)
Each method takes good technique as even a razor blade can gouge your block if your not careful. Youíve received solid advice already. Remove the head dowels makes things a lot easier. Iím all for using the abrasive wheel on iron only, but as youíve learned it can remove metal if youíre not careful or hold it in one spot too long. Because of this, i wouldnít recommend it for aluminum at all though. Razor blade and some patience, being careful not to drop gasket chunks in the water jackets would be my preferred method here. If the gasket is real stubborn, permatex makes a gasket remover that Iíve had pretty good luck with.
#20
TECH Veteran
iTrader: (40)
If possible do not use any power tool/bristle disc/sanding disc at all. Go low and slow by hand and FLAT!!! Any disc or brush or anything that removes gaskets removes material. Aluminum is soft and those bristle discs will cause low spots, the surface needs to be perfectly flat. You need to be doing whatever you can to make long, consistent, flat passes across it.
The way I said to do it keeps the razor from knicking the metal, slide flat against the surface and under material to get big chunks off. Slide it across the metal at a 90 degree angle to further remove things you can barely feel with your finger. The razor blade is perfectly flat and will keep the surface flat.
You're right, I was a noob, difference is when I asked experienced people what to do I listened, I didn't disregard the advice after asking them what to do. If I would have, I would have expected some crap talk, and I would have deserved it. You'll be okay if we give you a little crap, I promise.


