When you click on links to various merchants on this site and make a purchase, this can result in this site earning a commission. Affiliate programs and affiliations include, but are not limited to, the eBay Partner Network.
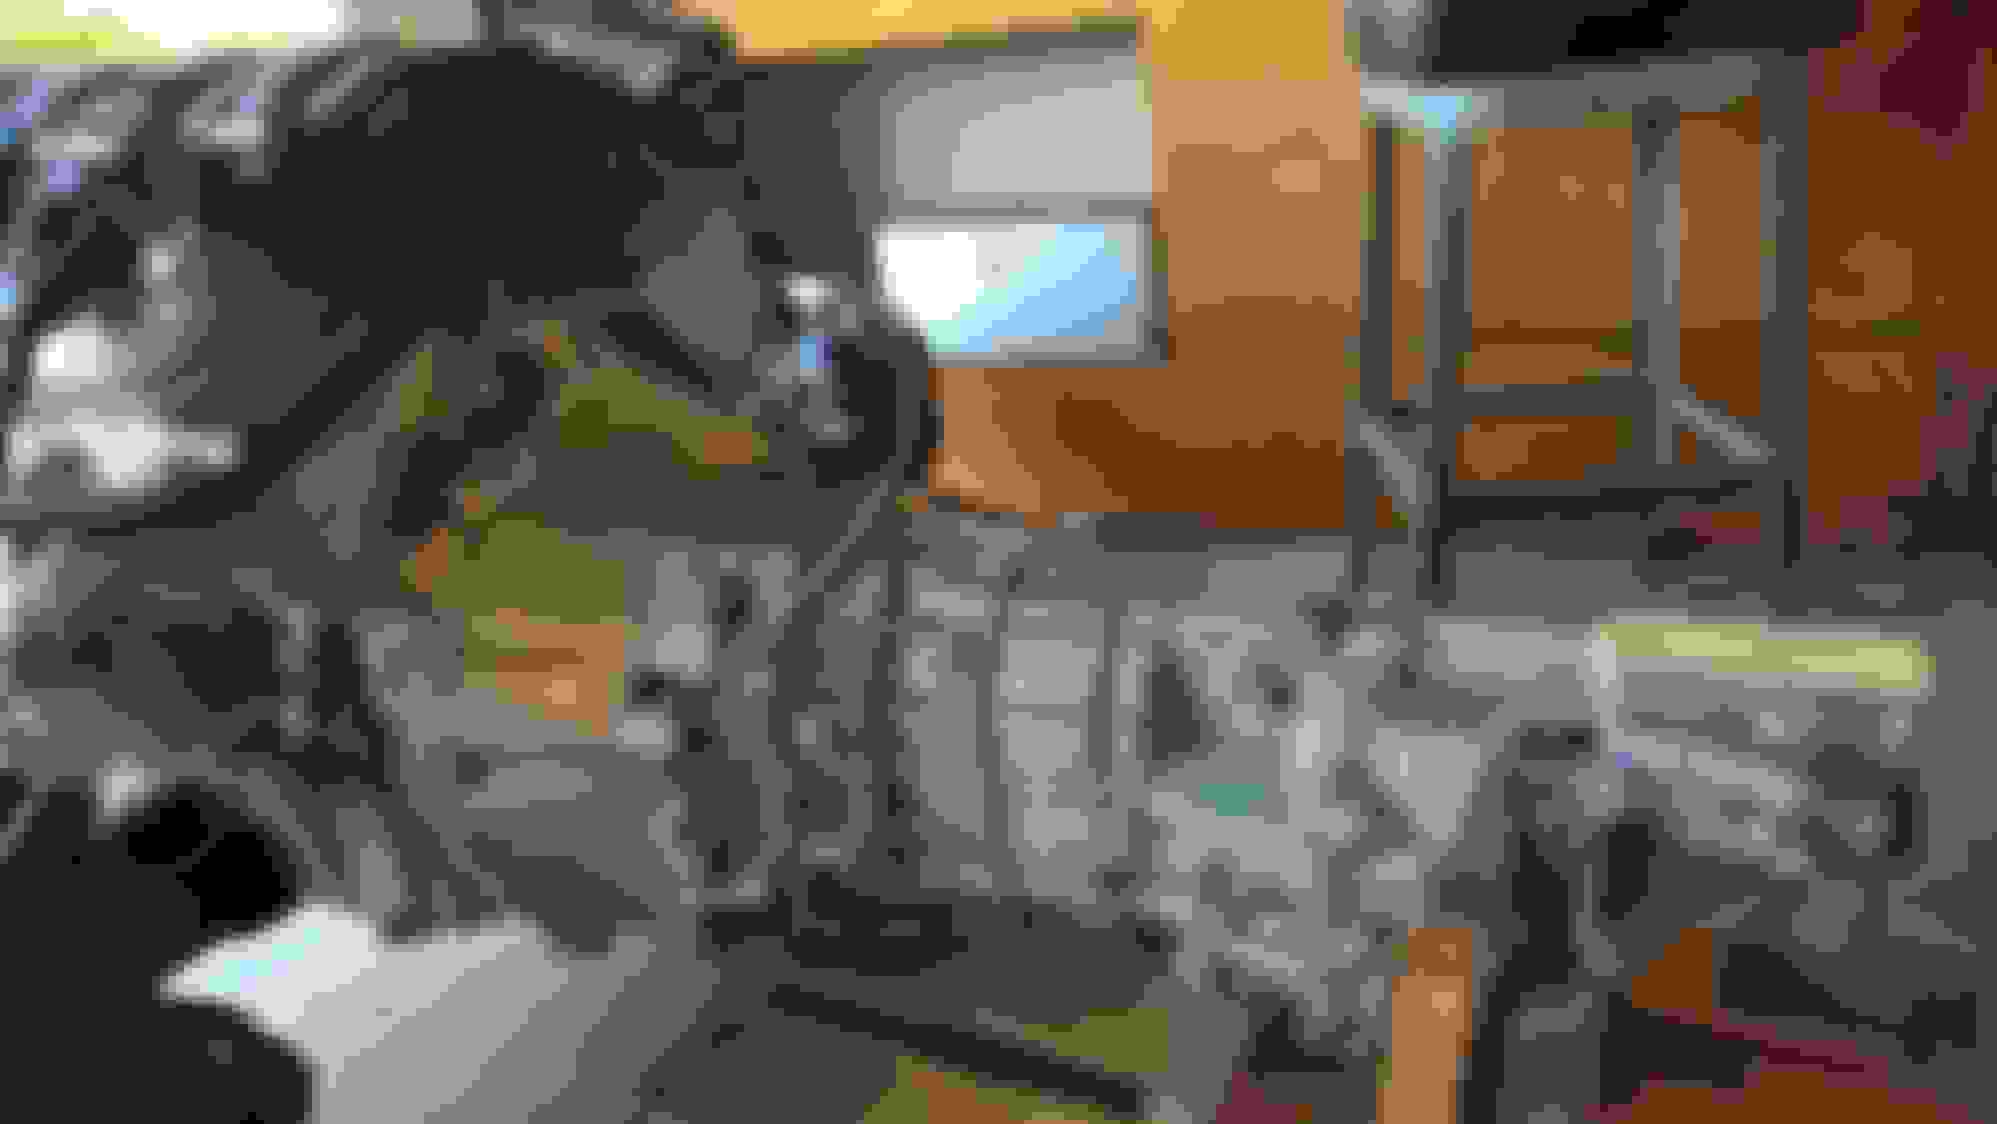
-I pulled the pilot bearing and inserted a new one at the correct depth this time
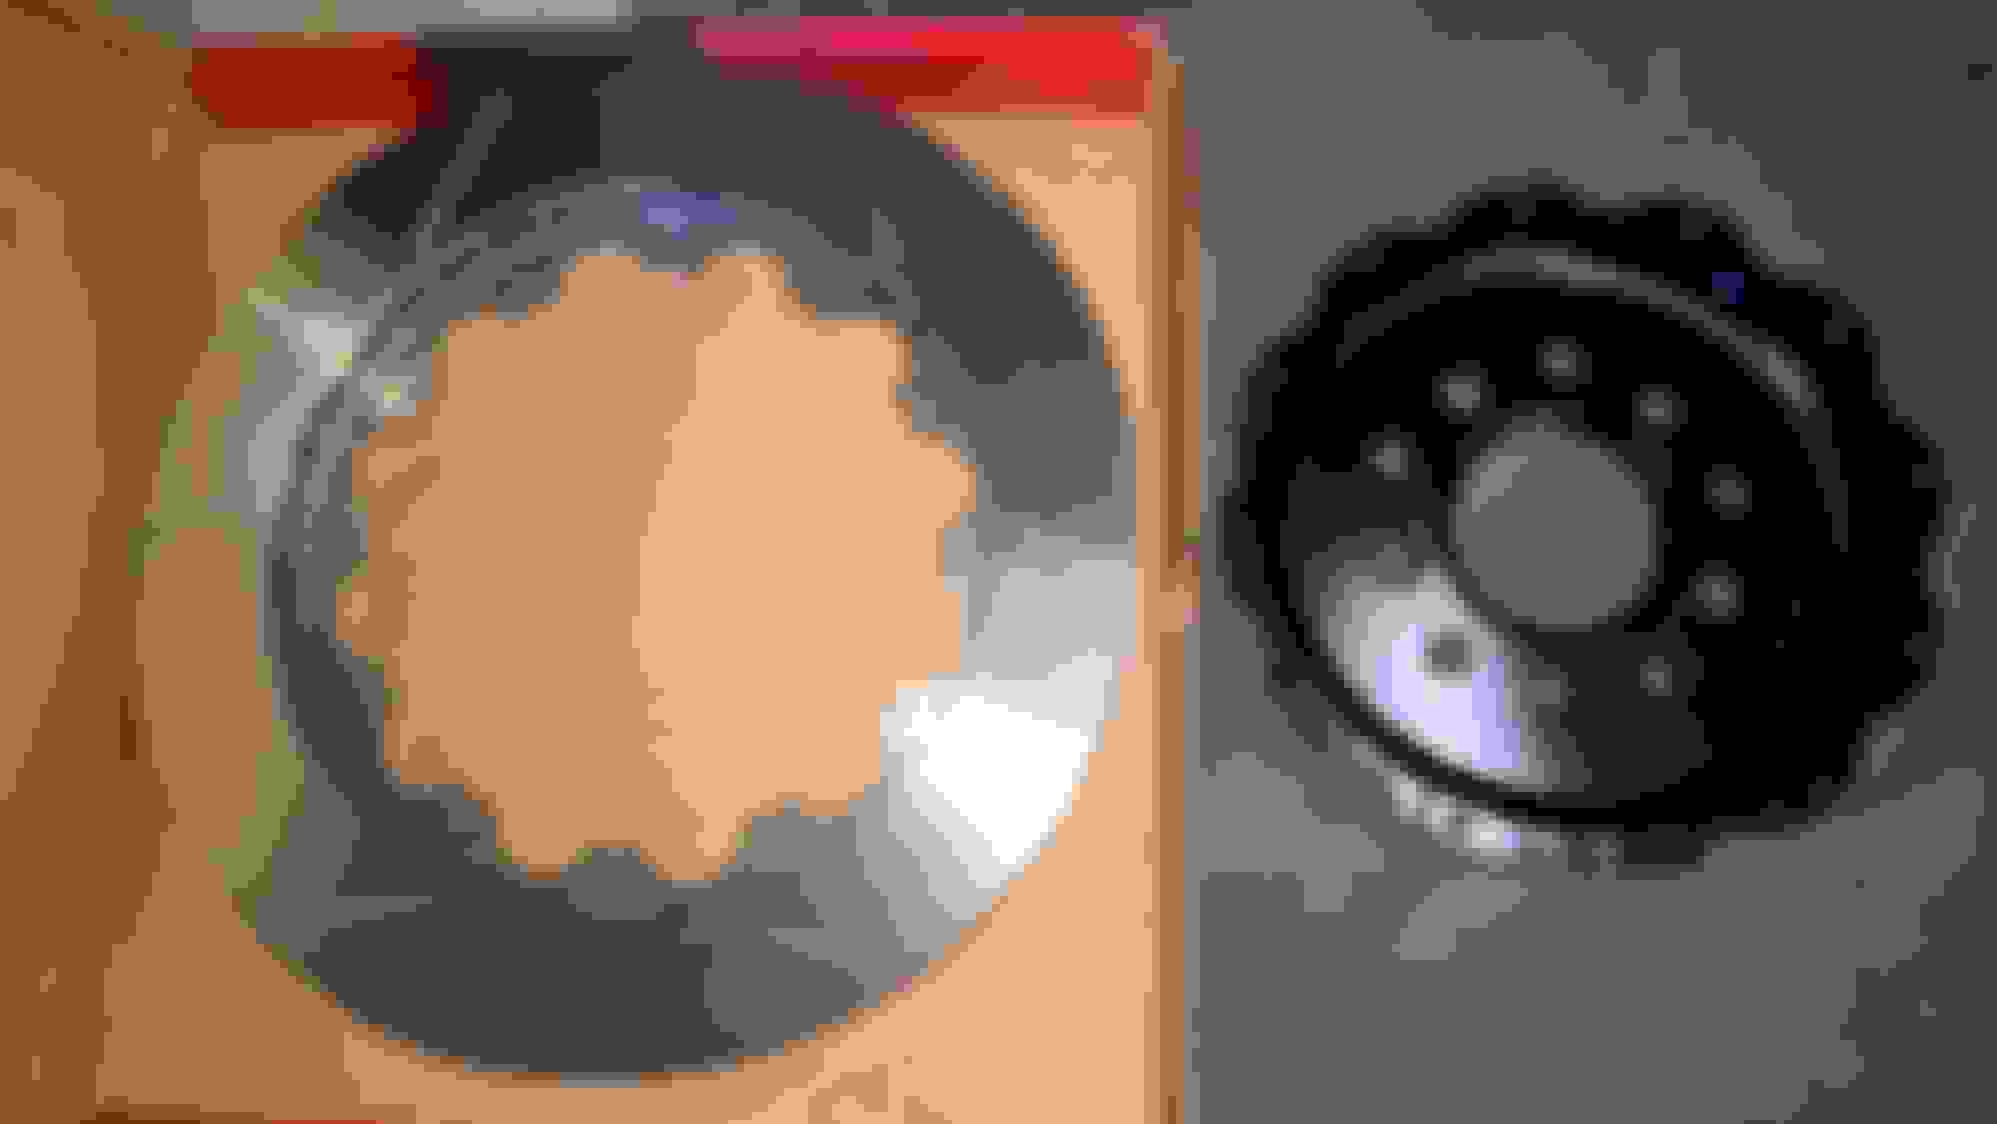
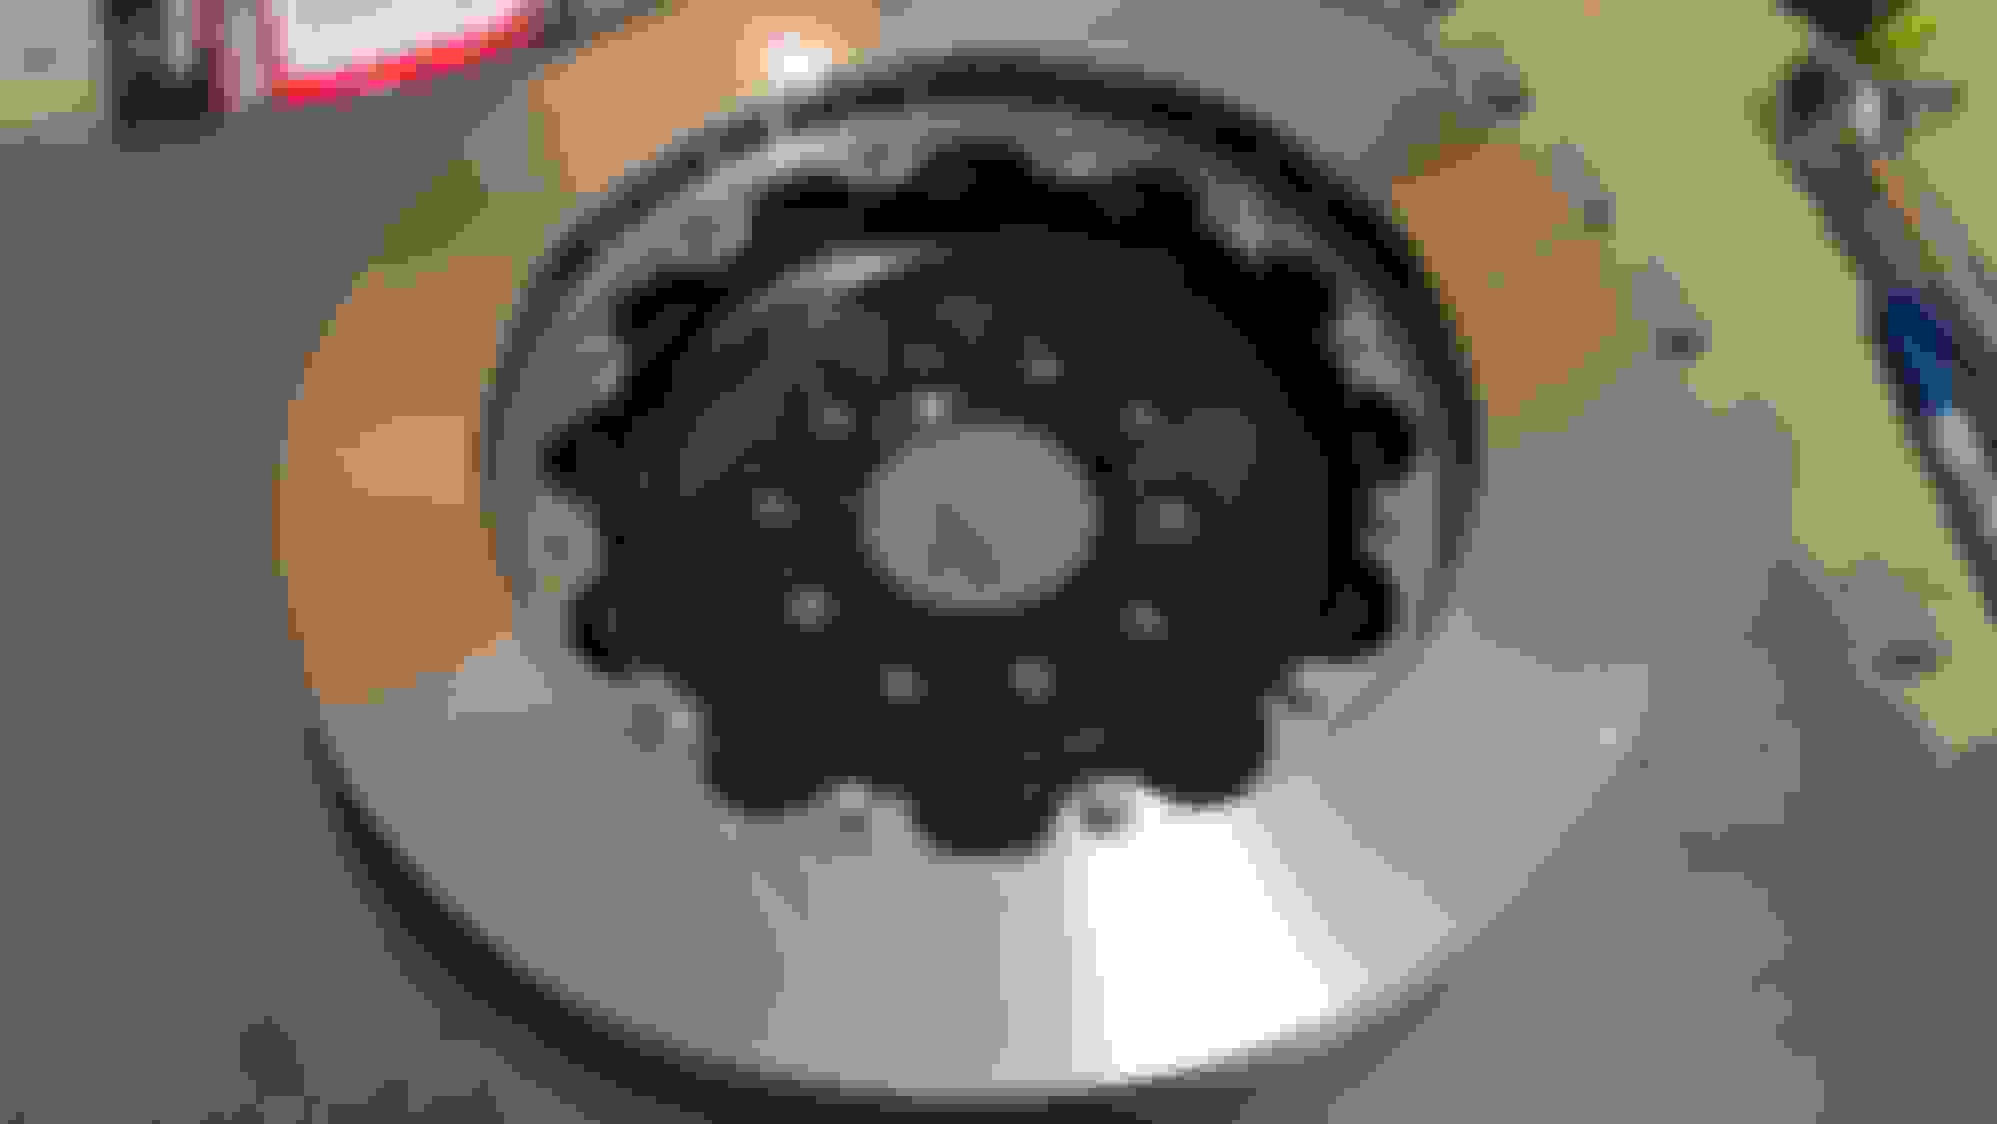
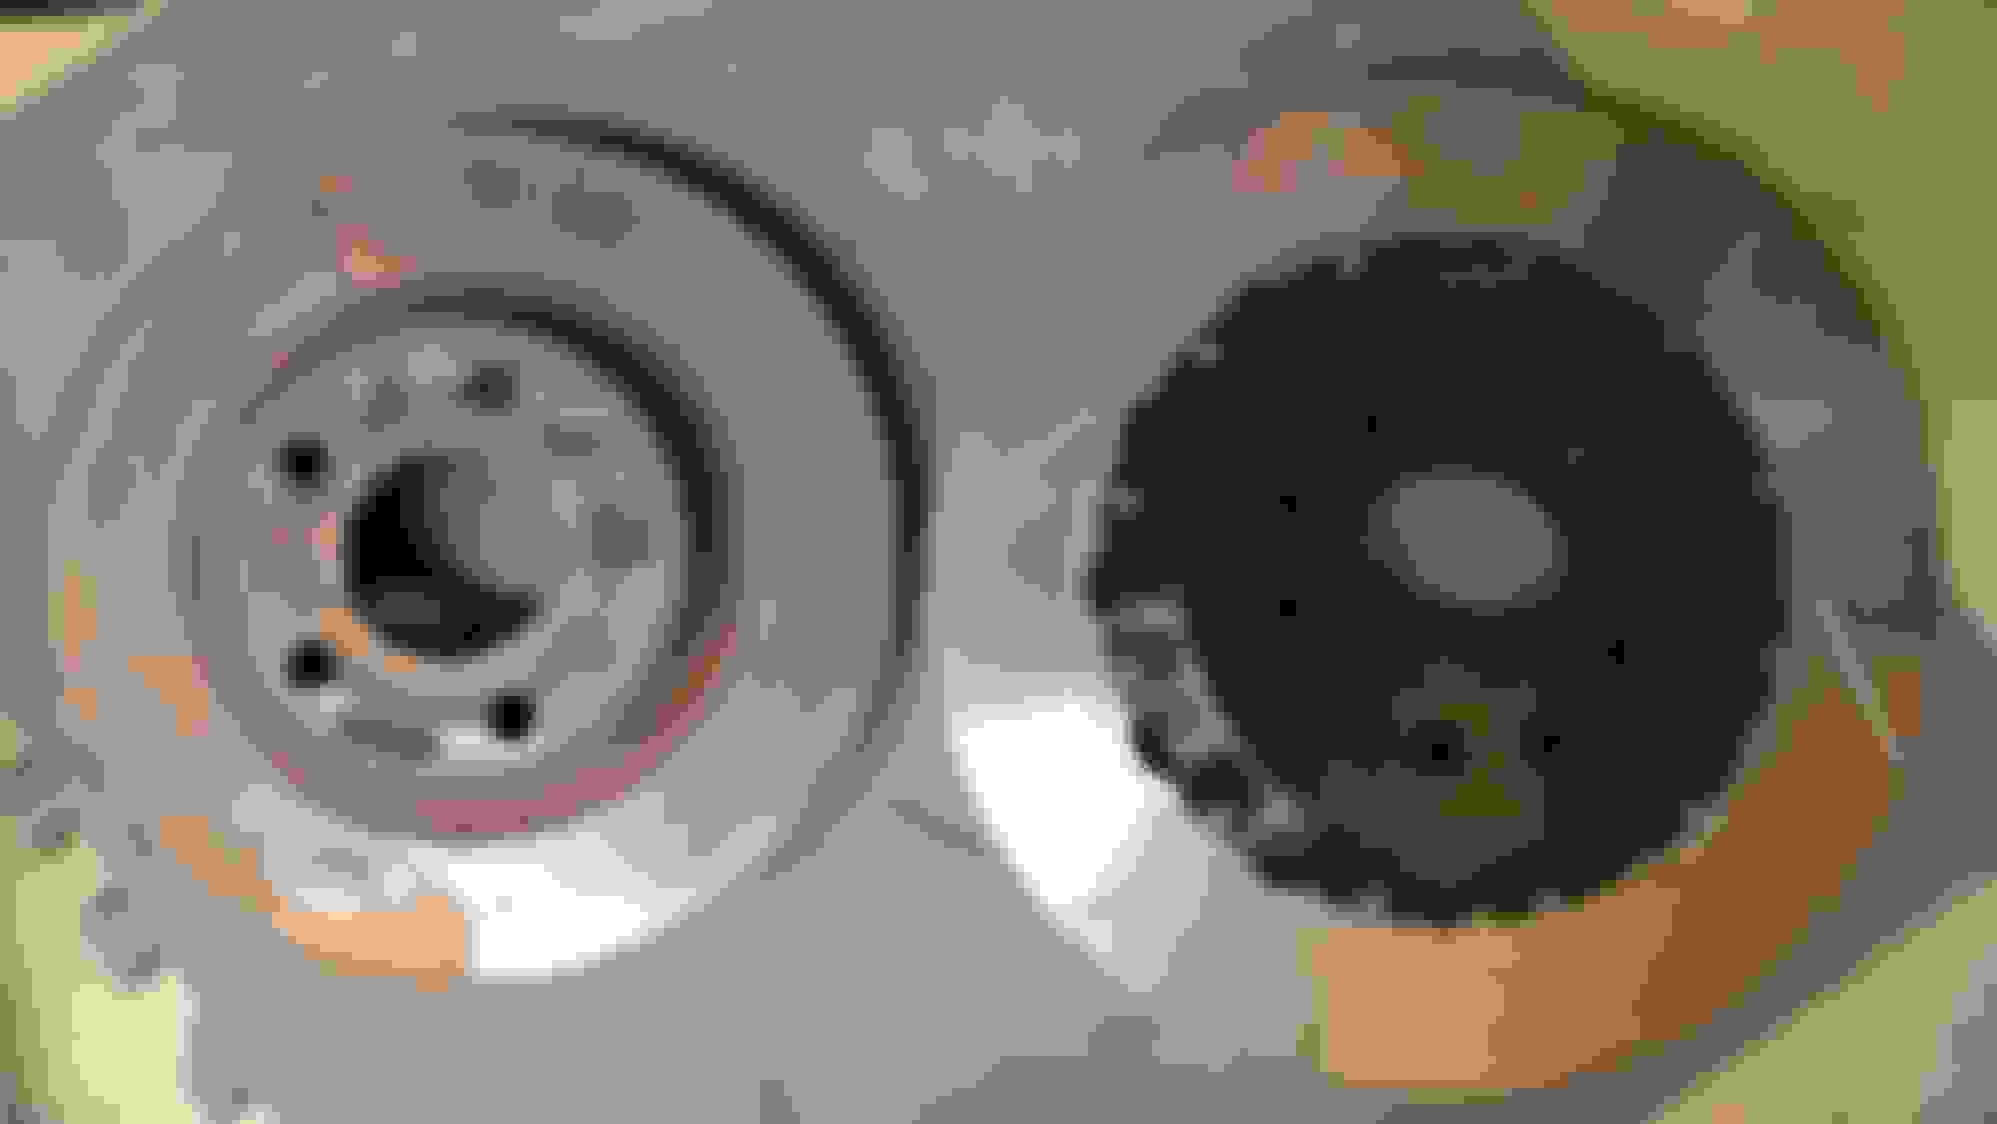
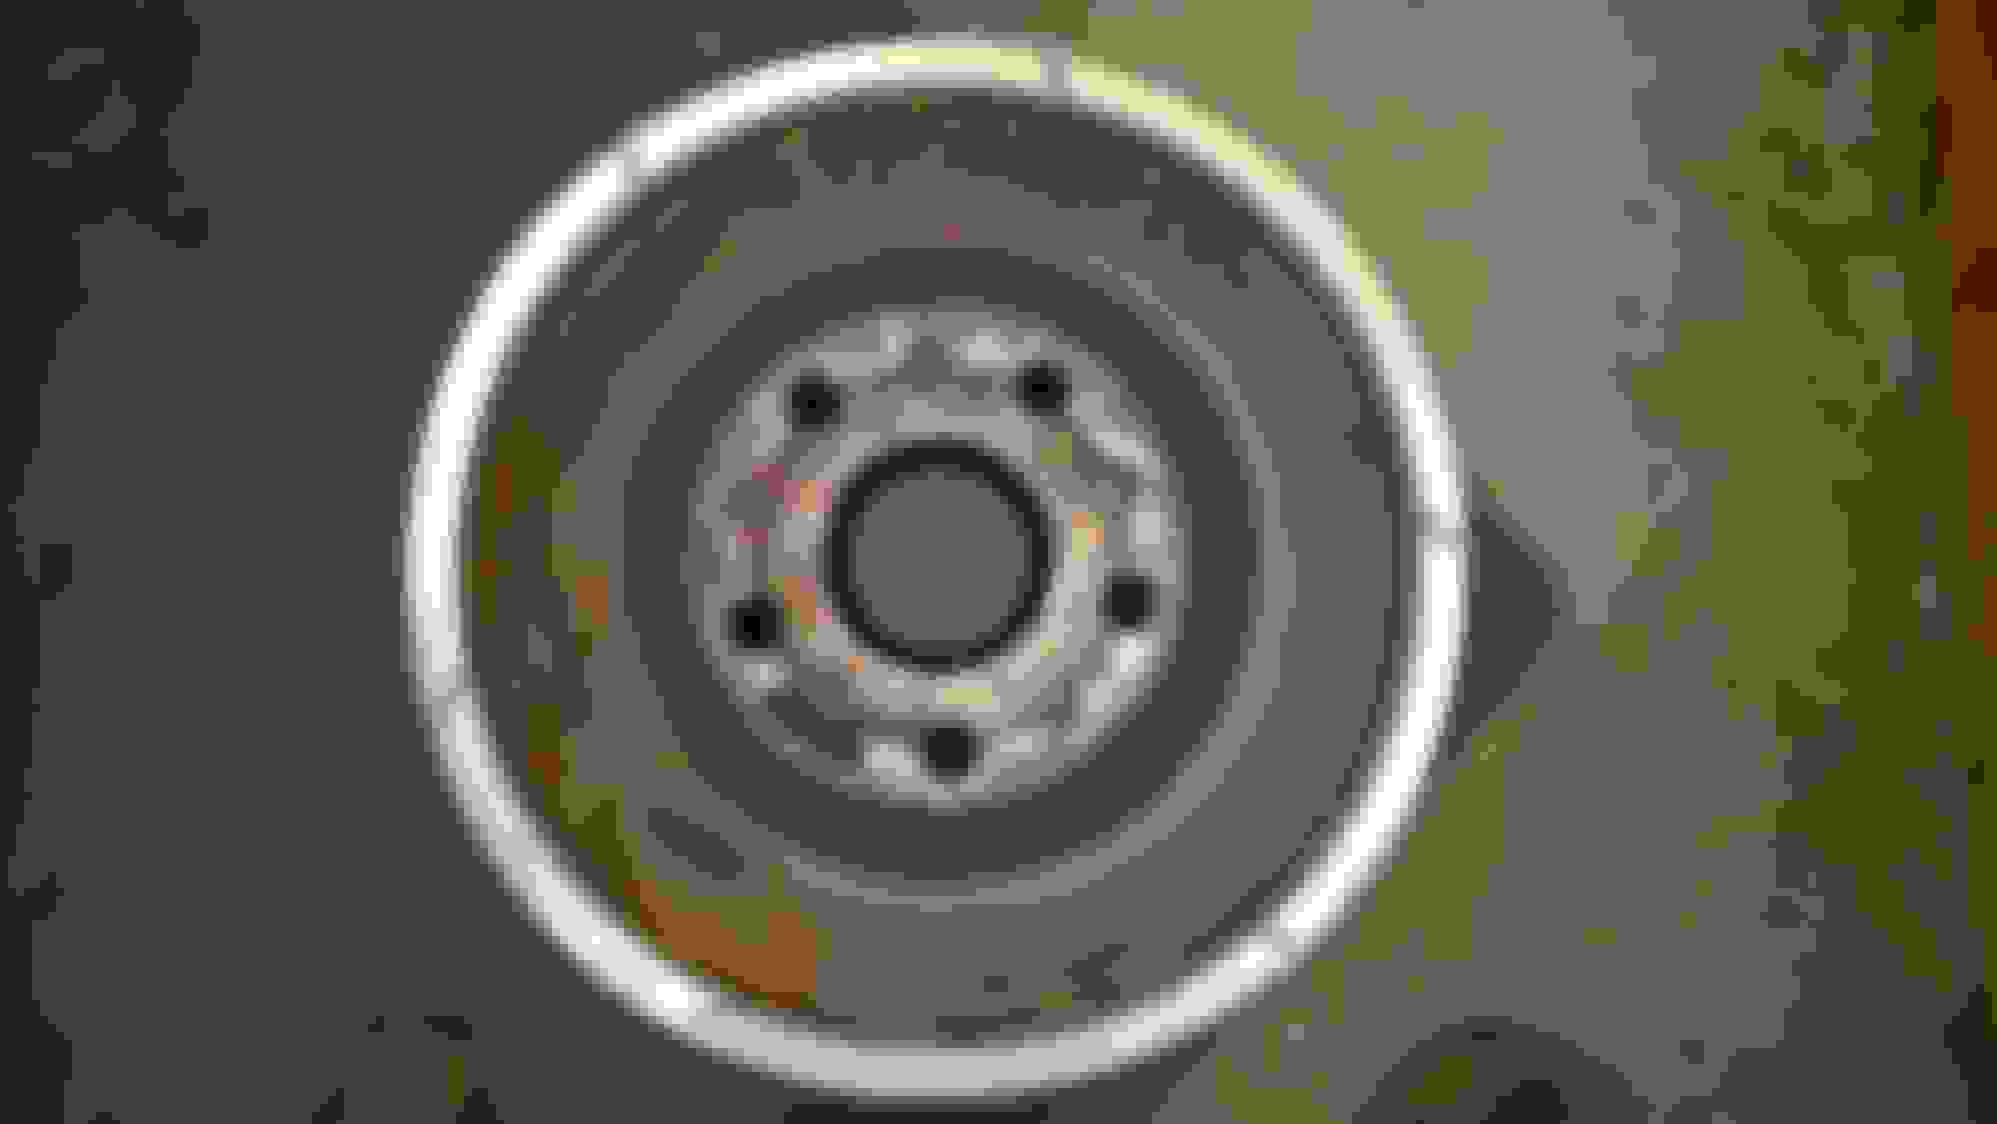
-Wilwood 6 piston big brake kit with 14", 2-piece rotors (I was going to do the 4-piston cheap CTS-V/Vette Brembo upgrade, but they will not fit behind my wheels)
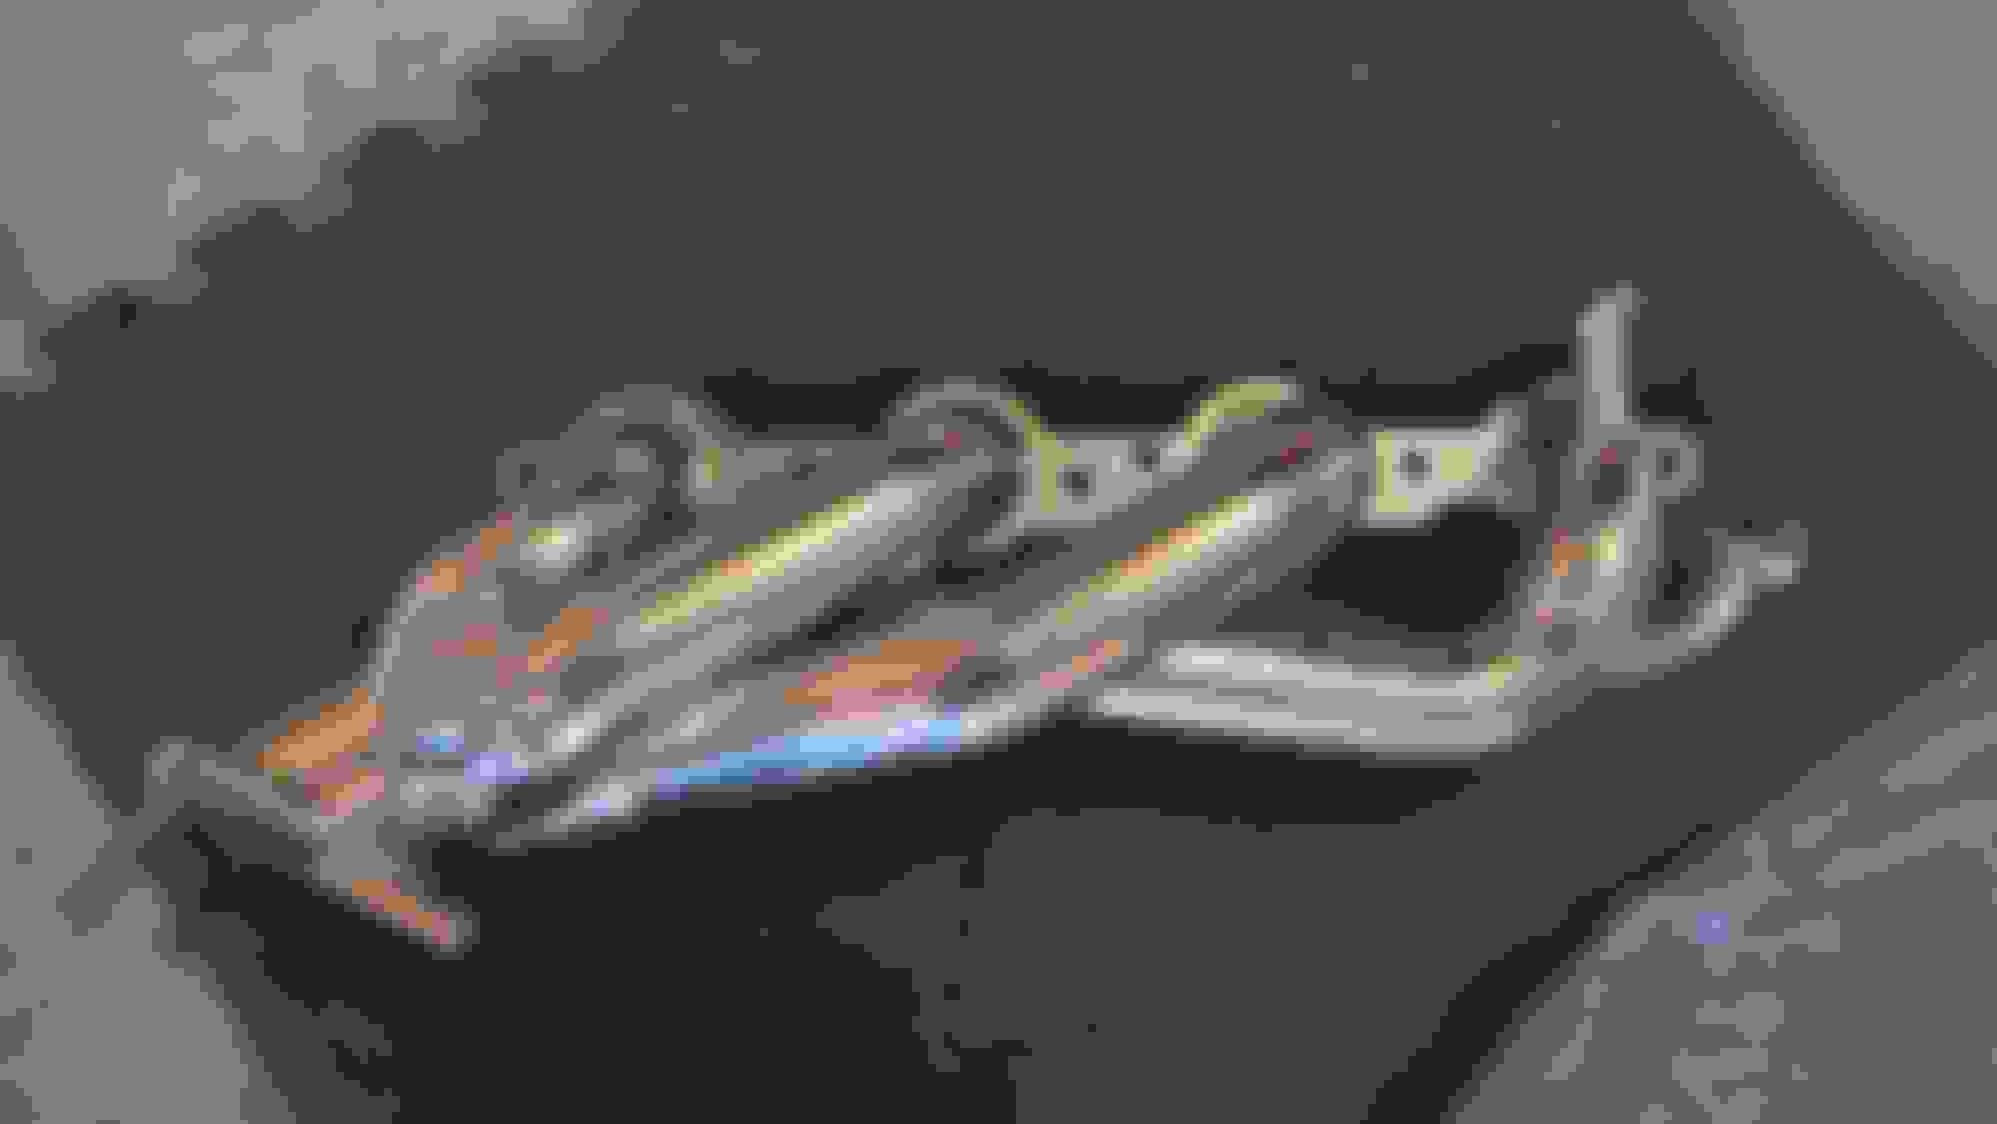
-Got my BBK header welded up and re-ceramic coated
-Header, coil packs, wires installed on passenger side too now
-Dipstick installed
-New radiator overflow hose
-Breather tube to passenger head routed
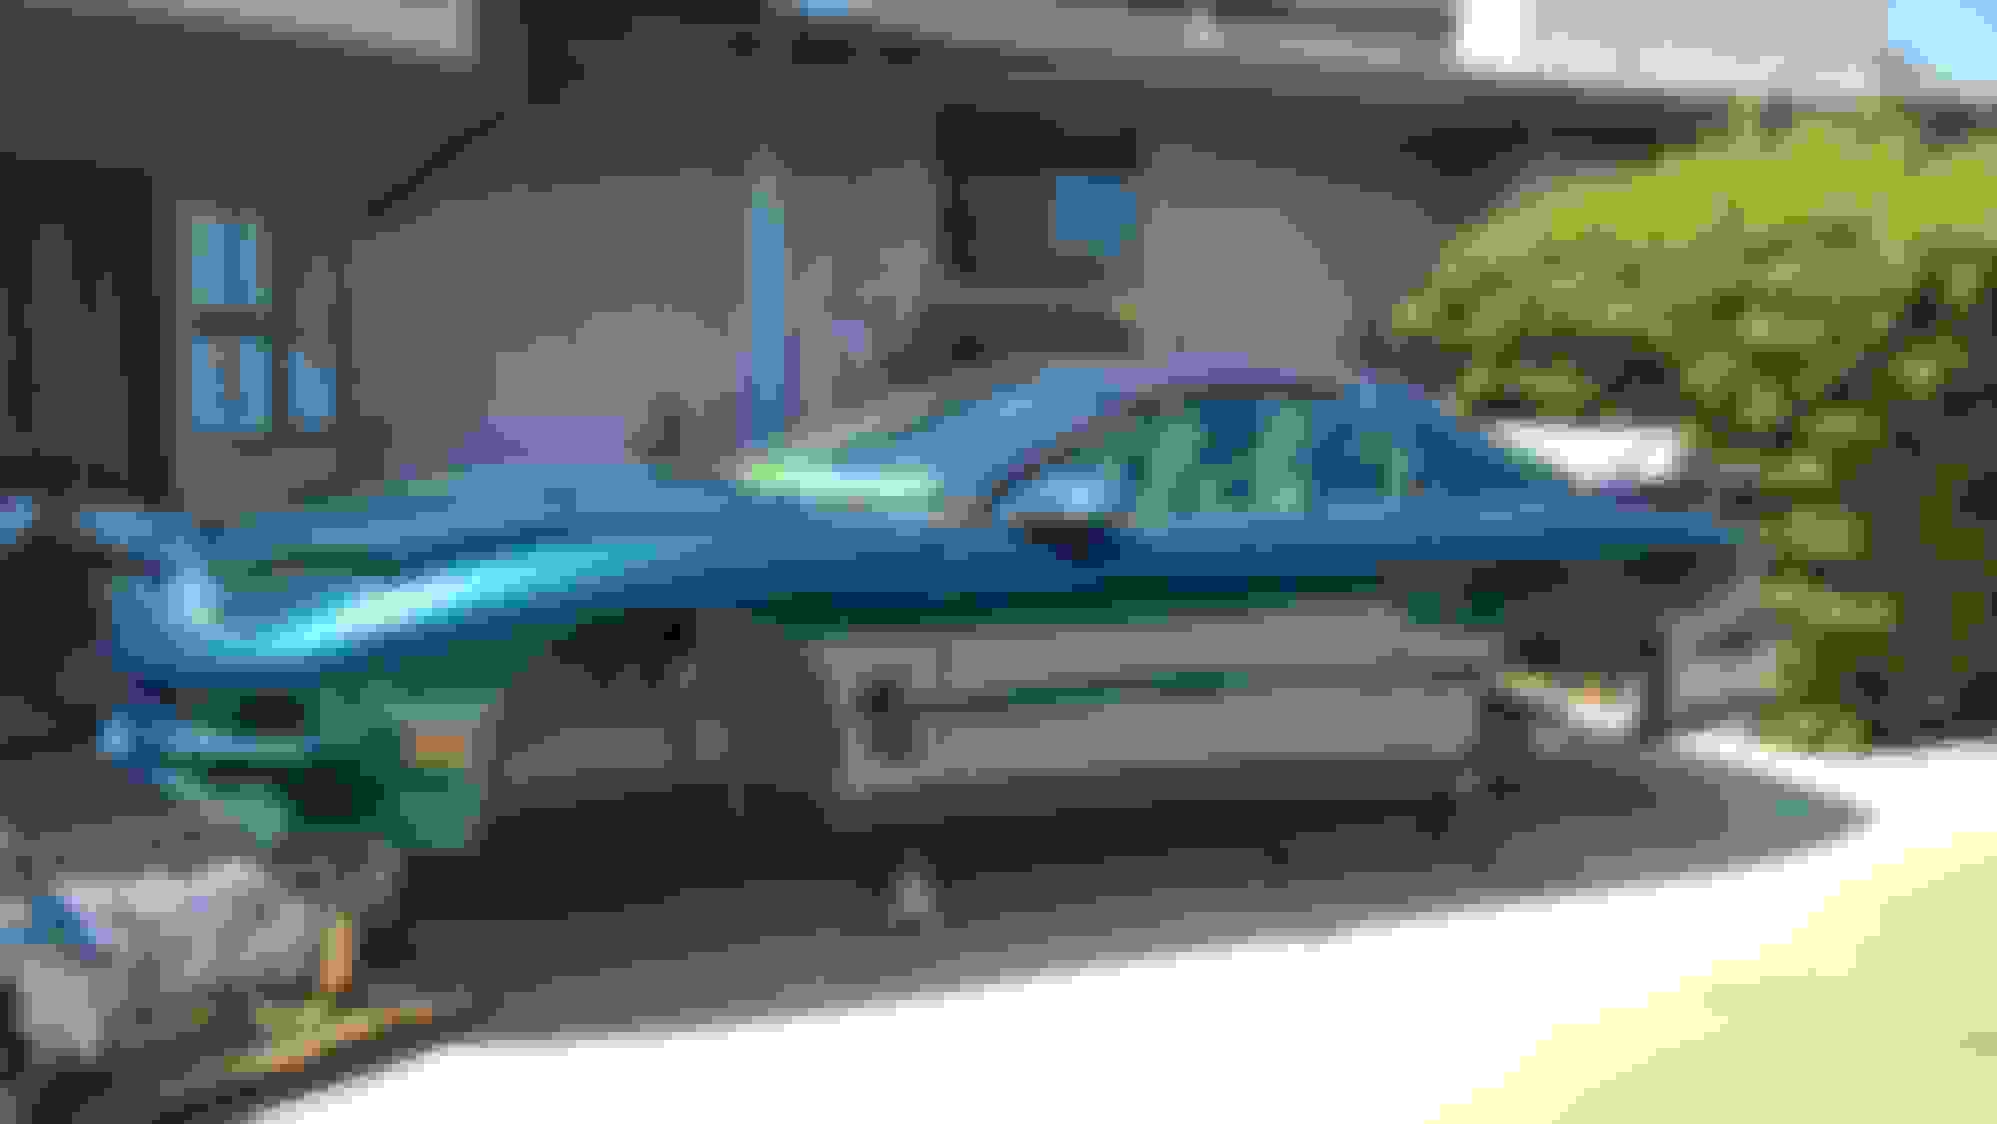
-I pulled a newer 2002 gas tank at the junk yard only to find that the fuel was drained out by drilling a hole in it, so I had to leave the tank. I pulled everything I could off of it though. Not pictured, I also got some manual pedals for the swap.
-New upper A-arm suspension brackets, spring perches, and those plate things that sit inside the spring perches
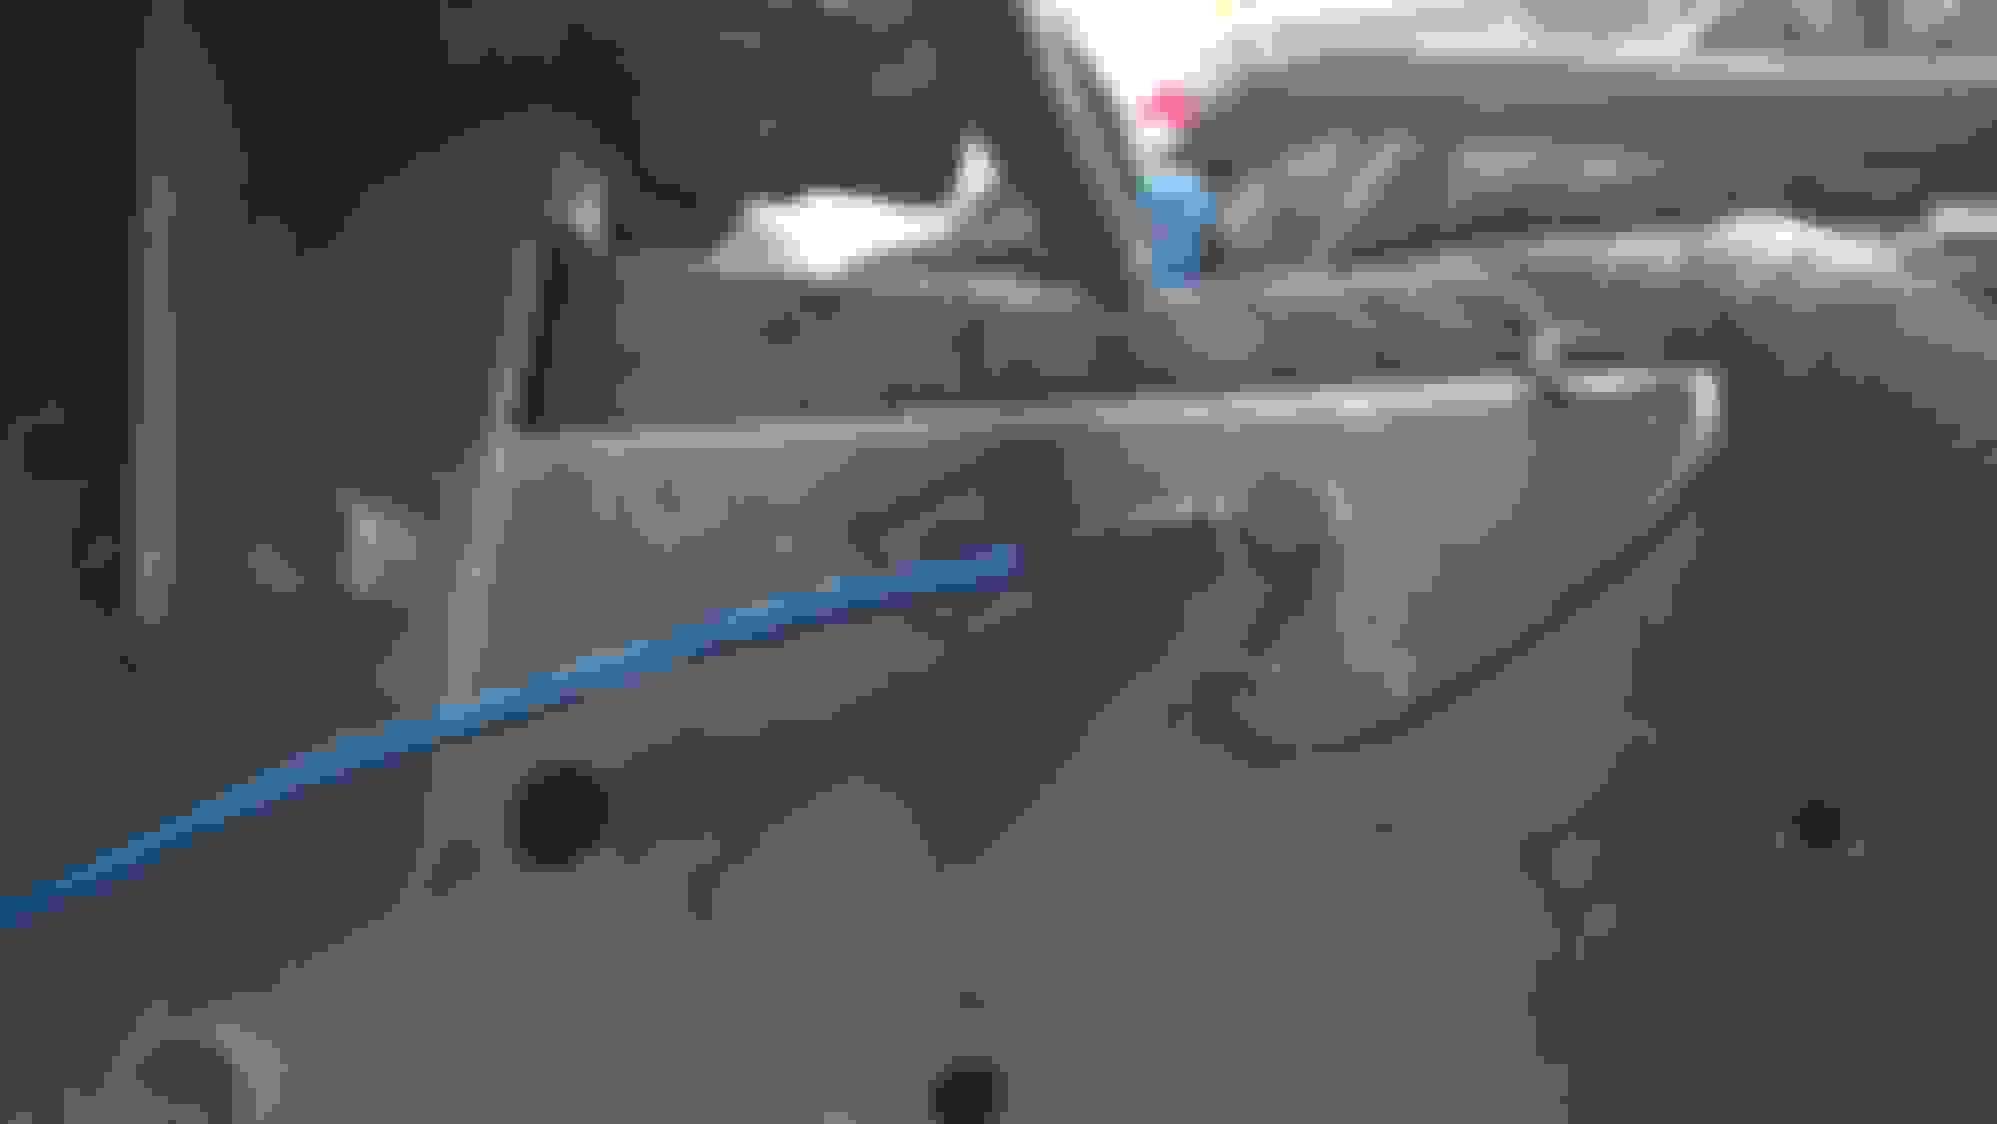
-Prep to stop rust under shock towers. Clean, scrape, wire brush, rust converter to change iron oxide to iron phosphate, paint coming soon...
Interesting note on the Wilwood brakes. I weighed them on an old bathroom scale, and the larger rotors are only about a half pound heavier than the stock ones.
Better still, the giant calipers are actually 2.5 lbs lighter than the stock ones when the brackets are factored in. So some gain in rotational mass and inertia (due to the mass concentration away from center), but a net loss of 2 lbs. unsprung mass at each front wheel. I was certain that this kit would add a lot of weight, so that is a nice surprise.
In this update:
-Repair of the rusty underside of the shock towers is completed
-My first attempt at rear urethane bump-stops (originally meant for a Jeep). They were too stiff, so I drilled holes in them. Still too stiff, so I drilled more holes. They worked well after that, but as you can see, they were slowly getting torn apart. Luckily these are less than $20/pair.
-New urethane bump stops customized with a window instead of perforation holes
-Used fuel tank cleaned up and matched with parts I pulled from the first junkyard tank
-Racetronix fuel pump was NOT compatible with GM's own ACDelco MU1730 fuel pump for our cars. Only the original fuel pump that came with the car will work, or...
-...Fuel pump from the WS6 Store, MU230-RPM, will work after some Dremmel work on the rubber sleeve
-Fuel pump installed in tank with fuel hoses, charcoal canister, upgraded electrical wiring, foam isolators, and filler neck
-Fuel tank installed in car
-Old charcoal canister removed
-Filler neck bracket fabricated
-Racetronix fuel pump relay and ground located (had to custom mount relay, due to 4-channel ABS blocking the suggested location)
-Racetronix dedicated power cables routed along car from engine bay
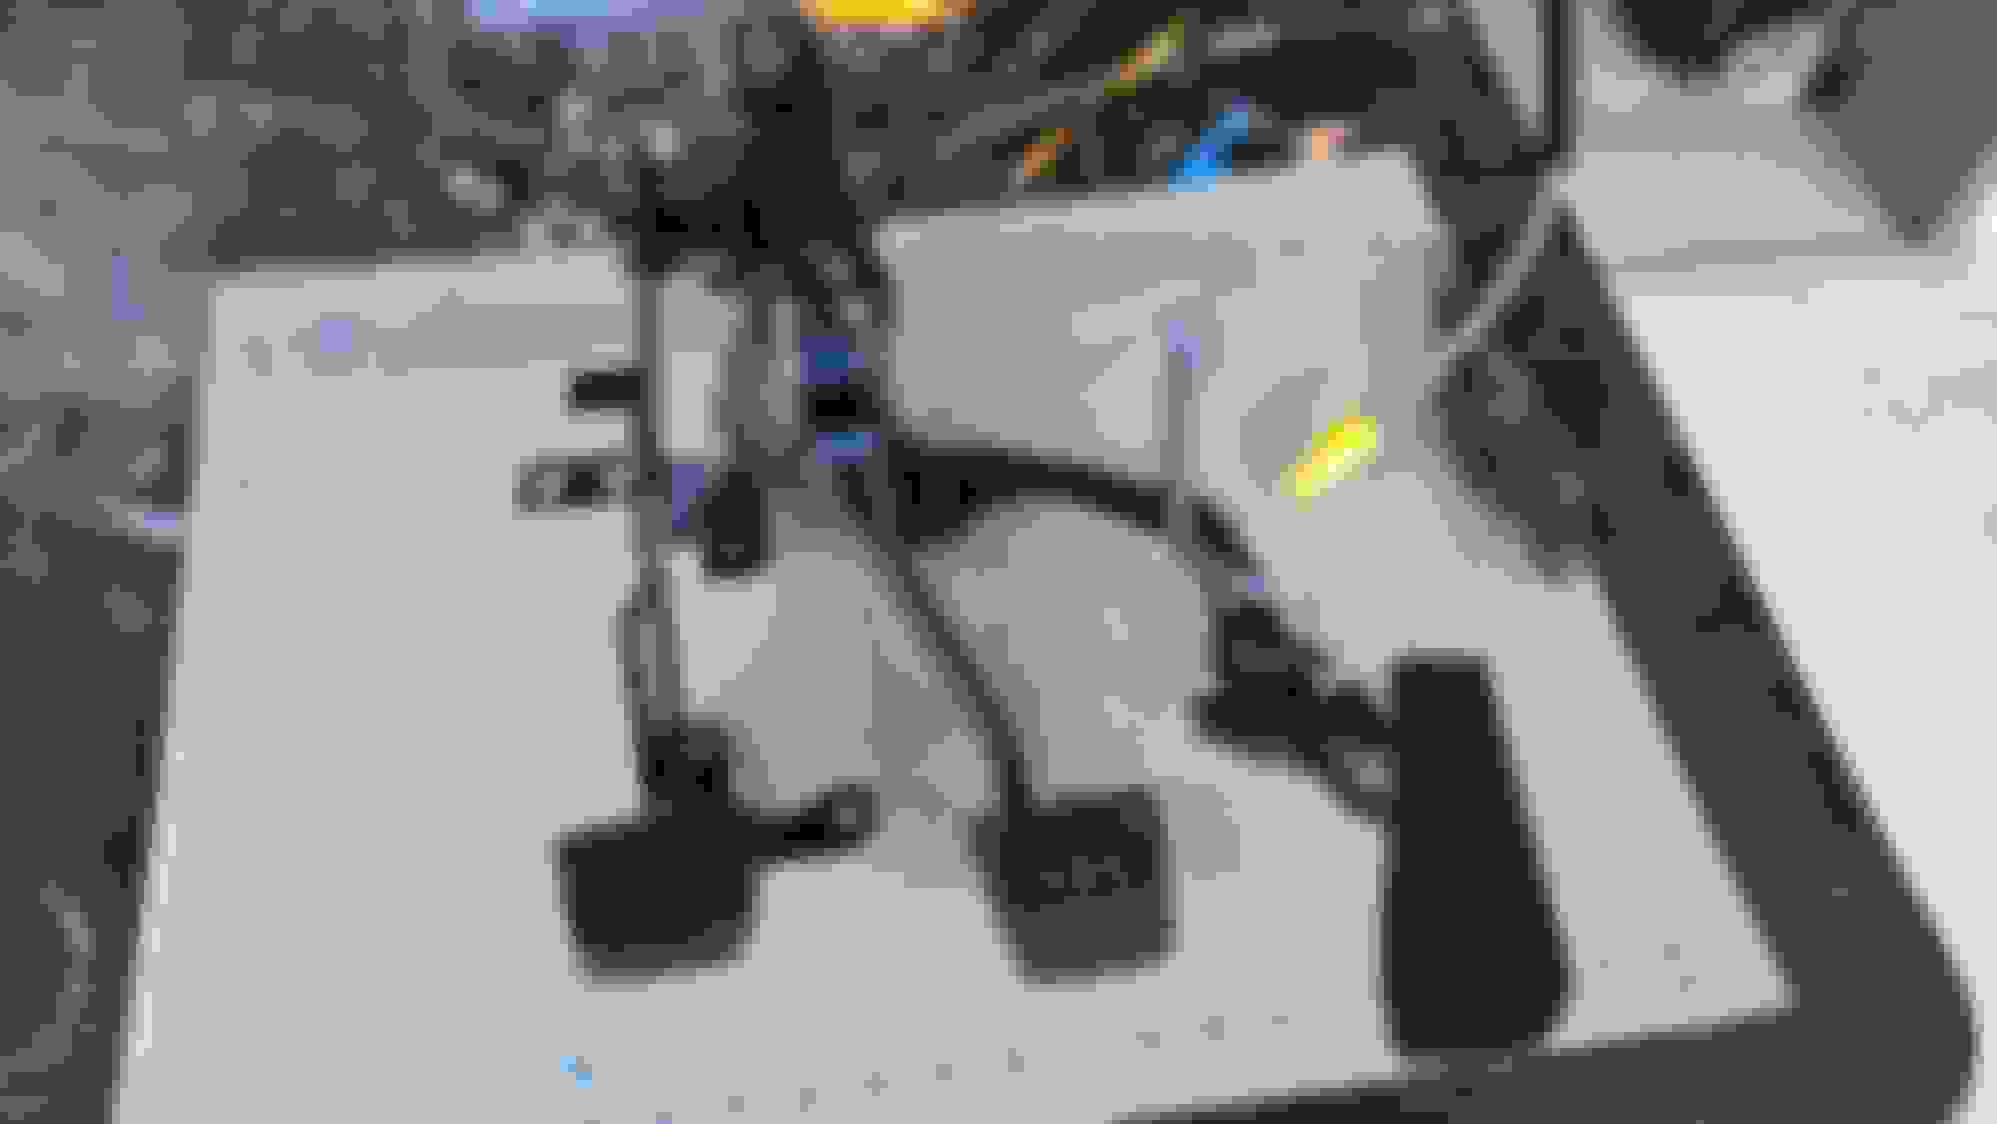
-Gas/brake/clutch pedals from junkyard car
-Pedals media blasted to remove rust (primer/paint coming soon...)
-Pedals primed and painted with high-impact gloss black
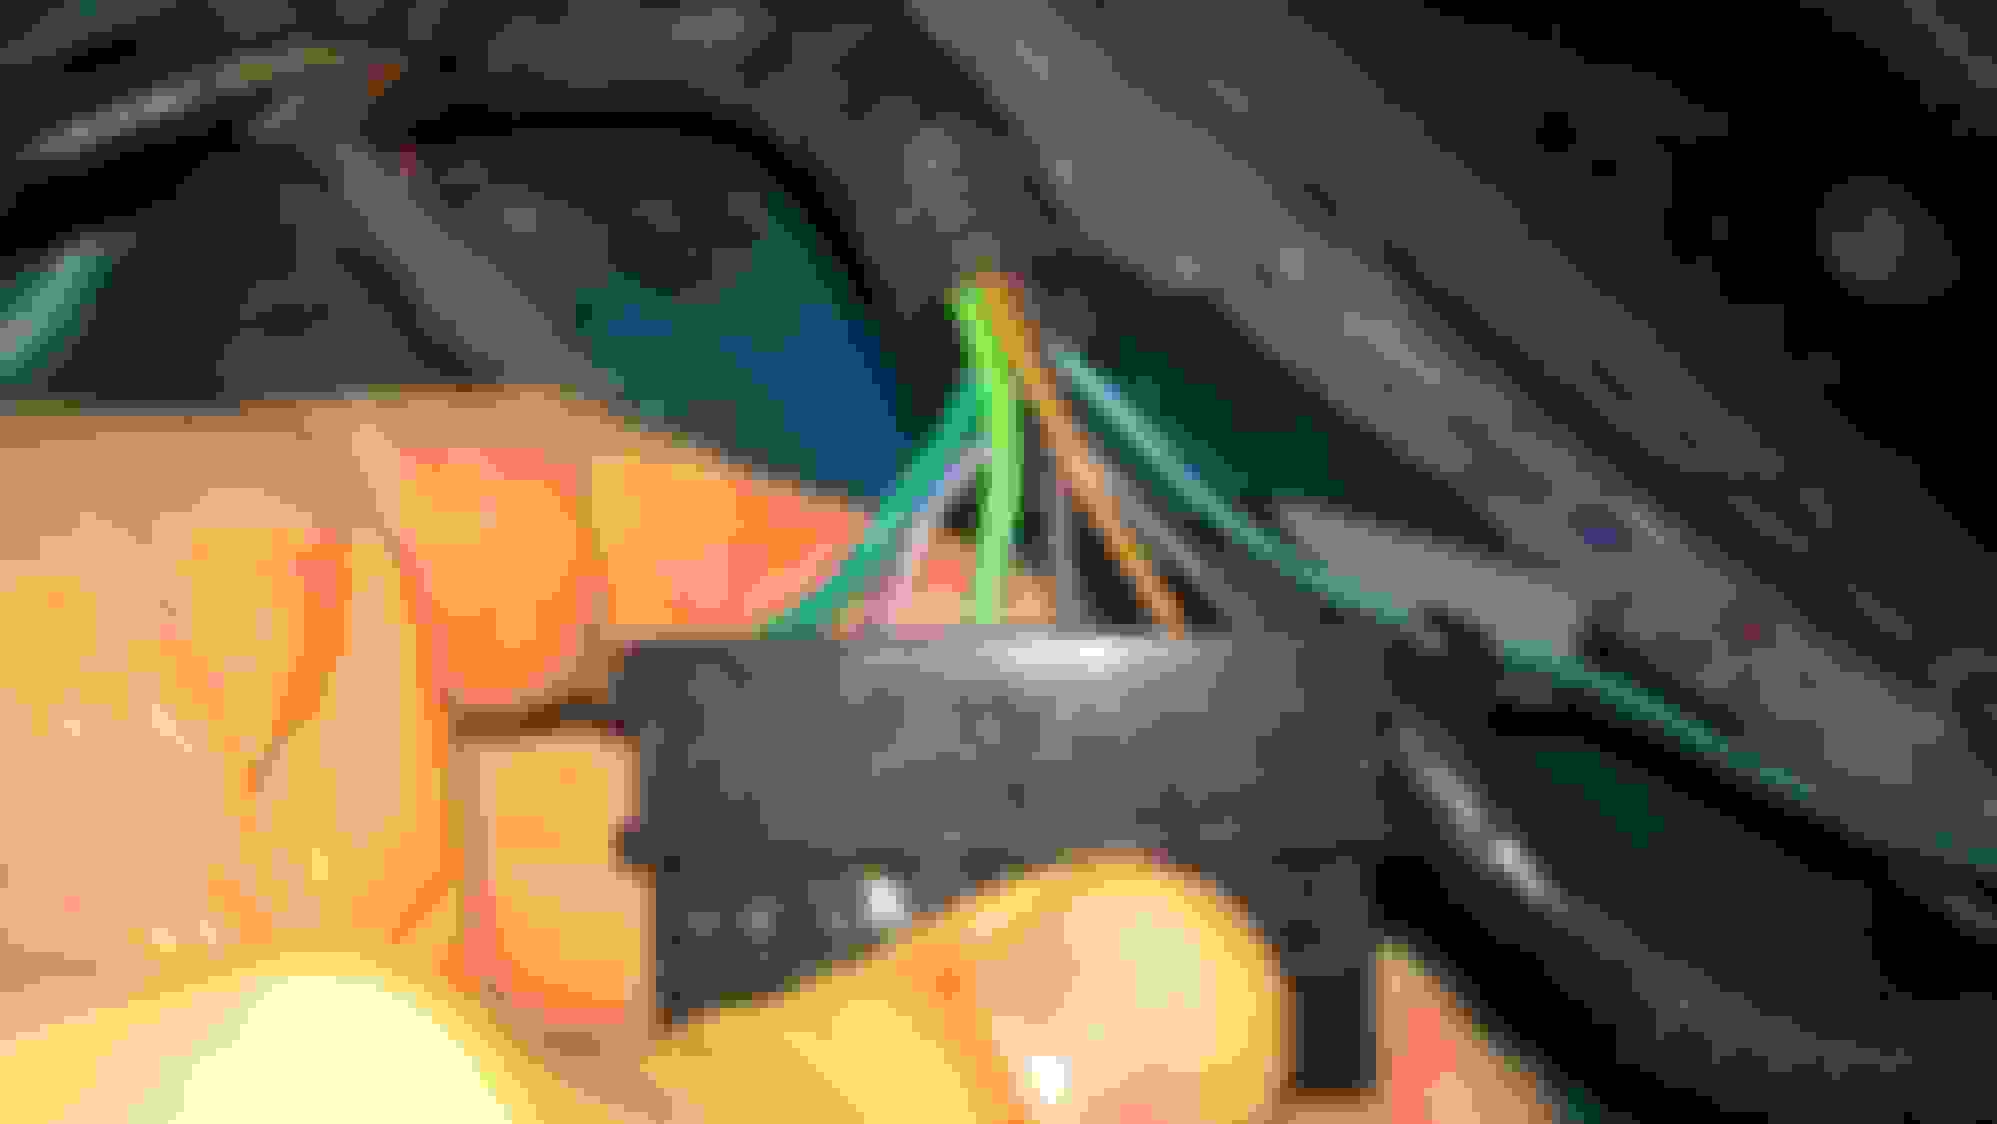
-Automatic trans console shifter connector cut off
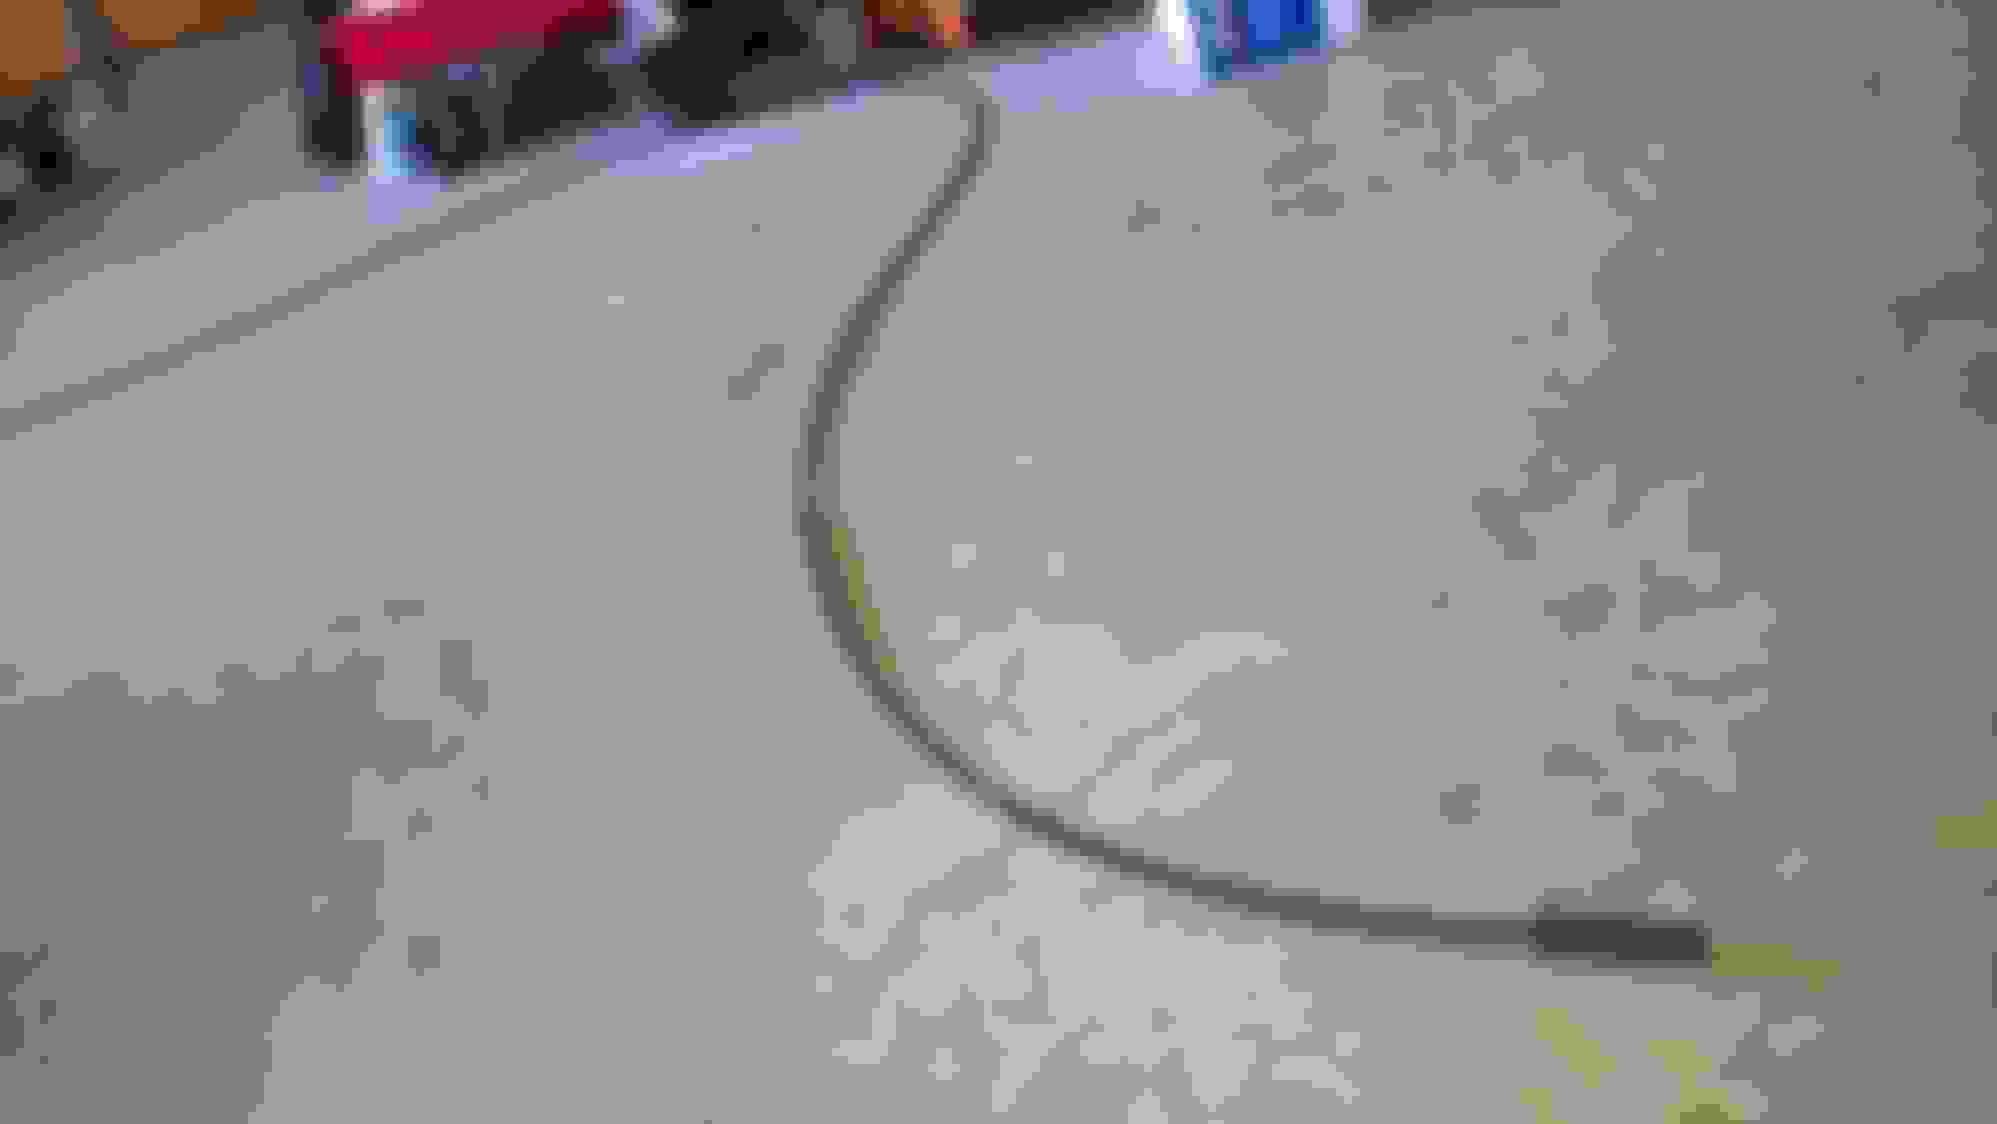
-Reverse light cable run from console through firewall, to engine harness, to transmission (brown and light green)
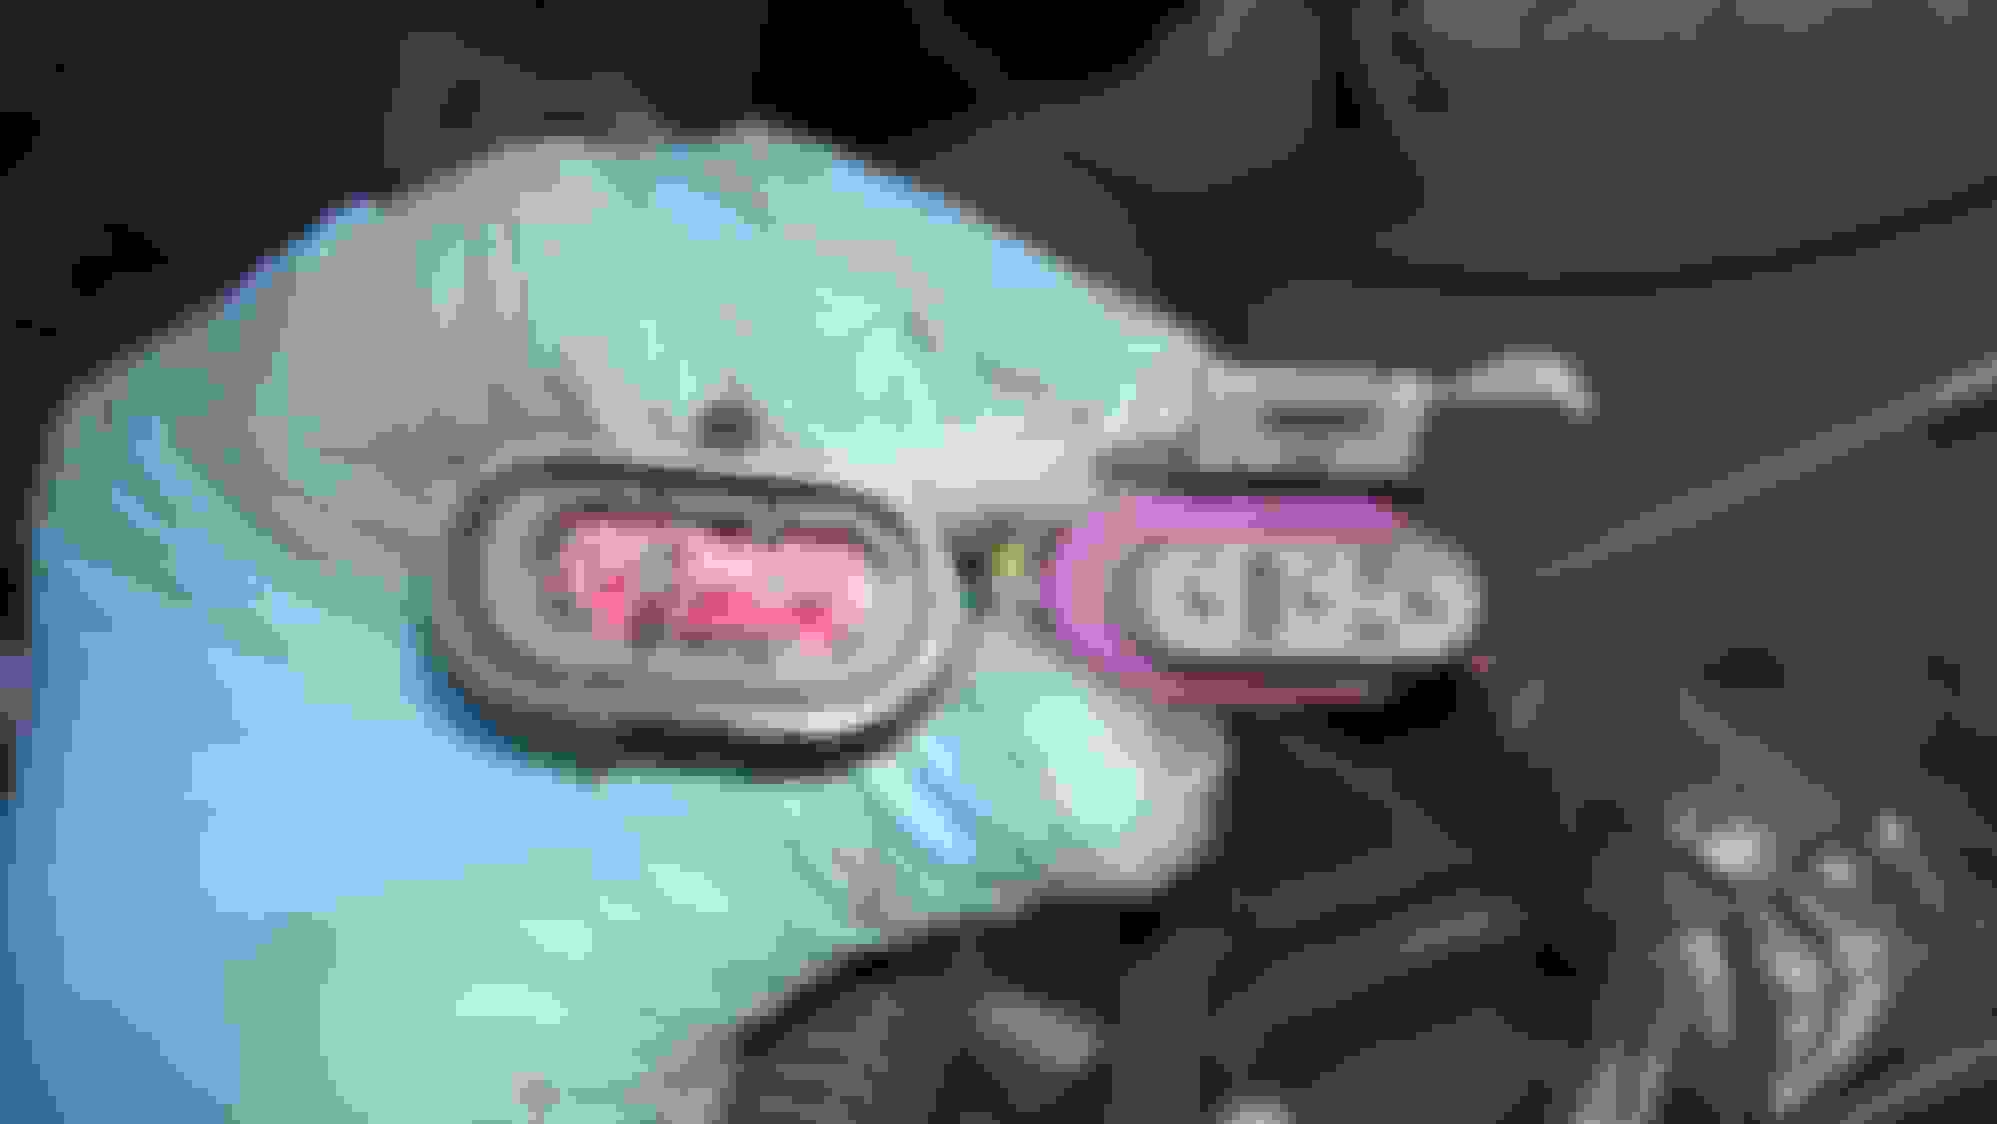
-Clutch pedal ignition safety switch wired to console connector (purple and dark green)
-Black and orange wires shorted for restored hatch release functionality
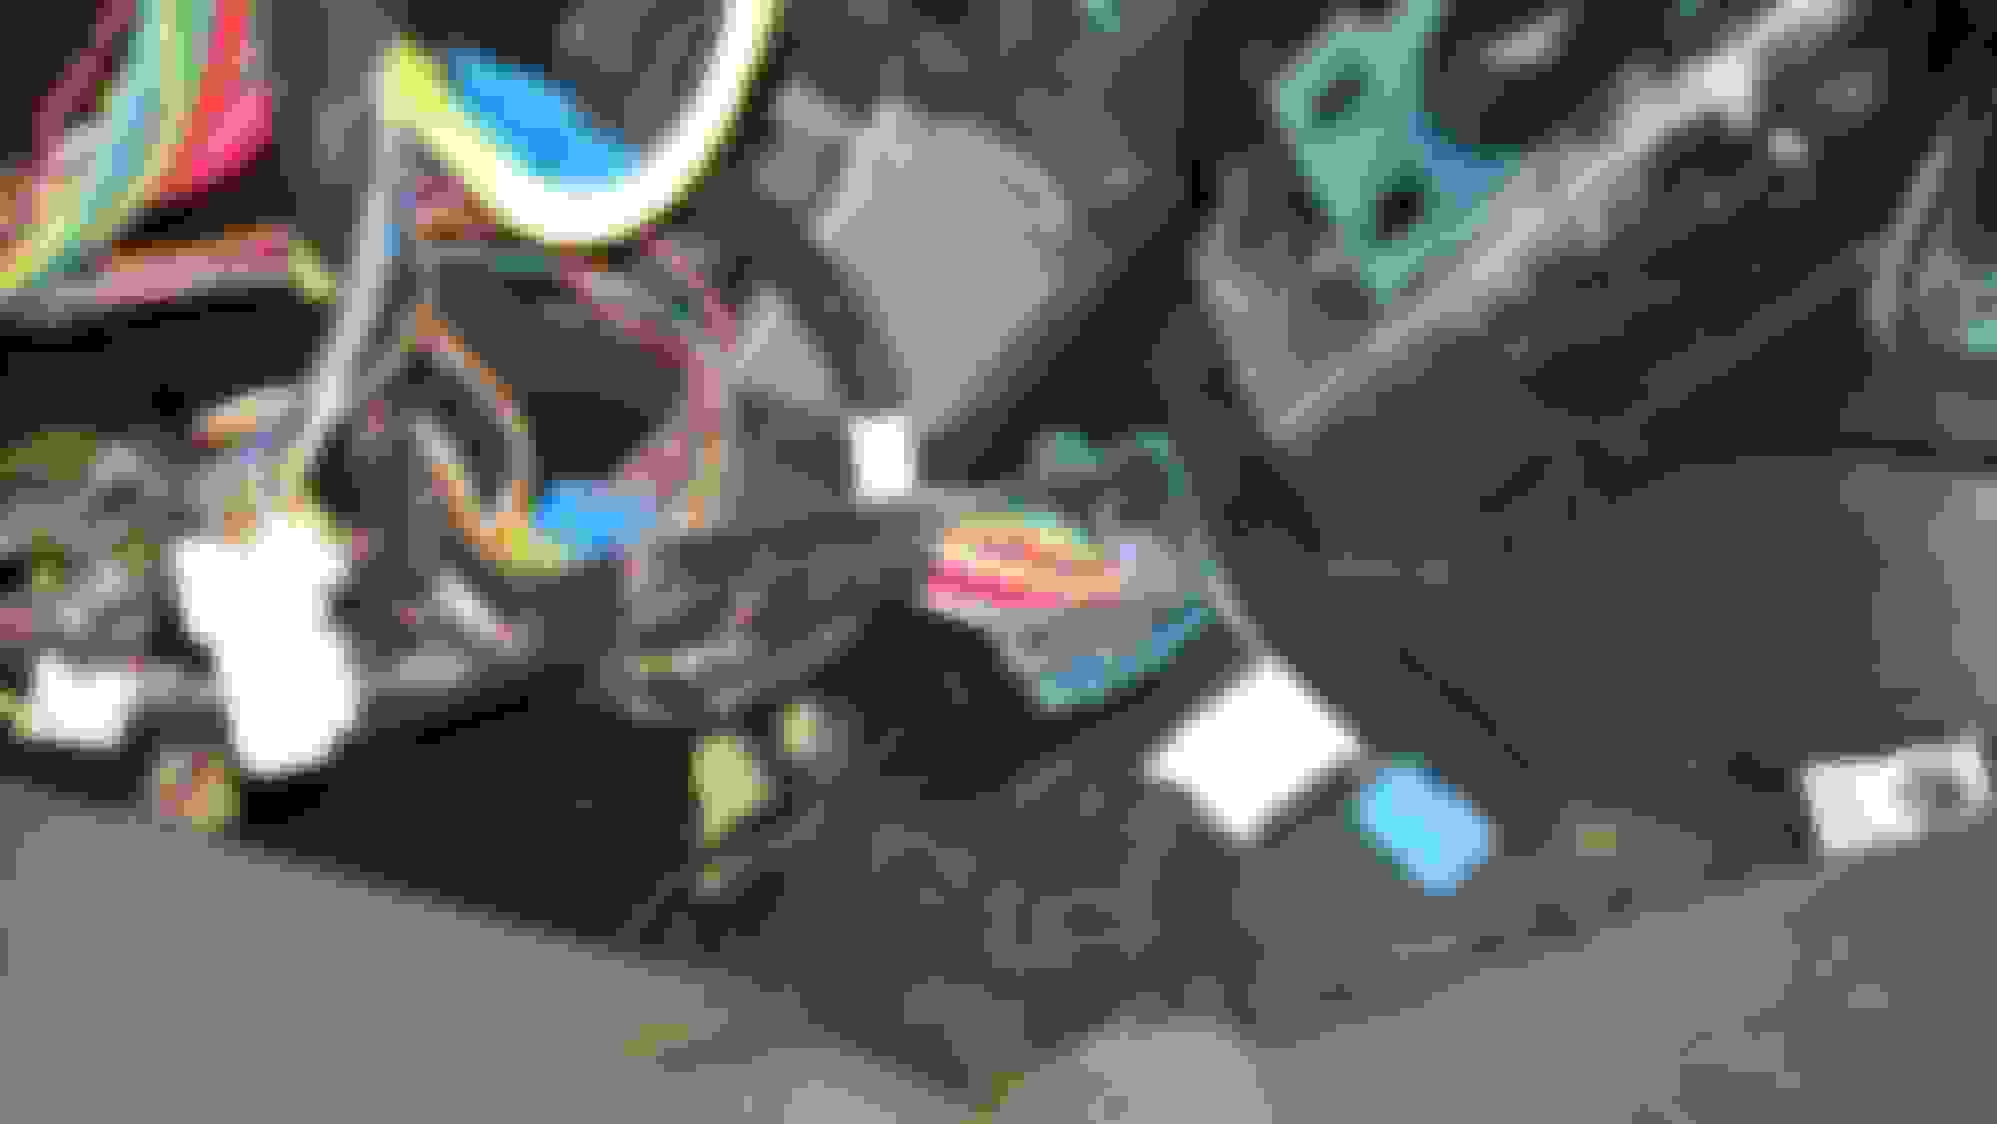
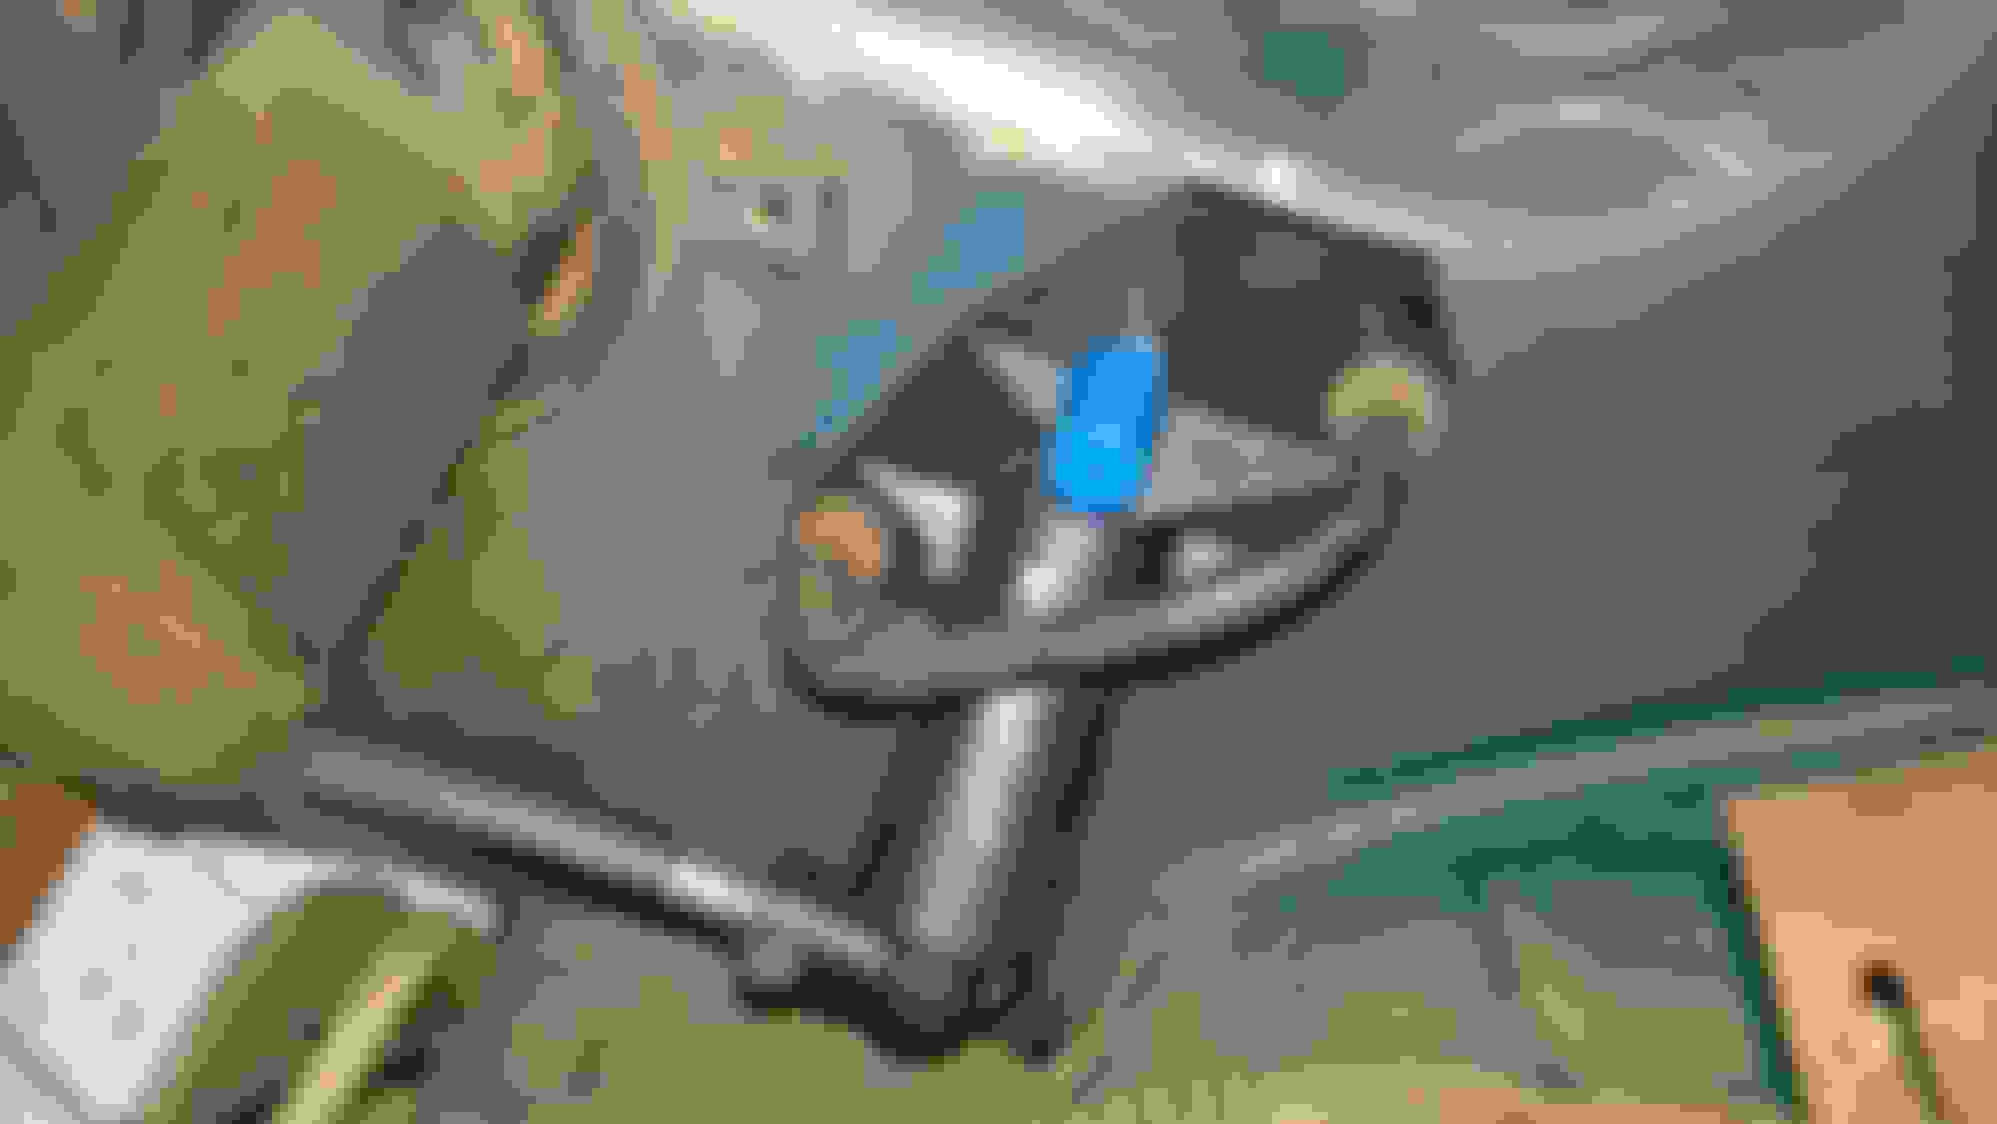
-Pedal harnesses routed: Clutch pedal ignition safety switch connector in blue. Cruise control cancel switches for clutch and brake pedals (black) and clutch anticipate to computer (white) on left side.
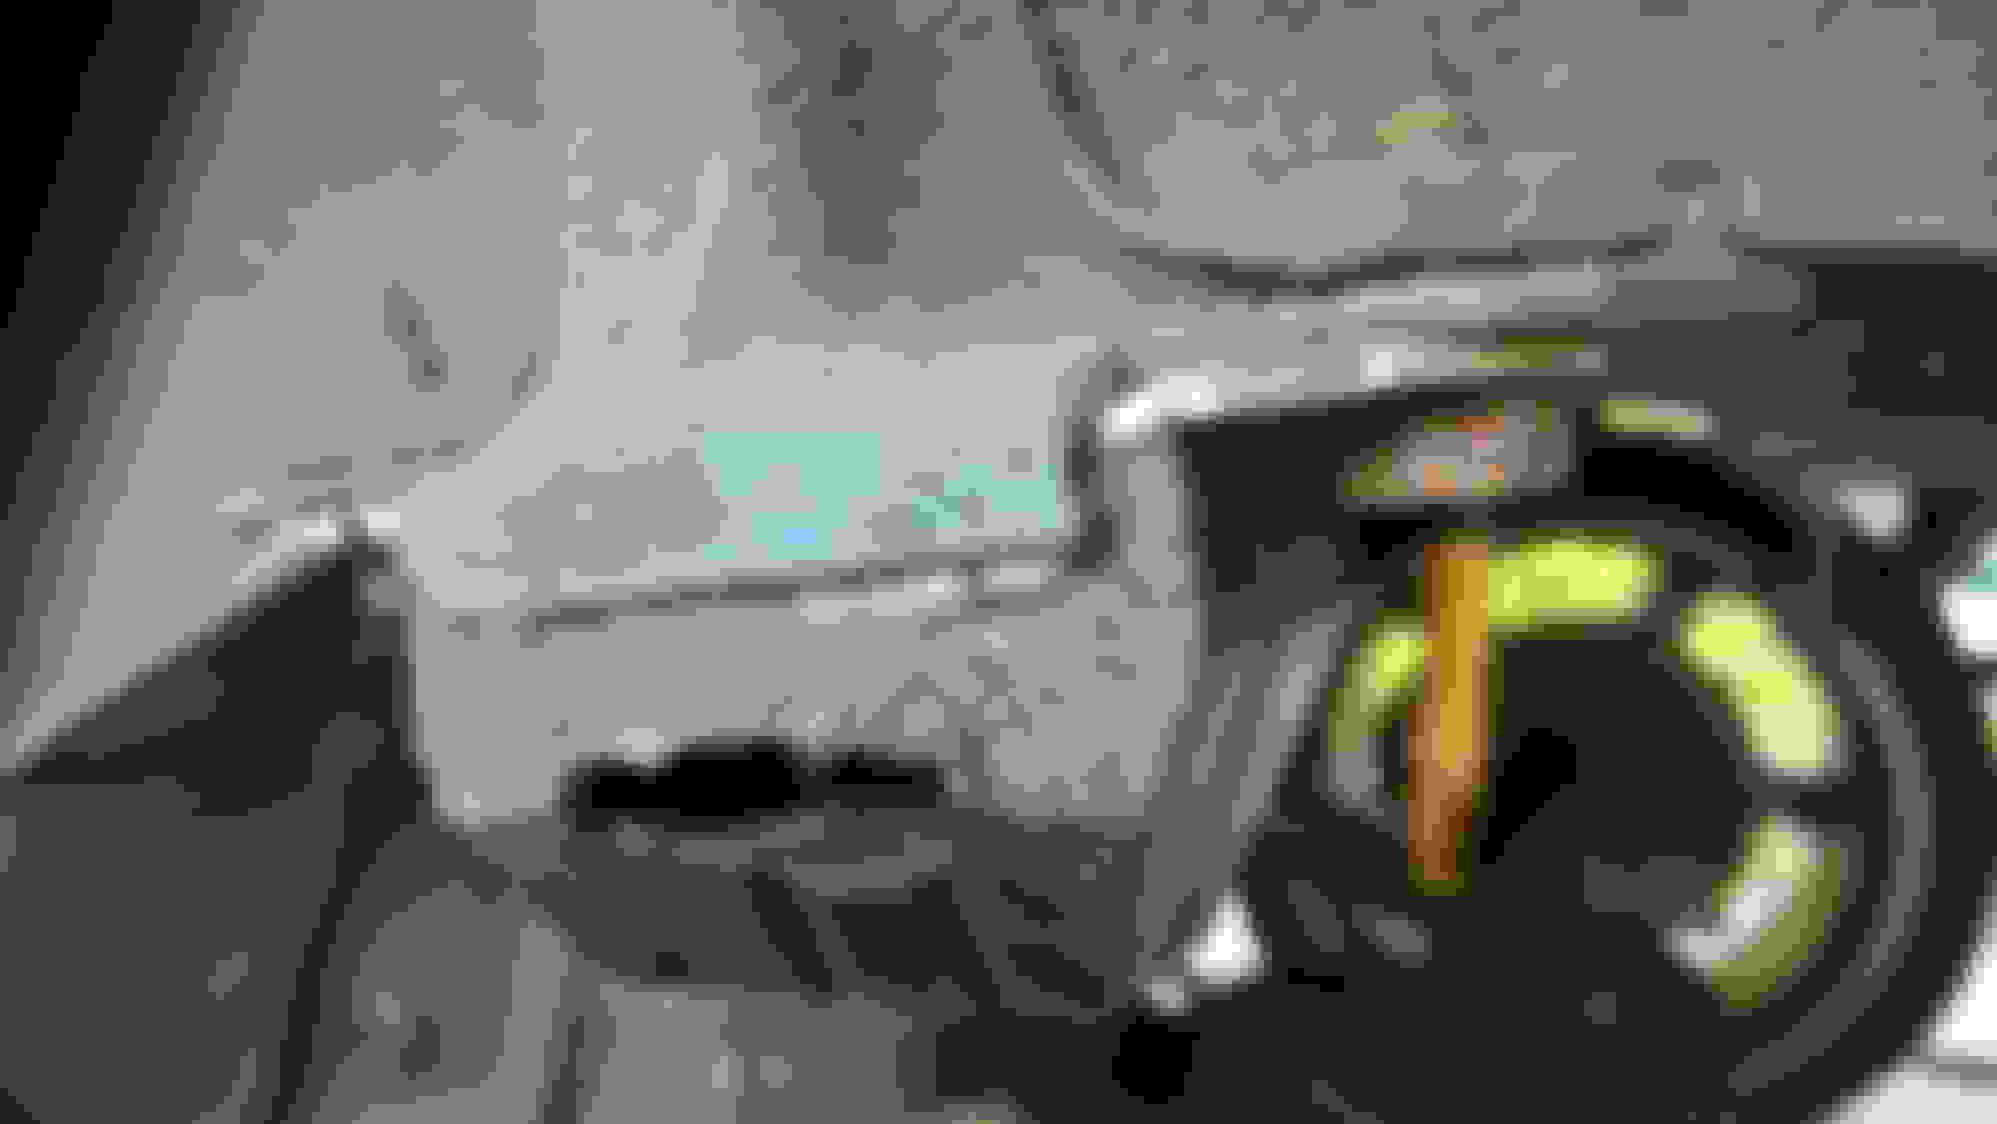
-Holes drilled in firewall for adjustable clutch master cylinder mounting
I actually got the pedals in (incluing a new brake booster), but the stupid adjustable master cylinder eyelet won't fit over the clutch pedal stud. Once I figure that last little piece out, I will get a photo of the pedals in place. I will probably add some metal pedal covers later on.
I got the pedals in with a little bit of drilling in the eyelet for the adjustable clutch MC. Now all of the electrical and mechanical linkage is connected.
-Clutch pedal MC mounted with pedal bracket
-Pedals installed
-Clutch reservoir mounted and connected
-Firewall side of clutch MC. Note that it does not hit the stud if mounted correctly.
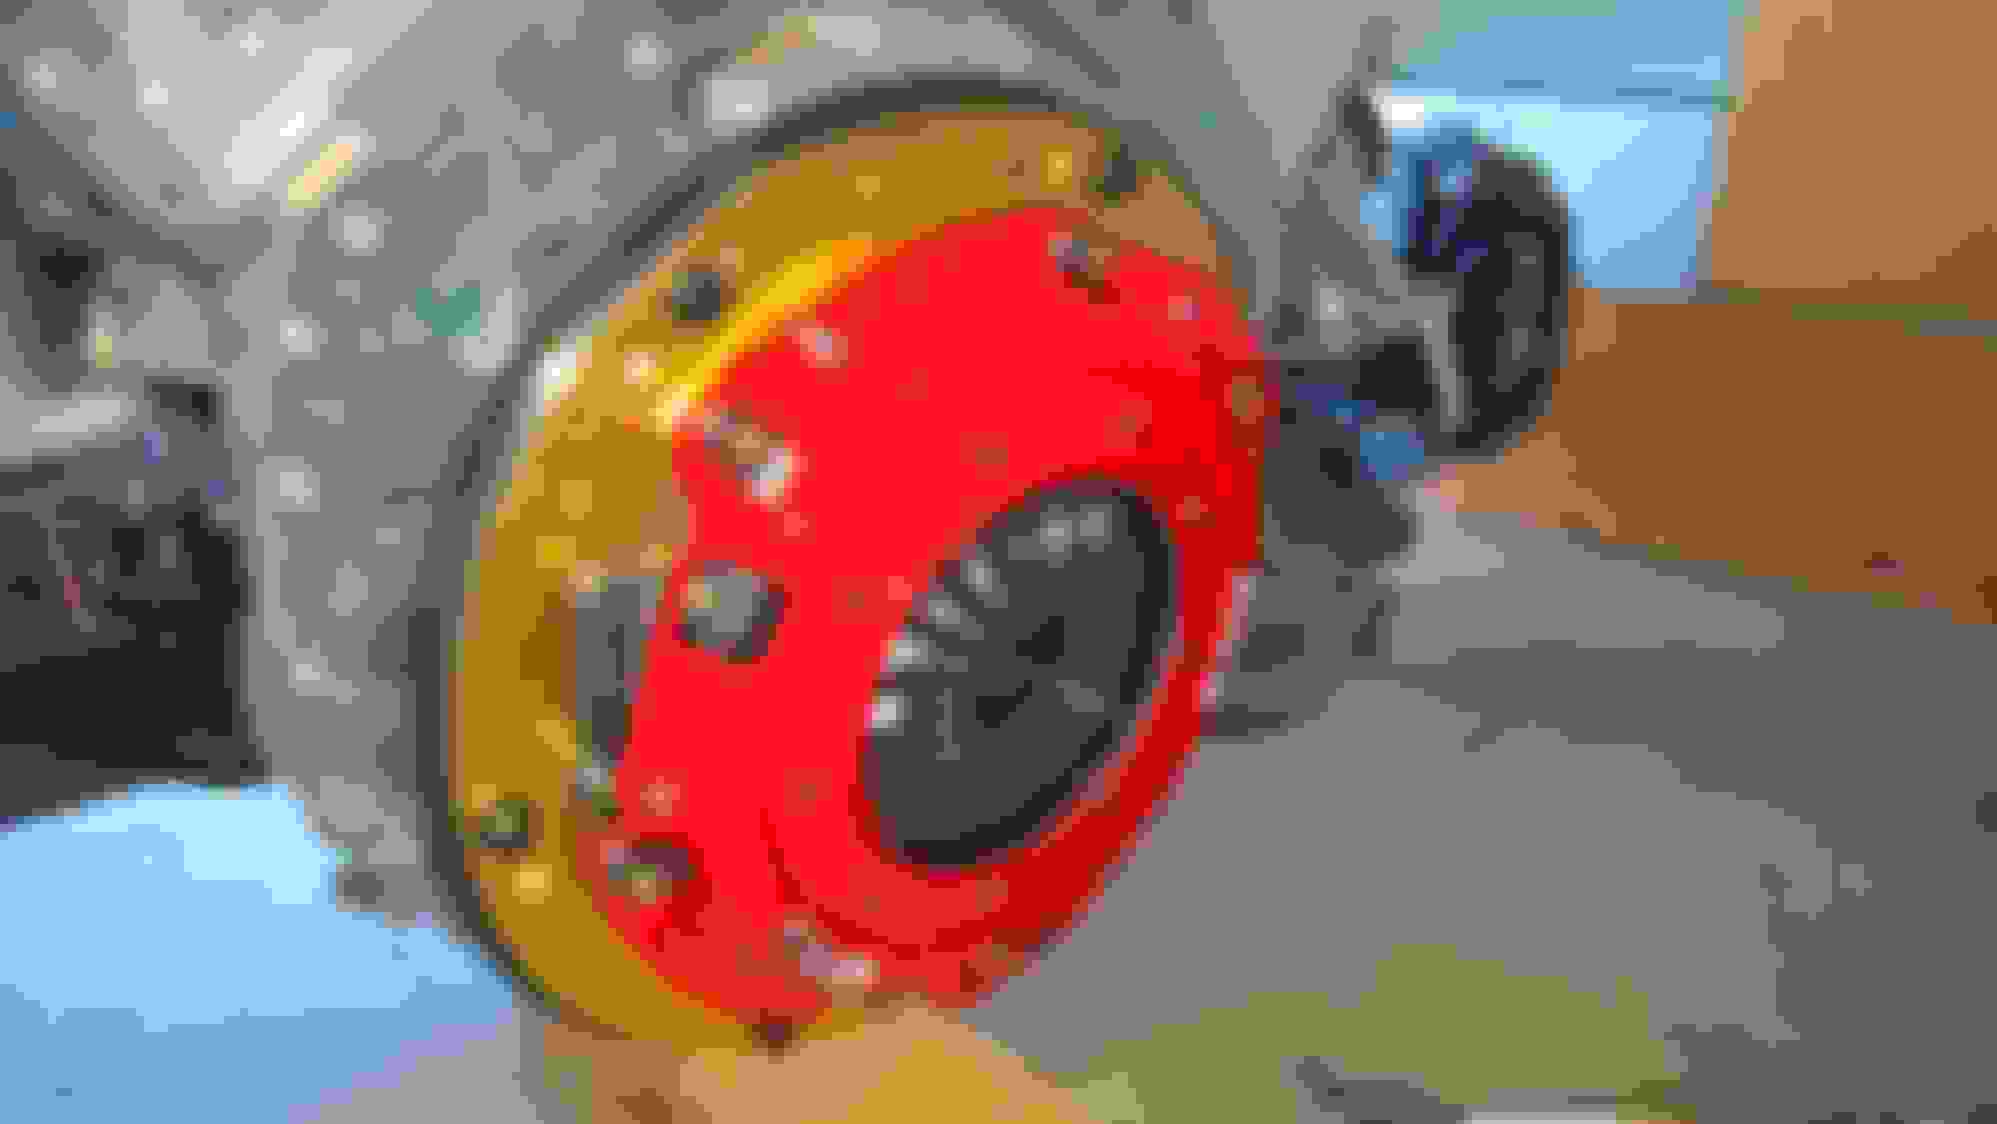
-McLeod RST dual plate clutch installed (9.5 lbs. weight savings, and lower polar moment of inertia)
-4 pedals = 33% more pedals!
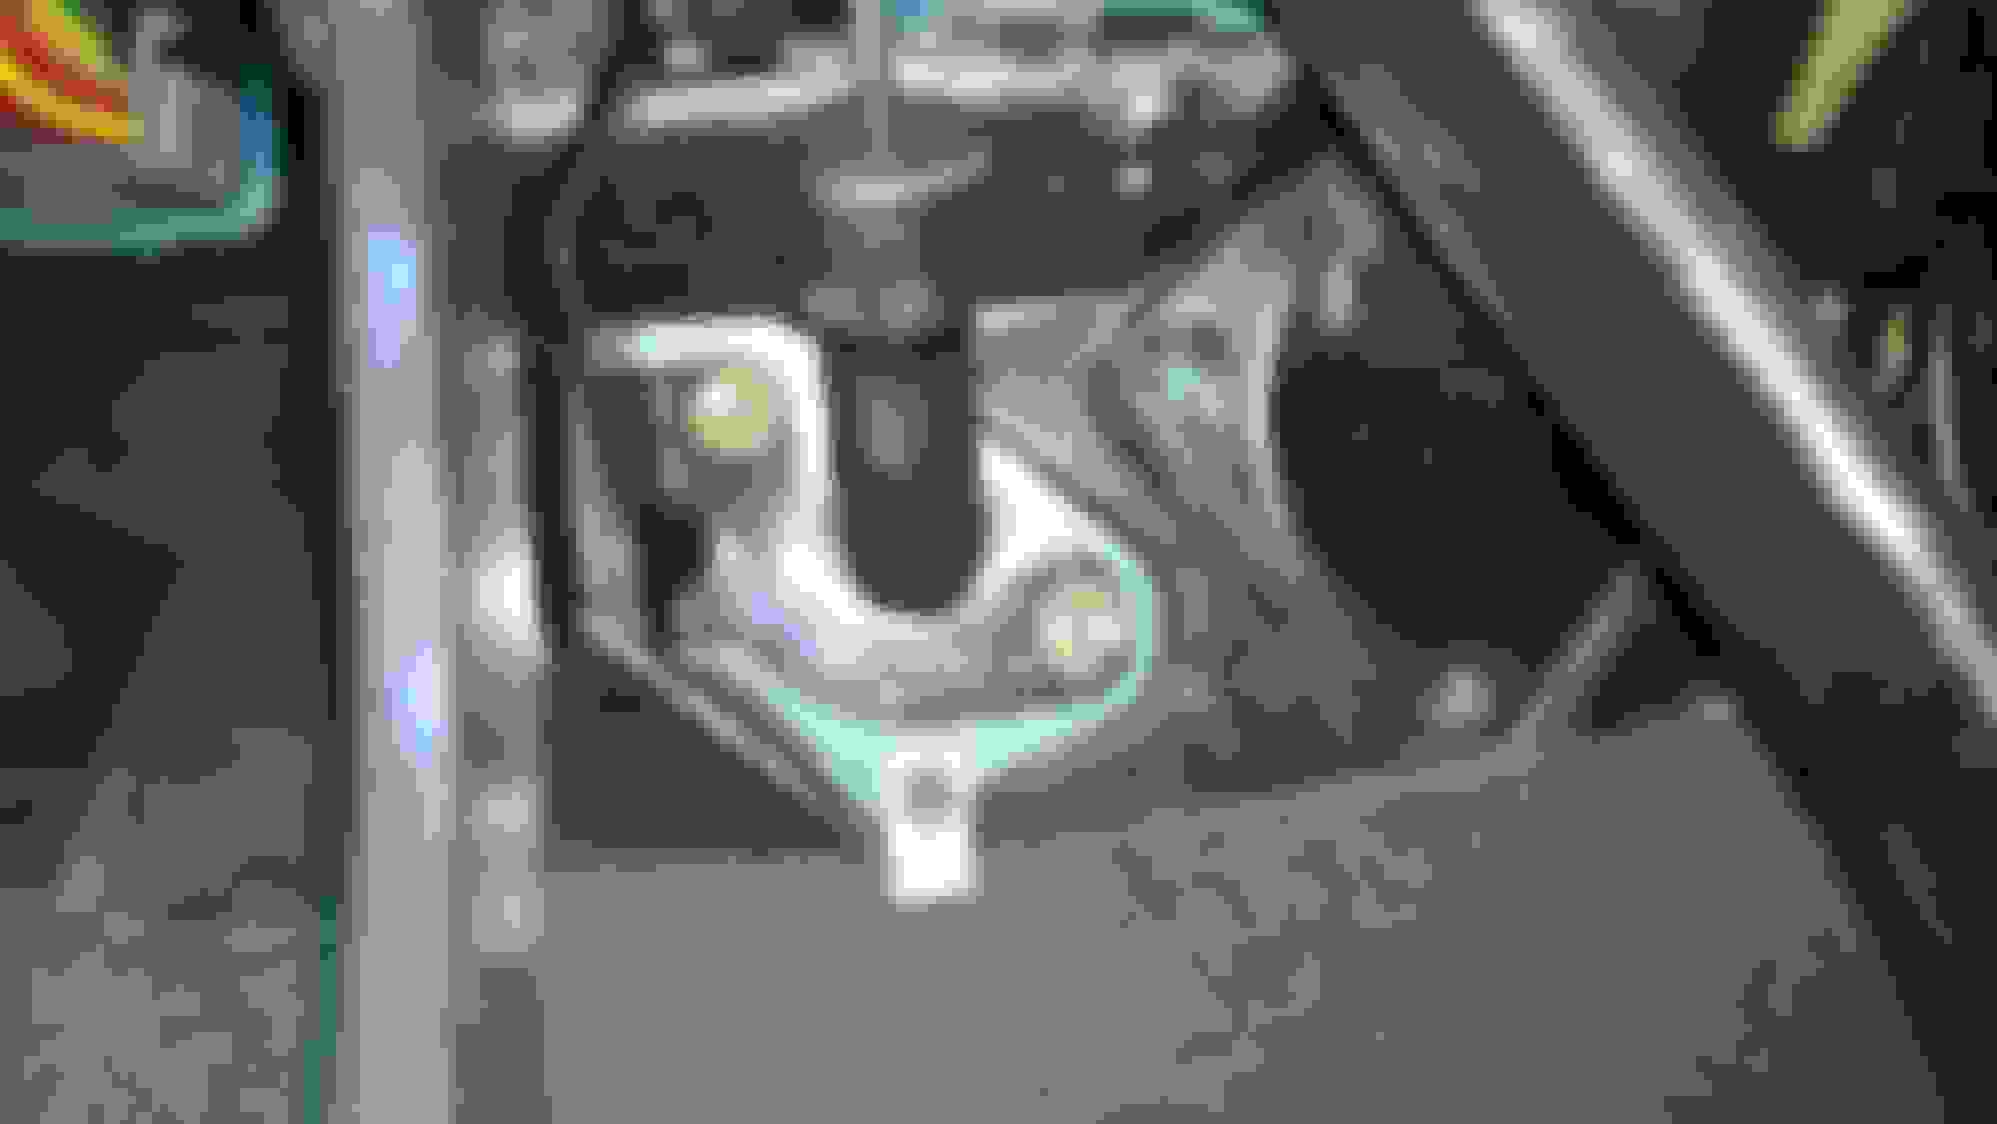
-Cutting hole for shifter to match lower shift boot
-Test fitting lower shift boot
-Priming hole in console
-T56 Magnum with F-body tailshaft (wider ratio, 2.97-1st and 0.50-6th)
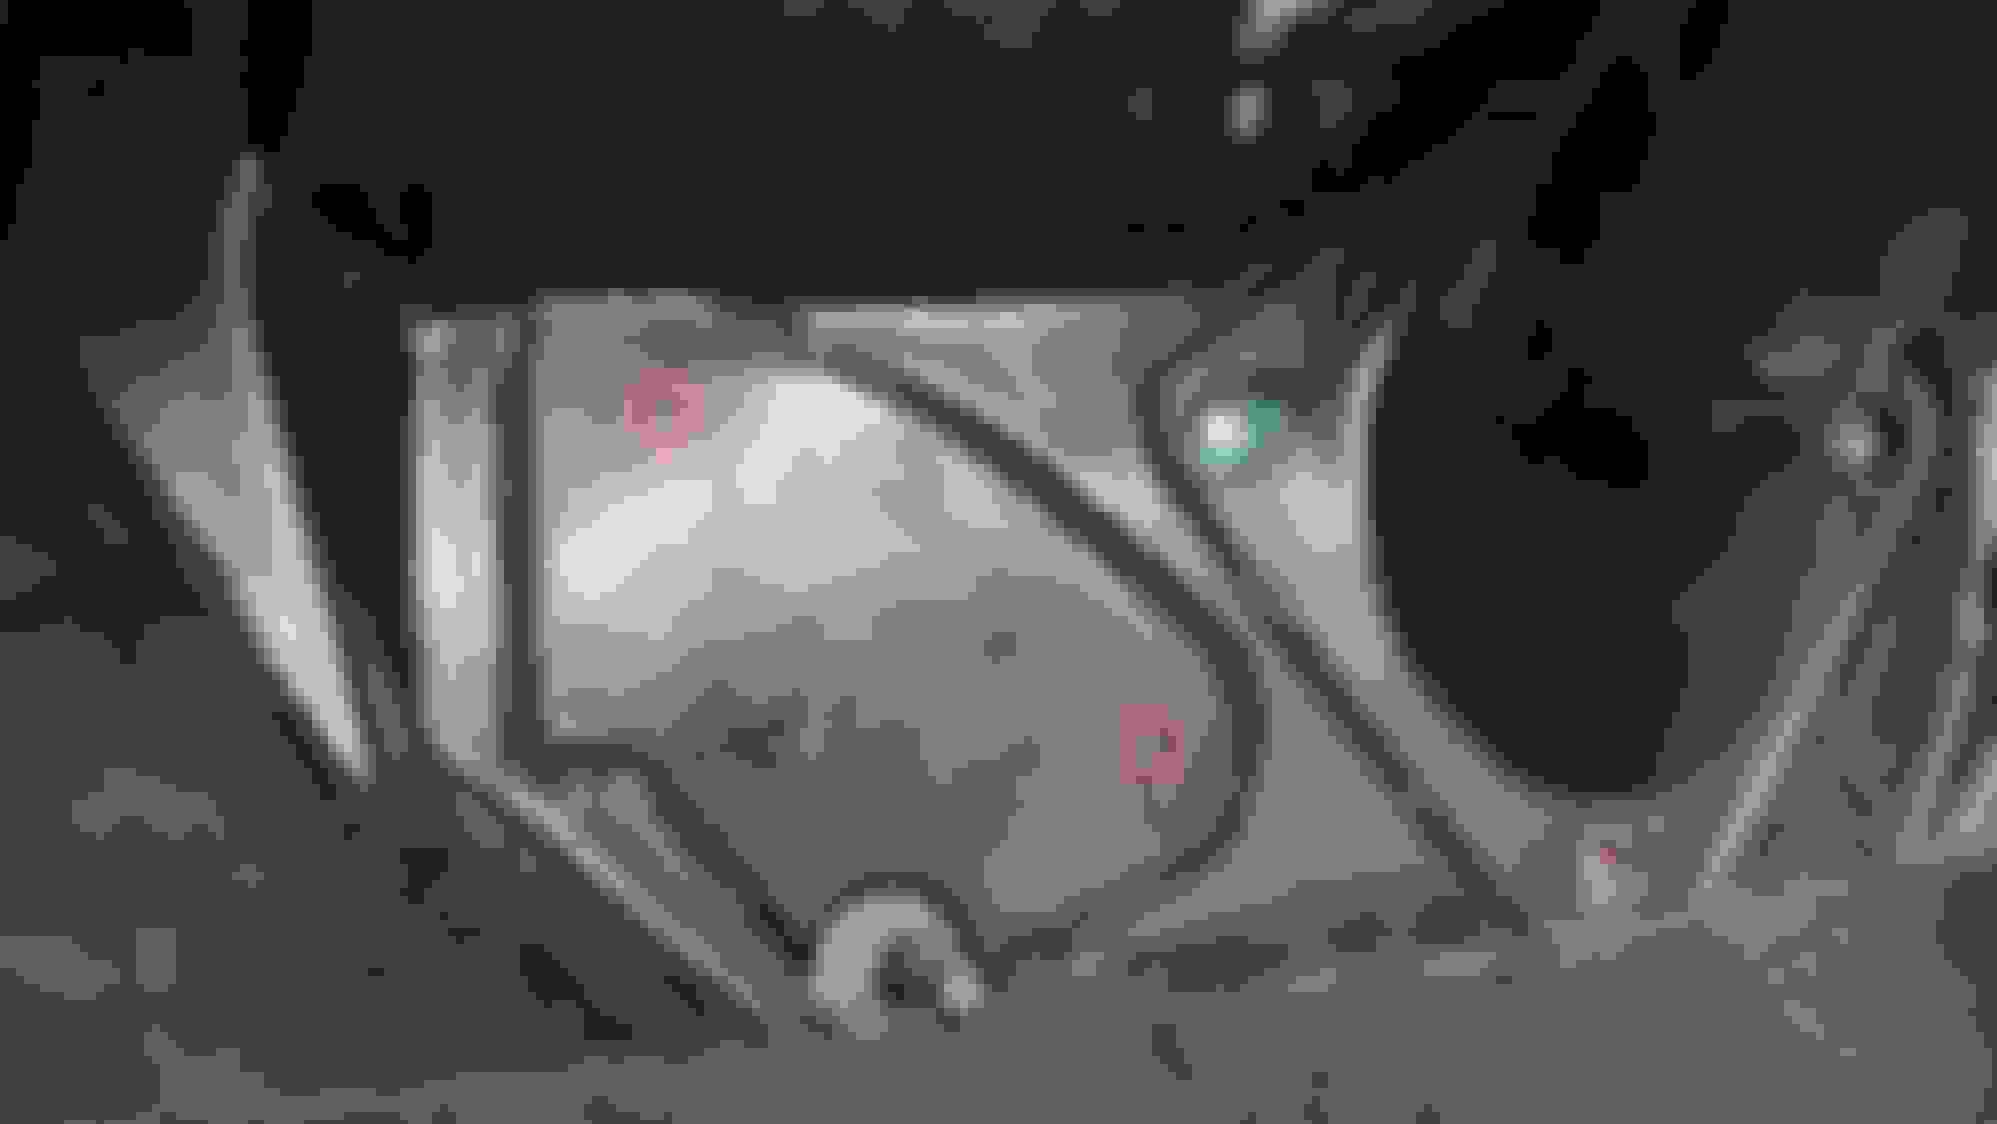
-Clearance issue with slave cylinder hydraulic disconnect. I'll be doing some grinding on the housing shortly.
-Ground clearance in the transmission for the slave quick-disconnect
-Installed remote bleeder clutch line
-The plastic clutch alignment tool allowed the clutch plates to sag under the weight, which caused an alignment issue when attempting to install the transmission. Solution: use the transmission as the alignment tool!
-Transmission installed to engine/bellhousing
-Plastic dust blockers installed in trans/bellhousing
-New starter motor installed
-New header collector studs installed with red Loctite
-Popped off vacuum line plug on rear of intake
-Installed 90 degree fitting on vacuum line to reach straight fitting on new LS3 intake
-Replaced old, cracked and patched vacuum line that runs to vacuum tank by making my own. Note the added electrical tape to protect against chaffing below the headlight.
-MAP extension harness was found to not fit the MAP connector. No one even makes a female connector that would have worked. Solution: hard wire extension to factory harness.
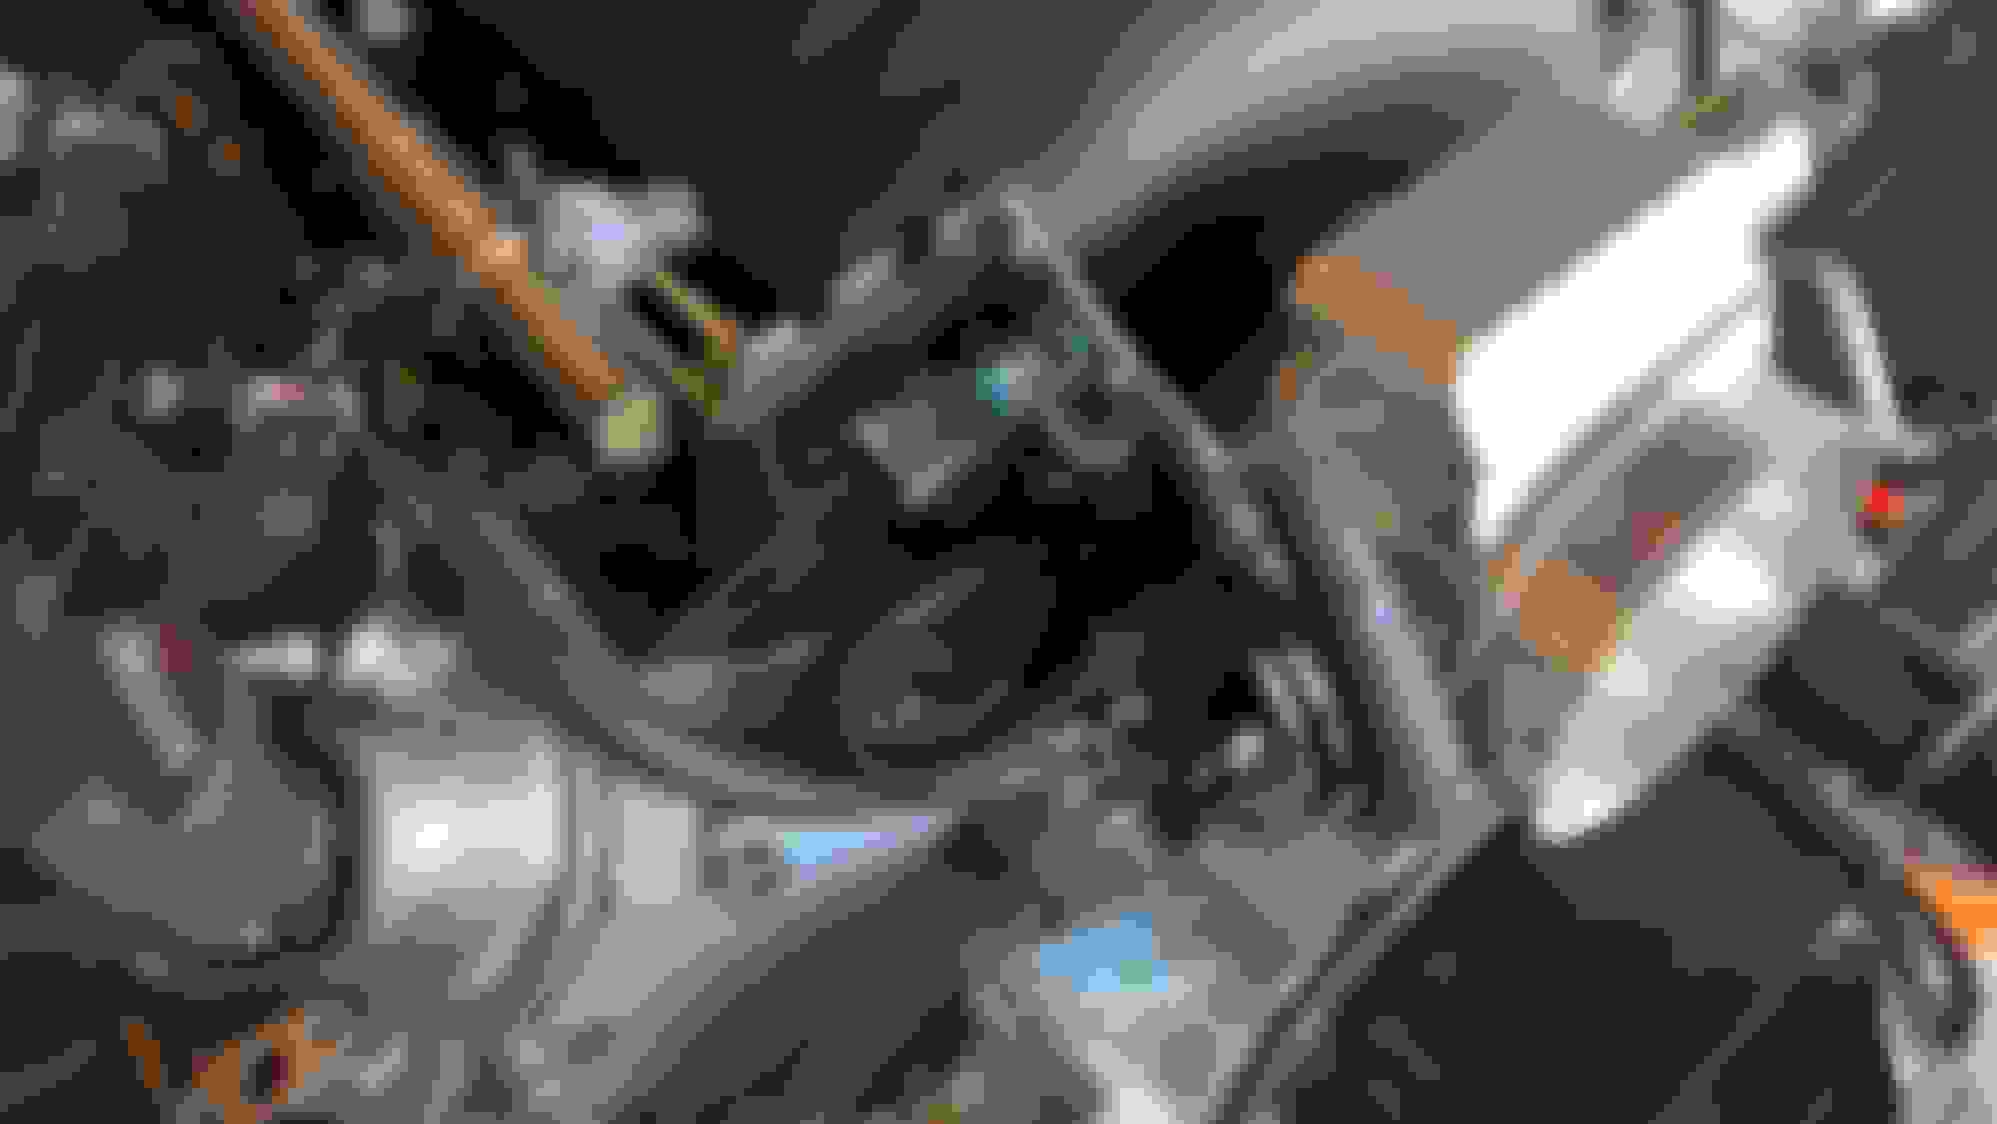
-Cap off and insulate old automatic trans wiring harness
-Pull old brake master cylinder
-Bench bleed new master cylinder
-Strip all brakes and parking brake hardware from rear axle
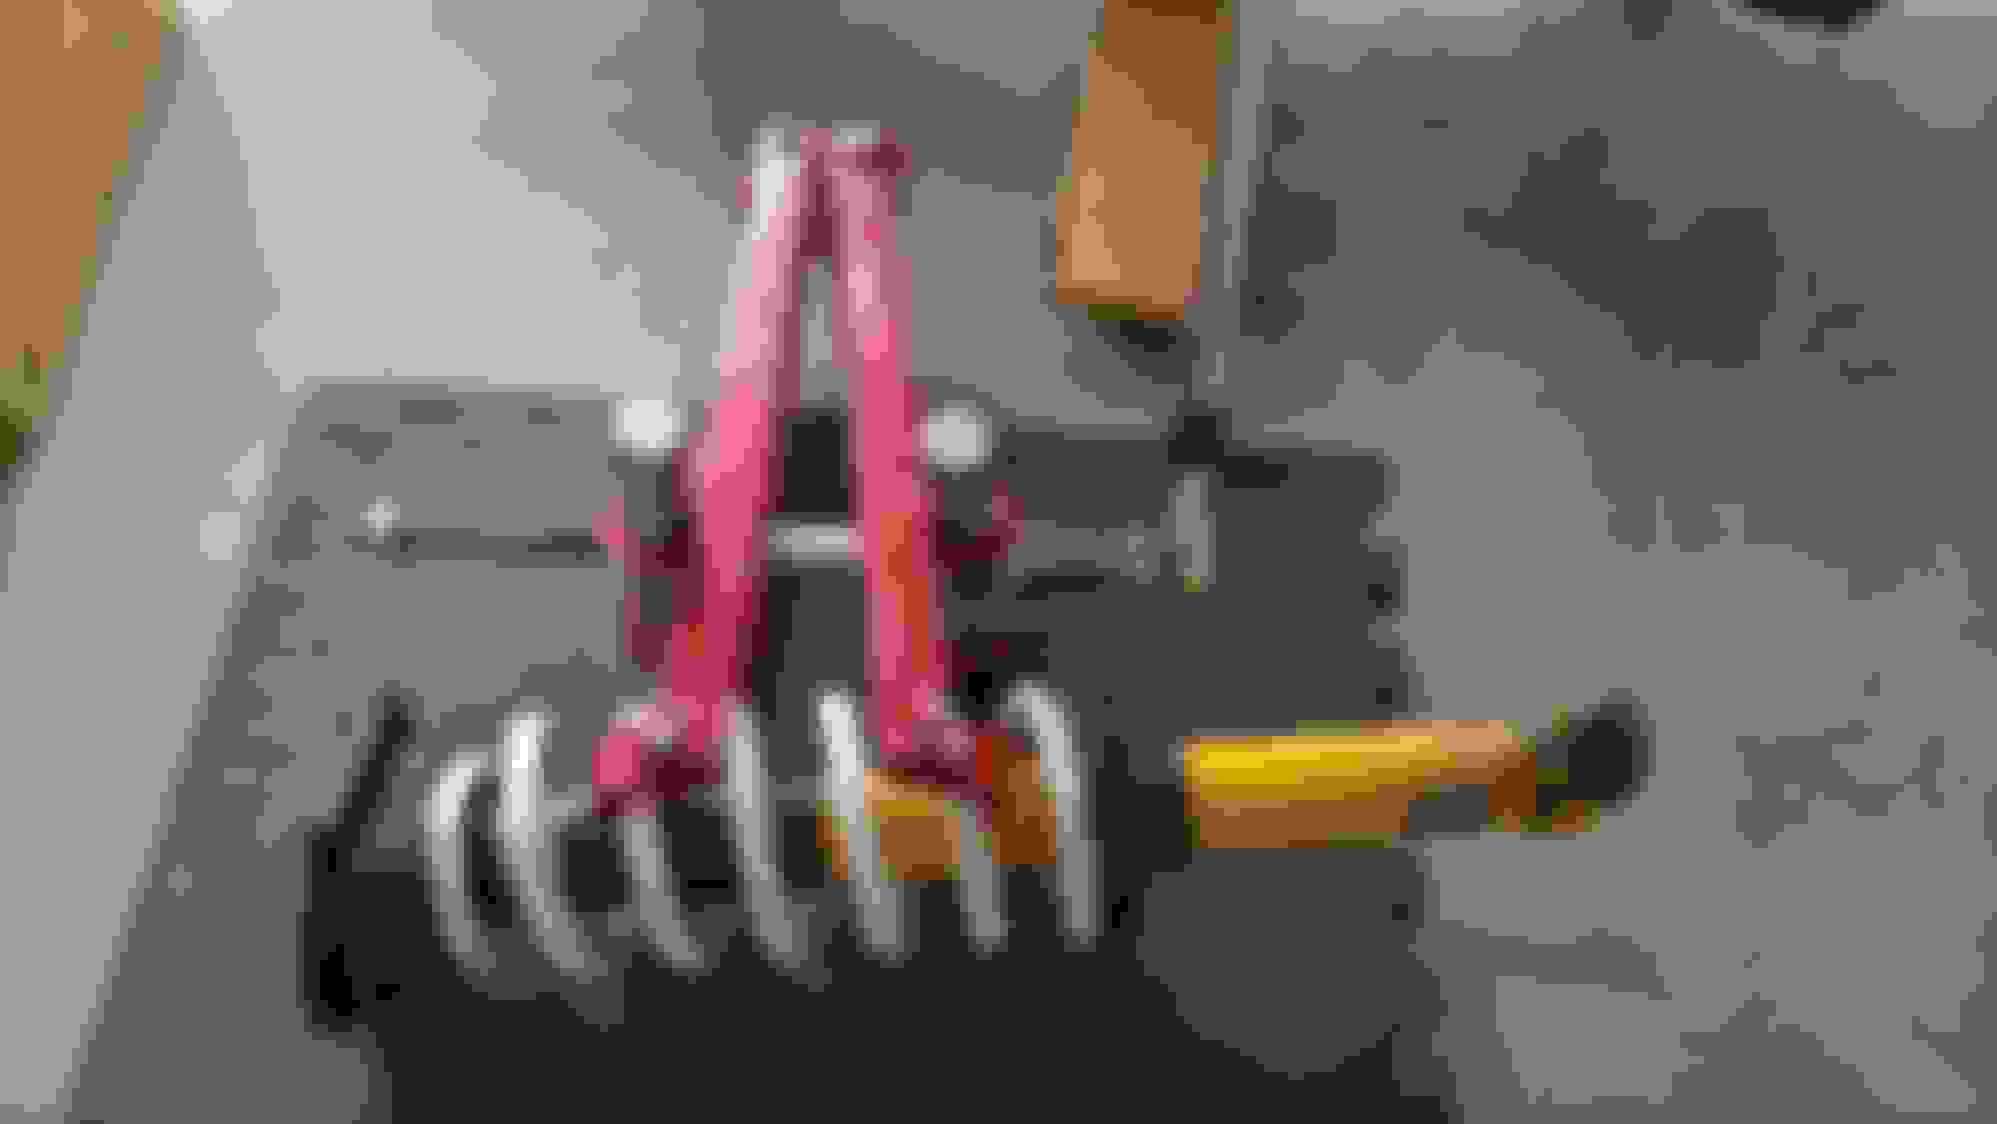
-The dreaded shock mount defect on the brand new mount means the holes don't line up. Have to take the coil-over completely apart and install a new one.
Basically I just have to take care of the passenger side coil-over and install the Anti-Venom mod to the T56, and the engine should be ready to go back in the car.
Thanks. I usually try to summarize the batch of pics at the start (or end) of each post. I don't go into much detail though, so if you have a question about any particular pics, just let me know and I will extrapolate.
The wiring is modded for one of three main reasons: 1) The newer 2001-2002 ECU swap, which is just the two main connectors. 2) The automatic to manual swap (shifter, pedals, trans connectors) or 3) The LS1 to LS3 swap for sensors. There will also be a few little mods for the upgraded/dedicated fuel pump power and the electric water pump. Which of the wiring images did you want to know about?
No you ran some speaker wire in through the firewall and connected it by the shifter, I thought. I wasn't sure what that part was about.
After the first page I never read one word. Not that I like to read, I prefer the pictures, but I think I was scrolling so much faster I couldn't even notice any words that weren't a large paragraph.
Oh yeah, I just needed some heavier gauge wire, and that was what Home Depot had, so I went with it. That's for the reverse lights. In an auto car, the circuit gets closed in the shifter mechanism itself inside the car. In a manual car, it's a plug on the side of the transmission below the car. It would have been easier to run it through a hole in the center tunnel, but this routing just seems more logical to me. No extra holes or spots for leaks or rust, and no chance that the cable will get snagged later because someone didn't notice it was there when attempting to remove the trans for a clutch swap.
-Got a working upper shock tower mount that actually lines up with the holes and centers the shock
-The "Anti-Venom mod" to soften shifts with the MGW (washer not pictured)
-New A/C condenser will fit, it just looks way different from the old one. Think the black one is original?
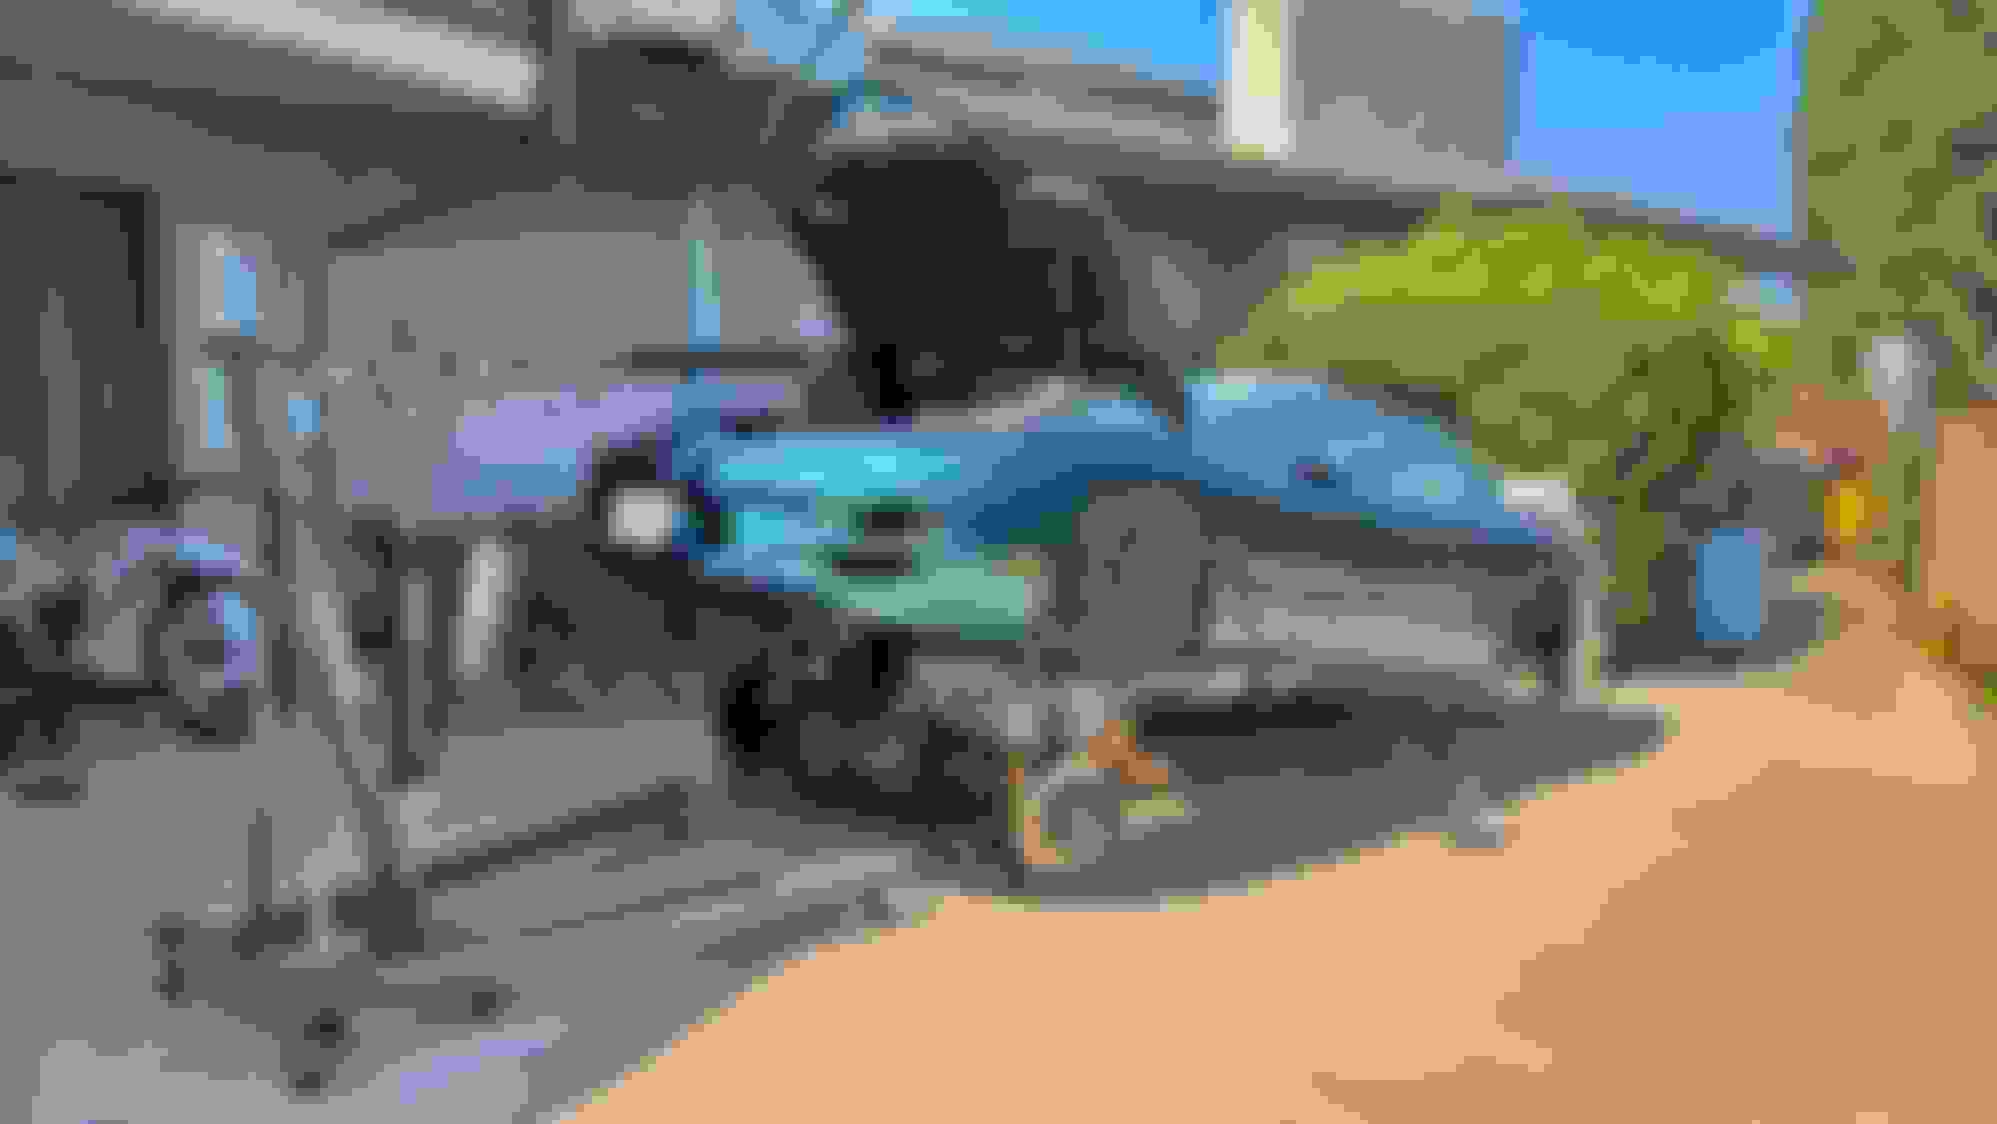
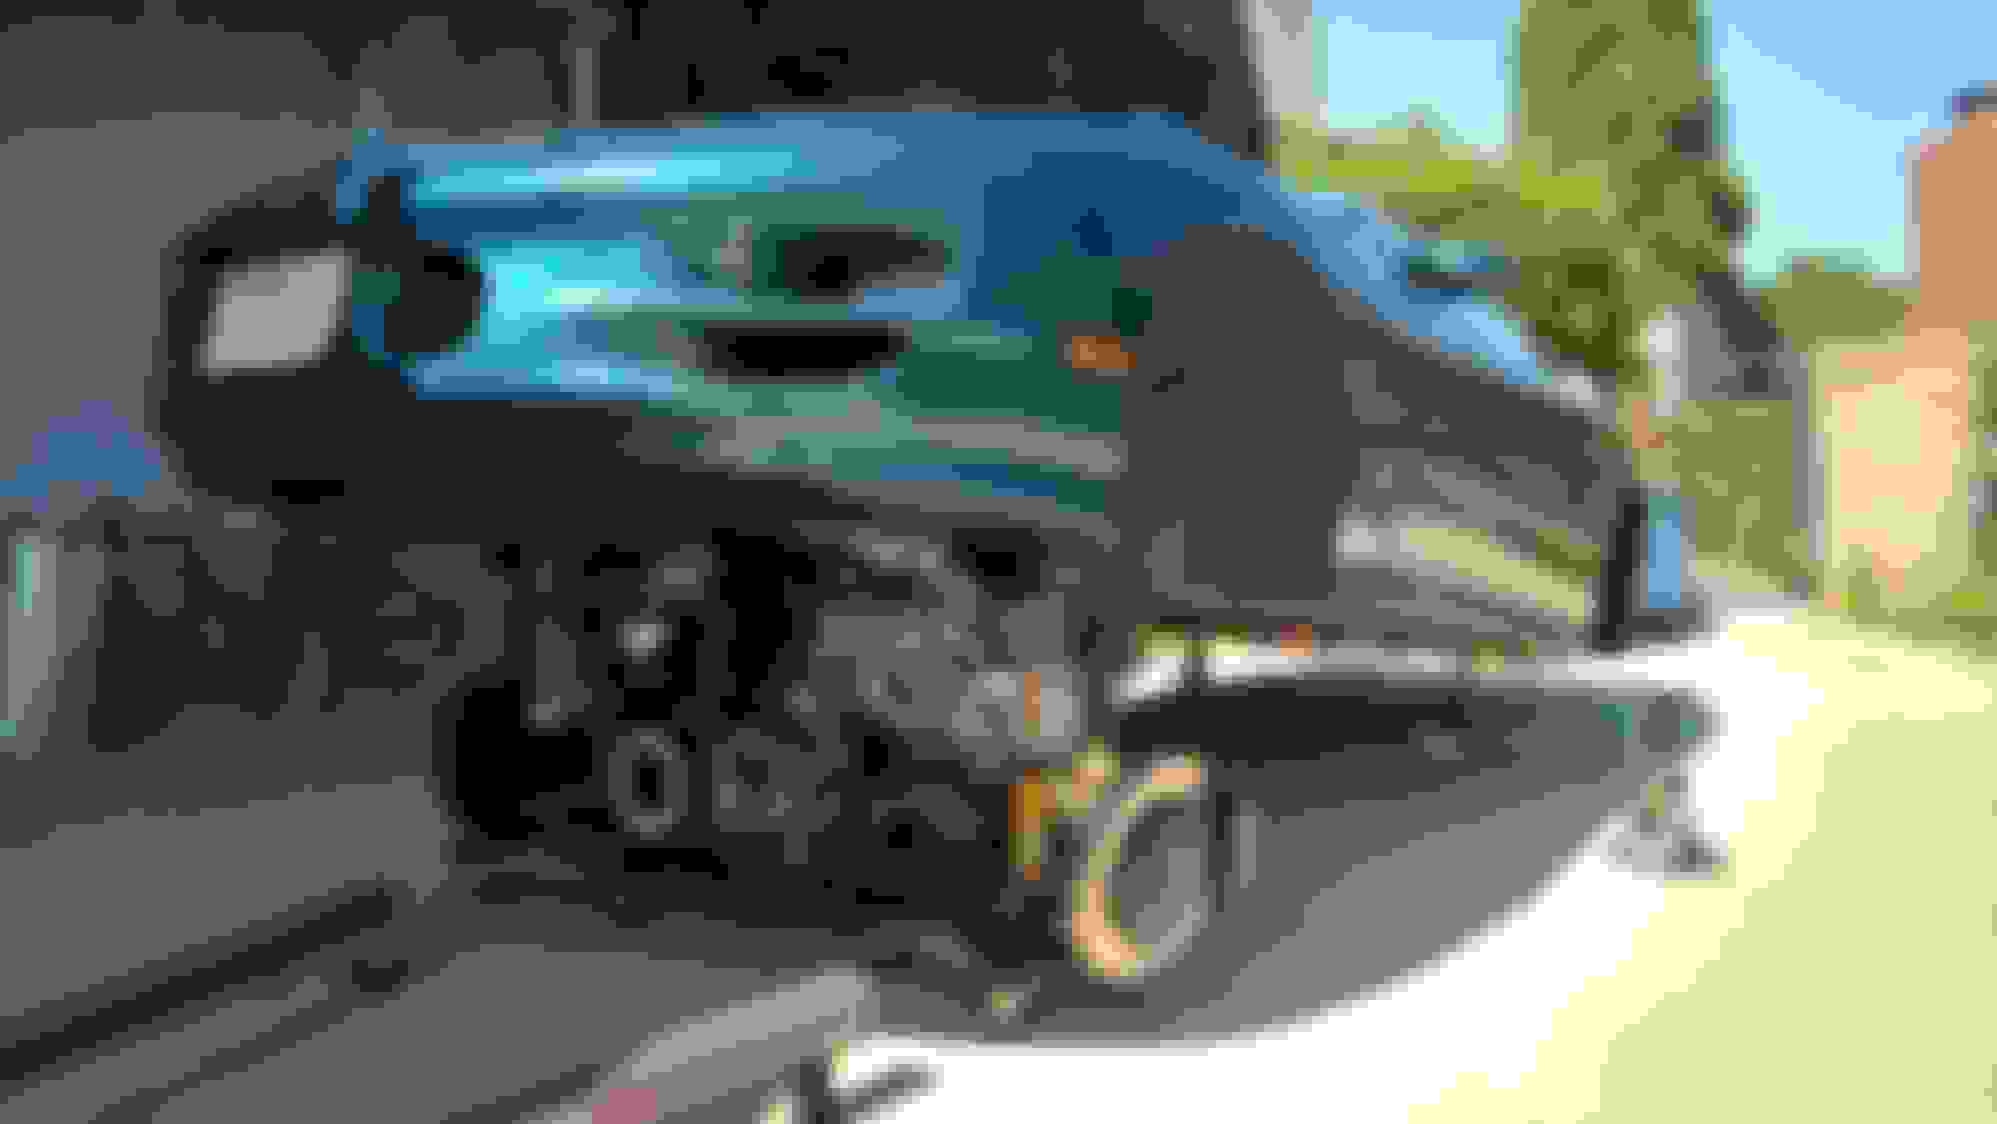
-ENGINE IS IN THE CAR! K-member and trans cross member bolted in
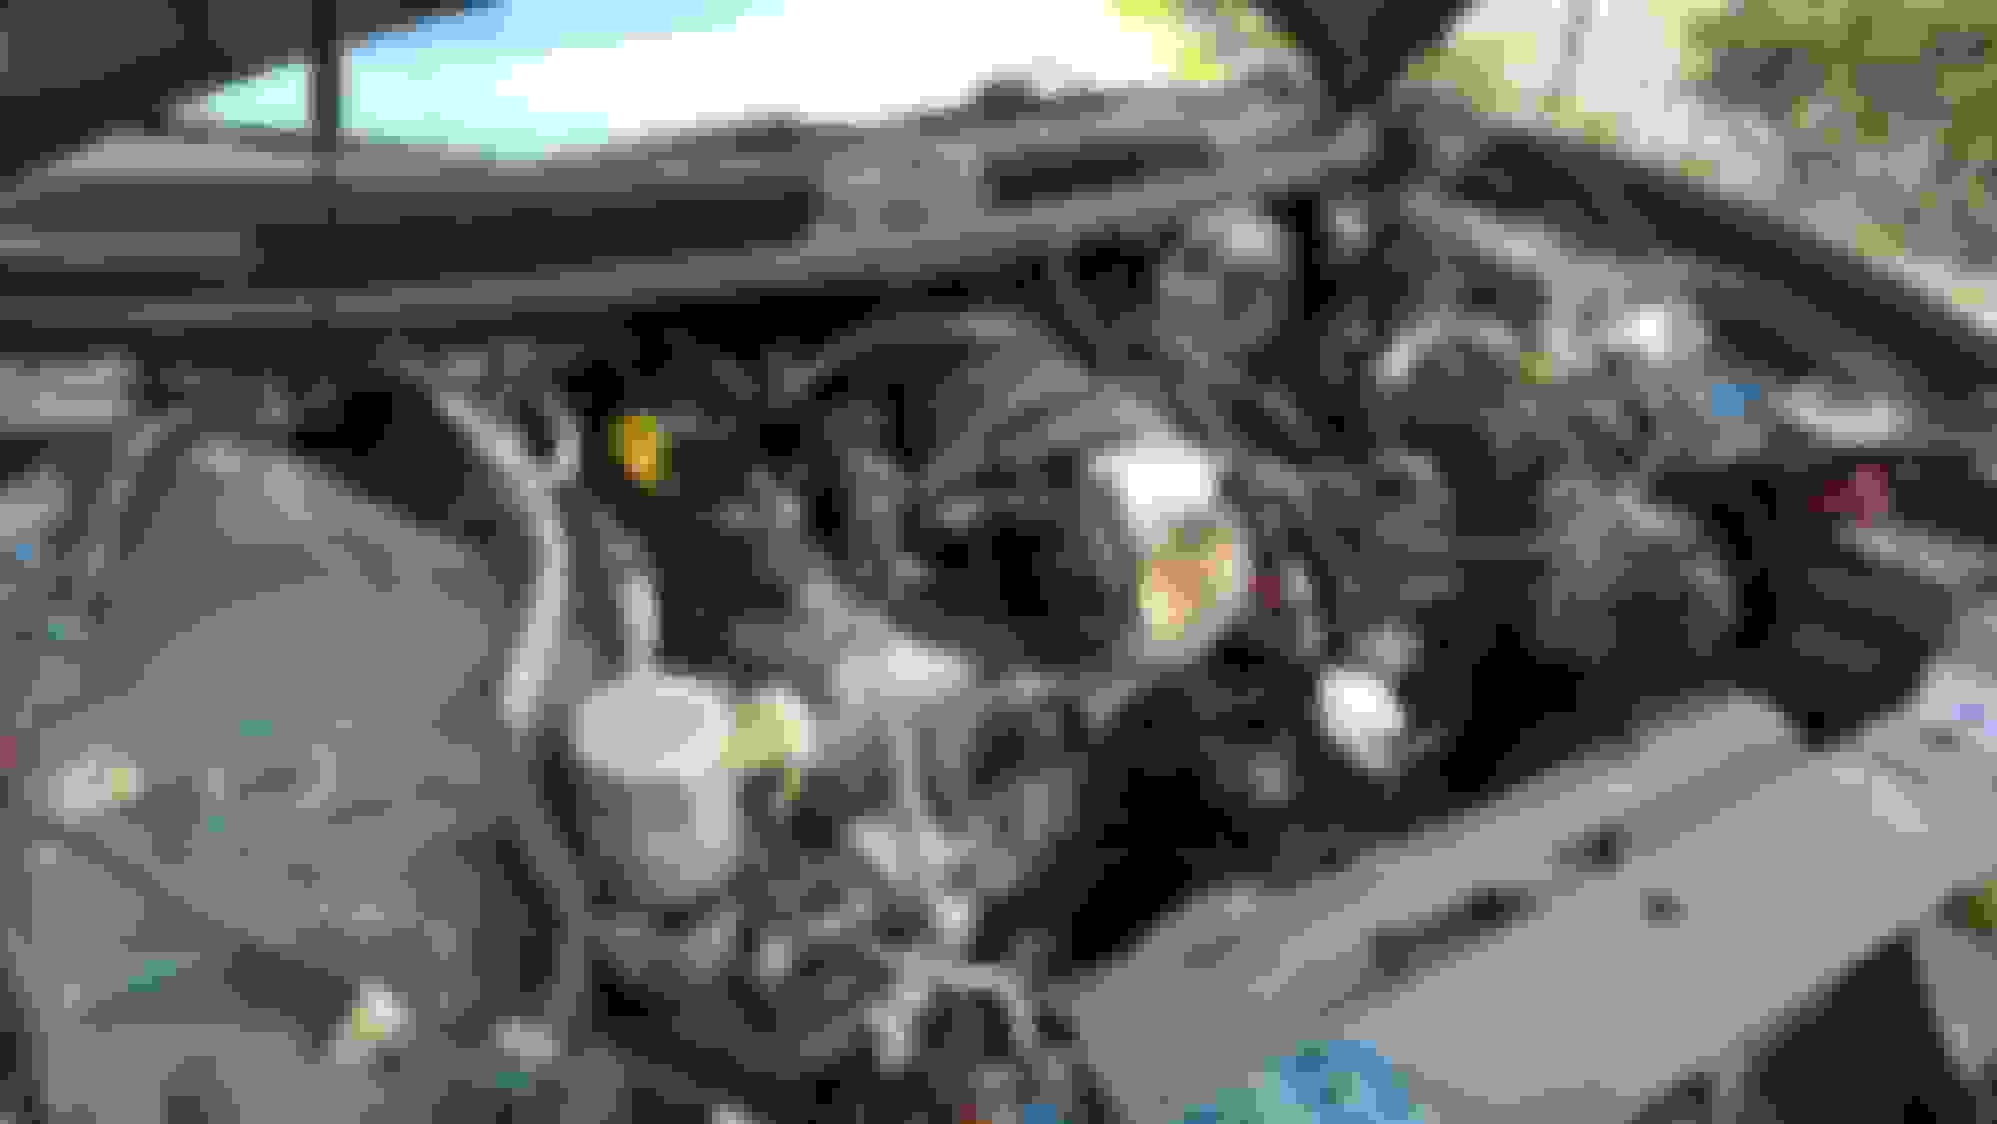
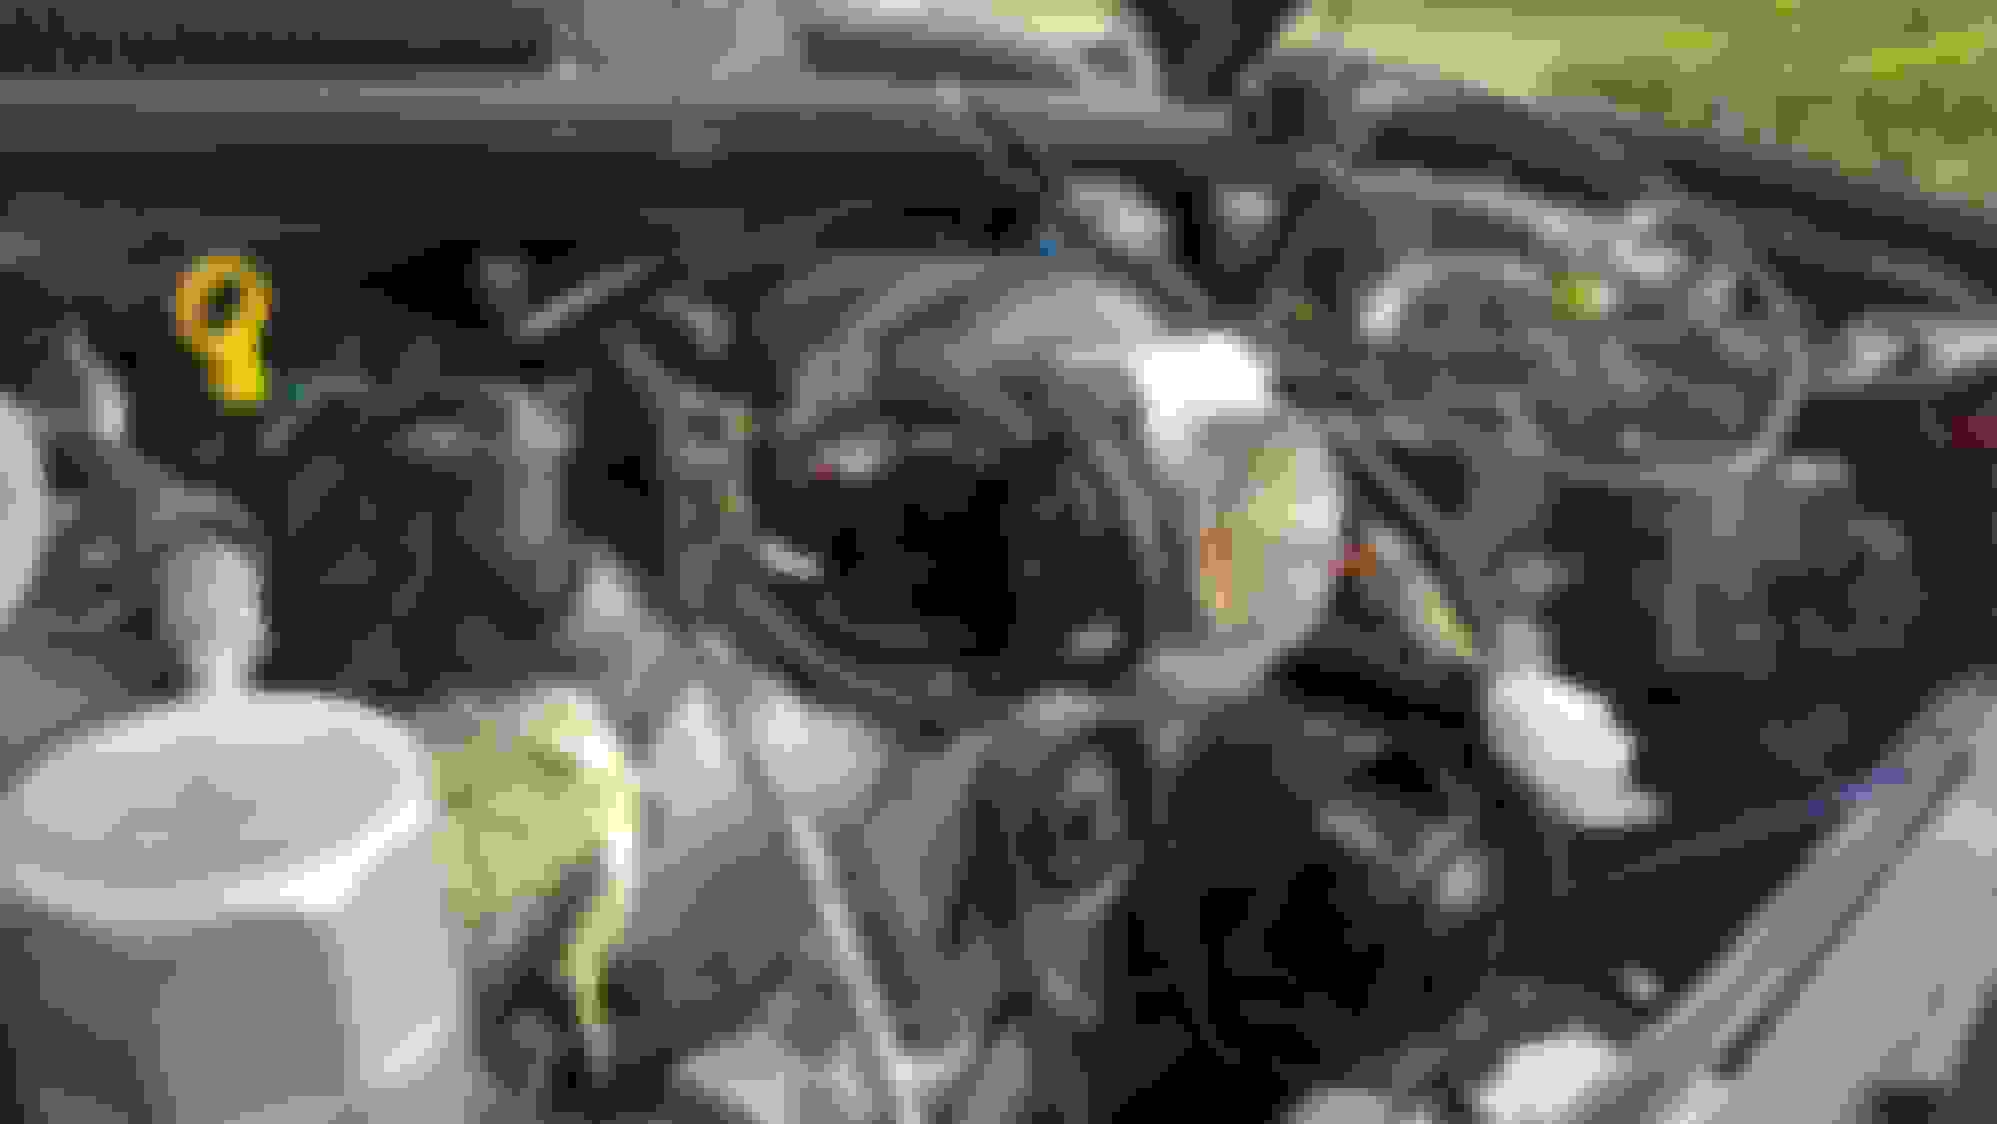
-Connected ground cables at back of driver side head, vacuum line at back of intake, and cam, oil PSI, and MAP sensor electrical harnesses at the back
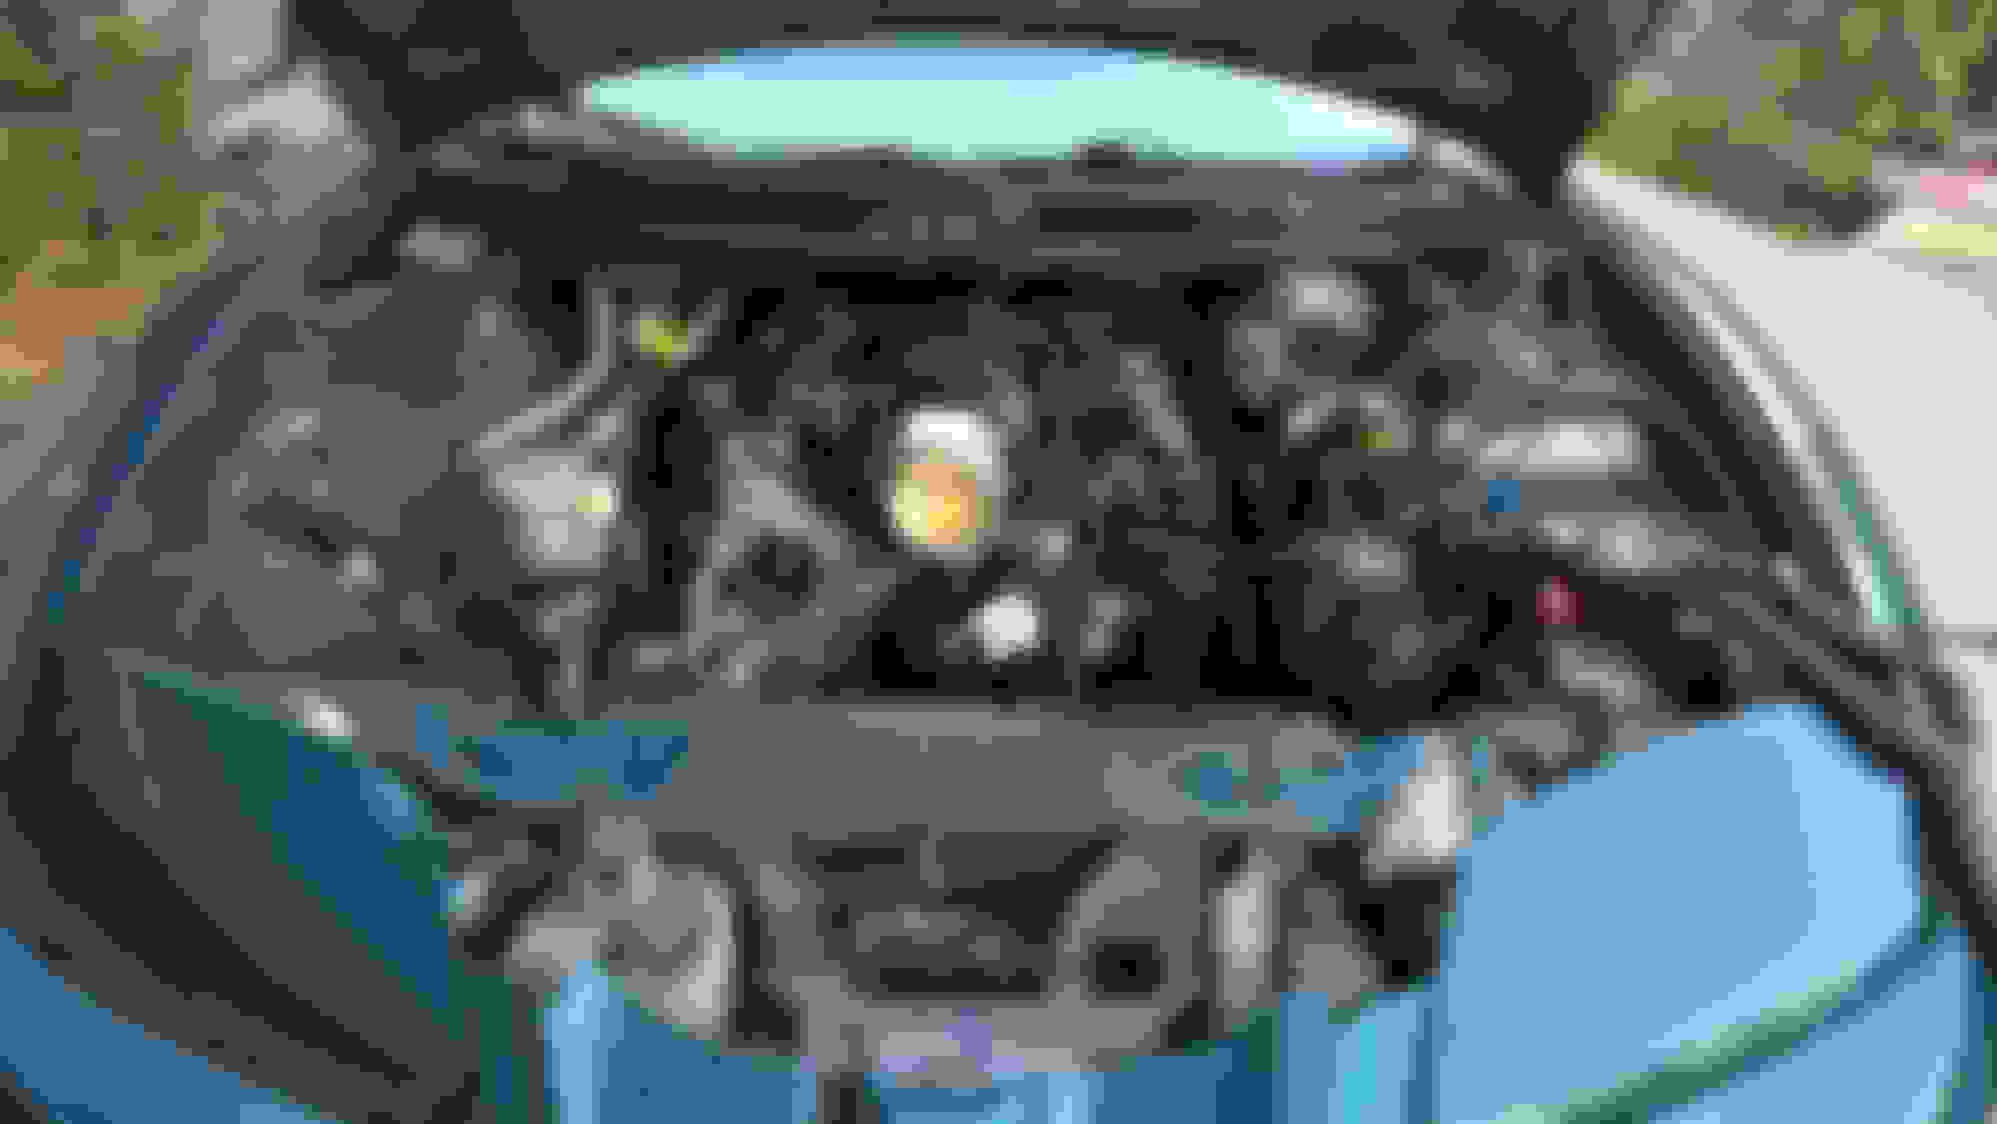
-There is even clearance for the acoustic intake cover. I had heard this would not fit...
4.065" is the size of the LS3 cylinder bores, not the size of the piston. The piston is narrower and the rings fill in the gap. Being that they are forged high-silicon 4032 aluminum alloy, they are also narrower than the factory cast pistons to allow for greater expansion. If the piston were 4.060" across, that would leave only a 0.0025" clearance around the outside when cold. I'm not actually sure what normal forged clearances are (I just bought performance pistons for a stock LS3), but I would think that something that tight would seize up when hot. At any rate, this was the closest bore ring compressor available, and it worked perfectly.
While I did not blueprint the rotating assembly, I did take the parts to a shop where we weighed everything. If you notice in the crank pics, there are some very large holes drilled in the new crank as I had it balanced to match the new internal parts.
Last edited by eb110americana; Aug 5, 2017 at 02:25 PM.
-Converting automatic transmission wiring to connect to manual trans. VSS, Reverse Lockout, Reverse Light hookups connected.
-Used the starter block-off plate as a wire loom guide for the relocated knock sensor
-Knock sensors wrapped with metal tape to protect from headers
-Chassis-Block Ground Wire Part III - Third time's a charm. The factory ground wire broke years ago. The first one I made was too thin IMO, so I made one from 10 gauge. It was too short, so one last time...
-Power steering rack looks like it might have a crack in it. I hope this is just a casting line. I will be very disappointed in TurnOne if they shipped it back to me broken.
-Fuel Injector and other Wiring getting connected to top end
-New Battery Cables
-New 3-Core Champion Aluminum Radiator
-New Condenser
-Grinding lower radiator isolator to fit bigger radiator without plastic end tanks
-Clearancing fan shroud for electric water pump and thicker radiator (which pushes the fan shroud rearward)
-New Upper Radiator Support Bolts
-Alternate upper radiator hose spec (Dayco 71668 D-code) to fit electric water pump outlet relocation, cut shorter, plus lower hose shorter
-Trimmed upper shroud to clear new rad cap and FastToys intake
-Radiator hose adapters for steam port and larger overflow tank hose fitting to fit factory hose
-New Brake Master Cylinder installed on New Booster
-Fabricated Intake Tube to Connect Airbox to Throttle Body (Used silicone to create a seal between 103mm airbox cover and 4" aluminum tube, trimmed tube length, trimmed 4" double-hump hose to throttle body)
-Course Honeycomb MAF Screen Installed
-MAF and wiring adapter installed, I think I will hard wire this later, as the wiring is kind of a mess
-20A Fuel Pump Fuse mounted underhood for RaceTronix dedicated power line
-Remote Clutch Bleeder Mounted Underhood
Last edited by eb110americana; Oct 2, 2017 at 01:41 AM.
Thanks Mike! It is actually an Illinois car that I bought back in 2003. It spent its first 100K mi and 5-6 years there. The rest have been out in Los Angeles area with me, although I have never had a garage to park it in. When I finally had the wherewithal to go after an F-body years ago, I decided I really wanted an LS1, but I couldn't find anything in my price range in California. I actually bought a one-way ticket out there and purchased the car sight-unseen except for a few pics, and drove it back here. The owner was nice, honest, and gave me a good deal.
I've looked at other TAs a few times, and while many lack some of the rust, they always have other problems like severely cracked interior plastics, poor maintenance, or mods that are either stupid (20 holes drilled into the trunk metal for "speaker grounds") or illegal (offroad pipes with no cats). I eventually decided to stick with the known-quantity that's been good to me all these years.
Gas Monkey Built a 6-Wheel Ferrari Testarossa With a Corvette LT4 Engine
Slideshow: The controversial Ferrari F6 swaps its original flat-12 for a Corvette Z06-derived LT4 V8 and sends power to four rear wheels through a custom-built drivetrain.
7 Most Reliable High-Performance Engines GM Has Ever Built
Slideshow:These GM engines didn't just make huge power, they survived abuse, boost, track days, and six-digit mileage with a reputation for refusing to quit.
6 Common C5 Corvette Failures and What's Involved In Repairing Them
Slideshow: From wobbling harmonic balancers to failed EBCMs, these are the issues that define long-term C5 ownership and what repairs typically involve.
Retro Modern Bandit Pontiac Trans AM Comes With Burt Reynolds' Autograph
Slideshow: A modern Camaro transformed into a retro icon, this limited-run "Bandit" build blends nostalgia with brute force in a way few revivals manage.
Top 10 Greatest Cadillac V Series Performance Models Ever, Ranked
Slideshow: Cadillac didn't just crash the high-performance luxury vehicle party, it showed up loud, supercharged, and occasionally a little unhinged...
Coachbuilt N2A Anteros Is an LS2-Powered C6 Corvette In Italian Clothes
Slideshow: A one-off sports car that looks like a vintage Italian exotic-but hides a C6 Corvette underneath-just sold for the price of a new mid-engine Corvette.