When you click on links to various merchants on this site and make a purchase, this can result in this site earning a commission. Affiliate programs and affiliations include, but are not limited to, the eBay Partner Network.
The short description of this build is a California street-legal daily driver LS3 with reduced rotational and reciprocating mass (hence the "FR33") that will go into my 1998 Trans Am. My goal is around 500 hp at the crank, but mainly, for it to be fun.
Thanks man! I'm getting the heads milled down to bump compression back up, and the crank will ship towards the end of the month, and then I'll need to get that balanced. Bobweight is 1587g, if I remember correctly.
For this weekend, I can finish installing the piston pin retaining rings. I'm half done with those so far. They are literally a pain to install. I also have the trunion upgrade kit waiting for me when I finish that. Otherwise, it may sit for a few weeks waiting for parts.
Was it cheaper to buy it as a crate or something? because it looks like you're only using the block and replacing everything else
That is a fair enough question. I was going to build from scratch, and even put together a pretty comprehensive spreadsheet to get started. As I was checking a pic of the coil packs, I discovered that not only had the LS3 price dropped by $400 since last I looked, but there is also a $500 mail-in GM rebate until the end of 2016. You just can't beat GM's economies of scale and a $900 discount.
It actually comes out pretty close when you add up the cost of parts like the LS3 intake kit--another combo parts deal at $700 with 8 fuel injectors, rail, gaskets, and a TB I don't need, or $630 just for the intake and 8 injectors, no rail, no gaskets, no fasteners. Then there are coil packs ($400) and their brackets, valve covers, spark plugs and wires, rocker arms, lifters, trays, PCV valley plate, windage tray, timing chain, timing chain tensioner, crank timing gear, oil pump, and probably over 100 different fasteners, clips, nuts, bolts, guides, gaskets, and seals. In the end, the difference isn't what you would expect.
Granted, I will have to make back some of that by selling off the brand new OEM LS3 heads, crank, pistons/conn rods, bearings, and cam--but that extra hassle is worth it to me for the piece of mind I get in not leaving anything out. This is my first build, so cheaper and easier made starting with an LS3 crate an easy choice once I ran the numbers.
Are you mic'ing the cylinders and trying to keep the cyl/piston dimensions. On spec? I am curious on the tolerance of a new block VS. Forged piston will matchup. (Damb phone)
Some of my calculations are estimates (didn't weigh the rings and I forget the exact numbers for big/small end of the con-rods), but these numbers should be close enough.
All of the reciprocating parts combined (pistons, pins, small con-rod ends) are about 2.2 Lbs lighter than stock. The bobweight is 1587g (standard cranks ship around 1800g bobweight before balance). The rotational mass from flywheel-to-damper (not including clutch or water pump) is about 25.5 Lbs lighter than stock. With clutch, 35 Lb lighter.
That still doesn't account for the electric water pump, which is technically driven via the alternator, but is no longer directly tied to engine RPM, so that means more FR33 rotation when changing RPM, and some extra HP up top where the drag of a mechanical pump is most pronounced. It's not just the mass of the impeller either, as the looping coolant is being kept "spinning." That mass is harder to quantify though.
I sold the Pistons/rods from my 3K mile LS3 for $300 on Craig's List to a 6.0 guy.....you might be able to get a little more for yours. I went with LS9 CNCd heads for the intake valves (Del West titanium) but the CNC work on your heads looks better than the LS9 stuff (I'm assuming it's GMPP stuff) The LS3 intakes are damn nice but, don't try to put too much spring pressure on them......(Comp 29618 is decent spring)
Okay, it's time to breathe some life back into this thread. I've been dealing with a leg/back nerve injury, but still making progress. I am essentially done with the engine build for now, minus the intake/fuel, exhaust, and accessories. The former cannot go on until I lower the engine into the subframe, as I need the lift plate for the hoist. The latter two will go on once I can take them off the LS1 in the car (or purchase new ones).
If you look closely, you will notice the connecting rod in the Plastigauge pic is on backwards. Luckily I caught that bonehead mistake before assembling them all that way. I had oriented the bearing retaining tabs to match the stock LS3, which has them all facing one side of the engine, but the new rods have chamfers to clear the radiused crank flanges, so they need to alternate. This meant I had to redo 4 of the clips on the piston wrist pins to flip the conn-rods, but it was easier this time around.
Other interesting notes: I did not realize that the LS3 windage tray would not clear the LS1 oil pan. If I had, I probably would have just purchased an LS1 windage tray. First I clearanced it for the oil pickup tube, and ground a bit off the oil pickup bracket to mount to a different stud without as much clearance in the tray. Once I got that far, I figured, "What the heck, might as well go all the way and make it fit with the pan."
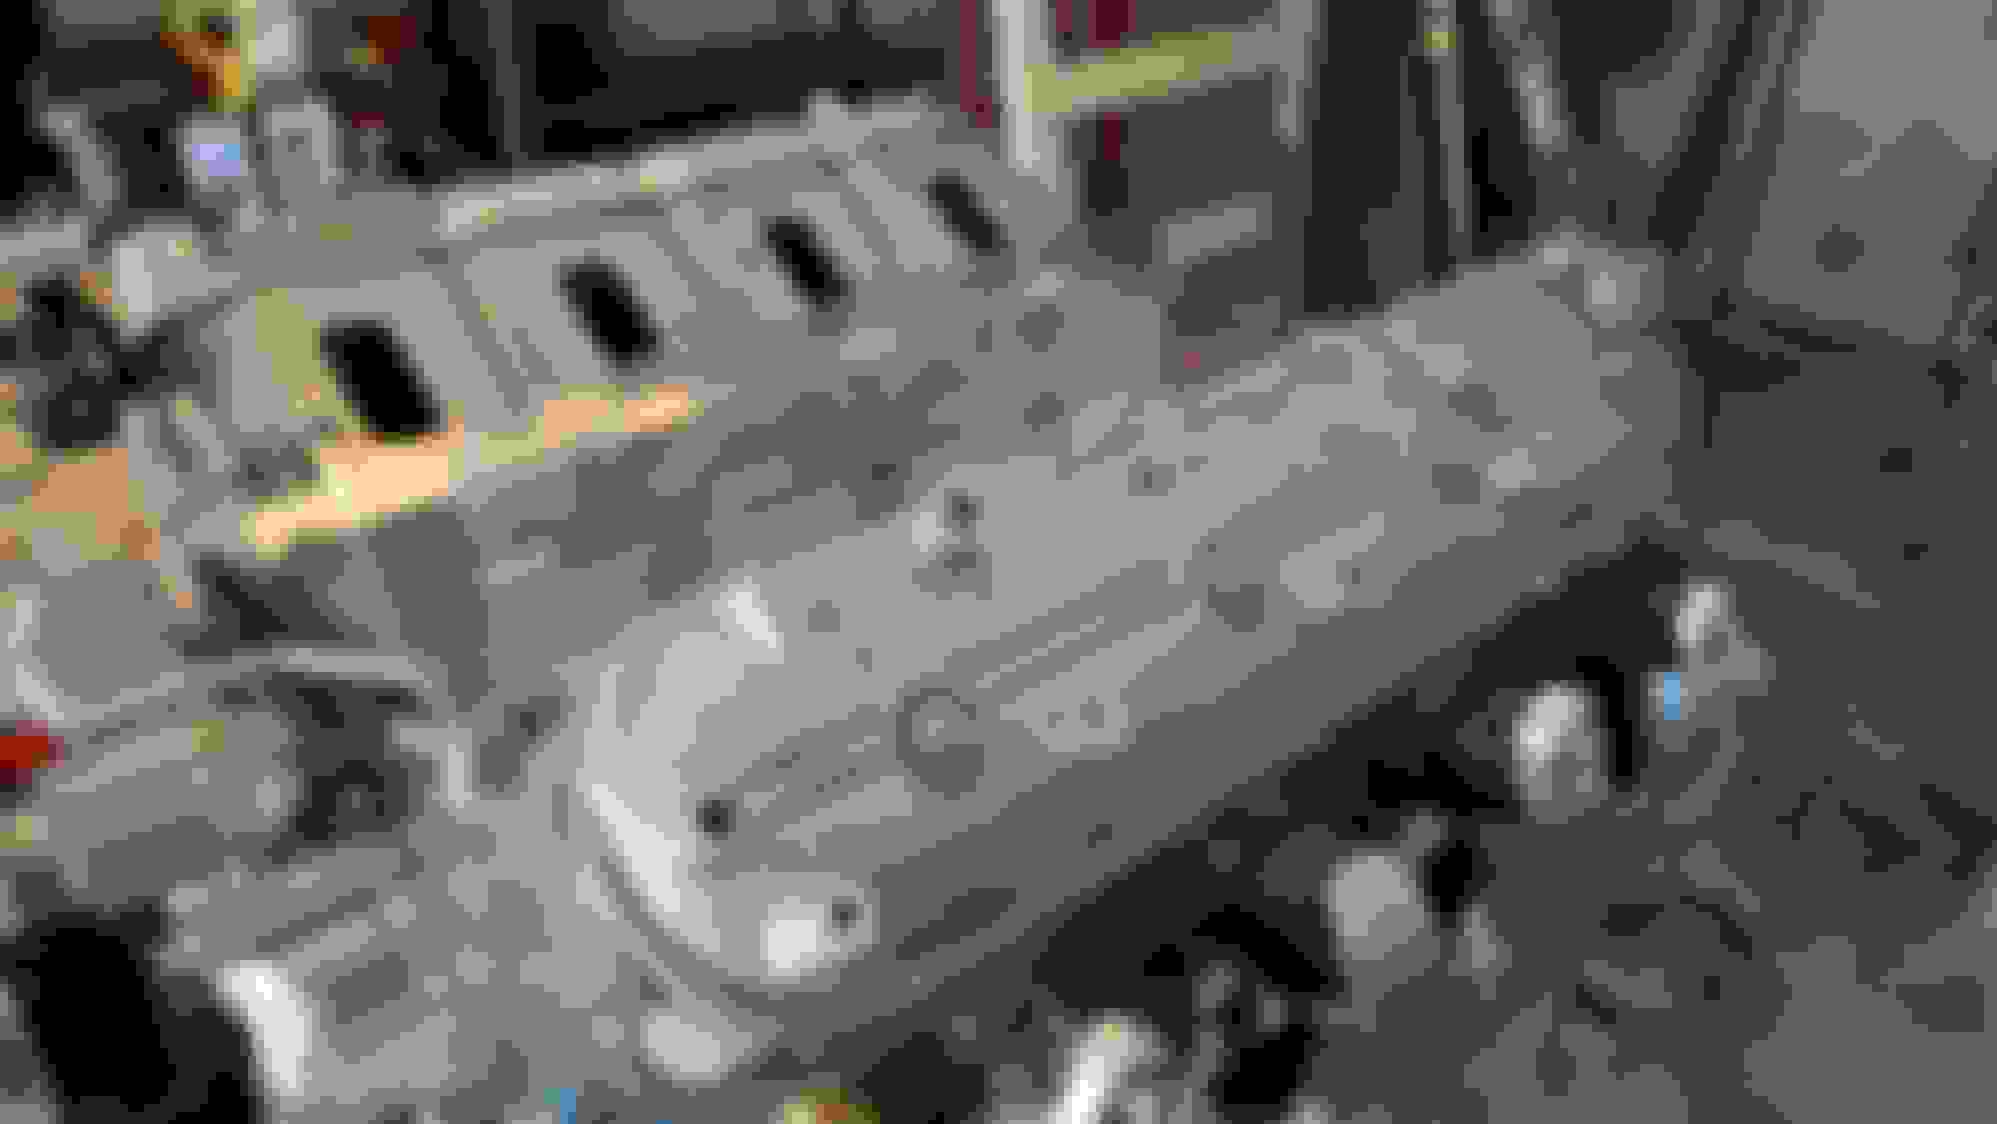
Lifter soaking: I hear you don't win races without a good Jewish lifter. The piston ring compressor worked really well, I definitely prefer that tapered design to the clamp style. When torquing the harmonic damper to the crank (235 ft. lbs!), I braced the front of the engine with heavy wood block and a floor jack to keep from snapping the engine stand mounting bolts. If you notice a bit of metal dust on the mating surface of the head in one of the pics, that was me using a small file to deburr all of the passageways after milling.
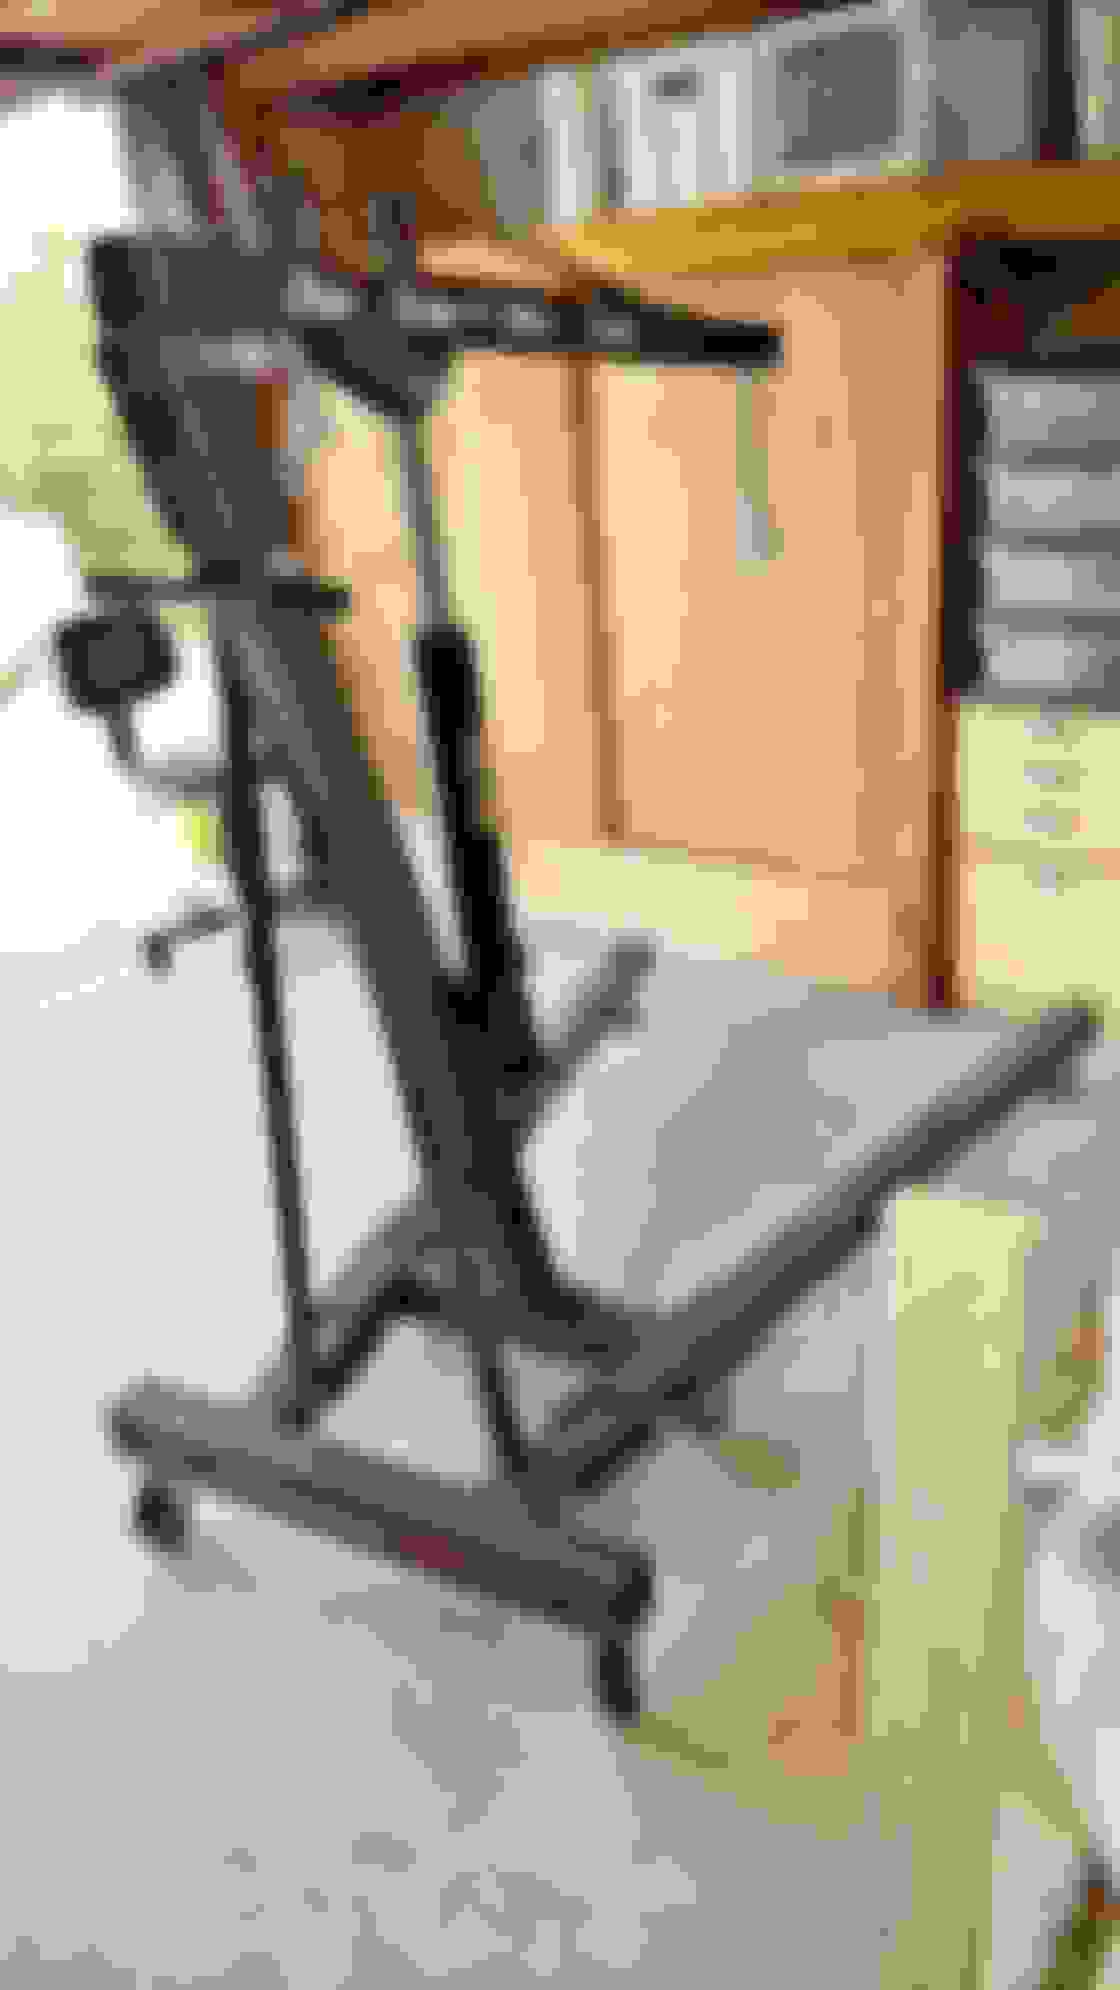
So that's about it until next time. I have the oil, ATF, and coolant drained out, as you can see. Most of the electrical connectors are unplugged (still cannot figure out how to unbolt the ground from the back of the driver's side head, as I cannot get enough torque on the wrench, so I'll try again as I lower it out--worst case, I cut the wire and reconnect after). The driveshaft, torque arm, panhard bar, panhard bar brace, Y-pipe/cats, midpipe/muffler/tips, alternator, and airbox are all out of the car. I have disconnected all coolant hoses, the rear shocks and anti-roll bar, throttle cable/cruise, AIR sys, steering linkage, shift linkage, and front brake lines.
I still have to disconnect the fuel line, AC line, trans fluid cooler lines, front anti-roll bar, front brake line to distribution block, and probably a few other bits before I can lower the front subframe. I already loosened the trans brace and 3 of the main subframe bolts (I was really worried these would be rusted tight, but they do turn with a big enough breaker).
I didn't caption anything, so if you have questions, just ask away.
Gas Monkey Built a 6-Wheel Ferrari Testarossa With a Corvette LT4 Engine
Slideshow: The controversial Ferrari F6 swaps its original flat-12 for a Corvette Z06-derived LT4 V8 and sends power to four rear wheels through a custom-built drivetrain.
7 Most Reliable High-Performance Engines GM Has Ever Built
Slideshow:These GM engines didn't just make huge power, they survived abuse, boost, track days, and six-digit mileage with a reputation for refusing to quit.
6 Common C5 Corvette Failures and What's Involved In Repairing Them
Slideshow: From wobbling harmonic balancers to failed EBCMs, these are the issues that define long-term C5 ownership and what repairs typically involve.
Retro Modern Bandit Pontiac Trans AM Comes With Burt Reynolds' Autograph
Slideshow: A modern Camaro transformed into a retro icon, this limited-run "Bandit" build blends nostalgia with brute force in a way few revivals manage.
Top 10 Greatest Cadillac V Series Performance Models Ever, Ranked
Slideshow: Cadillac didn't just crash the high-performance luxury vehicle party, it showed up loud, supercharged, and occasionally a little unhinged...
Coachbuilt N2A Anteros Is an LS2-Powered C6 Corvette In Italian Clothes
Slideshow: A one-off sports car that looks like a vintage Italian exotic-but hides a C6 Corvette underneath-just sold for the price of a new mid-engine Corvette.


 (Starting with the disassembly, and still in progress...)


 Okay, it's time to breathe some life back into this thread. I've been dealing with a leg/back nerve injury, but still making progress. I am essentially done with the engine build for now, minus the intake/fuel, exhaust, and accessories. The former cannot go on until I lower the engine into the subframe, as I need the lift plate for the hoist. The latter two will go on once I can take them off the LS1 in the car (or purchase new ones).


