When you click on links to various merchants on this site and make a purchase, this can result in this site earning a commission. Affiliate programs and affiliations include, but are not limited to, the eBay Partner Network.
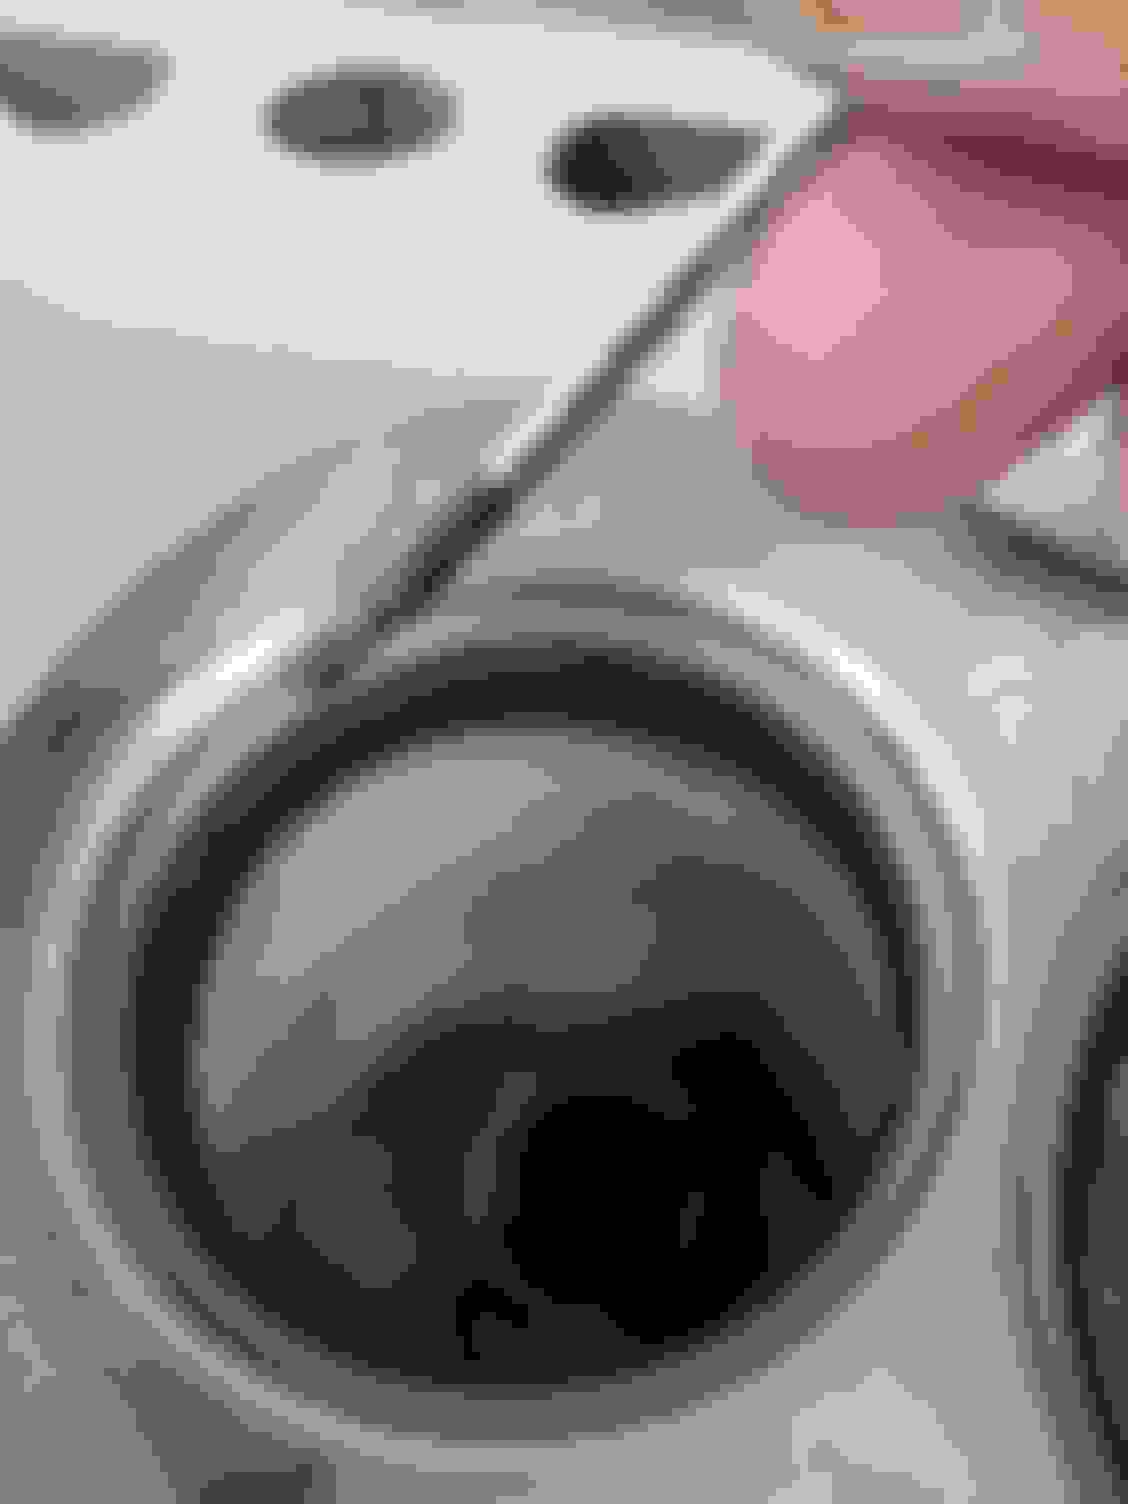
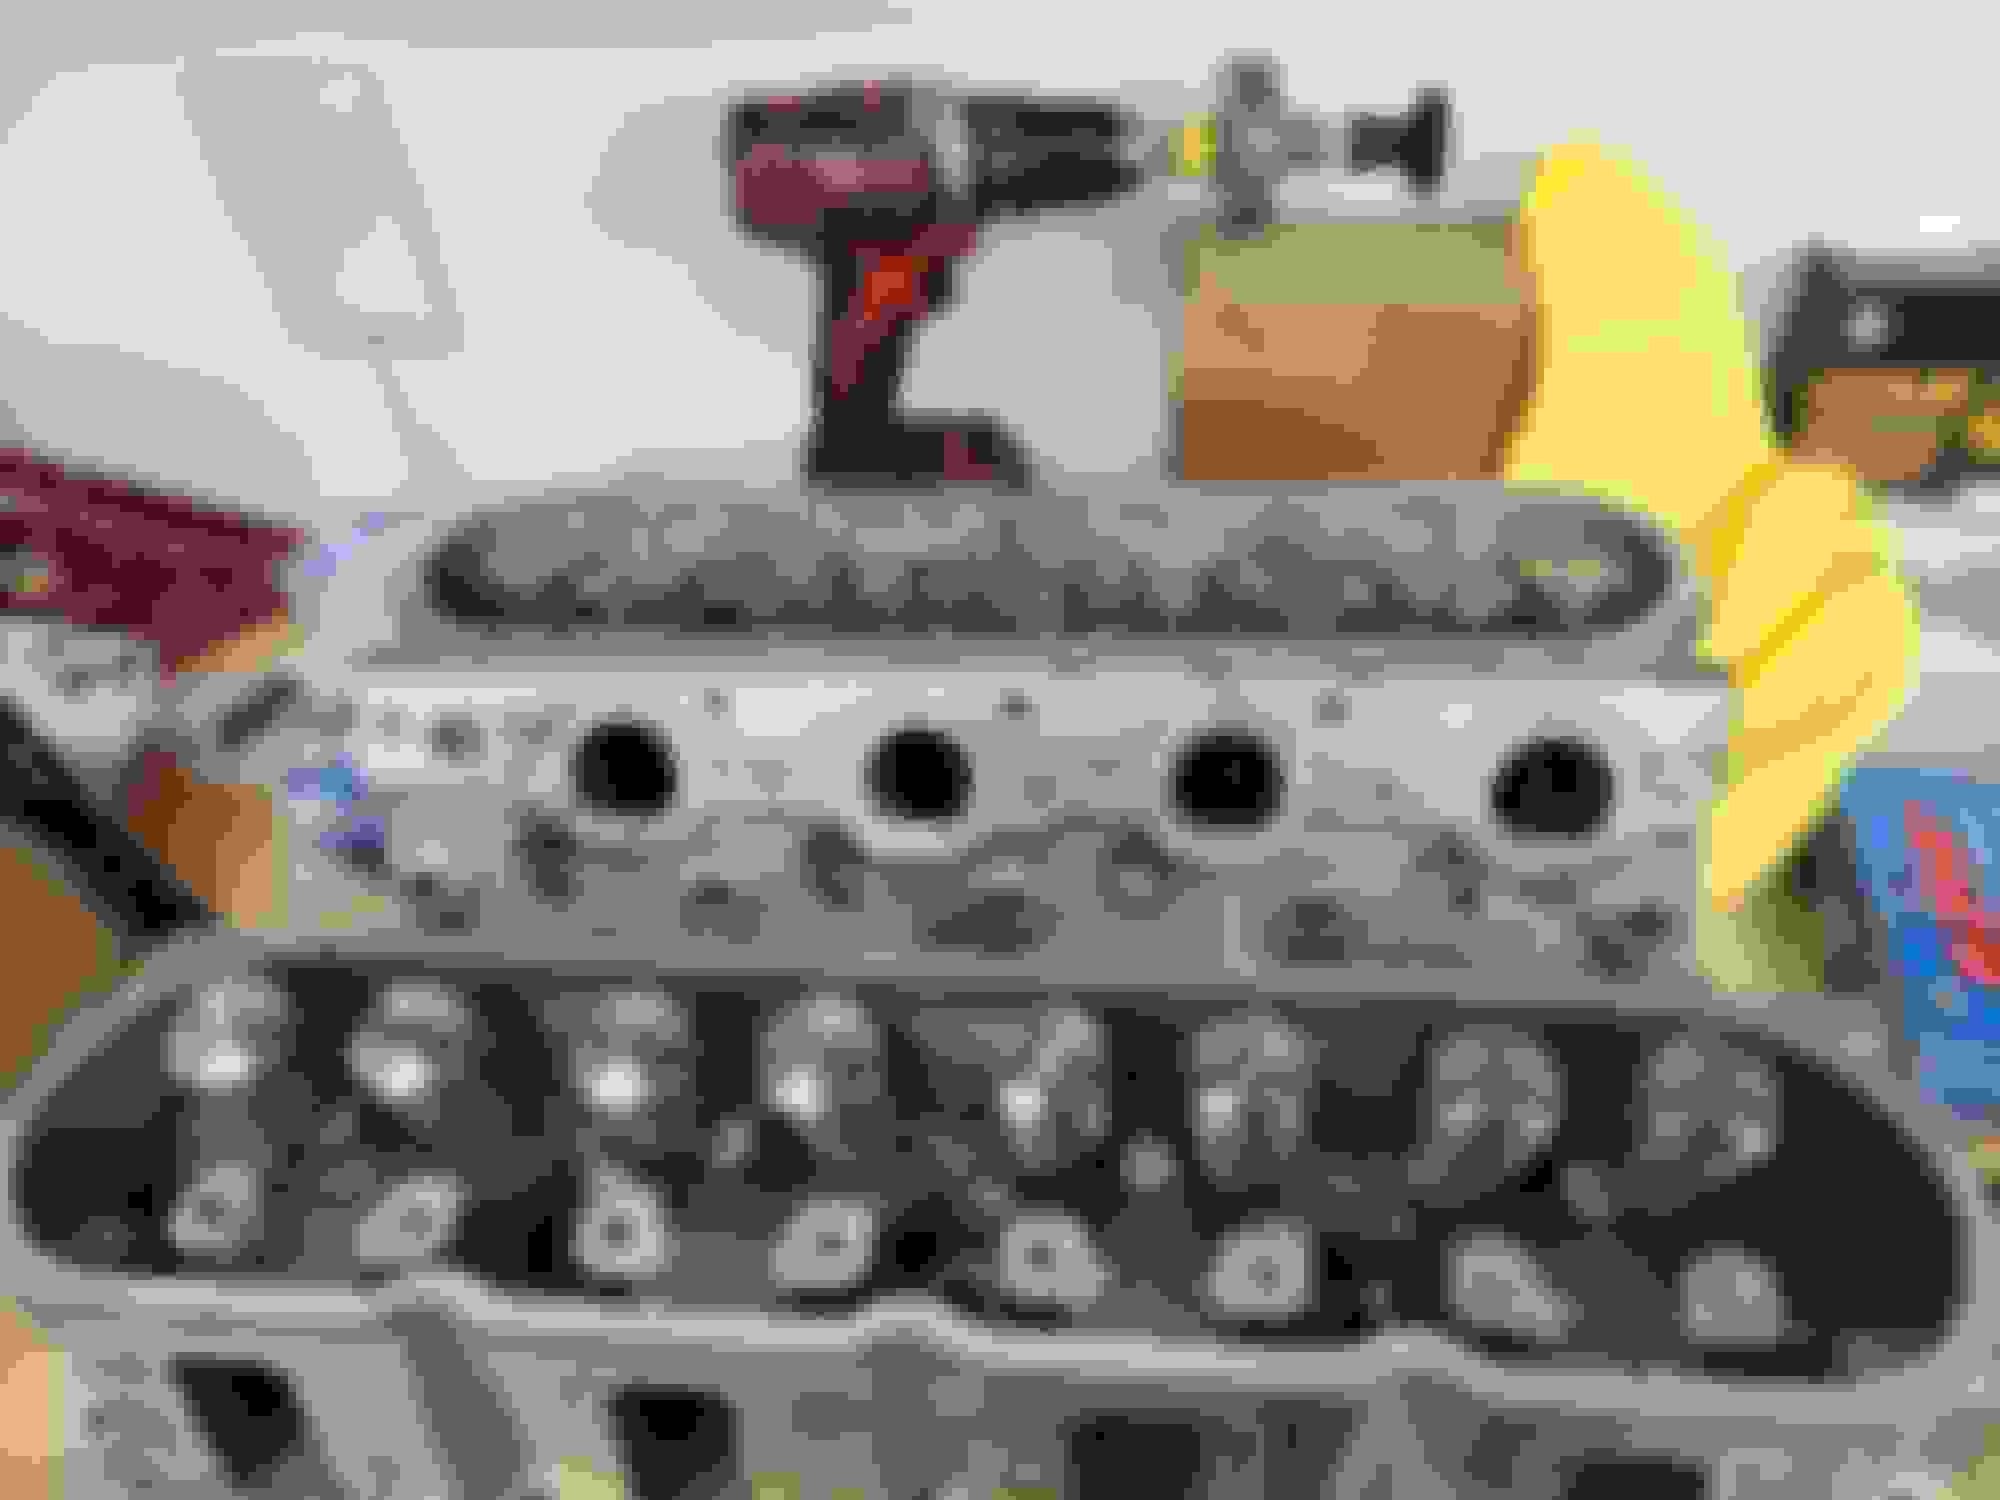
I got my new ls3 valves in the mail today. I decided to give them a lapping on my used 823 heads. The heads were sent to a machine shop and was hot tanked and decked. I didn't want to spend too much and opted out on the 3 angle valve job. Ive viewed a few videos on YouTube. I used the Amazon oscillating drill tool. Does the contact area look okay?
I'm using the permatex stuff from Amazon as well. I understand that it's roughly 120 grit as it starts and grinds down to 220. Maybe I didn't grind it down long enough to get it to 220? Or do I need 400 grit?
I agree with RB…make sure you wash the valves and heads after your done. You DO NOT want valve lapping compound in the cylinders. It’s very gritty and will hurt the rings. You can’t get the parts clean enough. On another note, and maybe it’s just the angle here, but are those exhaust valve seats as sunken as the picture looks? make sure when your done assembling the heads that the valve tips across the head are flat. Place a straight edge across all 8. If they differ…which they likely will with new valves…you’ll have a heck of a time with pushrod lengths.
I would have went for the 3 angle valve job. Too many L92 castings I’ve been on have terrible seat alignment and the intake seat often has a lip on top of it in the bowl itself. There’s a lot of power to be had in a quality 3 angle VJ.
I think I understand what you are saying, insert the valves, flipped the head and lay a straight edge across the tip of the stem to see the consistency between all of them? I'll try to take more pictures tomorrow.
Permatex valve grinding compound is good stuff and you mix it with water to get a finer grit but I would finish it off with a finer grit valve lapping compound to get a smoother finish. Be sure to clean them thouroughly as valve grinding compound can wreak havock. Looks to me like you didn't lap the valve very much because I only see contact at the edges of the valve. A way to check seal would be to install the valves and fill the combustion chamber up with rubbing alcohol and then spray compressed air into the intake and exhaust runners and look for any bubbles. If none then you most likely have a good valve to seat seal.
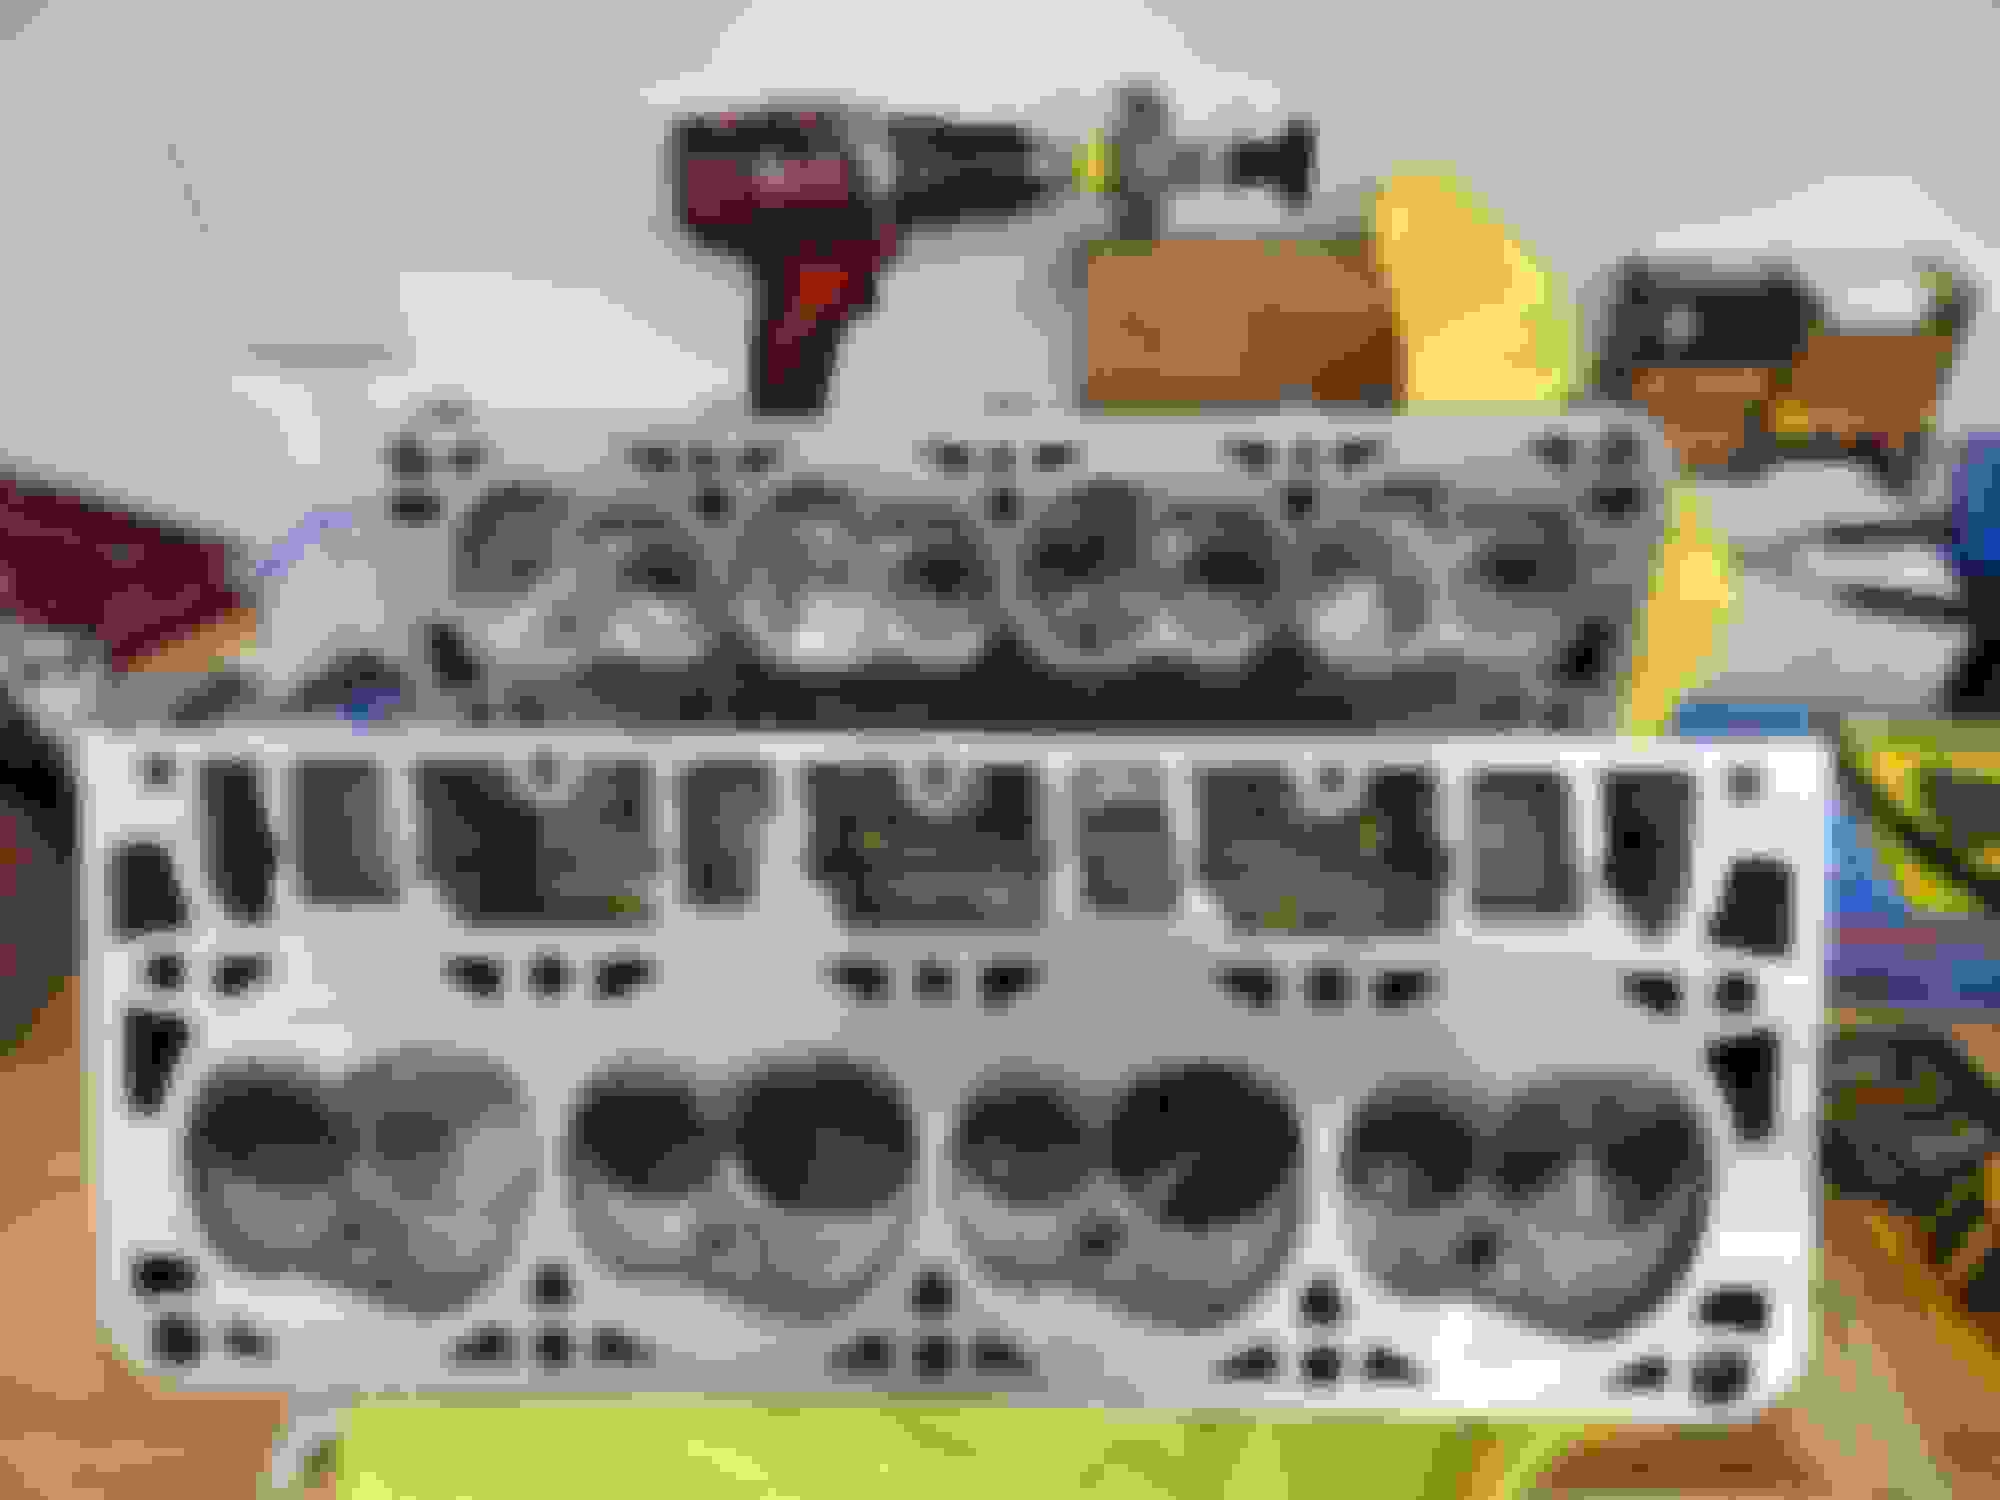
That's not what I see... I see lapping marks 2/3 to 3/4 of the way across the seat on the valve, and almost the whole seat in the head. Compare the seat in the head to the one next to it that hasn't been lapped, to see what really has happened.
I would have to also add, a valve job without at least 3 angles is a downgrade from stock. If this is any kind of performance build, as it seems like it wants to be, that's a MAJOR mistake, cheeeeeeping out on it like that. Just back-cutting the valve side, and easing the margin, are worth significant power gains, even on an already multi-angle valve job. The difference between a single-angle grind and 3-angle is well documented, as is the improvement from 3 to 5 angles. I don't think that was a very wise decision.
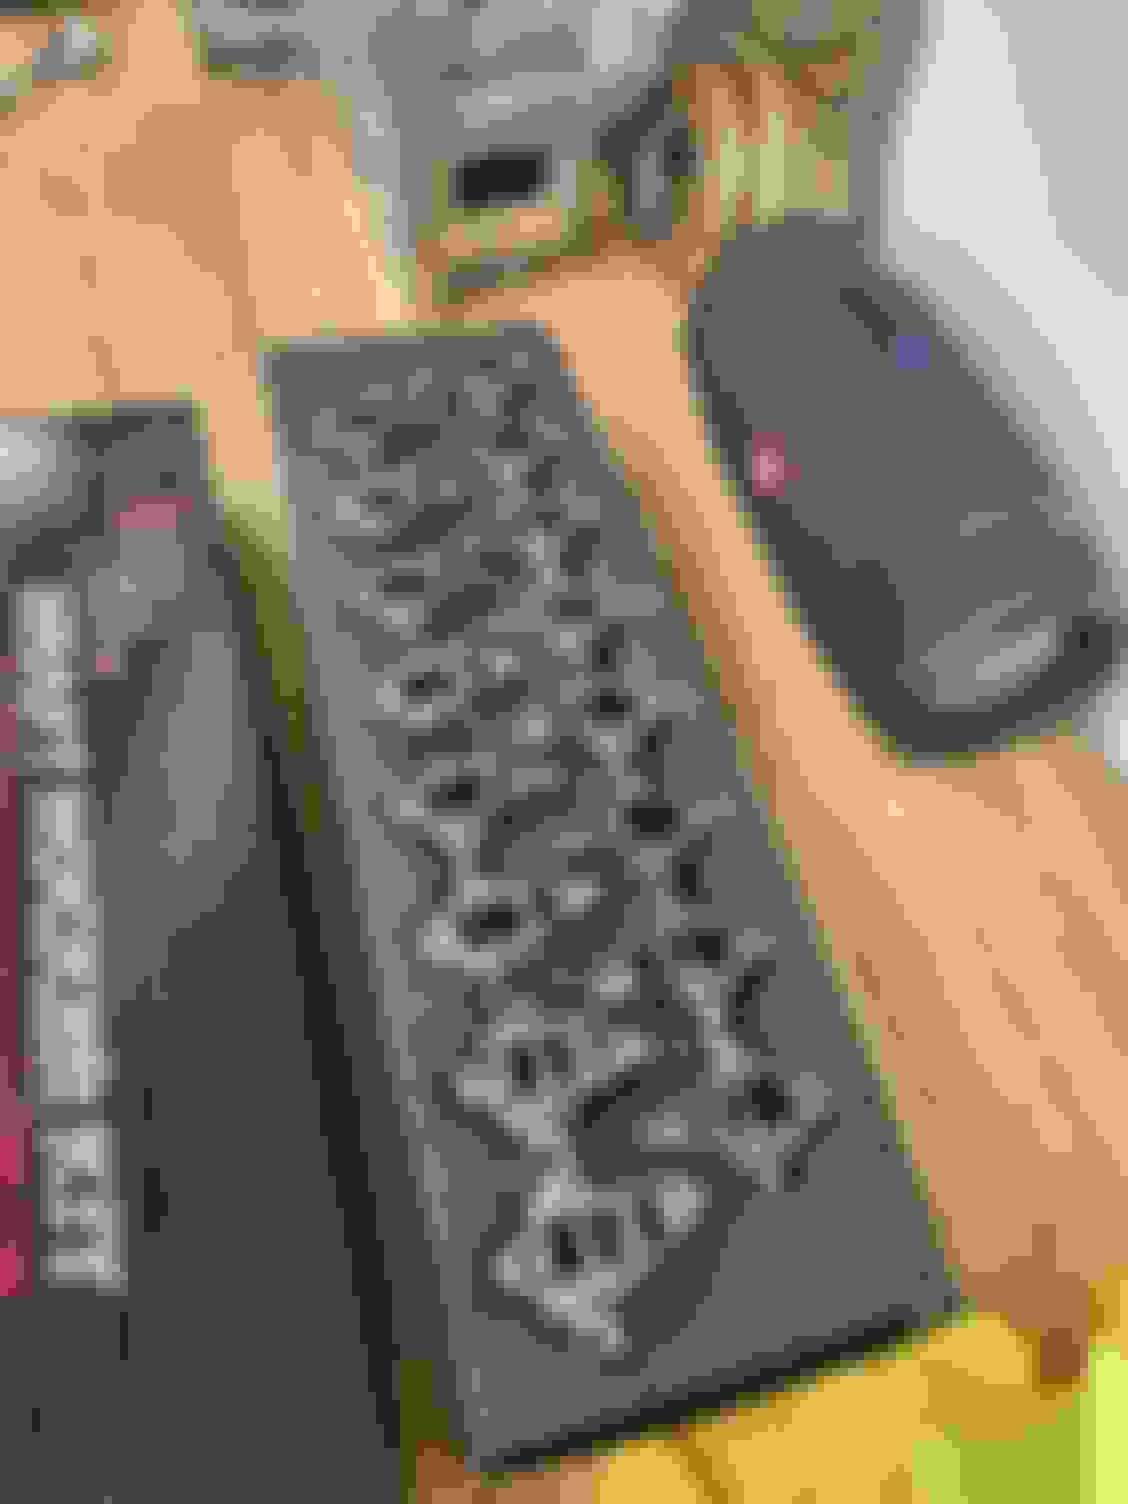
Okay, I took a swing at it again and feel a little better today. For the first go around, I'm using the permatex as is. I clean everything up and do a second round. The second round, I have diluted the permatex with some water. I'm listening while I lap to hear the change in pitch. The lines do look a little bit smoother today with that process. I'm pointing out where the contact point is with the mini flat head. I took a couple of comparison photos. The polished stuff is the brand valves. The darker gray areas and the lapped contact points.
I will definitely perform a leak down test, i think i can do it without any valve covers right?
As far as the 3 angle valve job, I'd do it in a heart beat. Unfortunately during this chapter in my life, I'm financially strained. I have a wedding coming up that I'm desperately trying to save for and paying a fabricator on the side for my desert prerunner. At the end of the day, if I can build my first engine ever and it being healthy and reliable, I'll be super happy. Bonus point if it can break the 600hp mark. Now this isn't to say the 3 angle job is out of the question. If the leak down test is conclusive that my lap job is poo poo, I'll return to my machinist.
Btw, is it normal for the exhaust valve to sit slightly higher than the intake?
Yes you can do a leakdown test w/o VCs. Set the head upside down & level, use some kind of solvent (alcohol as suggested above, gasoline, personally I usually use lacquer thinner, anything like that will work) and fill the chamber, watch the back of the valves in the ports.
Yes that does look substantially less aggressive.
Yes the exh will usually appear to sit higher, esp with just about any stock valves. They're MUCH thicker than the int. The seats and whatnot are about the same, just, there's way more meat on the chamber side of the head of the valve. The difference is plain to see in your last 2 pics.
I seriously doubt that you'll have trouble with leakdown. The valve job itself looks pretty straight and accurate. Lapping might not even really be necessary in such a case, which is not to say you shouldn't do it, only that you could probably get away with not bothering and never know the difference.
Sealing is improved by the psi of the valve against the seat. With a multi-angle grind you end up with a much narrower area of contact. Same lbs (valve springs), less sq in of seat contact, therefore more psi, therefore better sealing. In addition to the better flow.
It's a shame your shop would charge all that much more for a better valve job. Lots of shops nowadays use a Serdi machine which has a cutter that the knife has the shape of the seats built into it; IOW, you buy a cutter with whatever shape you want, just run it once, and it cuts all however many angles at one pass. Lots of people don't even use angles anymore, they just cut a smooth curve. The downside of those is, you have to have a specific cutter for every single profile you want to provide for your customers (or team), which can get REAL $$$$ in a hurry for the shop if they don't specialize in just a few valve sizes. I guess your shop must still have an older machine; a Sunnen or some such; where it uses a stone, and you have to re- set it up (adjust its angle) for each step of the cut, which of course takes time. 3 cuts take almost as much as 3 times as much time. Not quite that but more than twice as much.
Back cutting is easing the transition from the seat grind to the head of the valve, on the stem side. You can do this yourself: chuck the valves up in your drill press, take your air grinder or even just a drill with a sanding drum, spin the valve while grinding that edge down smooth. Your intakes already have it and don't need more work so very badly, butt the exhausts are pretty ugly there and could seriously use it. The margin is where the seat meets the head surface opposite the stem; same procedure works fine there to knock that sharp corner off, just make an effort to turn that into a fillet rather than a chamfer by moving the sanding drum. In either case be careful not to touch the sealing area. You can see pretty clearly how sharp those transitions are on those valves, esp the margins; that causes extreme turbulence as the air tries to go through there, especially at lower lifts, leading to MUCH poorer overall flow.
All great points! I actually thought more contact areas was better for sealing! But the idea of less contact area equals more pressure for a better seal makes sense. The devil is in the details. Being able to reduce air drag and turbulence is key for maximum flow and efficiency.
Quick update. I managed to get the springs in! It was a huge pain in the *** with the keeper pins. Everything is looking great so far! Looking forward to install the rockers.
I'll have to take a picture when I get home. I'm sure it's a little off. I'm gonna get an adjustable rod to measure the valves. I'm going to go through each one haha.
Retro Modern Bandit Pontiac Trans AM Comes With Burt Reynolds' Autograph
Slideshow: A modern Camaro transformed into a retro icon, this limited-run "Bandit" build blends nostalgia with brute force in a way few revivals manage.
Top 10 Greatest Cadillac V Series Performance Models Ever, Ranked
Slideshow: Cadillac didn't just crash the high-performance luxury vehicle party, it showed up loud, supercharged, and occasionally a little unhinged...
Coachbuilt N2A Anteros Is an LS2-Powered C6 Corvette In Italian Clothes
Slideshow: A one-off sports car that looks like a vintage Italian exotic-but hides a C6 Corvette underneath-just sold for the price of a new mid-engine Corvette.