catch can install/how to
#1
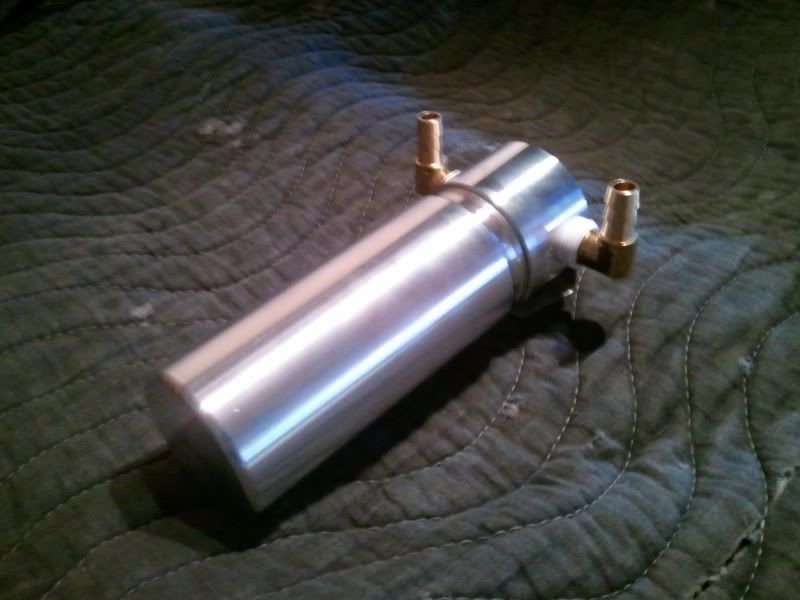
Assmebled, catch can
Here it is opened up with the Coalescing Filter exposed
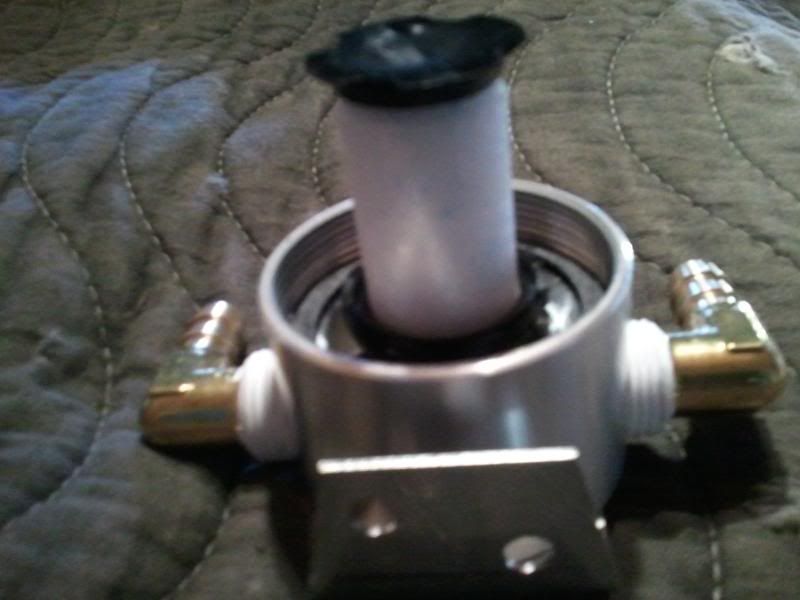
This type of filter is specifically designed to remove solid particulates, water and oil
aerosols down to .01 micron. They provide superior filtration, unlike the typical mesh-type filter, the air exiting the filter is not exposed to the trapped liquids, which can slosh enough to allow retrainment of oil into the airstream that is heading into the intake manifold.
I started off, by figuring out where to mount the 2" can. After looking around I decided to mount it on to my CAI box.
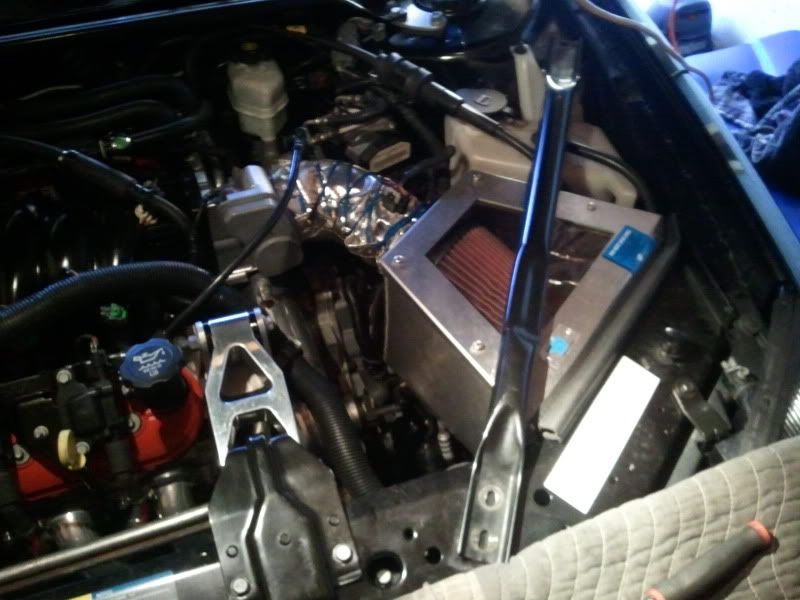
Had to remove the brace, lid, air filter, PCM and ECM, followed by the box.
After marking and drilling the holes, I installed the mounting bracket and canister using a few bolts, lock washers and nuts. Then I re-installed the CAI box.
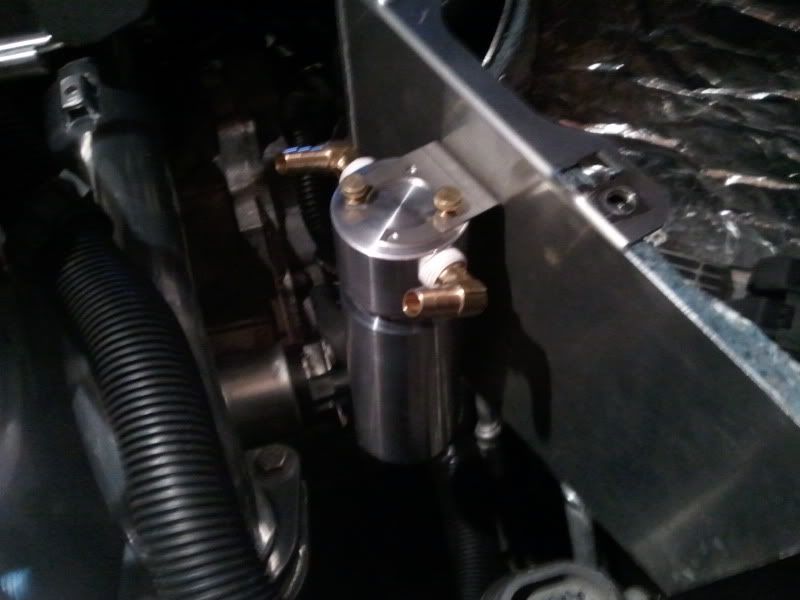
There are only two hose's that need to be connected. One from the intake manifold vacuum source to the vacuum port on the canister, and the other from the canister to the rear valve cover.
I bought 4ft of 3/8" hose and use it for routing.
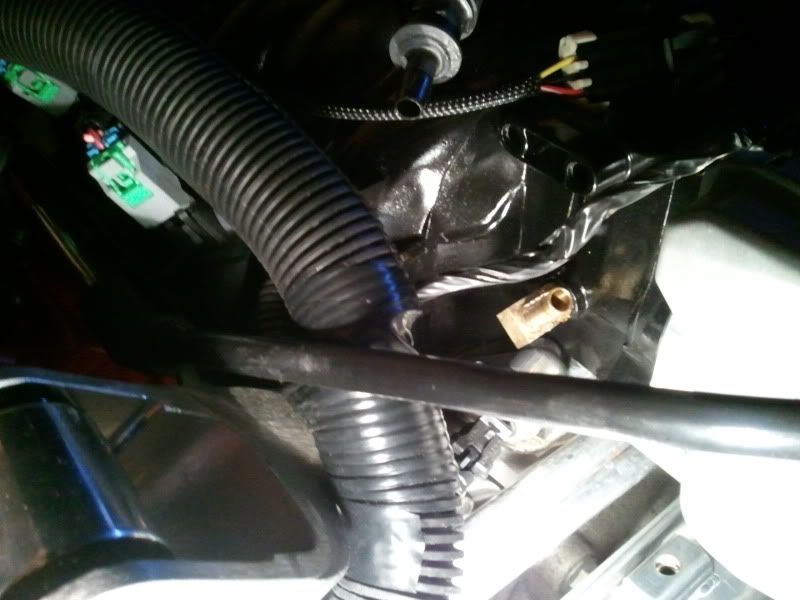
This is my LS6 pcv vacuum source. (Brass fitting)
Here is my valve cover pcv source (Plastic fitting with LS1 PCV valve. I had to build my own adapter to mount. This is not kit required but a good idea to use with LS1/LS6 intake swaps.
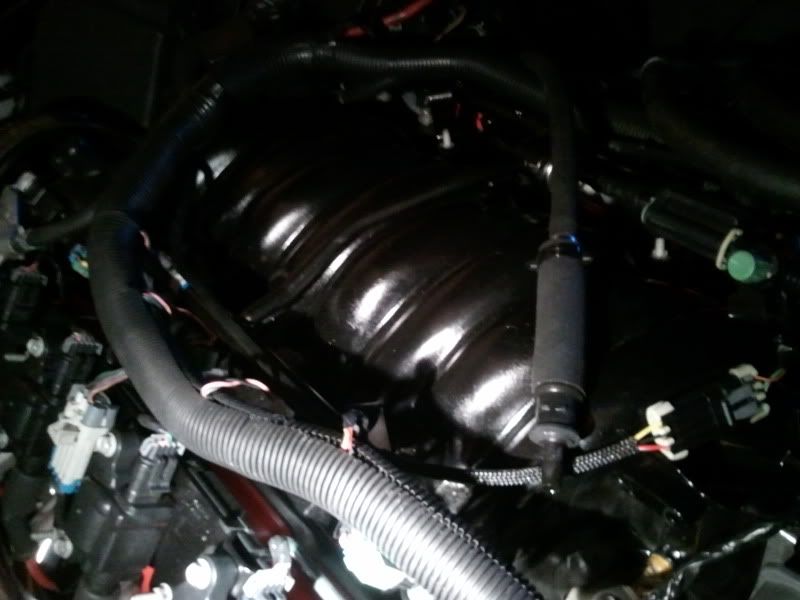
Here are the lines all hooked up and ready to go
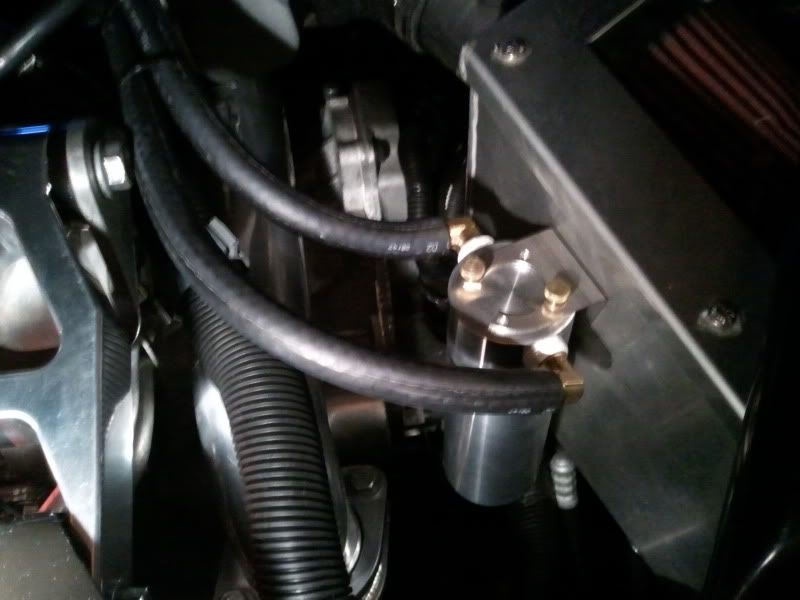
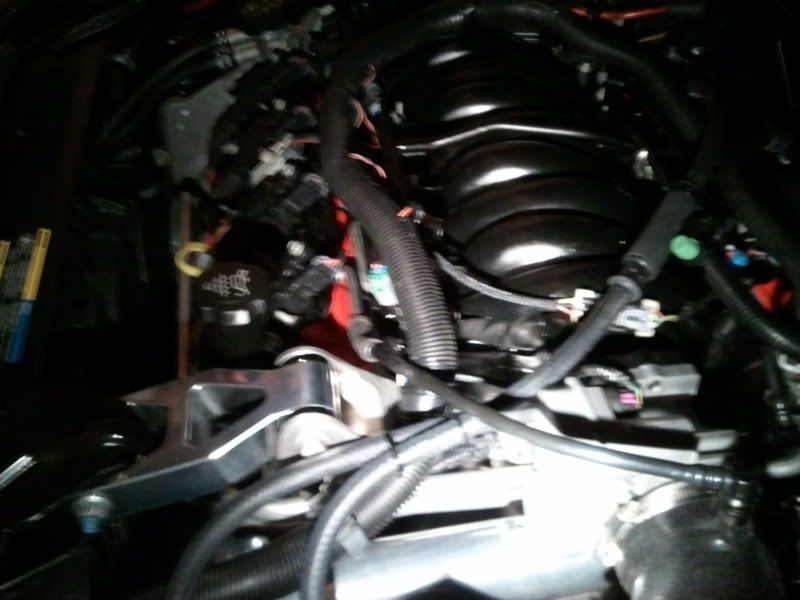
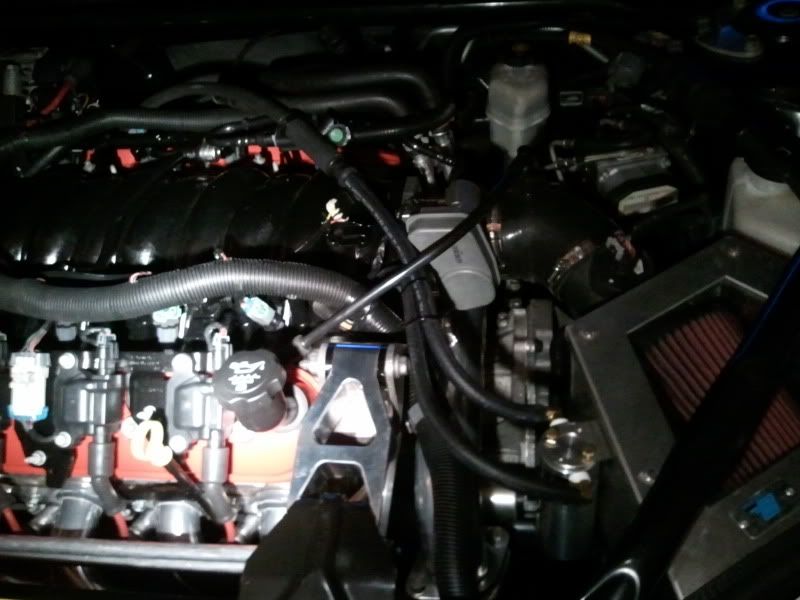
For my setup, the canister vacuum fitting thats foward went to my intake and the rear fitting went to the rear valve cover.

Here it is opened up with the Coalescing Filter exposed

This type of filter is specifically designed to remove solid particulates, water and oil
aerosols down to .01 micron. They provide superior filtration, unlike the typical mesh-type filter, the air exiting the filter is not exposed to the trapped liquids, which can slosh enough to allow retrainment of oil into the airstream that is heading into the intake manifold.
I started off, by figuring out where to mount the 2" can. After looking around I decided to mount it on to my CAI box.

Had to remove the brace, lid, air filter, PCM and ECM, followed by the box.
After marking and drilling the holes, I installed the mounting bracket and canister using a few bolts, lock washers and nuts. Then I re-installed the CAI box.

There are only two hose's that need to be connected. One from the intake manifold vacuum source to the vacuum port on the canister, and the other from the canister to the rear valve cover.
I bought 4ft of 3/8" hose and use it for routing.
This is my LS6 pcv vacuum source. (Brass fitting)

Here is my valve cover pcv source (Plastic fitting with LS1 PCV valve. I had to build my own adapter to mount. This is not kit required but a good idea to use with LS1/LS6 intake swaps.

Here are the lines all hooked up and ready to go


For my setup, the canister vacuum fitting thats foward went to my intake and the rear fitting went to the rear valve cover.
Last edited by DavidGXP; 05-06-2011 at 12:53 AM.
#5
conceptual polymer is the name of the catch can. Search for it by name and you shall find.
The PCV valve, is a LS1 valve which took some fabbing to make work. I used a couple of different plastic hose couplers. I had to cut them down and glue them together in order to use two different sized hoese.
The PCV valve, is a LS1 valve which took some fabbing to make work. I used a couple of different plastic hose couplers. I had to cut them down and glue them together in order to use two different sized hoese.


