Ebay Headers Are Here


 02-18-2009, 01:33 PM
#46

Always a smart (Or Dumb) one in the bunch, if someone says beware when you install headders it might hit the steering column, what do you say, well duh what do we do, not install the headders.. I just meant that repeated heat cycles might cause cracks and to keep an eye out, Understand now..Why do people like you get on and give a worthless response. Bored I guess...
02-18-2009, 02:23 PM
#48
It depends what all they are made of, yes they are stainless steel but how much nickel, content, chromium ect. Stainless retains heat better that mild steel so this helps in the scavenging dept will helps produce more HP. Some Turbo kits were made of a stainless steel and were developing cracks at the welds due to the hight heat, but again they were made of the lesser desired metals...
02-22-2009, 08:08 PM
#49
TECH Apprentice
Thread Starter

Slight update, me and my dad tackled the passenger motor mount, got that all done. Jacked the car up high (used 10in ramps with a piece of wood on top of each one) and held my breathe:
Driver side fell into place literally in about 30 seconds from the bottom.
Passenger side went in from the bottom and took maybe 10 minutes.
The easiest part of this whole install so far. Right now they are held in by 2 bolts. I won't post pictures of clearance yet because some smart *** will say "you only have two bolts in". But I can hold them against the head as if the bolts are all in and the clearance is fantastic. Neither header is even remotely close to rubbing on the frame, k-member, motor mounts, etc... They also tuck up very nice to the floorboards.
Even though the motor mounts took the longest amount of time, they were definitely worthwhile to do. They were starting to crack and were sagging around the through bolt holes. I'll get pics up soon to show what they look like.
02-23-2009, 09:35 PM
#52
TECH Apprentice
Thread Starter
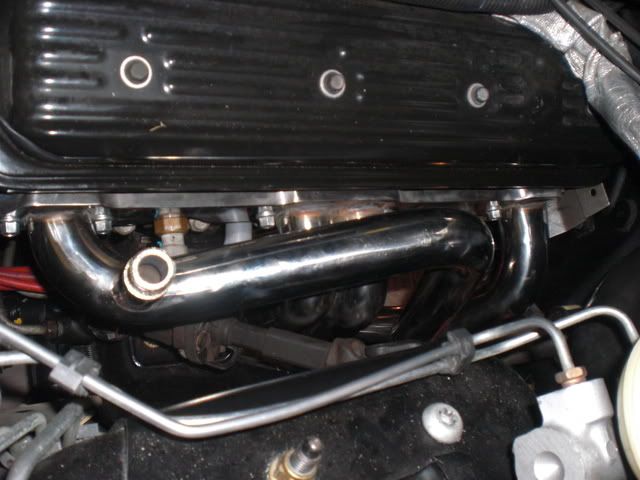
Picture time!!!
Got driver side 99% done. All that's left is to tighten the O2 sensor and wrap some of the wires out of the way. Header hits nowhere, steering shaft does not hit either. All of the header bolts went in fine with no hitches.

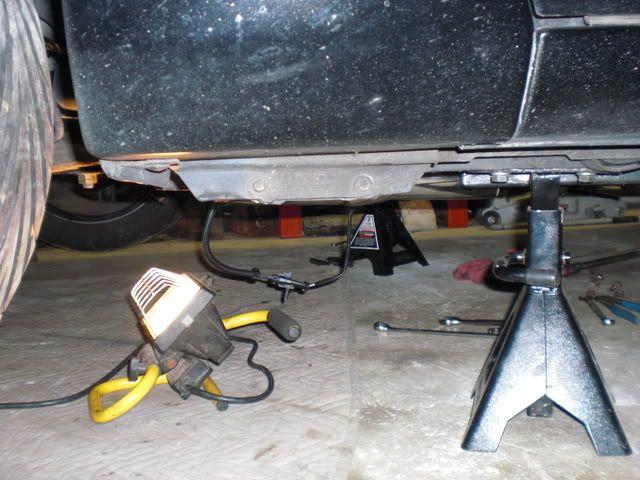
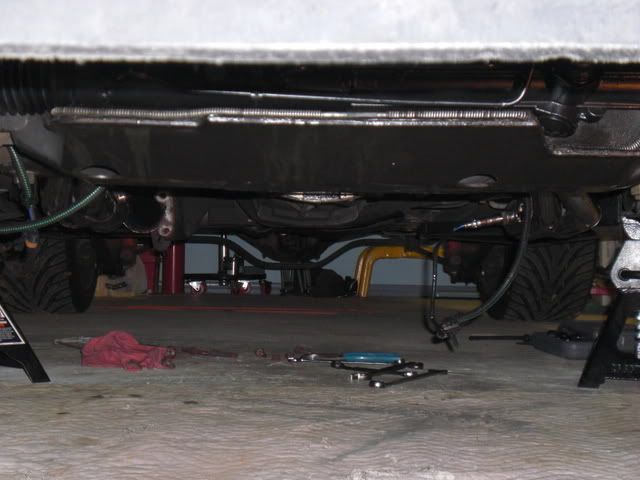
Ground clearance looks good - they only hang around the same height as the sub frame connectors.
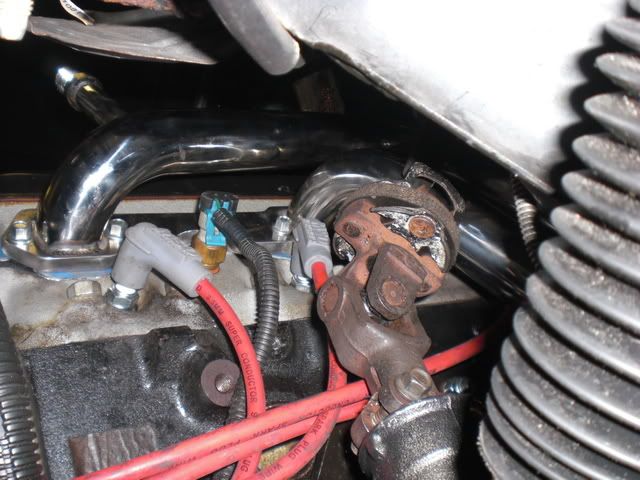
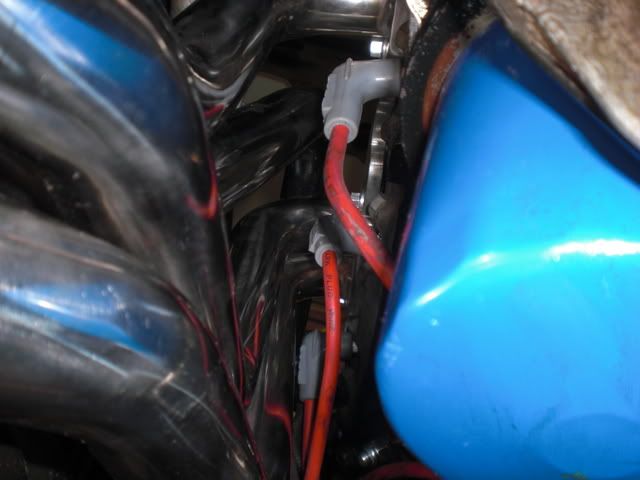
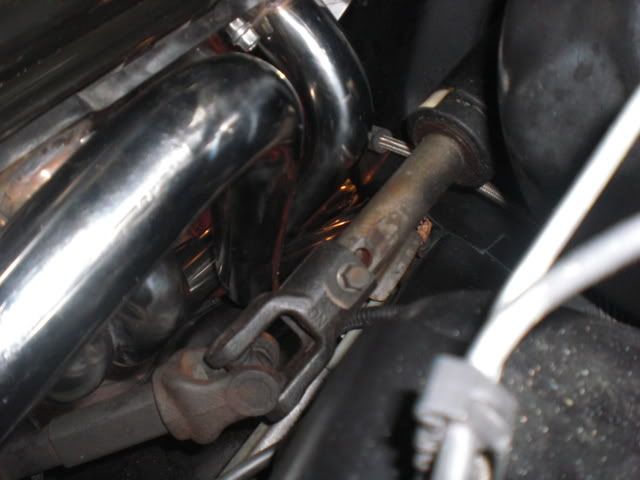
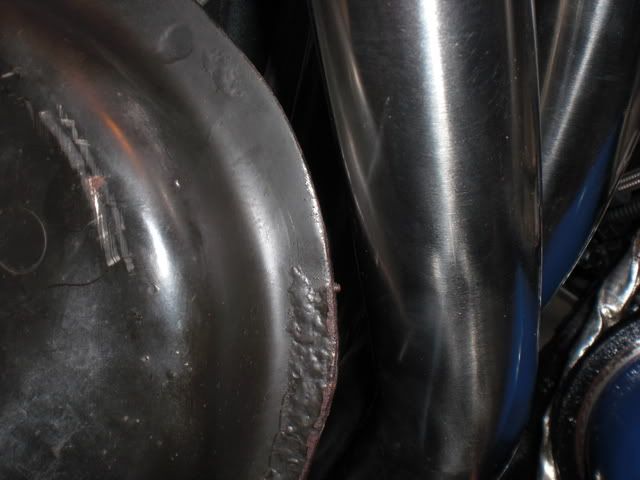
The closest the header gets to anything.
Only needed a 12in. extension for driver side, but I wanted to be safe than sorry.
Got driver side 99% done. All that's left is to tighten the O2 sensor and wrap some of the wires out of the way. Header hits nowhere, steering shaft does not hit either. All of the header bolts went in fine with no hitches.
Ground clearance looks good - they only hang around the same height as the sub frame connectors.
The closest the header gets to anything.
Only needed a 12in. extension for driver side, but I wanted to be safe than sorry.
 02-23-2009, 09:53 PM
#55
TECH Apprentice
Thread Starter
02-24-2009, 09:02 AM
#59
TECH Fanatic
