


Motor Mount Issues... The never ending list!
Thread Starter
Launching!
Joined: Jan 2010
Posts: 248
Likes: 0
From: Maryland
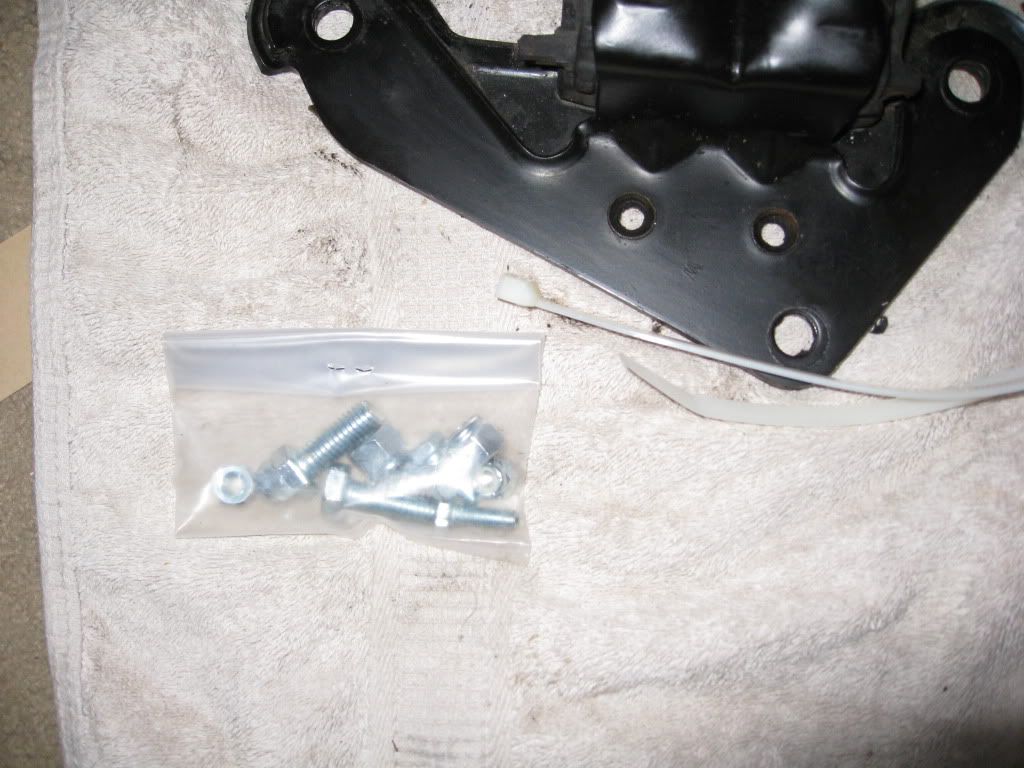
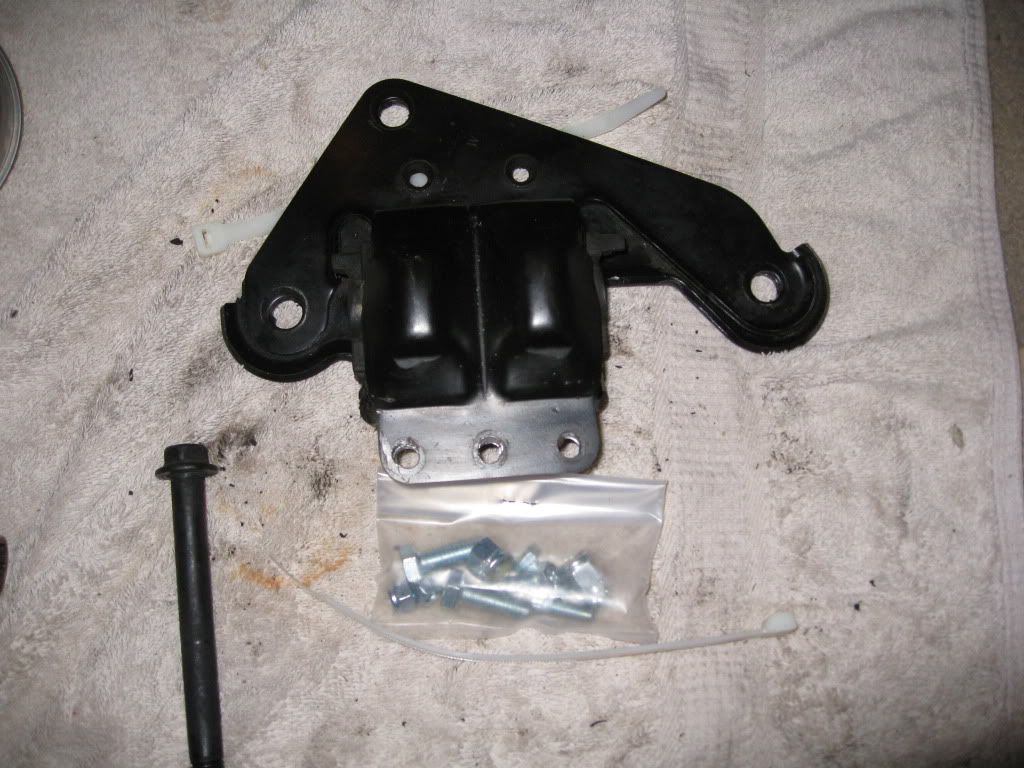
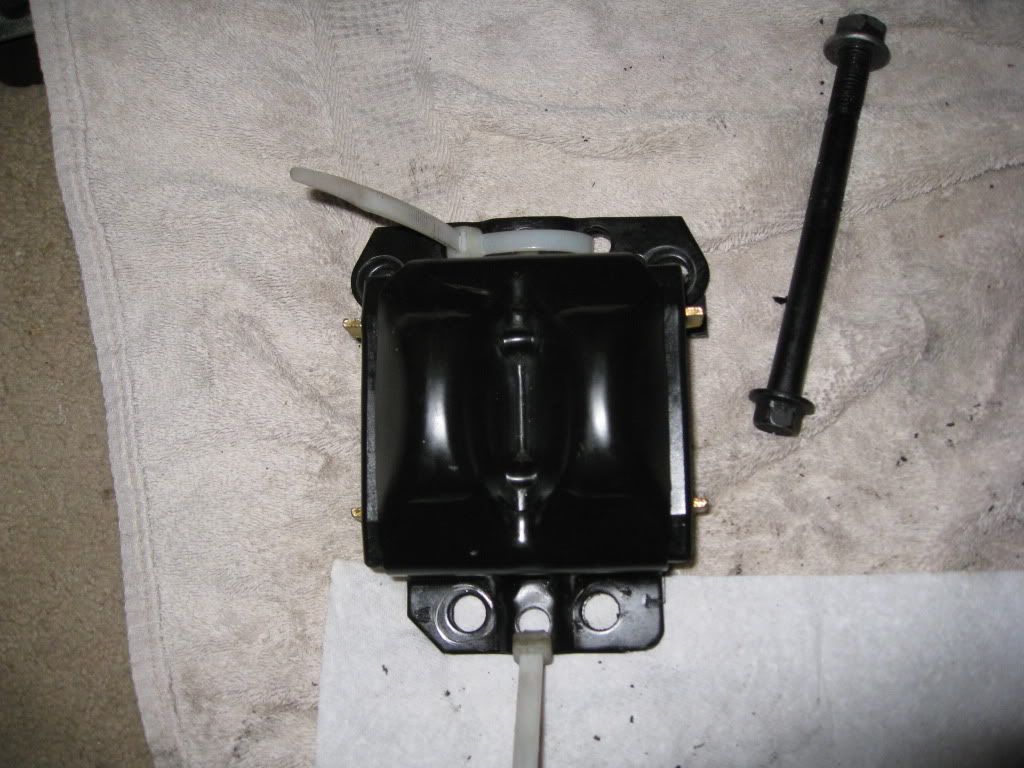
Okay so right now I am doing this in my room, yes i have these oily *** parts in my perfectly clean house! so here is where I'm at, I removed one of the motor mounts cleaned it up, and took it apart, and now I am at a loss as too how I remove these old bushings, I was thinking about a long socket and a vise, but I wanted to see what you guys had to say first... need that insider know how! Maybe a little  ?!?!
?!?! 
Thanks again guys, know I am pain, I promise the Build is almost done!
And of course Pics ------>
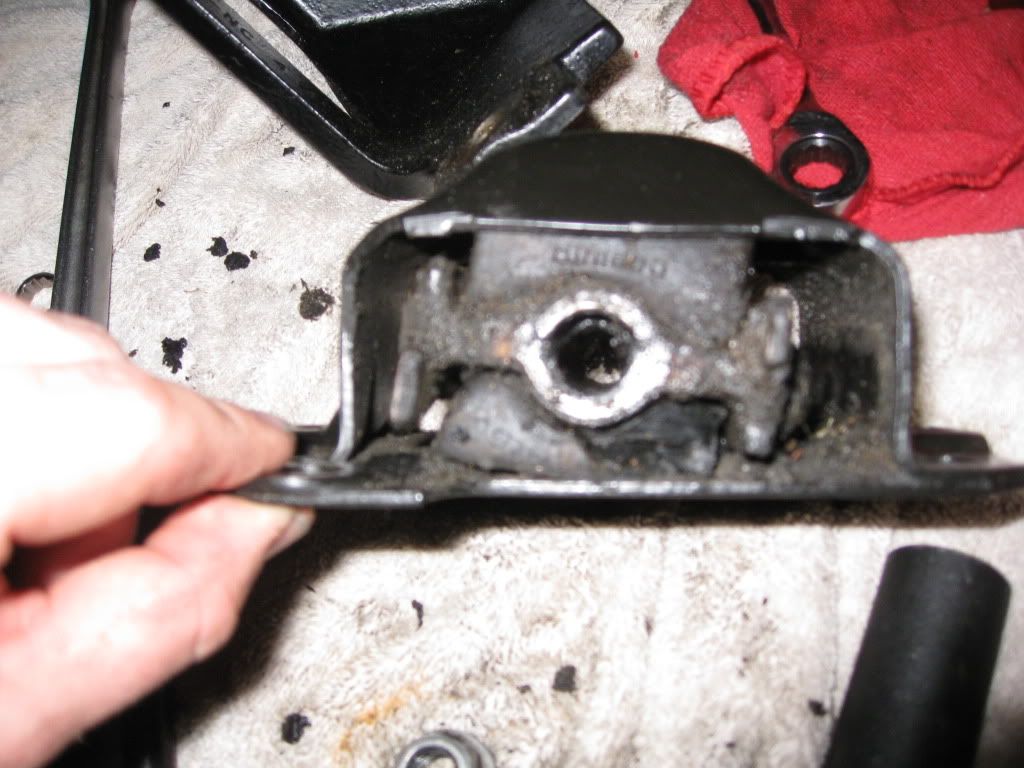
Side #1, Motor Mount Bushing #1
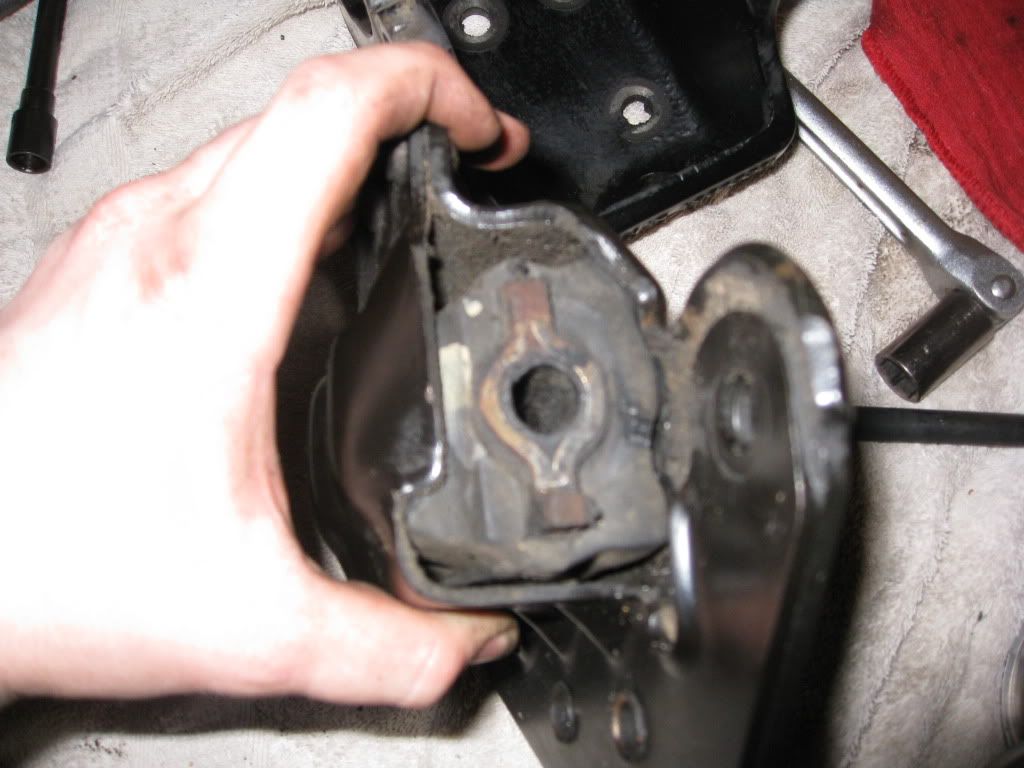
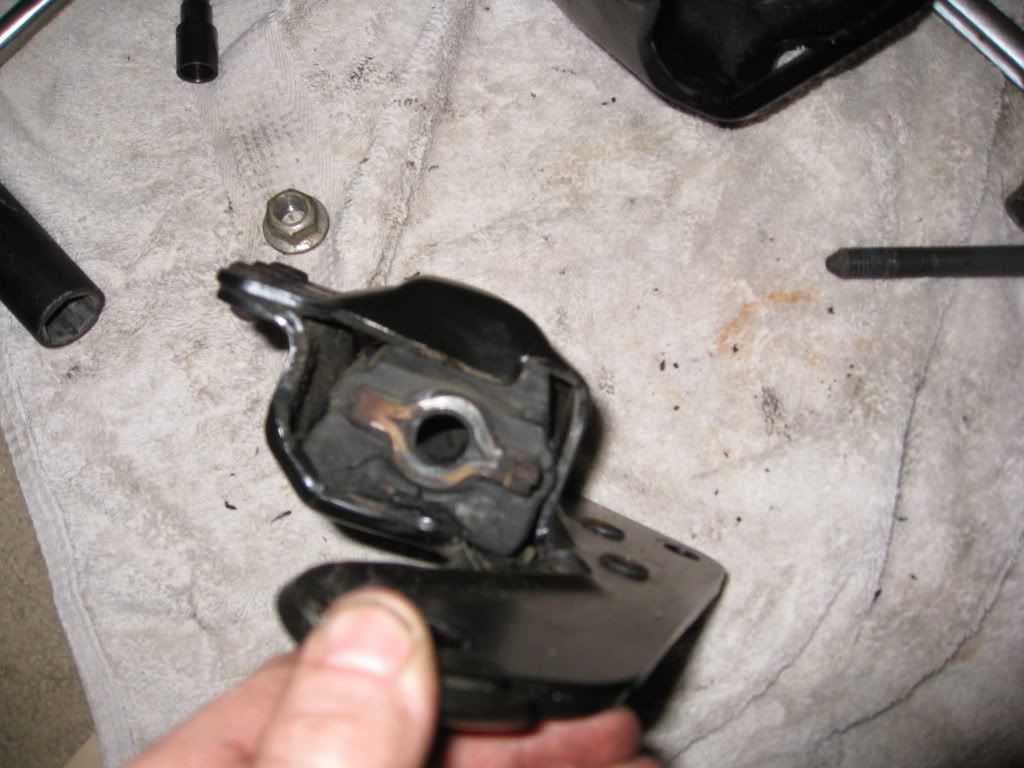
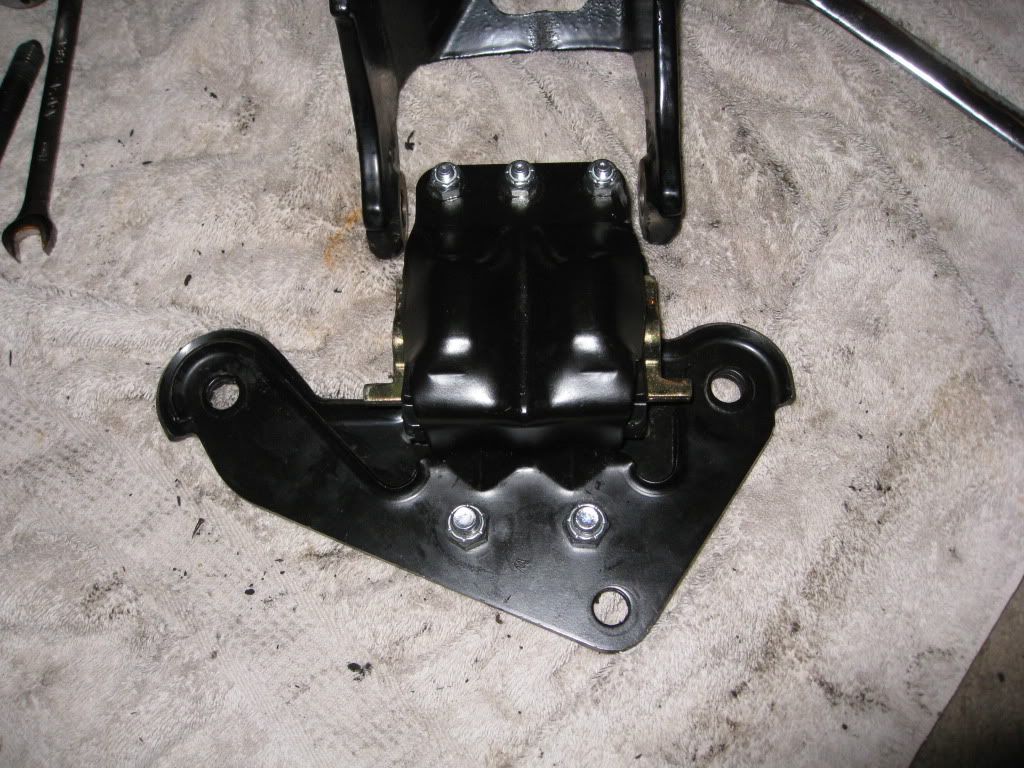
Side #2, Motor Mount Bushing #1


?!?! Thanks again guys, know I am pain, I promise the Build is almost done!
And of course Pics ------>
Side #1, Motor Mount Bushing #1
Side #2, Motor Mount Bushing #1
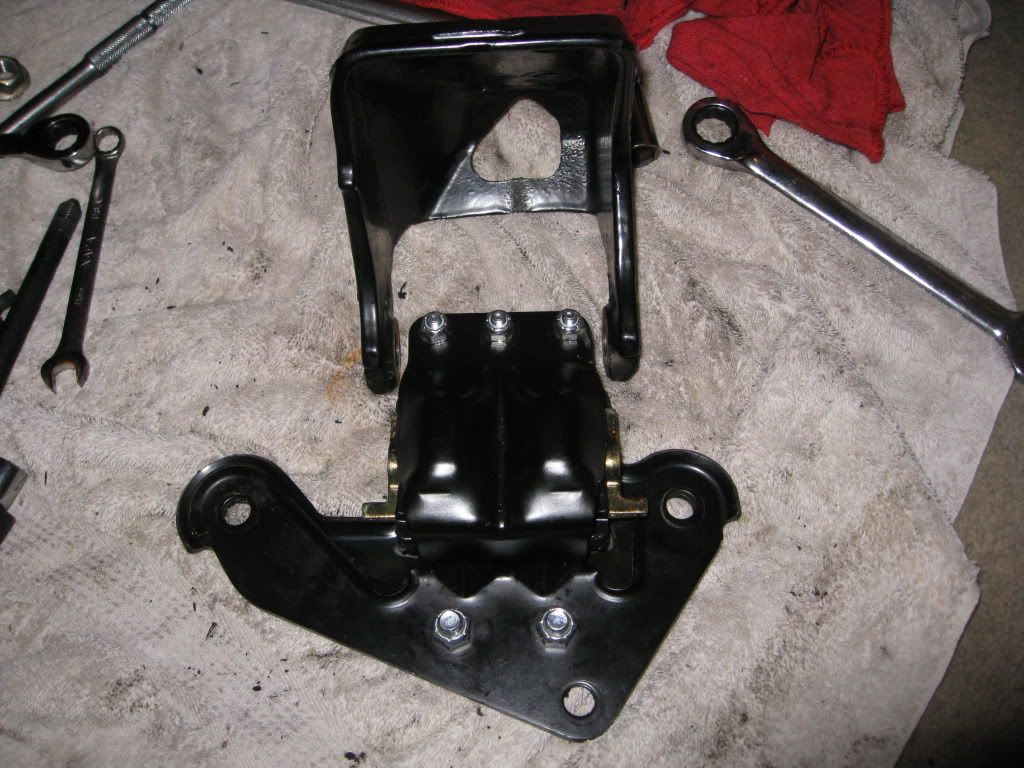
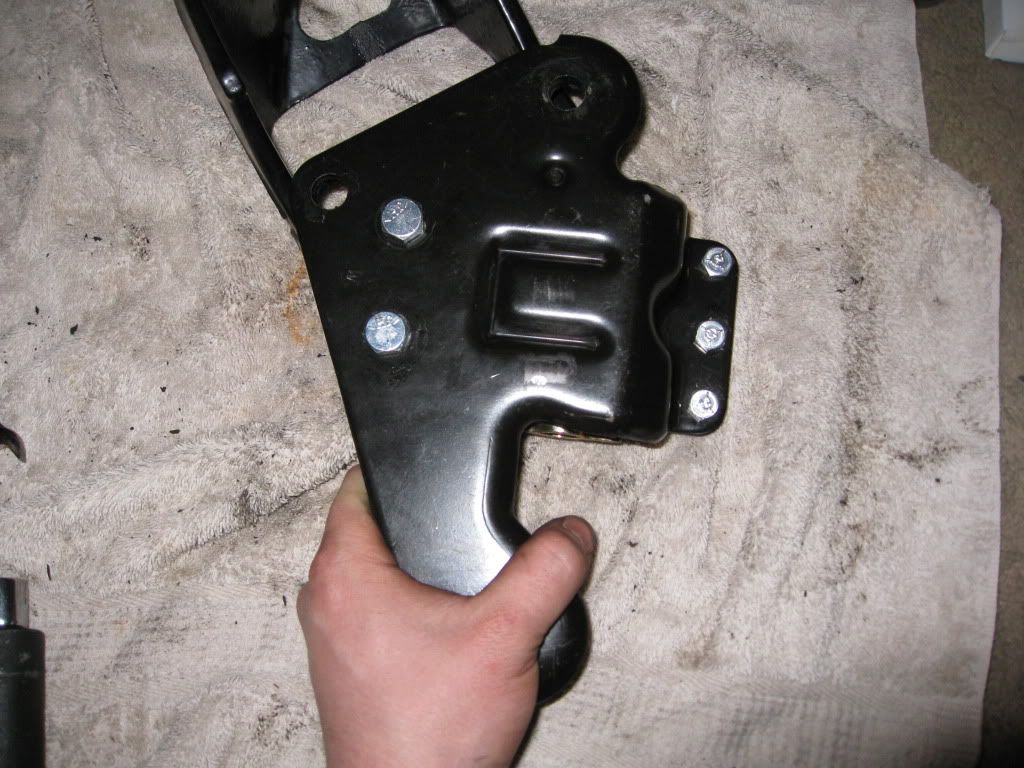
yes just did these last week. drill out those rivits and take out the old ruber. On the driver side you will use ALL of the nuts and bolts. the zip ties are for the passenger side. The three small bolts go in the bottom of the driver side mount and the 2 larger go in the top of the driver side mount. the two zip ties go one in the top of the passenger and one in the bottom.
Trending Topics
LS1 Tech Stories
The Best V8 Stories One Small Block at Time

6 Common C5 Corvette Failures and What's Involved In Repairing Them
Pouria Savadkouei
Retro Modern Bandit Pontiac Trans AM Comes With Burt Reynolds' Autograph
Verdad Gallardo
Top 10 Greatest Cadillac V Series Performance Models Ever, Ranked
Pouria Savadkouei
Top 10 Most Powerful Chevy Trucks Ever Made!

Hennessey's New Supercharged Silverado ZR2 Has 700 HP
Verdad Gallardo
Coachbuilt N2A Anteros Is an LS2-Powered C6 Corvette In Italian Clothes
Verdad Gallardo
Awesome K5 Blazer Restomod Comes With C7 Corvette Power
Verdad Gallardo
10 Camaros You Should Never Buy

10 LS Engine Myths That Refuse to Die
Verdad Gallardo Thats the right way to take them apart. Thats why they came with bolts, to hold the clam shell together where the rivits went. There should be directions with the new mounts explaining everything.
Edit- ^ Those guys beat me to the answer.
Edit- ^ Those guys beat me to the answer.
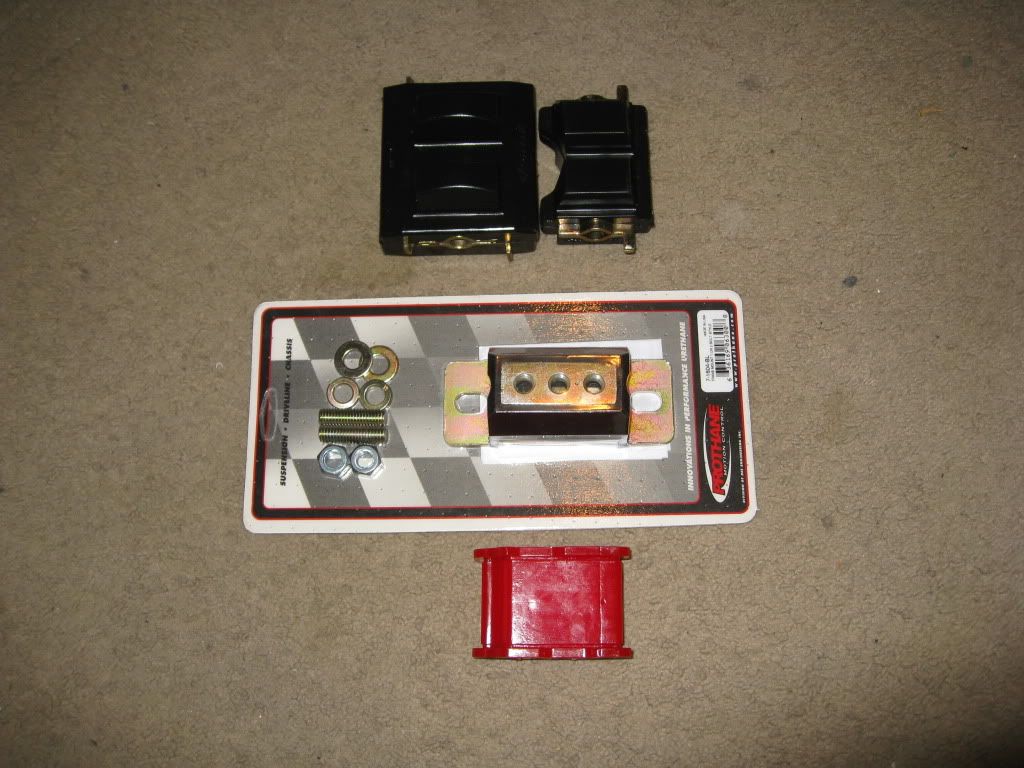
boostedpower i dont mind help people out, just like others, but your motor mounts didnt come with any instructions? I replaced mine out a few months ago and the instructions were word for word on how to do this. It takes a lot of the guessing game out of it. Just figured i would ask. My kit did not use the zip ties at all. My instructions stated that they were for a different design motor mount housing. My kit came with bolts and nuts for both sides.
Thread Starter
Launching!
Joined: Jan 2010
Posts: 248
Likes: 0
From: Maryland
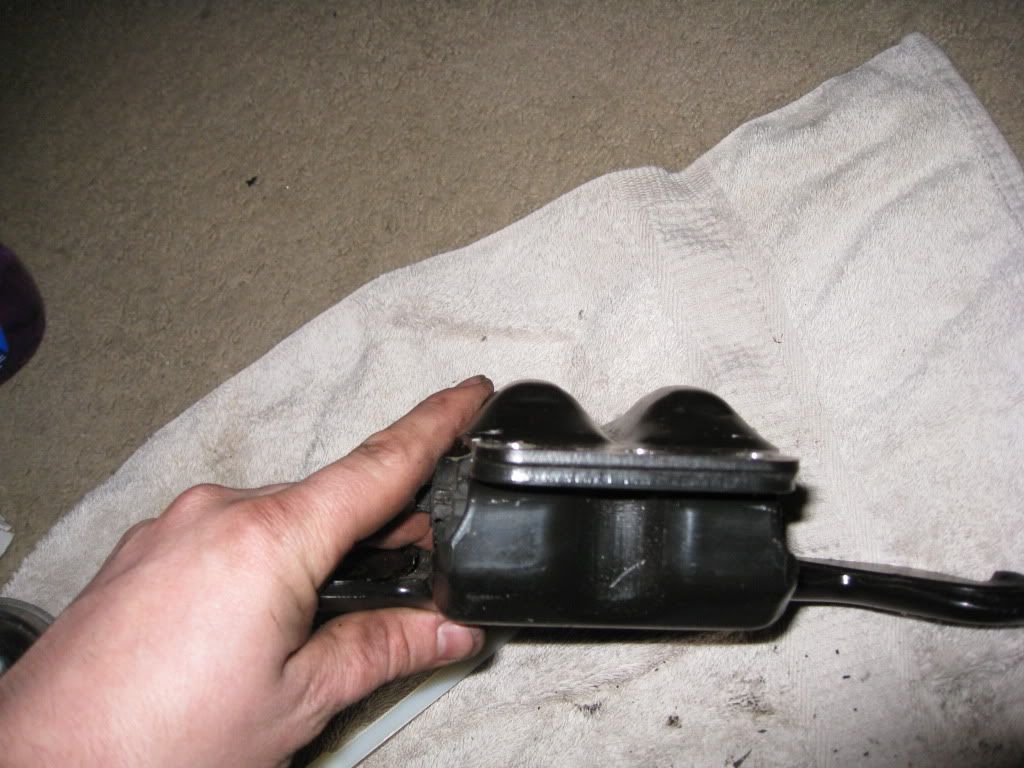
Old Vs New Now, The drivers side mount bushing was dry rotted and had tears in it, the passenger side was alot better but still had some dry rotting and some tears (minor) pics before and after, and some in between! ---->
Before:
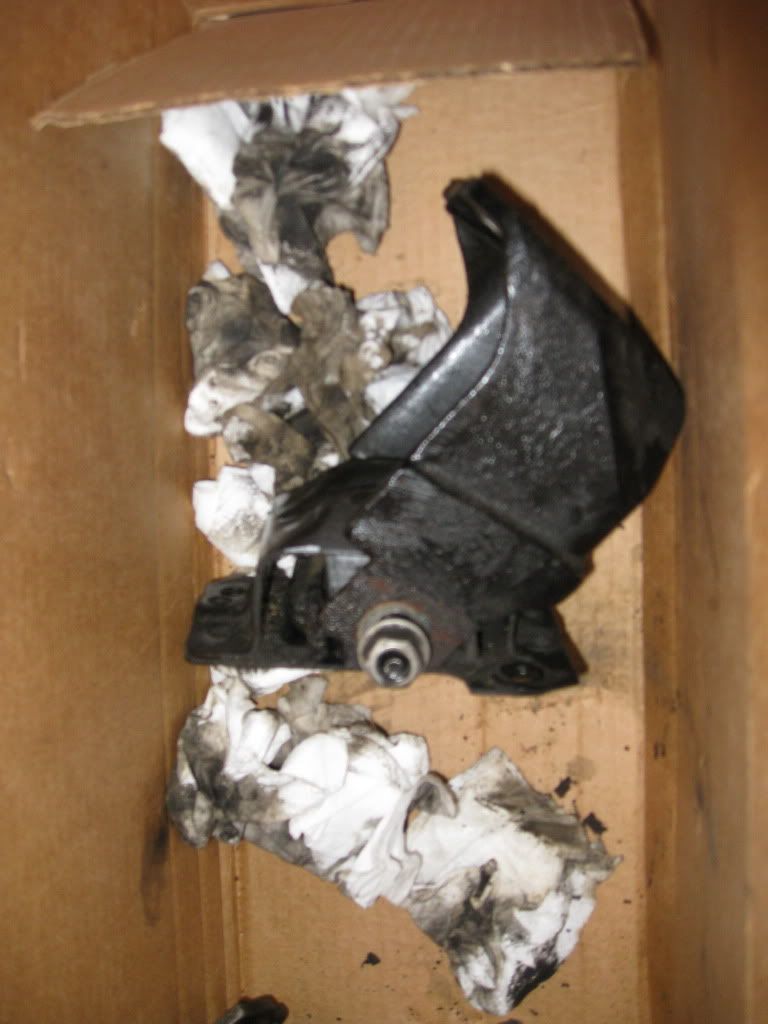
Passengers side (no oil clean up) --->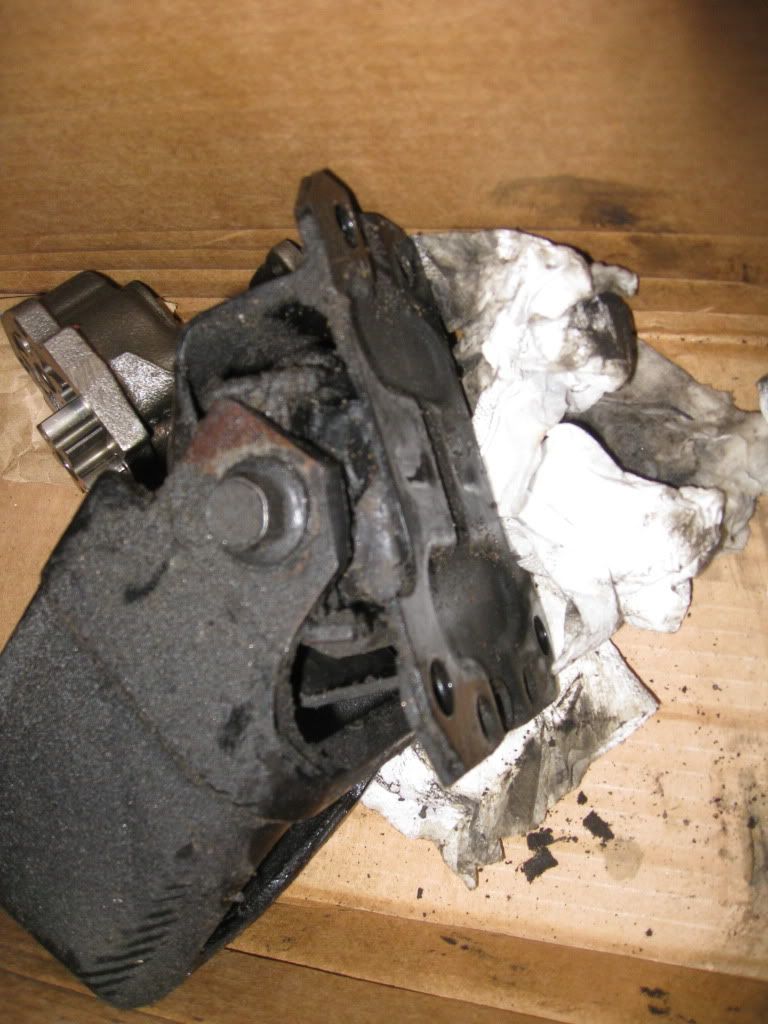
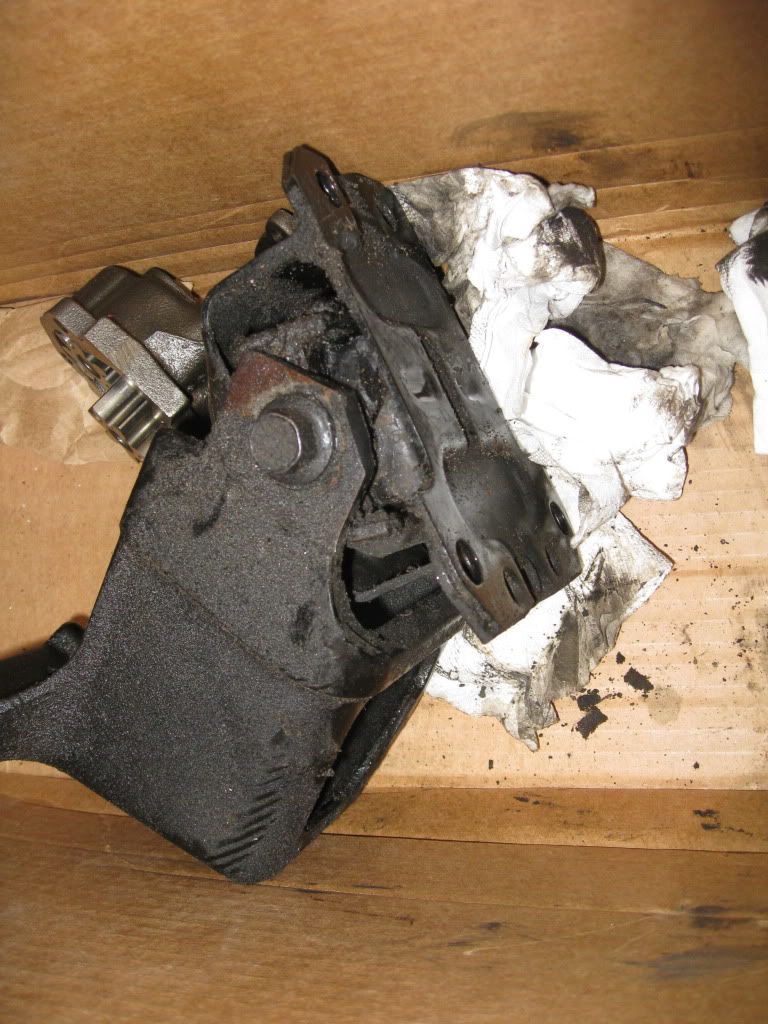
Drivers side (after oil clean up!) --->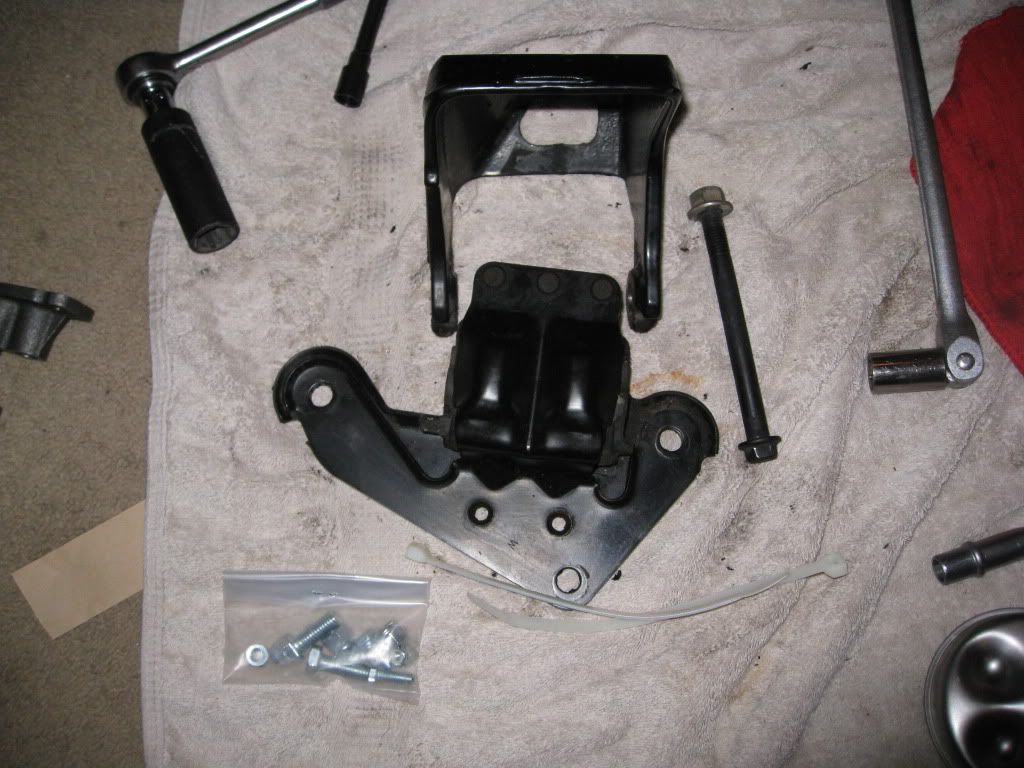
Old mounts:
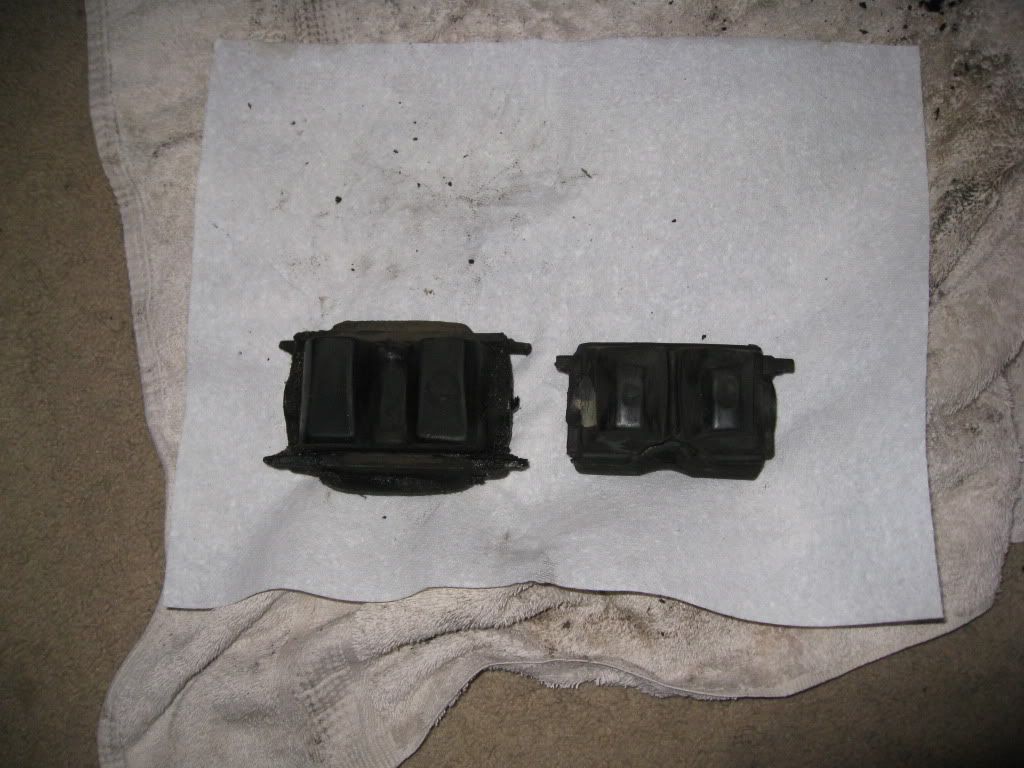
New Mounts:
Before:
Passengers side (no oil clean up) --->
Drivers side (after oil clean up!) --->
Old mounts:
New Mounts:
Thread Starter
Launching!
Joined: Jan 2010
Posts: 248
Likes: 0
From: Maryland
Ehh Thats why they made the show are you smarter than a fifth grader and yet no1 has been able to win the cash... Sad sad times we are living in... also I spent every last dime that I have on this "project" so I can't really afford to make any mistakes, and (litch2004) about the motor mounts, maybe someone has figured a way to Switch out the old mounts without having to drill the rivets out while the mount is out of the car(who knows maybe with a ton of grease?!?) the point is if you have the knowledge in your head, is it really that big of a deal to help a guy out and submit a post that will literally take you less than a minute to respond to? I mean after all you did read my tread...


But I thank you guys for your CONTINUED SUPPORT in my project and to those of you who's time I wasted, I apologize that you won't get your 5 seconds of your life back from reading my tread... really...

But I thank you guys for your CONTINUED SUPPORT in my project and to those of you who's time I wasted, I apologize that you won't get your 5 seconds of your life back from reading my tread... really...