
My 1995 Camaro Z28 Build Thread (pics)
 04-30-2014, 12:33 PM
#1
TECH Addict
Thread Starter

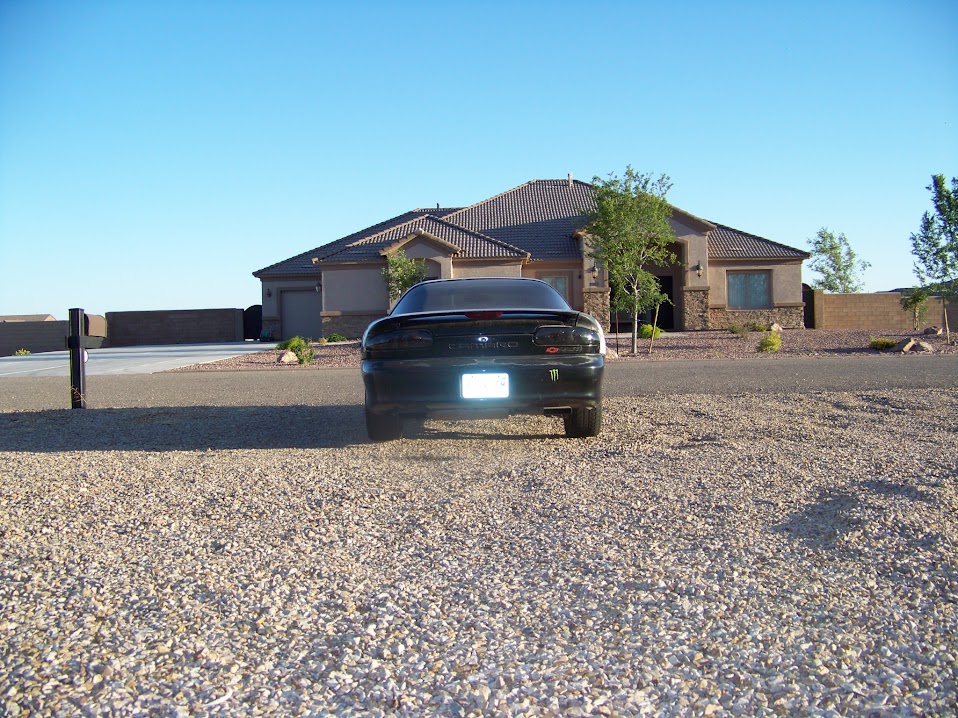
I joined a while ago but never really was too involved. Any who here's my car.
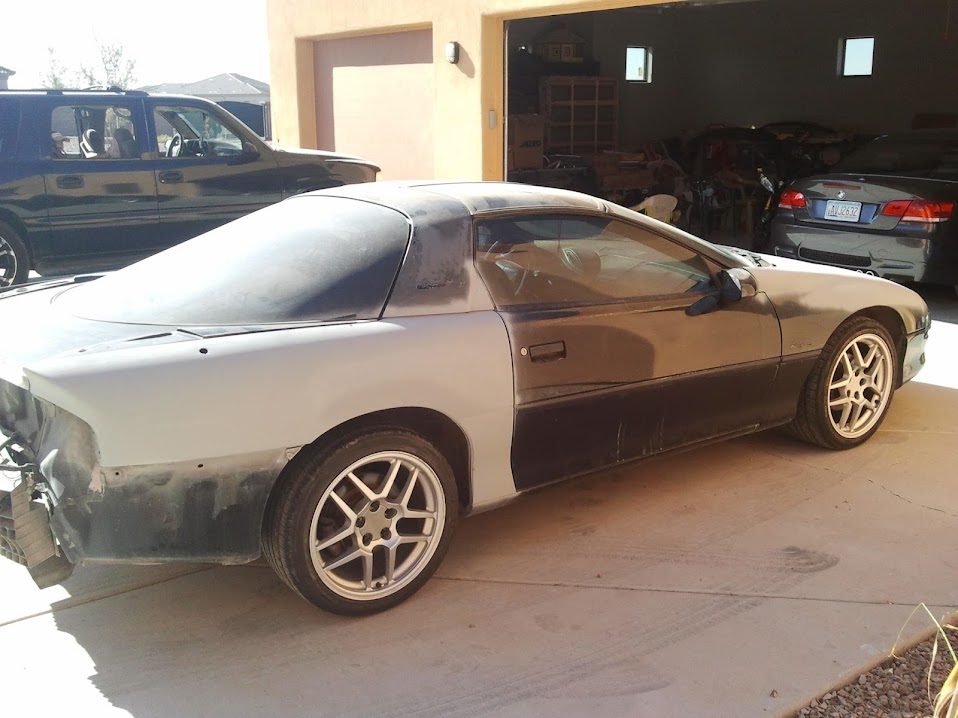
It's a 1995 Camaro Z28 T56 6 Speed. I picked it up in February 2012 for $800. She was a project for sure. The previous owner (UTI grad or so he told me), replaced the optispark, waterpump, and clutch. But it ran like crap (bogged like a plugged exhaust), overheated, and chattered.
I had to tow it home and after installing the air dam, bleeding the cooling system, and cutting of a clogged cat converter it was running again. I also had to pull the opti and replace all the timing cover seals cause they leaked into the opti spark covering the optical lens. I ripped the opti apart cleaned it with alcohol and electrical cleaner and sealed it all up with rtv. Runs like a champ (it finally failed, almost 5 years later).
Last edited by hrcslam; 12-31-2016 at 05:18 PM.
 04-30-2014, 12:53 PM
#2
TECH Addict
Thread Starter
Money was tight so I did what I could with what I had. With the car running pretty good I decided it was time for a test drive. While on the drive this happened.
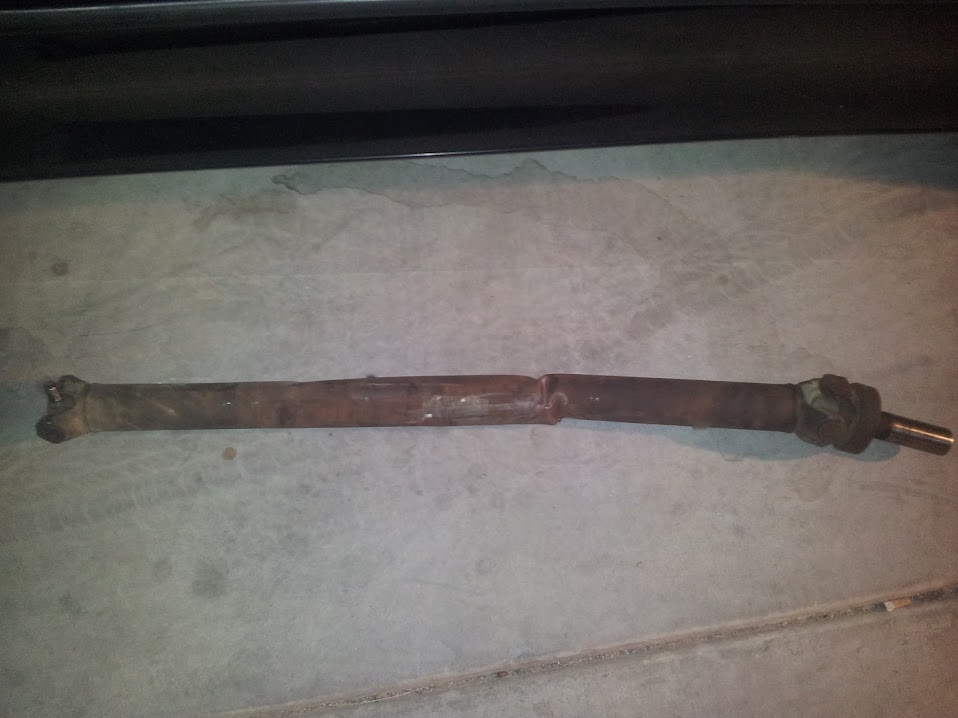


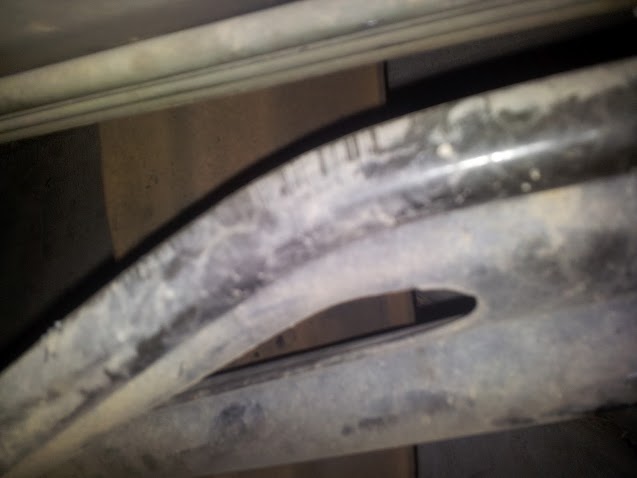

Ugh. Time for a new driveshaft, TQ arm, and pinion yoke.
Ugh. Time for a new driveshaft, TQ arm, and pinion yoke.
04-30-2014, 12:59 PM
#3
TECH Addict
Thread Starter
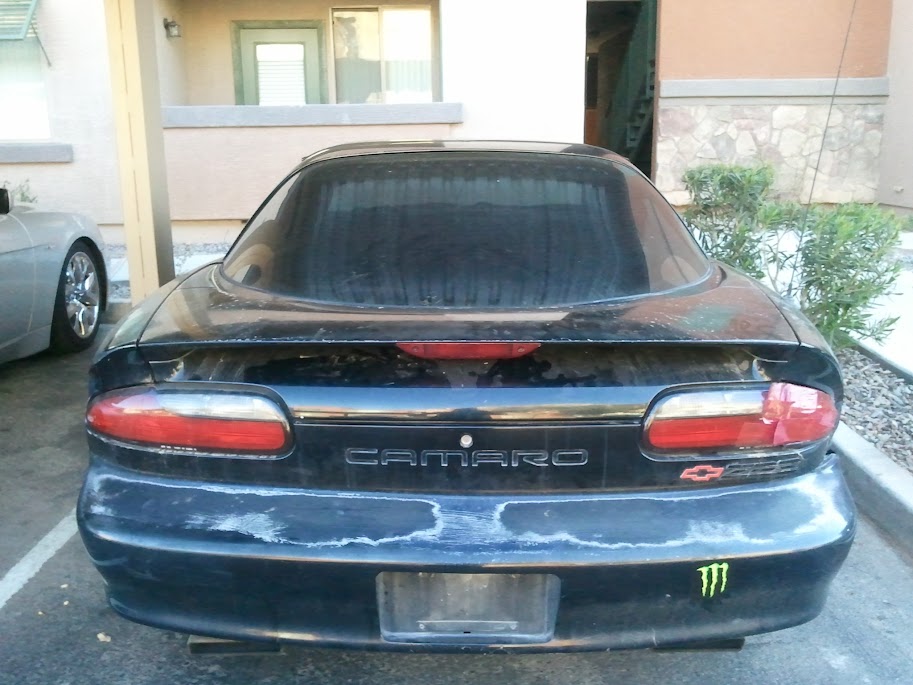
While I was waiting on some mechanical parts (or funds there of) I started on the body work. First I pounded out the dents.

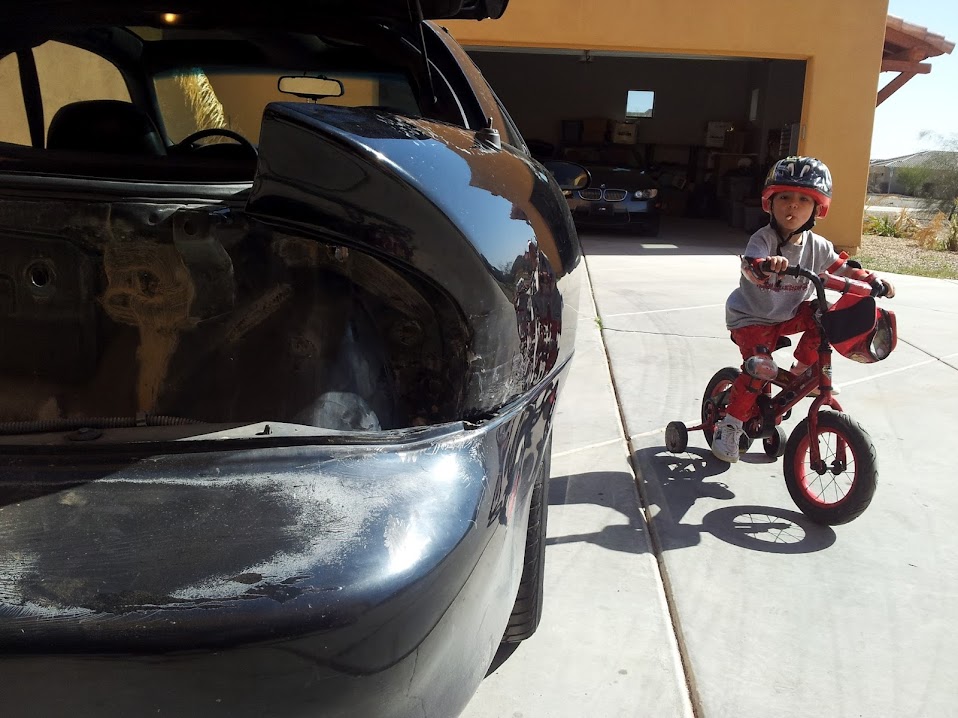
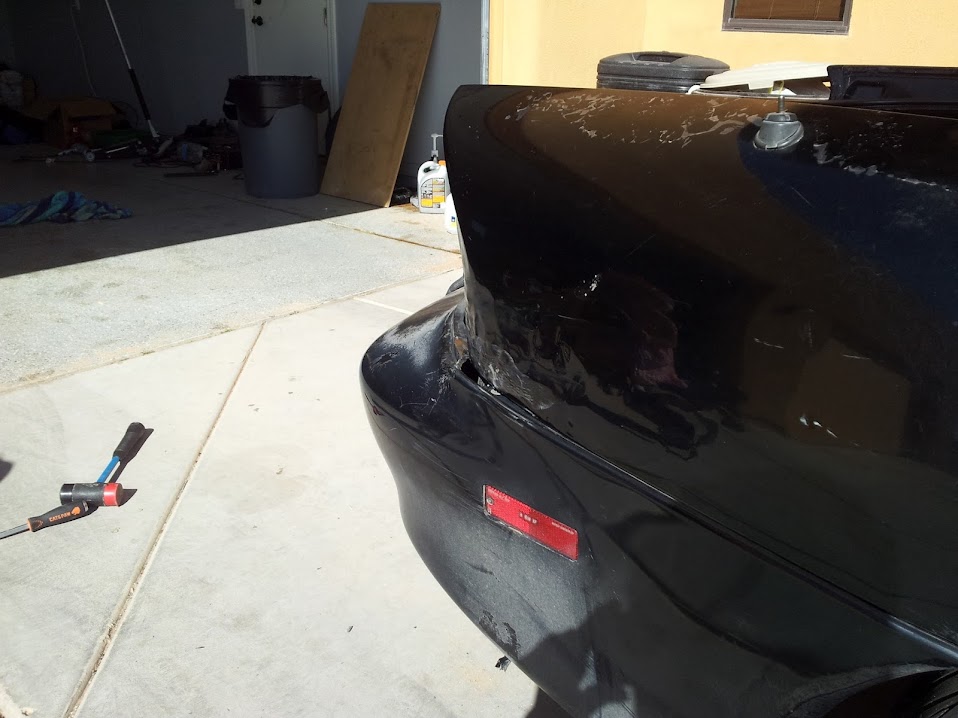


Next filler.


More work is needed. Here's the other side.


Almost there!


Next filler.
More work is needed. Here's the other side.
Almost there!
04-30-2014, 01:06 PM
#5
TECH Addict
Thread Starter
Got a new driveshaft, yoke, and torque arm installed. Finally decided to replace the clutch and get rid of the chattering to find this....


Turns out the UTI "grad" used the wrong bolts to mount the bell housing to the engine. This left about 1/4" of play between the bolt heads and bell housing. This is why the driveshaft got chucked! Ugh. Time for a new one.
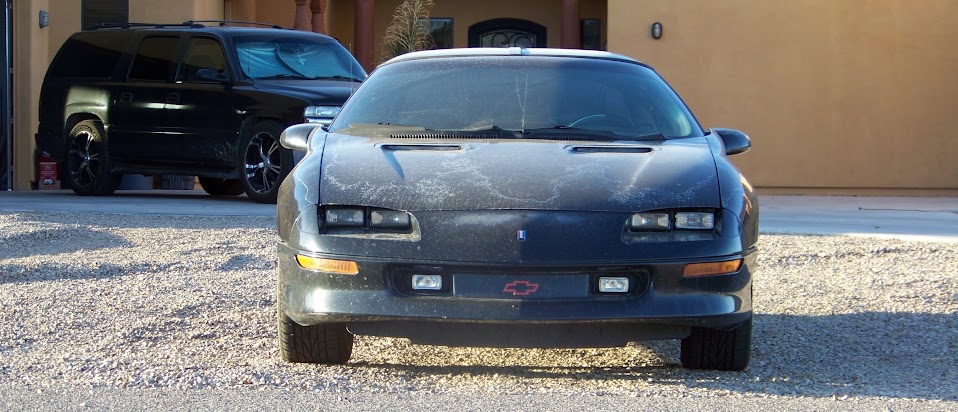
In the mean time more body work.

I got some C5 Z06 Wheels for $400 on craiglist.
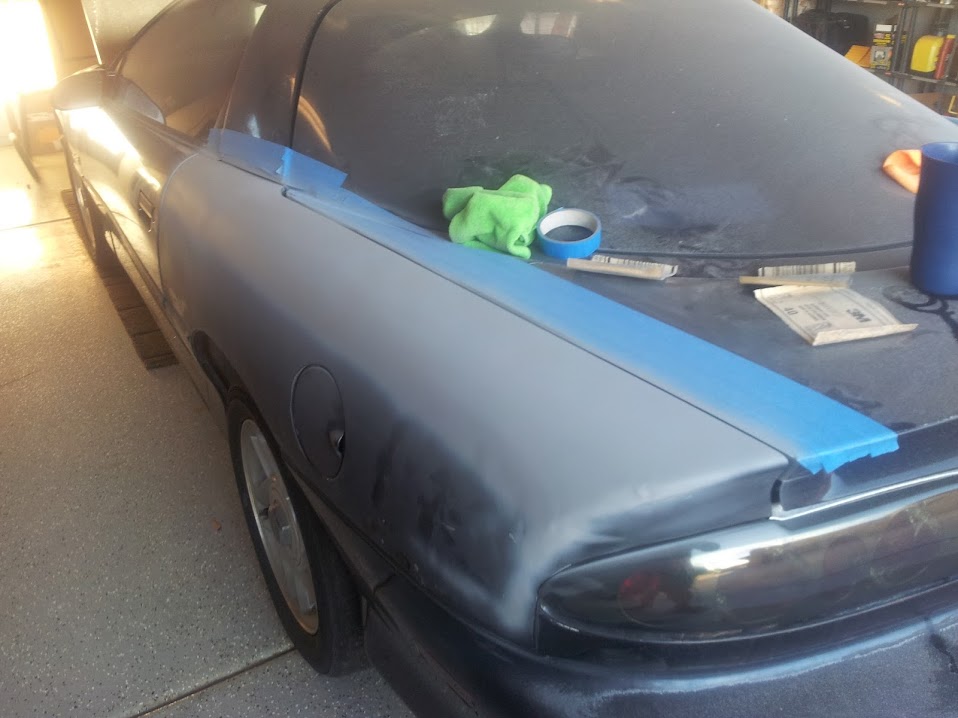
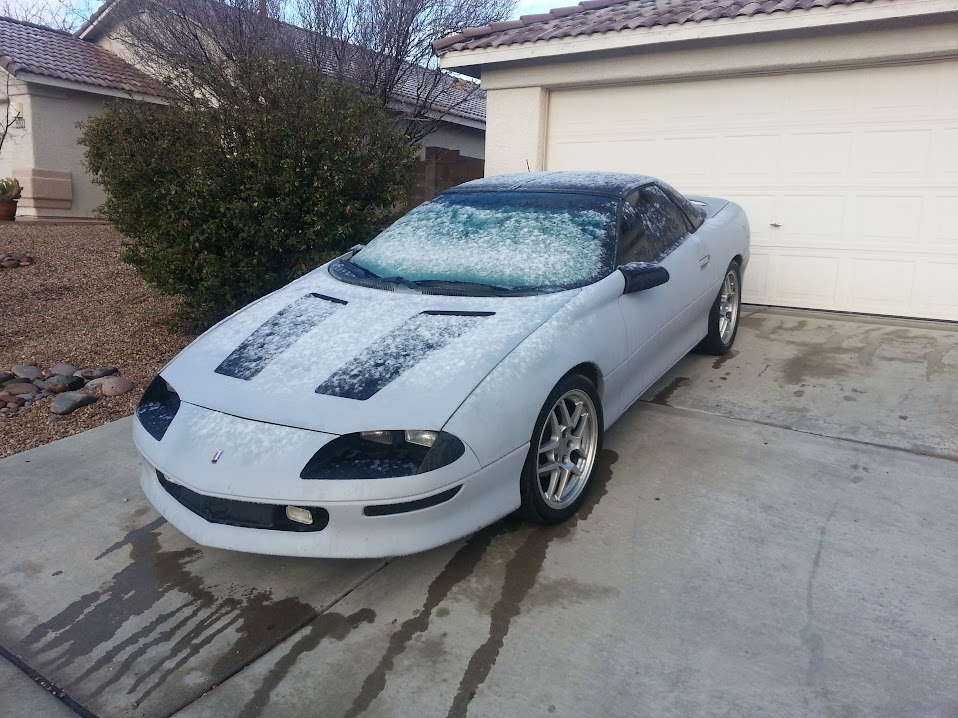
Primered the whole car.


Feb 2013, I got a job in Tucson so more money yay! Any who I ordered and installed some Stagg Shocks, Summit Lowering Springs, Founders Performance LCA Relocation Brackets and Adjustable Panhard bar, and Strut Tower Brace.
Turns out the UTI "grad" used the wrong bolts to mount the bell housing to the engine. This left about 1/4" of play between the bolt heads and bell housing. This is why the driveshaft got chucked! Ugh. Time for a new one.
In the mean time more body work.
I got some C5 Z06 Wheels for $400 on craiglist.
Primered the whole car.
Feb 2013, I got a job in Tucson so more money yay! Any who I ordered and installed some Stagg Shocks, Summit Lowering Springs, Founders Performance LCA Relocation Brackets and Adjustable Panhard bar, and Strut Tower Brace.
04-30-2014, 01:09 PM
#6
TECH Addict
Thread Starter
04-30-2014, 01:13 PM
#7
TECH Addict
Thread Starter
Well, on my way home from work one day, there was a rock in the middle of the road that my lowered car couldn't quite clear. No swerving was gonna happen as the oncoming traffic on a single lane two way road with no shoulder in heavy flowing traffic means this.....


Yup, dented my K-member (still useable), oil pan, and cracked the trans case. Ugh. Time for a rebuild.
Yup, dented my K-member (still useable), oil pan, and cracked the trans case. Ugh. Time for a rebuild.
Trending Topics
04-30-2014, 01:17 PM
#8
TECH Addict
Thread Starter
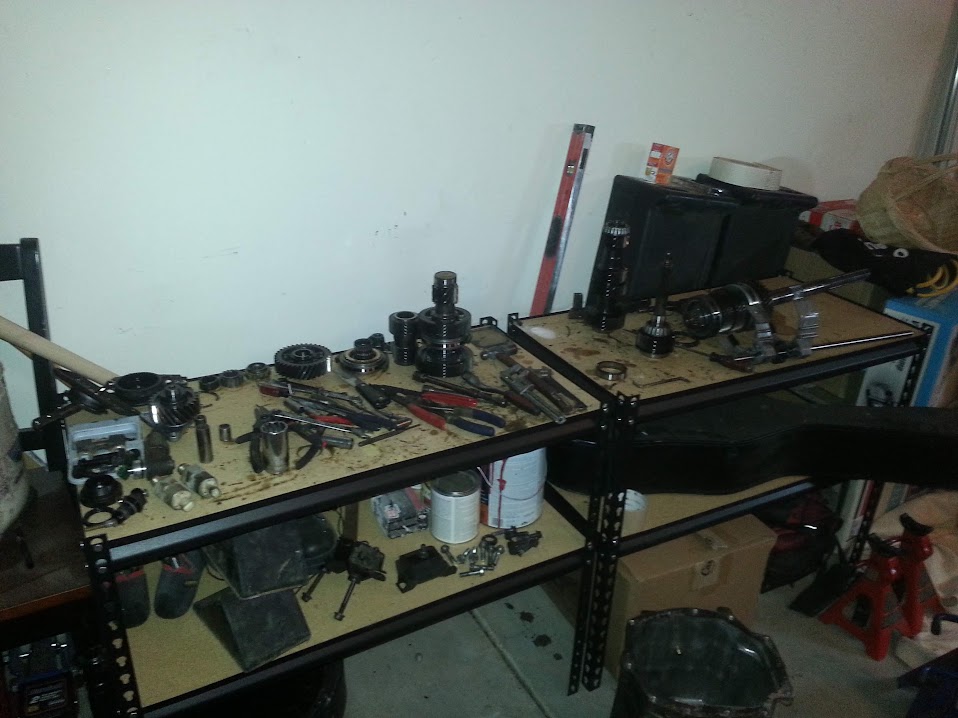
Rebuild time. Upgraded my sliders to brass along with a brass shifter cup. Installed Carbon syncro's, Steel 3-4 shift fork, new output shaft, etc. A decent little rebuild upgrade, stage 2 if I remember right. I wish I repainted everything while I had it apart, oh well.


Took the dog for a ride. He loves that spot.

Took the dog for a ride. He loves that spot.
04-30-2014, 01:21 PM
#9
TECH Addict
Thread Starter
I kept her that way for a while, then got bored at Halloween. So, my brother, my son, and I did this.


Last edited by hrcslam; 08-06-2015 at 04:18 AM.
04-30-2014, 01:30 PM
#11
TECH Addict
Thread Starter
Well, in late January 2014 my drivers headgasket decided it no longer wanted the coolant to stay in the coolant jackets and poured it into the #7 cylinder, hello hydrolock. Rebuild time.
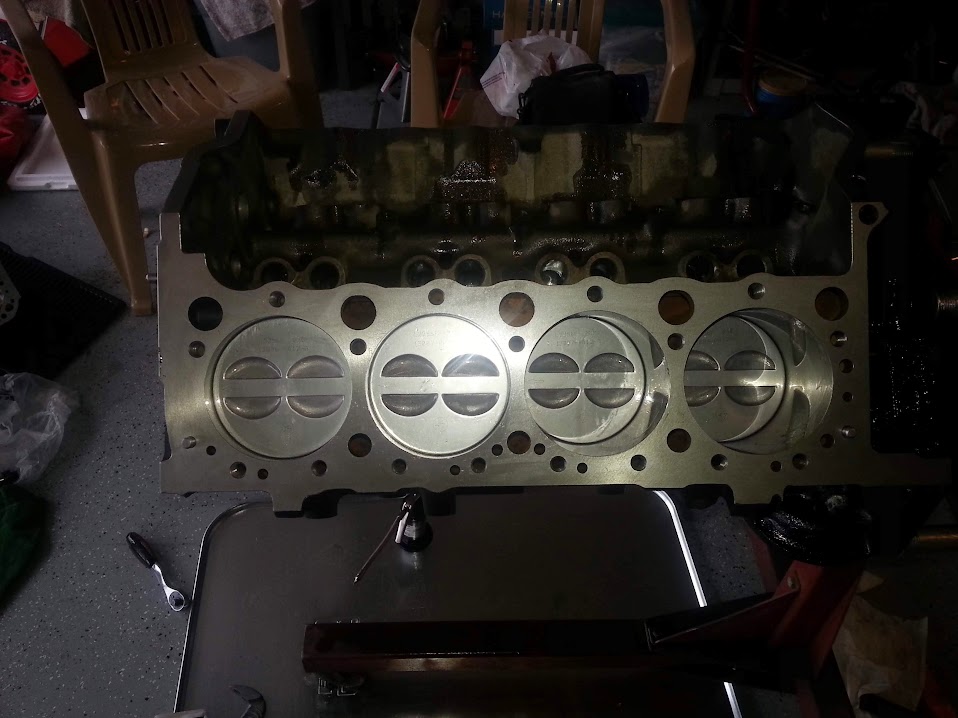
Ordered the Summit LT1 .030" Over 10/10 Rebuild kit with forged pistons. Started with getting rid of all the sharp spots on the piston surface. Took it to 3000 grit. My son helped.
Before:

During:
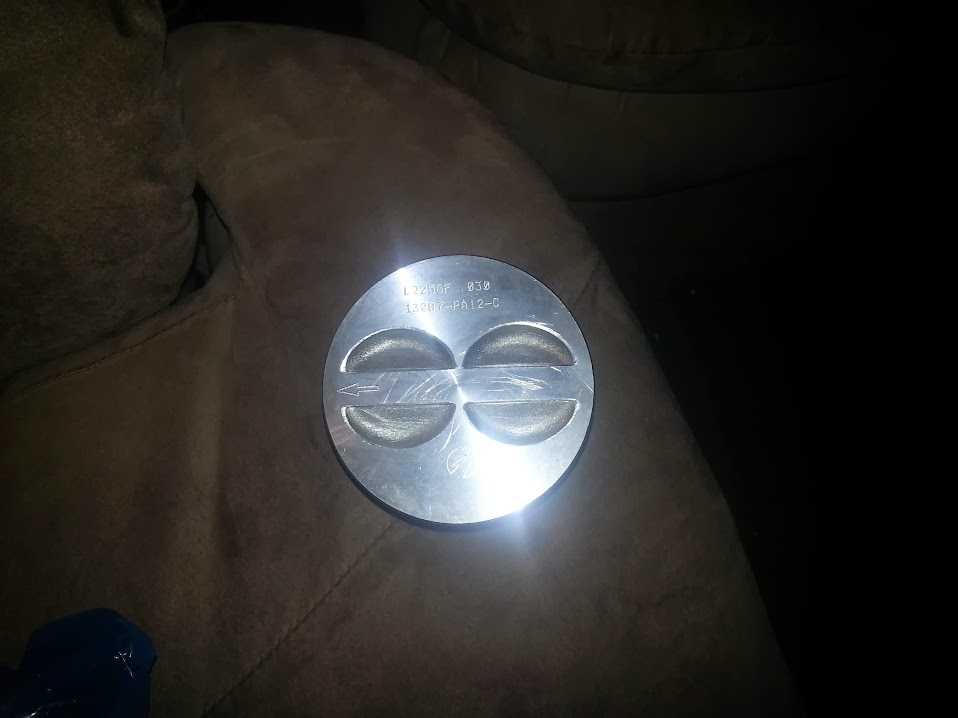
After:


Got my Cermaic Coated Chromex 3/4" LT Pacesetter Headers from a guy on Craigslist for $220! Score! ORY from Ebay $140.


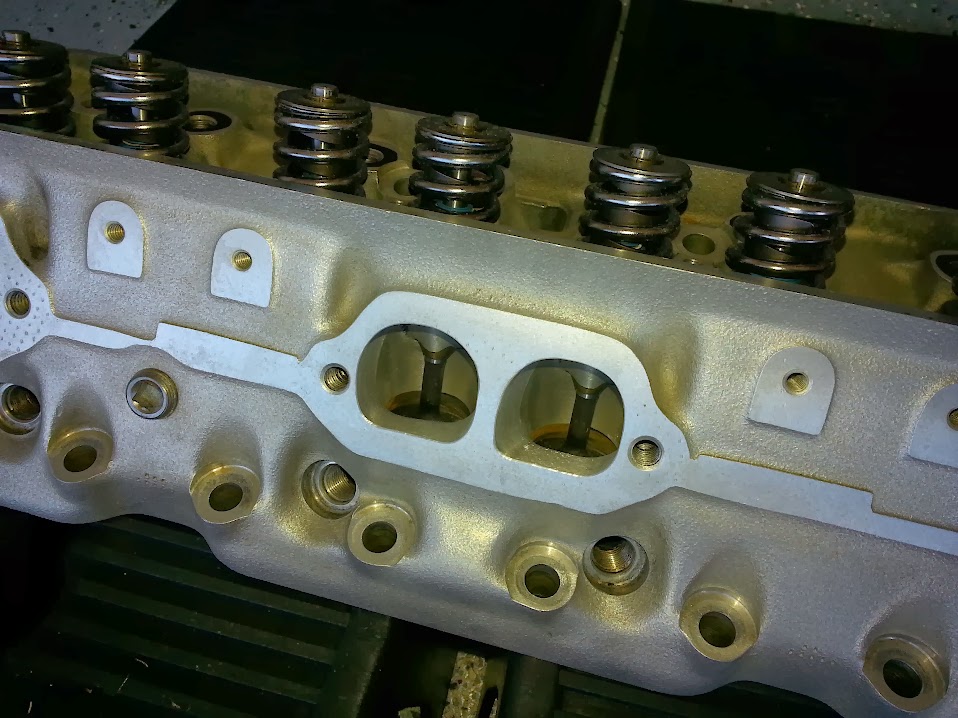
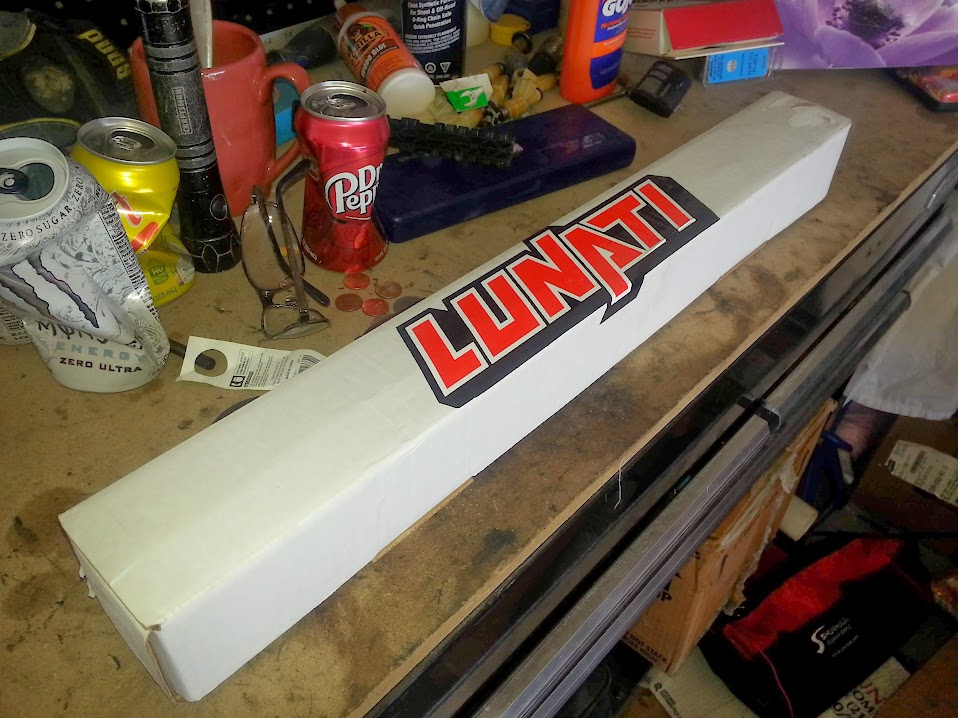
Found some LE2 Heads from another member here for $1100, I also got the cam from him. A Lunati 230/238@ .050" .565/.565" w/1.6rr 110+6 LSA. Howards Cams Valve Springs 98215 (120 seat/375 open); thanks za355tx!!


Ordered the Summit LT1 .030" Over 10/10 Rebuild kit with forged pistons. Started with getting rid of all the sharp spots on the piston surface. Took it to 3000 grit. My son helped.
Before:
During:
After:
Got my Cermaic Coated Chromex 3/4" LT Pacesetter Headers from a guy on Craigslist for $220! Score! ORY from Ebay $140.
Found some LE2 Heads from another member here for $1100, I also got the cam from him. A Lunati 230/238@ .050" .565/.565" w/1.6rr 110+6 LSA. Howards Cams Valve Springs 98215 (120 seat/375 open); thanks za355tx!!
Last edited by hrcslam; 08-27-2014 at 09:14 PM.
04-30-2014, 01:31 PM
#12
TECH Addict
Thread Starter


 04-30-2014, 01:48 PM
#16
TECH Addict
Thread Starter
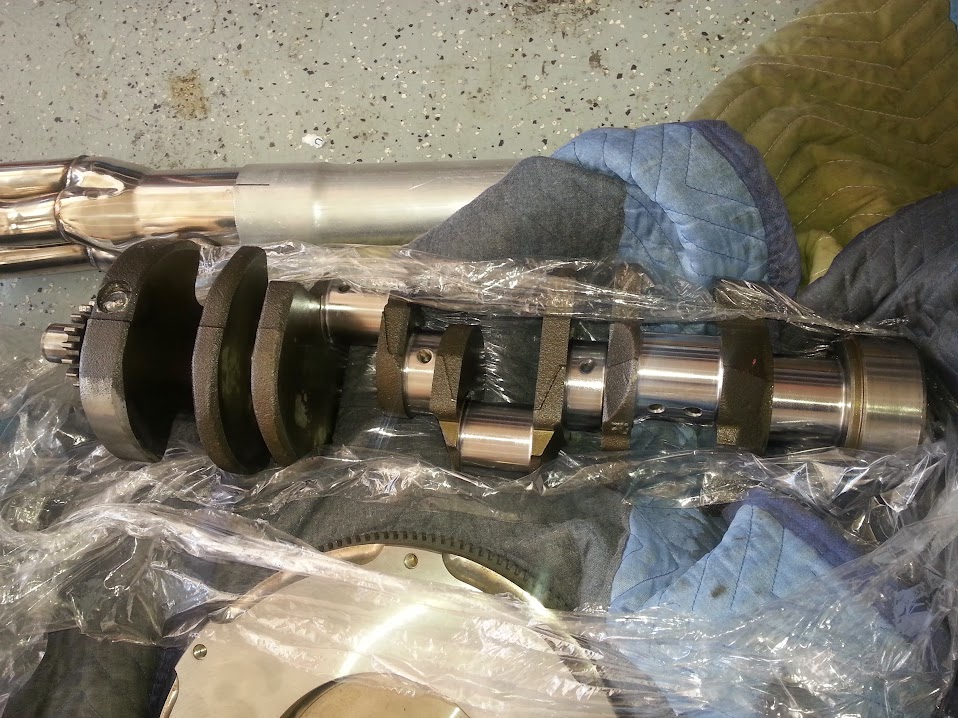
I got the stuff back from the Machine Shop. Block wash washed, line honed, bored .030" Over, Zero Decked, honed, new cam bearings, freeze plugs, 10/10 on the crank, assembled pistons to rods (scat 35700P), and balanced the rotating assembly plus resurfaced the flywheel.


Rings gapped to .020"
36# Bosch Fuel injectors (got all 8 for $90)

Zero Decked!

After the whole install, remove, install, remove, lather, rinse, repeat as necessary process required for checking clearance was complete (and checked good!) I did a final assemble of the rotating assembly to the block.


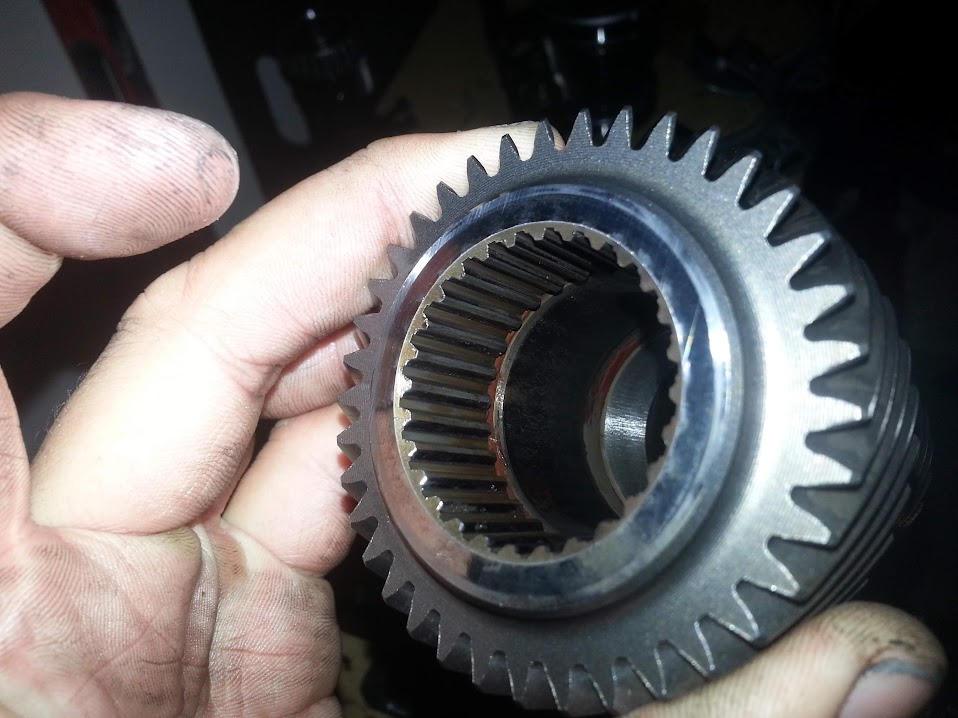
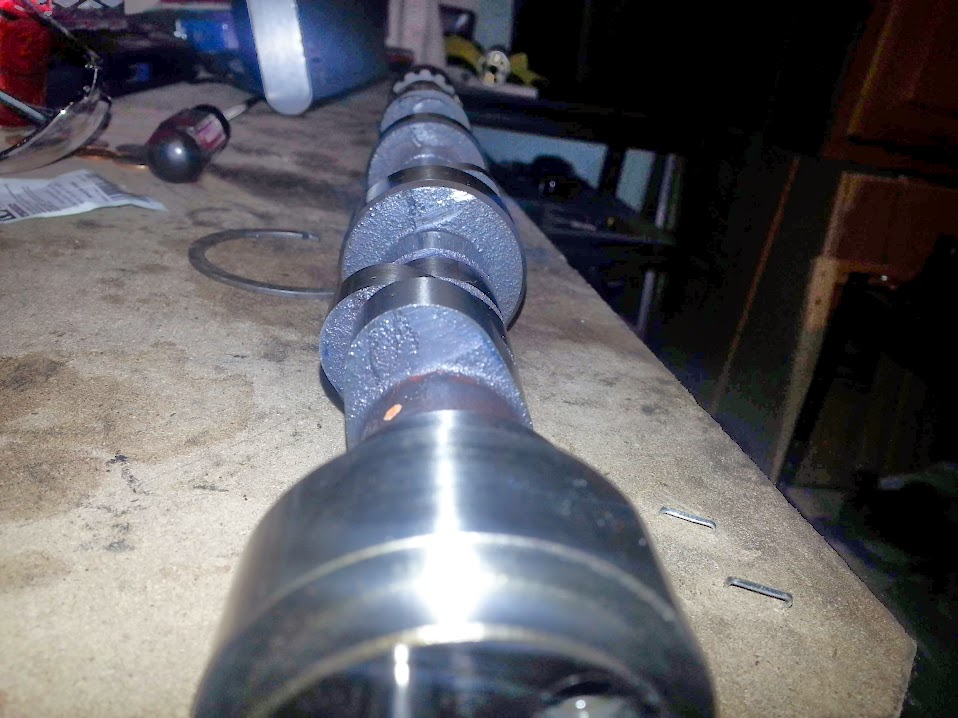
Time for the Cam to go in. I did make sure the lobes lined up with the lifters (sometimes they are slightly off and end up grinding the cam to nothing).


New sprockets and chain.

Rings gapped to .020"
36# Bosch Fuel injectors (got all 8 for $90)
Zero Decked!
After the whole install, remove, install, remove, lather, rinse, repeat as necessary process required for checking clearance was complete (and checked good!) I did a final assemble of the rotating assembly to the block.
Time for the Cam to go in. I did make sure the lobes lined up with the lifters (sometimes they are slightly off and end up grinding the cam to nothing).
New sprockets and chain.
04-30-2014, 01:50 PM
#17
TECH Addict
Thread Starter
04-30-2014, 01:56 PM
#19
TECH Addict
Thread Starter
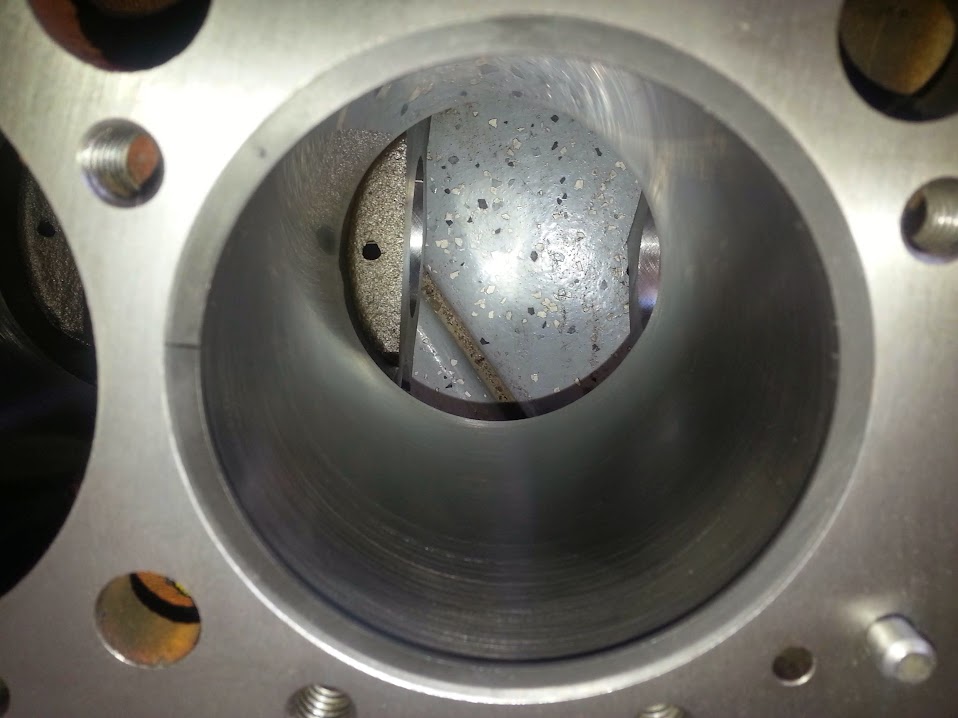
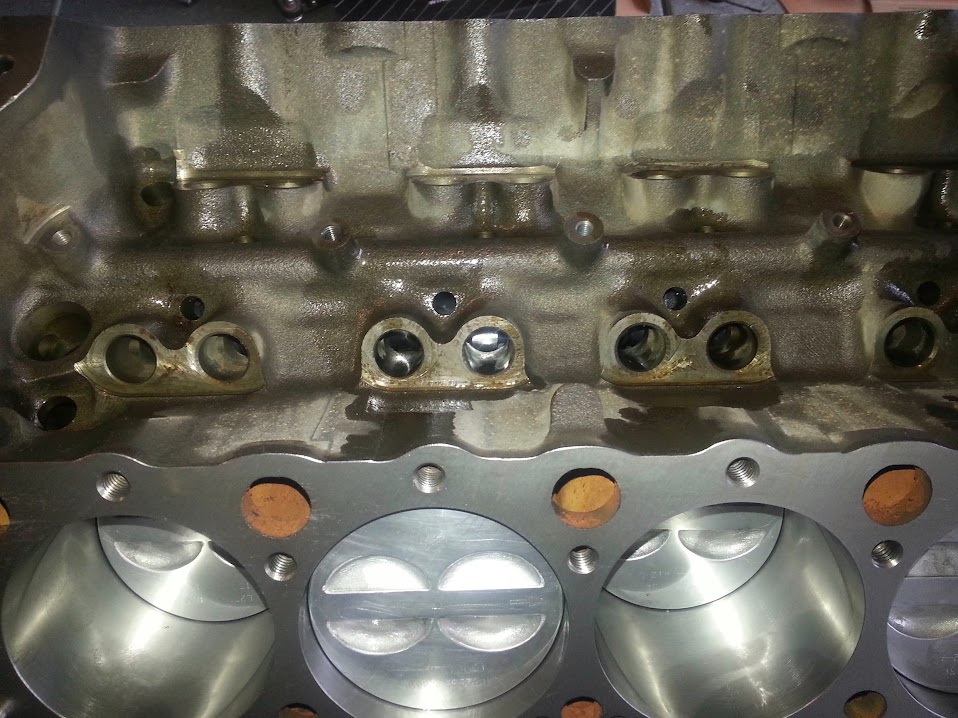
Time for some PTV checks, quench checks, and valve sweep checks.
Valve sweep is towards the exhaust, but this was the smallest sweep pattern and matched my cam card perfectly at this length (7.2"). If I centered the sweep patter the sweep area doubled.
This is a debatable topic, but the articles I read from high performance builders all say sweep area is more important that sweep over center. So I went this route.
04-30-2014, 01:58 PM
#20
TECH Addict
Thread Starter
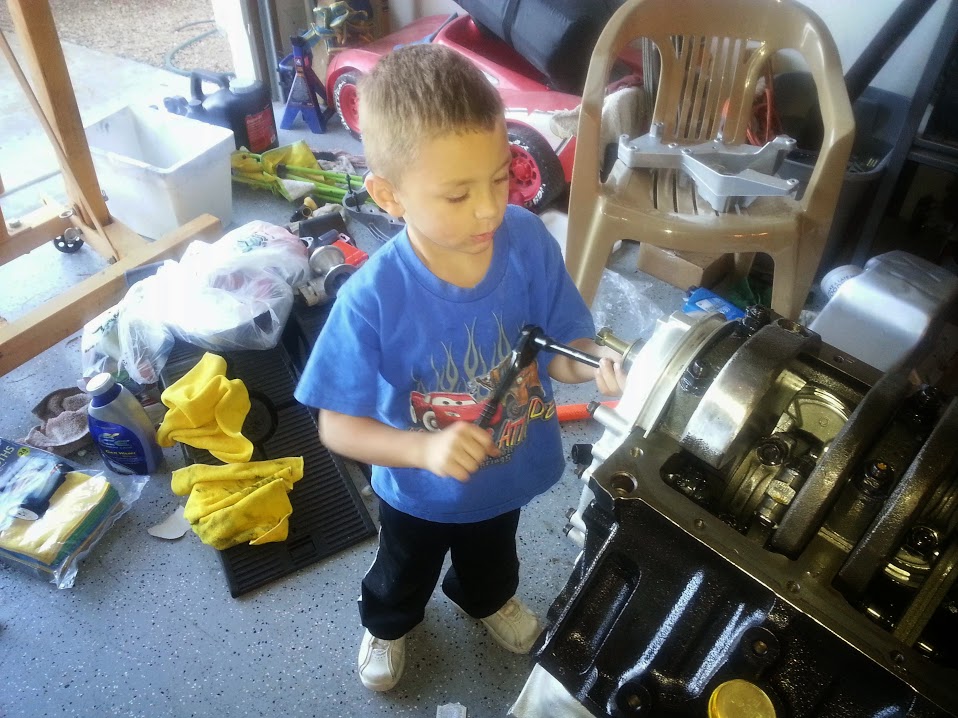
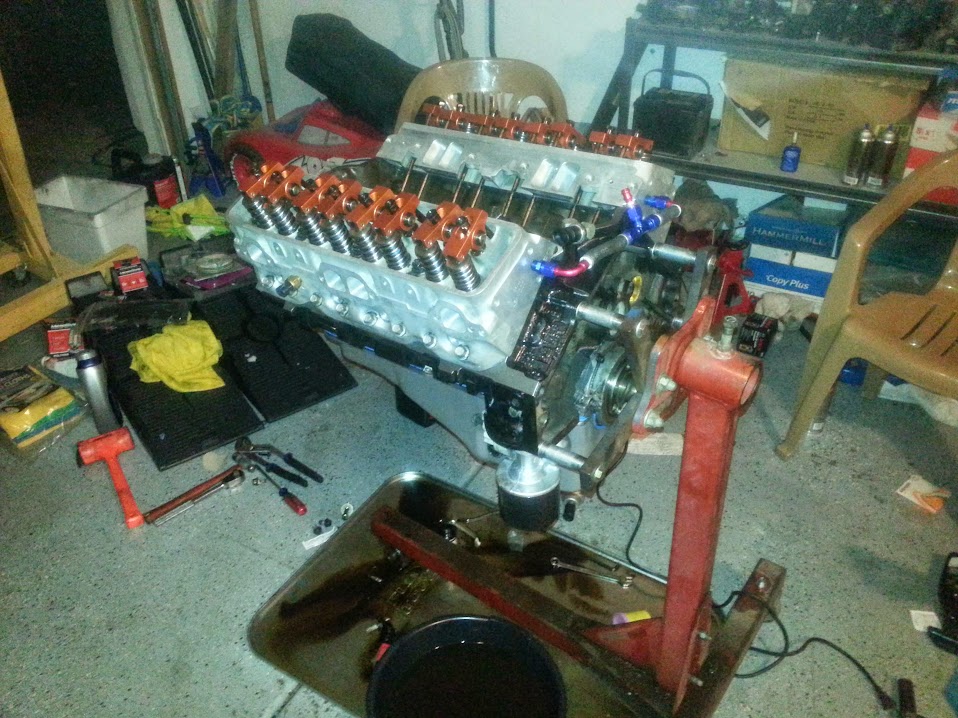
After doing my VTP clearance check along with measuring my quench (.043") the heads were ready to go on! My son (5yo) wanted to help.


This was the best sweep I could get. Not perfect, but when I line it up over center the sweep are doubles. We'll see how this plays out over time.
My Sons Door, so proud!

He wanted to do the timing cover all by him self. Not too shabby for a 5 year old!
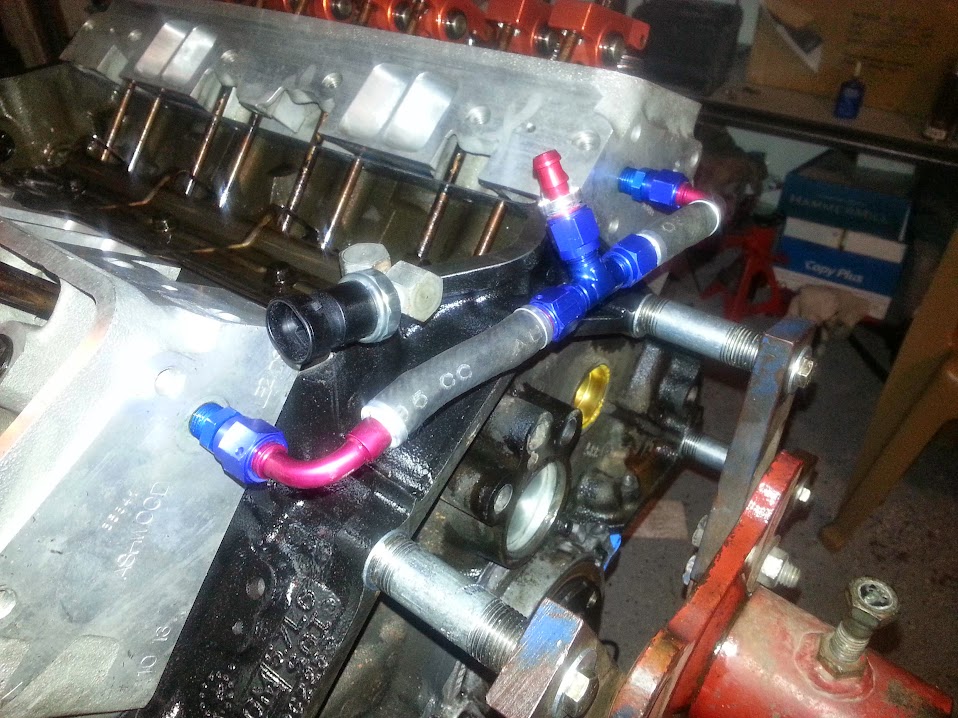
This is a great time to get rid of that stupid steam line set up and step up to some AN-6 fittings!
This was the best sweep I could get. Not perfect, but when I line it up over center the sweep are doubles. We'll see how this plays out over time.
My Sons Door, so proud!
He wanted to do the timing cover all by him self. Not too shabby for a 5 year old!
This is a great time to get rid of that stupid steam line set up and step up to some AN-6 fittings!
Last edited by hrcslam; 04-30-2014 at 02:07 PM.