
Updated: THREE trips to TNT with pics + vids
 02-28-2018, 07:54 AM
#481
TECH Senior Member
Thread Starter
iTrader: (96)
Join Date: Aug 2007
Location: Turnin' Wrenches Infractions: 005
Posts: 24,241
Likes: 0
Received 81 Likes
on
72 Posts

Thanks for the tips. We winch pull with ATV batteries all the time, and depending on battery condition you may only get X amount of winching time before its kapoot. Hmmm, I will have to give that some thought.
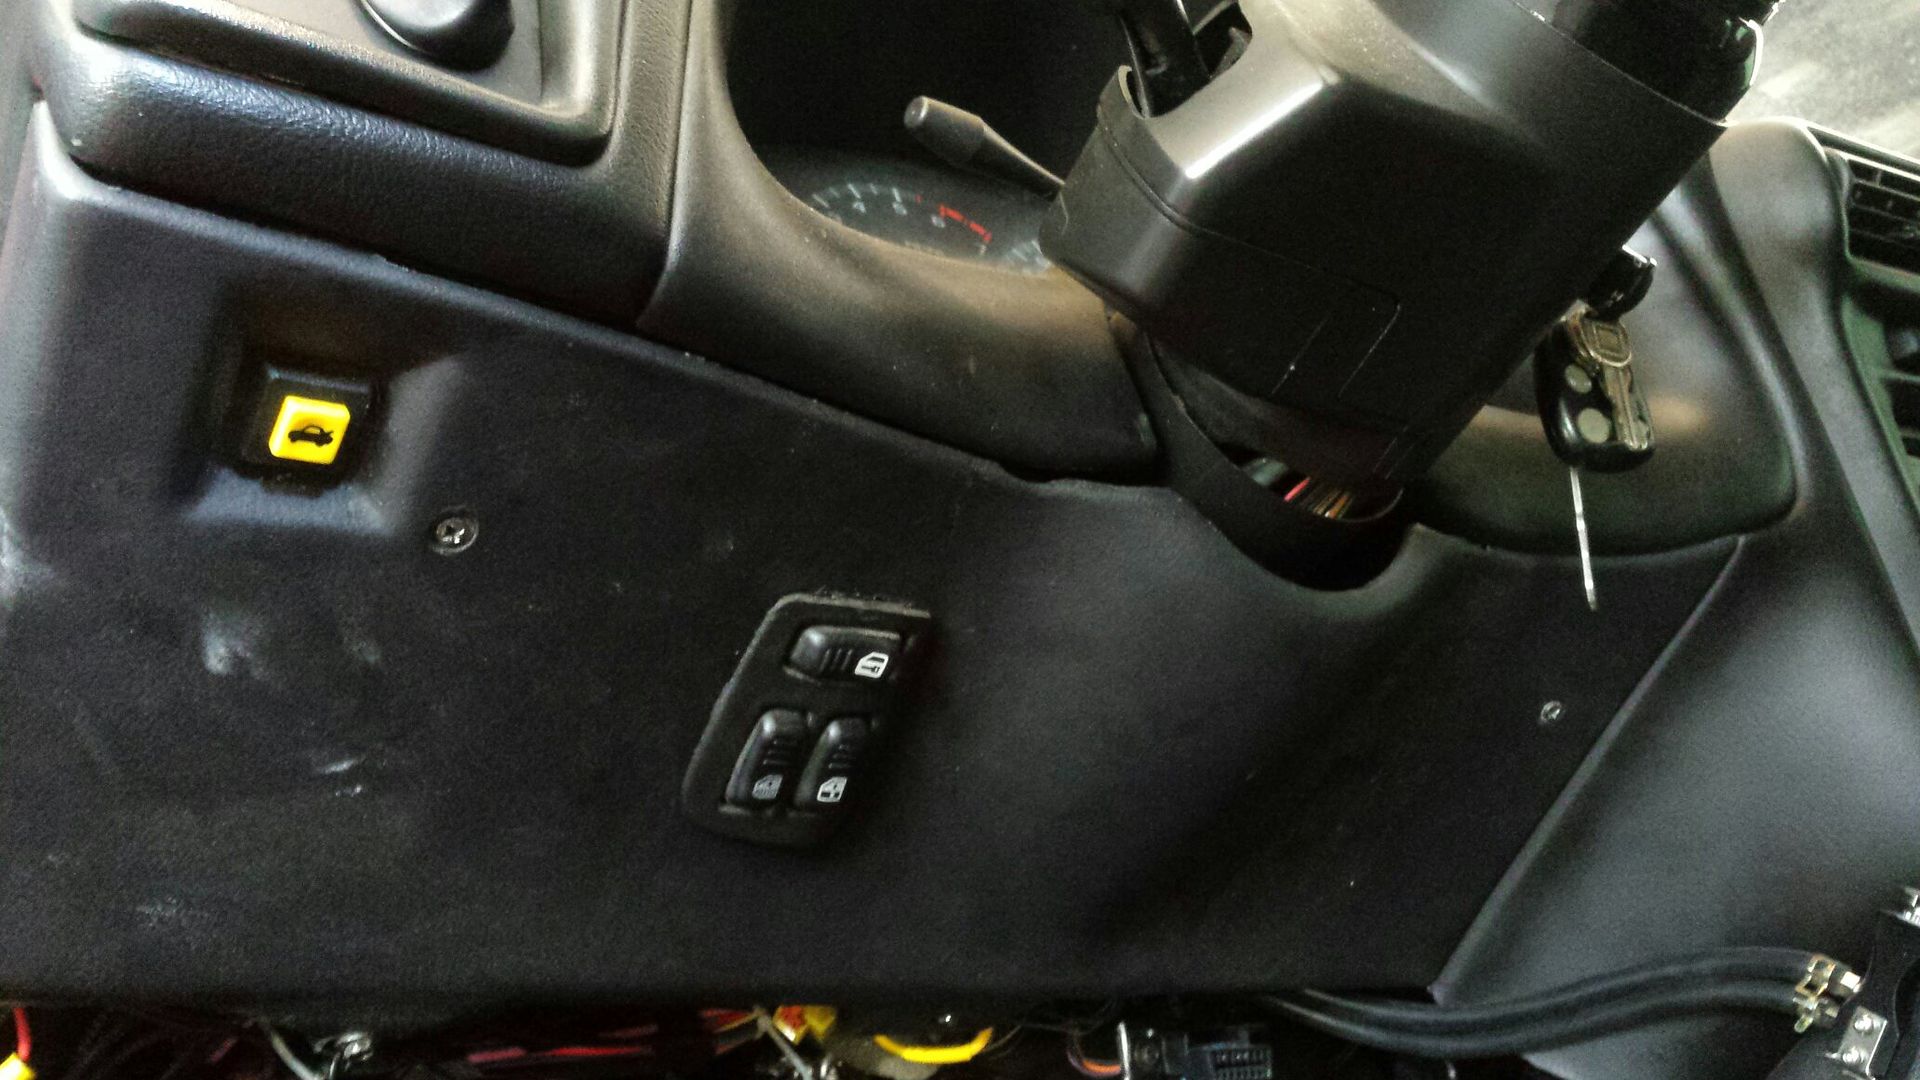
So, in conclusion to the door panel portion of the thread.....I selected to lose power mirrors, and dash mount the switch. After careful consideration it seemed like the best choice for ease of installation and aesthetics. I carefully trimmed off the mirror control off the top of the master switch, no need for it anymore. I selected this spot on the underdash panel due to clearance in that area. Make a hole, insert, hot glue from the backside.
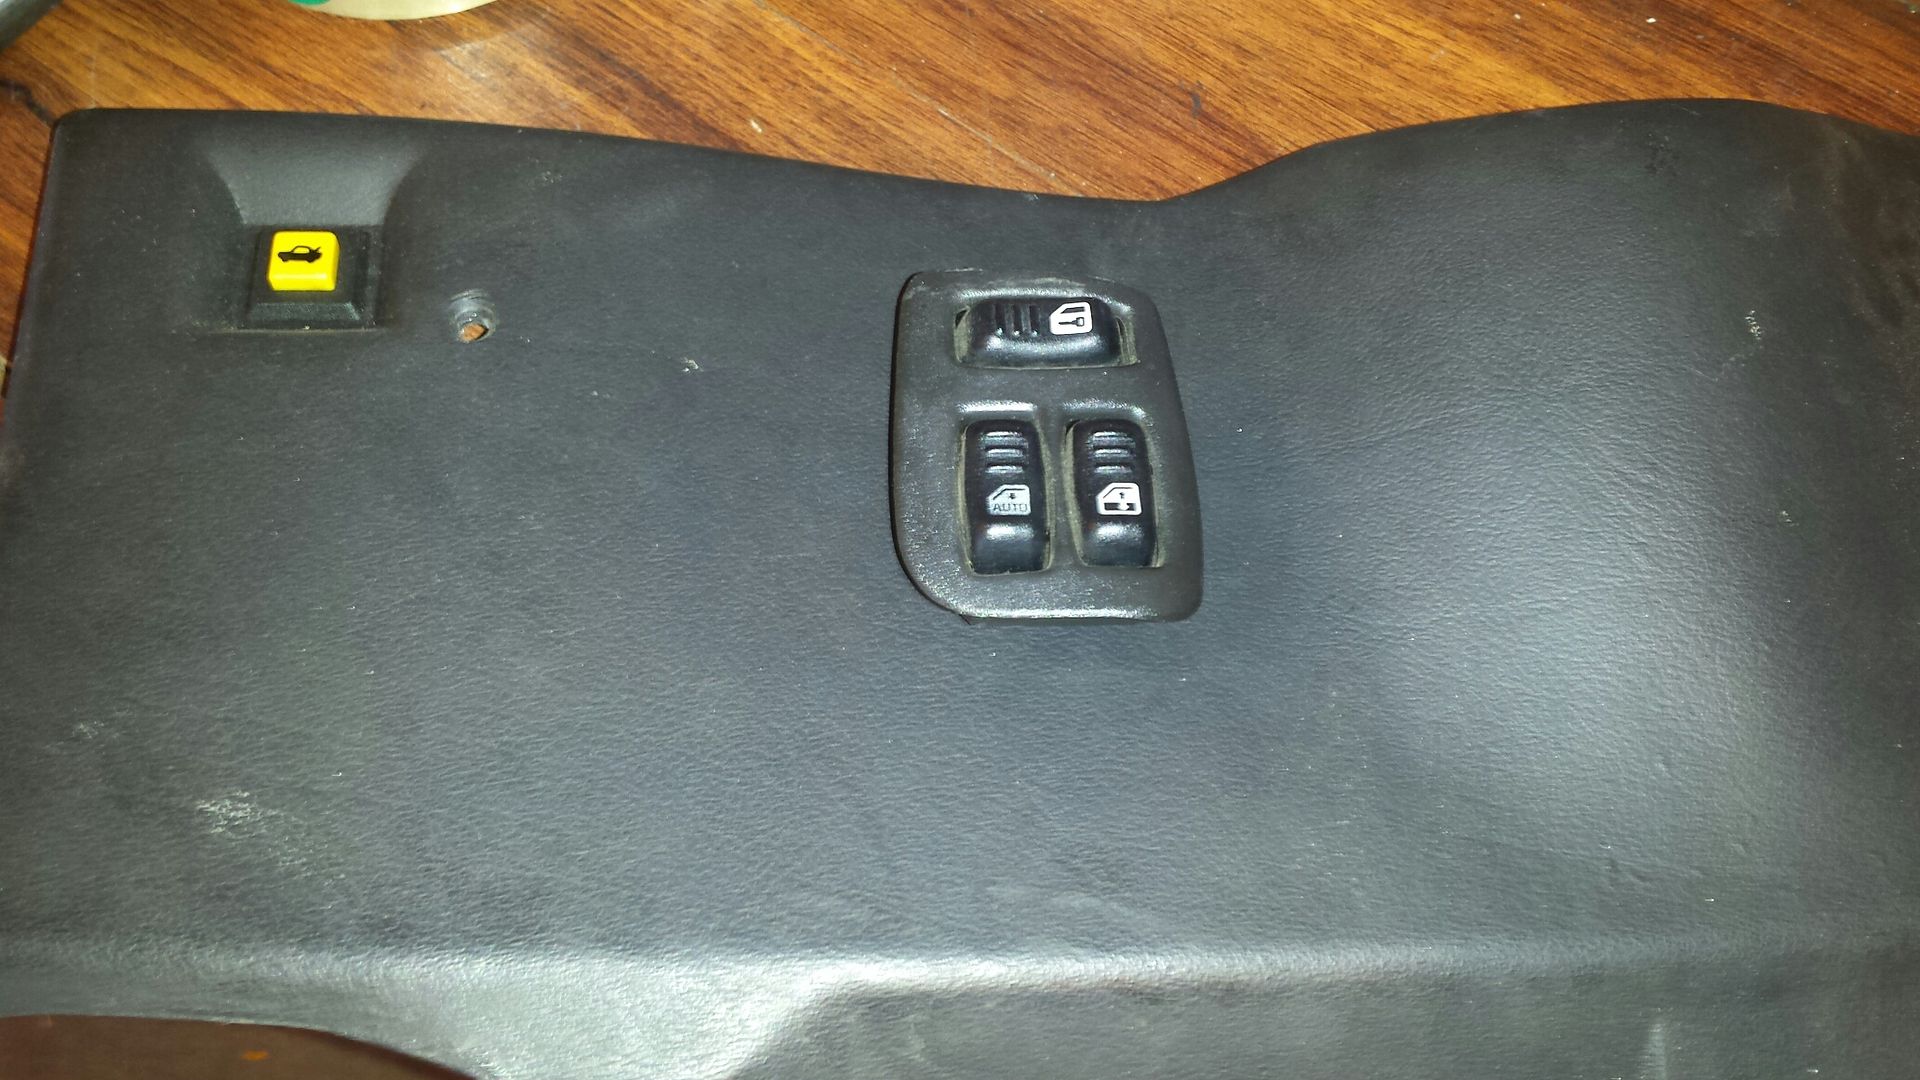
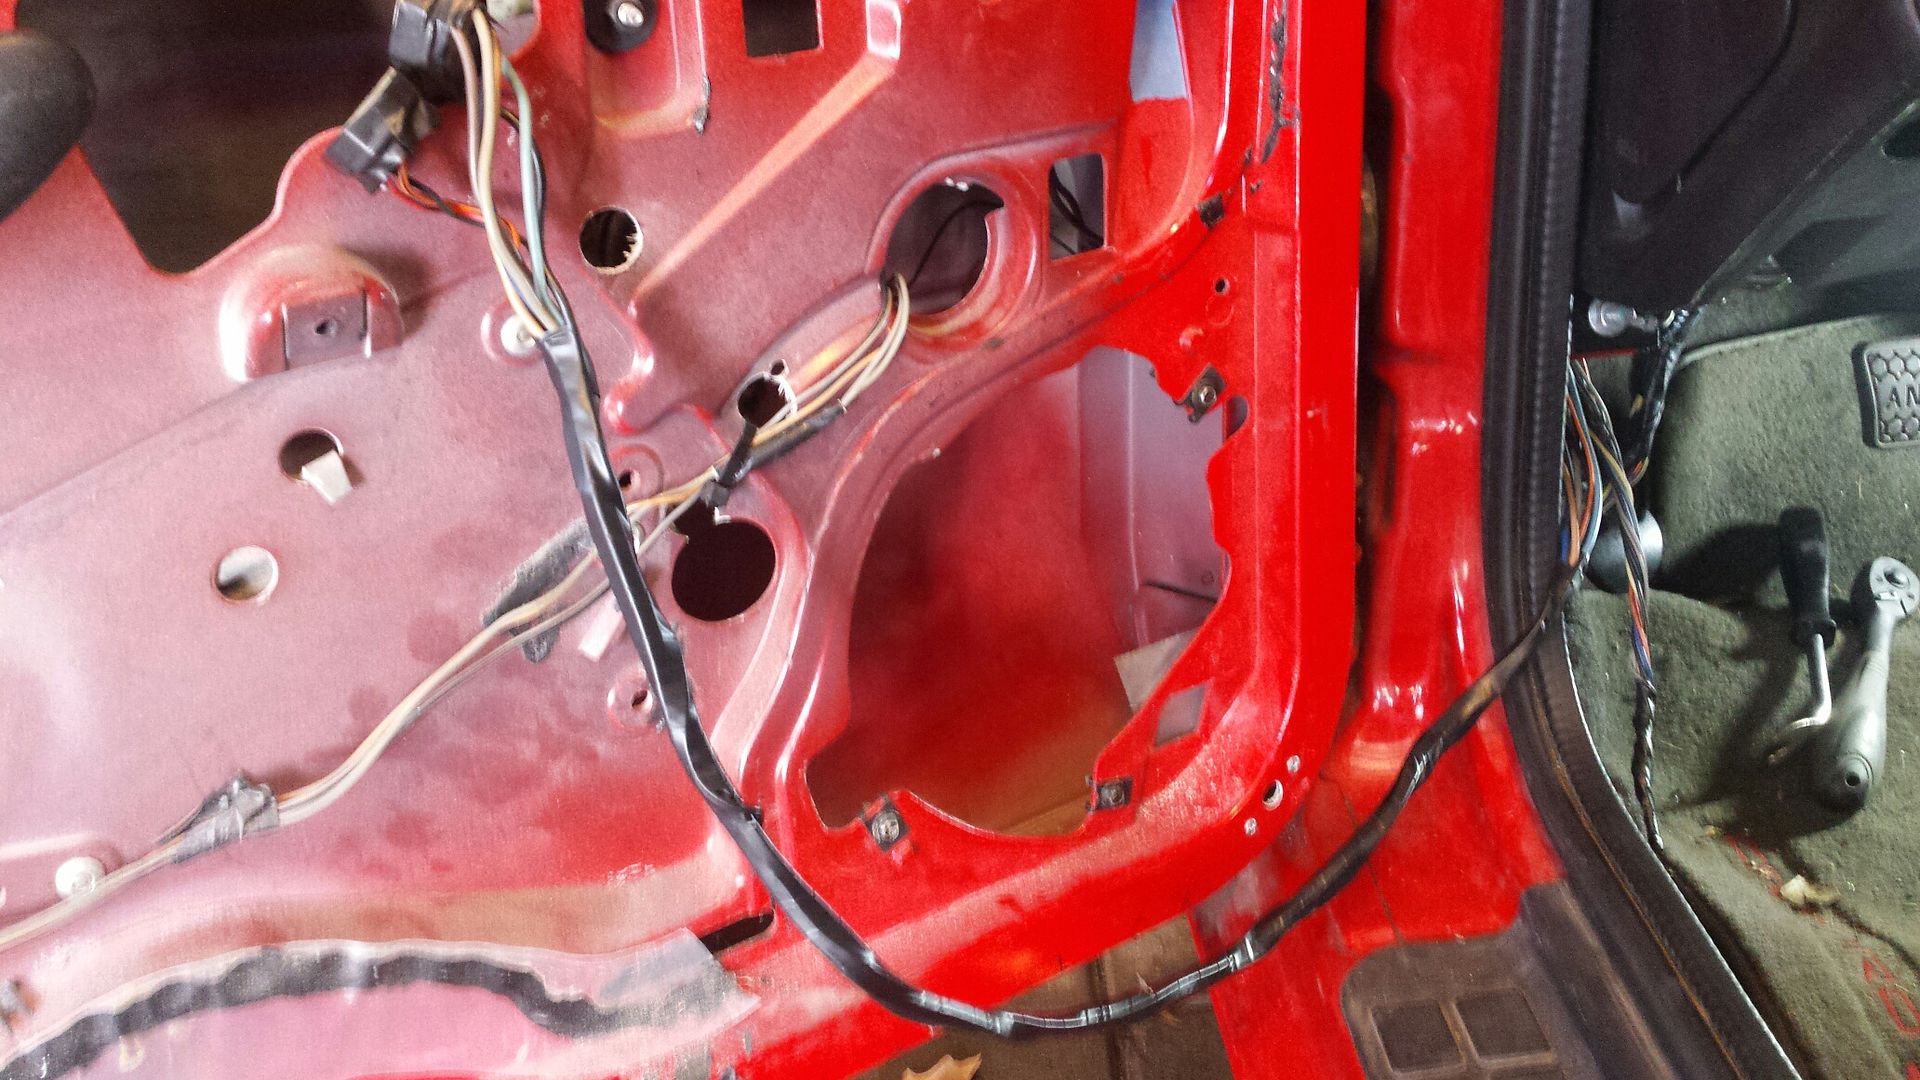
If you dont wanna cut/splice/extend, the stock harness will reach your new location. The issue is there are about 25 wires in the door, and about 5 need to stay. So you'll need to separate what goes to the switch, delete what you dont want, then pull it back through the boot. The long strand i have hung on the door is the plug in for the switch, separated and wrapped in tape and just propped up for the pic. The small strand coming out of the kickpanel next to it is power mirror and switch light wiring thats been cut and not needed.
Here's final install. Panel has probably been in storage for a year so its a little dusty but you get the idea. Works great and i can almost reach it when i pretend I'm strapped into a 5 point harness.
So, in conclusion to the door panel portion of the thread.....I selected to lose power mirrors, and dash mount the switch. After careful consideration it seemed like the best choice for ease of installation and aesthetics. I carefully trimmed off the mirror control off the top of the master switch, no need for it anymore. I selected this spot on the underdash panel due to clearance in that area. Make a hole, insert, hot glue from the backside.

If you dont wanna cut/splice/extend, the stock harness will reach your new location. The issue is there are about 25 wires in the door, and about 5 need to stay. So you'll need to separate what goes to the switch, delete what you dont want, then pull it back through the boot. The long strand i have hung on the door is the plug in for the switch, separated and wrapped in tape and just propped up for the pic. The small strand coming out of the kickpanel next to it is power mirror and switch light wiring thats been cut and not needed.

Here's final install. Panel has probably been in storage for a year so its a little dusty but you get the idea. Works great and i can almost reach it when i pretend I'm strapped into a 5 point harness.

 02-28-2018, 06:33 PM
#482
10 Second Club
One other thing on the battery.
I removed the trailer break-a-way battery, and wired in the new battery. So now it gets charged when connected to truck, and also acts as the power source for the break-a-way....always charging
I removed the trailer break-a-way battery, and wired in the new battery. So now it gets charged when connected to truck, and also acts as the power source for the break-a-way....always charging
03-01-2018, 07:12 AM
#483
TECH Senior Member
Thread Starter
iTrader: (96)
Join Date: Aug 2007
Location: Turnin' Wrenches Infractions: 005
Posts: 24,241
Likes: 0
Received 81 Likes
on
72 Posts
Ive considered that also, my real issue is I dont hook up enough to keep it charged, and would still need to maintain it in between towing. A break away only needs juice for a few seconds to perform, a winch can be a power-hungry ****** and will expose a weak battery real quick.
 03-02-2018, 01:31 PM
#486
TECH Senior Member
Thread Starter
iTrader: (96)
Join Date: Aug 2007
Location: Turnin' Wrenches Infractions: 005
Posts: 24,241
Likes: 0
Received 81 Likes
on
72 Posts
I have some. I generally park the trailer under a tree or out of the sun so a solar would probably work ok, not great. Just seems simpler and less hassle to use the tow vehicle for power. You KNOW its battery isnt dead.
I use similar ones for the atvs and riding mower. Id step up in size if you havent purchased it yet. Ive also got my yukon and camaro on plug ins, the solar werent keeping up with them. 3 months without starting the atvs and they crank on solars. Different long term demands I guess.
I keep thinking about putting this solar charger on the lid of my ammo/battery box. https://m.harborfreight.com/15-watt-...not%20provided
03-17-2018, 03:01 PM
#487
TECH Senior Member
Thread Starter
iTrader: (96)
Join Date: Aug 2007
Location: Turnin' Wrenches Infractions: 005
Posts: 24,241
Likes: 0
Received 81 Likes
on
72 Posts
Big converter issues. Figured why not go ahead and add the deep pan. Adds like 4Q 16oz more then a stock pan.

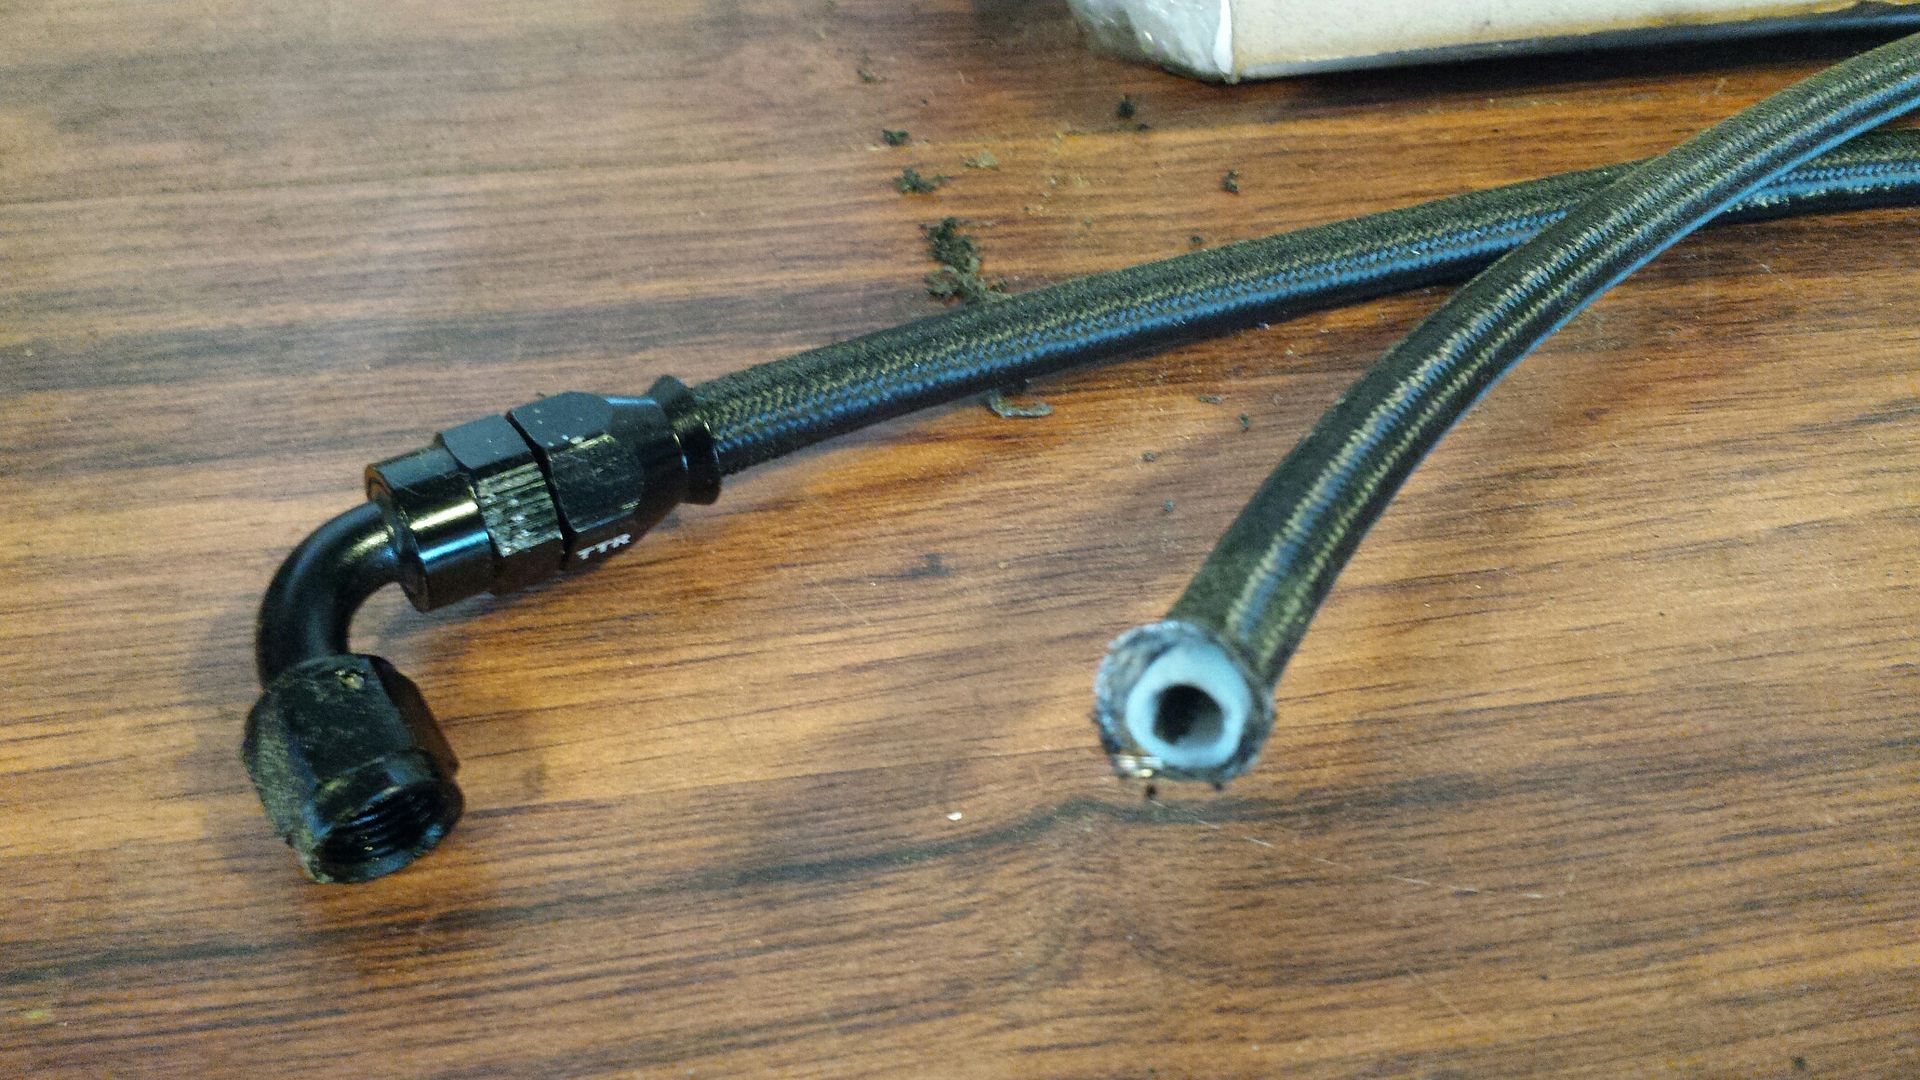
Not gonna get super technical, but a GM PS pump can put out 12/1300 psi under full load. AN hose is rated around 350psi with a burst strength of like triple that. PTFE AN hose has a rating of 1250psi. Its better suited for the high pressure line. So i bought some and swapped out the pressure side of the power steering. You can see the teflon lining inside the hose.
I guess I can let the cat out of the bag. Placed an order through Wolfe for their 10 point chromoly cage. Likely gonna add swingouts to it. Im really not going for tech in a racing class, Im doing it for safety and piece of mind. Also told them what the hell, add wheel tubs to the order too.


Not gonna get super technical, but a GM PS pump can put out 12/1300 psi under full load. AN hose is rated around 350psi with a burst strength of like triple that. PTFE AN hose has a rating of 1250psi. Its better suited for the high pressure line. So i bought some and swapped out the pressure side of the power steering. You can see the teflon lining inside the hose.

I guess I can let the cat out of the bag. Placed an order through Wolfe for their 10 point chromoly cage. Likely gonna add swingouts to it. Im really not going for tech in a racing class, Im doing it for safety and piece of mind. Also told them what the hell, add wheel tubs to the order too.
 03-24-2018, 07:35 AM
#489
TECH Senior Member
Thread Starter
iTrader: (96)
Join Date: Aug 2007
Location: Turnin' Wrenches Infractions: 005
Posts: 24,241
Likes: 0
Received 81 Likes
on
72 Posts
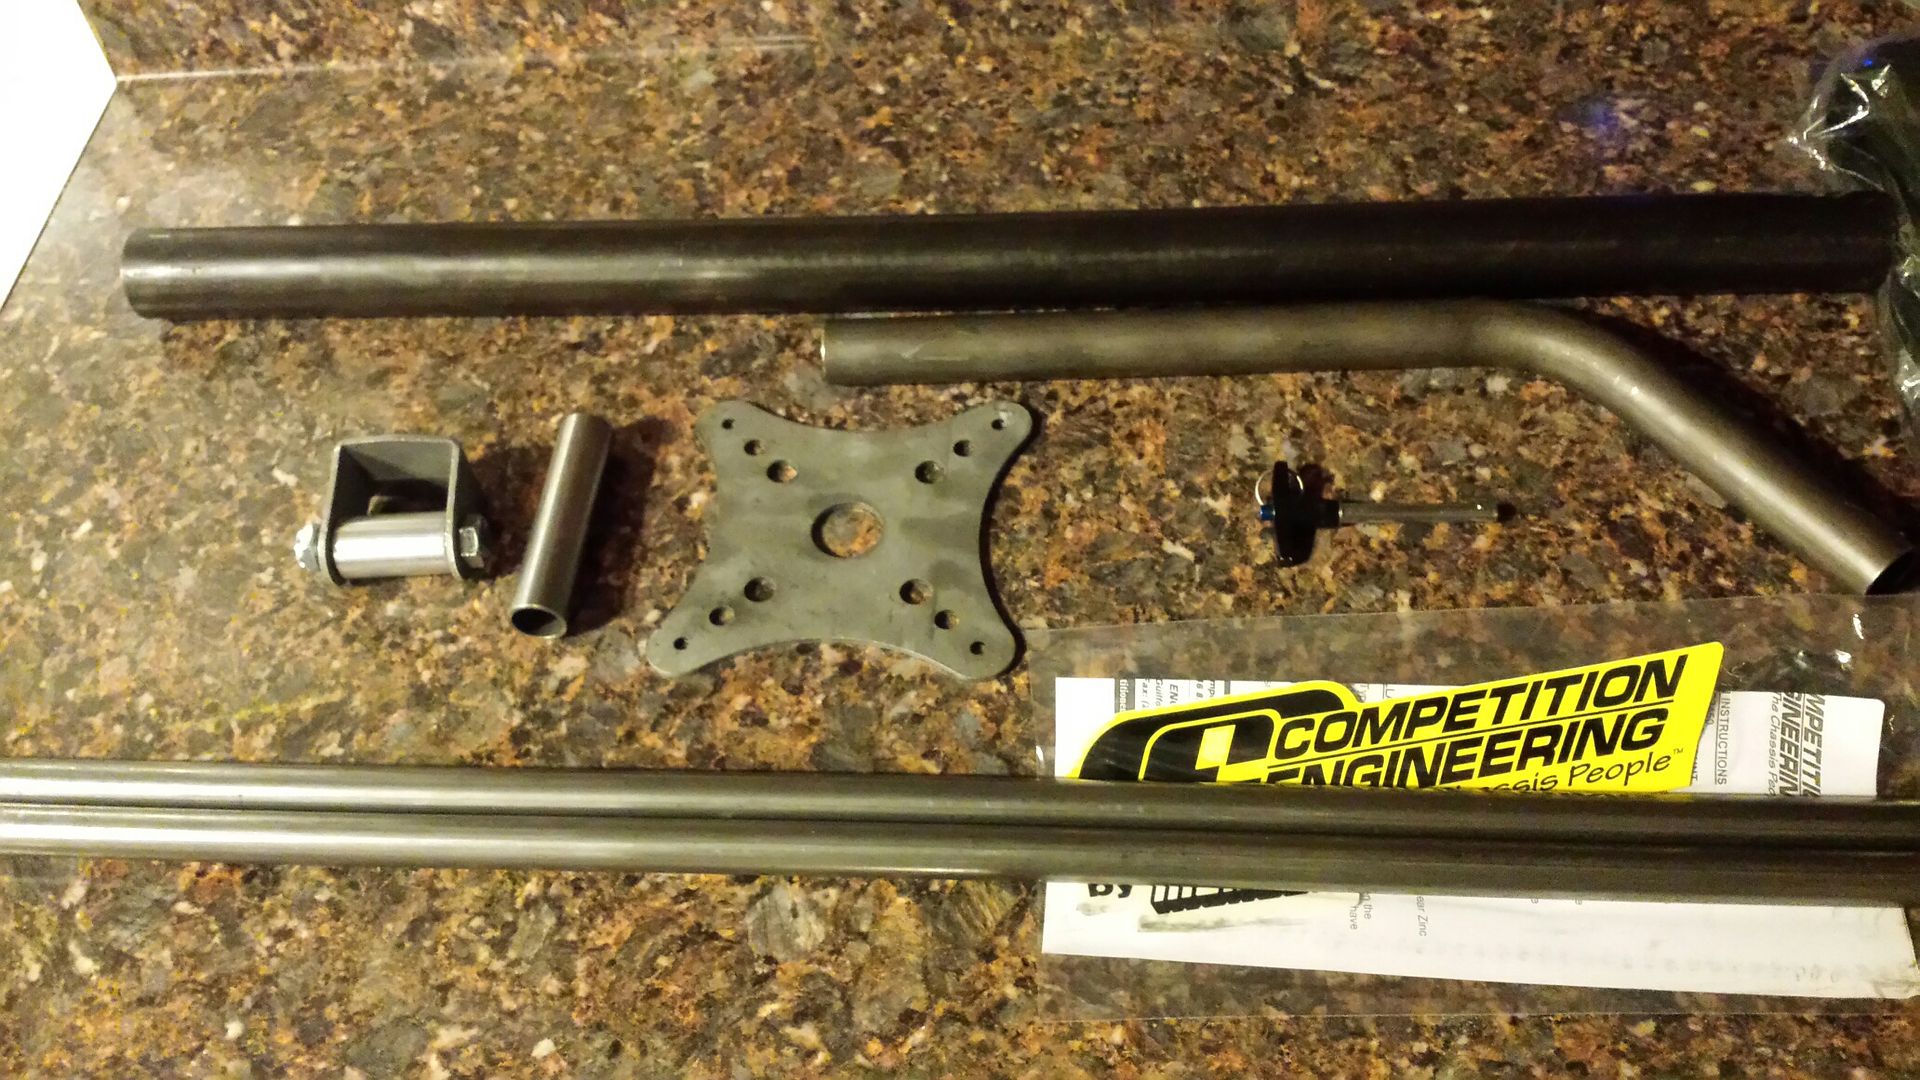
Parachute Mount: CEE-3450, CEE-3451
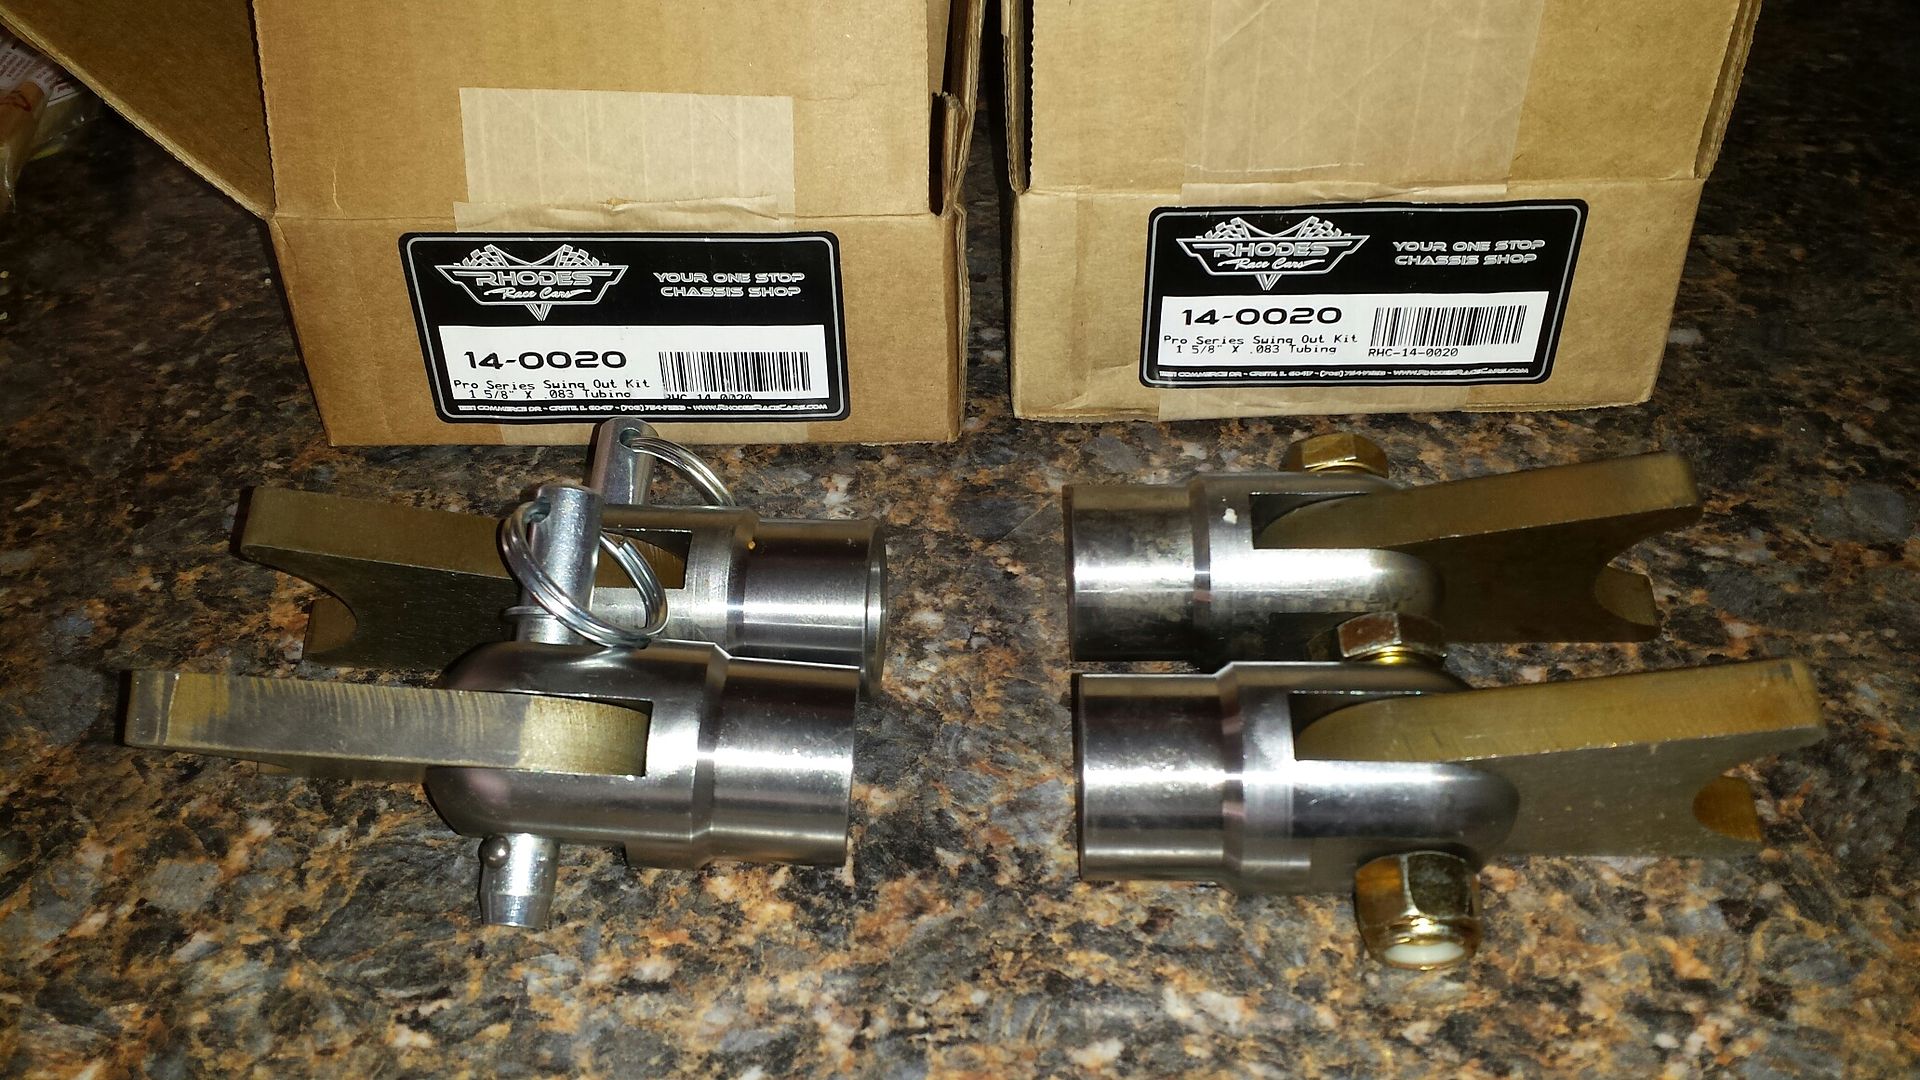
Door bar kit: RHC-14-0020
5 point harness: RJS 1032001
Going to make the chute mount from scratch, and add in the door swingouts to the cage (wasn't an option from Wolfe).
Door bar kit: RHC-14-0020
5 point harness: RJS 1032001
Going to make the chute mount from scratch, and add in the door swingouts to the cage (wasn't an option from Wolfe).


 03-25-2018, 07:26 AM
#491
TECH Senior Member
Thread Starter
iTrader: (96)
Join Date: Aug 2007
Location: Turnin' Wrenches Infractions: 005
Posts: 24,241
Likes: 0
Received 81 Likes
on
72 Posts
No, thats a competition engineering generic setup. My biggest issue with all of the prefab units is they require you to alter the license plate or have a flip down plate holder. My goal for building my own is to not alter or obstruct my plate when the chute is mounted. There are some that need to go up literally one inch to clear the plate. I understand (sorta) why they do this (due to bumper design) but i still dont like it.
03-25-2018, 12:57 PM
#493
TECH Senior Member
Thread Starter
iTrader: (96)
Join Date: Aug 2007
Location: Turnin' Wrenches Infractions: 005
Posts: 24,241
Likes: 0
Received 81 Likes
on
72 Posts
Yeah ive been looking at all of them. The RSM literally needs to be 1 inch higher to clear the plate. Eades (owner of rsm) even made a post here that stated he made it this way due to bumper design. I have no problem cutting the bumper a tad higher. No way 1 inch is gonna drastically effect the way the car brakes.
04-02-2018, 11:13 AM
#494
TECH Senior Member
Thread Starter
iTrader: (96)
Join Date: Aug 2007
Location: Turnin' Wrenches Infractions: 005
Posts: 24,241
Likes: 0
Received 81 Likes
on
72 Posts
Good news. We all know times change, and as much hard work and money as we spend, and when we take time to document it we want it to reach as many people as possible. With that being said you FB users can come visit the new page. My plan is to organize pics and info in an easy to find setup and reach more people. So if youre on FB come like the page.
https://www.facebook.com/01ssreda4/
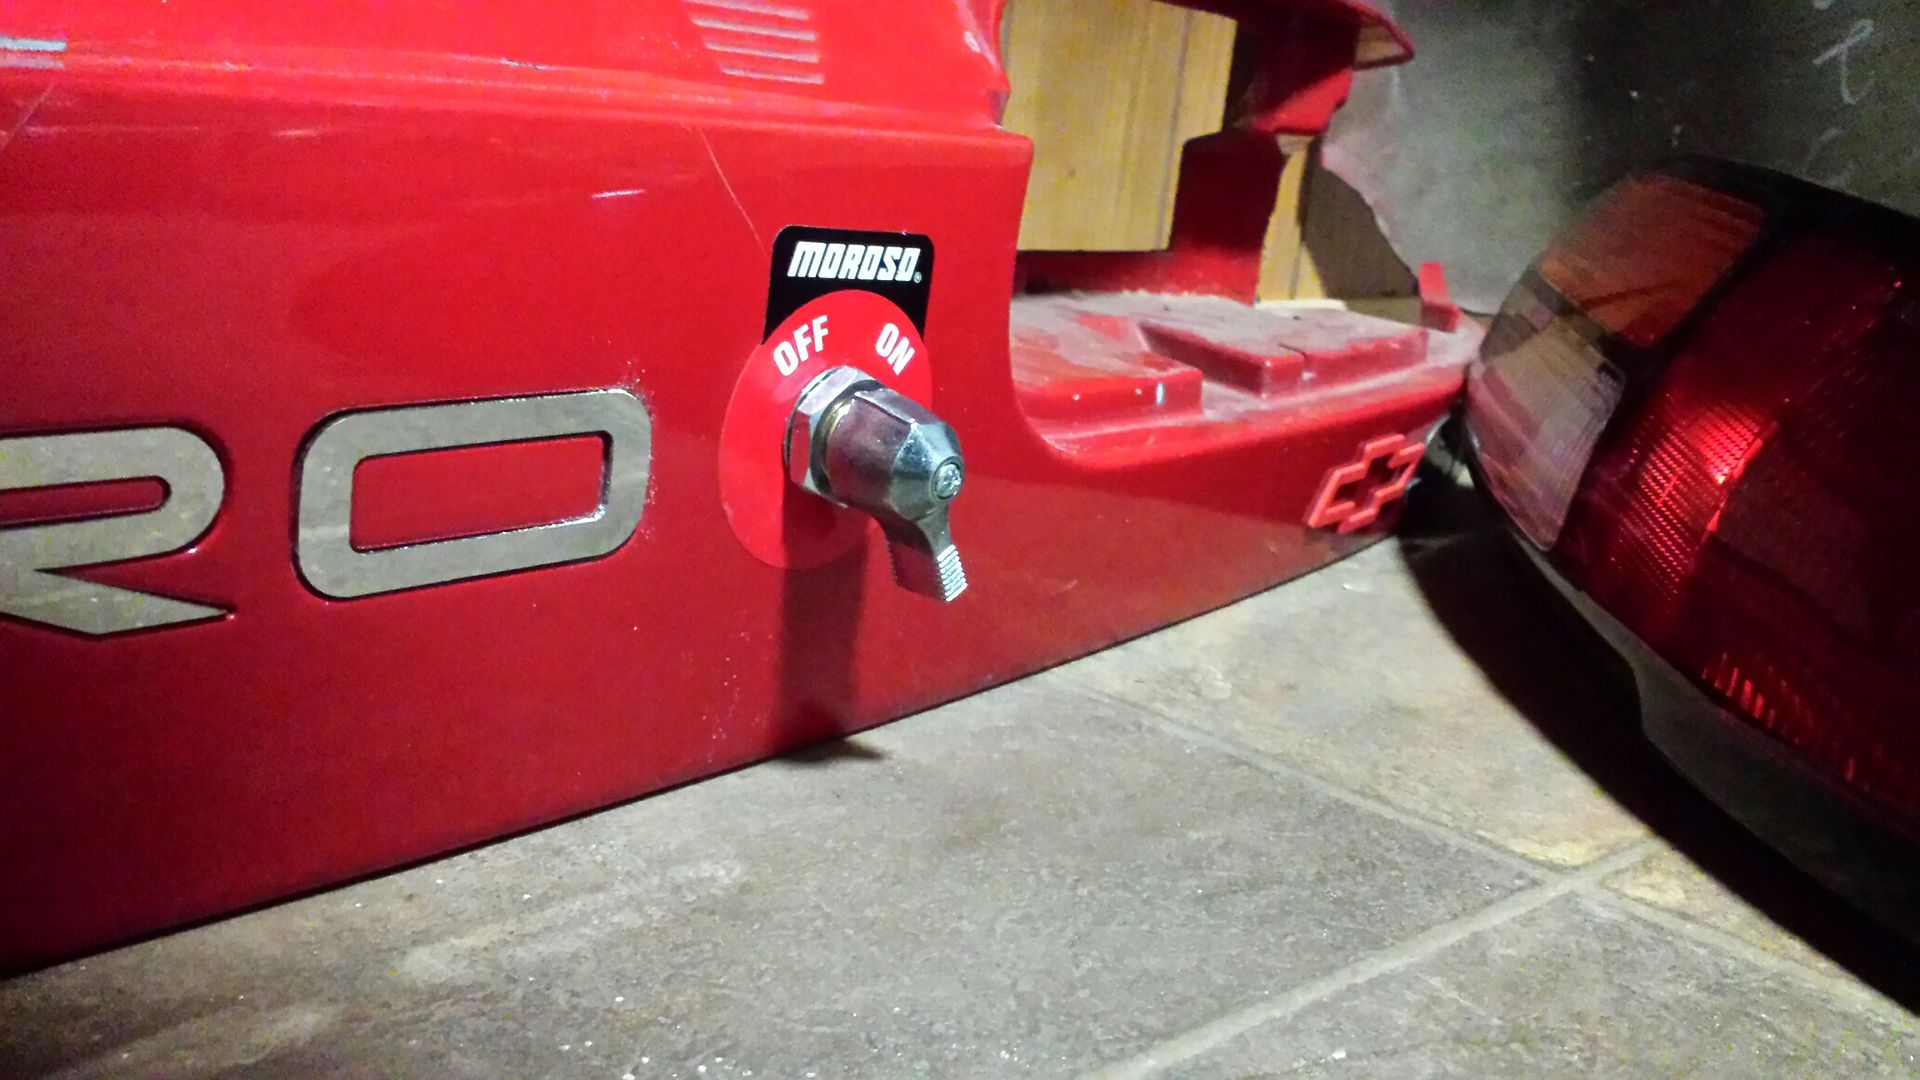
I have sold my XSPower battery, and replaced it with this. Didnt look at the battery size code (not in the pic) but I will get the part numbers for all of it once everything is here and i start the install.
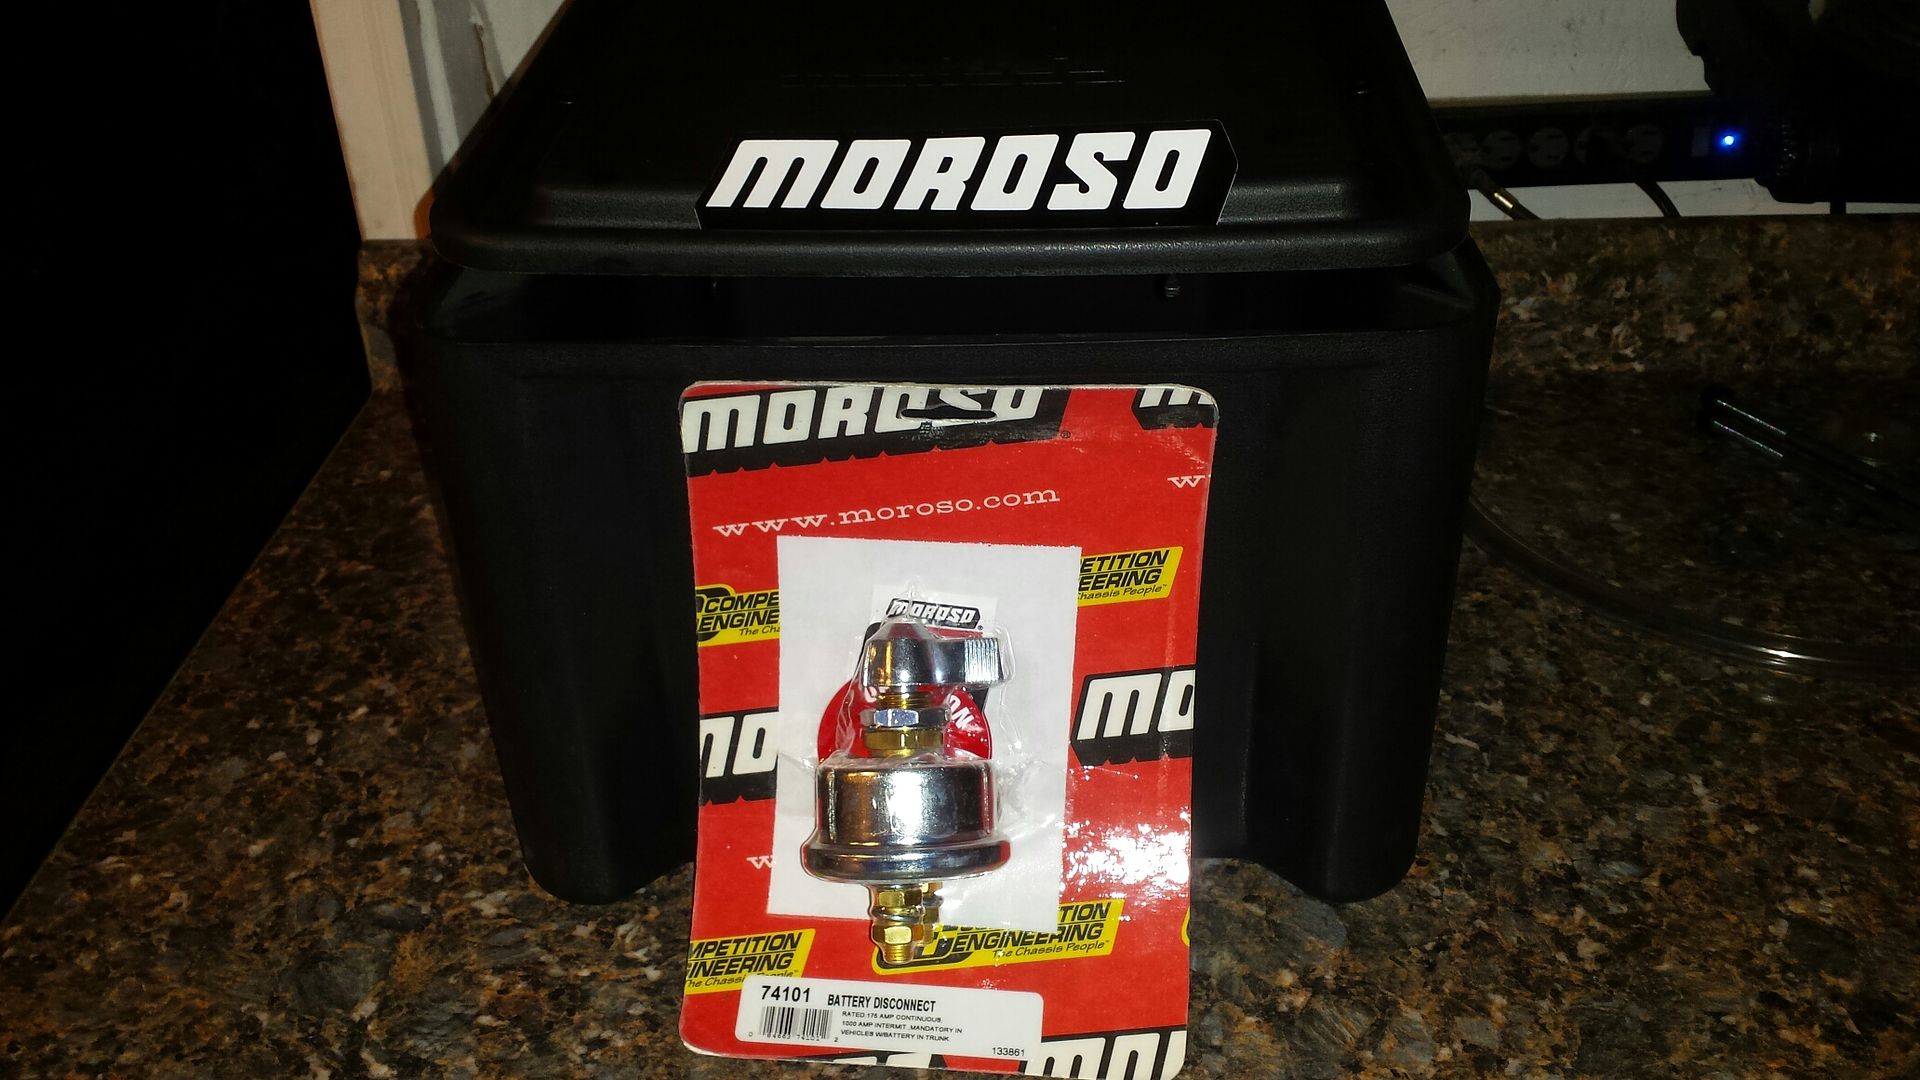
Battery box Moroso MOR-74051
Shutoff Moroso MOR-74101
https://www.facebook.com/01ssreda4/
I have sold my XSPower battery, and replaced it with this. Didnt look at the battery size code (not in the pic) but I will get the part numbers for all of it once everything is here and i start the install.

Battery box Moroso MOR-74051
Shutoff Moroso MOR-74101
Last edited by 01ssreda4; 04-02-2018 at 02:28 PM.
04-03-2018, 12:59 PM
#496
TECH Senior Member
Thread Starter
iTrader: (96)
Join Date: Aug 2007
Location: Turnin' Wrenches Infractions: 005
Posts: 24,241
Likes: 0
Received 81 Likes
on
72 Posts
Thanks and I will still be posting here. I have to admit after spending several hours yesterday organizing some pics its gonna be nice when someone inquires about say, a roll cage install, i can direct them to the picture album as opposed to trying to figure out what page of what forum i did the cage install on. Having options is a good thing.
04-13-2018, 12:07 PM
#497
TECH Senior Member
Thread Starter
iTrader: (96)
Join Date: Aug 2007
Location: Turnin' Wrenches Infractions: 005
Posts: 24,241
Likes: 0
Received 81 Likes
on
72 Posts
Still accumulating stuff, no time to work on it due to having some paying jobs i need to finish first. We are at 1 month wait on the cage/tubs, maybe i will get lucky and get it next week.
Quick recap, on the to-do list: 10 point chromoly cage with swingouts, rear wheel tubs, rear mount battery/box, 5 point harnesses, custom parachute mount. Also, I been looking at the RSM tubular front end kit. I like it, but i think I could make it and save $600. However, the wiring on the front of the car would need to be redone for it to look nice. Im considering moving the fuse boxes and all available wiring to under the dash. IF that happens, I may go straight from this into a tubular front end setup. If Im rewiring the heavy gauge wire for the battery, and the dash is out, its a perfect time to explore these options.. Wouldnt mind the PCM inside the car too for a cleaner look......Hmmm
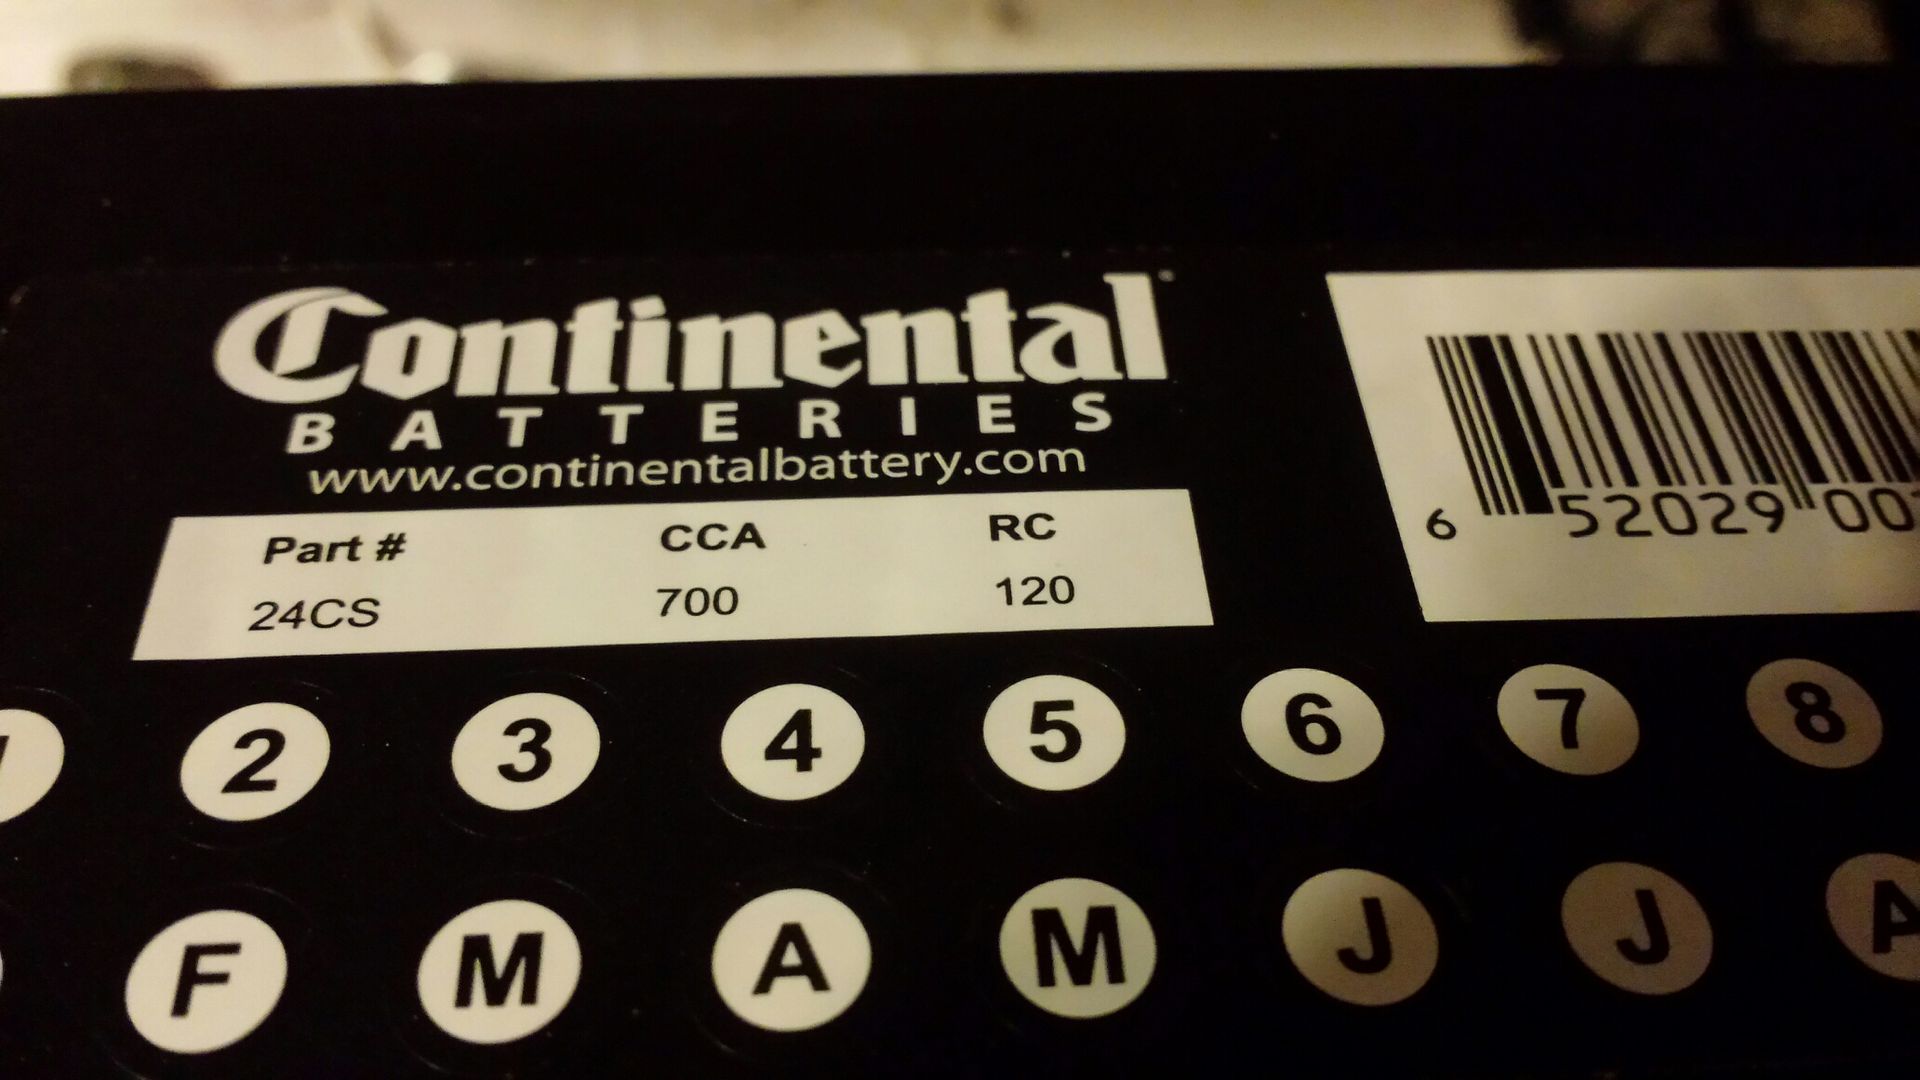
This is the initial buy, 25ft 2g black and 25ft 2g red, 20ft 4g red. 20 piece 2g terminals, local store battery. Will add stuff as needed as I lay the wire out in the car.

Battery size, fits the box like a glove.
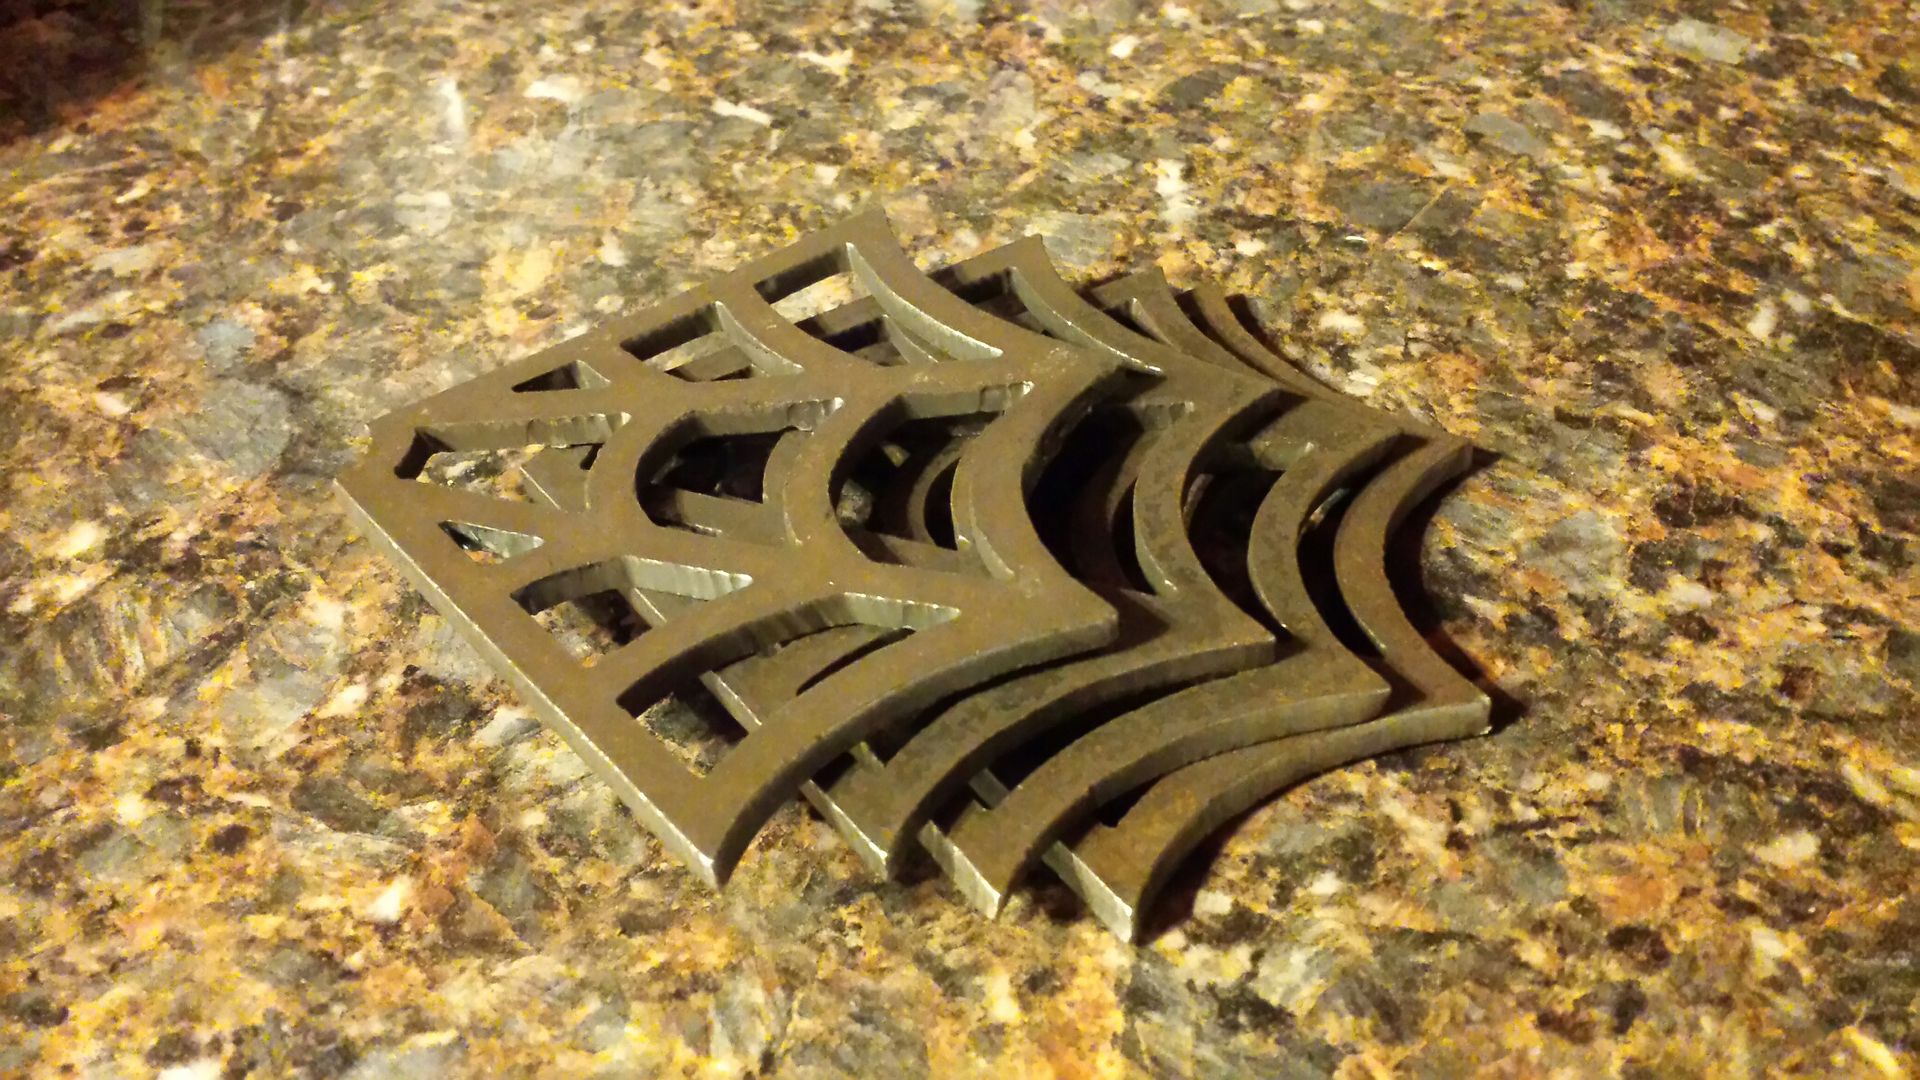
Some roll cage gussets. Not sure why i bought these, and dont know where I'm gonna put them, will figure it out once the cage is in. These measure 4"x4".
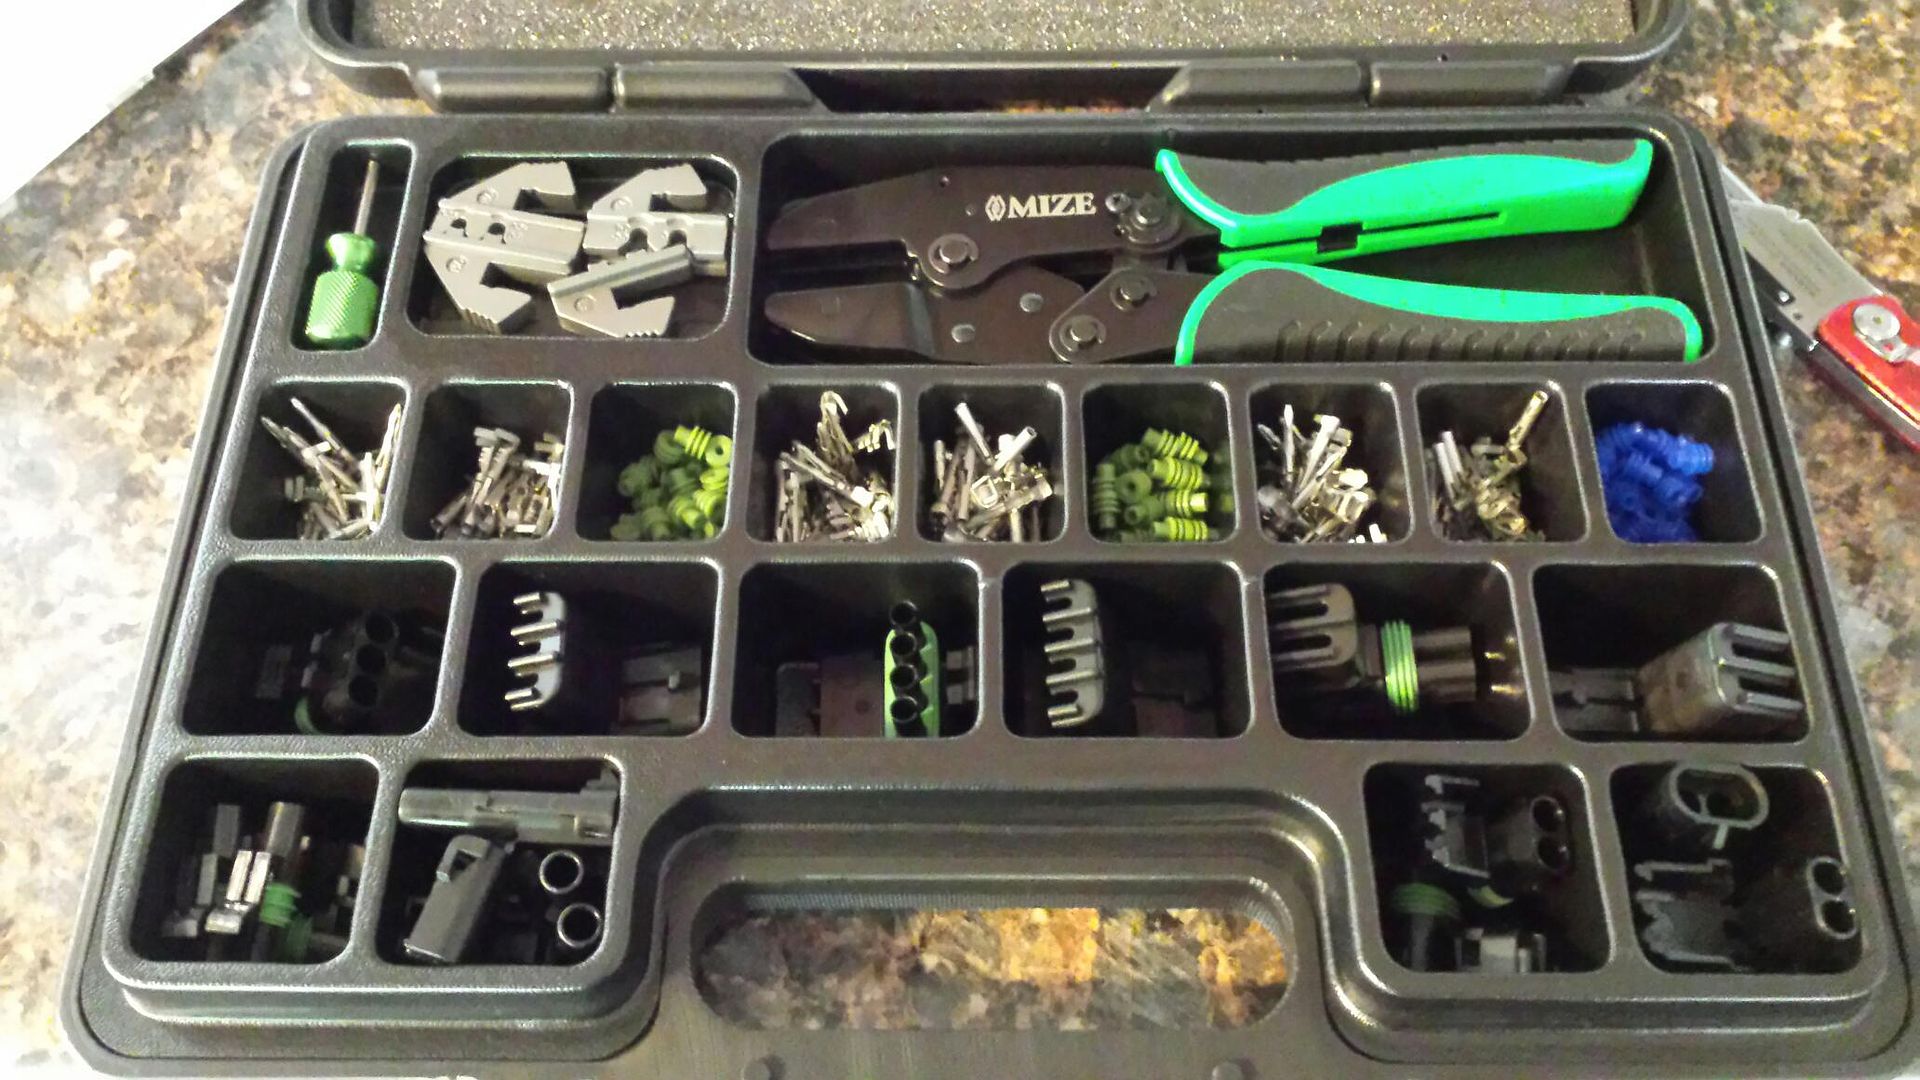
Figured I'd step up my wiring game some so I bought this. Biggest available bulkhead weather pack Ive found is 22 wires. My plan is to hook up the big battery, pull all fuses under the hood i dont "think" i need, then check to make sure everything works (lights, engine runs, door locks, hatch pops, etc). Once i get down to only the circuits i need, I can count how many wires need to be moved/extended and how many can be deleted to give me an idea of the difficulty level of this job. What I would really like is maybe to trim the rear side of the glovebox door off (basically make it a flat swingout panel), then make it when you open the door the fuse blocks are there to service. Will look more into that later.

I think the very first thing Im gonna tackle is the chute mount and battery cutoff switch in the rear of the car. Its about the only part of this project thats not intertwined with some other part.
Quick recap, on the to-do list: 10 point chromoly cage with swingouts, rear wheel tubs, rear mount battery/box, 5 point harnesses, custom parachute mount. Also, I been looking at the RSM tubular front end kit. I like it, but i think I could make it and save $600. However, the wiring on the front of the car would need to be redone for it to look nice. Im considering moving the fuse boxes and all available wiring to under the dash. IF that happens, I may go straight from this into a tubular front end setup. If Im rewiring the heavy gauge wire for the battery, and the dash is out, its a perfect time to explore these options.. Wouldnt mind the PCM inside the car too for a cleaner look......Hmmm
This is the initial buy, 25ft 2g black and 25ft 2g red, 20ft 4g red. 20 piece 2g terminals, local store battery. Will add stuff as needed as I lay the wire out in the car.

Battery size, fits the box like a glove.

Some roll cage gussets. Not sure why i bought these, and dont know where I'm gonna put them, will figure it out once the cage is in. These measure 4"x4".

Figured I'd step up my wiring game some so I bought this. Biggest available bulkhead weather pack Ive found is 22 wires. My plan is to hook up the big battery, pull all fuses under the hood i dont "think" i need, then check to make sure everything works (lights, engine runs, door locks, hatch pops, etc). Once i get down to only the circuits i need, I can count how many wires need to be moved/extended and how many can be deleted to give me an idea of the difficulty level of this job. What I would really like is maybe to trim the rear side of the glovebox door off (basically make it a flat swingout panel), then make it when you open the door the fuse blocks are there to service. Will look more into that later.


I think the very first thing Im gonna tackle is the chute mount and battery cutoff switch in the rear of the car. Its about the only part of this project thats not intertwined with some other part.
Last edited by 01ssreda4; 04-13-2018 at 12:15 PM.
04-13-2018, 10:38 PM
#498
TECH Resident
iTrader: (21)
Join Date: Sep 2009
Location: MD
Posts: 766
Likes: 0
Received 0 Likes
on
0 Posts
Funny I�m doing a lot of the same things right now. Got the rsm front end. It is nice and saves a good amount of time going from scratch. It is not however a �complete� kit. Still have to put your personal touches on it. Fuse boxes are going behind dash and being �trimmed� way back. So much cleaner under the hood without it.
04-27-2018, 09:37 PM
#499
TECH Senior Member
Thread Starter
iTrader: (96)
Join Date: Aug 2007
Location: Turnin' Wrenches Infractions: 005
Posts: 24,241
Likes: 0
Received 81 Likes
on
72 Posts
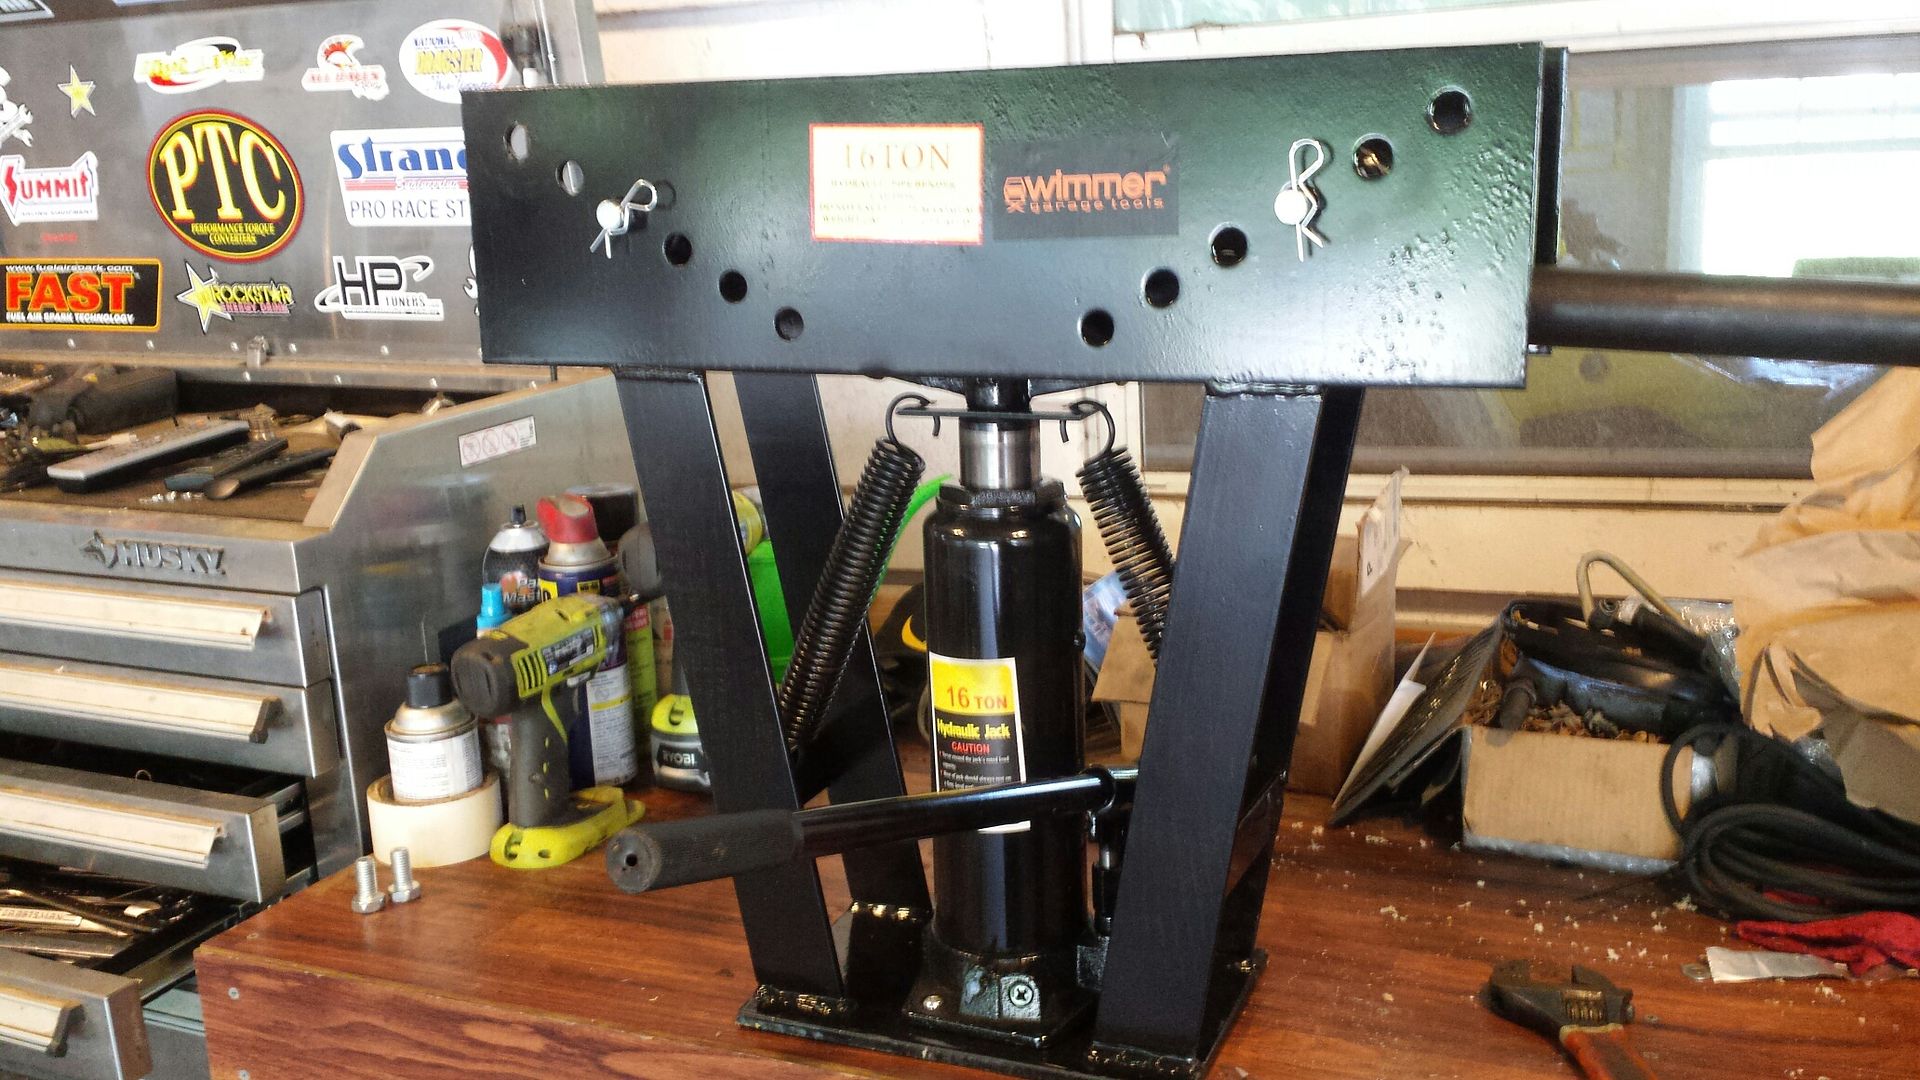
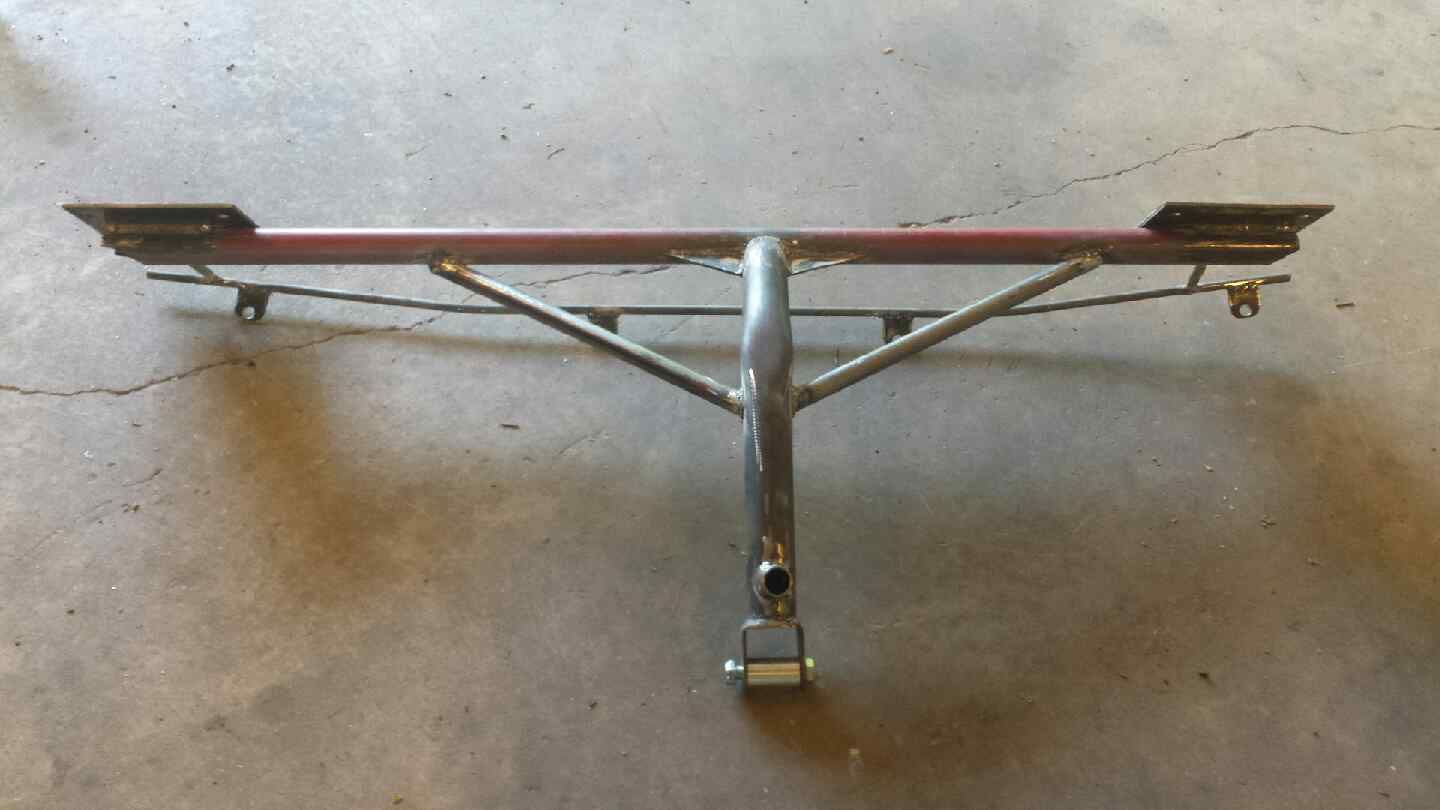
New toy:
Took my 6x6 plates and drilled holes:
Needed about 45" of pipe. The old driver door bar needed just a little trimmed off.
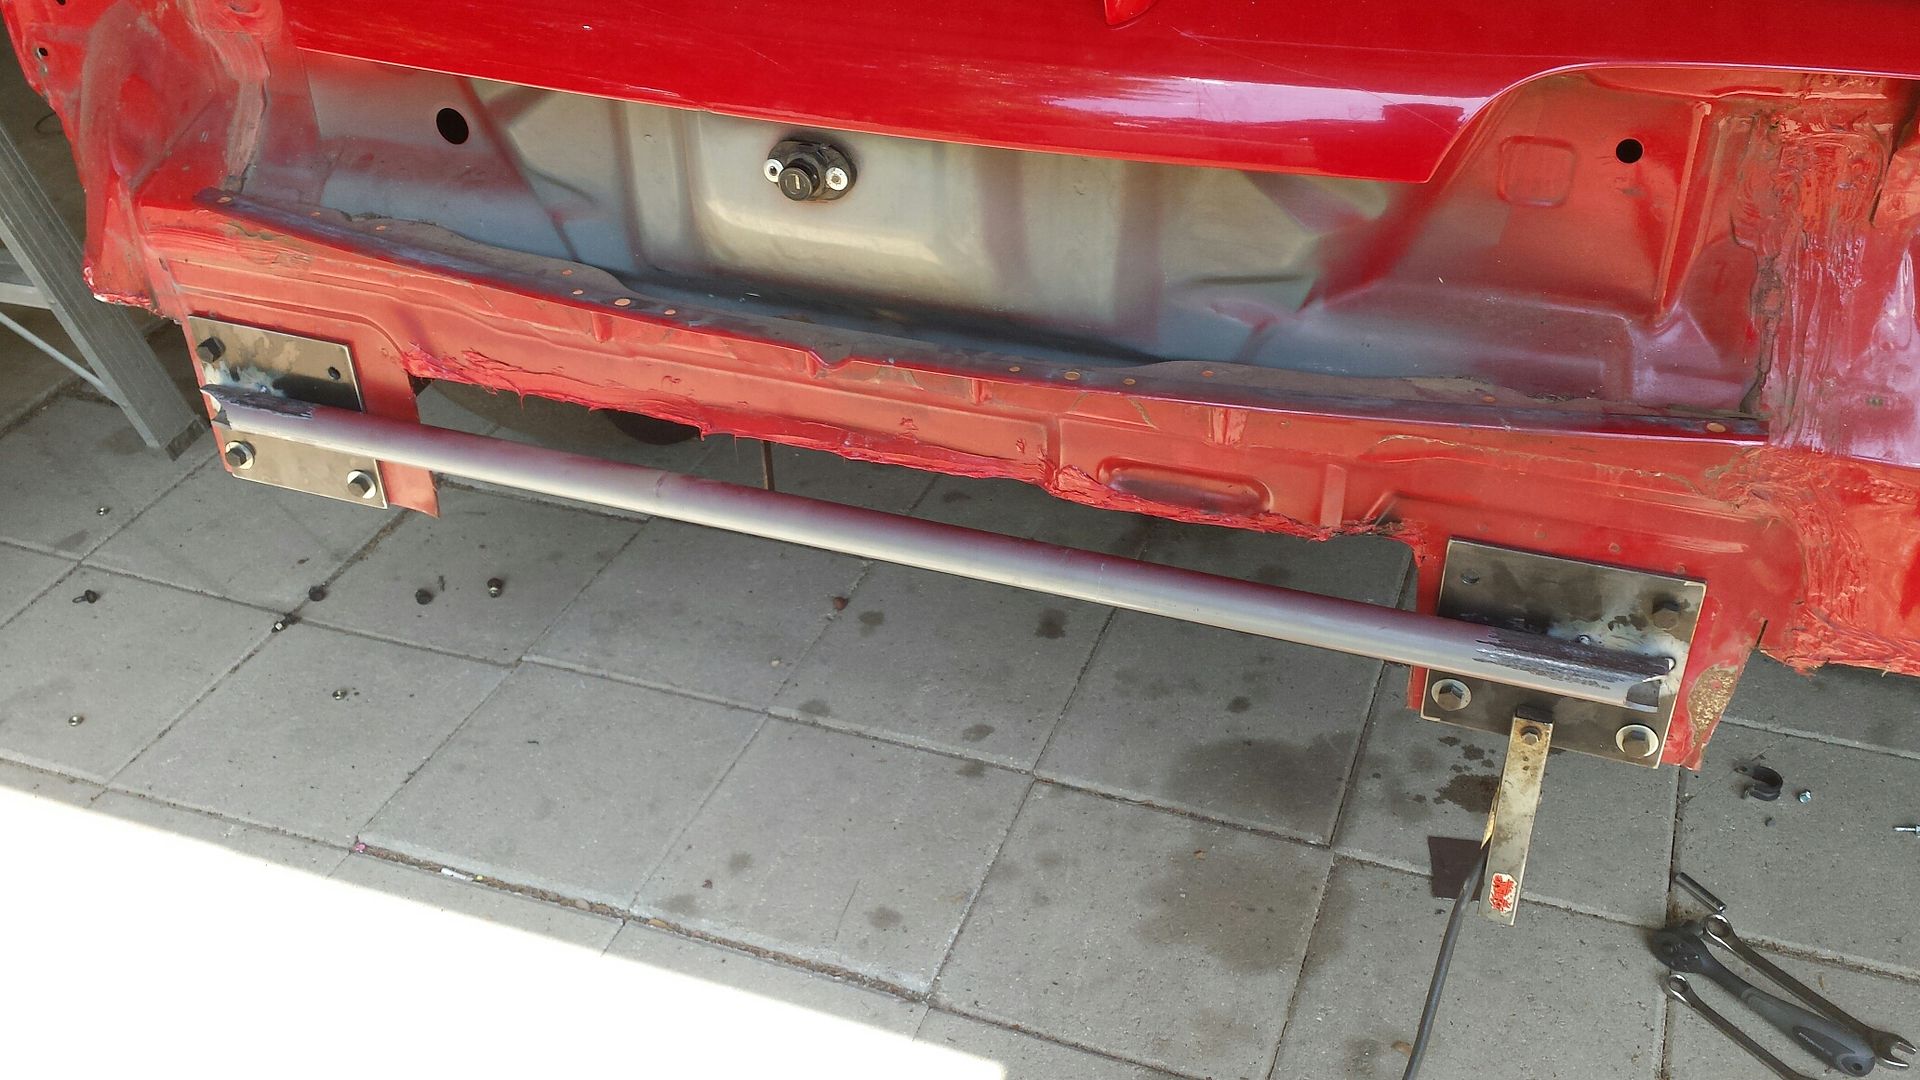
Plan to add some gussets and do powder coat this week coming up.
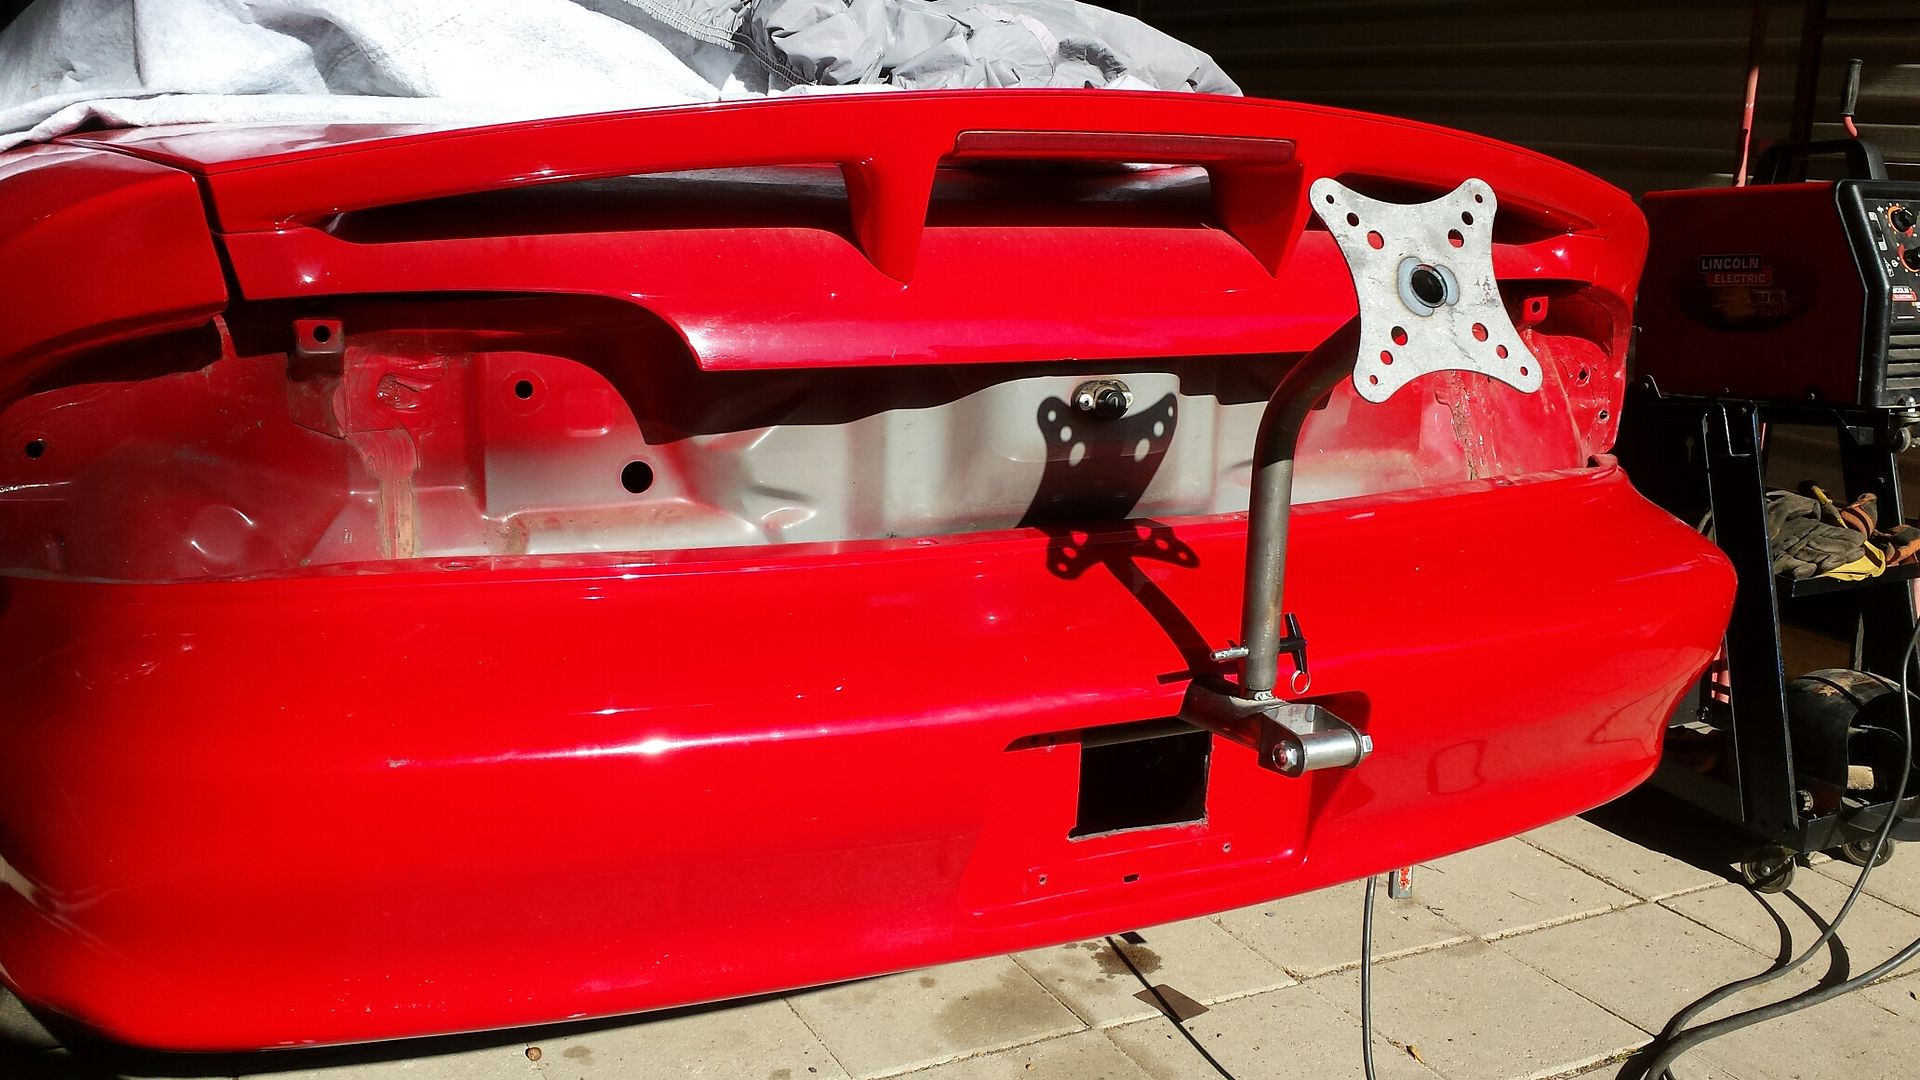
Test fit....

Took my 6x6 plates and drilled holes:

Needed about 45" of pipe. The old driver door bar needed just a little trimmed off.

Plan to add some gussets and do powder coat this week coming up.

Test fit....
 04-30-2018, 12:14 PM
#500
TECH Senior Member
Thread Starter
iTrader: (96)
Join Date: Aug 2007
Location: Turnin' Wrenches Infractions: 005
Posts: 24,241
Likes: 0
Received 81 Likes
on
72 Posts
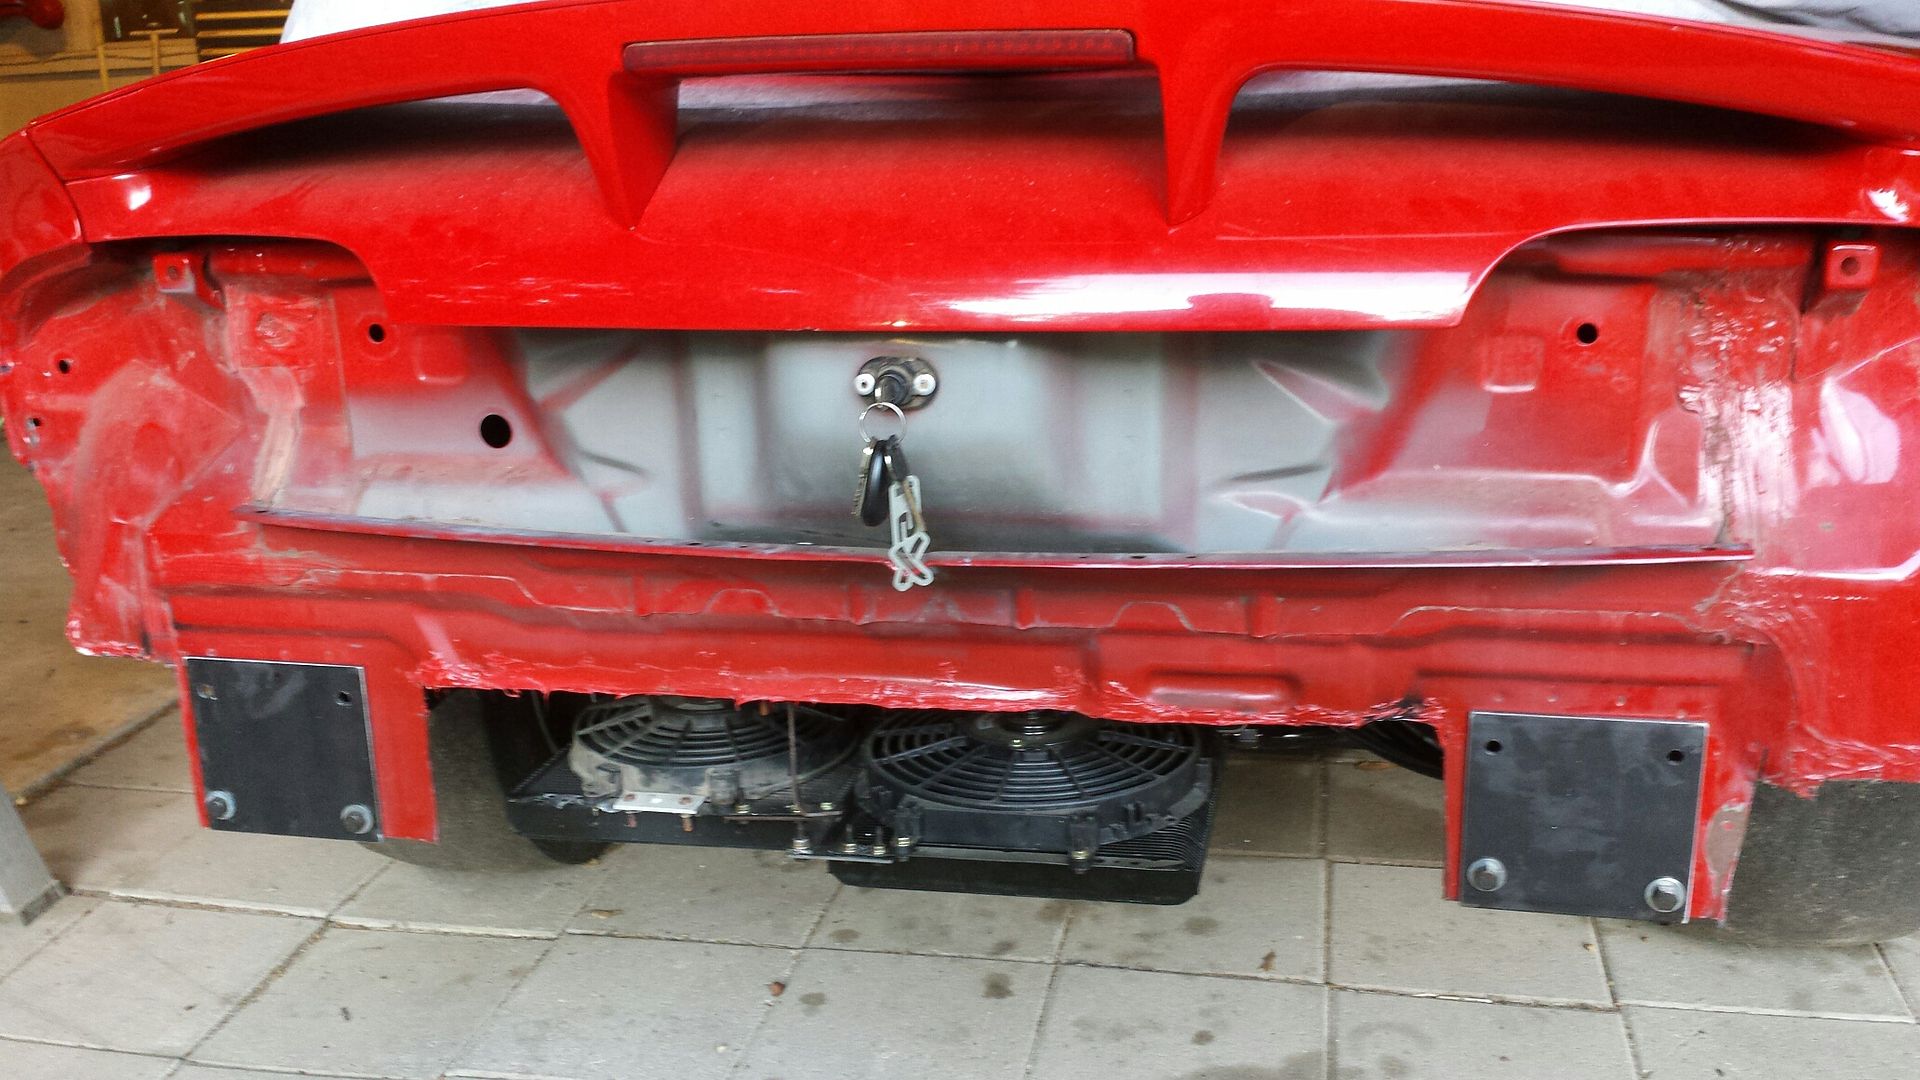
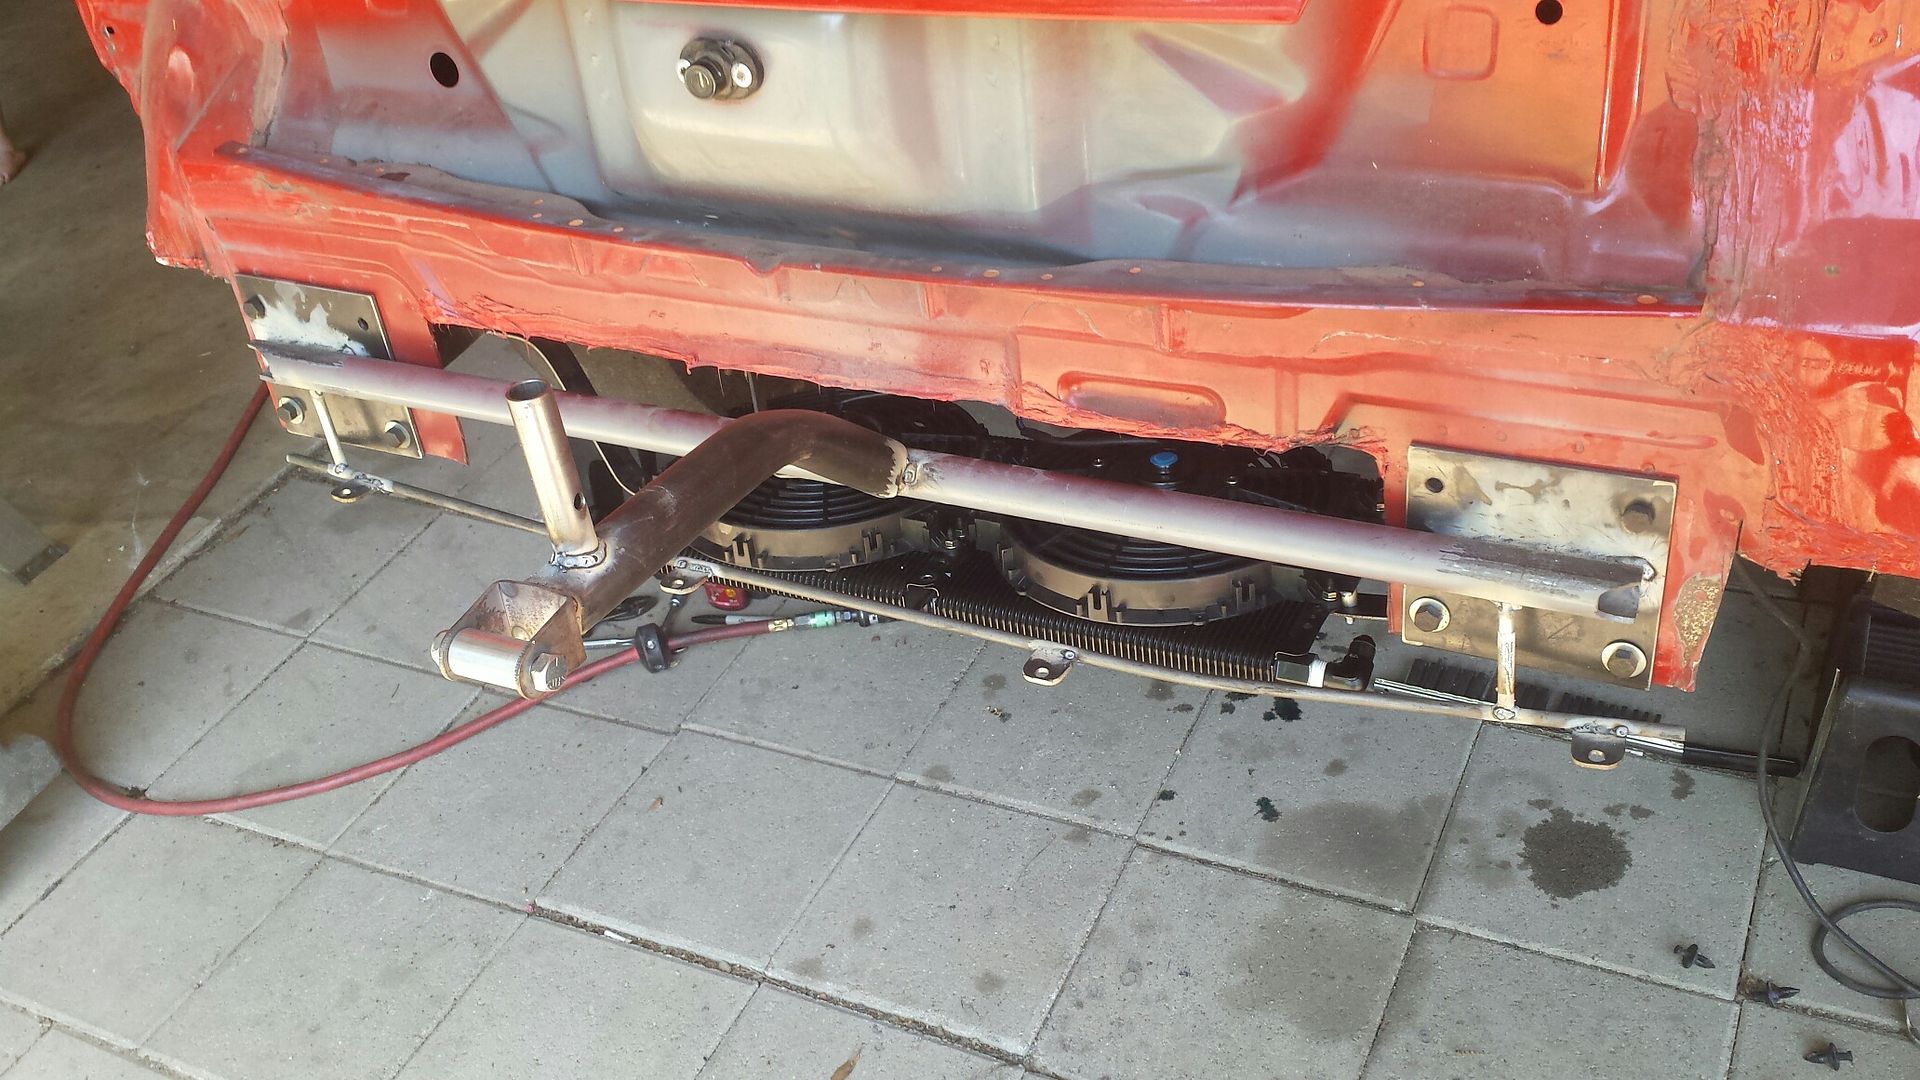
Removed the mismatched coolers and added a second matching cooler, all new brackets, and got lucky and only had to modify one AN line even though i changed their orientation.
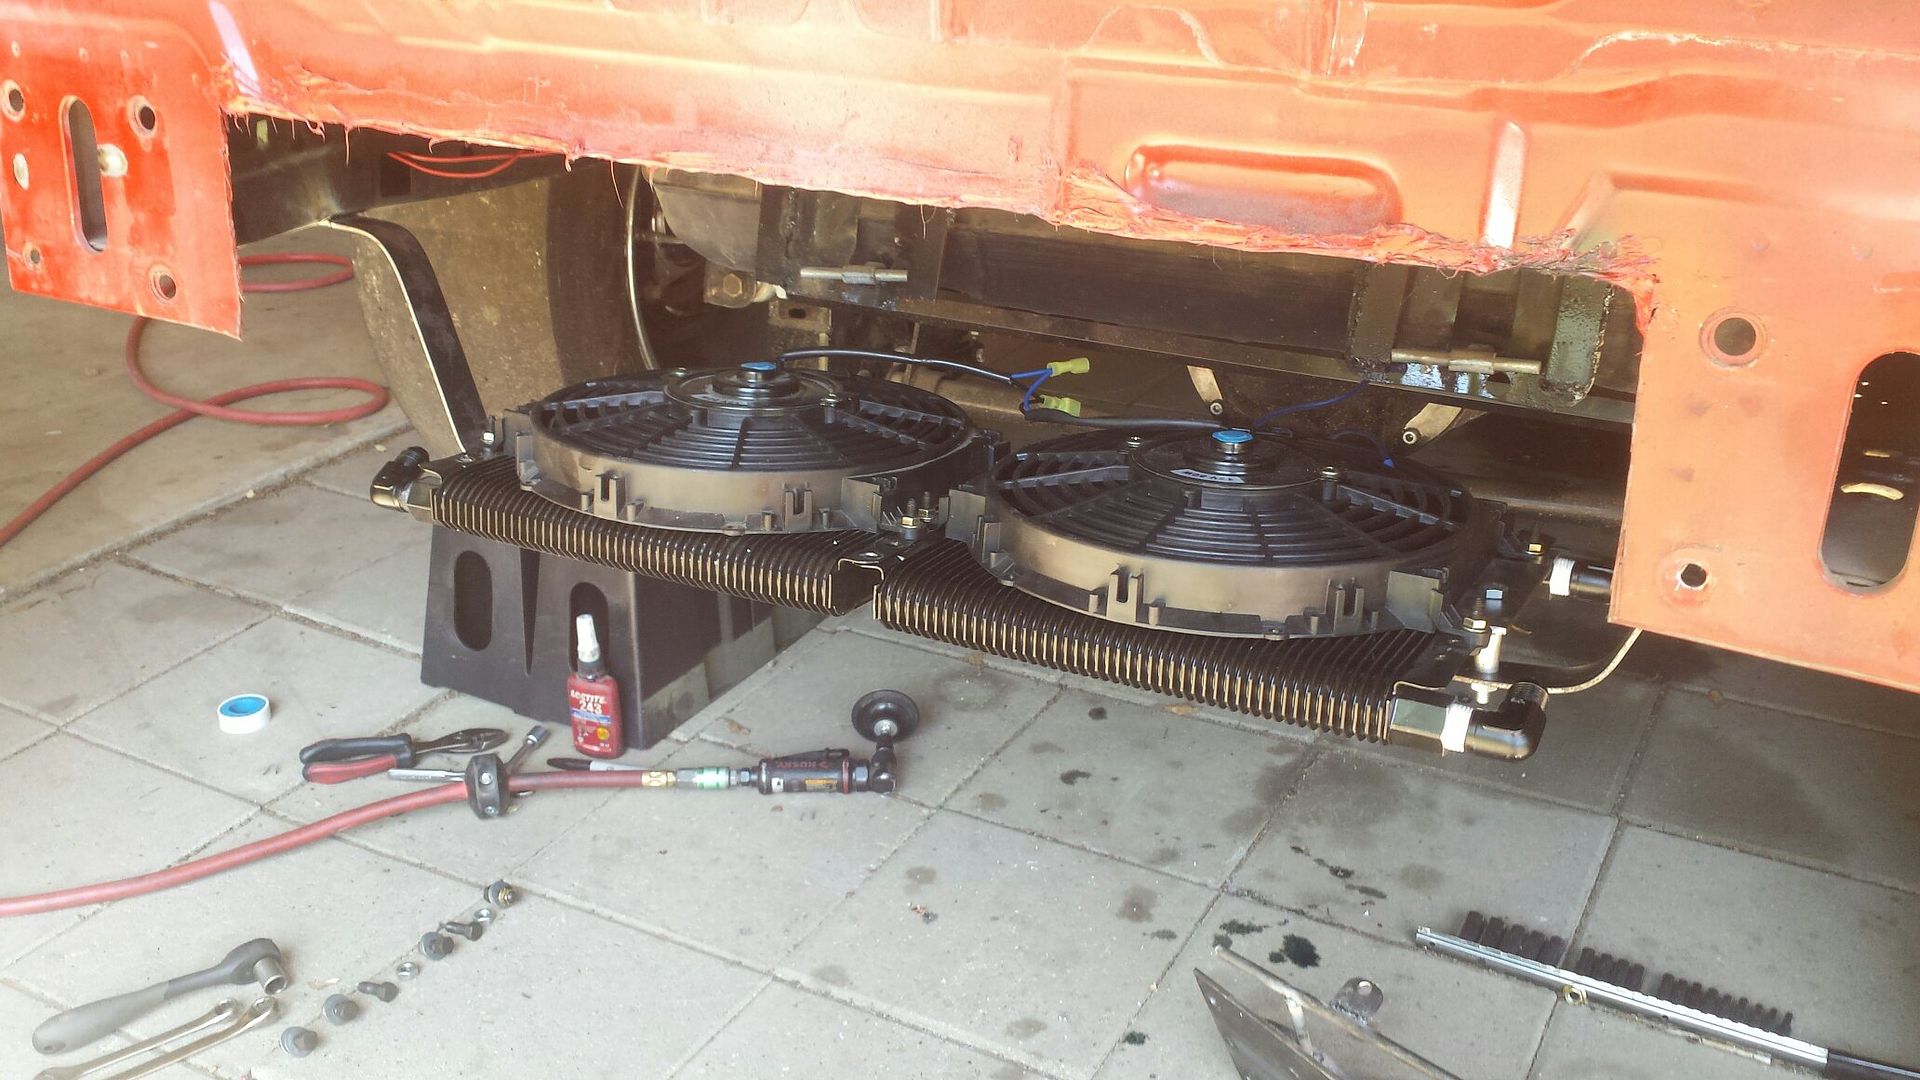
Getting closer.
Added some cross bracing and its off to the powder coat shop.

Getting closer.

Added some cross bracing and its off to the powder coat shop.
