
wet sanding tail lights.

 04-12-2009 | 07:16 PM
#2
soak the sandpaper and use a squirt bottle with a water/soap mix. keep the area you are wet sanding wet with the squirt bottle and lightly wetsand. once you are done, you can clearcoat them and if you choose to wetsand the clear you can. then polish, wax and you are done...
04-12-2009 | 07:24 PM
#3

Thread Starter
Joined: Dec 2004
Posts: 1,449
Likes: 0
From: Cooper City, FL
use wet/dry 2000 grit sandpaper.
soak the sandpaper and use a squirt bottle with a water/soap mix. keep the area you are wet sanding wet with the squirt bottle and lightly wetsand. once you are done, you can clearcoat them and if you choose to wetsand the clear you can. then polish, wax and you are done...
soak the sandpaper and use a squirt bottle with a water/soap mix. keep the area you are wet sanding wet with the squirt bottle and lightly wetsand. once you are done, you can clearcoat them and if you choose to wetsand the clear you can. then polish, wax and you are done...
they have already been cleared just wanted to get them nice and shiny with the wet sanding.
Chad
04-12-2009 | 07:32 PM
#4
the method to wetsanding is to remove a little at a time, use a soaked and wet 3M rubber squegee (sp) to wipe down the area you wetsanded and look at the progress. then towel try with a 100% cotton or microfiber towel.
then use a polish of your choice, and then a coat of wax for additional protection.
you dont want to sand through the clearcoat and into the VHT, so use very light pressure while you wetsand and just take off a little at a time.
04-12-2009 | 07:35 PM
#5
Thread Starter
Joined: Dec 2004
Posts: 1,449
Likes: 0
From: Cooper City, FL
usually the most common reason to wetsand is to remove runs or oragne peel or 'fisheye-ing' of paint/clearcoat. wetsanding will only remove imperfections, it does not make anything 'shiny'. once you see that the imperfections like mentioned above, along with light scrathes, scuffs, etc., that's when you know you are done. making them shiny is what polish and wax are for.
the method to wetsanding is to remove a little at a time, use a soaked and wet 3M rubber squegee (sp) to wipe down the area you wetsanded and look at the progress. then towel try with a 100% cotton or microfiber towel.
then use a polish of your choice, and then a coat of wax for additional protection.
you dont want to sand through the clearcoat and into the VHT, so use very light pressure while you wetsand and just take off a little at a time.
Chad
04-12-2009 | 07:38 PM
#6
good luck!
just take your time and all will be good.
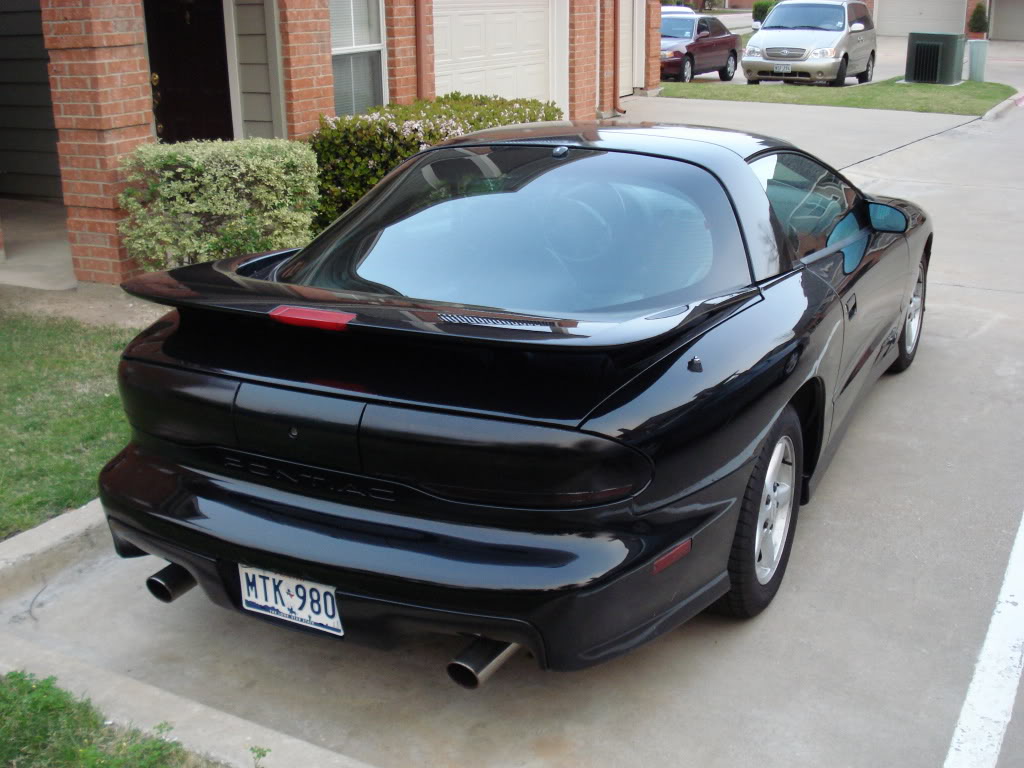
i need to wetsand and then clearcoat the VHT tail-lights i picked up for my TA sometime soon as well. you can see that with no clear coat they are extremely dull and you can see the imprefections and fisheyeing i mentioned above.
just take your time and all will be good.
i need to wetsand and then clearcoat the VHT tail-lights i picked up for my TA sometime soon as well. you can see that with no clear coat they are extremely dull and you can see the imprefections and fisheyeing i mentioned above.

Trending Topics
 04-15-2009 | 02:22 AM
#10

So you wetsand the tail lights before you apply the paint too? What if there are minor scratches and scuffs before you paint? And after you get them painted do you use just regular car polishing compound or some special stuff made for plastic? Thanks.
 W Looks awesome!!!
04-15-2009 | 07:44 AM
W Looks awesome!!!
04-15-2009 | 07:44 AM
#12
i use 1000 grit paper wet sand then fully dry wipe wipe laq thiner really good they will look cloudy, the you can take a little clear coat and easly drop black paint in there till clear is tented to you deside. note do not make it to black coats will darking as applyied. then after no more then 3 coats. let sit 40 min. then shot clear over tent to protect your new smoked tail lights. ill post pics when i get off from work of my cars lights
04-16-2009 | 03:48 PM
#13
Thread Starter
Joined: Dec 2004
Posts: 1,449
Likes: 0
From: Cooper City, FL
Chad
04-21-2009 | 06:46 PM
#15
I haven't tinted my taillights on my 'Bird, but there were a lot of scuffs and scratches. I wet sanded with a 800 grit first until most of the bad spots were gone, then progresed to a 1000 grit, then 2000 using a foam sanding block with the papers. I then polished with Meguires Heavy Cut polish, then buffed with Meguires Machine Glaze. They look NEW now! Used the same process for removing the emblem from the center section. If you plan to paint em, wet sand with the 800 to get the imperfections off the surface first. Then shoot your tint. If the tint has any runs or fish-eyes or has more orange peel than you like, wet sand it with 1000 grit. The low areas will look dark and glossy and the high spots you've sanded down will be unglossy. Sand until it all looks evenly non-glossy and then you're smooth. Drying it from time to time will show this up really well. Once you've got the tint color smooth, you can shoot your clear and repeat the wet sanding process with the 1000 and then with 2000. Then buff with the grits I said above. Your lights are now a PAINTED SURFACE and should be treated as such. Use the wax you use on the rest of your car's body and wax em often.
Swat
04-22-2009 | 06:45 PM
#17
Swat
04-22-2009 | 08:08 PM
#18
 04-23-2009 | 08:25 AM
#19

I will use these tips... I had my tailights tinted with VHT but overtime the sun faded them and now they are back to almost stock color... Although it does leave a cool effect because they are sorta tinted but they arnt black, I wanna make them black again! lol
04-23-2009 | 09:46 AM
#20

no need to wetsand before you clear it, the clear will add more orange peel.