
The wrangler project (with pics.) the jeep is done pictures inside
 06-08-2010, 04:28 PM
#1
TECH Enthusiast
Thread Starter
iTrader: (6)
Join Date: Jul 2008
Location: pearland texas
Posts: 516
Likes: 0
Received 0 Likes
on
0 Posts
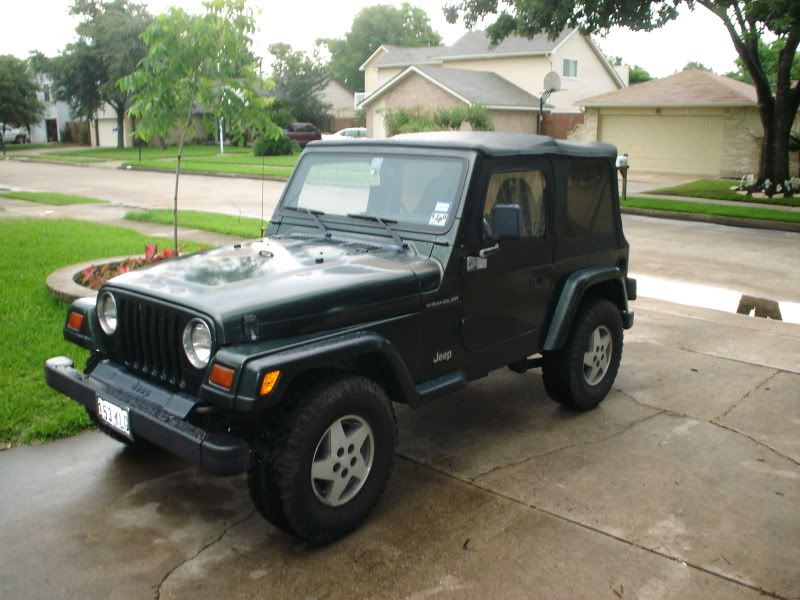
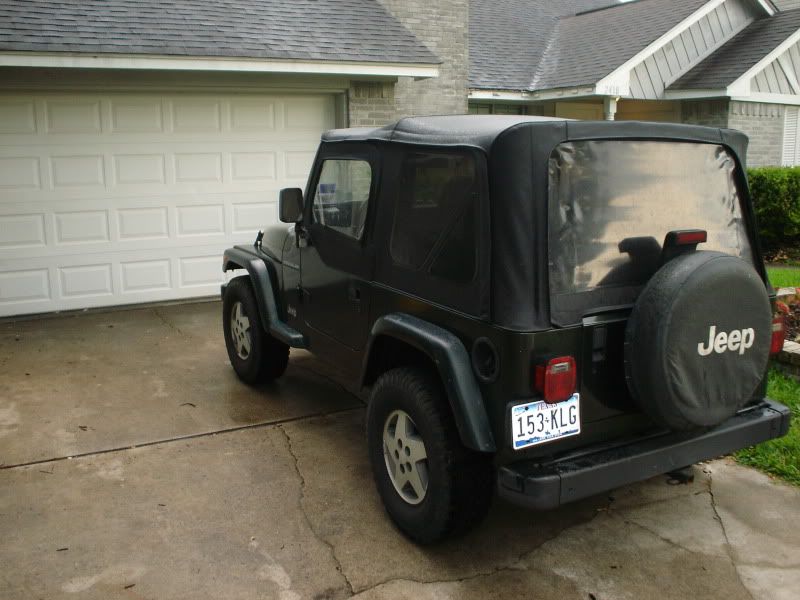
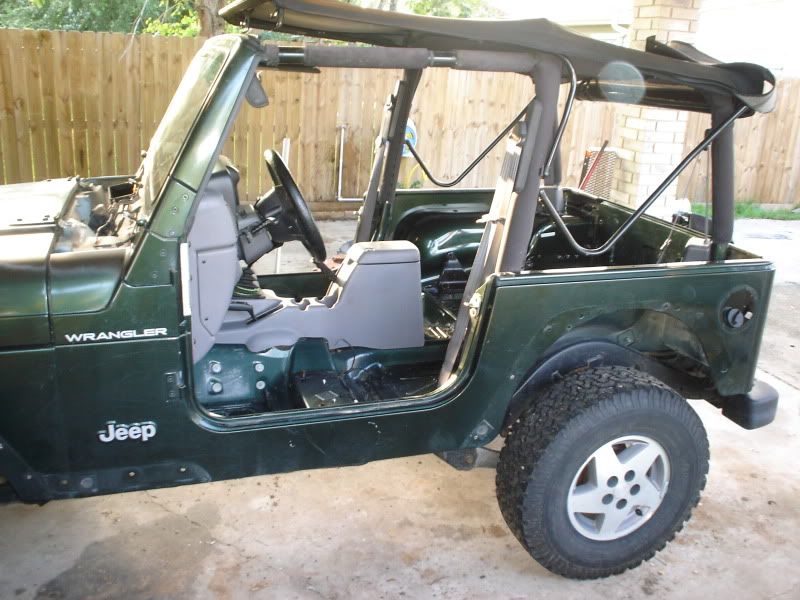
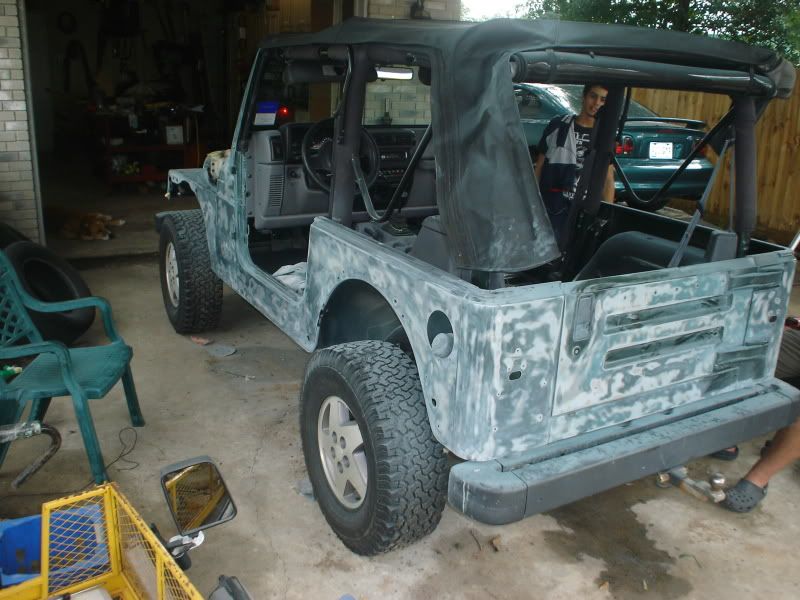
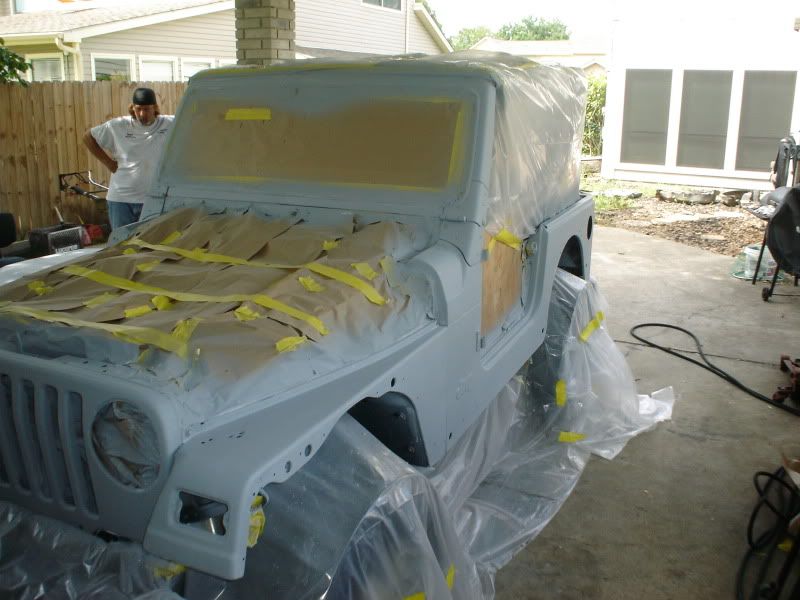
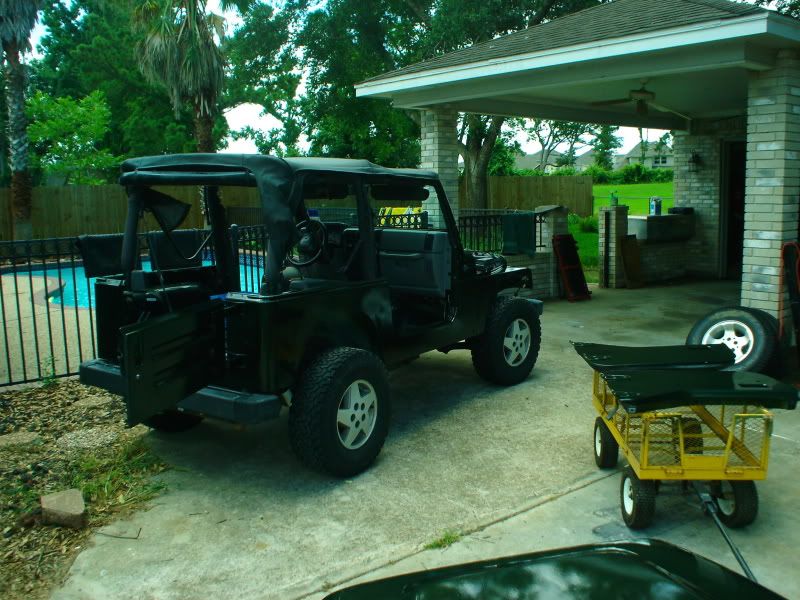
so I decided to tackle painting my dd I have been a mechanic my whole life but never messed with paint or body so this is a first time experience for me... I am doing all the work at my home shop.
this is what I started with:
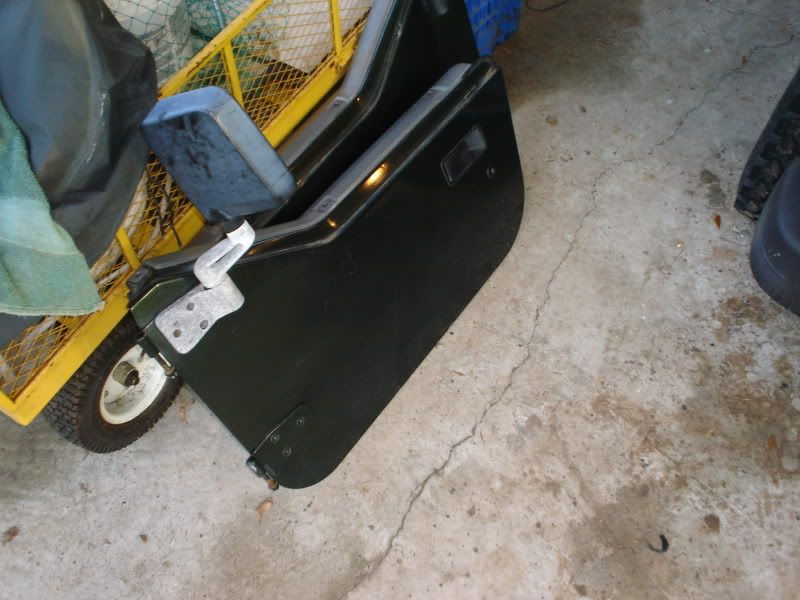
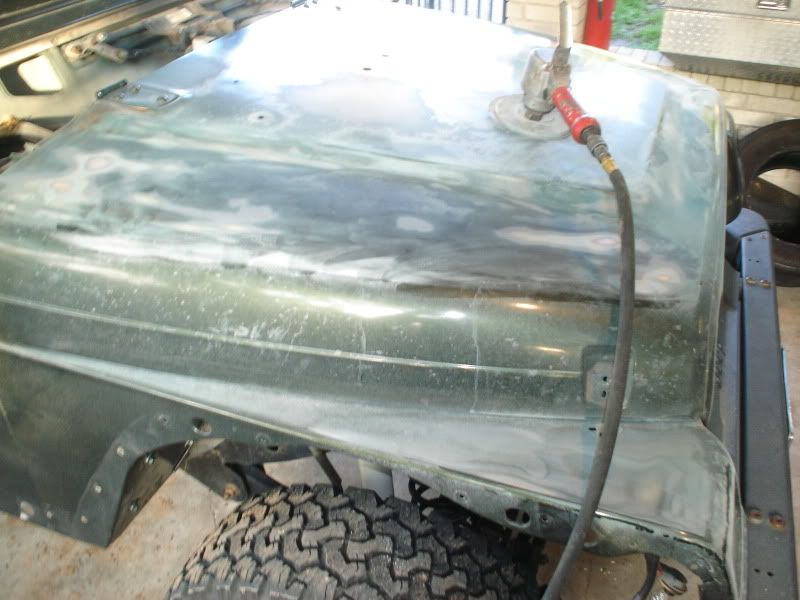
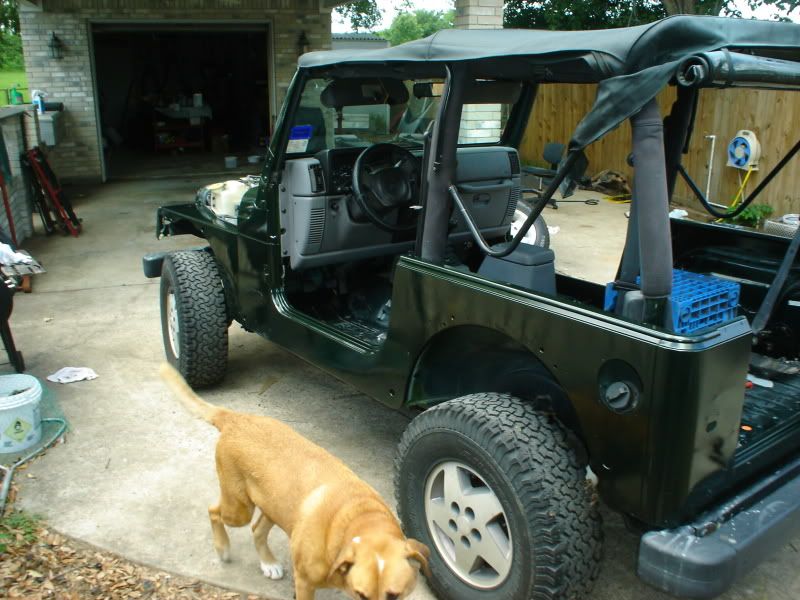
monday was tear down day
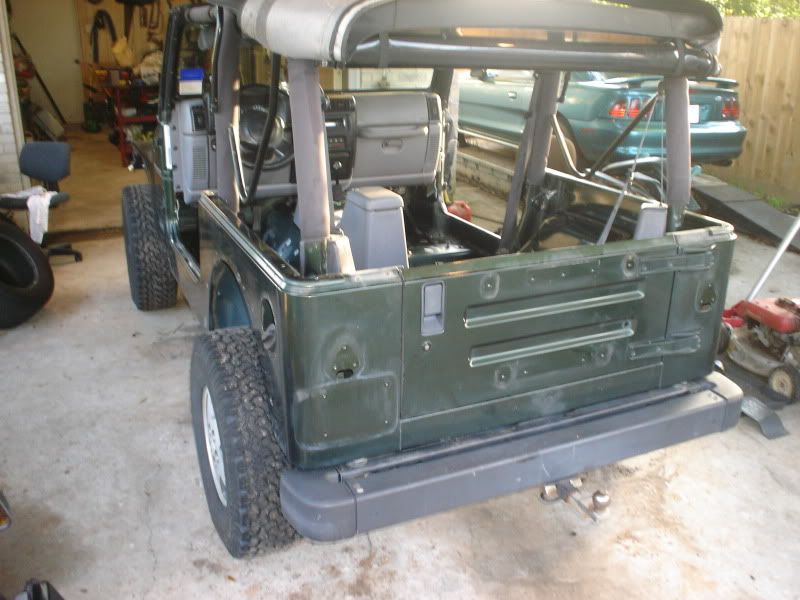
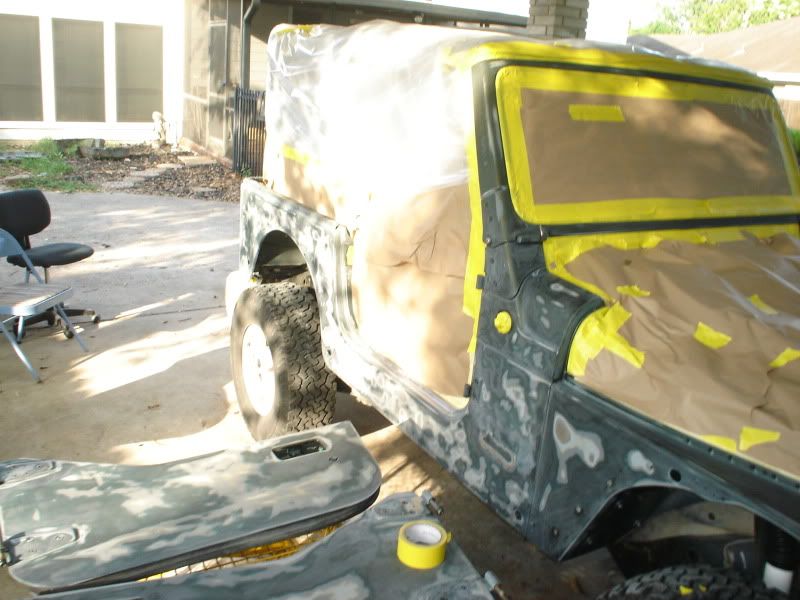
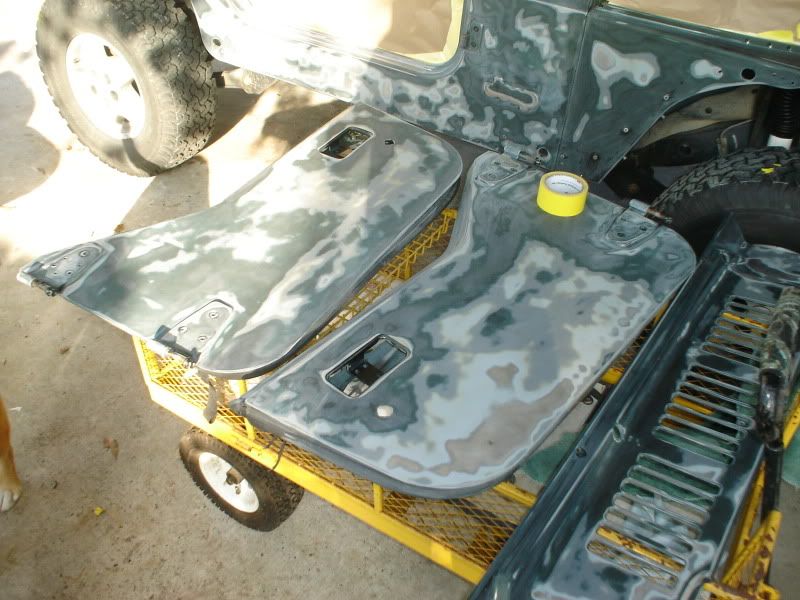
tuesday I got about 90% of the body stripped
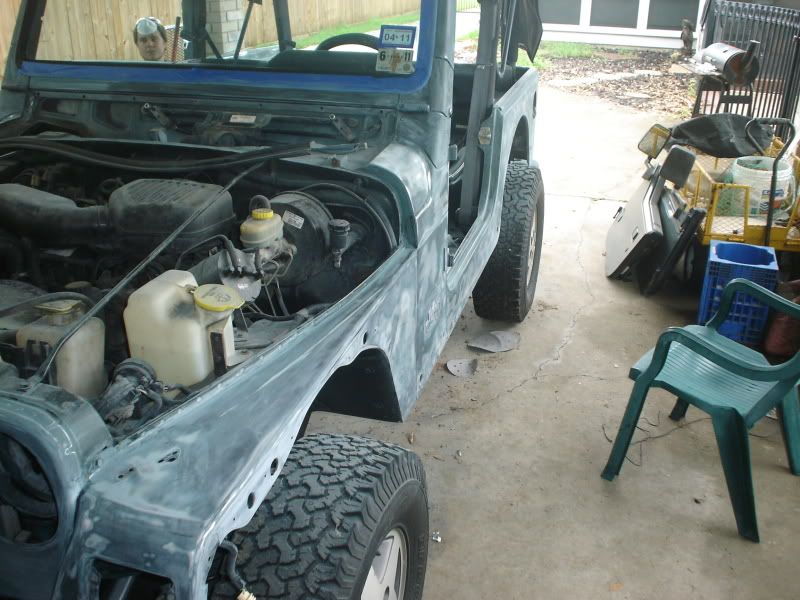
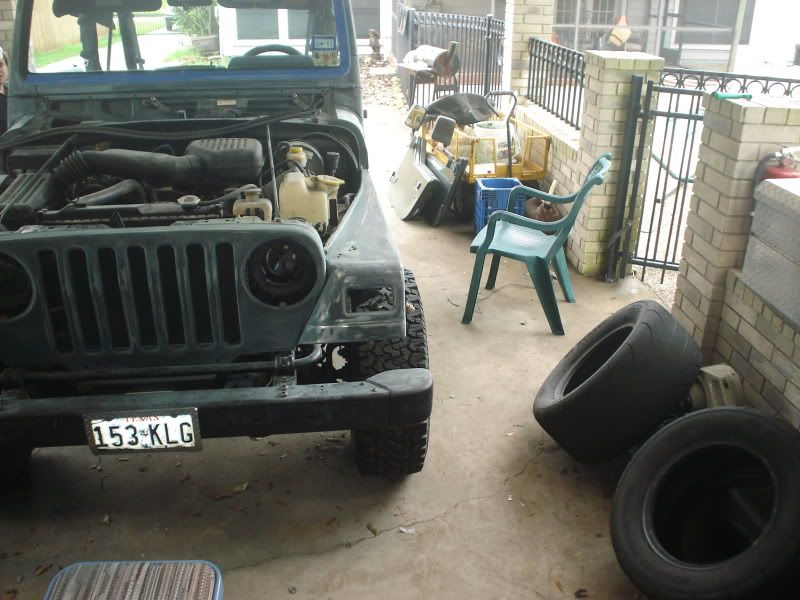
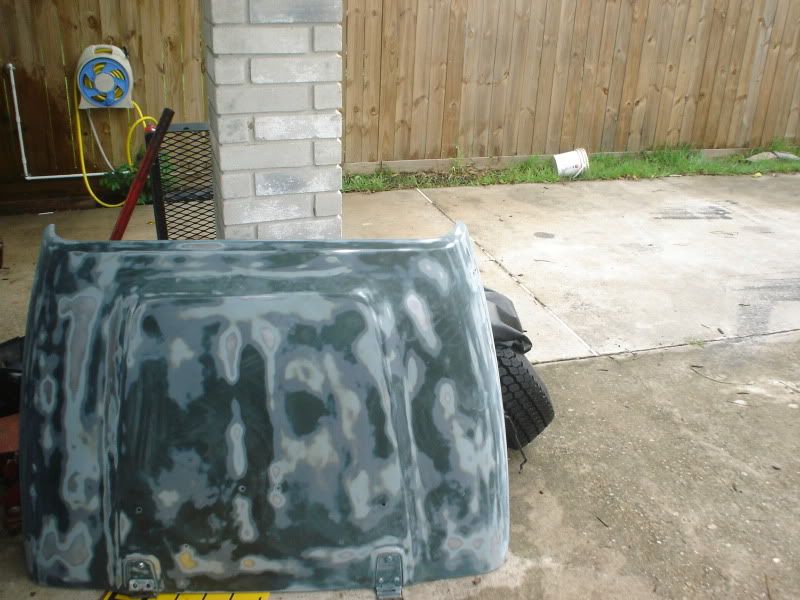
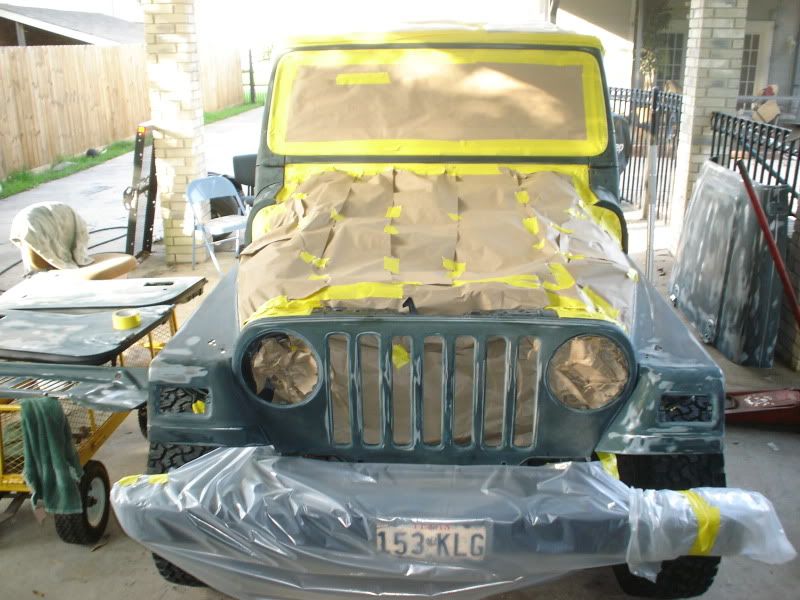
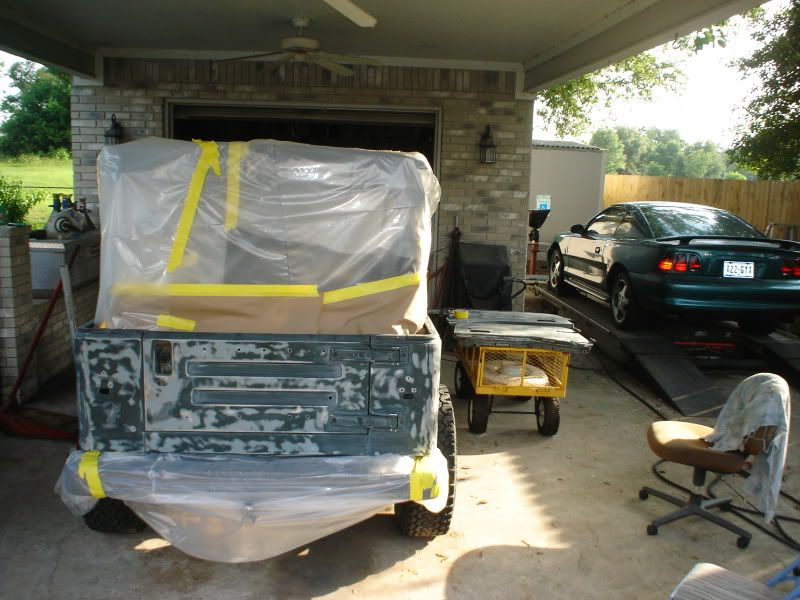
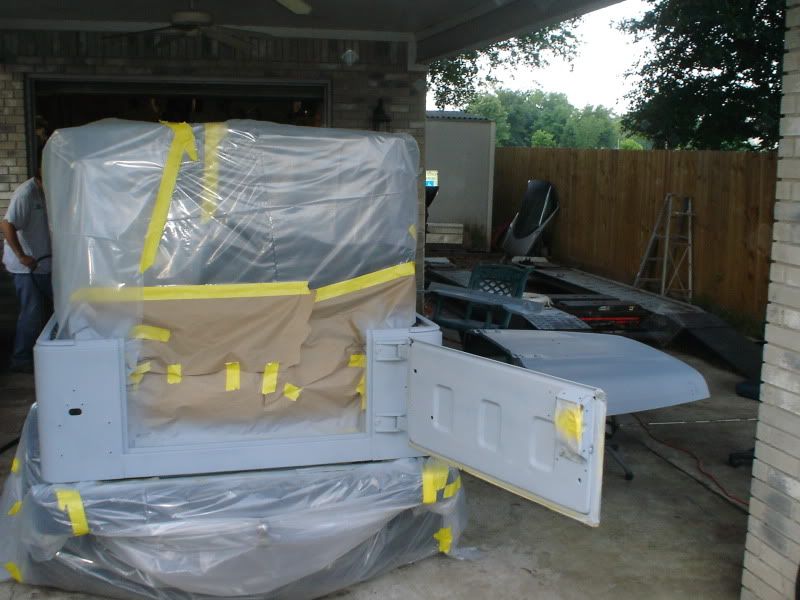
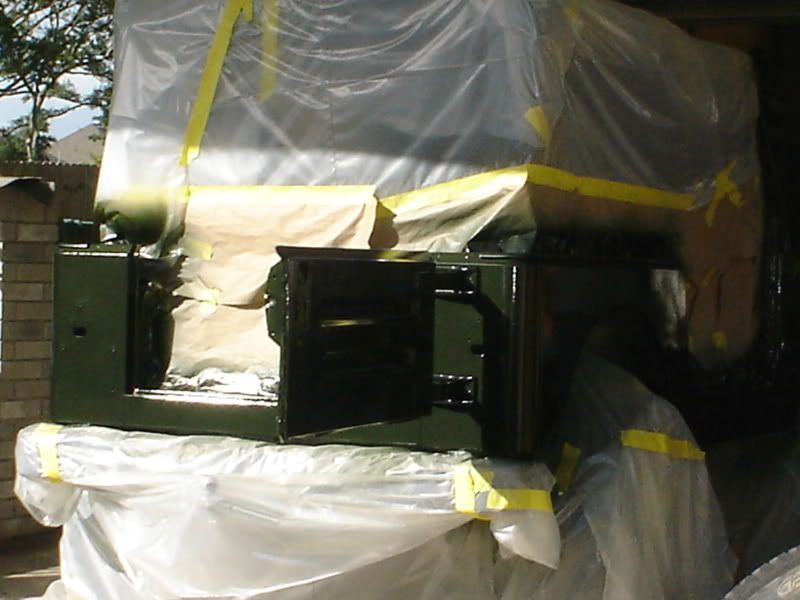
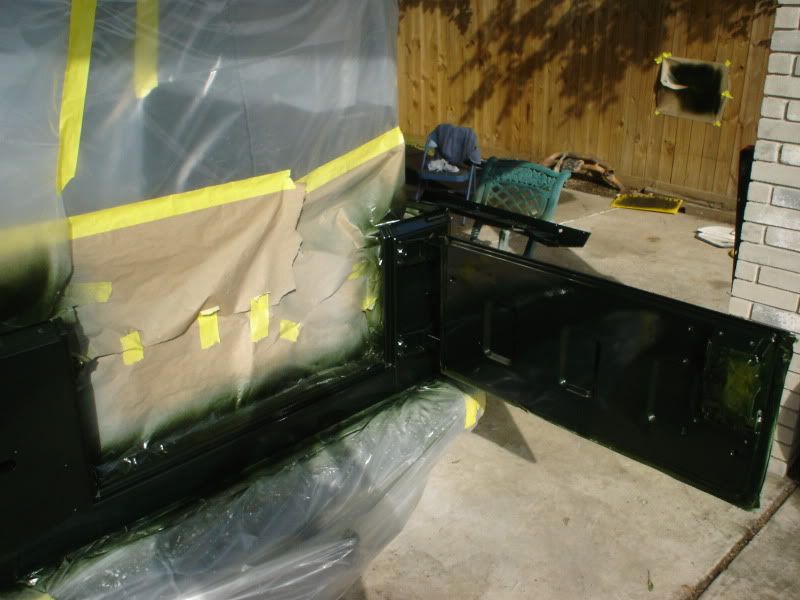
Wednesday I got the rest of the the jeep sanded and all taped off
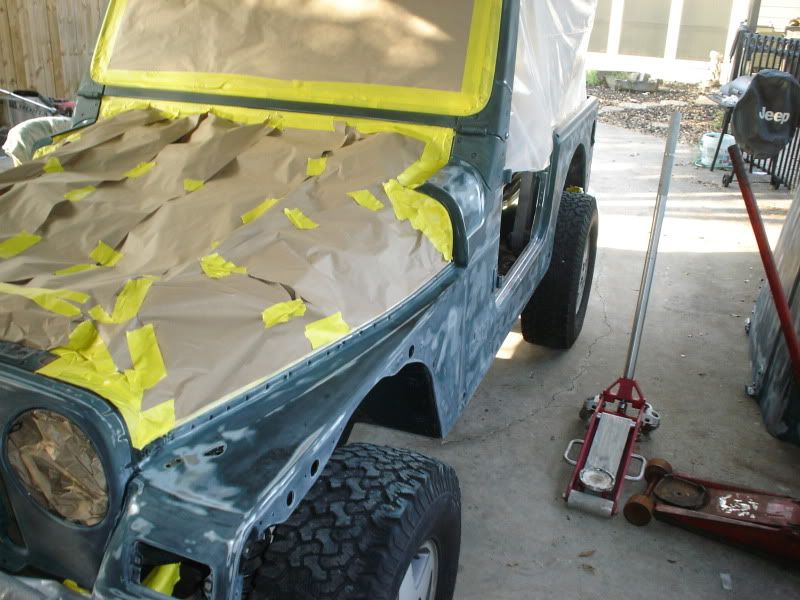
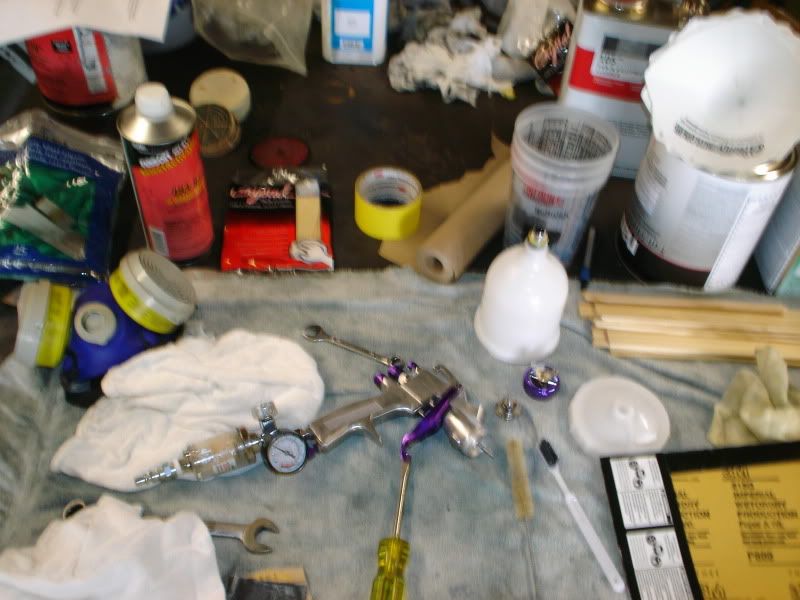
Thursday. today I don't have any pictures ill try and up load them later but I did get the under body/wheels masked off. I bought the paint and im getting everything ready for tomorrow morning...
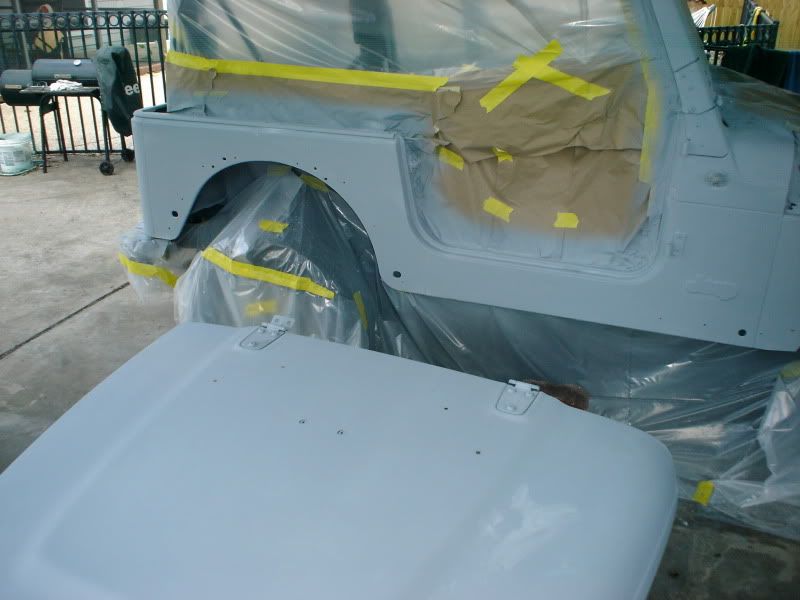
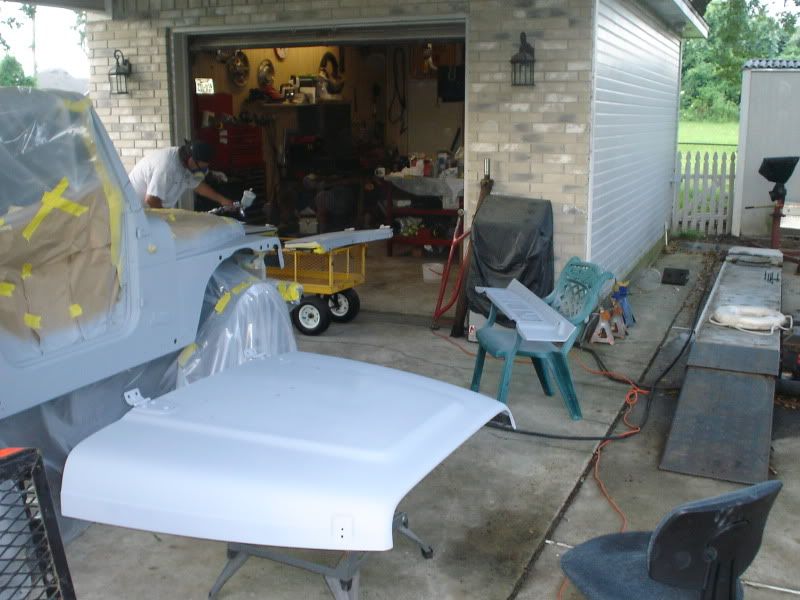
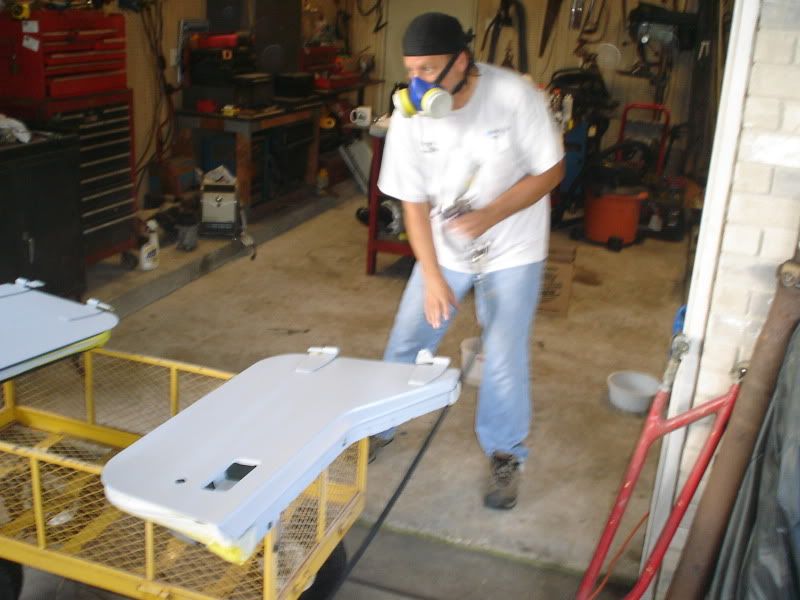
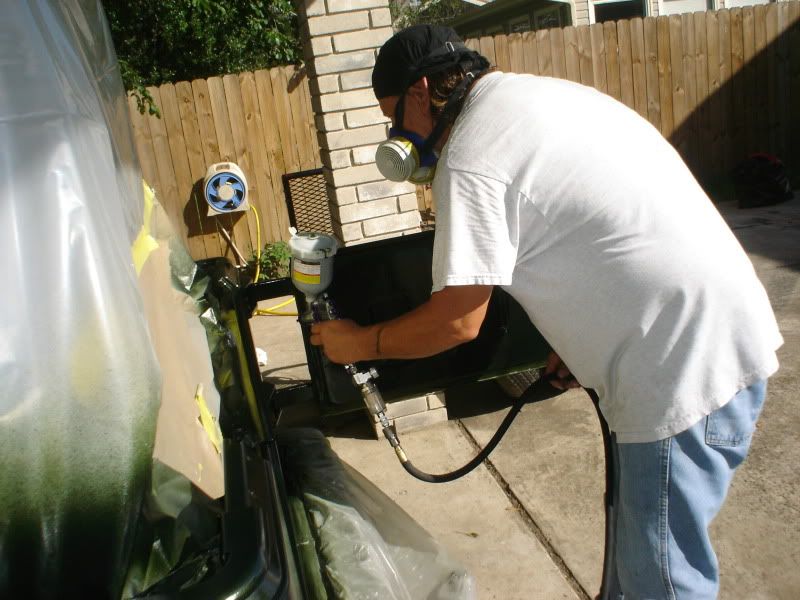
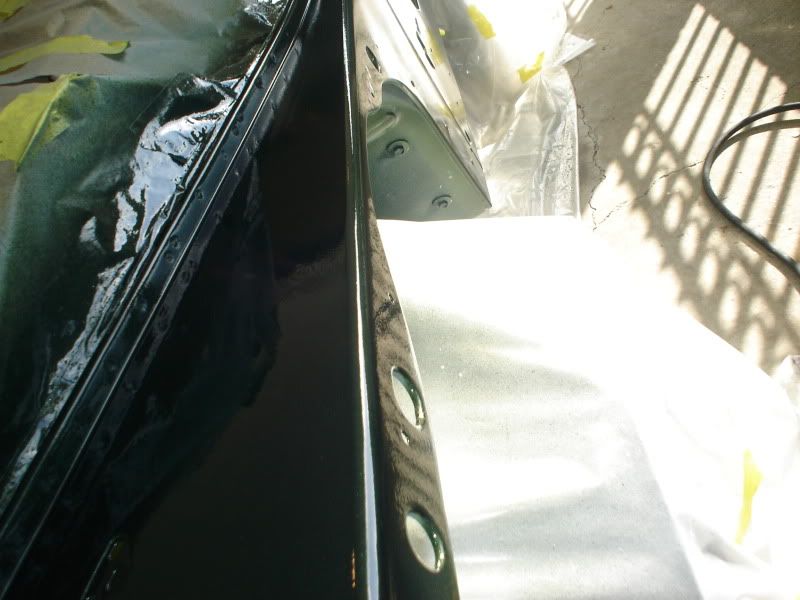
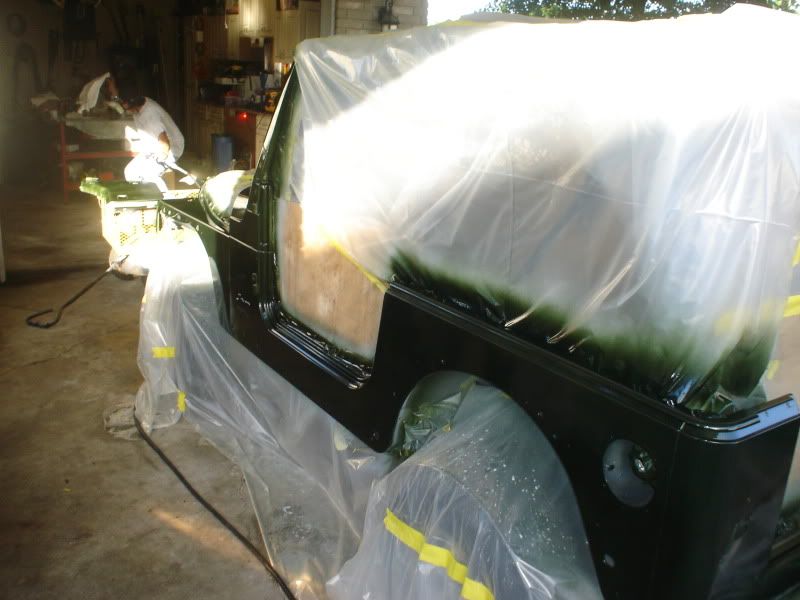
Friday: today we I was able to lay the primer down I put 4 coats on with 10 min. flash times in between, after it dried I wet sanded the jeep with 600 wet/dry paper.
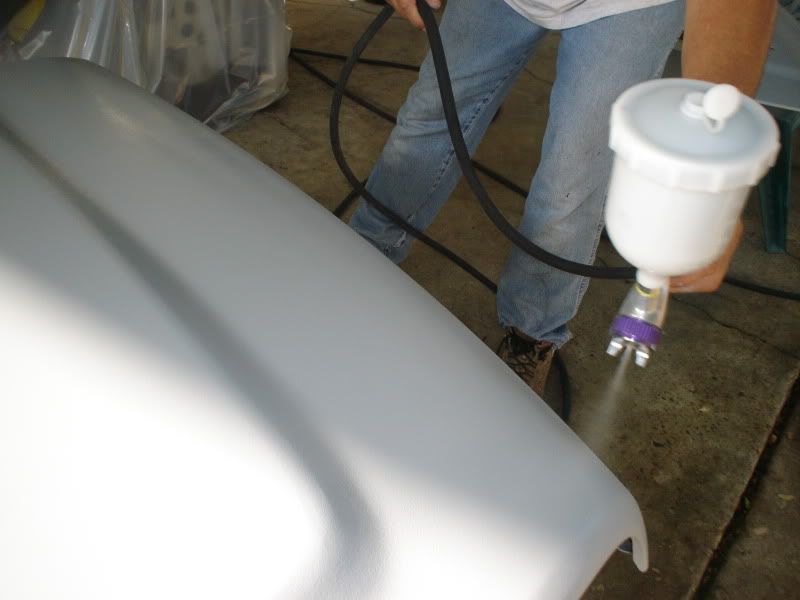
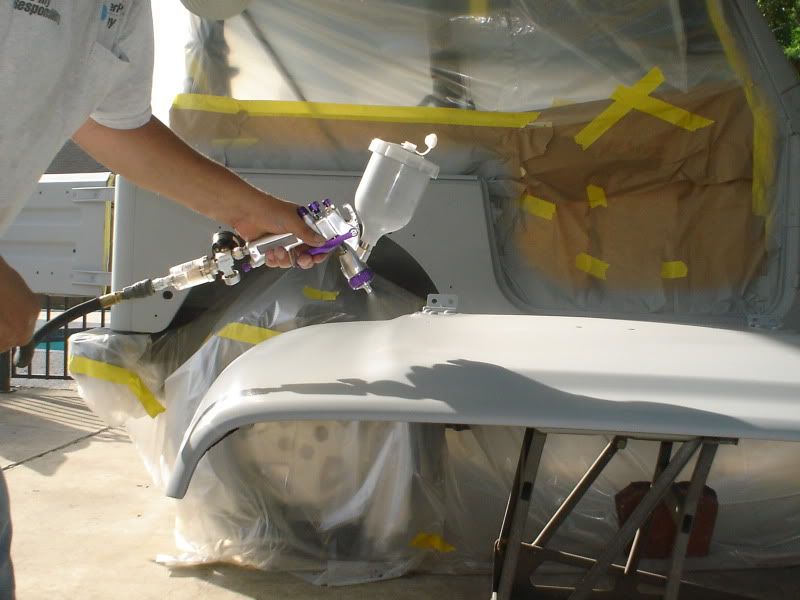

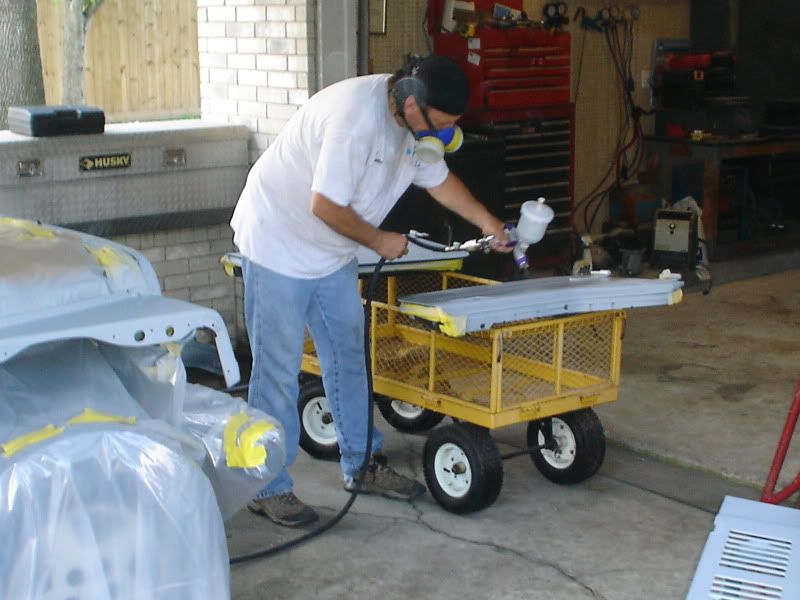
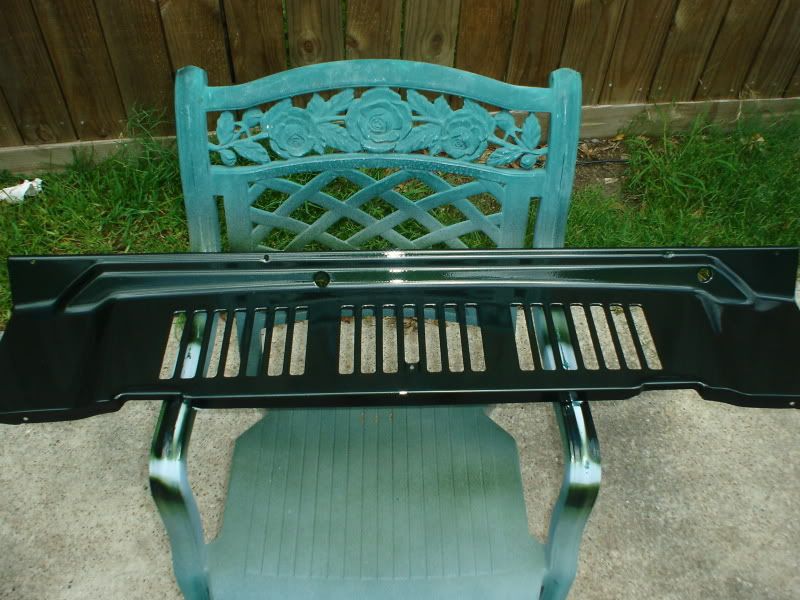
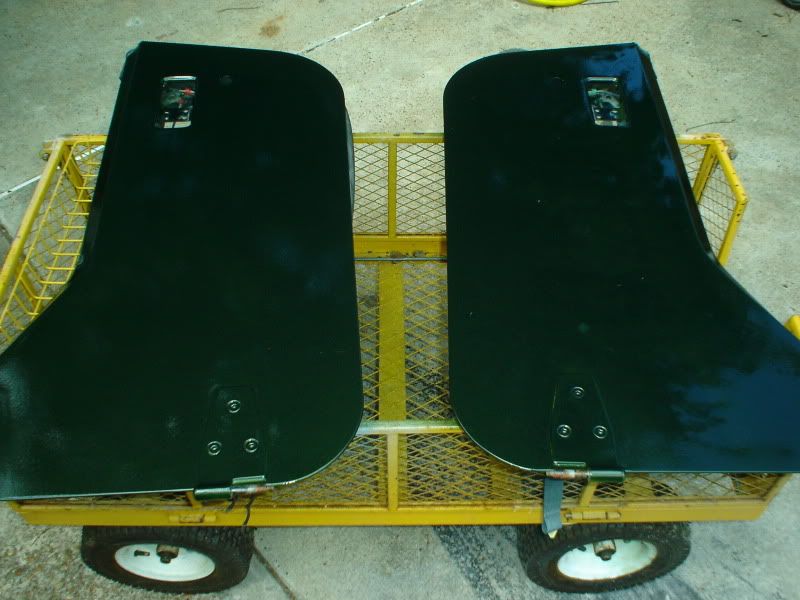
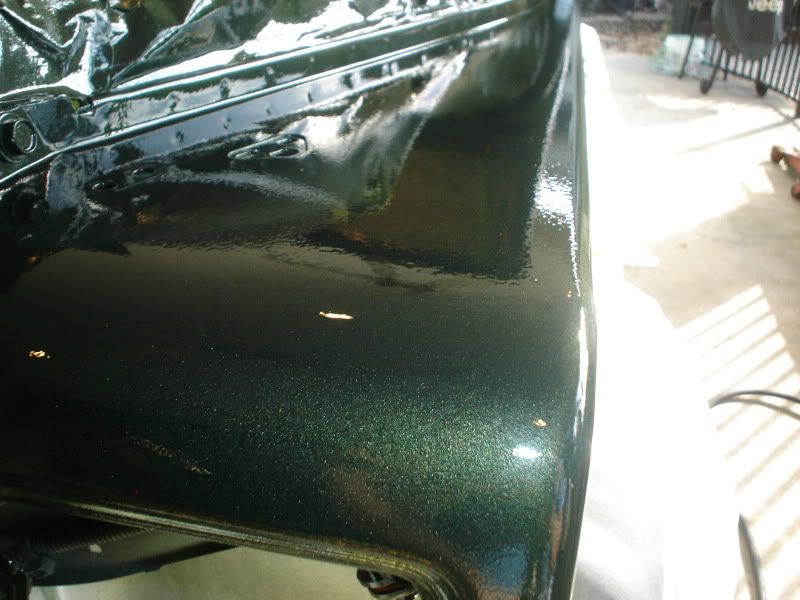
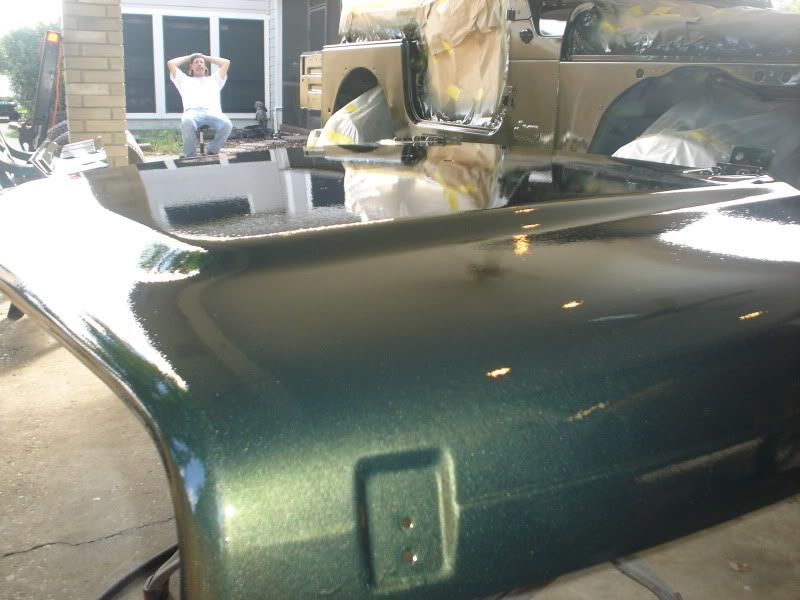
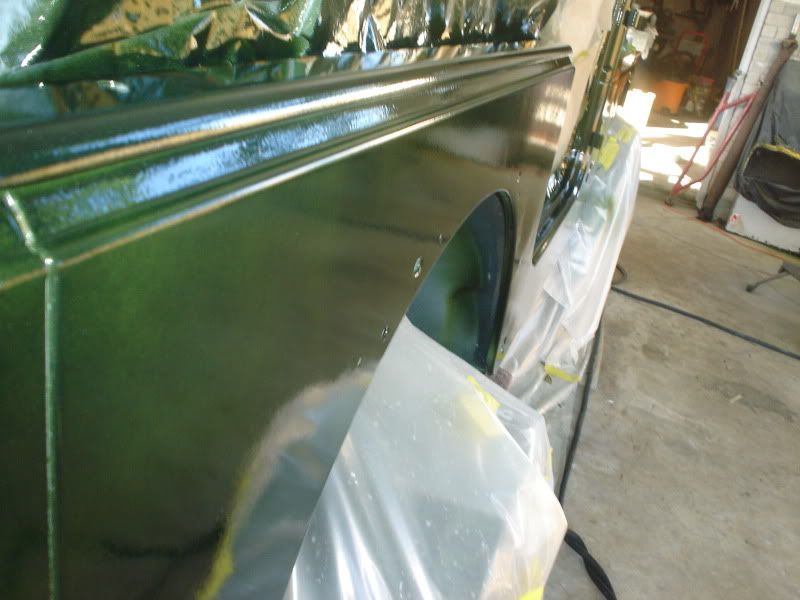
Saturday: today I was able to paint it it turned out pretty good for not having a booth
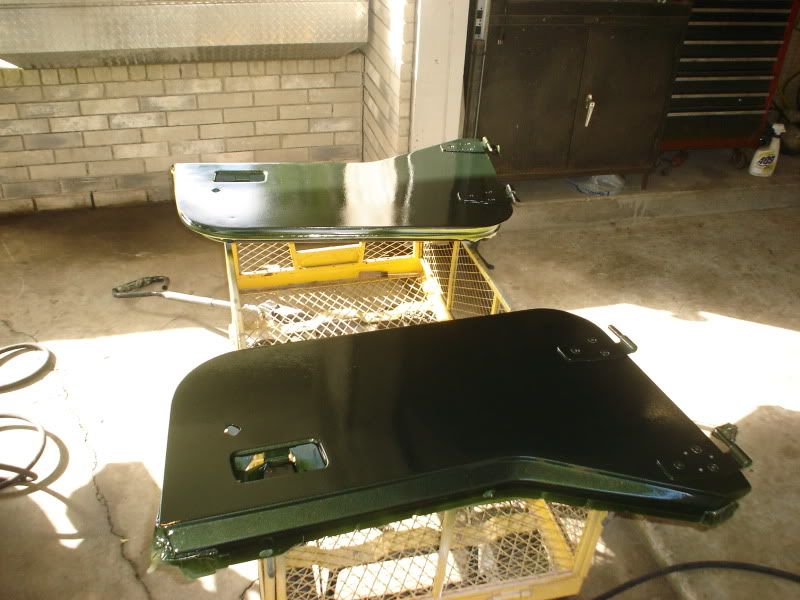
Ill update one more time after all the parts are back on ill include pictures too...
a few random pics.
Ill update this as i make progress im hoping lay the paint on friday or saturday morning...
this is what I started with:
monday was tear down day
tuesday I got about 90% of the body stripped
Wednesday I got the rest of the the jeep sanded and all taped off
Thursday. today I don't have any pictures ill try and up load them later but I did get the under body/wheels masked off. I bought the paint and im getting everything ready for tomorrow morning...
Friday: today we I was able to lay the primer down I put 4 coats on with 10 min. flash times in between, after it dried I wet sanded the jeep with 600 wet/dry paper.
Saturday: today I was able to paint it it turned out pretty good for not having a booth
Ill update one more time after all the parts are back on ill include pictures too...
a few random pics.
Ill update this as i make progress im hoping lay the paint on friday or saturday morning...
Last edited by 97camaross; 06-14-2010 at 08:23 PM.

 06-10-2010, 06:35 PM
#6
TECH Enthusiast
Thread Starter
iTrader: (6)
Join Date: Jul 2008
Location: pearland texas
Posts: 516
Likes: 0
Received 0 Likes
on
0 Posts
I update to the original post so you can see the progress there...
im going back with the origanal color
I really dont know if you can or cant some people say just scuff it up and some sand like I did im priming it tomorrow and gonna wet sand the primer with 600 grit paper hopefully it will be smooth....
I really dont know if you can or cant some people say just scuff it up and some sand like I did im priming it tomorrow and gonna wet sand the primer with 600 grit paper hopefully it will be smooth....
Last edited by 97camaross; 06-10-2010 at 06:40 PM.
06-10-2010, 08:44 PM
#7
I update to the original post so you can see the progress there...
im going back with the origanal color
I really dont know if you can or cant some people say just scuff it up and some sand like I did im priming it tomorrow and gonna wet sand the primer with 600 grit paper hopefully it will be smooth....
im going back with the origanal color
I really dont know if you can or cant some people say just scuff it up and some sand like I did im priming it tomorrow and gonna wet sand the primer with 600 grit paper hopefully it will be smooth....
Trending Topics
06-10-2010, 11:38 PM
#9
Registered User

Join Date: Jun 2010
Location: Kansas
Posts: 26
Likes: 0
Received 0 Likes
on
0 Posts
I commend you for trying to tackle this job yourself! Let me offer you a few tips to help you out.
First, i wouldnt have sanded it down as far as you did... there was no need for that. All you need to do it break the shine so the new paint will stick. If you did it that way, you would have no need to prime it - also saving yourself money in the process. BUT now that its sanded that far you do need to prime and block it. For a single stage paint, 320 may be a bit harsh... just to be safe I would use 3M wetordry 400 grit. I know that doesnt sound like much of a difference but it is. 600 is a good grit for a simple repaint where all you need to do is break the shine. For this type of job, anything from 400 to 800 is good... some people use 1000, but to me, that is way too fine!!!
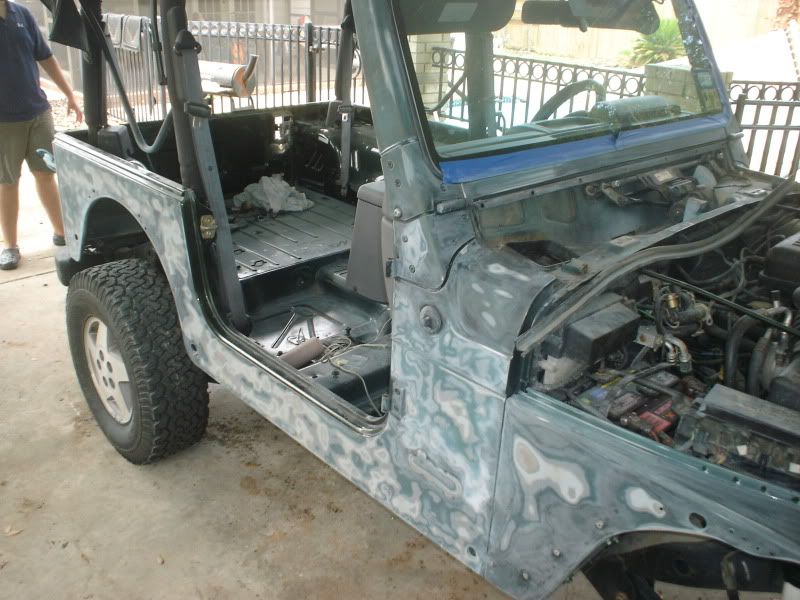
2nd... you will want to tape up the engine compartment better... the paint is going to find its way in all of those seems and get all over everything.
Just make sure there is nothing close by when you spray because the overspray will go farther than you think it will!
First, i wouldnt have sanded it down as far as you did... there was no need for that. All you need to do it break the shine so the new paint will stick. If you did it that way, you would have no need to prime it - also saving yourself money in the process. BUT now that its sanded that far you do need to prime and block it. For a single stage paint, 320 may be a bit harsh... just to be safe I would use 3M wetordry 400 grit. I know that doesnt sound like much of a difference but it is. 600 is a good grit for a simple repaint where all you need to do is break the shine. For this type of job, anything from 400 to 800 is good... some people use 1000, but to me, that is way too fine!!!
2nd... you will want to tape up the engine compartment better... the paint is going to find its way in all of those seems and get all over everything.
Just make sure there is nothing close by when you spray because the overspray will go farther than you think it will!
06-10-2010, 11:40 PM
#10
Registered User
Join Date: Jun 2010
Location: Kansas
Posts: 26
Likes: 0
Received 0 Likes
on
0 Posts
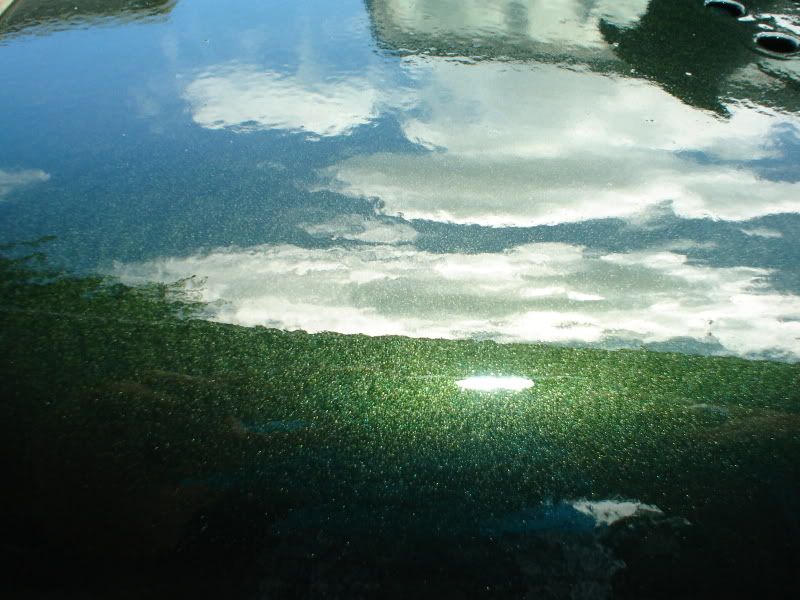
600 is an excellent grit for prepping for paint.... anything coarser and you run the risk of sand scratches showing through the new paint. 400 works great for soild colors, but if metallic paints are involved, I dont go coarser than 600.
 06-14-2010, 08:52 AM
#14
TECH Enthusiast
Thread Starter
iTrader: (6)
Join Date: Jul 2008
Location: pearland texas
Posts: 516
Likes: 0
Received 0 Likes
on
0 Posts
thanks.... I wouldn mind trying to paint another car I really wanna try painting with a base coat clear coat..... but Ill get every thing put back together today and ill past up a couple pictures of the finished product.
06-14-2010, 08:21 PM
#17
TECH Enthusiast
Thread Starter
iTrader: (6)
Join Date: Jul 2008
Location: pearland texas
Posts: 516
Likes: 0
Received 0 Likes
on
0 Posts
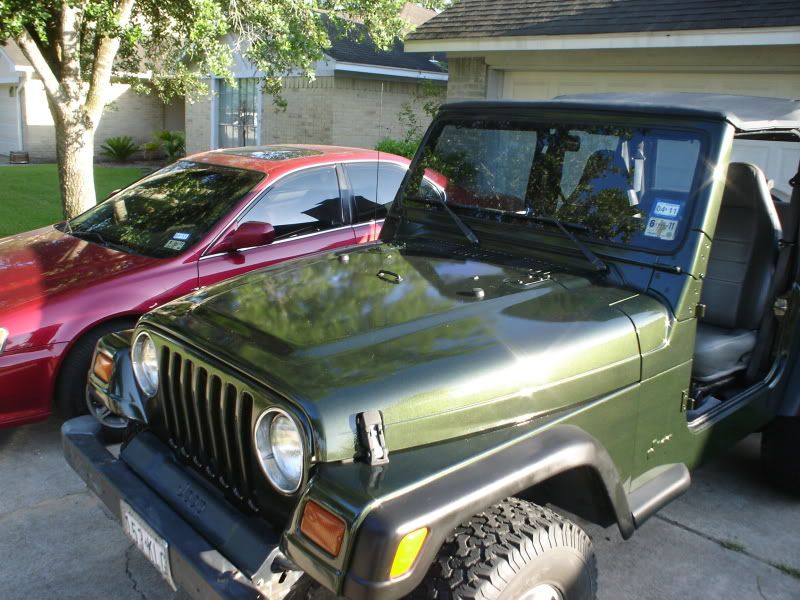
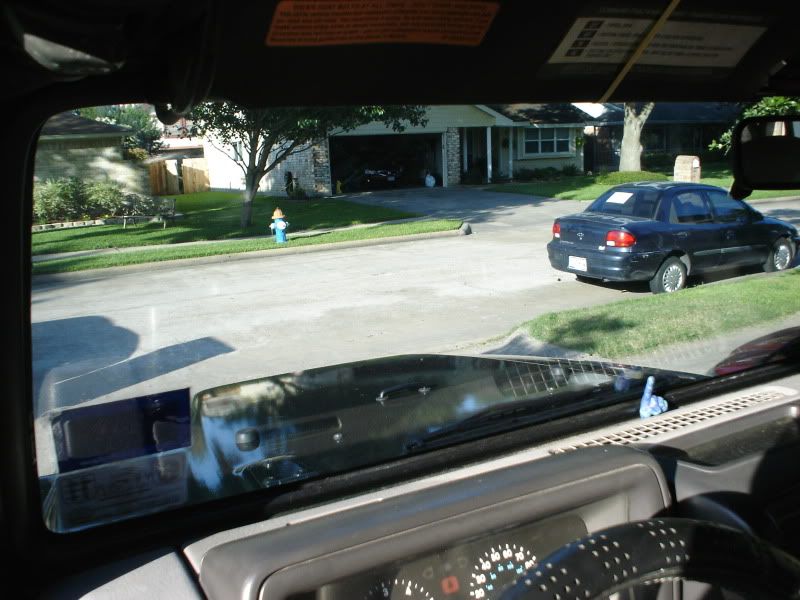
ok so i got it all back together im waiting on the jeep decals and Im installing electric door locks in the doors so thats why they are not on.... I had some free time today so I decided to Tint the windshield with 35%.
but this is basically the finished product...
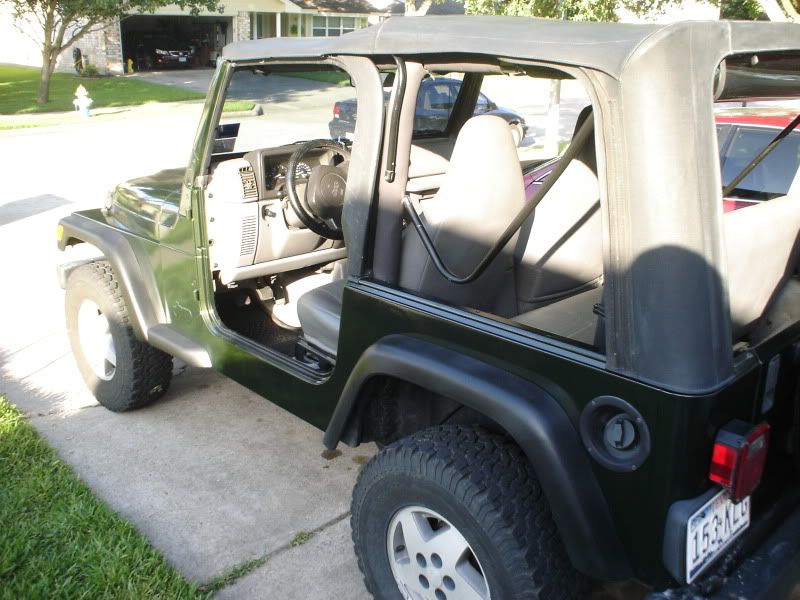
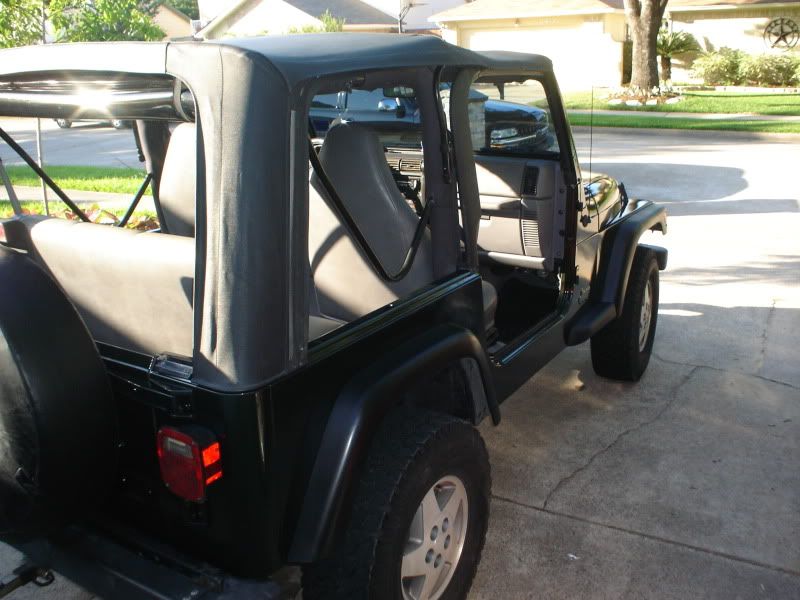

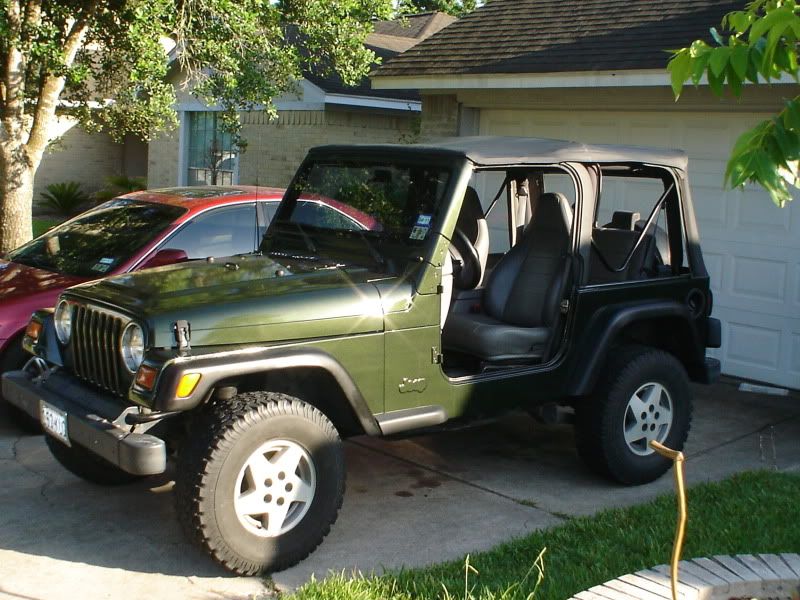
Let me know what yall think...
but this is basically the finished product...
Let me know what yall think...


