Tips on painting LS6 Intake Manifold?

Thread Starter
On The Tree
Joined: Dec 2005
Posts: 147
Likes: 1
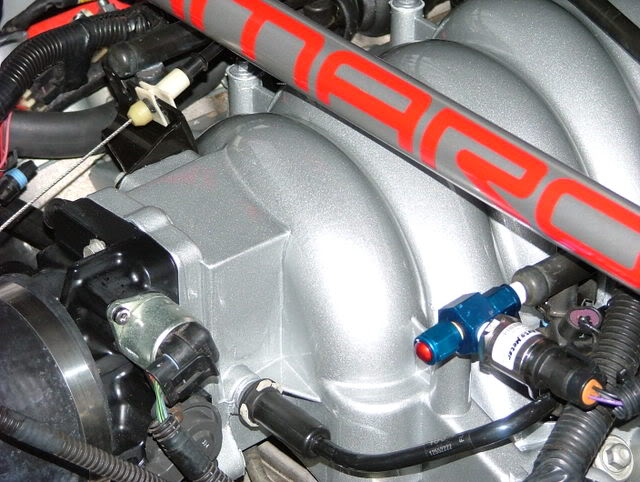
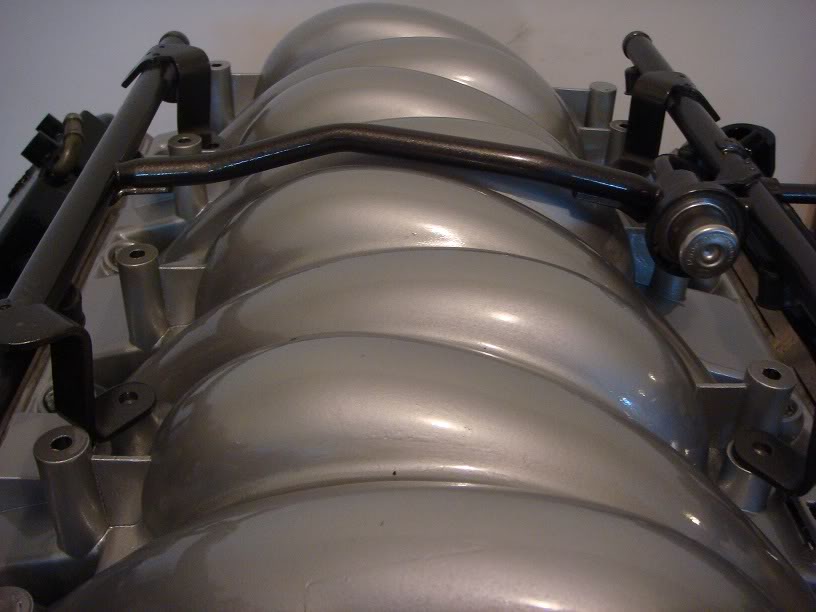
I'm about to purchase a factory ls6 intake manifold for my 99 T/A and I was thinking of painting it a Gunmetal/silver color. Do you guys have any tips for doing such a thing? My dad will help me and he's knowledgeable but I'd like to get your opinions. I figured there might be different things I'd have to do since it's made of thermoplastic and I'd probably have to buy some heat resistant paint. Let me know what you think! Thanks in advance.

Staging Lane
Joined: Apr 2011
Posts: 91
Likes: 1
From: maryland
nothing out of the ordinary really, i painted my buddies intake on his 05 gto years ago and he hasnt had a problem at all......make sure its very well degreased and cleaned, sand it with a finer sanpaper since its plastic, no lower then 800 grey, and you can use a grey scuff pad as well to go over it...pick a paint company you want to use (duplicolor,etc) and follow their reccomendations.... you can put down an adhesion prometer, plus a hightemp paint, and even a clearcoat, thats what i did, all from duplicolor and it turned out great and have had no problems.
I painted mine gunmetal gray not long ago...here's my thread on how I did it...
https://ls1tech.com/forums/appearanc...-thoughts.html
https://ls1tech.com/forums/appearanc...-thoughts.html
Use the following:
Plastic promoter
Primer- high filler if you want to get rid of the casting mark on top of the intake.
Paint/clear.
Wait 15 mins min for every coat, use a very light coat on the first one and progress to heavier coat on each coat.
Good prep is the key.
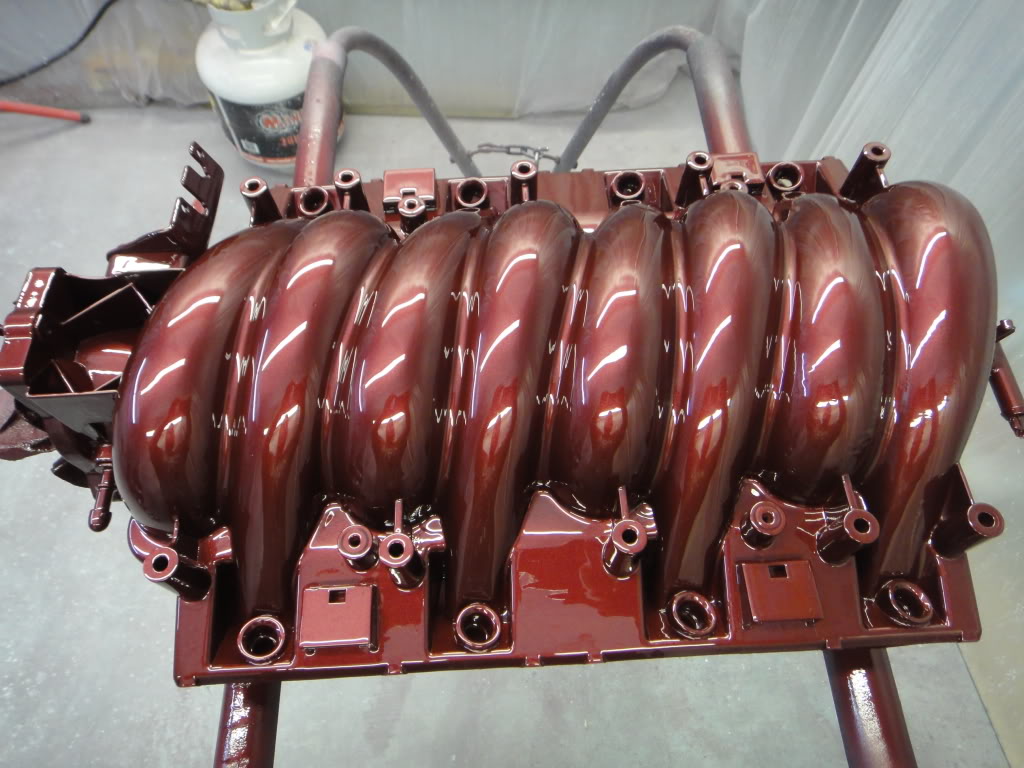
Here is what mine looks like after it was all said and done.

Plastic promoter
Primer- high filler if you want to get rid of the casting mark on top of the intake.
Paint/clear.
Wait 15 mins min for every coat, use a very light coat on the first one and progress to heavier coat on each coat.
Good prep is the key.
Here is what mine looks like after it was all said and done.
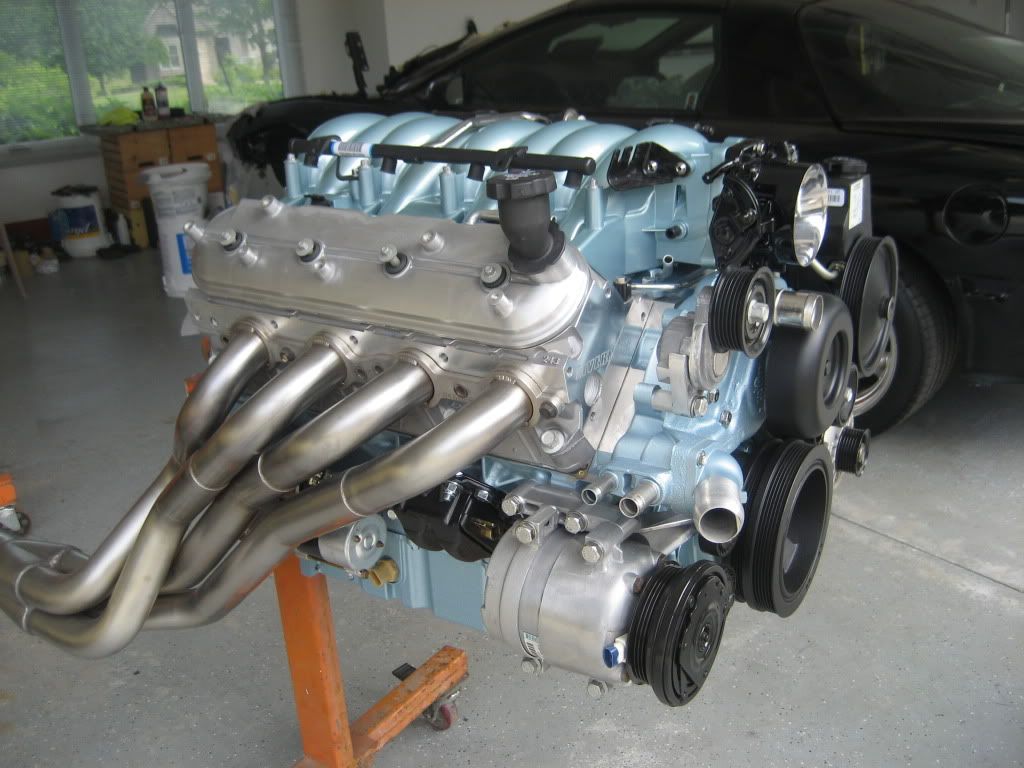
With my color scheme, I used Duplicolor engine paint with their clear. Same process as mentioned above. Take your time prepping because it is the key to an ok or a "real fine" job!

Last edited by BlackBirdDaddy; Sep 3, 2011 at 11:19 PM.
Trending Topics
Teching In
Joined: Aug 2011
Posts: 7
Likes: 0
From: Alabama
I painted mine gunmetal gray not long ago...here's my thread on how I did it...
https://ls1tech.com/forums/appearanc...-thoughts.html
https://ls1tech.com/forums/appearanc...-thoughts.html
 Color look great but it would have looked good painting it SOM
LS1 Tech Stories
The Best V8 Stories One Small Block at Time

Retro Modern Bandit Pontiac Trans AM Comes With Burt Reynolds' Autograph
Verdad Gallardo
Top 10 Greatest Cadillac V Series Performance Models Ever, Ranked
Pouria Savadkouei
Top 10 Most Powerful Chevy Trucks Ever Made!

Hennessey's New Supercharged Silverado ZR2 Has 700 HP
Verdad Gallardo
Coachbuilt N2A Anteros Is an LS2-Powered C6 Corvette In Italian Clothes
Verdad Gallardo
Awesome K5 Blazer Restomod Comes With C7 Corvette Power
Verdad Gallardo
10 Camaros You Should Never Buy

10 LS Engine Myths That Refuse to Die
Verdad Gallardo
Five Reasons the Camaro Was the Most Pivotal Player in the Pony Car Wars 2.0
Brett Foote


A tip for prepping the intake is to use a red scotchbrite twisted up into a little cone to sand the hard to get into crevices. Blow it out with compressed air before and after prepping it.
Staging Lane
Joined: Jul 2008
Posts: 52
Likes: 0


Use the following:
Plastic promoter
Primer- high filler if you want to get rid of the casting mark on top of the intake.
Paint/clear.
Wait 15 mins min for every coat, use a very light coat on the first one and progress to heavier coat on each coat.
Good prep is the key.
Here is what mine looks like after it was all said and done.
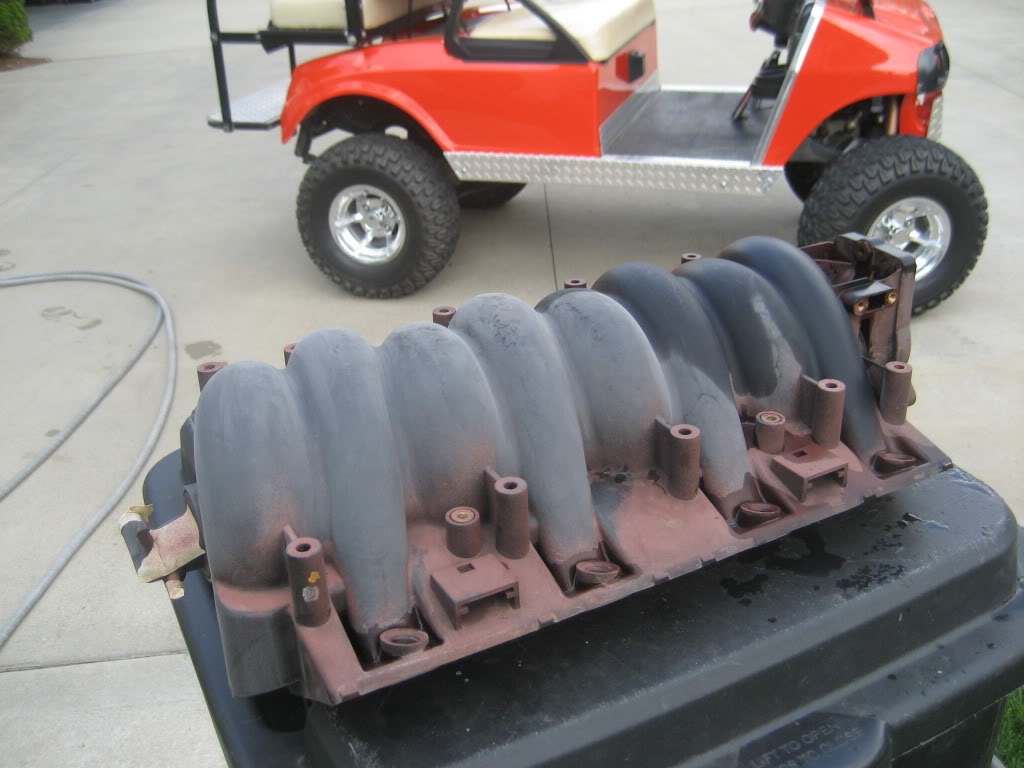
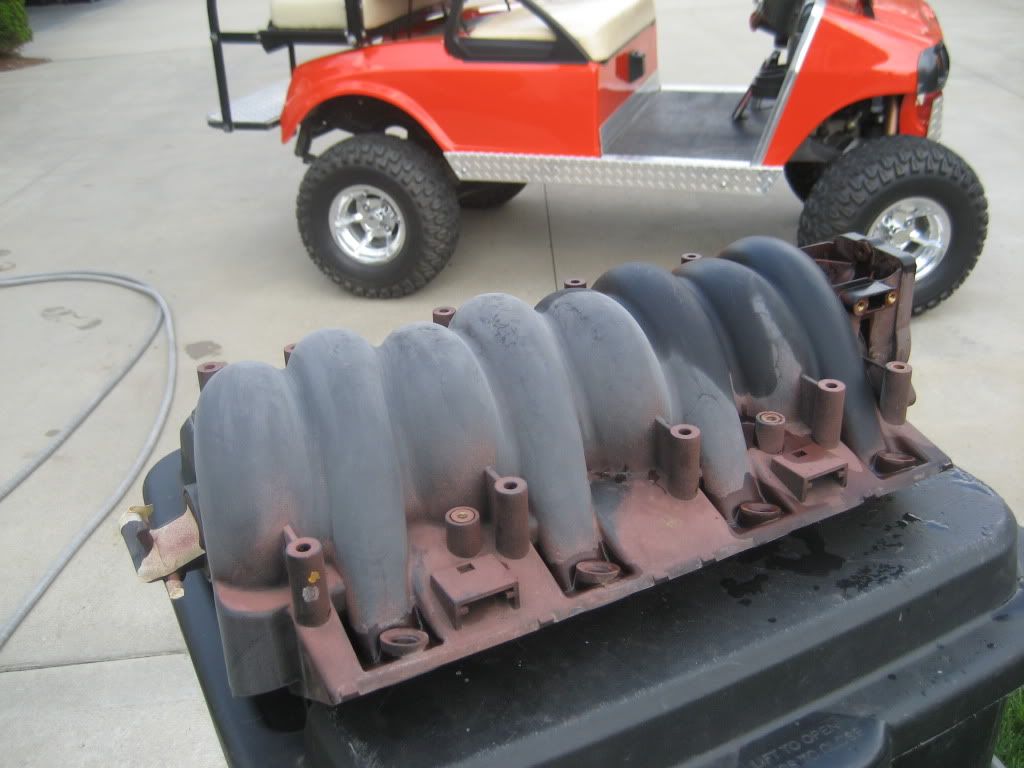
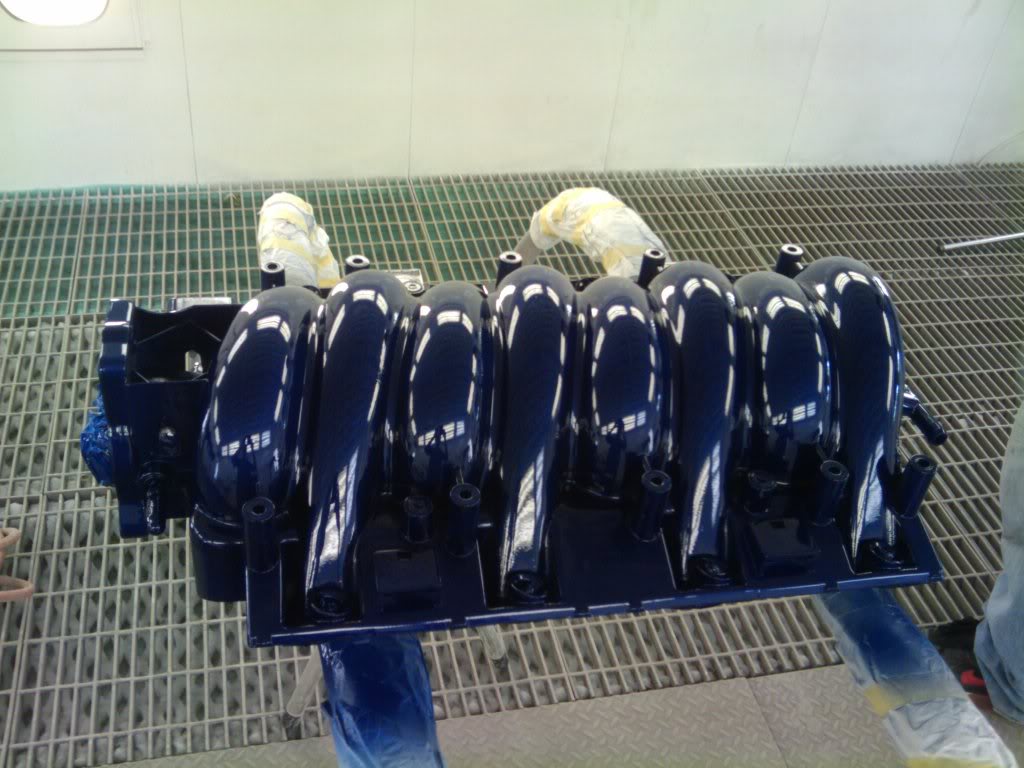
here how i did mine..
clean it thoroughly
scuff it with gray scotch bright,or if you want to prime it which i did due to the little plastic repair i had to do.if you prime it 320 it.put LIGHT coat of plastic adhesion promoter and 2-3 coats of primer surfacer(first coat should be light)
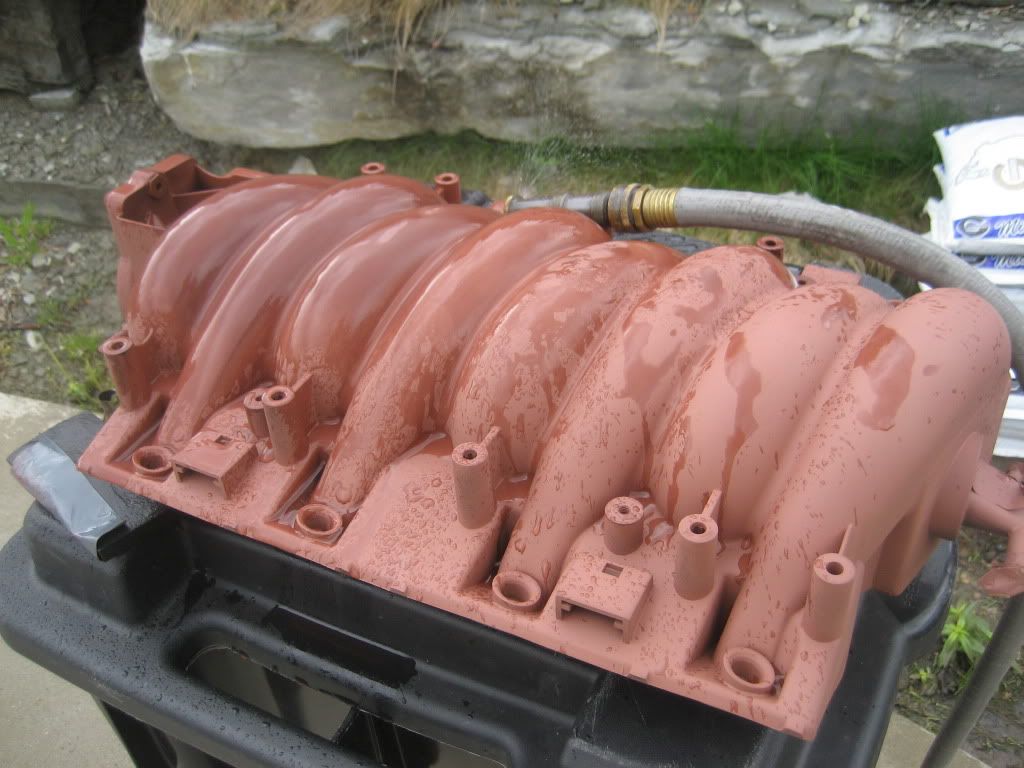
then sand the primer with 320 followed by 600.(this is optional: you can put 1 light coat of primer sealer then you will be ready for base coat.)
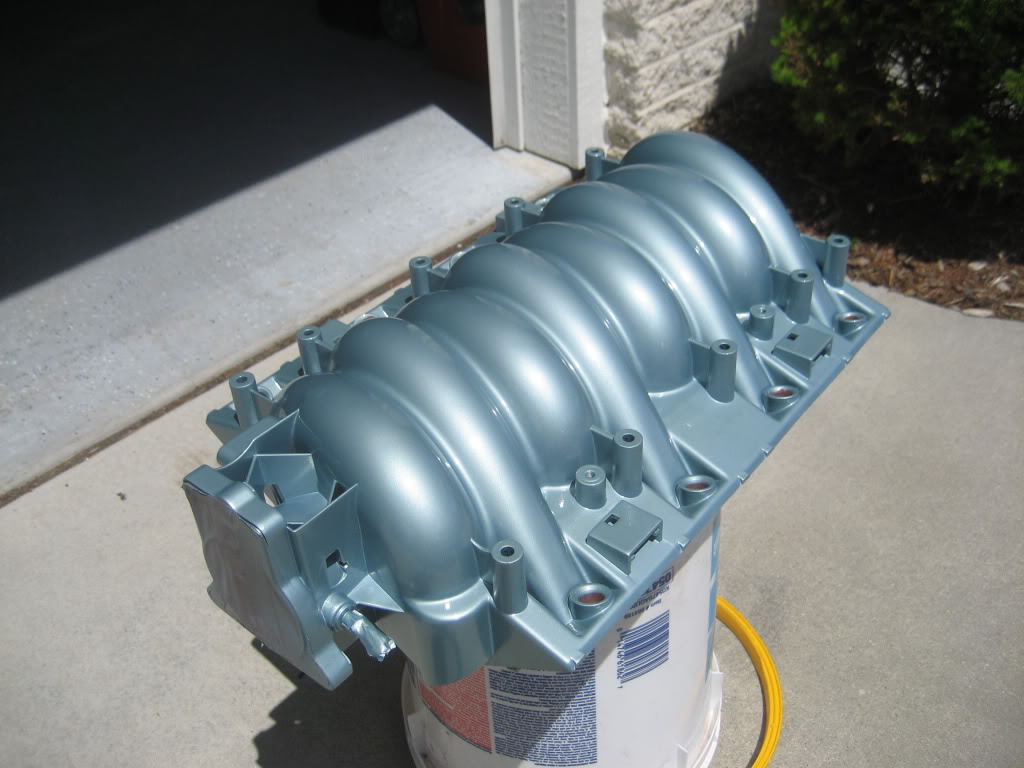
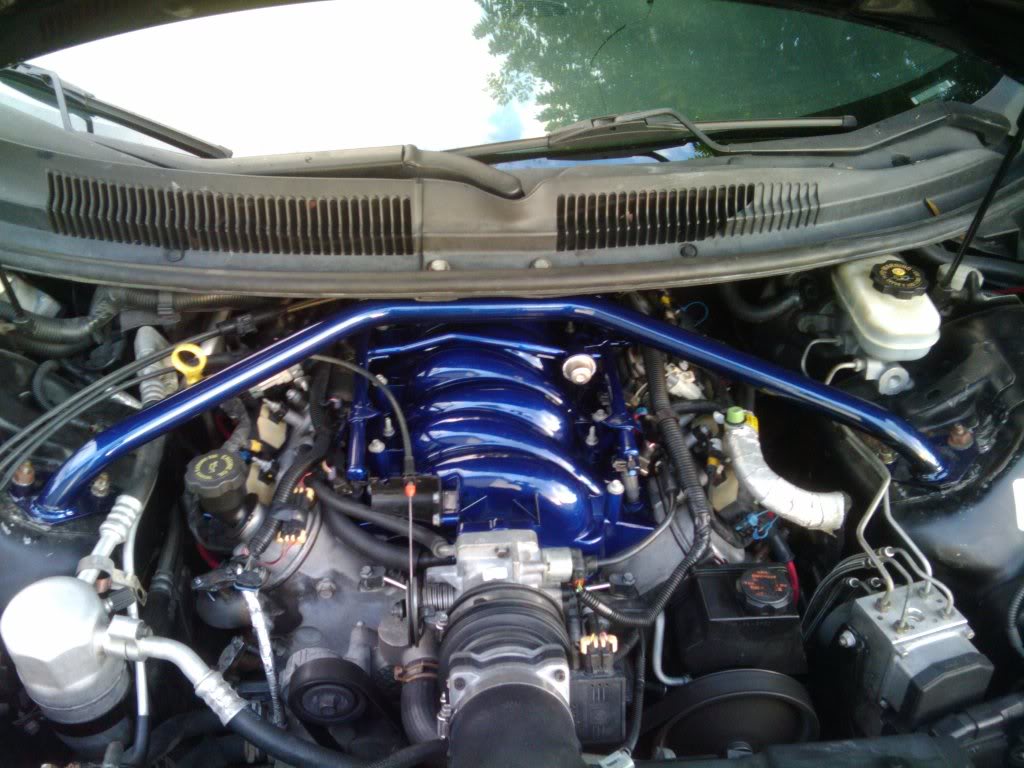
clean it with plastic cleaner,then tack rag it.apply 2-3 coats(first should be light coat or it will fish eye)after you put first coat let it flash and take 1500 to knock down any nibs or imperfections.then tack it again.then apply other coats.
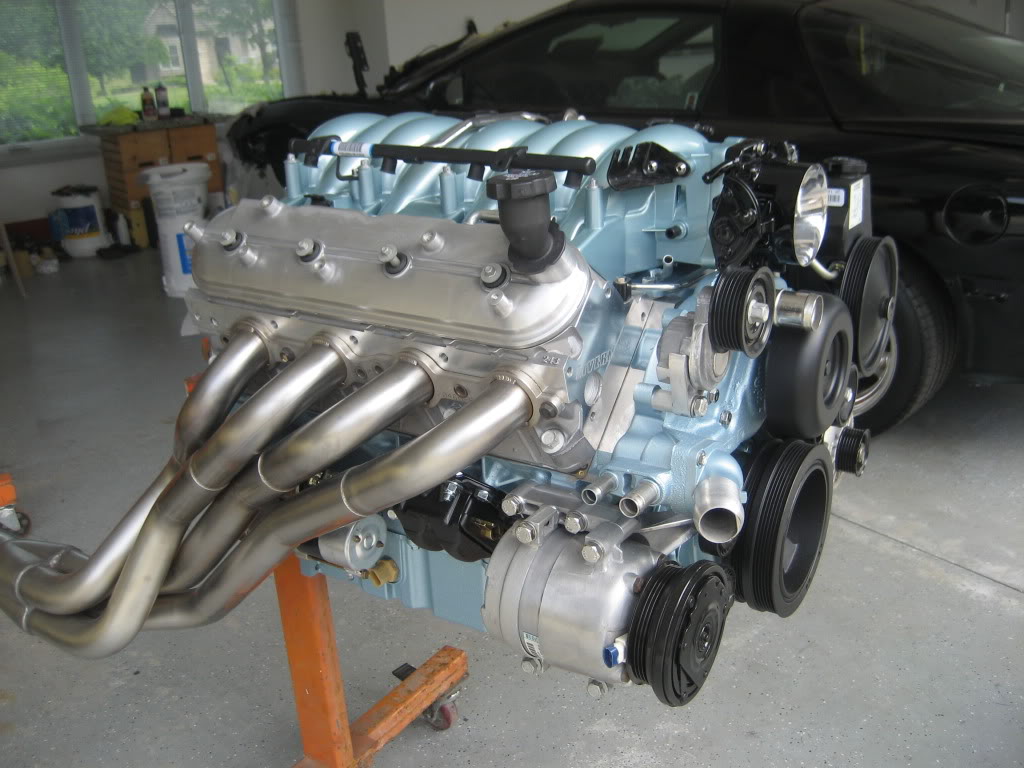
now your ready to clear it.2-3 coats.make sure there is no dry spray.put nice wet coats.let it flash between each coat unleast 15-20 mins.now just let it dry and congratulate your self.if you don't want to prime it then just put scuff it with gray scotch bright or 400-600 sand paper.then put adhesive promoter and base coat and clear coat.good luck!here some pics of mine
[IMG]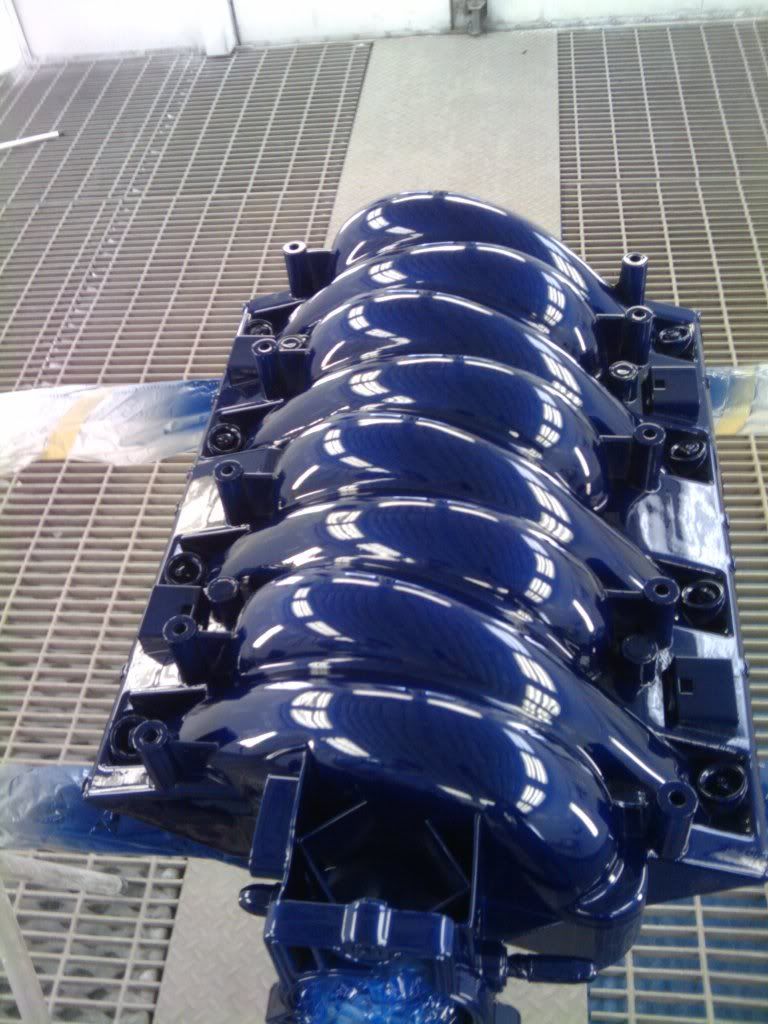 [/IMG]
clean it thoroughly
scuff it with gray scotch bright,or if you want to prime it which i did due to the little plastic repair i had to do.if you prime it 320 it.put LIGHT coat of plastic adhesion promoter and 2-3 coats of primer surfacer(first coat should be light)
then sand the primer with 320 followed by 600.(this is optional: you can put 1 light coat of primer sealer then you will be ready for base coat.)
clean it with plastic cleaner,then tack rag it.apply 2-3 coats(first should be light coat or it will fish eye)after you put first coat let it flash and take 1500 to knock down any nibs or imperfections.then tack it again.then apply other coats.
now your ready to clear it.2-3 coats.make sure there is no dry spray.put nice wet coats.let it flash between each coat unleast 15-20 mins.now just let it dry and congratulate your self.if you don't want to prime it then just put scuff it with gray scotch bright or 400-600 sand paper.then put adhesive promoter and base coat and clear coat.good luck!here some pics of mine
[IMG]
[/IMG]