


 I will post picks as soon as I am done!

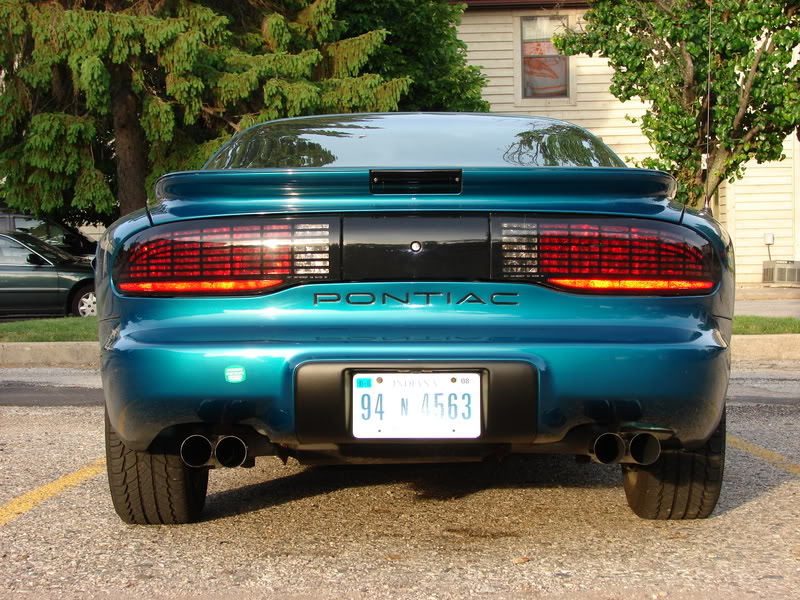
CETA Bumper: A How To
TECH Resident
Joined: Jan 2006
Posts: 991
Likes: 0
From: harrisburg, pa
Im thinking of doing silver.. do you think it would look good? also would do the calipers silver.. not sure though.. just want something different than a plain old black ws6.. but with chrome wheels i think i would look ok
LS1 Tech Stories
The Best V8 Stories One Small Block at Time

Topdon ONE vs. Artidiag 800 BT2: Which is the Diagnostic Tablet For You?
Pouria Savadkouei
Gas Monkey Built a 6-Wheel Ferrari Testarossa With a Corvette LT4 Engine
Verdad Gallardo
7 Most Reliable High-Performance Engines GM Has Ever Built
Verdad Gallardo
Amazing '71 Camaro Restomod Is Modern Muscle Car Under the Skin
Verdad Gallardo
6 Common C5 Corvette Failures and What's Involved In Repairing Them
Pouria Savadkouei
Retro Modern Bandit Pontiac Trans AM Comes With Burt Reynolds' Autograph
Verdad Gallardo
Top 10 Greatest Cadillac V Series Performance Models Ever, Ranked
Pouria Savadkouei
Top 10 Most Powerful Chevy Trucks Ever Made!

Hennessey's New Supercharged Silverado ZR2 Has 700 HP
Verdad Gallardo i believe its a good write up also....
i kinda symplified things though....
i just wet sanded mine, cleaned it up with a alcohol rub down, and used a matte black paint....several coats.....
i taped off the bumper and then just cut it away with a blade as to not pull any paint....
i kinda symplified things though....
i just wet sanded mine, cleaned it up with a alcohol rub down, and used a matte black paint....several coats.....
i taped off the bumper and then just cut it away with a blade as to not pull any paint....

On The Tree
Joined: Mar 2007
Posts: 198
Likes: 0
From: Tacoma, WA
Originally Posted by 1meantransam
how much did this roughly cost to do that whole job, and how much time?
Excellent write-up! I am painting a hood scoop...for about the 5th time, and the steps here will help. Before I was wet sanding between each primer and color coat. This time I sanded between the primers, but am laying on several color coats before wet sanding. Still haven't decided on using the clear coat. Plan to polish the color coat if I don't clear coat. I am worried about the clear coat lasting with the engine heat on a scoop.

I just got mine done a couple days ago. I spent probably 6 hours on the whole project including running to get supplies. Most of that time was in prep work, as well as removing and reinstalling my bumper. My dusty parking lot was a bad place to do this, so it had to come off.
Cost was about $20. I used 400 and 1000 grit, Duplicolor adhesion promoter, and Duplicolor bumper coating.
Cost was about $20. I used 400 and 1000 grit, Duplicolor adhesion promoter, and Duplicolor bumper coating.

Thanks for the write up.
I did it yesterday and did a re-pass today as I suck at painting..
I had to take the bumper off, because one exhaust tip wouldn't budge. It was easier than I thought it would be. I also got to get the condensation out of the passenger tail light in the process :)
I also had a chance to bend the passenger tail pipe down as it used to ride on the plastic. The shop that did my headers apparently didn't seem to want to put much effort into it (I had a piece of trim over the tip to keep it from burning the plastic and it looked tacky). I put a piece of rebar in the pipe and hung 60 pounds of weight on it all day.
While it was drying, I took the time to sand all my plastic trim around the windshield that had water spots melded into it which would never come off with washing/waxing/back to black. The grit used in this guide worked great, and I eventually ended up with a dryer sheet as my final polish grit (a little trick I learned refinishing canopies for model airplanes). They look like new. The 2k grit also took the water spots off the center piece between the t-tops.
It came out good for how bad I am at painting. I have a new respect for painting and the patience it requires.
The first pass I tried to do flat black with a gloss coat to finish. The flat black automotive paint I bought was powder-ish. I don't understand why it came out that way. Maybe a paint guru can explain. I ended up resanding the 2k grit and went to gloss black which worked.
I missed a spot on the top left corner by error of a bad masking job. I hope I can take a small paint brush and touch it up later without messing it up.
How long should I wait before washing/waxing that part now?
Last edited by FLA02TA; Jul 15, 2007 at 07:59 PM.