When you click on links to various merchants on this site and make a purchase, this can result in this site earning a commission. Affiliate programs and affiliations include, but are not limited to, the eBay Partner Network.
Removed passenger side exhaust manifold. Everything ready for long tube headers. Installed new trans mount. Motor mounts look pretty good, but I will be replacing those before the headers go on. I'm going to attempt to remove pedestal and mount as one unit.
Today was a good day. I finished installing the new Tick Clutch Remote Bleeder on my '99. The video on the Tick site makes it look soooo easy. It's really tight up there, and getting sockets to fit was a real puzzle. The stock bleeder came out pretty easy with an 11mm socket. It only dripped out a little bit of fluid. The replacement extension piece comes with a piece of rubber hose attached to help get it started in the threaded hole deep inside the bellhousing. This wasn't too bad either. After a little fiddling around and being careful, I got it started. I used one of those skinny little break away razor knifes to slit the hose in order to get it off the threads. Again, this part wasn't too bad. The bad part for me was getting a 13mm socket onto the new bleeder part in order to tighten it. I have a pretty good collection of inch and metric sockets, and none of them would work. The short ones were too short and didn't engage the hex. The deep sockets were way too long to even get onto the new bleeder part. What I ended up doing was going to my local auto parts store and bought a 1/4" drive 13mm deep socket and then cutting/grinding it down in order to get it onto the new bleeder part. THEN, I had to use a little 1/4" drive breaker bar because the regular ratchet would never fit. I finally got the new bleeder extension tightened and then connected the right angle hose. As you can see by the pictures, I routed the new hose along side the stock hose and up into the engine bay.
I flushed the dirty old fluid out with new DOT4 fluid. There must have been a little air in the system because now the clutch peddle engages where it should, instead of very near the floor. For $100, I think this remote bleeder is just what I've been waiting for. A big thank you to the guys at Tick Performance.
This pic shows the supplied rubber hose used to help install the new bleeder extension piece. It's really tight up there!
Below, you can see the new bleeder nipple sticking out of the bellhousing.
Here is the new extension hose, with a right angle fitting, attached to the new bleeder part.
Here, the new hose is wire tied to the stock hose and run under the stock shield. This shield and the catalytic converter were the only things I had to remove.
Yesterday and today, my wife and I drove the Tail of the Dragon, the Rattler, the Snake, and finally the Back of the Dragon! We were driving with a Camaro RS, a SS, and a ZL1. I was able to keep of with the three of them in the corners. Of course, the ZL1 was way faster on the straights, and I'm sure he could have gone faster in the corners if he wanted. It was a lot of fun and very high intensity driving. The new springs, shocks, and tires really made this car stick! Thank You Sam Strano!!! People on this forum stated "Call Sam Strano, and buy what he says" I can say first hand, that the parts I bought from Strano really worked well!
Replaced drivers side motor mount. Removed pedestal and mount as one unit. I did not remove alternator or steering linkage. New mount and pedestal went in rather easy. Hardest part was removing the motor mount bolts. Then putting them back in. On to other side.
I replaced the clutch, flywheel, pressure plate and the failed slave cylinder on my 30th Anniversay T/A. A friend found a lift we could use and he helped me with the task. Not an easy job for an old fart (73) but we got er done. I'm looking forward to many miles of happy motoring.
Beautiful! Can you please share some more information about how you did the caliper coating? Did you have to completely disassemble them? Who did the coating?
Replaced passenger side motor mount. Went quicker then expected. Maybe 3-4 hours. I removed the starter for room. I could not get the wire loom holder out that keeps starter and O2 plug close to the frame. Pedestal and mount would not get past it. I had to just break it. O2 one came out easy. After that the pedestal slid out easily. Doing these mounts was very challenging but its a really sense of accomplishment to have done it. Now that this is completed I can proceed with install of my American Racing headers.
OnA fan, they are 275/35/18's up front and 295/30/18's in the rear. I was hitting the bump stop brackets when putting the rears on. I ended up cutting the brackets off.
finally finished m AC delete panel install.........with the engine in the car and pulled the condenser engine side. Still needs to be cleaned up a bit; also have to figure out what to do with the main harness bundle. I had it running across the top of the AC box which was a perfect fit. Now I need a bracket of sorts.
Installed new long bolt starter, passenger side header and spark plugs. Headers slid up and in very easily. Starter wiring is close to the header so I covered it in heat wrap. PCM is on way back from a Frost tune. Close to finishing. Need to install Y and new O2 sensors, change oil air and fuel filters and I'll be ready to roll.
Had to replace the water pump on my 30th Anniversary T/A today. Most difficult water pump replacement I've ever had. Nothing wanted to come apart. For example, I had to pry the fans loose from the rediator housing. I've done water pumps before and the fans always lifted up pretty easily. But not this time. When I got the top radiator bracket off, I found a surprise. The A/C condensor was really clean but there was a coating of grass clippings about a 1/4" thick covering most of the radiator. ???? Cleaned that with a vacuum cleaner and then back sprayed it with a garden hose. I got a lot of dirt out of it. When I started putting everything back, every nut, bolt, hose and clamp had to fight me. Aargh. It turned out to be an all day affair in near 100 degree heat. Then as I was finishing up, I discovered the serpentine belt had a split in it. That was the final straw for the day. I'll finish it tomorrow.
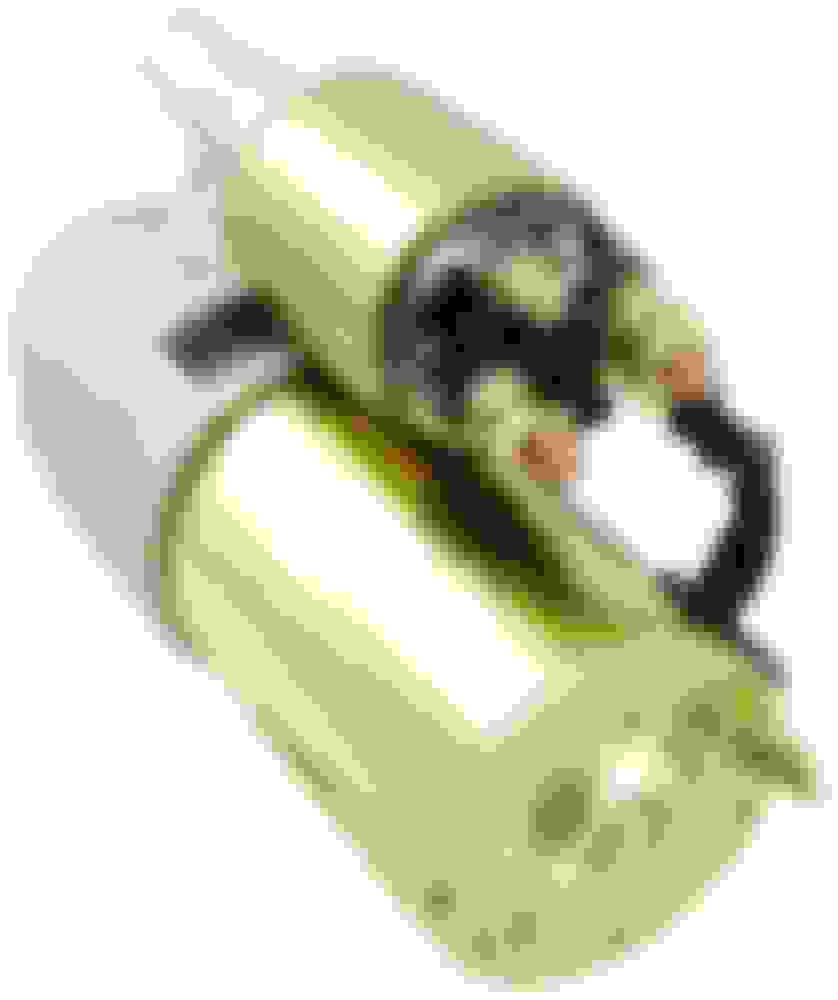
Bought an Ebay (New) Starter for my 95 Formula $59.99
in the Starter box The Two Bolts
I was amazed on how small and light these starters are
two bolts a power wire and a starter wire
it was such a Joy to work on this car ..... thats my story and Im sticking to it ....Gm
.
.

 06-04-2018, 12:10 PM