My rebuild of a 1998 trans am


 05-07-2013, 09:35 PM
#106
On The Tree
Thread Starter
iTrader: (11)

Join Date: Dec 2011
Location: Maryland
Posts: 122
Likes: 0
Received 0 Likes
on
0 Posts
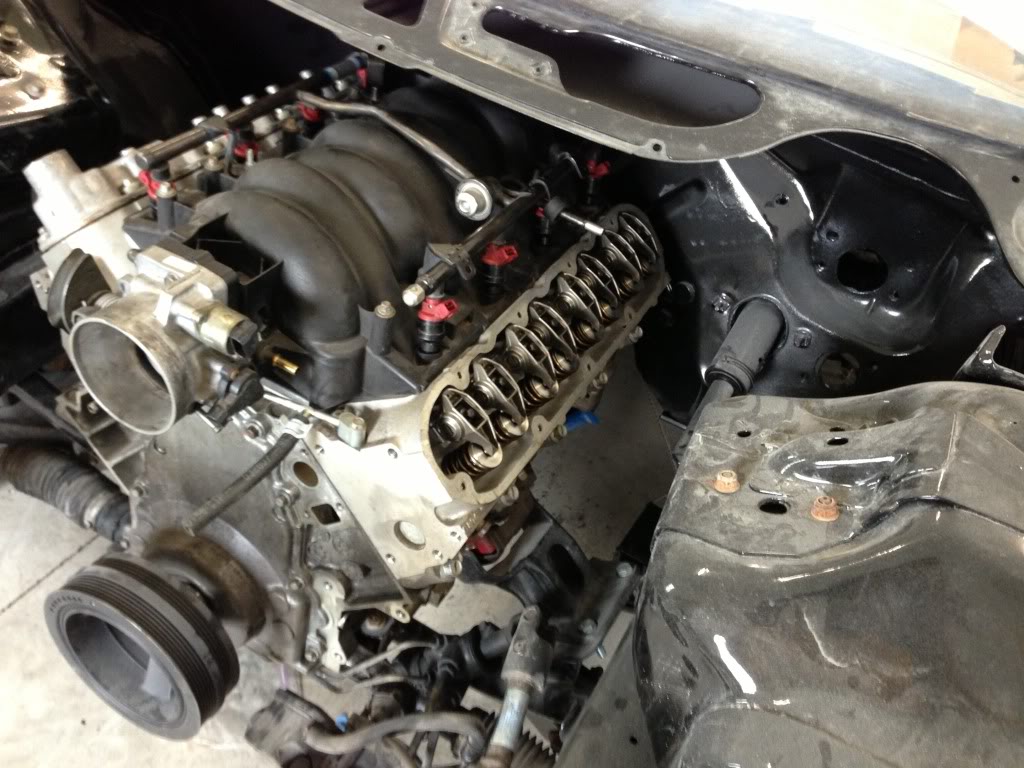
update finally got the engine almost all the way together, friend broke off bolt where the dust cover goes on the drivers side so i have to retap that. Should almost have it to the point where its ready to start this weekend.
Steering pump is also on and linkage conected even though the pictures dont show that
Steering pump is also on and linkage conected even though the pictures dont show that

 06-27-2013, 07:02 PM
#111
On The Tree
Thread Starter
iTrader: (11)
Join Date: Dec 2011
Location: Maryland
Posts: 122
Likes: 0
Received 0 Likes
on
0 Posts
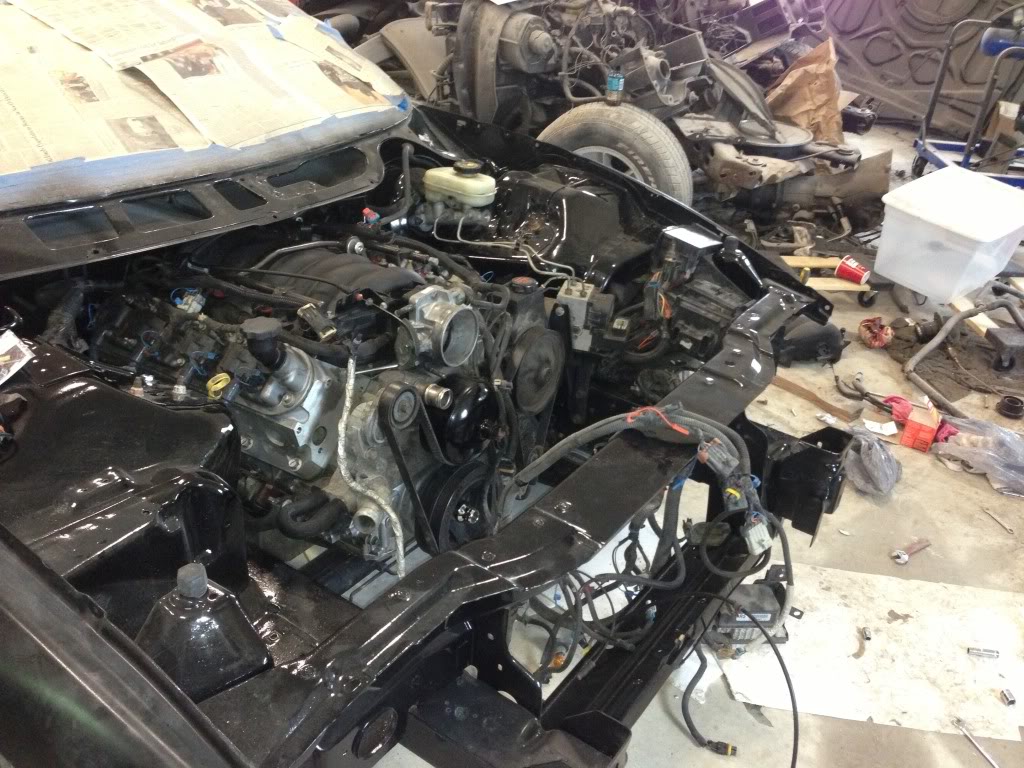
Almost time to start it up! Just need to finish wiring and get some small fuel lines! I learned the hard way to put the engine wire harness on BEFORE you put the motor back in, its a pain now!
Don't mind the mess in the garage ive been lazy!
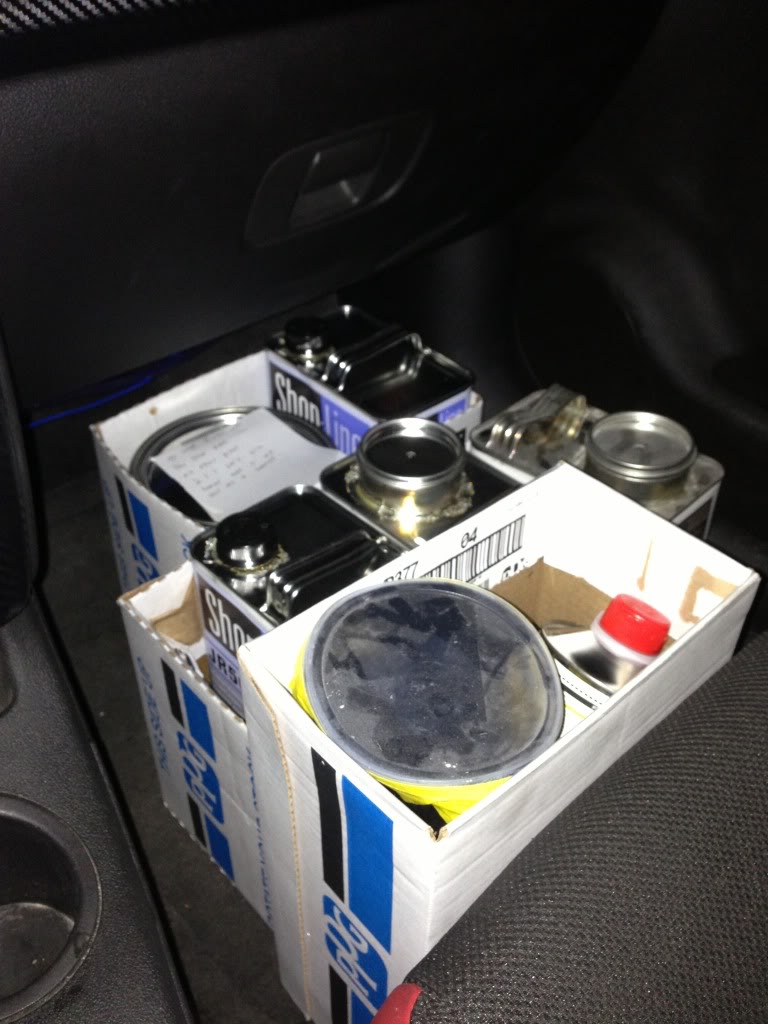
And i got paint!
Don't mind the mess in the garage ive been lazy!

And i got paint!

 07-10-2013, 07:26 AM
#114
On The Tree
Thread Starter
iTrader: (11)
Join Date: Dec 2011
Location: Maryland
Posts: 122
Likes: 0
Received 0 Likes
on
0 Posts
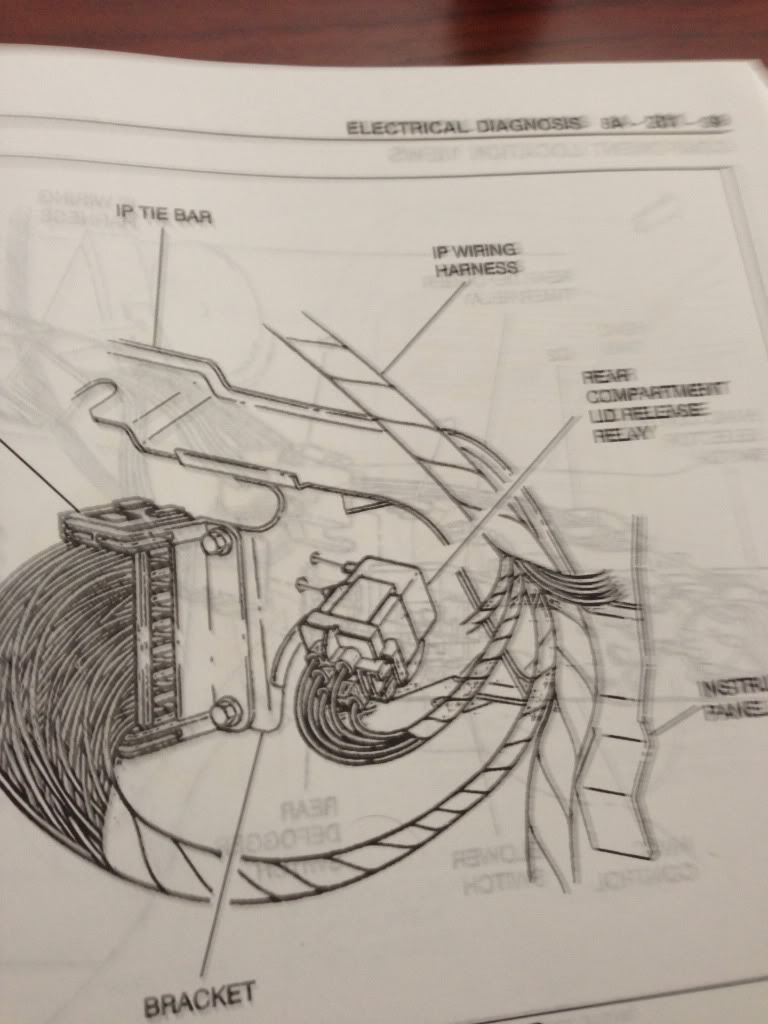
Yeah finding out where all the wiring goes is the worst, i can not figure out where the big module on the drivers side that has all of the wires mounts, the one that screws together. I have a few more pictures that i will be posting up shortly as well.


 07-12-2013, 08:39 AM
#116

The Module you are talking about...(ECM I'm sure) goes under the cowl, on top of the inner fender on the right side. It slides in there. If you removed the bracket, that needs to go in first.
07-12-2013, 10:45 AM
#117
On The Tree
Thread Starter
iTrader: (11)
Join Date: Dec 2011
Location: Maryland
Posts: 122
Likes: 0
Received 0 Likes
on
0 Posts
this is the module im talking about, i see the spot where it could bold up, however the bolts i put in the module however are too big for the holes and cant get it firued out unless me or my buddy put the wrong bolts back in the bracket. Ill have to check that out later.
 07-14-2013, 08:23 AM
#118
Are you talking about the relay or the harness connector? The relay looks like it just snaps into the panel without bolts. The connector is greek to me as this appears to be a through panel connector...but it's hard for me to tell.
I am one of those guys who NEVER sorts and labels bolts. I figure if I can't figure out what goes where, then I have no business working on vehicles. The most I'll do is put them in separate piles...suspension bolts in one pile, interior in another, etc. But to get a bunch of baggies and sort and label them? I've never done that. And it's come back to bite me a couple of times, so I feel your pain.
I am one of those guys who NEVER sorts and labels bolts. I figure if I can't figure out what goes where, then I have no business working on vehicles. The most I'll do is put them in separate piles...suspension bolts in one pile, interior in another, etc. But to get a bunch of baggies and sort and label them? I've never done that. And it's come back to bite me a couple of times, so I feel your pain.
