When you click on links to various merchants on this site and make a purchase, this can result in this site earning a commission. Affiliate programs and affiliations include, but are not limited to, the eBay Partner Network.
Just a quick heads up: been a busy couple of weeks traveling with the family, but I've been buying some parts for it - I have literally every fluid and filter sitting in the trunk, as well as an OEM air box and some aftermarket suspension parts starting to come in. Stay tuned for a bigger update soon! I'm also hoping to give the interior and engine bay a first detail this weekend (after college football of course). I've given the exterior and door jambs a nice cleaning so far, but I will be doing a paint correction as the weather start cooling off. It definitely appreciated the wash though!
Well guys, I'm back with another update - unfortunately, not the biggest one, but hopefully large enough to tide you over for a bit. Apologies it's taken so long for a new one! Between holidays, traveling between multiple states, the kid being sick several times over, and an event of some form nearly every weekend, it's been a doozy to try to find time to work on the car and buy large parts. That being said, I'm looking to start buying up some components after the turn of the year and get back going on this thing! On another bright note, my finger has fully healed after nearly slicing it off - it looks funky but gets the job done (that's what she said...).
As it sits, the car runs and drives, albeit like ****. The suspension is clapped out and makes multiple interesting noises, it pushes multiple codes, and the LM1 exhaust on it is insanely raspy and obnoxious, so it truly is not a pleasant experience. Nevertheless, progress is progress and the fact that I can fire it up and drive it to the gas station is saying something, considering where we started just a few months ago. The AC and heat work, it starts up great first time every time, and does not overheat (surprisingly... cooling issues in my 'enthusiast' cars have historically been my kryptonite - everyone has that one thing they battle with on cars, and keeping an engine cool is mine).
Over the last couple of weeks, I was finally able to start cleaning up the interior and began doing some suspension work on the rear (more on this later... the discovery was pretty interesting). As seen in previous pics, the interior on this thing was disgusting. It really amazes me how dirty some people allow a car to get, and while this one was nowhere near the worst one I've seen, it was still pretty gross.
Let's begin with where we started. The before pictures are quite damning, but there is definitely room to put lipstick on this pig. The seats are in decent shape (only a couple seams undone), the carpet is seemingly in great shape underneath the stains, and most importantly, the dash is all in one piece.
Pulling the seats:
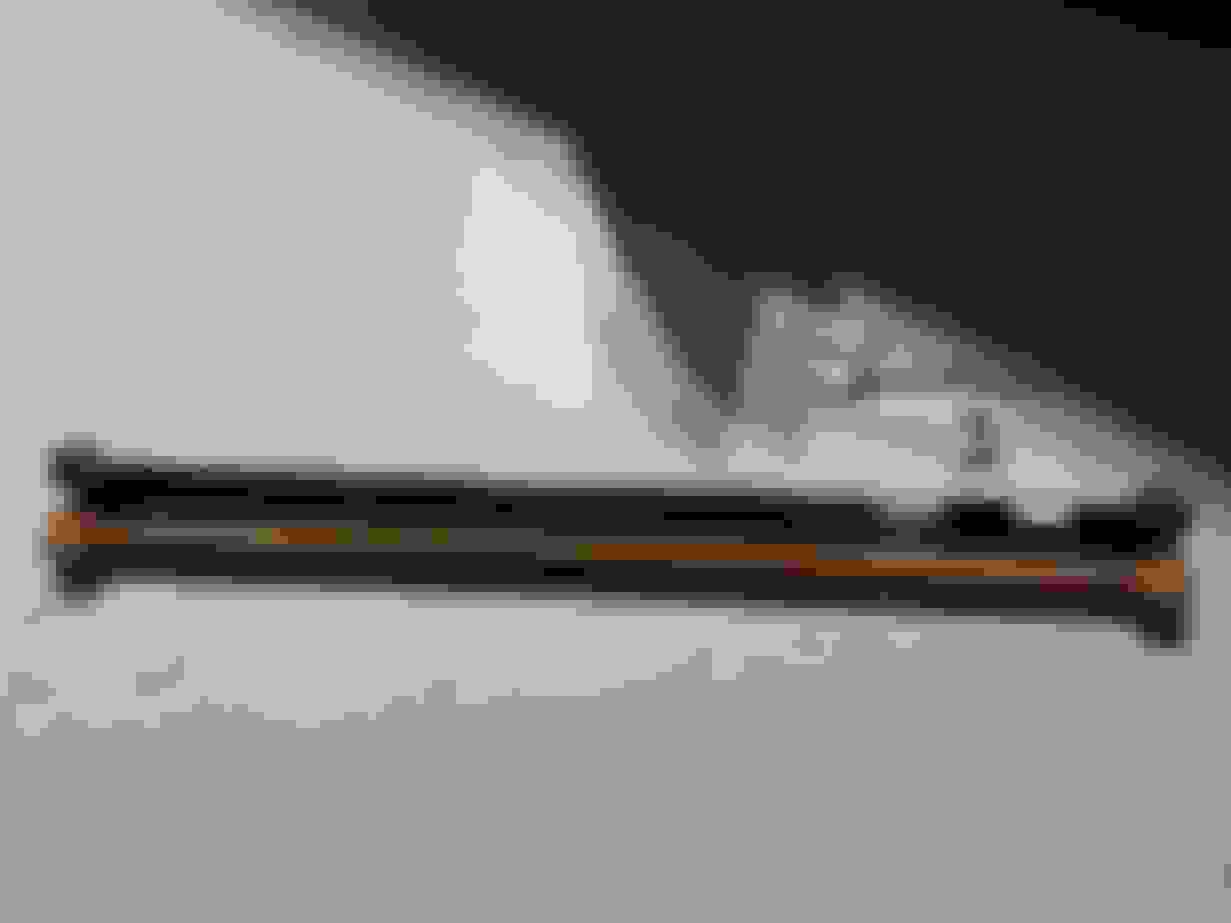
Here is the haul... don't let me spend it all in one place! Pictured is also my now fully functioning index finger.
Everything to be thrown out (not pictured is the wire as I haven't fully gotten to that point yet):
And everything I kept (the Craftsman gyro screwdriver held a charge but didn't work unfortunately - it went in the trash eventually):
For being 23 years old sitting out in the sun, the dash is holding steady!
Found the small cover that goes under the column tilt lever out of a Firebird at our local Pull-A-Part:
I also decided to swap the HVAC and headlight ***** over to a custom one made by a small online site called F-Body Futures:
\
Moved the car into the driveway and made room to clean the seats up. The poor leather was dry and sucked up all of the conditioner I put on it:
At this juncture, I had to call it a day, as I had other obligations to get to. The following Sunday, I pulled the console to clean it up. It had a cheap toggle switch wired into the compartment that looked to be for an amp shutoff. The wiring on it was... questionable. Yes, that is basically Band-Aid tape and wire nuts used to wire the 18AWG to the 14AWG...
I ended up taking apart the shift selector assembly and cleaning the two decades worth of grime out of it. I would normally use a diluted APC 10:1 to clean most of this stuff, but I ended up just using 303 Protectant as the cleaner for all of these components, since all of the plastic had gotten so brittle over the years. Unfortunately, the console lid has a crack in it, so we will have to source another at some point. The shifter plate also has a cigarette burn in it and the ashtray lid is broken (color me surprised... they're broken on 95% of these cars). I'm hoping to eventually find replacements for these parts, but they're not a priority at the moment.
I also replaced the shifter bulb with a red 74 LED bulb, since the original was blown. Unfortunately, I did not take a picture of the interior reassembled, but there is way more work to be done in there (door panels, rear panels, speaker grills, trunk, etc.) that will be shown in a later update.
After I put the console back in, I quickly pivoted to the rear suspension setup.
Ever since I acquired the car, the rear end was sitting skewed. The driver's side looked considerably more flush with the fender than the drinker's side. I had previously ordered a used adjustable PHB to correct this problem but I never realized the true issue until I climbed under the car. Let's just say there was a reason why the previous owner gave me a set of new rear adjustable LCAs included with the car. If you look closely, you might even see the issue...
Not really sure how that happened... This was on the passenger's side. My guess is that someone tried jacking the car up and "accidentally" bent the LCA - there is no damage anywhere in the vicinity of this bend otherwise. An alternate theory is that he somehow angled the car over a tree stump, but that seems far less likely. Anyway, here were the measurements that I crudely took before pulling the LCAs and PHB. I purchased the Spohn PHB off a user here on Tech and it arrived in great shape, just needed a bit of cleaning. The last couple of pics are how the car sits today.
As you can see, this thing still has the F-Body gangster lean. At the moment, the spring/shock setup is still OEM. I already have a pair of Strange adjustable shocks waiting in the wings for the rear that will end up on the car once the holidays are over and I can order the front setup. For the front, I'm thinking we will go with Koni adjustables, with Strano springs all the way around. I really dislike the 4x4 look of these cars stock, but I'm also not trying to slam it, nor am I building an all-out strip car either (at least not yet... who knows what happens down the road). Essentially, I'd like to get the stance back to how my first Z28 sat without compromising ride quality or street function. With that, I'm thinking the Strange shocks may be a bit overkill, but we'll see how they work for now.
I am also still shopping for wheels on the used market. For the time being, I don't want to commit several thousand $$$ on an S71 setup or something along those lines until the front bumper and paint is cleaned up. Thinking pragmatically, I have always loved the staggered setup of the 17" ZR1 (17x9.5/11) reps and will probably go that route for now, in chrome or polished. If not them, then possibly a set of Speedline Z06 wheels just to tide us over. Either way, the current wheel setup needs to go bye-bye. Stay tuned for more (hopefully) soon. I currently owe the car a full tuneup (already have everything) and finish putting some of the OEM components back under the hood. It is, unfortunately, still rocking the "custom fab" air intake and "relocated" fuse boxes. I have already purchased the radiator support/air box, an SLP lid, and the fuse box covers, so those will be installed this week.
I think you are correct on the reason that LCA is bent up, if it happened due to drivetrain stress there would be a whole heep of other problems to go along with it.
I think you are correct on the reason that LCA is bent up, if it happened due to drivetrain stress there would be a whole heep of other problems to go along with it.
It definitely is not a bad place to sit now! It's no Lexus or anything in terms of quality and comfort, but the vinyl and plastic respond well to the 303 UV protectant and look pretty good after a couple of applications and a buff. It's one of my favorite detailing products in my arsenal.
As far as the LCA goes, I really don't know what to think just yet. I haven't really started looking at the u-joints, pinion angle, or anything like that. The output shaft seal on the trans doesn't leak and doesn't seem to be wallered out. Everything metal is straight and matches the driver's side on it too, so I'm hoping you're right!
Wow....good job on the detail. I need one too....I tend to horde all my cleaning stuff and extra pairs of shoes and stuff just in case but it creates a clutter. I recommend Sam Strano for any suspension parts.
Thanks everyone! It's definitely an improvement, but a long way to go before I'm happy with it. I managed to get some parts on the car yesterday between doing some final yard work and getting ready to host family for Christmas. Will post a small update soon!
Blink once and several months fly by! Life comes fast and the last four months felt like we didn't spend a single weekend without doing SOMETHING... between the holidays, work, kid stuff (primarily sickness), birthdays, and random family events, we've had our hands tied and the TA has been sitting quietly and patiently waiting to be nurtured back to health. I've been firing it up every week and moving fluids in it, but other than that it's been stationary in the garage - collecting spider webs, getting random looks by me and the family, and questions by visitors (like the pest control guy) wondering if it's a WS6... it's not.
All of that finally changed as of the last two weeks.
As you may recall, the car was last spotted rocking what was basically a piece of dryer vent tube for a "cold air" intake and the aesthetics under the hood left a lot to be desired. I ended up sourcing a used radiator support, smooth bellow, SLP air lid, and some fuse box covers off various sellers on Facebook MP and eBay. The first picture is the "before". With a brand new K&N filter and some generic bolts, this part of the project will do for the time being before it all gets taken apart for detailing (and probably a new radiator in the future).
Now on to the bigger stuff... In February, I managed to find a seller listing a part out for a wrecked 2001 black WS6 on one of the F-Body Facebook groups. After chatting with him, he agreed to sell me the front bumper for $400 if I picked up in Charlotte, NC. We made the transaction happen and my buddy and I spend a day rolling there and back to snag the new-to-me front bumper. Fortunately it was in good condition, minus one small spot on the passenger side and some of the undertray clips being broken. No matter - the new one is in much better condition than the one that came with the car and the paint fade still matches the rest of the body (like that's a good thing...).
Unfortunately, the "new" bumper did not come with the licence plate filler panel and the old one got messed up in the previous accident, so we will have to source one later down the road. Of course, the "while you're in there"s dictated that I do a quick clean up the fogs and turn signal housings. Afterwards, I went ahead and installed the headlights and the crash bar that came with the original purchase of the car.
While assembling the front end, I considered replacing both of the plastic gears in the headlight lift motors and I do have a kit with the replacements already in hand ready to go. However, both headlights seems to be functioning properly at the moment and are smooth, so I'm going to save that project for the inevitable when the gears strip. After assembling the internals of the front, I did a test fit of the new bumper - no issues. Went ahead and bolted everything up and she finally looks like a decent car once again.
What I wasn't happy with was the fitment around the passenger side headlight. The body gaps were off, the headlight cover seemed to be "lifted," and the hood was covering up the break between the nose of the bumper and the edge of the hood, but only on the passenger side. You can see the difference in the pictures below. My thinking is that the impact that deformed the original crash bar physically pushed the plastic bumper cover up and shifted the headlight cover, distorting the fitment. I played around with some adjustments and got them to mesh a bit better. Still needs work, but for a 90's era GM, this is passable.
While I had some time left over on the weekend, and still in "body gaps" mode, I decided to remedy the fitment between the side skirt and the fender on the driver side. We all know why this happened... someone jacked the car up on the pinch weld where the 2x 10mm bolts tie the front fender to the body of the car. The amount of **** that came out from just that crease was immese. I still don't think it is perfect, but it did get better. The plastic on the fender needs to be "trained" with some heat cycling and time, so I want to revisit this issue again in the very near future and make it even better. I also want to purchase or 3D print some of the plastic jack plates that came with some of these 4th gens. I had them on my Z28 in the past and they remedy this issue from happening entirely by providing a surface lower than the bolt area for the jack to rest on (picture of one below that I found on Google).
Lastly, a teaser pic... found some used parts, and bought some new. Stay tuned for another update very soon (I promise...)!


 08-31-2023, 09:59 AM