Magna Charger TVS1900 Install PICS
 11-14-2008, 01:55 PM
#1
blownerator
Thread Starter
iTrader: (20)
Join Date: Mar 1986
Location: Chatsworth, CA
Posts: 18,698
Likes: 0
Received 0 Likes
on
0 Posts
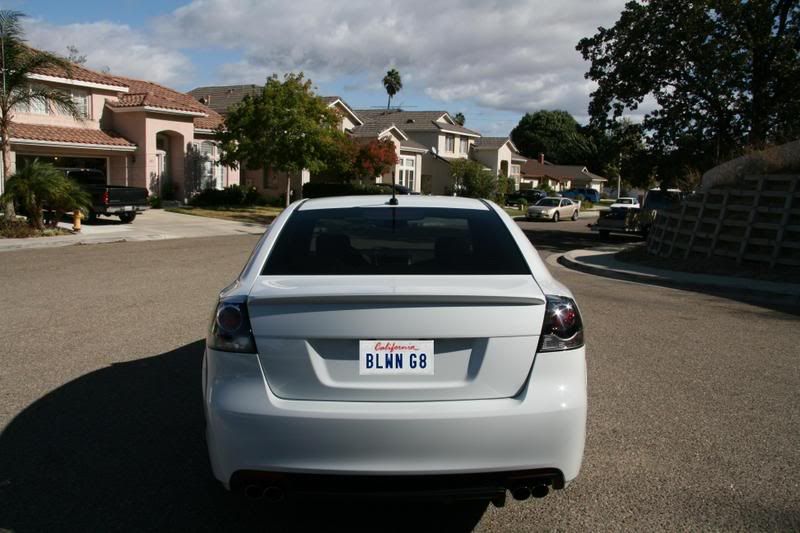
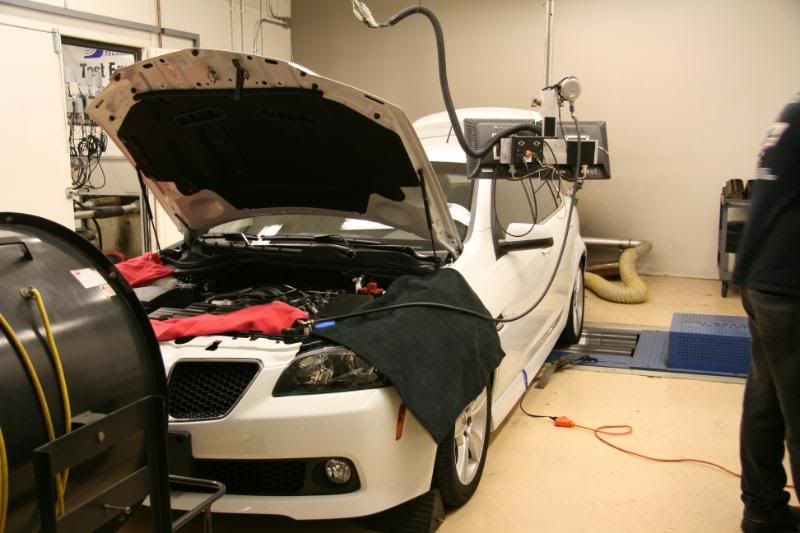
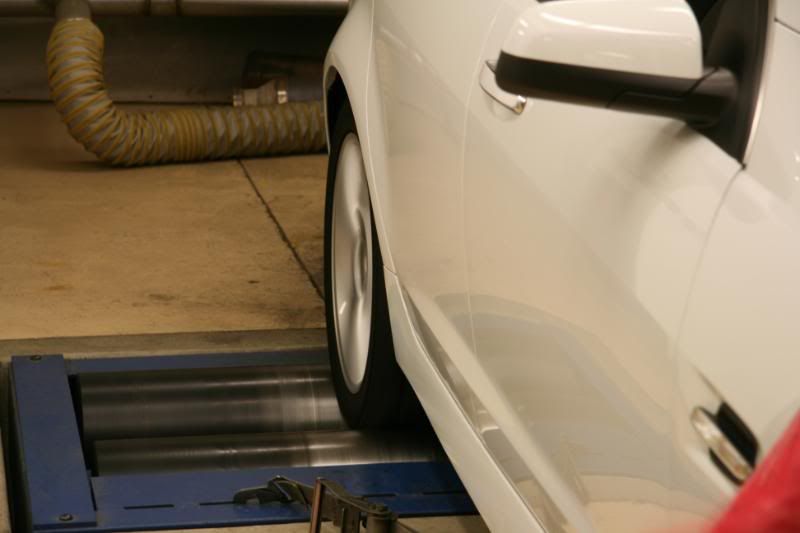
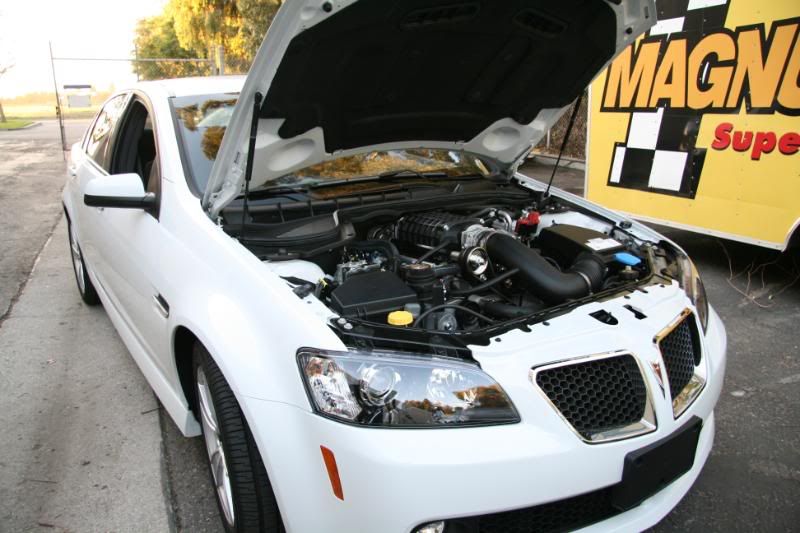
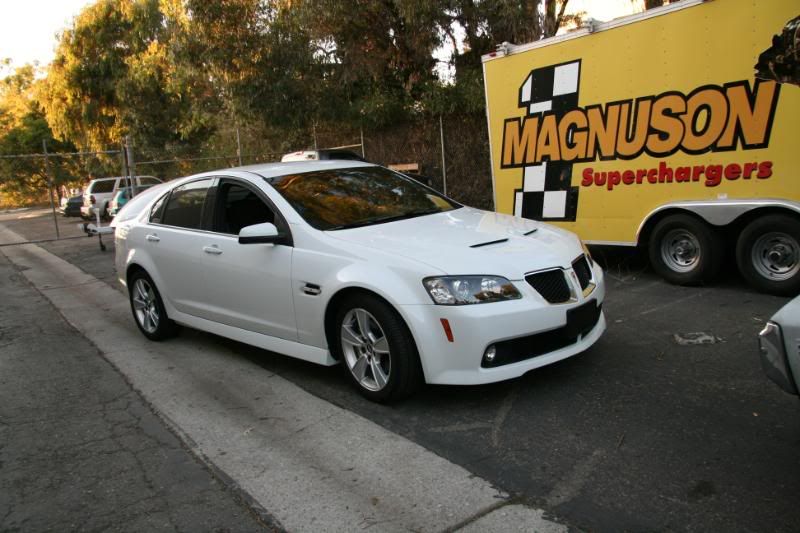
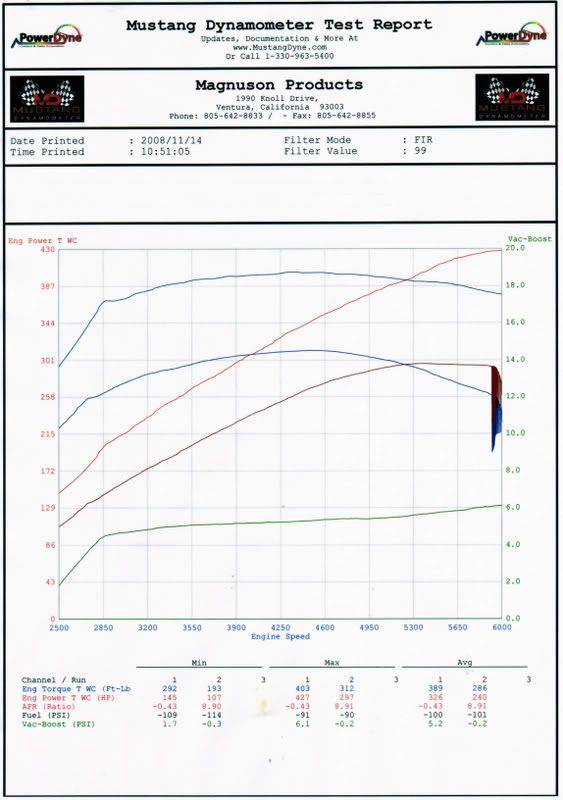
I am starting this thread to feature the install of the MP1900 Supercharger System on my 2008 G8 GT. I will be posting up before and after Dyno Runs, Before and during install pictures with technical data as we go along. The install will Start on Wednesday and the dyno baseline is tomorrow.
I think the blower will be a nice addition to the plates
I think the blower will be a nice addition to the plates

 11-14-2008, 01:56 PM
#3
blownerator
Thread Starter
iTrader: (20)
Join Date: Mar 1986
Location: Chatsworth, CA
Posts: 18,698
Likes: 0
Received 0 Likes
on
0 Posts
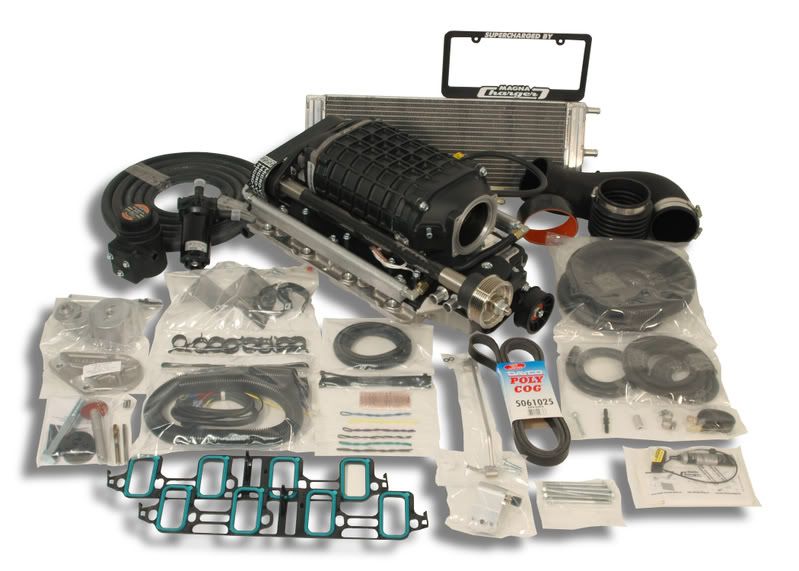
OK here we go, please excuse the photos....I am still learning the new camera. This is a slightly abridged step by step process, detailed instructions can be found @ www.magnacharger.com. And remember to contact your favorite board sponsor on the left for your Magna Charger purchase.
Drain your coolant:

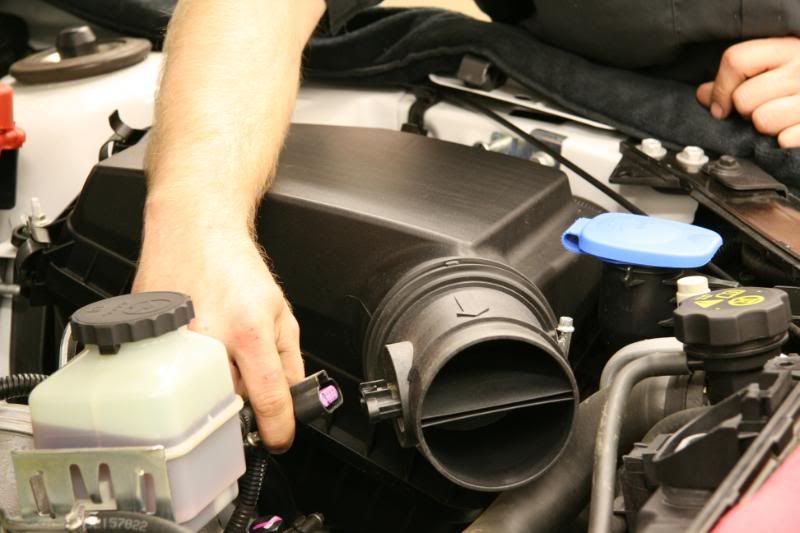
Remove the stock air intake
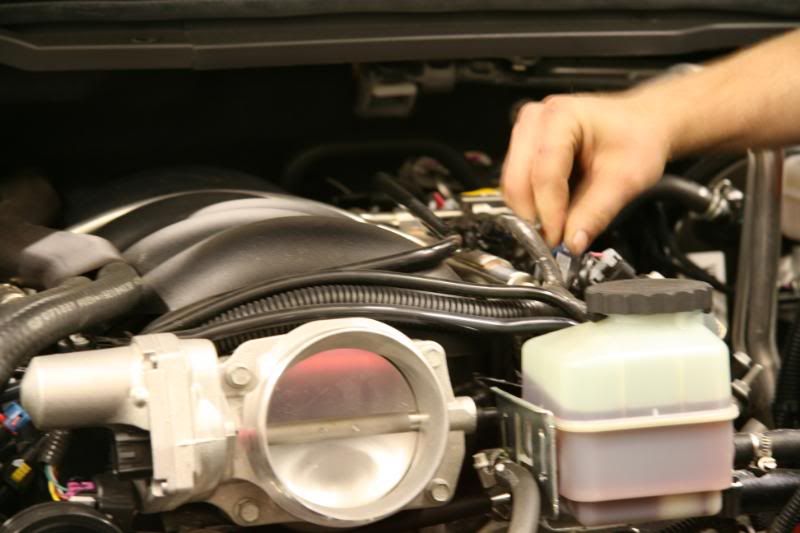
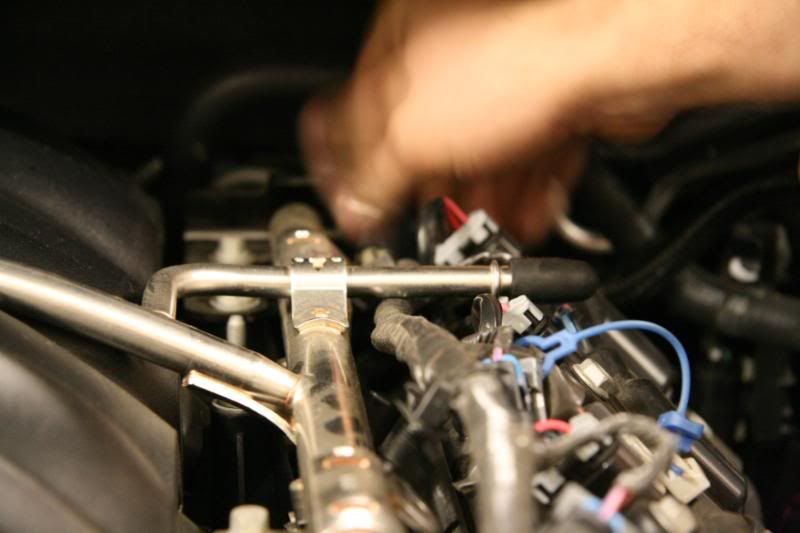
Unclip your injectors:
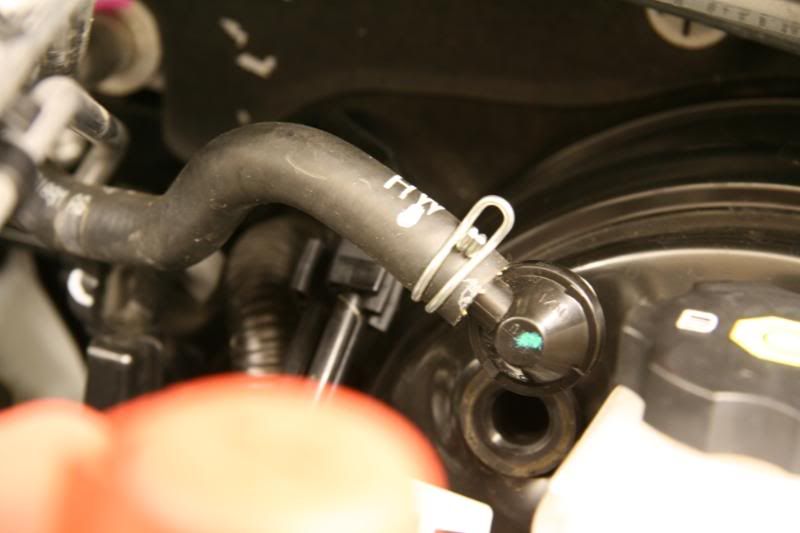
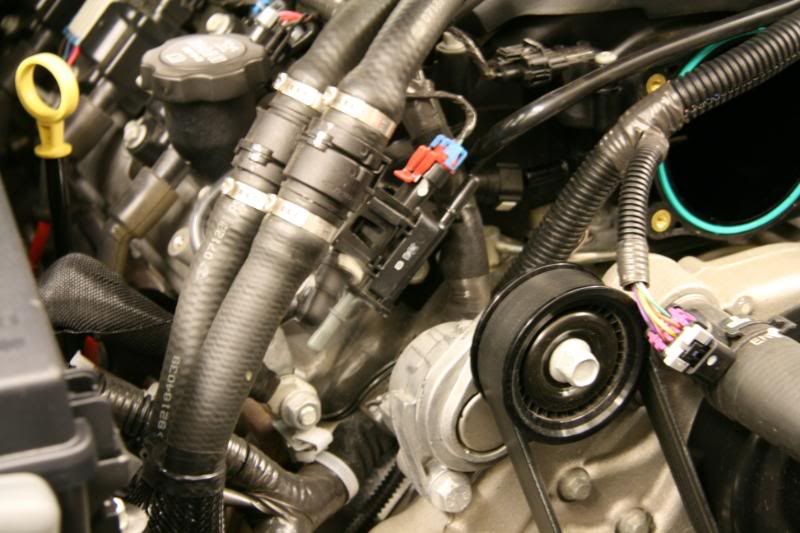
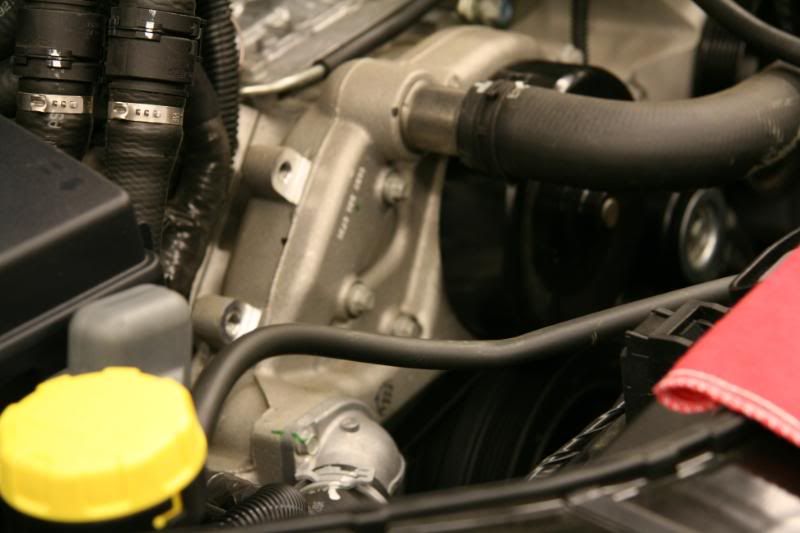
Unplug your Brake booster check valve:
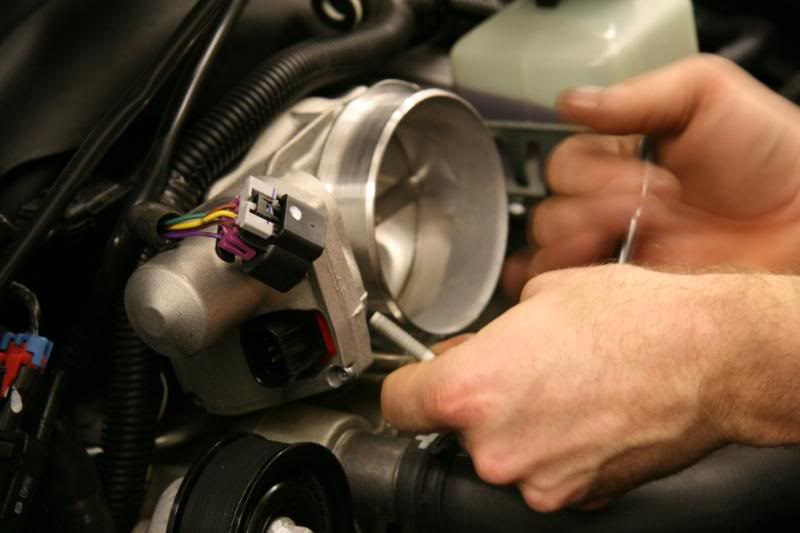
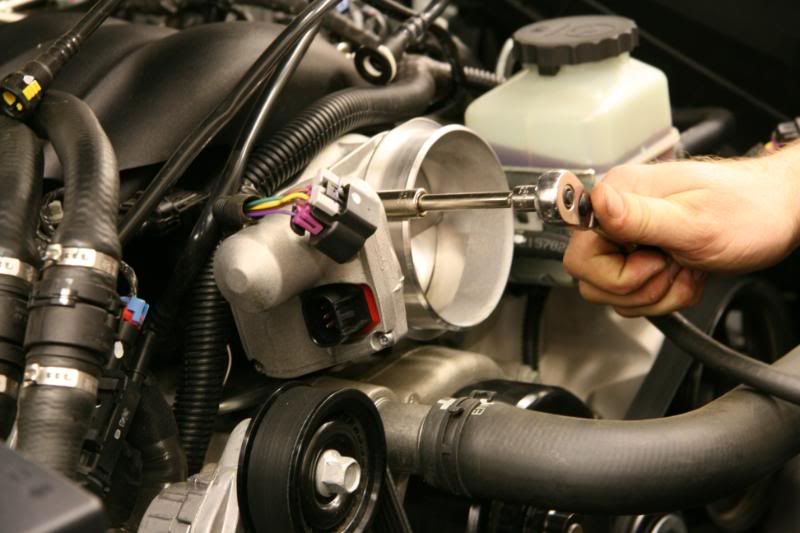
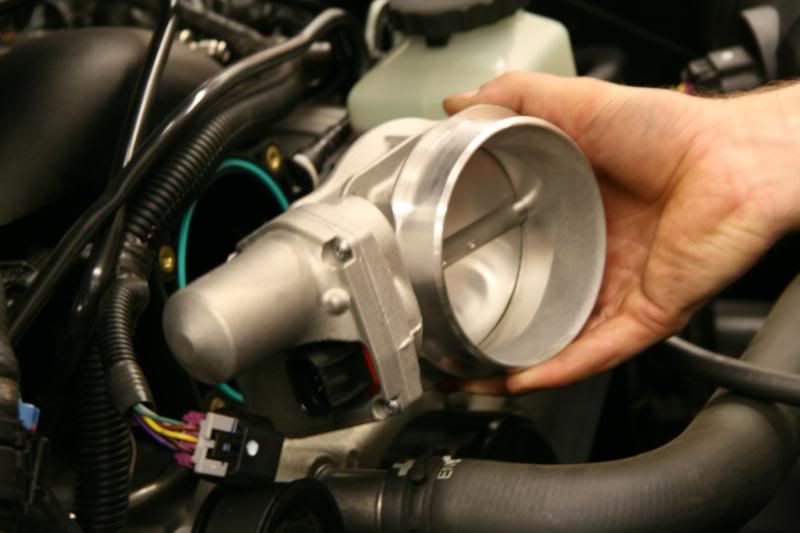
Unbolt your Throttle Body:
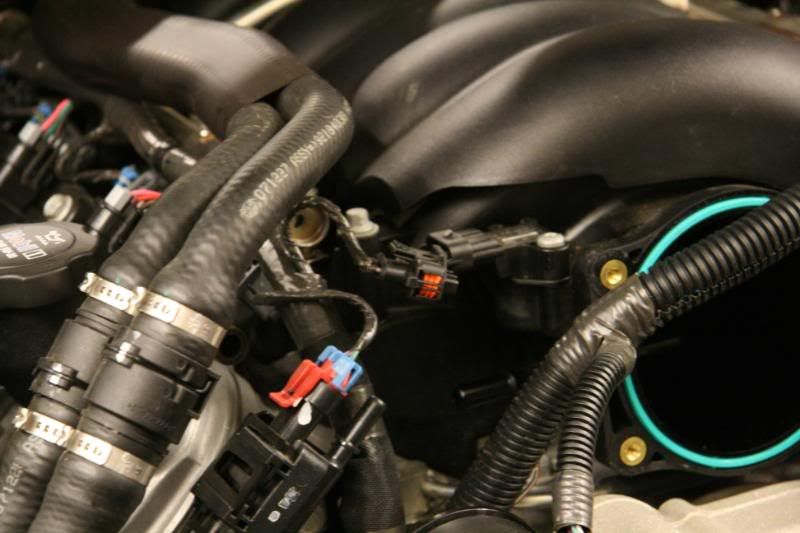
Unplug the EVAP Solenoid:
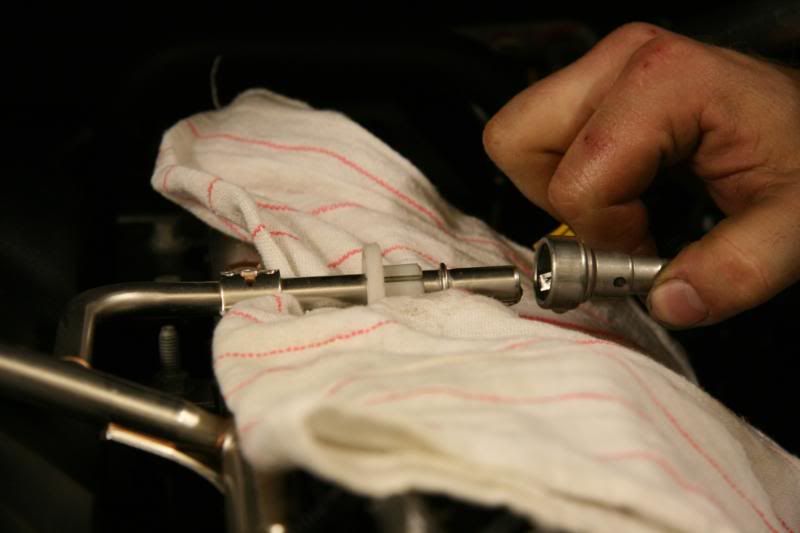
Unplug the fuel feed ling using the supplied tool. BE SURE TO DO THIS WHEN THE VEHICLE IS COOL:
Drain your coolant:
Remove the stock air intake
Unclip your injectors:
Unplug your Brake booster check valve:
Unbolt your Throttle Body:
Unplug the EVAP Solenoid:
Unplug the fuel feed ling using the supplied tool. BE SURE TO DO THIS WHEN THE VEHICLE IS COOL:
11-14-2008, 01:57 PM
#4
blownerator
Thread Starter
iTrader: (20)
Join Date: Mar 1986
Location: Chatsworth, CA
Posts: 18,698
Likes: 0
Received 0 Likes
on
0 Posts
I suggest capping off the fuel line on the rails before removal:
Unbolt the intake manifold:
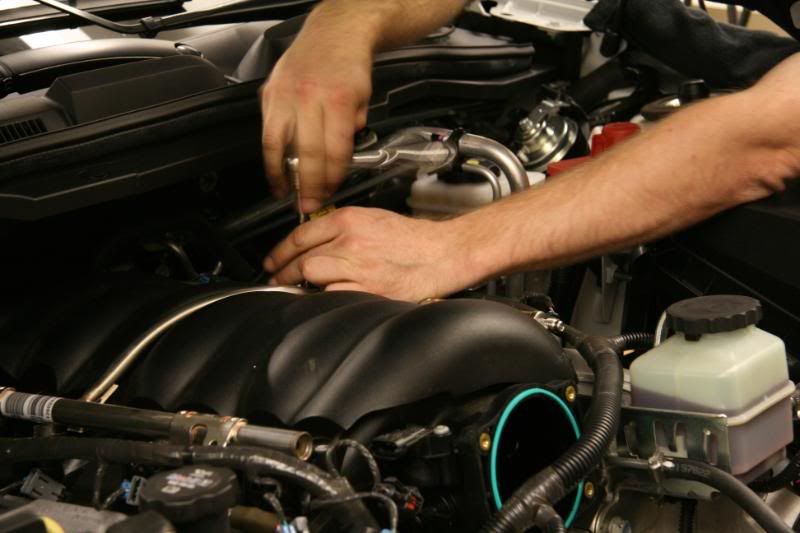
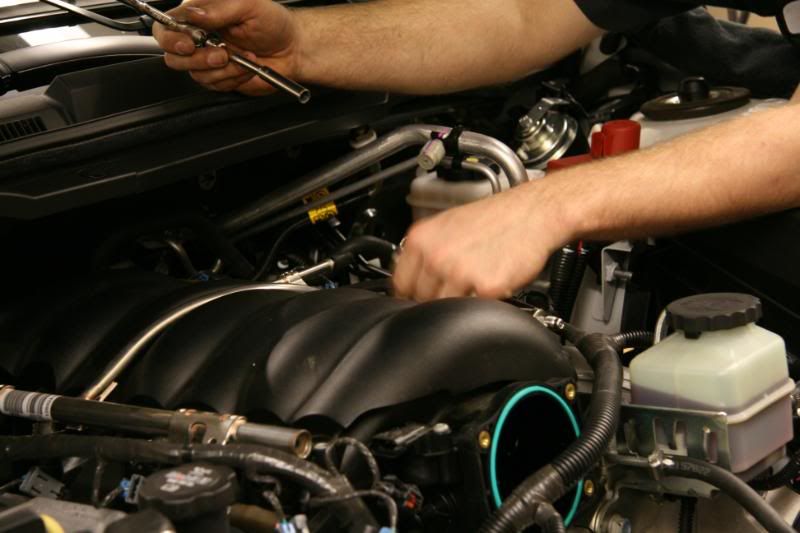
Remove Intake Manifold:

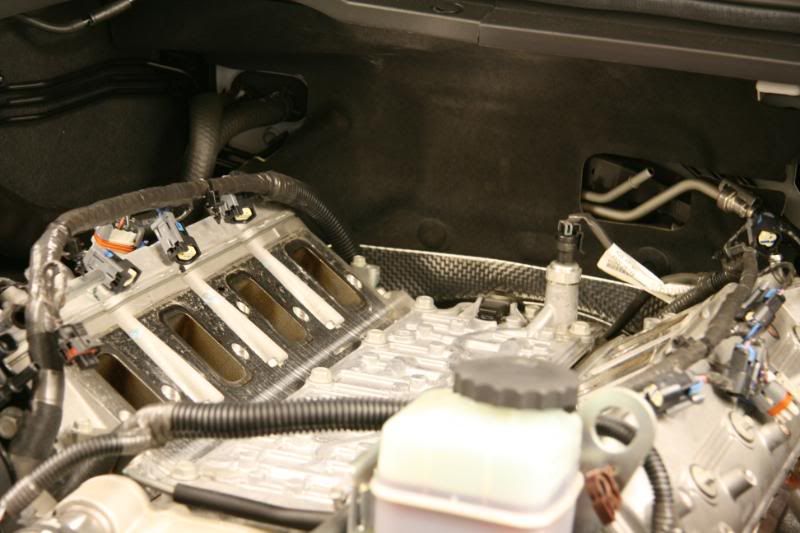
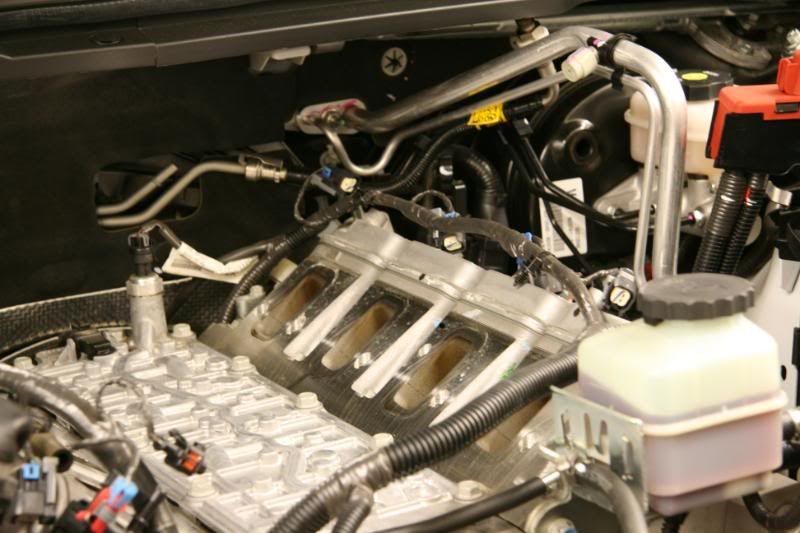
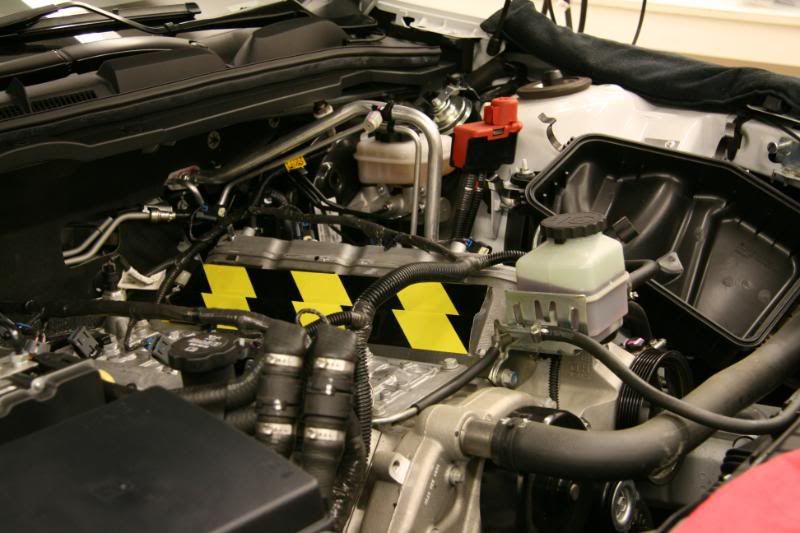
Tape off intake ports on the heads:
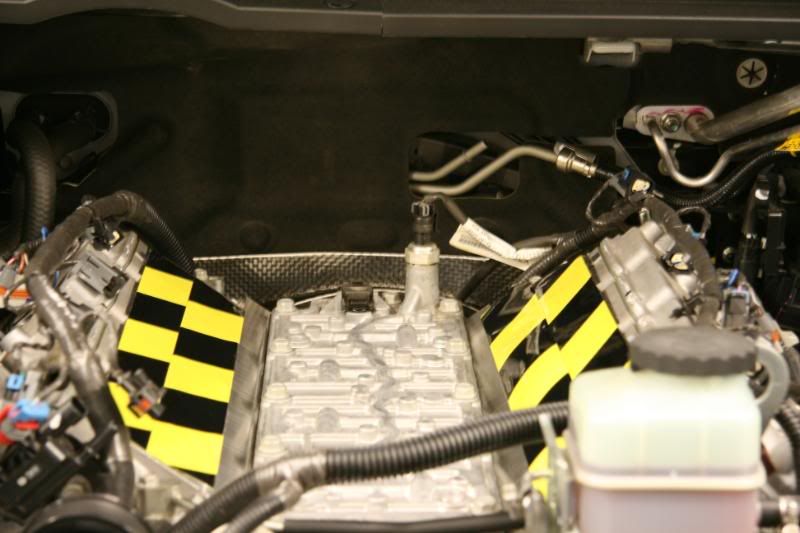
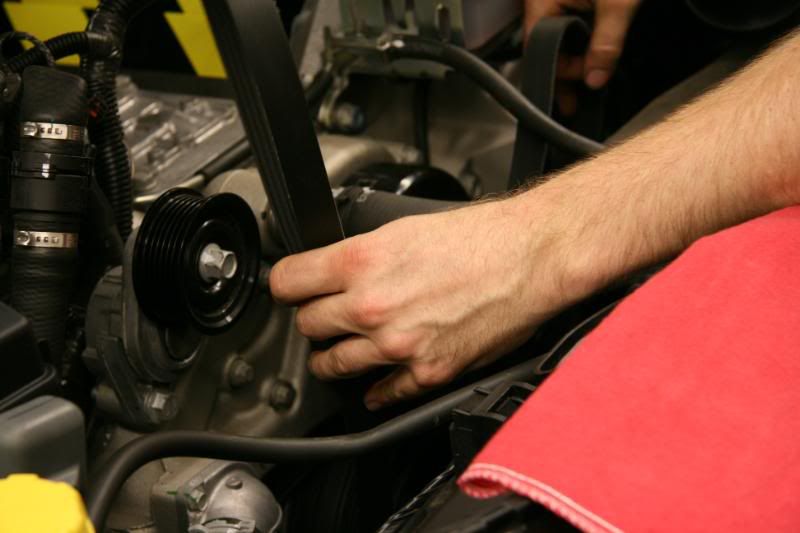
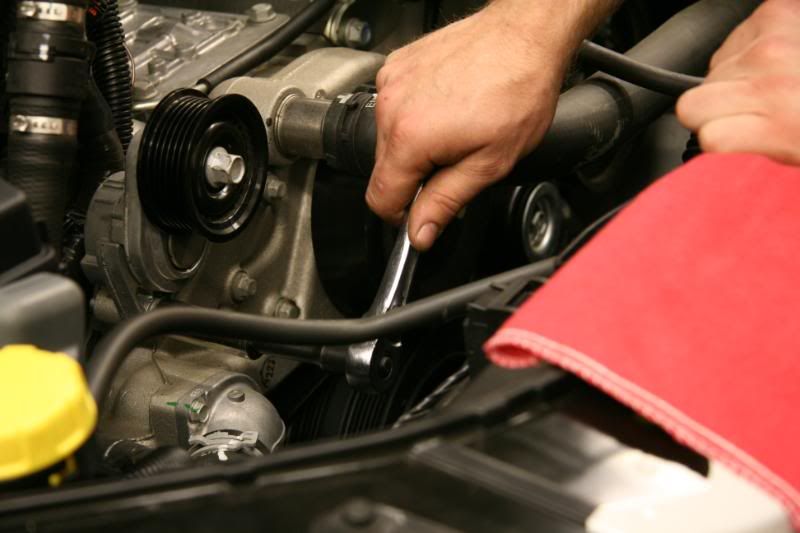
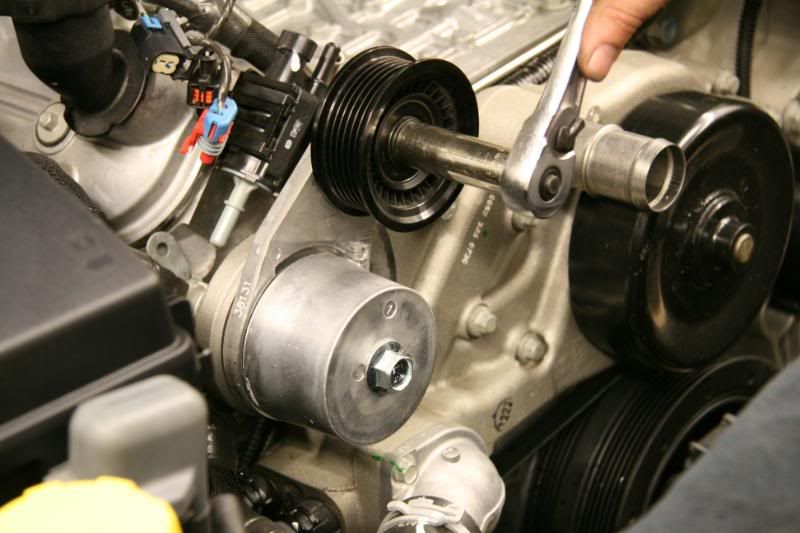
Remove the stock belt and tensioner:
Unbolt the intake manifold:
Remove Intake Manifold:
Tape off intake ports on the heads:
Remove the stock belt and tensioner:
11-14-2008, 01:57 PM
#5
blownerator
Thread Starter
iTrader: (20)
Join Date: Mar 1986
Location: Chatsworth, CA
Posts: 18,698
Likes: 0
Received 0 Likes
on
0 Posts
Unplug MAF
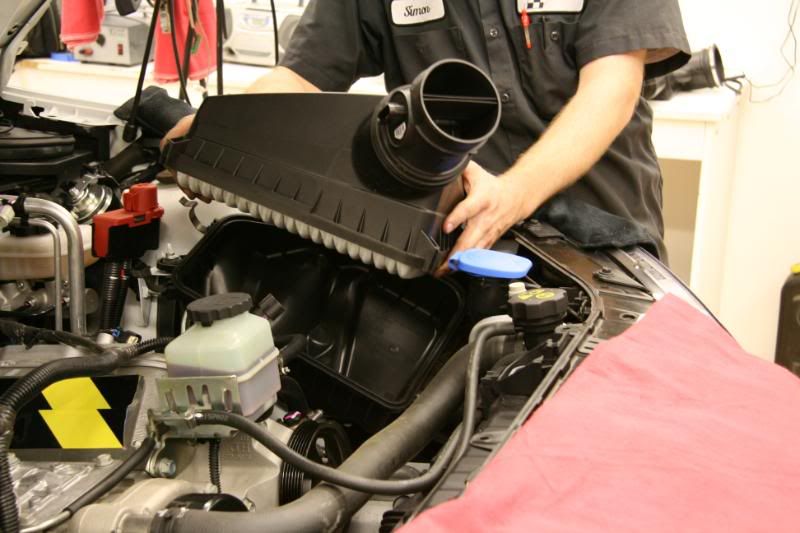
Remove airbox:
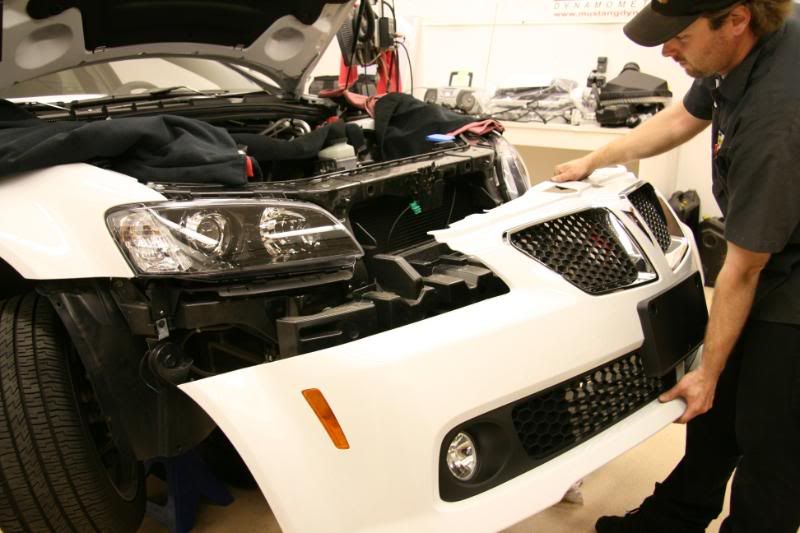
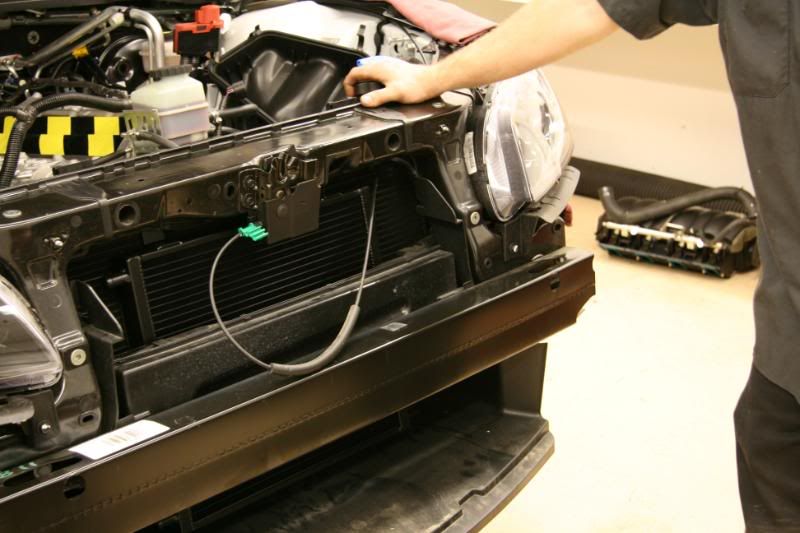
Remove front bumper cover:
Remove Fans:
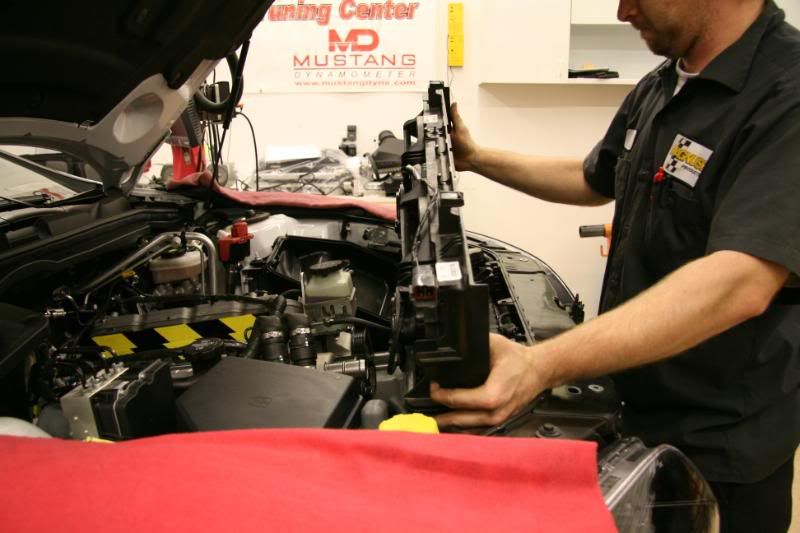
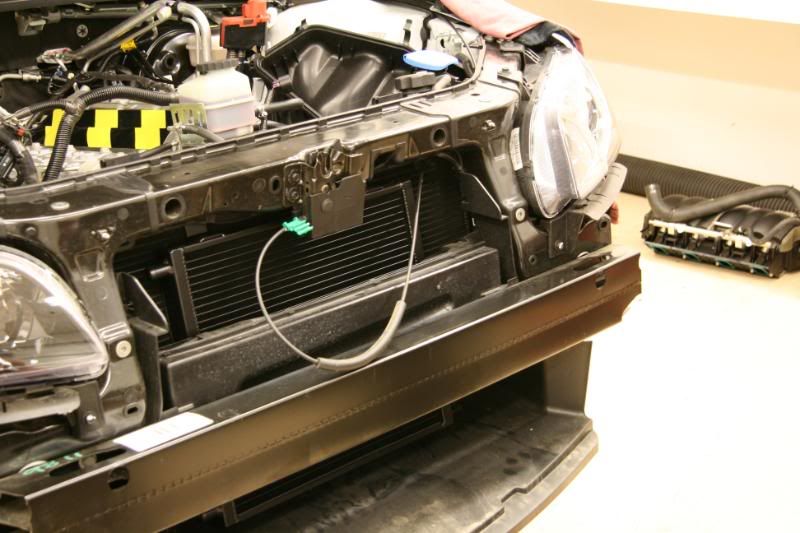
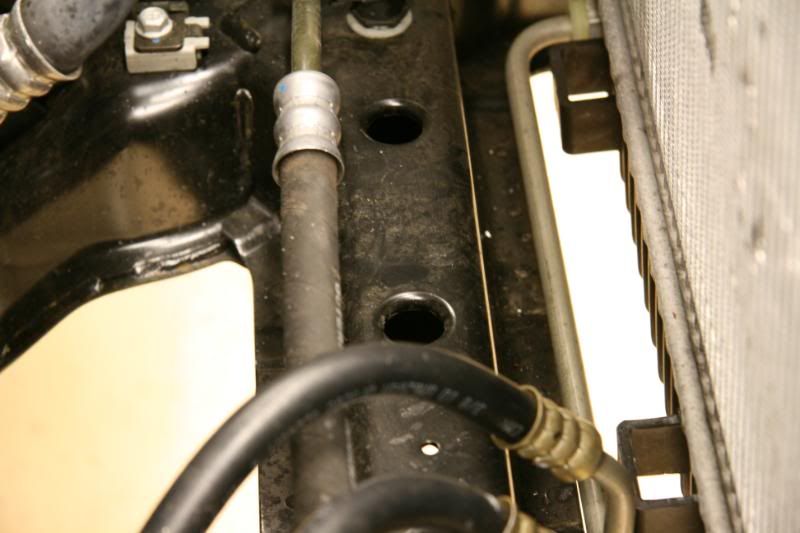
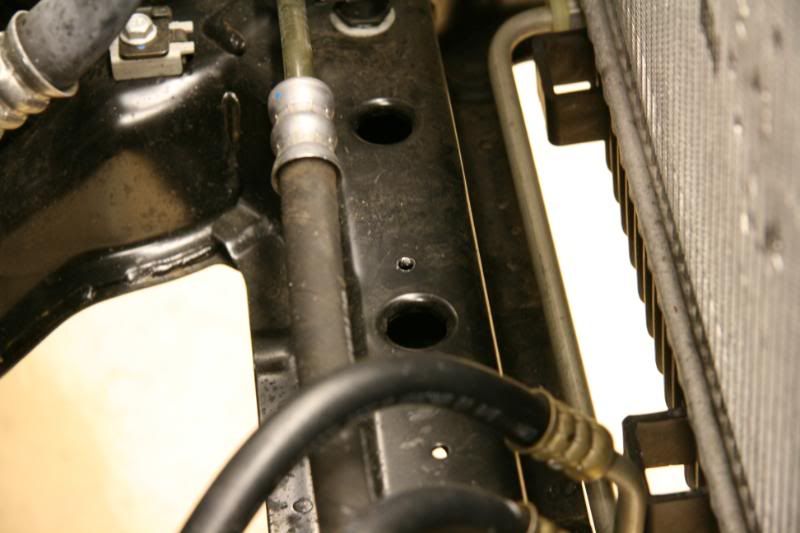
Remove radiator mounts:
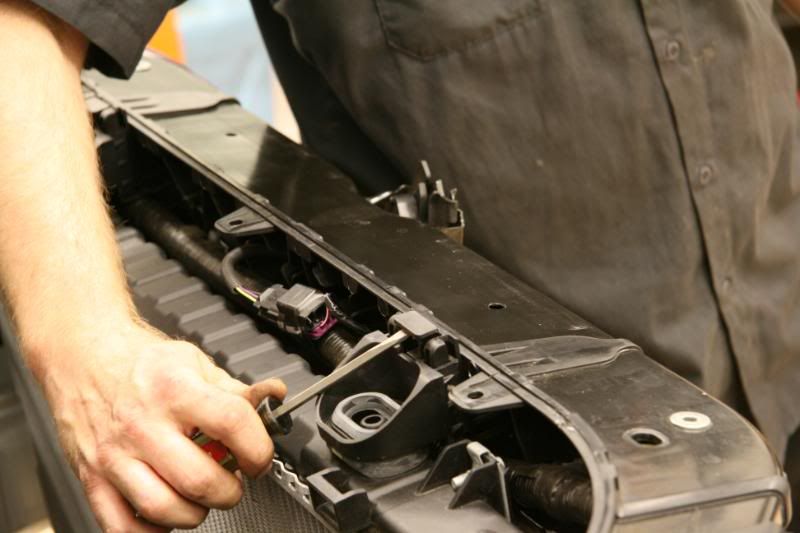
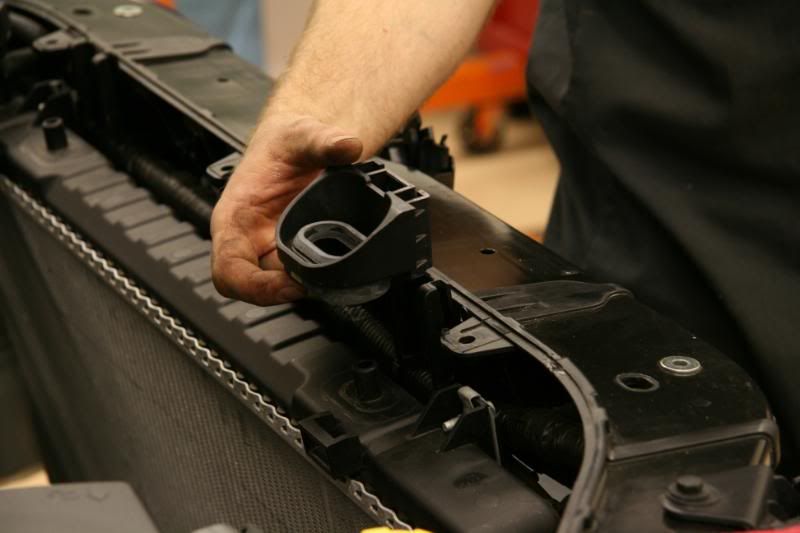
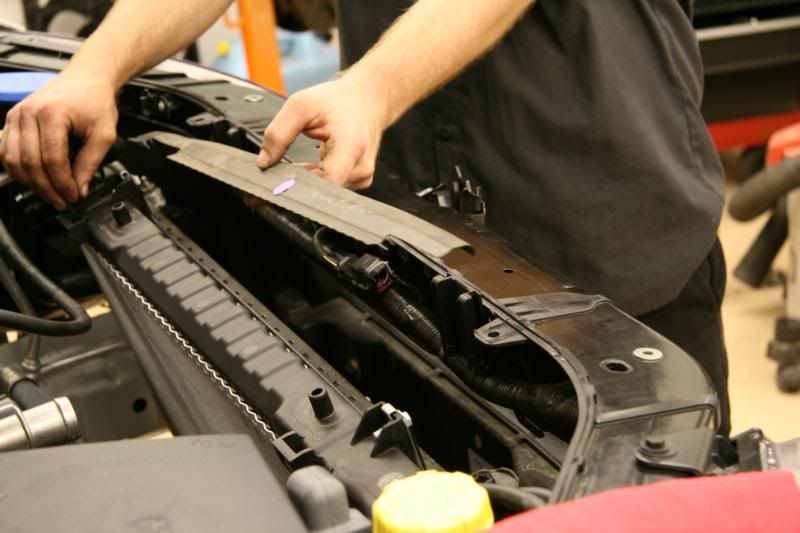
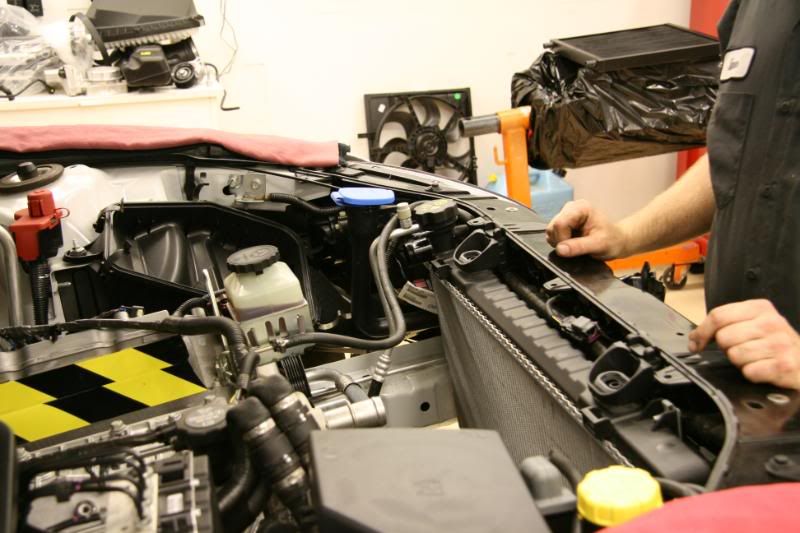
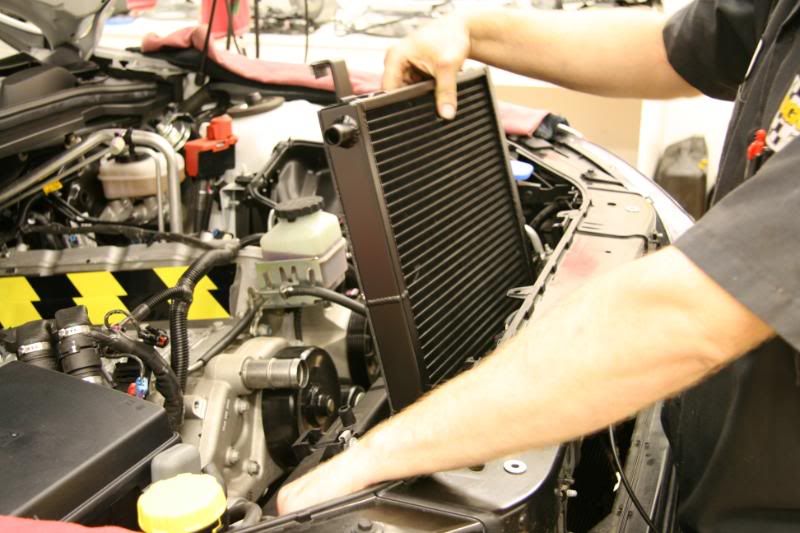
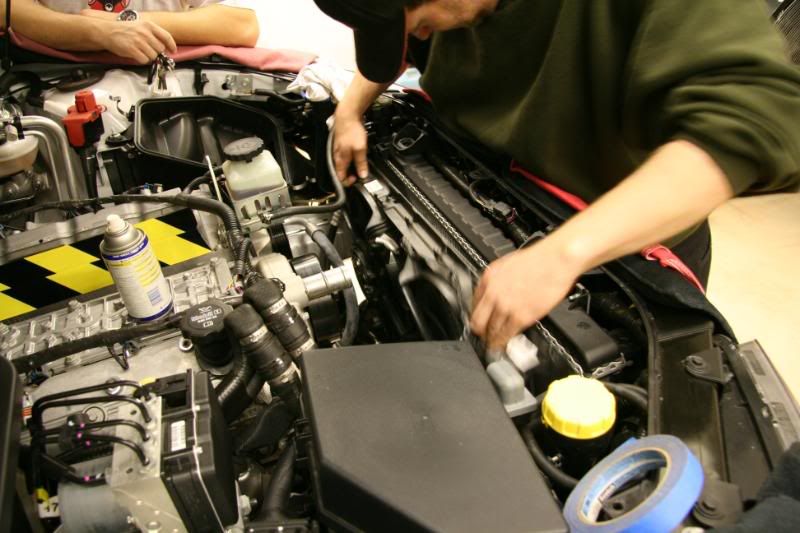
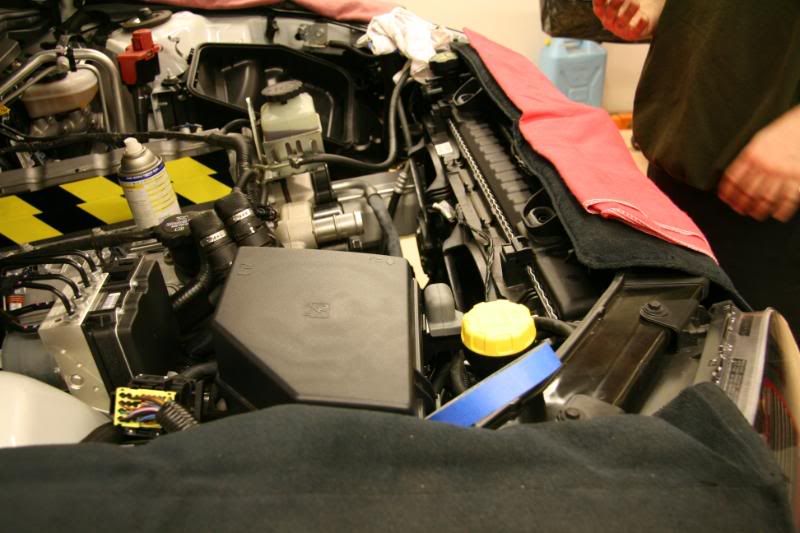
Tilt back Radiator assembly and install Heat Exchanger (I painted my black):
Remove airbox:
Remove front bumper cover:
Remove Fans:
Remove radiator mounts:
Tilt back Radiator assembly and install Heat Exchanger (I painted my black):
11-14-2008, 01:57 PM
#6
blownerator
Thread Starter
iTrader: (20)
Join Date: Mar 1986
Location: Chatsworth, CA
Posts: 18,698
Likes: 0
Received 0 Likes
on
0 Posts
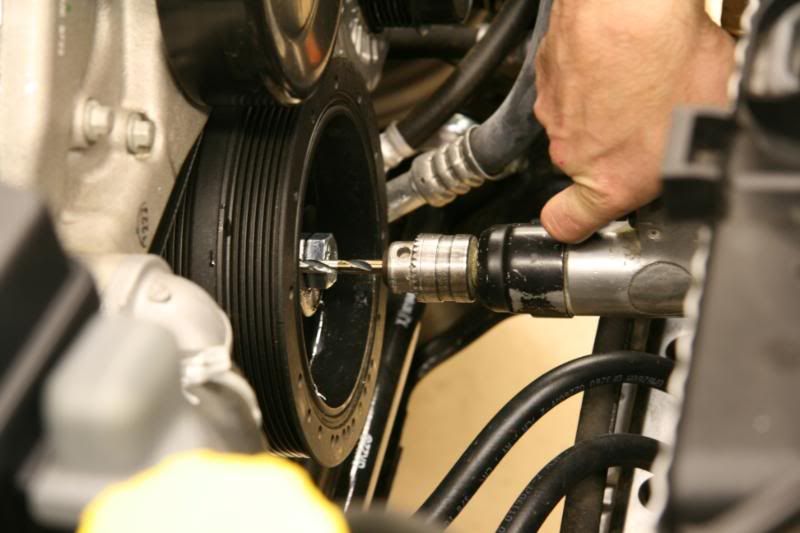
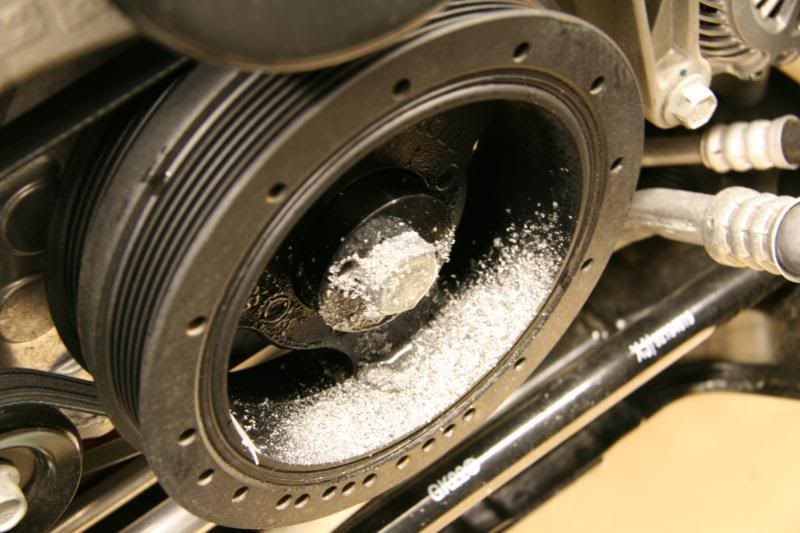
Pinning the crank pulley( we provide an awesome tool to do this with):
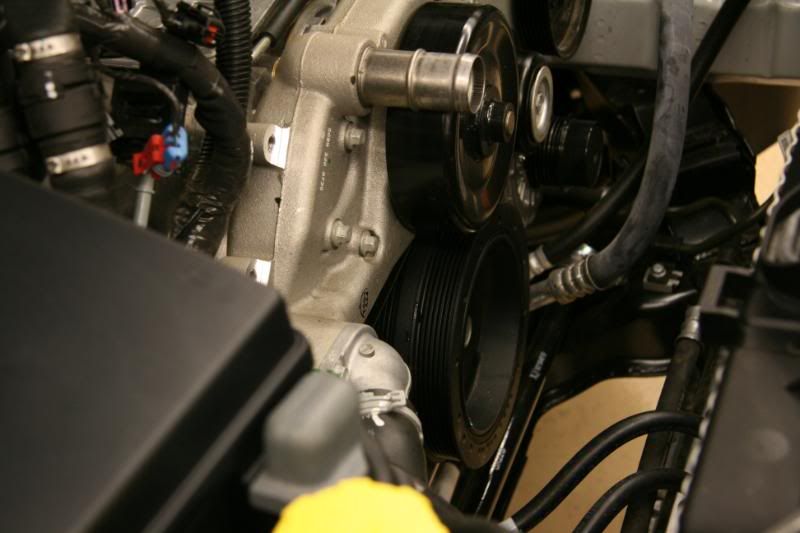
Remove the stock crank bolt:
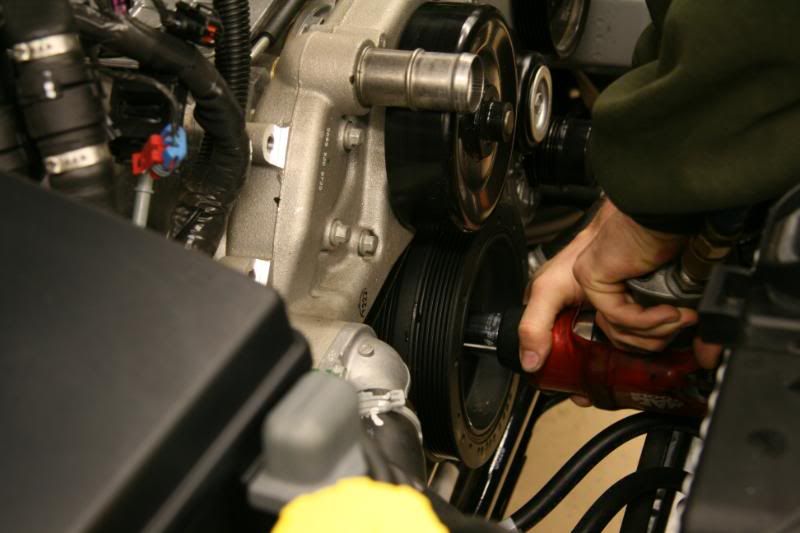
Install supplied tool/guide:
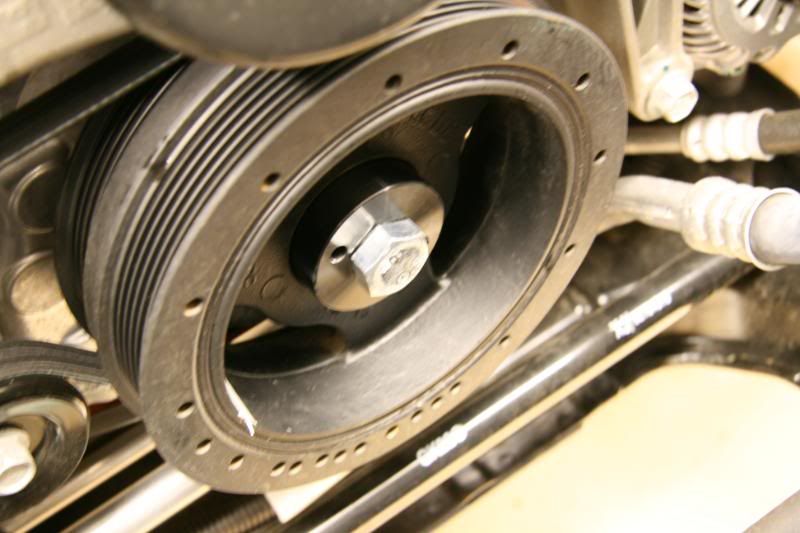

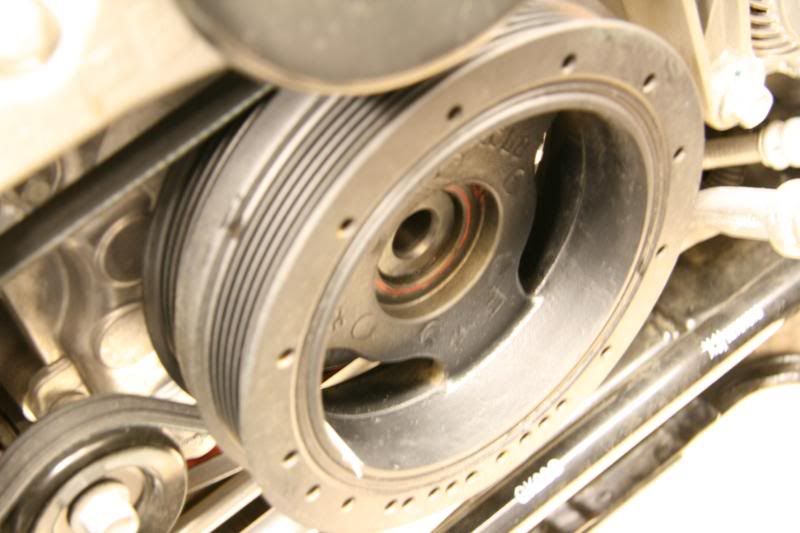
Using supplied steeped drill bit drill the holes:
 11-14-2008, 01:58 PM
#7
blownerator
Thread Starter
iTrader: (20)
Join Date: Mar 1986
Location: Chatsworth, CA
Posts: 18,698
Likes: 0
Received 0 Likes
on
0 Posts
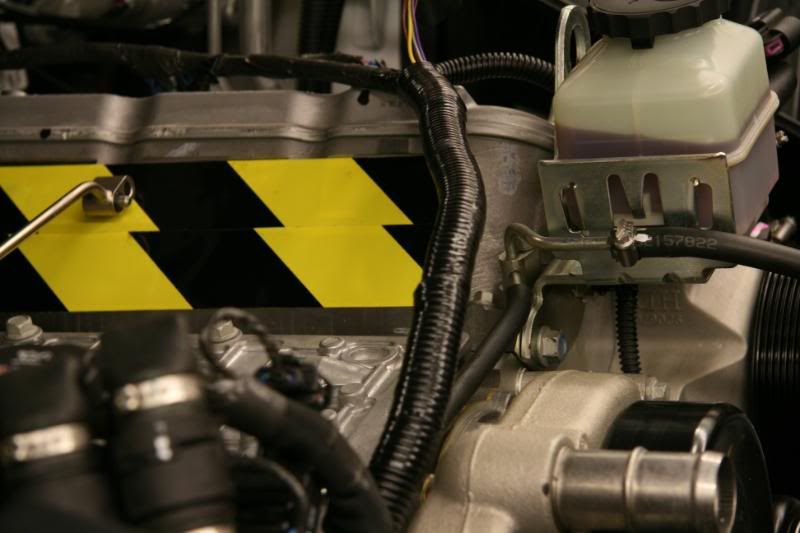
Install the intercooler pump bracket:
Reinstall the fans:
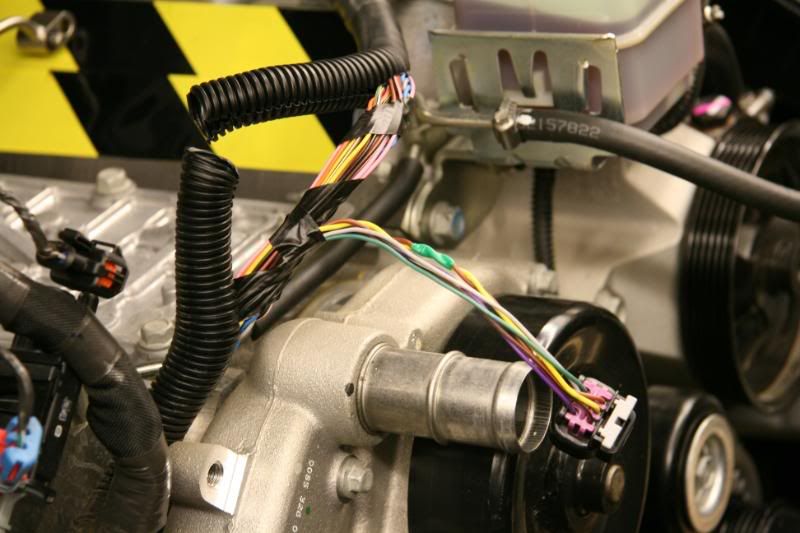
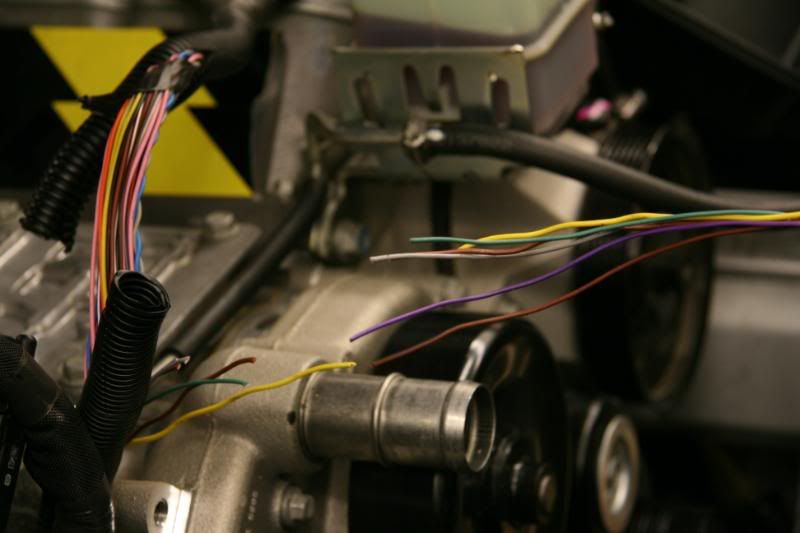
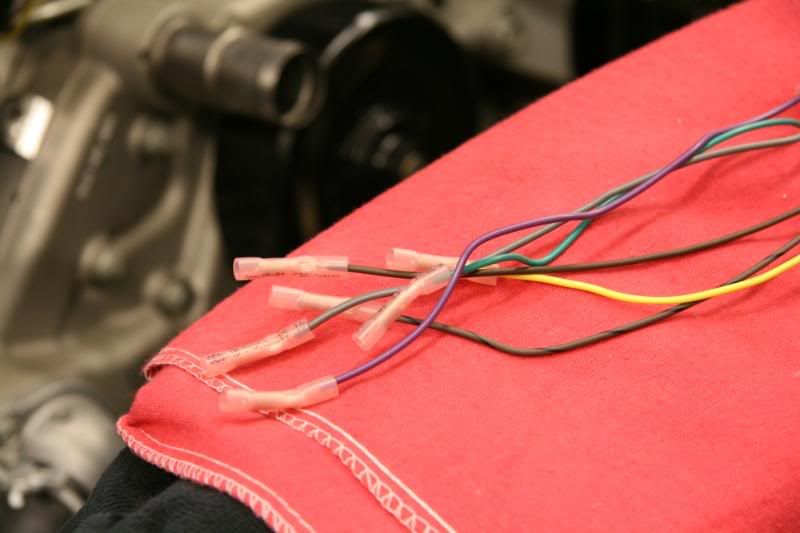
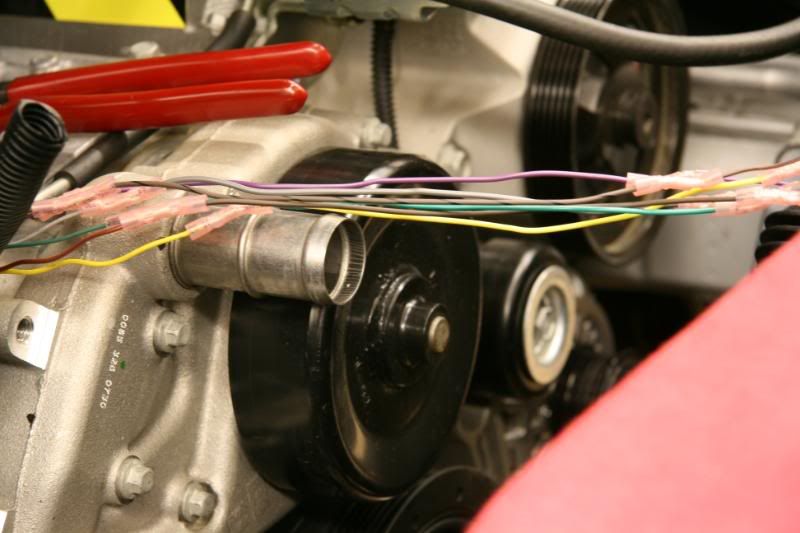
Extend your Throttle body wires (these are automotive grade heat shrink connectors):
Reinstall the fans:
Extend your Throttle body wires (these are automotive grade heat shrink connectors):
Trending Topics
11-14-2008, 01:58 PM
#8
blownerator
Thread Starter
iTrader: (20)
Join Date: Mar 1986
Location: Chatsworth, CA
Posts: 18,698
Likes: 0
Received 0 Likes
on
0 Posts
Remove the stock steam crossover:
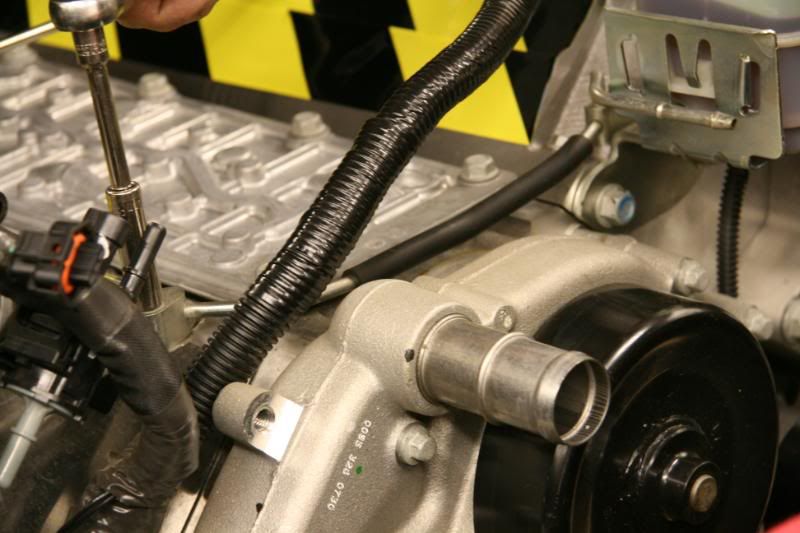
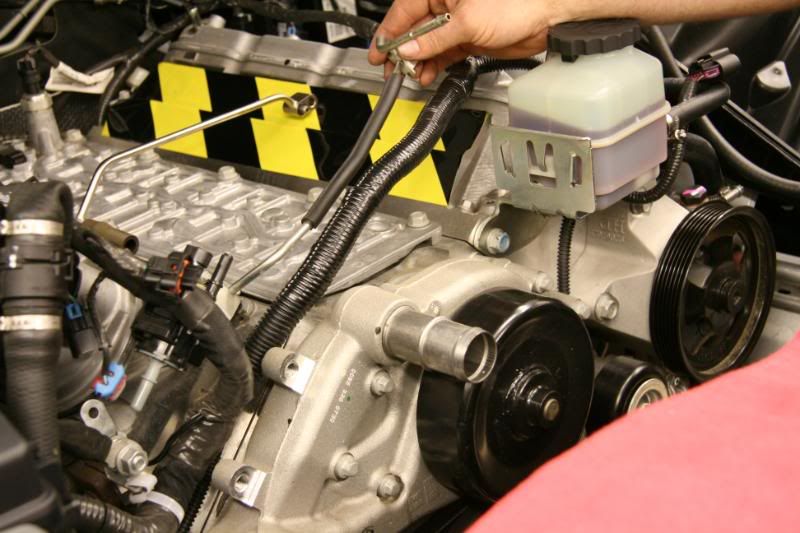
Install supplied steam crossover:
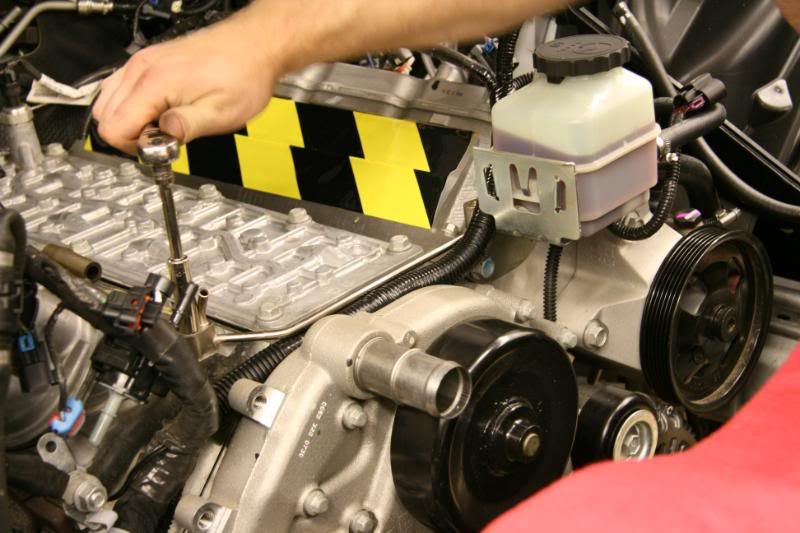
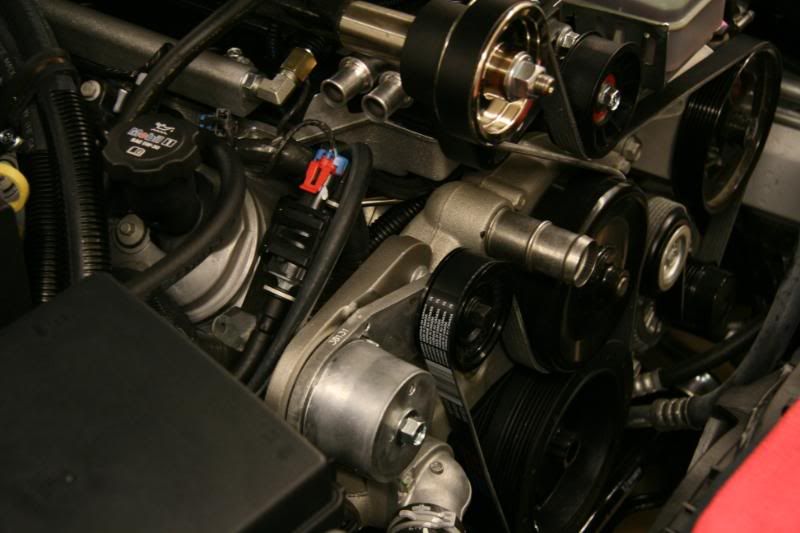
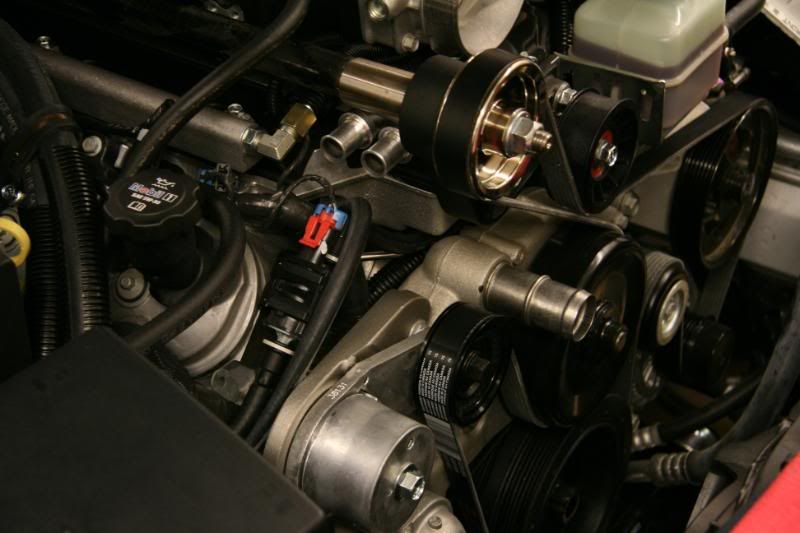
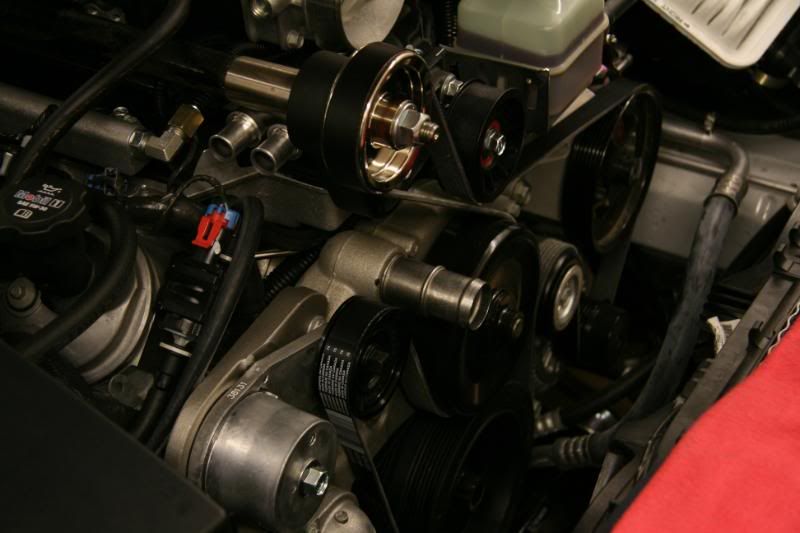
Install new tensioner:
Remove protective tape and spray silicone spray on the heads:

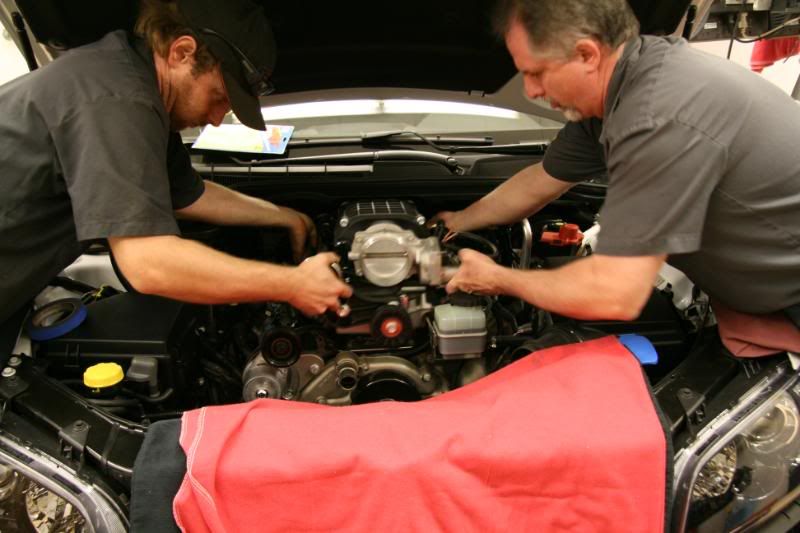
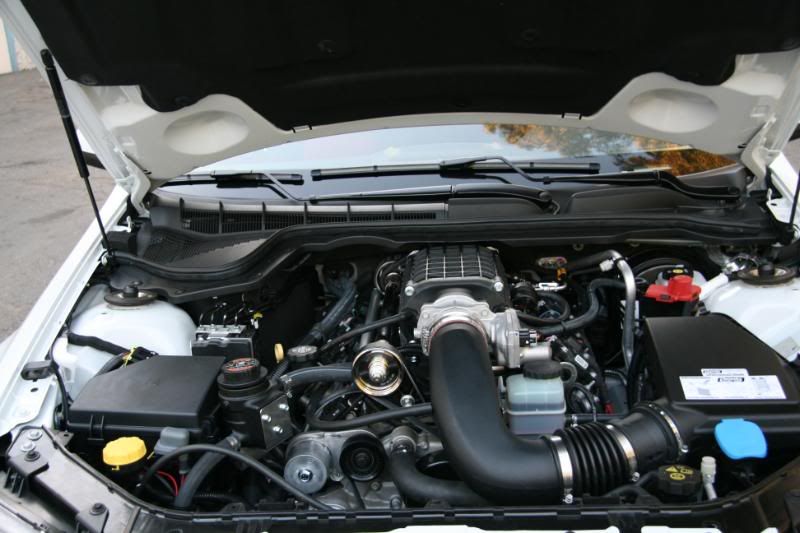
Time for the fun part, get your supercharger!:
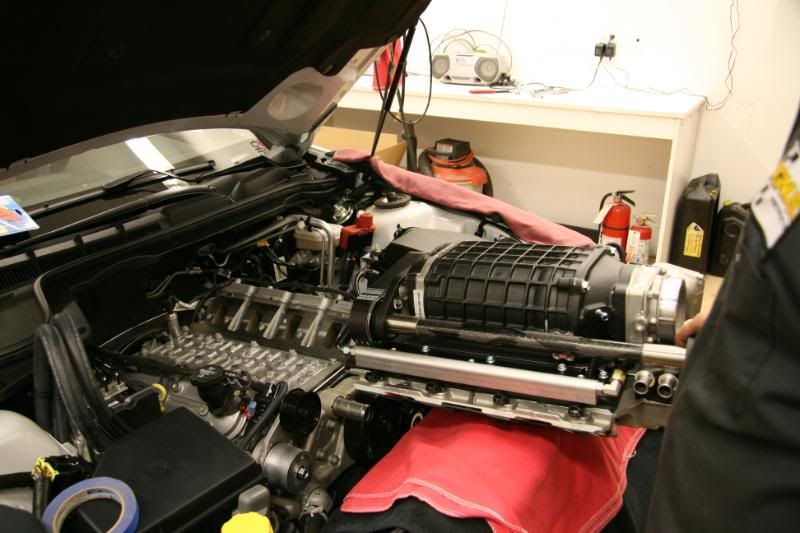
With an assisant install the supercharger on the heads:
Install supplied steam crossover:
Install new tensioner:
Remove protective tape and spray silicone spray on the heads:
Time for the fun part, get your supercharger!:
With an assisant install the supercharger on the heads:
11-14-2008, 01:58 PM
#9
blownerator
Thread Starter
iTrader: (20)
Join Date: Mar 1986
Location: Chatsworth, CA
Posts: 18,698
Likes: 0
Received 0 Likes
on
0 Posts
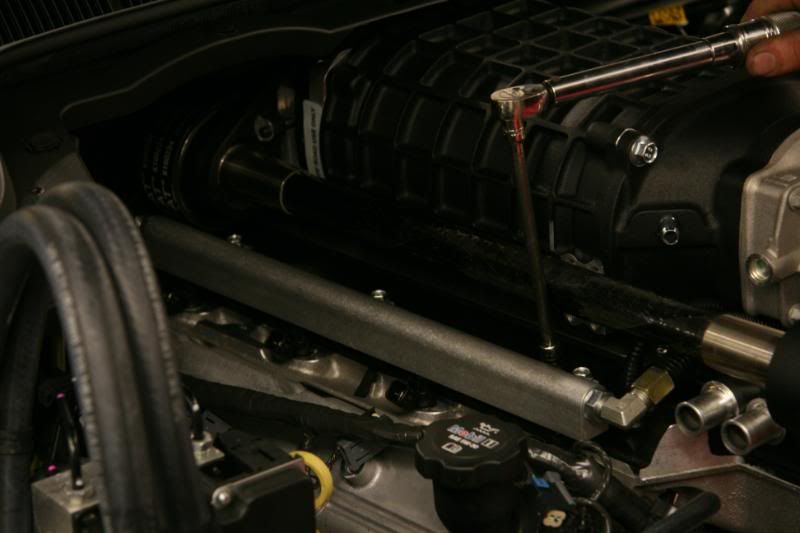
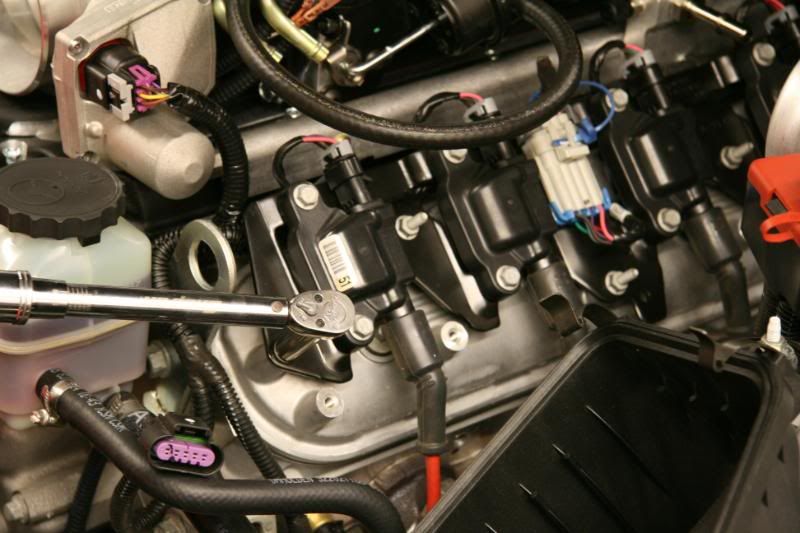
Torque the manifold to 18 inch pounds:
Reinstall your coils:
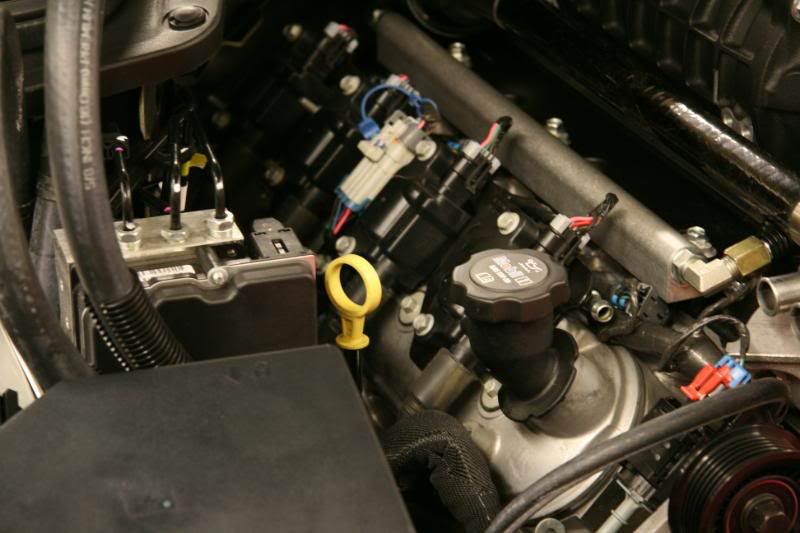
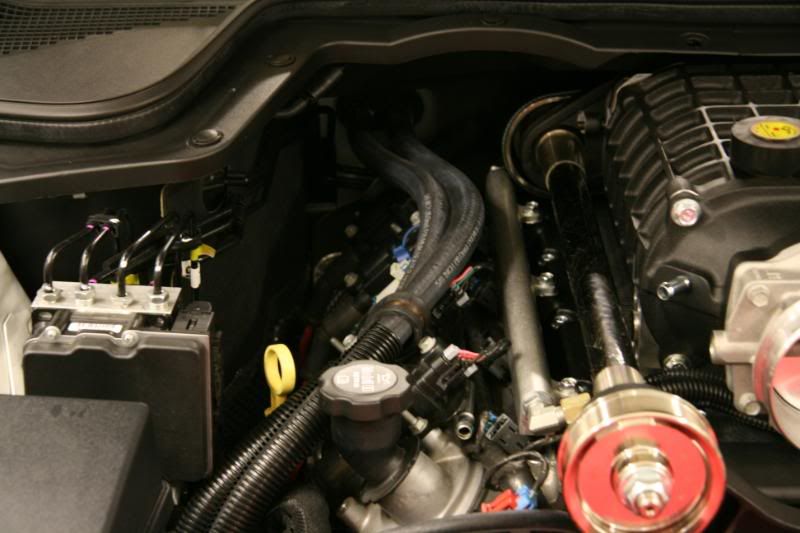
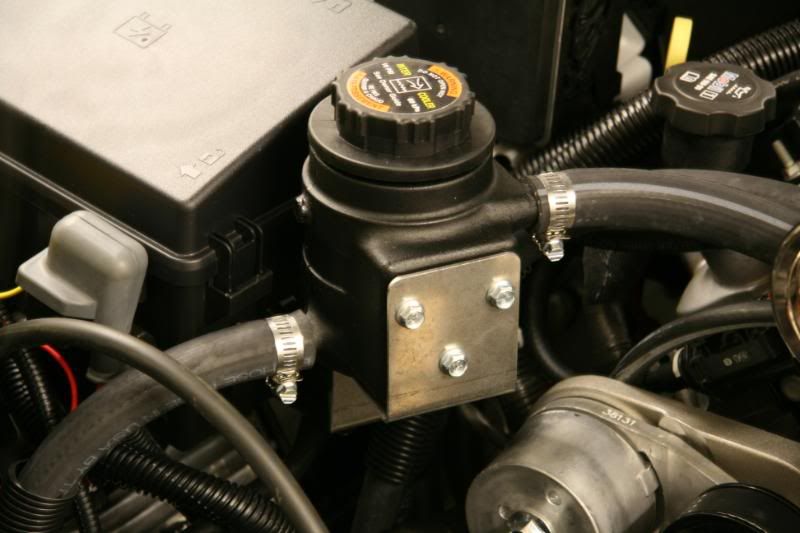
Install supplied heater hoses:

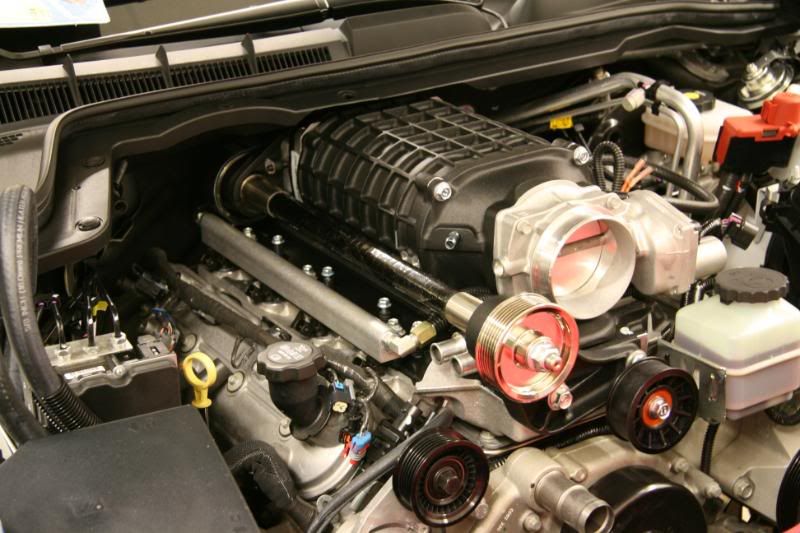
Install Throttle Body:
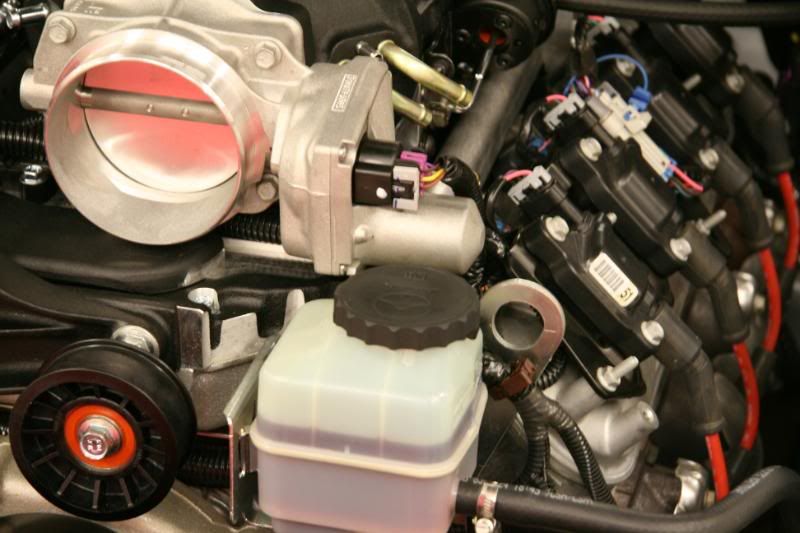
Install vacuum lines:
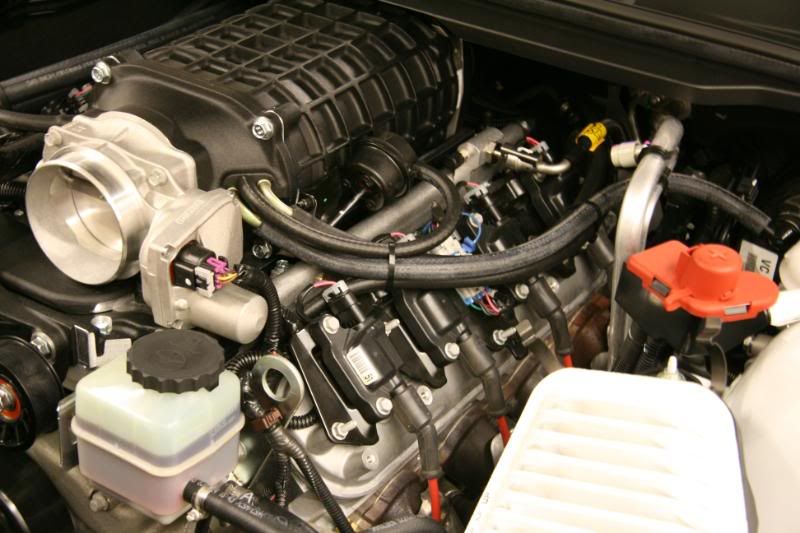
Install supplied belt:
Reinstall your coils:
Install supplied heater hoses:
Install Throttle Body:
Install vacuum lines:
Install supplied belt:


 11-15-2008, 12:21 PM
#18
TECH Veteran
Join Date: Mar 2004
Location: Sun Diego
Posts: 4,662
Likes: 0
Received 0 Likes
on
0 Posts
 11-15-2008, 01:27 PM
#19
TECH Fanatic
Join Date: Aug 2005
Location: Sunny London, UK
Posts: 1,690
Likes: 0
Received 0 Likes
on
0 Posts
Shafts are similar thickness to the GTO, but the diff is totally different. Not sure what size the gear is, might not be any different size-wise to the GTO either.
