Ethyl's Kilduff Lightning Rod
 04-18-2015, 07:16 PM
#1
9 Second Club
Thread Starter

Join Date: Oct 2006
Posts: 209
Likes: 0
Received 0 Likes
on
0 Posts

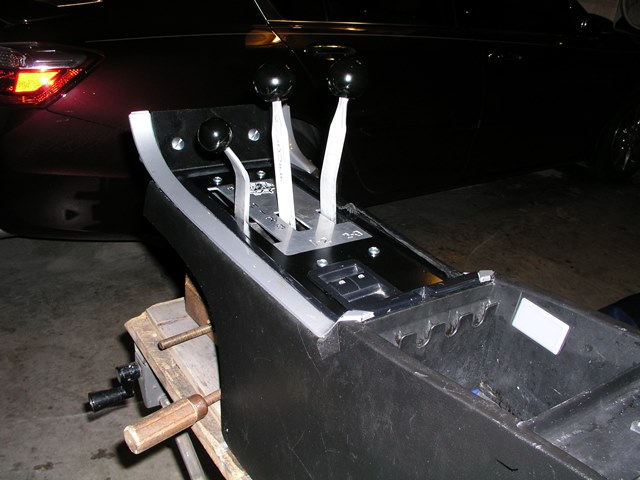
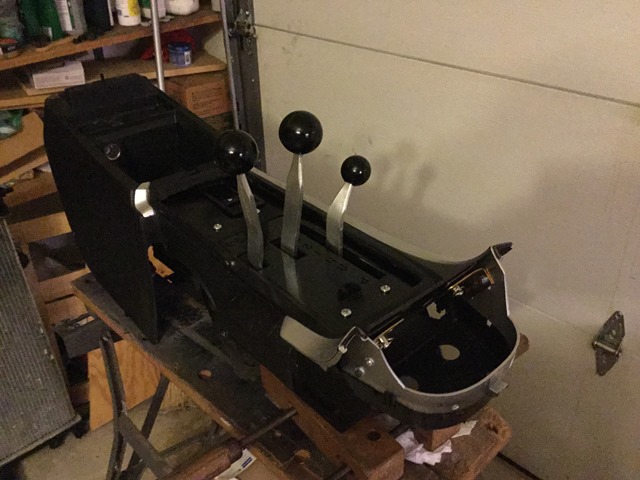
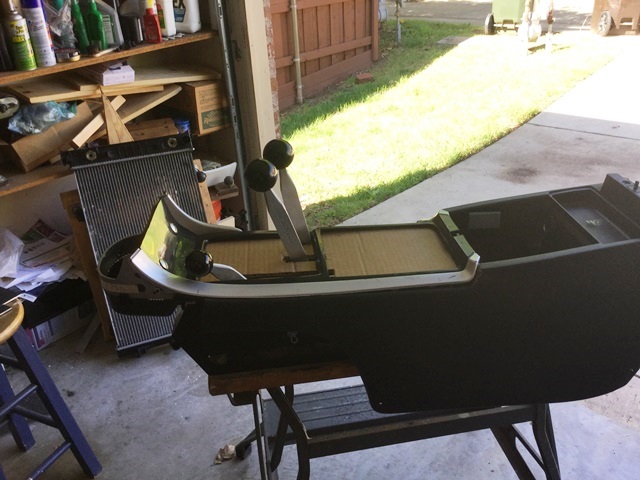
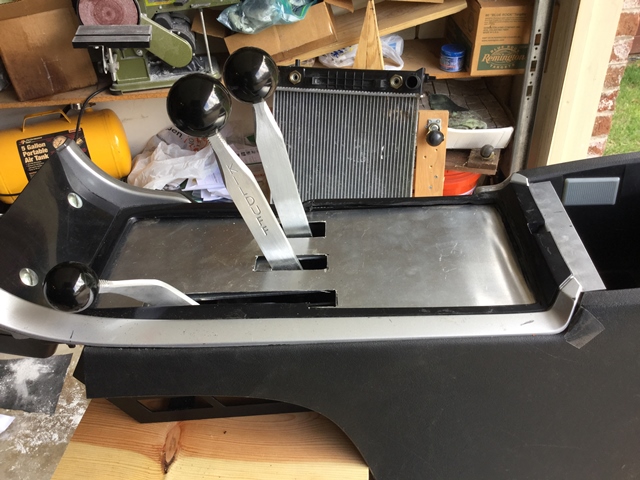
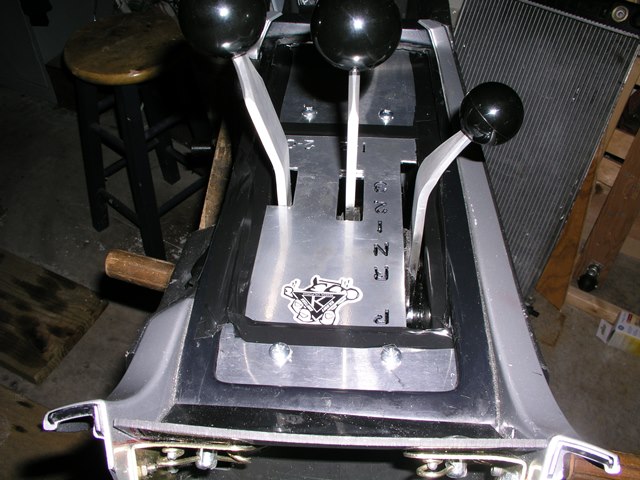
So there have been times in the last 10 years I actually thought we would get Ethyl together and start driving the **** out of her. During those times I entertain myself with ideas of things I would like to do. One thing I have been working on for a couple of years is a more business like and functional console that accommodates the reverse manual shift pattern of the TH400. I do not or am not able to drink anything in the car, mostly because of the 250 lbs springs on the coil overs which require a mouthpiece when driving on Texas concrete roads. So right off the bat the cup holders had to go. Got rid of them a few years ago but the console lacked the functionality I wanted. Even the nice looking M6 shift boots really bug me since you cannot tell what the transmission is doing in a glance. So I got hold of Brian Kilduff and picked up once of his fantastic Lighting Rod shifters. I thought the multi-lever shifter was cool, because "race car."
The unit is as solid as a piece of construction gear. I swear you would expect a D8 Caterpillar shifter to be this strong. The unit was mainly made to stand alone though Brian does sell consoles. He doesn't provide anything that can be sculpted into the existing console lines, his consoles are just folded aluminum tunnels. I like the unpolished aluminum look but after fires and all the horseshit we've come through I didn't have the heart or coin to ask Steve to make it work. So I just started the project myself. I had already been working on the console looking for ideas on electronics, switches, and so forth. In early versions I tried to use ABS Plastic to form a replacement for the shift boot.
Right away the window switches were a problem. The switch box is huge under the console. I would have loved to have scrapped the OEM Switches and put my own in..
At one point the panel hosted the fire suppression handles as well as the electronics.
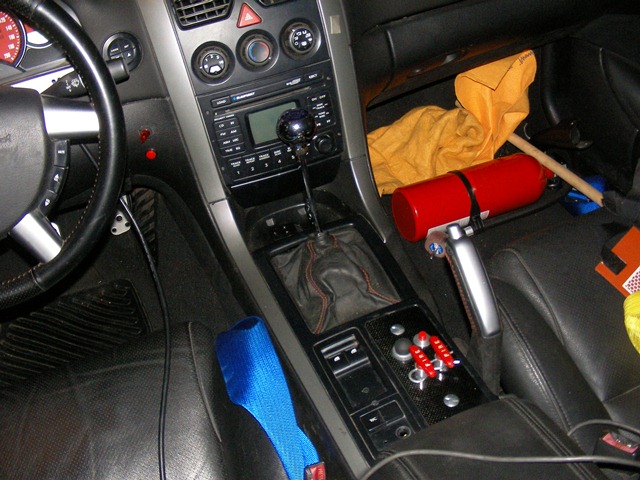
Unable to overcome the switches, the earlier versions envisioned a quick release panel that the new switches would be put in (Transbrake and Lineloc). This way they would be accessible with the 1/4 turn fastener. That was used early on and eventually the carbon fiber replacement for the cup holders came to host the Leash Boost Control Display.
So I picked up the Kilduff and started trying to figure how to integrate it since it wasn't an easy swap. In one version I built my own sheetmetal console,
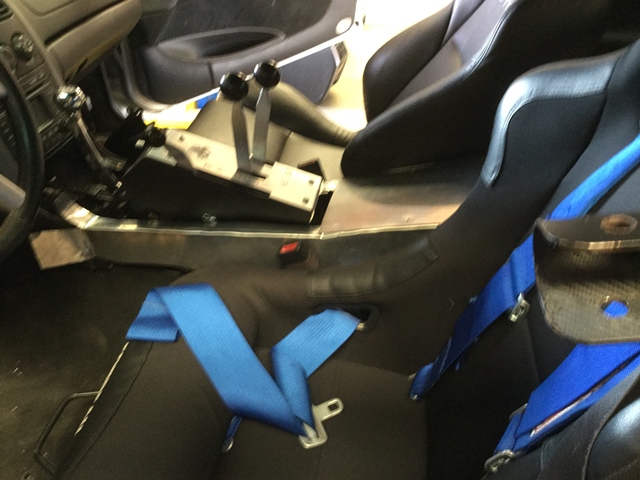
Wrestling with the Kilduff and fabricating the necessary components was sort of fun. I sure wish I could lay fiberglass or carbon fiber.
The unit is as solid as a piece of construction gear. I swear you would expect a D8 Caterpillar shifter to be this strong. The unit was mainly made to stand alone though Brian does sell consoles. He doesn't provide anything that can be sculpted into the existing console lines, his consoles are just folded aluminum tunnels. I like the unpolished aluminum look but after fires and all the horseshit we've come through I didn't have the heart or coin to ask Steve to make it work. So I just started the project myself. I had already been working on the console looking for ideas on electronics, switches, and so forth. In early versions I tried to use ABS Plastic to form a replacement for the shift boot.
Right away the window switches were a problem. The switch box is huge under the console. I would have loved to have scrapped the OEM Switches and put my own in..
At one point the panel hosted the fire suppression handles as well as the electronics.
Unable to overcome the switches, the earlier versions envisioned a quick release panel that the new switches would be put in (Transbrake and Lineloc). This way they would be accessible with the 1/4 turn fastener. That was used early on and eventually the carbon fiber replacement for the cup holders came to host the Leash Boost Control Display.
So I picked up the Kilduff and started trying to figure how to integrate it since it wasn't an easy swap. In one version I built my own sheetmetal console,
Wrestling with the Kilduff and fabricating the necessary components was sort of fun. I sure wish I could lay fiberglass or carbon fiber.
Last edited by wrp; 04-18-2015 at 08:03 PM.
 04-18-2015, 07:16 PM
#2
9 Second Club
Thread Starter
Join Date: Oct 2006
Posts: 209
Likes: 0
Received 0 Likes
on
0 Posts
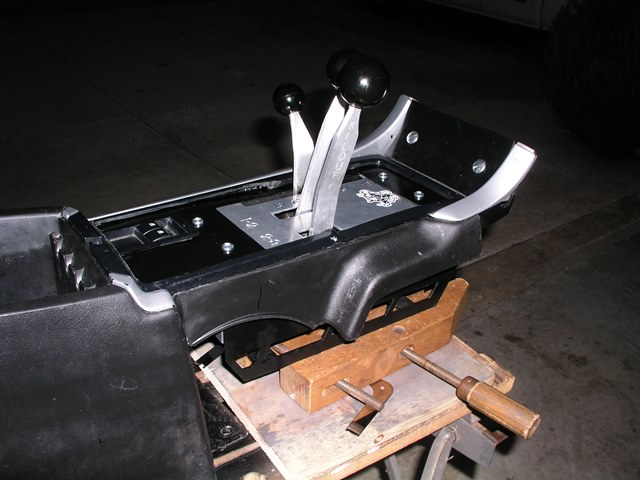
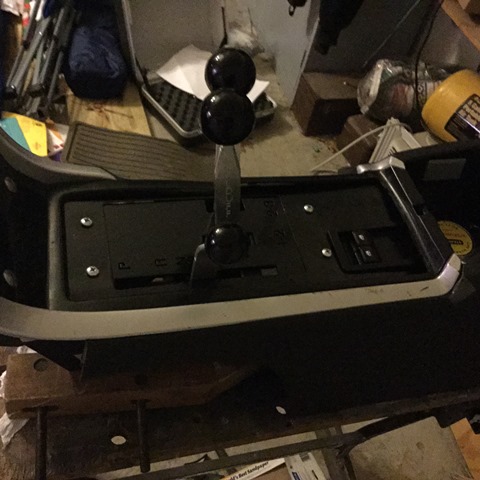
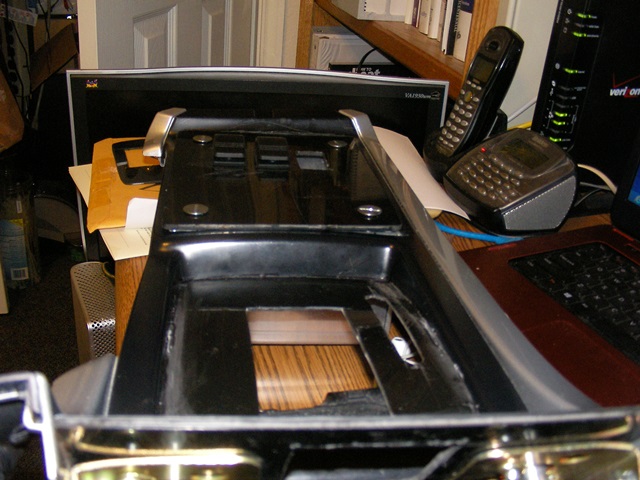
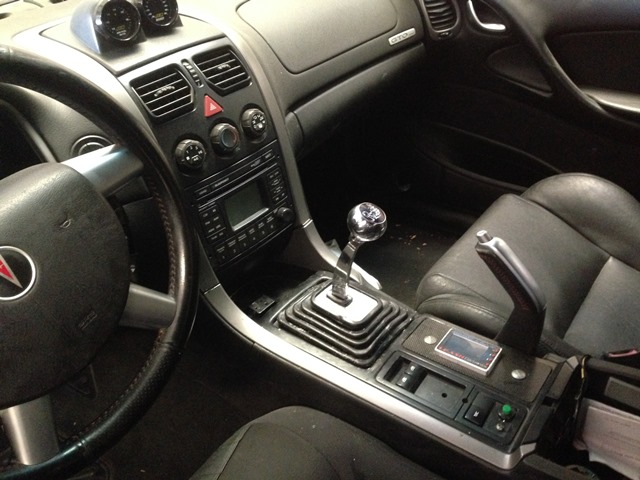
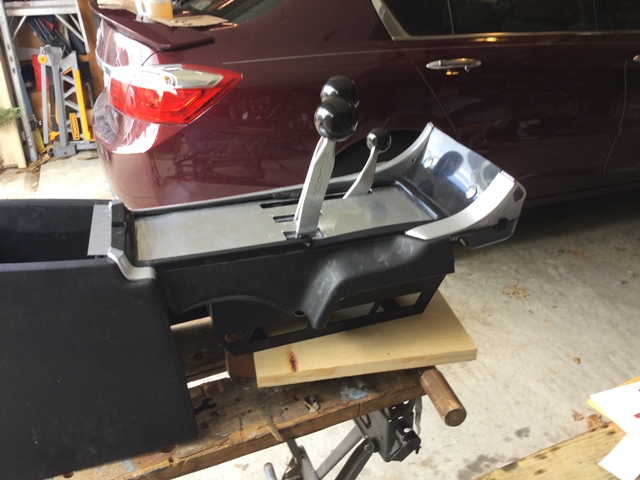
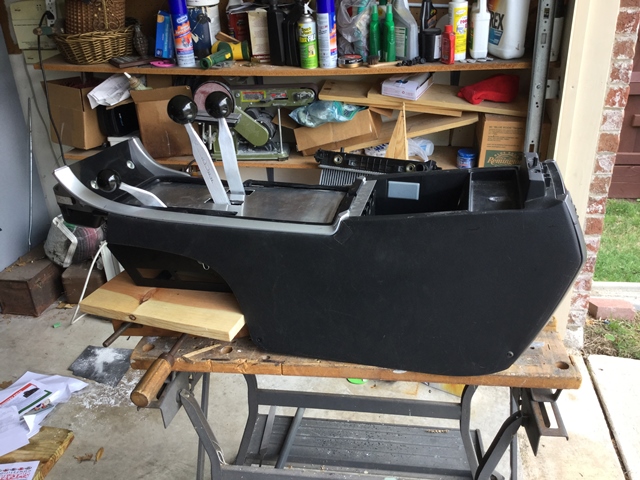
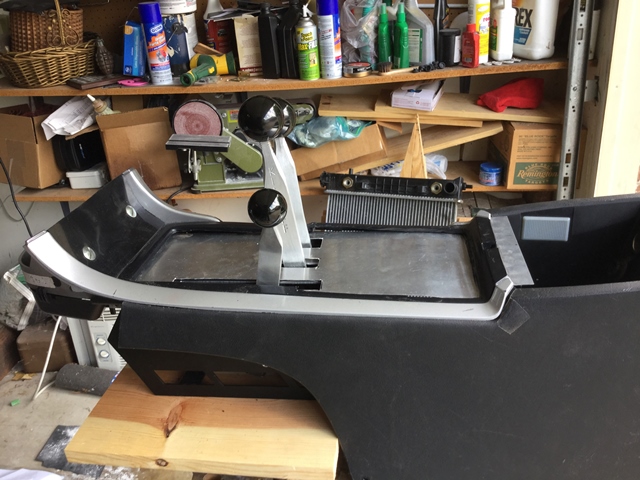
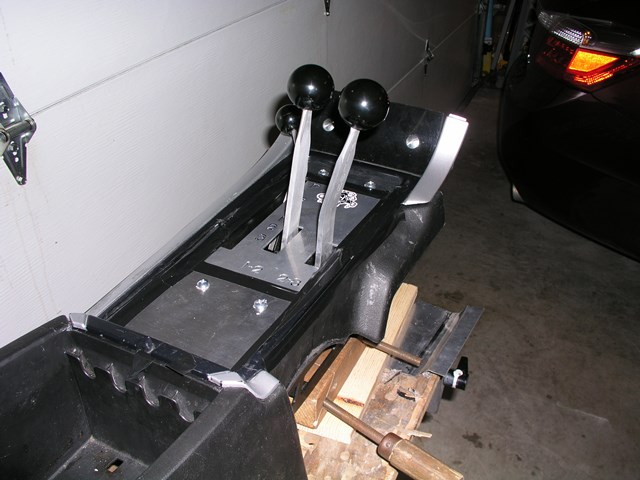
Eventually I have decided I have to cut the OEM Console. Didn't want to do it but didn't cut enough to hurt the structural integrity of it. First I mocked up the base cover with cardboard and fitted it so the console trim piece would still snap in. One of th3e difficult things about that trim piece is that they seem to have designed it so nothing else would work with it, lots of curves. I just straightened them out some.

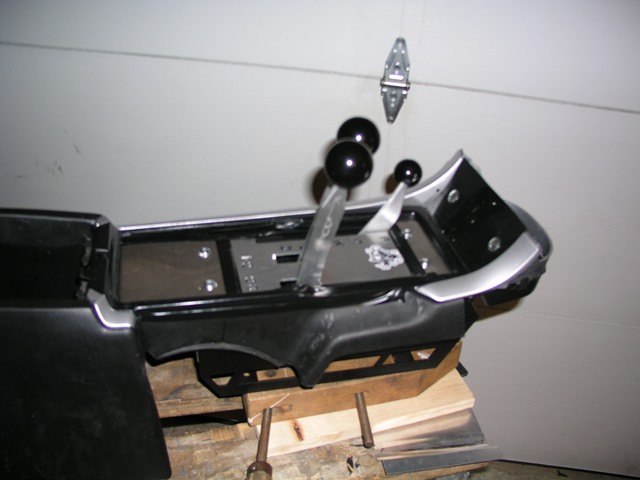
Eventually I even cut the centr trim brace on the trim piece.
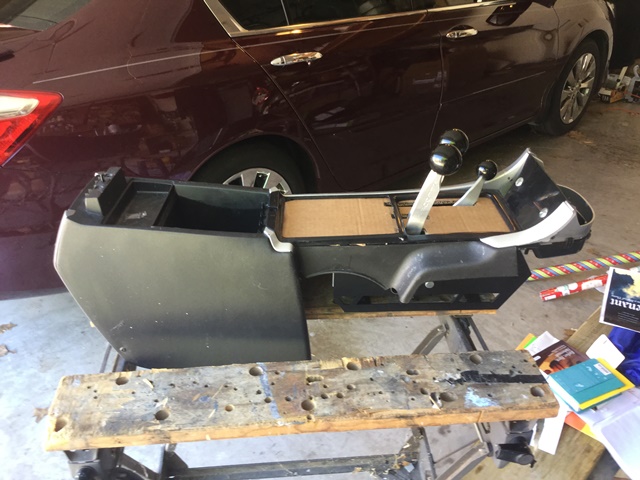
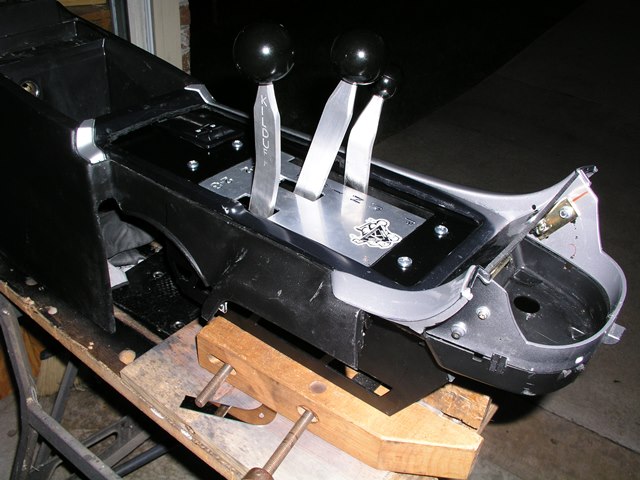
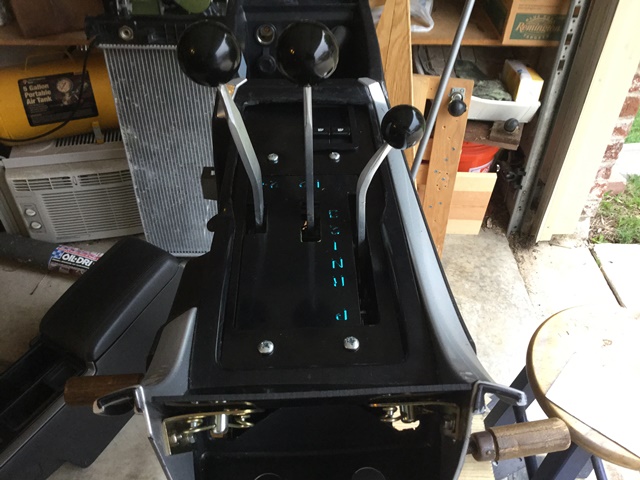
Fitment seems pretty good and gear shifter travel seems to be okay. Ther is adequate room to mount the electronics behind the shifter, including the Leash boost control window which I am really considering moving above the Radio or in the hole the radio will leave. I am using aluminum as the base. Haven't decided on the thickness but will probably have it as thick as I can and still snap the consoie trim back in place.
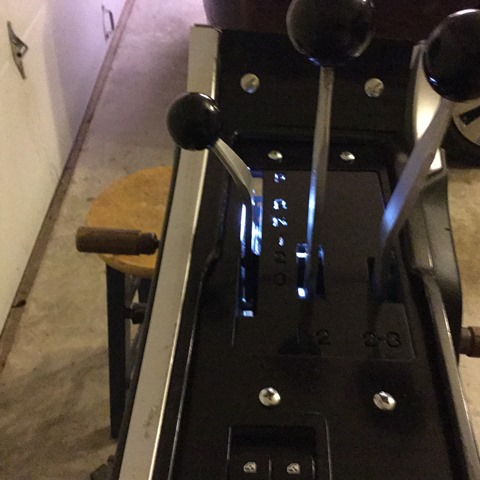
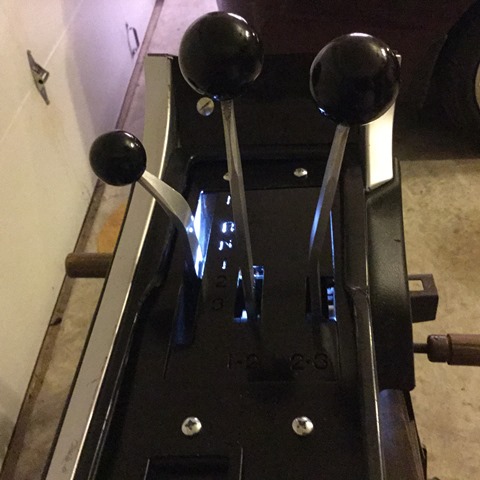
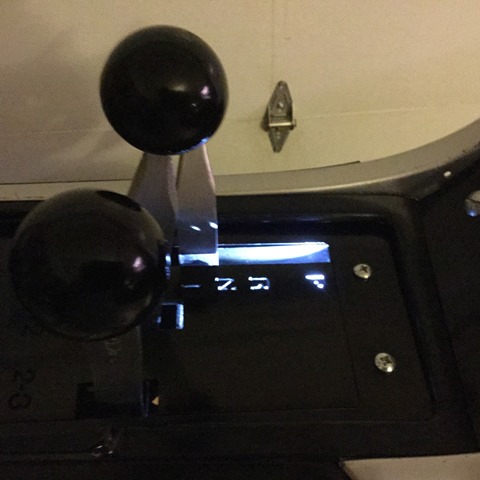
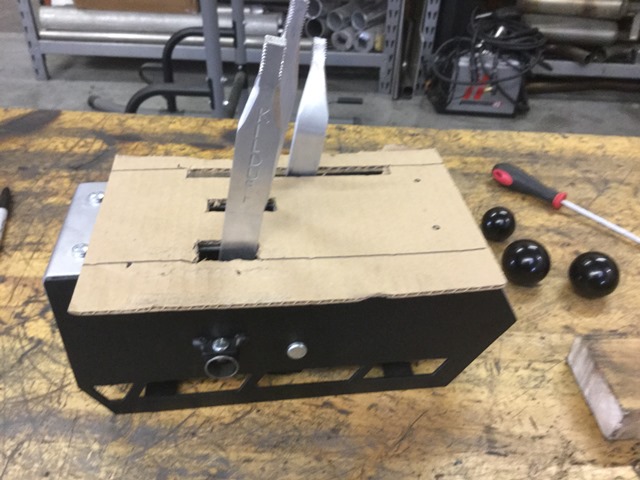
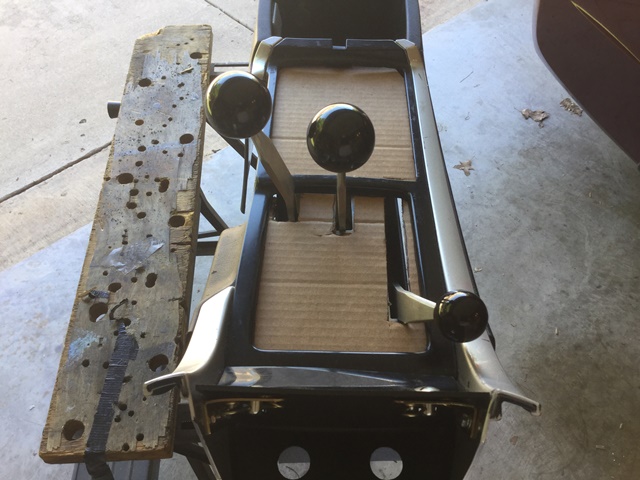
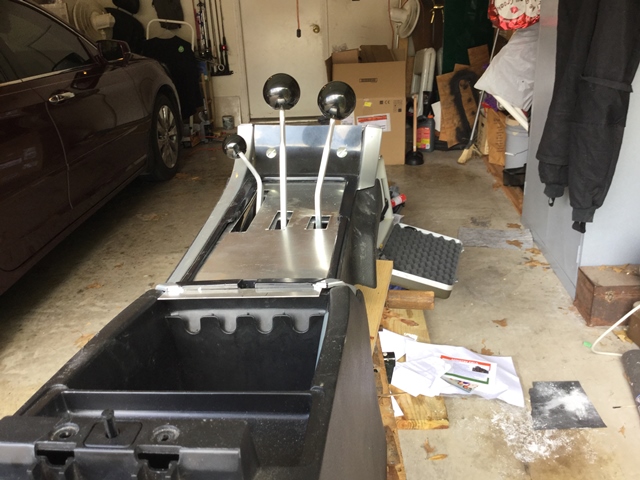
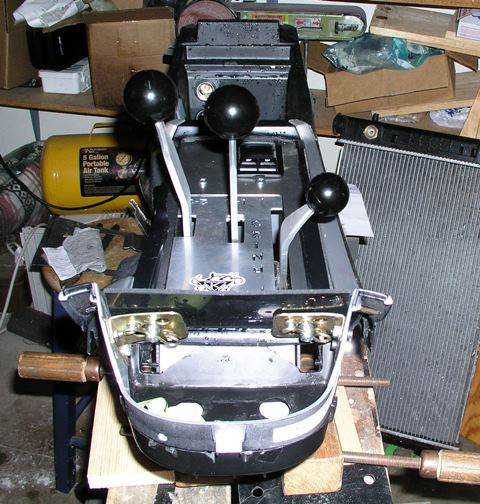
Here are a few shots with the shift levers in different positions.
Eventually I even cut the centr trim brace on the trim piece.
Fitment seems pretty good and gear shifter travel seems to be okay. Ther is adequate room to mount the electronics behind the shifter, including the Leash boost control window which I am really considering moving above the Radio or in the hole the radio will leave. I am using aluminum as the base. Haven't decided on the thickness but will probably have it as thick as I can and still snap the consoie trim back in place.
Here are a few shots with the shift levers in different positions.
04-18-2015, 07:16 PM
#3
9 Second Club
Thread Starter
Join Date: Oct 2006
Posts: 209
Likes: 0
Received 0 Likes
on
0 Posts
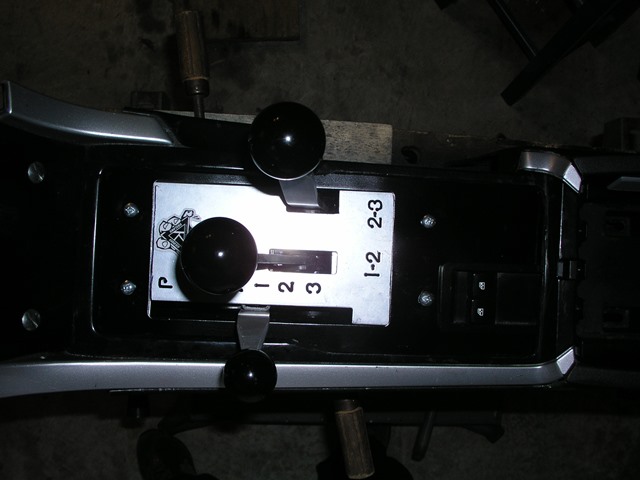
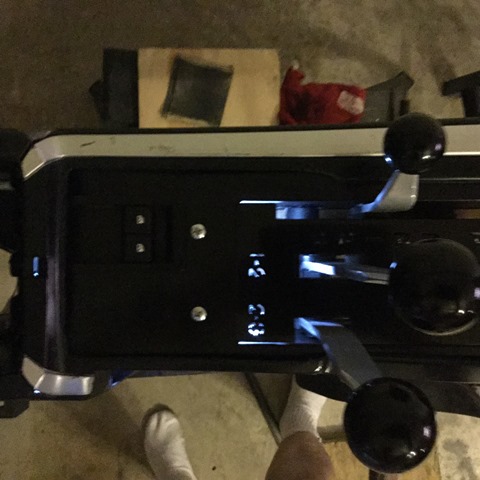
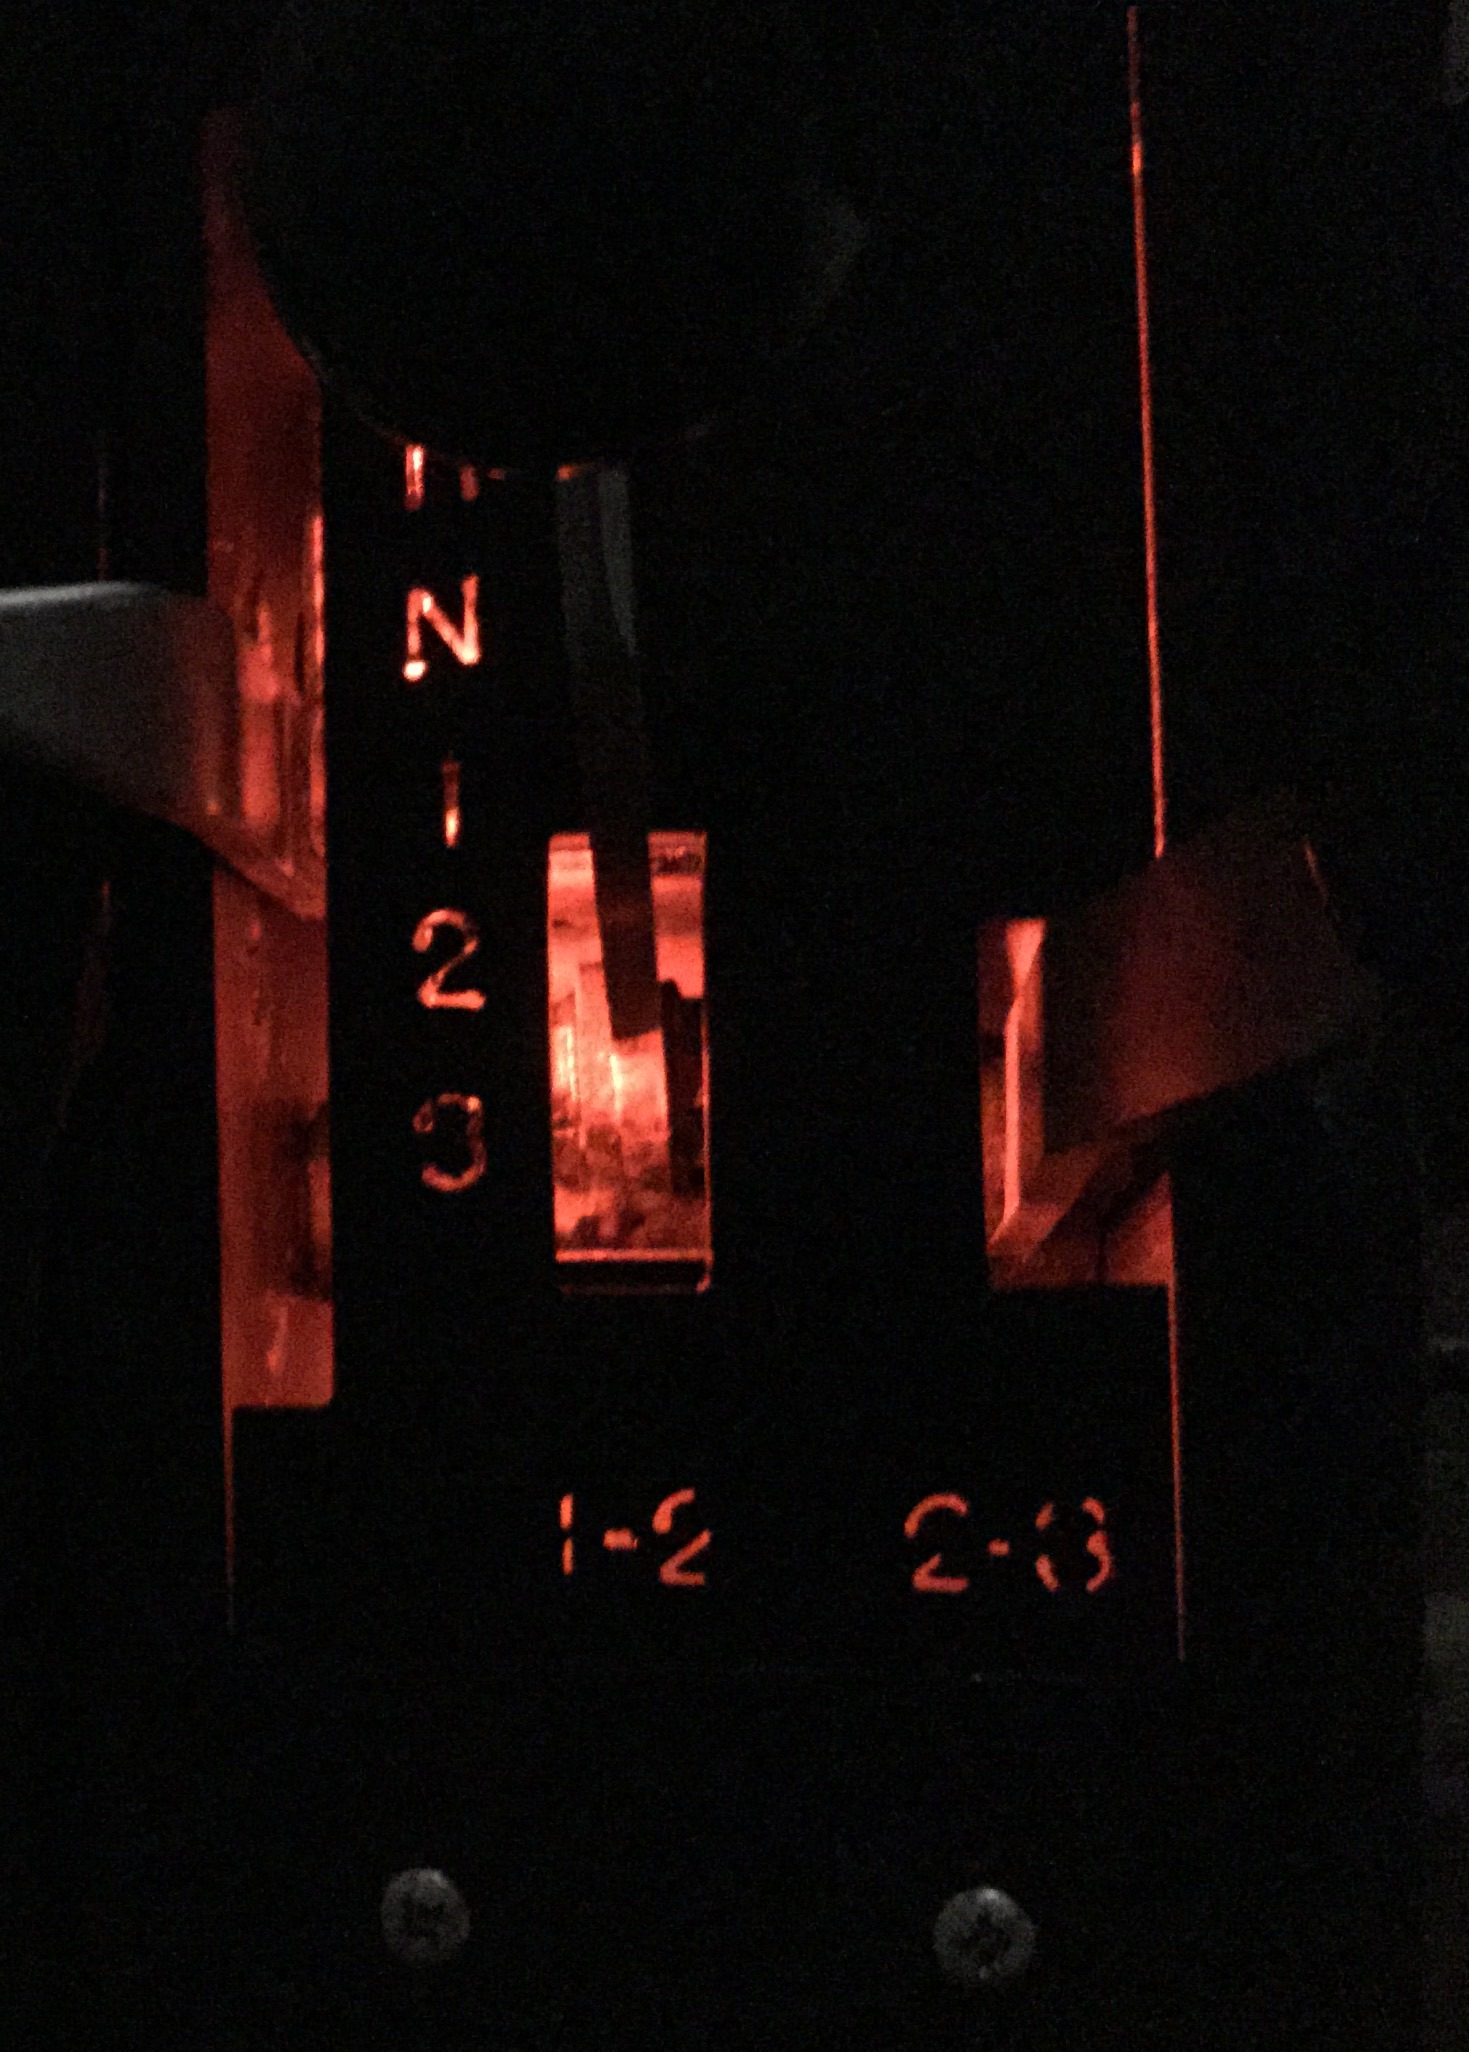
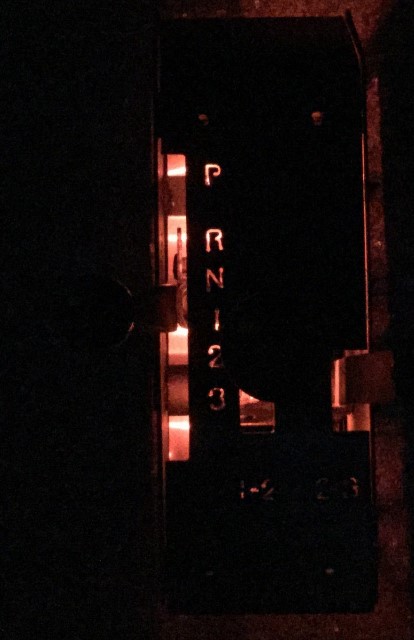
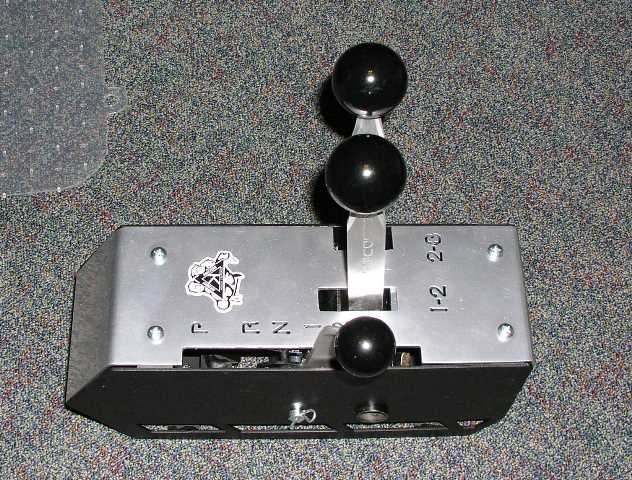
Park
Reverse
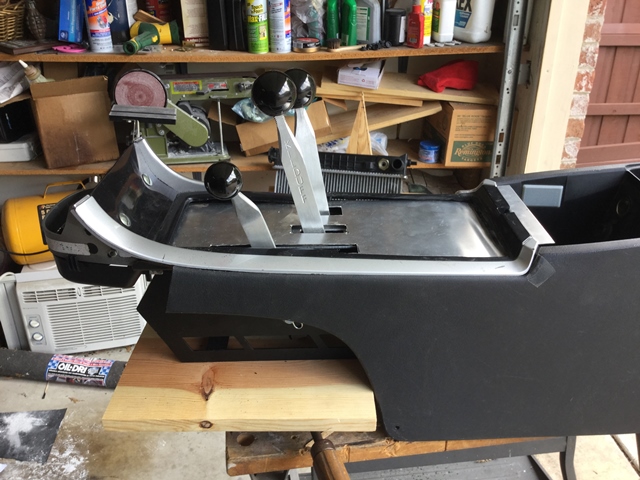
Neutral
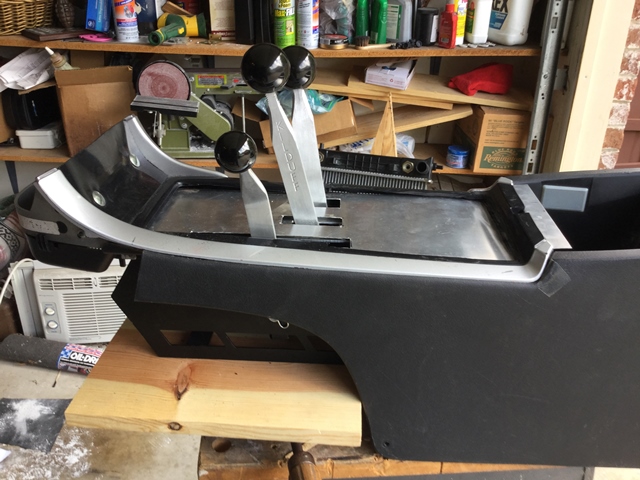
First
Second
Third
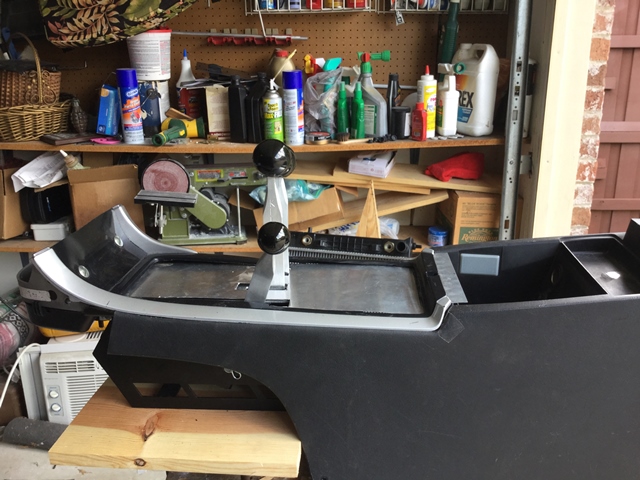
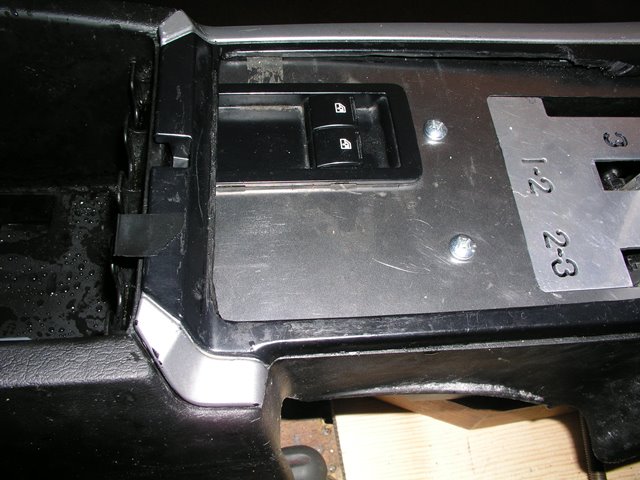
1-2 Shift
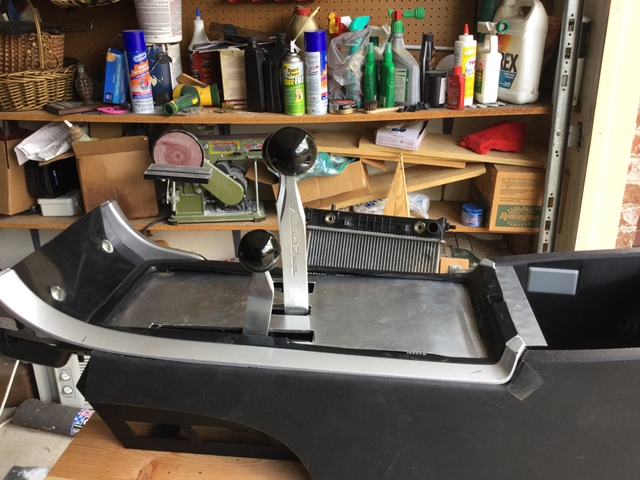
2-3 Shift
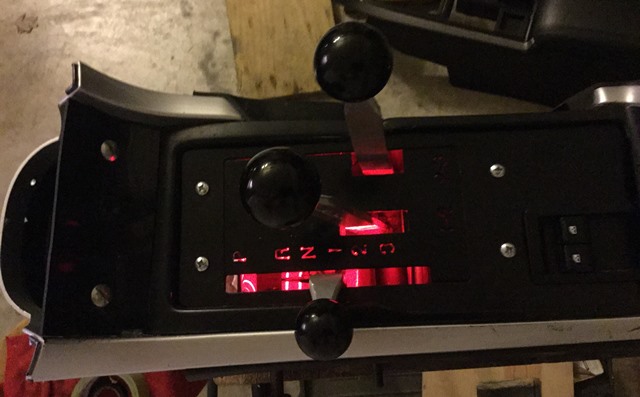
Moving forward I will decide what to make the final console plate from and probably have a good CNC shiopt etch/engrave the appropriate markings on the unit. I intend to have the engraving go completely through the face so I can have lights under the console that will serve to be read better in the dark.
Reverse
Neutral
First
Second
Third
1-2 Shift
2-3 Shift
Moving forward I will decide what to make the final console plate from and probably have a good CNC shiopt etch/engrave the appropriate markings on the unit. I intend to have the engraving go completely through the face so I can have lights under the console that will serve to be read better in the dark.
04-18-2015, 07:17 PM
#4
9 Second Club
Thread Starter
Join Date: Oct 2006
Posts: 209
Likes: 0
Received 0 Likes
on
0 Posts
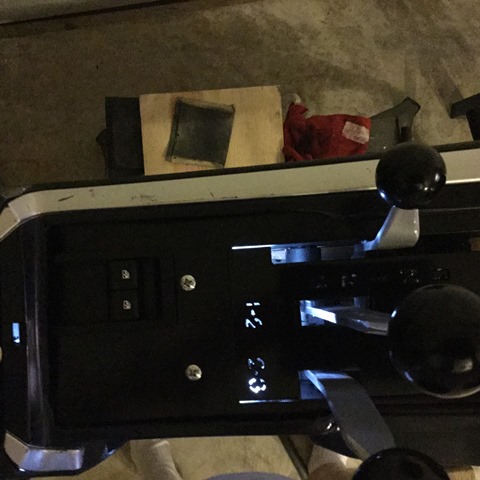
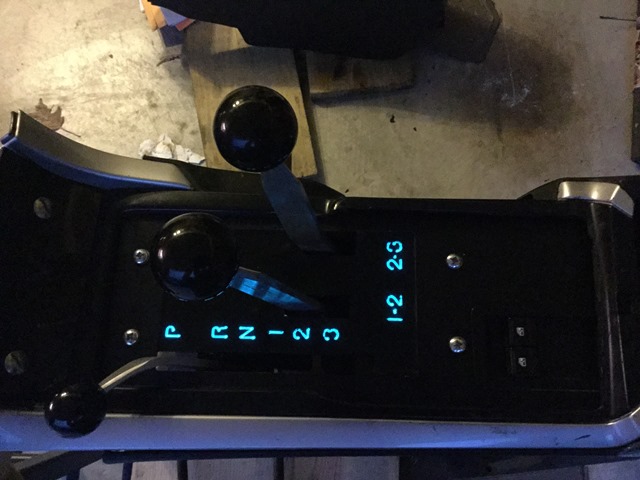
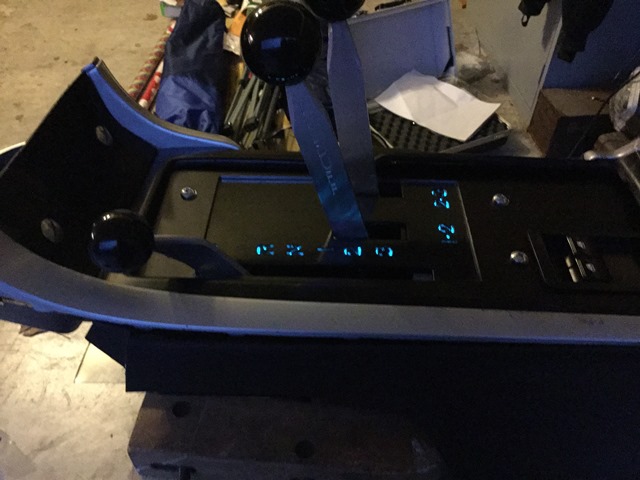
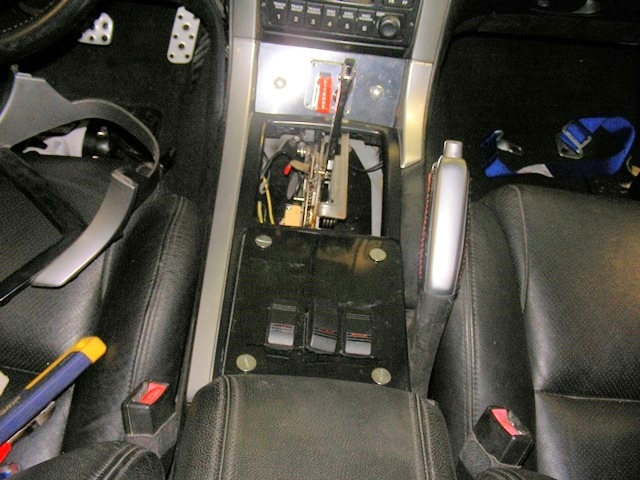
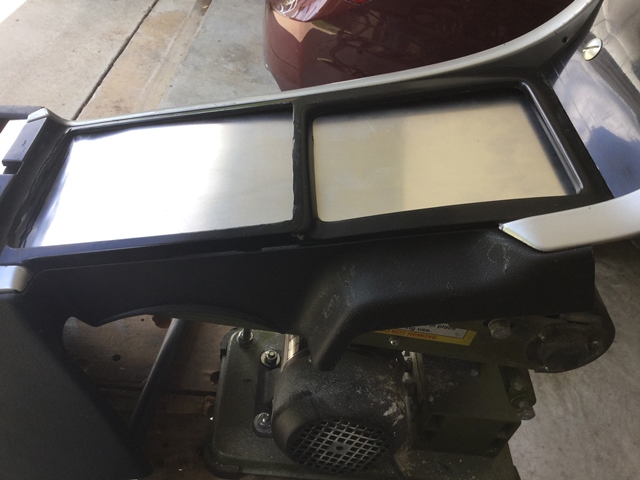
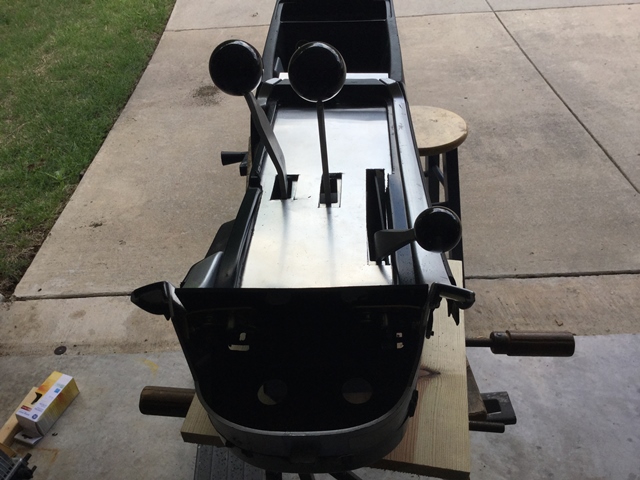
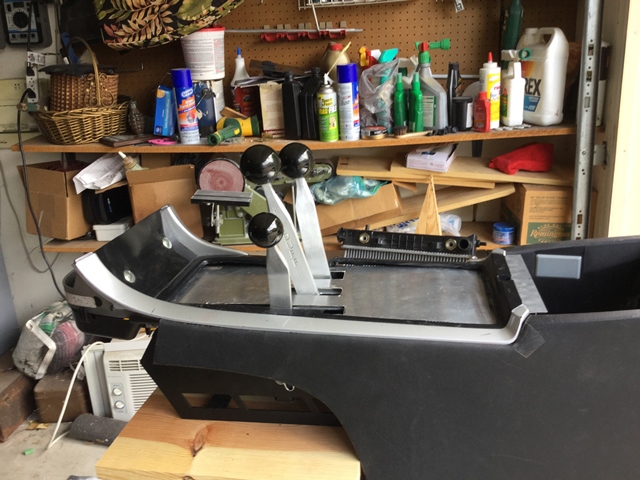
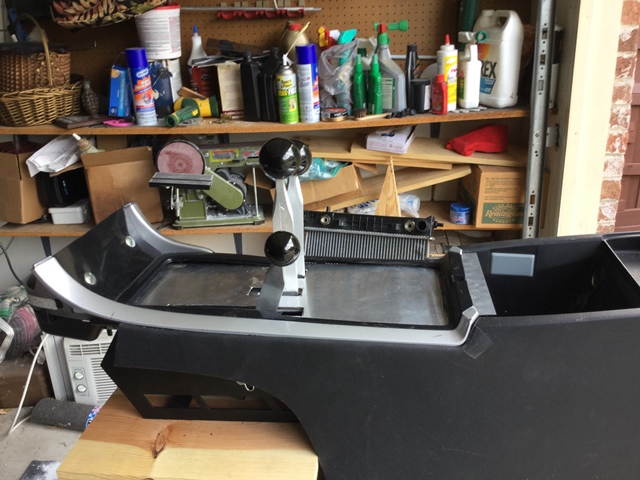
So I cut another plate out today to see what I could do about using the shifter markings. Think it turned out great. I need one of their lips to smooth the edges of the cut out.
Last edited by wrp; 04-19-2015 at 09:09 PM.

 LOL
LOL Trending Topics
04-20-2015, 06:58 PM
#8
9 Second Club
Thread Starter
Join Date: Oct 2006
Posts: 209
Likes: 0
Received 0 Likes
on
0 Posts
ID2000s return Wednesday. three of them hung open and that is what caused it to gp lean. I'll probably drive it a couple of days to heat cycle the freshened yuo heads, hopefully back tot he track next week. Will prolly go to 1/8 mile track this time, working on 60 foot times.
Last edited by wrp; 04-20-2015 at 07:14 PM.
 04-26-2015, 09:59 PM
#11
9 Second Club
Thread Starter
Join Date: Oct 2006
Posts: 209
Likes: 0
Received 0 Likes
on
0 Posts
At the end of the day Jerry it probably isn't as much as you overcame to develop the intake. What is tedious is my lack of talent, the wierd curves that the parts had cast into them, and the limited space available. Most hot rodders just bolt the shifter to the floor and don't worry about the console. I'd sort of like to see it integrated though. Thanks for the comments, from you, they mean a lot. I am wrestling with two options on the shifter. One is the exposed plate as I have shown and ther would be a modified variant. The good news is I can put anything I want on it as long as I can get it drawn. This is the direction I am going but I have a variant with a smooth polished plate covering the entire surface.