When you click on links to various merchants on this site and make a purchase, this can result in this site earning a commission. Affiliate programs and affiliations include, but are not limited to, the eBay Partner Network.
The lines are from my old Afco radiator that couldn't keep up. I mocked it all up and the fit is excellent.
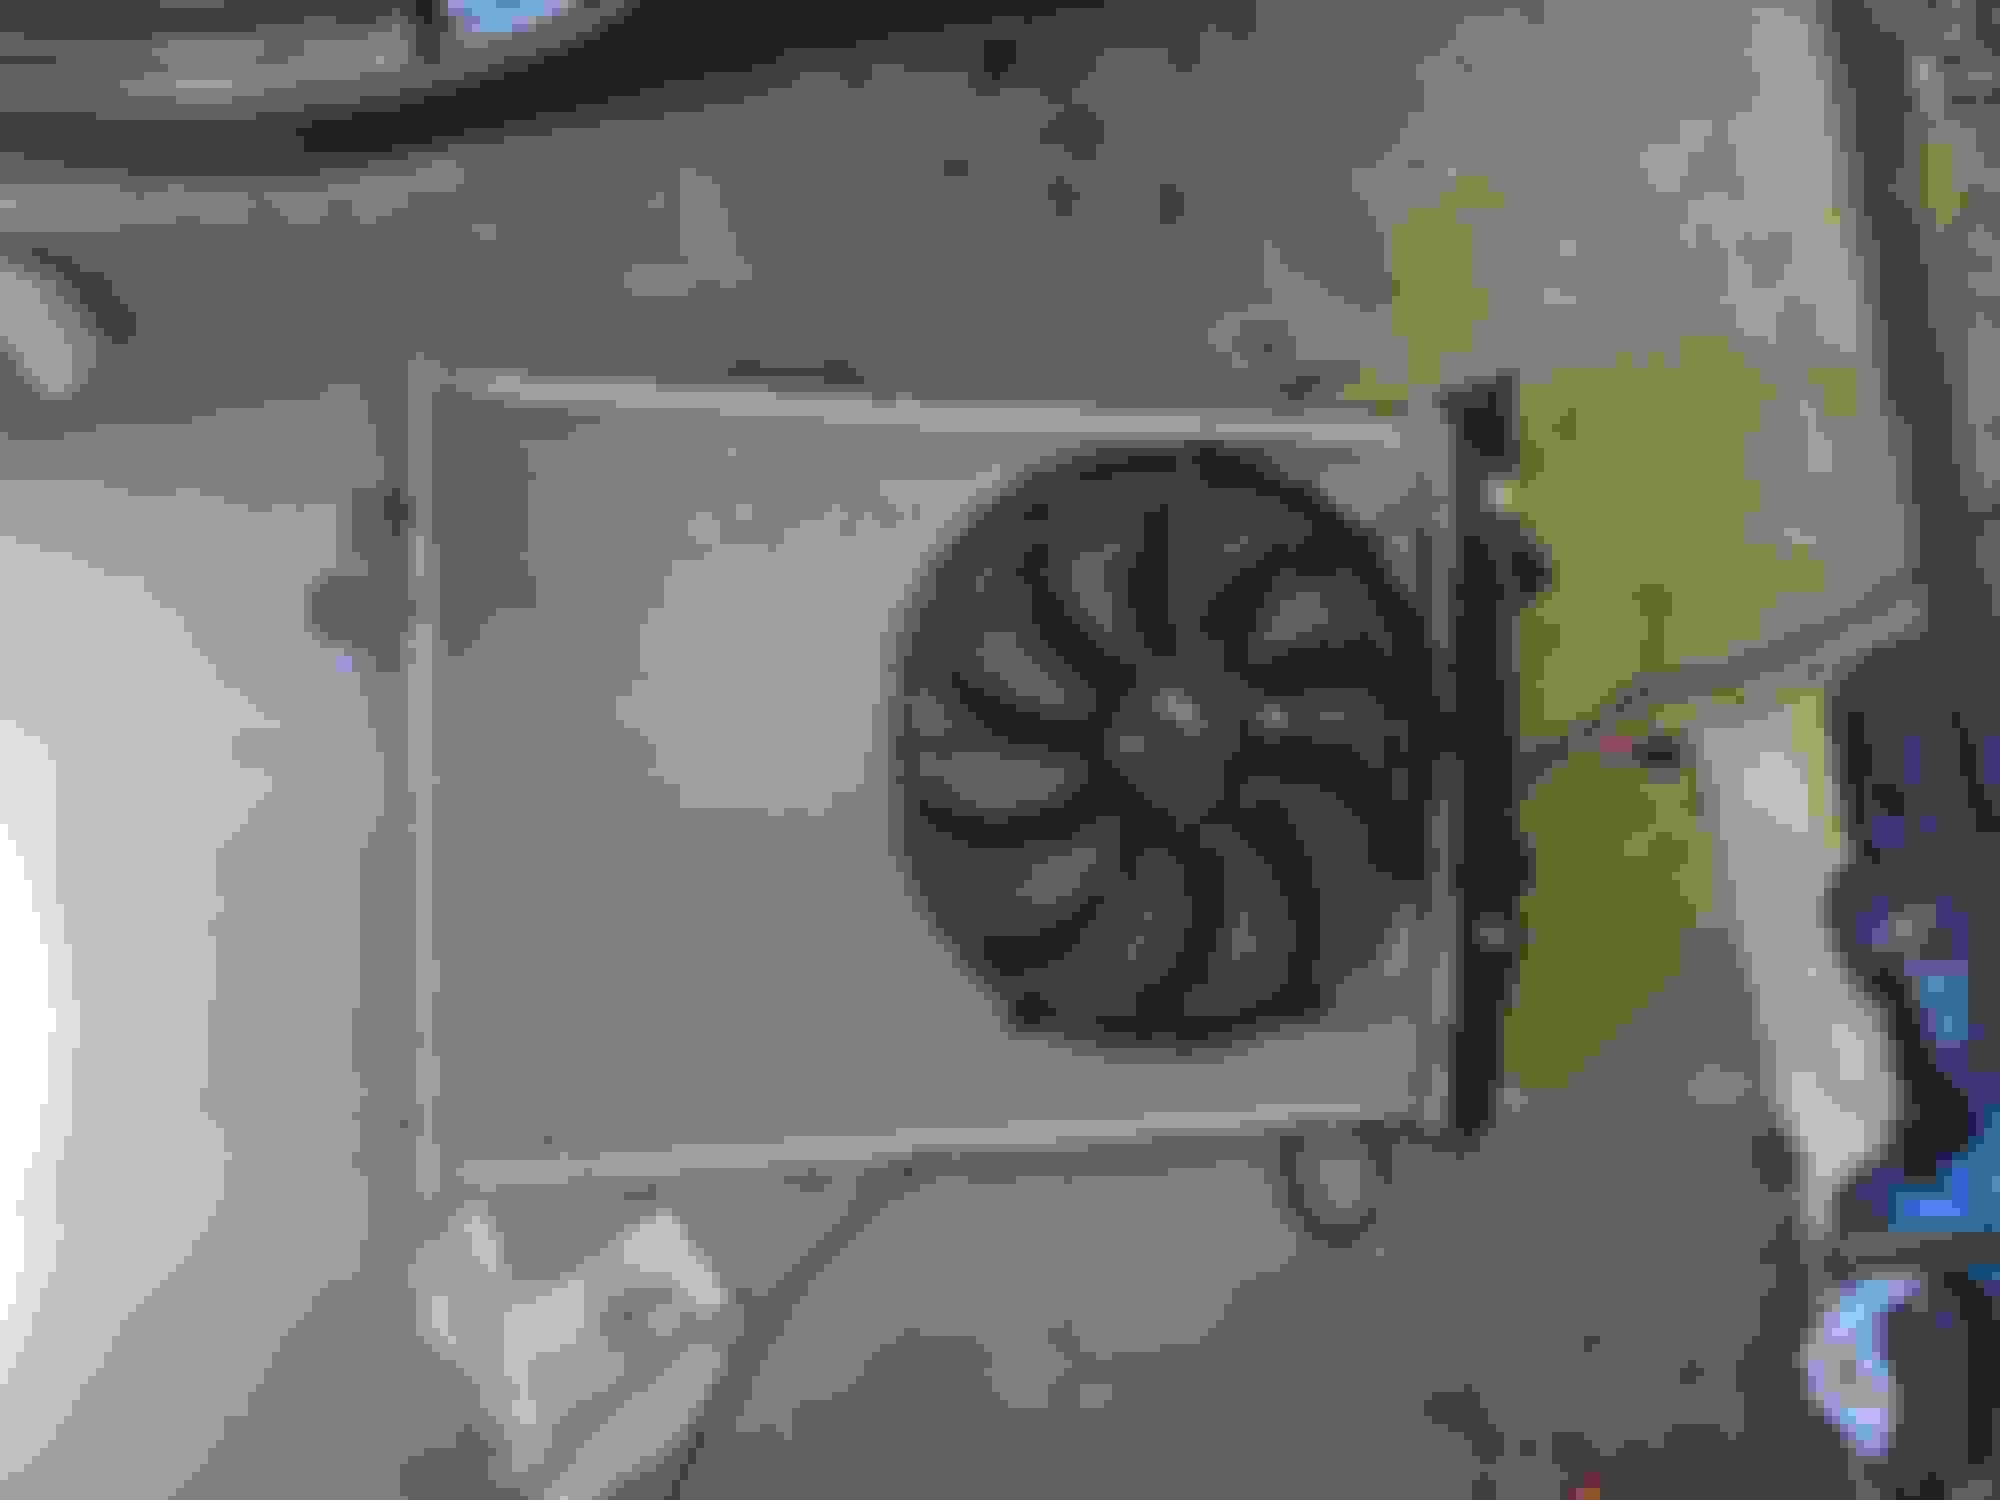
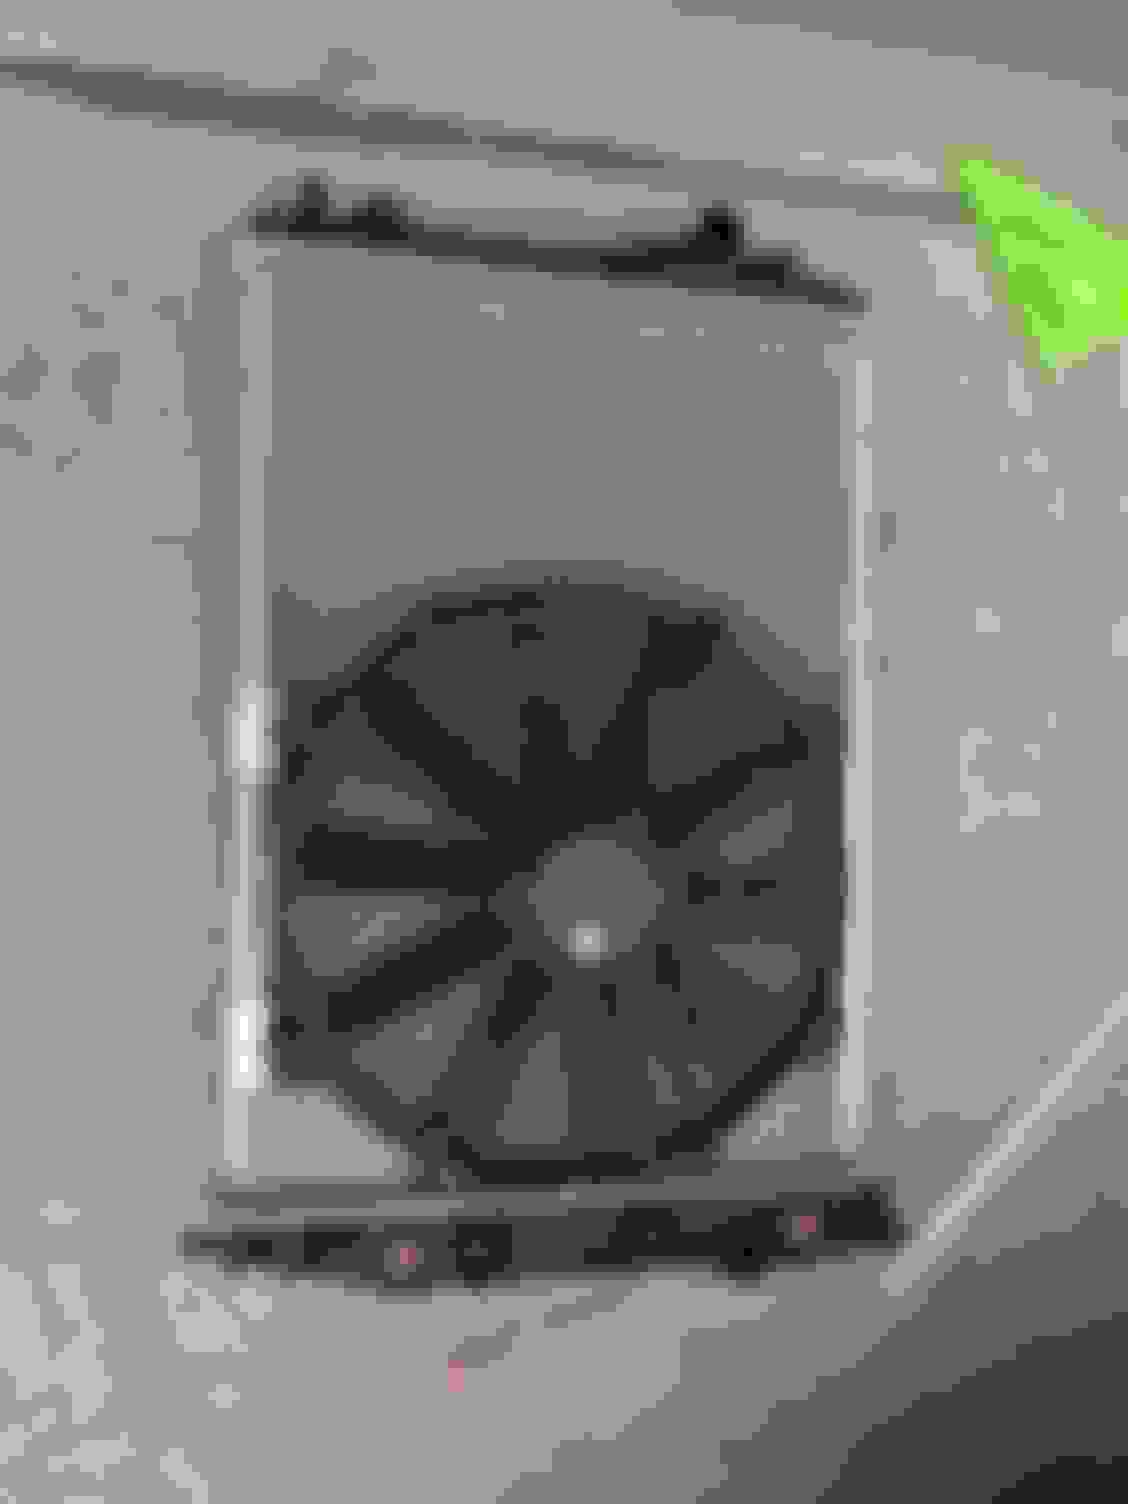
I made the lower mounts and started the upper, but it needs tweaking. That great part about this mounting is that the cooler sits with gravity and the lines holding it in place, so there will be very little stress on the mounts. When drilling for the lower mounts, the bit took off into the radiator when it broke through, so I grabbed a replacement and mounted the Flexalite fan I had on the shelf as it is bigger than the Spal I was running and it couldn't keep up. I much prefer the way the Flexalite mounts over the Spal.
This is how much a radiator picks up in a season.
No zip ties this time! The 1/8" steel rivets have done well to hold the MarkVIII fan in my truck, so I trust them here. Still plenty of room for the oil cooler with the bigger fan so no worries there. I do want to revamp the fan relay's wiring a bit so it can be run off the ECM as well.
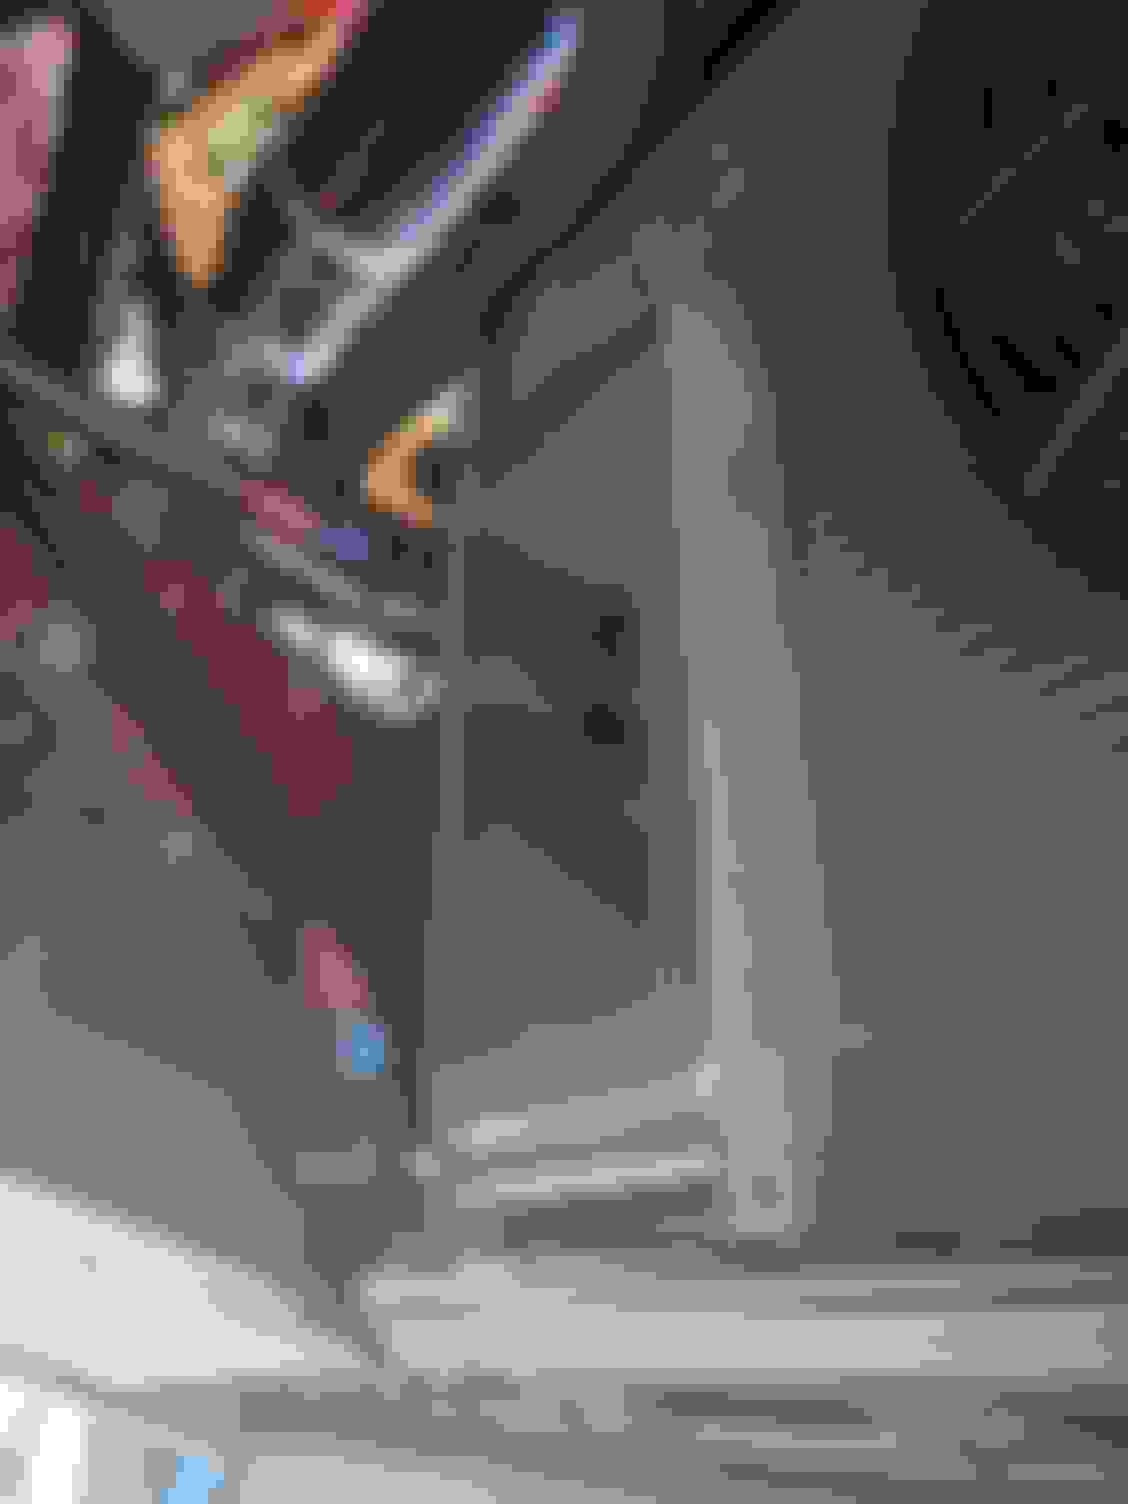
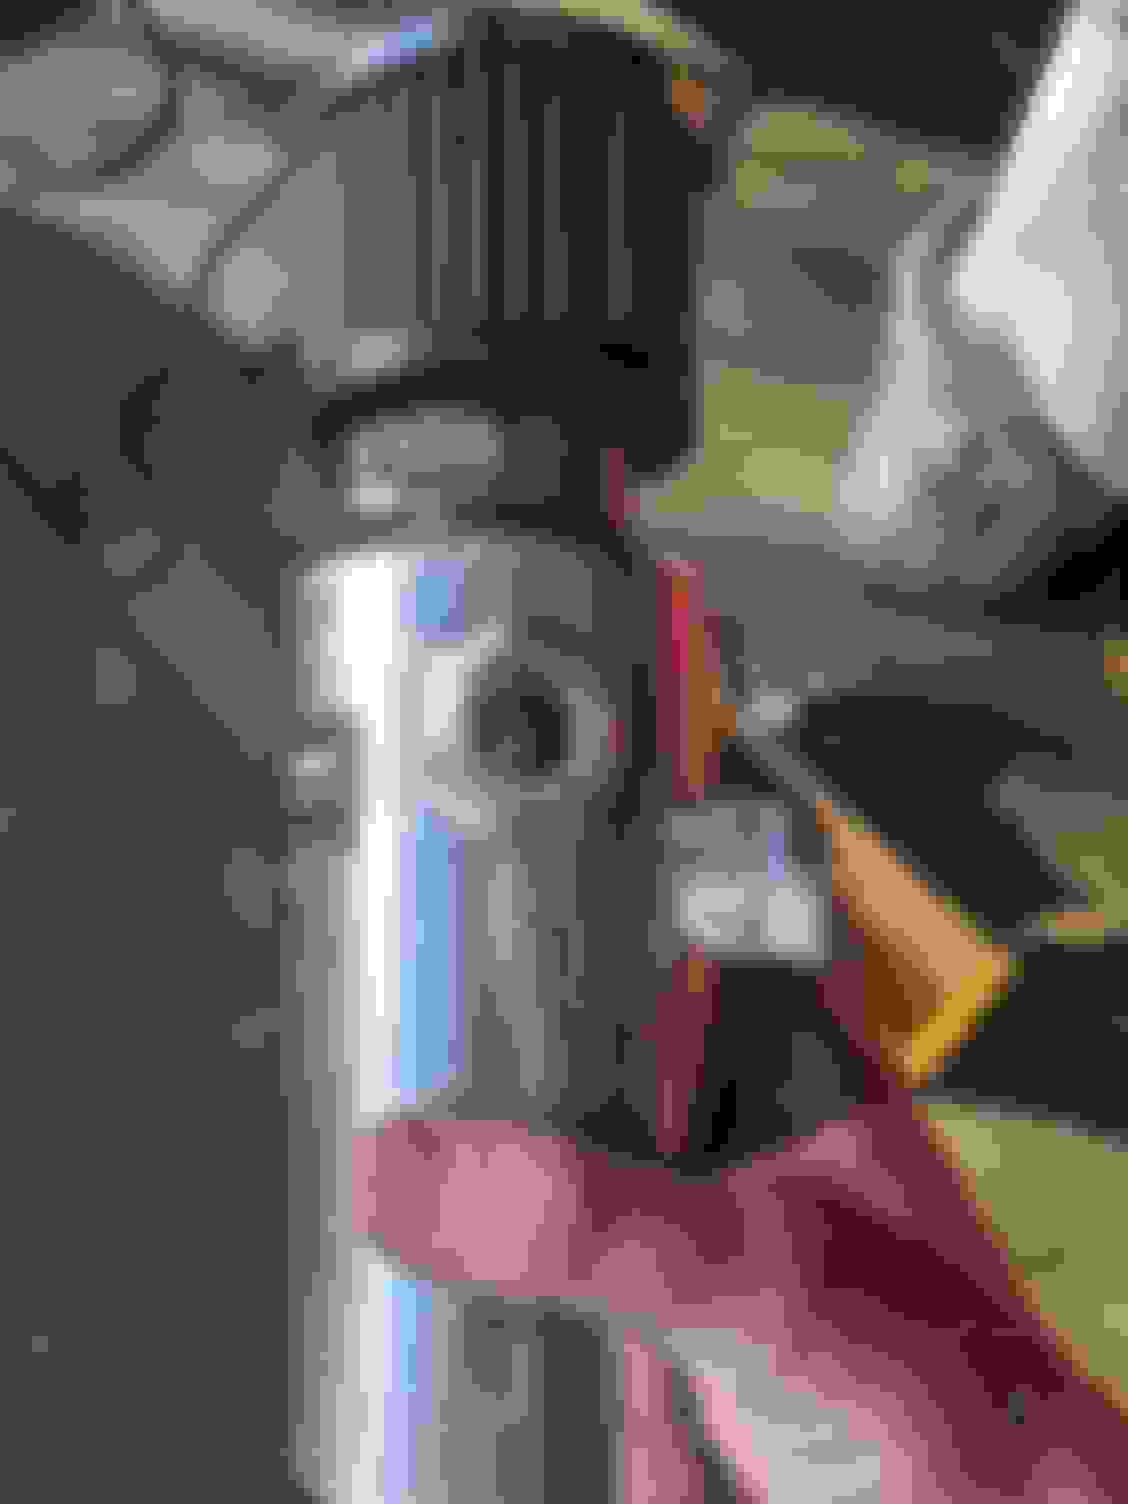
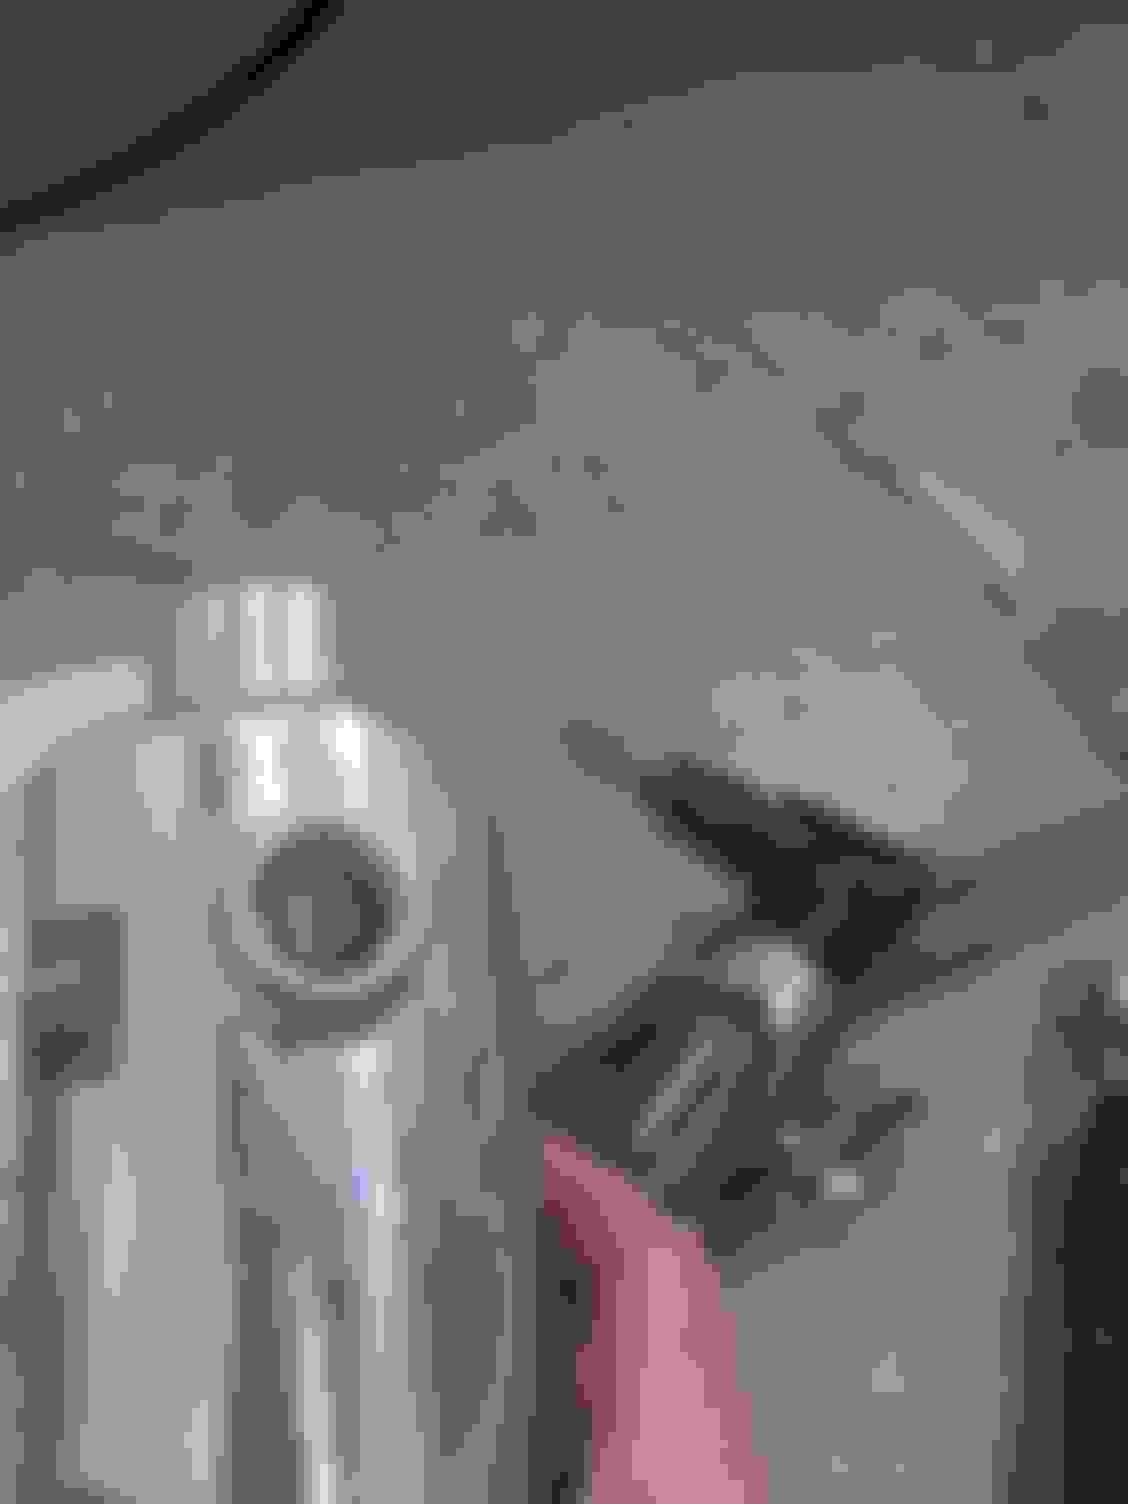
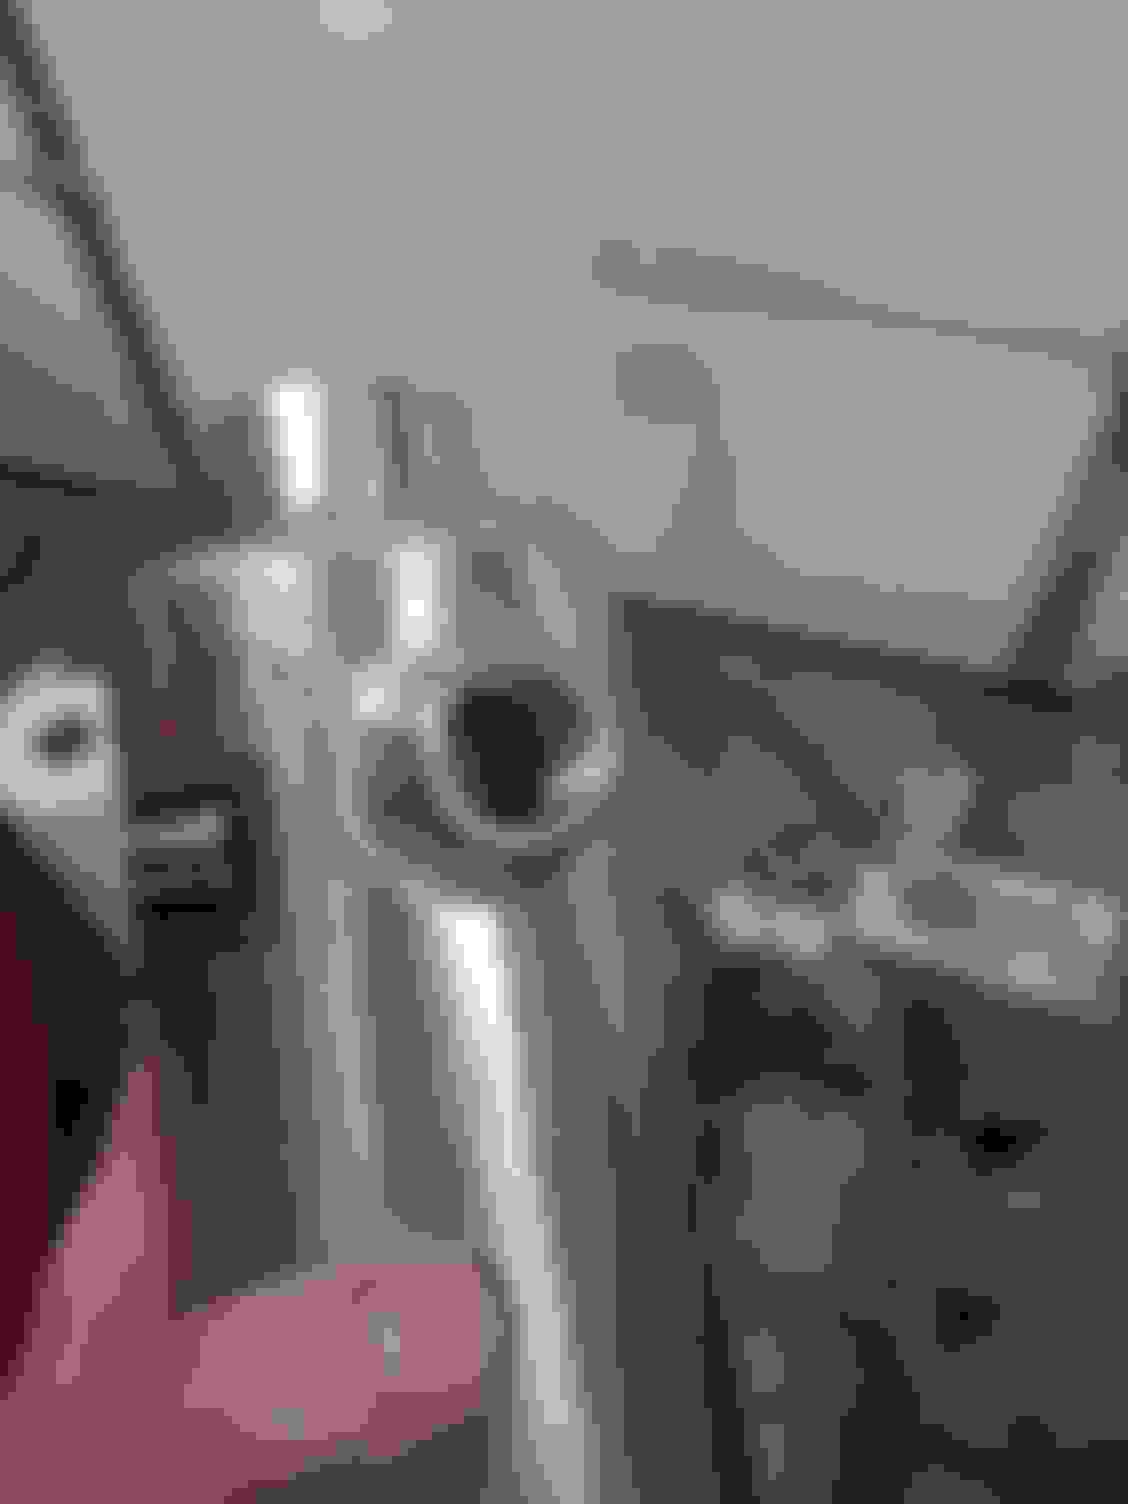
Got the oil cooler buttoned up today, nice and tight against the radiator but not too tight I don't think.
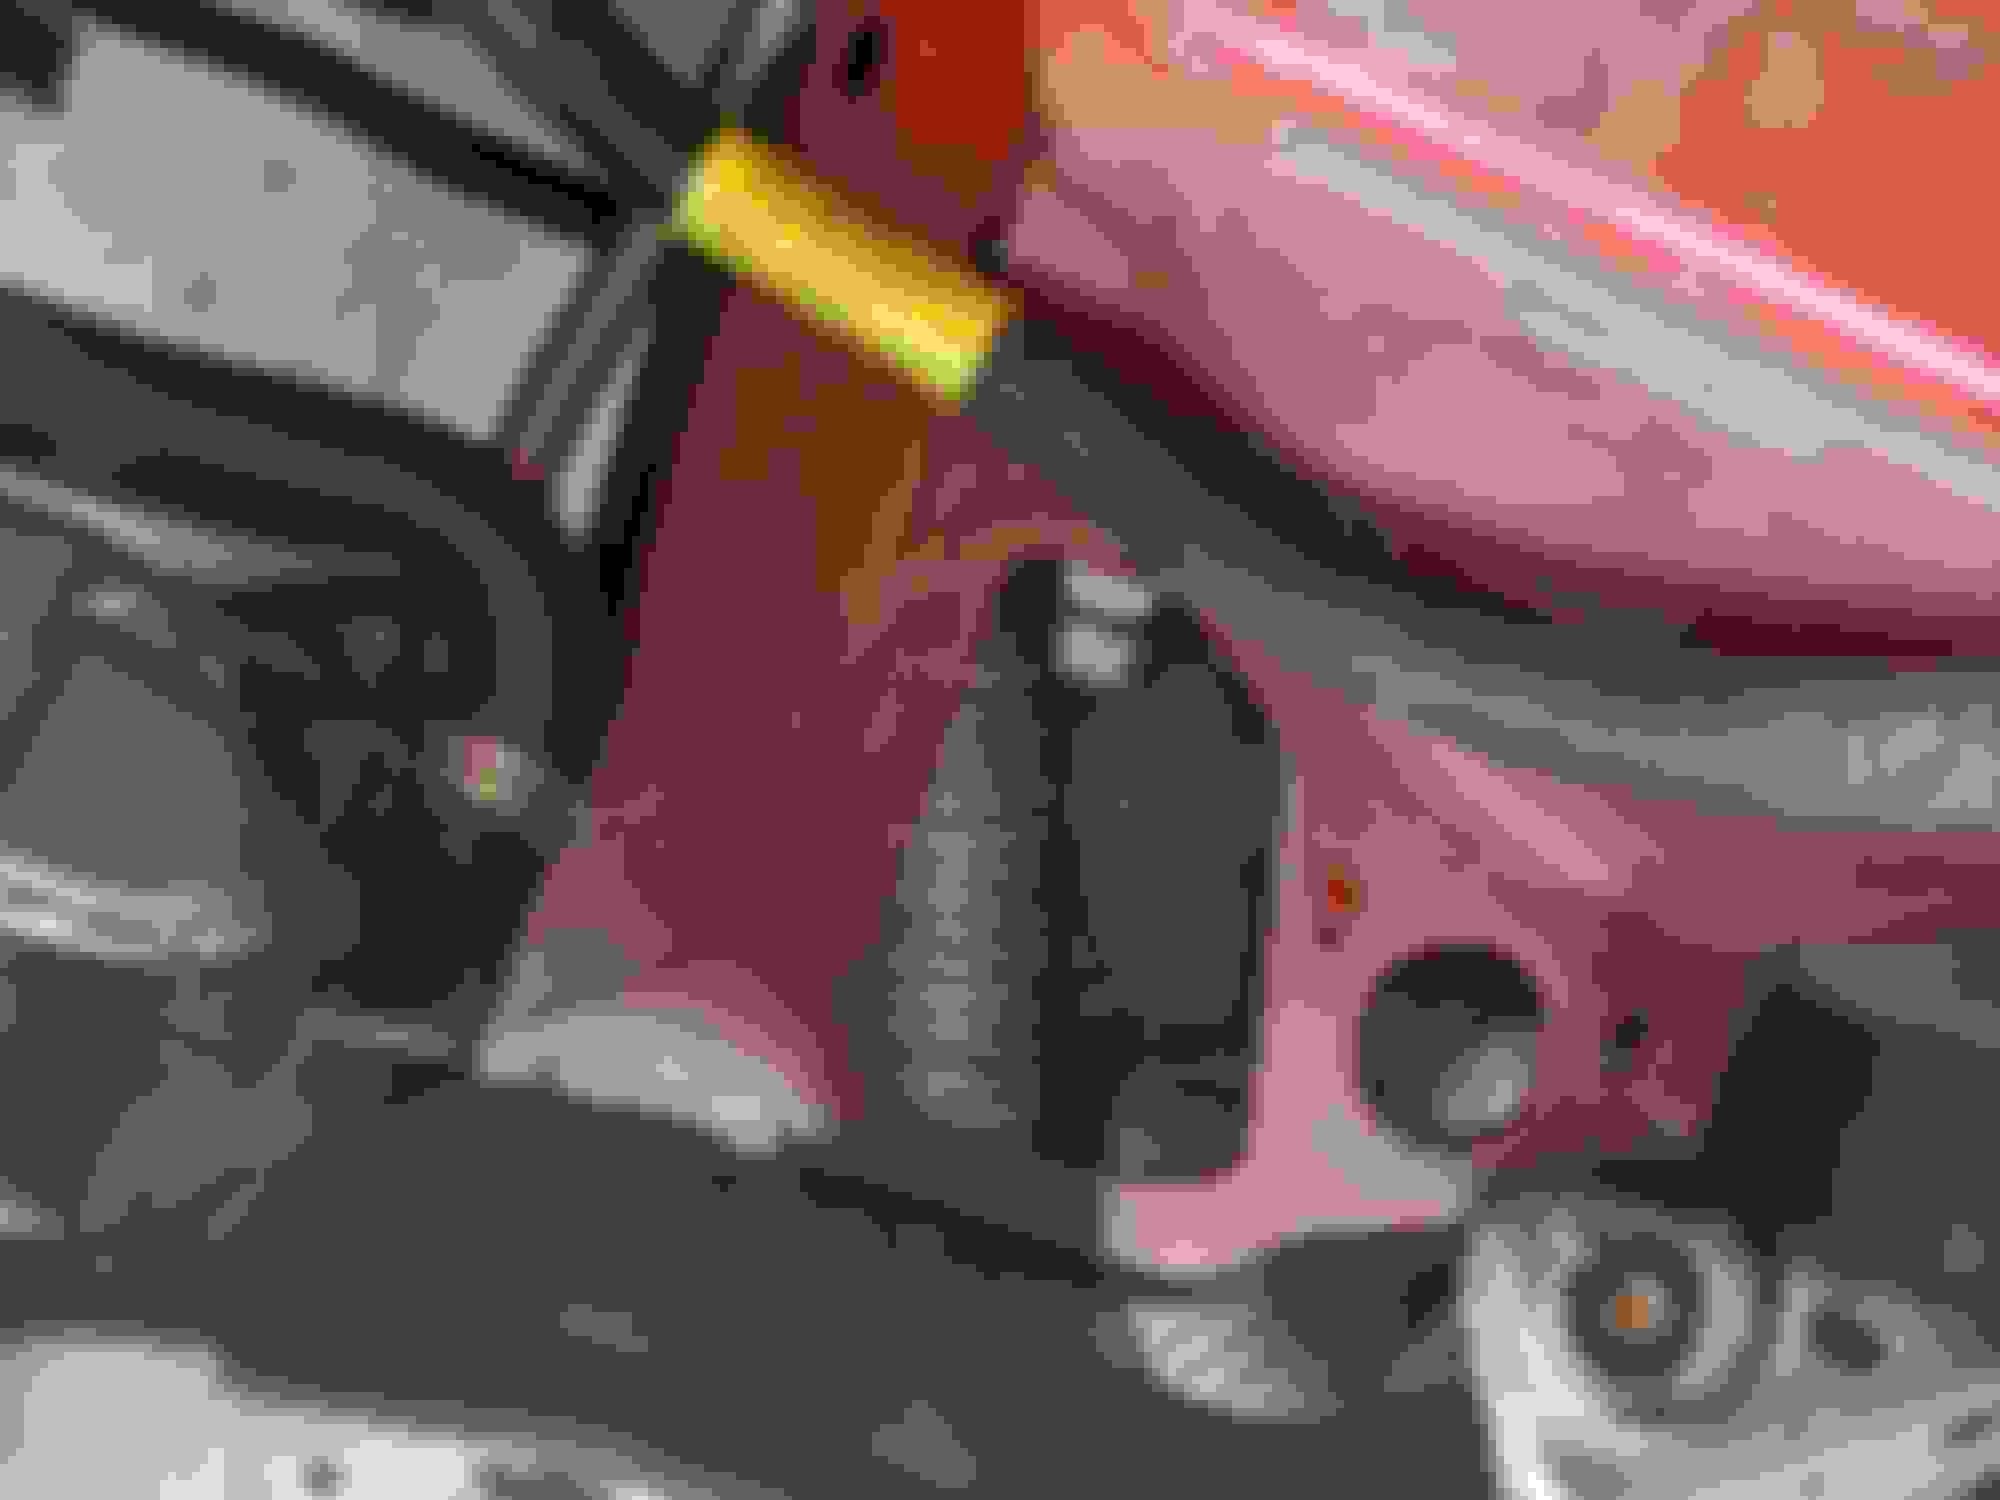
This upper mount took longer than I care to admit to make and tweak into final form.
I'll say I'm not a huge fan of the routing of the lines by the steering shaft, and you can see where they interfered before, but I think I got them secured just far enough away this time around.
When I LS swap I'll redo the routing more to my liking. Until then, I think this will suffice as it survived many years before now as it was worse off before. Next up is my CAI shroud, then a catch can install.
So today I resumed the CAI shroud I'd half-*** started last year.
Next step was to make it out of 1 piece of 24"x24" aluminum.
Made some tweaks here to the trace before cutting it out.
Got a little tweaking to do, but it came out pretty good. Once it's tweaked, I'll mount my catch can to it. As expected, there is very little room for error.
If I bridge the gap over the intake pipe, there's very little engine heat that could make its way to the filter area.
Here's how it matches the contour of the hood. This is a first for me, I don't do this stuff for a living.
This area is fed by a hose coming from the driver's fog light hole.
And finally, also a bit out of order, is a pic of the single piece of aluminum vs the many scraps of cardboard that were taped together to create the template.
Were I to have been the one to have built this car from the ground up, there's a million things I'd have done differently. I've been taking somewhat of a "fab around what I have" approach. Still though, it's very encouraging for me to see this car slowly evolve more into my creation than that of the original builder's. As a friend put it, what I'm undoing is dull hatchet work.
Forgot to show why I had a plate on the bottom. I wanted to plug these holes and keep tire turds and whatnot out of the filter area.
Last edited by Supercharged111; Apr 26, 2020 at 10:49 PM.
1step closer. Here's a couple crappy pics of the shroud all nailed down with the hose feeding it from the foglight hole. Blame the sun.
You can see my super simple catch can mount in the second pic as the 2 lone riveted t bolt clamps. Incorporating the can with the shroud was going to present some unanticipated and very unique challenges. This was the easy effective way out. Next up I had to cut the original mount off of the can. I got this can for free off of my local Dyno shop last fall as the mount had broken. I chopped it off, smoothed it out, and will slather some silicone onto the case where it separated.
The next problem is that measley 3/8' NPT entry bung. Seems like a bit of a restriction compared to my proof of concept 5/8" hose into a bigass Coors can.
I had this 3/4' bit which was around .010" under the recommended drill size for a 1/2" NPT tap.
Upon the first send, I realized this long forgotten bit was in need of help.
I'd say it took around 10 minutes of "porting" the existing bung and sending it slowly home with that oddball 3/4" bit.
I snagged a 3/4" 90 degree fitting from O Reilly today and some 3/4" hose. Tomorrow's objective is a 1/2" NPT to 3/4" barb fitting, adapters, hose, and a petcock for the remote drain of this thing and this car will be more refined than it ever has. Drain hose will be set up to accept a cheapass water bottle. I want set it and forget it simplicity here. I WILL need to drain this thing every day.
I got the can installed today finally and the shroud trimmed to fit the hood. It came out a lot tighter than I ever dreamed it would.
I ended up dropping the hood repeatedly to leave witness marks in the top of the shroud so I knew where to trim. The can had that busted mount that I cut off but there was still a crack in the case that was going to leave a mess, so I slathered some silicone over the crack. There was also a 1/8" NPT hole to plug, but the only one I had stuck out really far. I ended up running a tap into it a little deeper so I could bottom it out, then cut the head off near flush so it wouldn't interfere with the shock tower. Here it is all snugged down, there's a 3/4" hose going into it now. I needed this installed to hit the Dyno due to its ability to impact power output..
I'm going to put a petcock up front here. I had to order it online, didn't see what I wanted locally. It's going to be clamped into place and the hoses cut to length to fit a cheap water bottle and minimize asspain/spillage. Here it is all set up now.
Keep steady making progress! Since you road race and all and are probably hard on the brakes would a master cylinder brace help you out any with pedal feel/firmness?
Keep steady making progress! Since you road race and all and are probably hard on the brakes would a master cylinder brace help you out any with pedal feel/firmness?
I believe it would. Either making one or buying Strano's piece is on my wish list.
I thought it might be prudent to put new plugs in. I think the current ones are from 2016. They looked pretty good, but gap was .060" and the fan shroud calls for .050".
Then I dumped 8 oz of oil down into the cooler. Should have dumped 8 more, it took a while to build oil pressure and my filter was completely full. Forgot to plug this, finally put a boot over my shifter.
I'd forgotten about this hot mess too, the mount failed back in May of last year and I forgot about this highly effective ghetto rig.
You can see how it failed here.
This is a parts store hangar that I added a lateral brace to. I zapped a chunk of angle iron onto it and plopped a couple extra welds to hopefully reinforce it and keep it from separating.
I'm not super happy with this. It's not much better than what failed me last season. I may restart from scratch here.
You can see I put the hose clamp back in there too for a bit of redundancy. Toward the end of my stint, someone decided they wanted to help.
I told her to stay back because the car was dirty, so she found a solution. And if this isn't a sight for sore eyes I don't know what is. Having the car back on all 4s.
Tomorrow I'll clean it up and look to getting the cool suit cooler built along with the MC brace. I dreamed up a super simple design.
Good deal!! Always good to have a lil helper right?? There's a guy on the f body facebook groups that makes up his own MC brace, seems rather simple as well. I need pull mine back in the shop and tinker with it, maybe tonight.
Good deal!! Always good to have a lil helper right?? There's a guy on the f body facebook groups that makes up his own MC brace, seems rather simple as well. I need pull mine back in the shop and tinker with it, maybe tonight.
I definitely need to add the tach filter, the needle reads high and is very bouncy. As for the speedo, it buried itself at 2mph then drops to zero at a stop. Really lost there. I expected it to be off with my 3.73s, but not that much!
Got it washed and pressure washed the mess under the hood from forgetting to empty the beer catch can. Also got the garage cleaned up a bit and washed the Z06. Got it up to temp and no leaks. I was worried the check gauges light wouldn't go out with so many things disconnected and removed from the cluster, but fortunately the logic seems to tie it only to temp, oil pressure, and volts. Tach reads high and is jumpy, so need to get a filter. Will have to rig something up for the Dyno though, can't smash it into the rev limiter as that will mess up the readout. Speedo buries itself at the slightest hint of movement, guess I can swap the VSS out? Kinda lost on what that could be otherwise.
I like the simple rod exhaust hanger, lots of options for install, chop the rod to the exact length, angle etc.
As for the MC brace I thought about building one but even a simple one would take longer than the 100 bucks is worth to me to just buy one from Strano.
I was thinking of recreating the existing mount out of flat stock then welding the flange of the clamp directly to that. When you see how simple my idea is for the brace you may change your mind. It's the reason I changed mine.
https://www.ebay.com/itm/93-02-Fireb...YAAOSwLPpd3IDd Here's the brace from FB, he's got em on e-bay. If you can weld, that piece shouldn't take but a few min to whip up. Even if you can'y weld, some nuts and bolts and you could re-create it.
Gas Monkey Built a 6-Wheel Ferrari Testarossa With a Corvette LT4 Engine
Slideshow: The controversial Ferrari F6 swaps its original flat-12 for a Corvette Z06-derived LT4 V8 and sends power to four rear wheels through a custom-built drivetrain.
7 Most Reliable High-Performance Engines GM Has Ever Built
Slideshow:These GM engines didn't just make huge power, they survived abuse, boost, track days, and six-digit mileage with a reputation for refusing to quit.
6 Common C5 Corvette Failures and What's Involved In Repairing Them
Slideshow: From wobbling harmonic balancers to failed EBCMs, these are the issues that define long-term C5 ownership and what repairs typically involve.
Retro Modern Bandit Pontiac Trans AM Comes With Burt Reynolds' Autograph
Slideshow: A modern Camaro transformed into a retro icon, this limited-run "Bandit" build blends nostalgia with brute force in a way few revivals manage.
Top 10 Greatest Cadillac V Series Performance Models Ever, Ranked
Slideshow: Cadillac didn't just crash the high-performance luxury vehicle party, it showed up loud, supercharged, and occasionally a little unhinged...
Coachbuilt N2A Anteros Is an LS2-Powered C6 Corvette In Italian Clothes
Slideshow: A one-off sports car that looks like a vintage Italian exotic-but hides a C6 Corvette underneath-just sold for the price of a new mid-engine Corvette.