When you click on links to various merchants on this site and make a purchase, this can result in this site earning a commission. Affiliate programs and affiliations include, but are not limited to, the eBay Partner Network.
I assume you photoshopped the tail pipes? I don't like that at all, but if you are thinking rear exit, I like this idea, except I would try rectangular tips to mimic the shape of the taillights.
I've always liked the frenched look of tailpipes in a bumper like that super clean Nova you posted, in fact I've always been interested in trying that on mine since it had angle-cut chrome tailpipes way in the beginning. The thing that really bugs me is because of where the frame rails are, the tailpipes end up being very outboard, which the proportions of tailpipe-width to bumper-width just looks wrong to me. Not sure why.. it just bugs me..
I could also do the extended turndown tips, to exit as close to the rear as I can without having it really hanging below the bumper..
The raw/dirty/racey/purposeful/obnoxious look I'm kinda liking now is along these lines..
Well you could do a fuel cell and put them just about anywhere you want back there. Might negate the need for a surge tank also. Or you could route under the tank with some heat shields. I wish there was a good route to take them through the bumper itself - those big tall bumpers on the Nova would look fine with a pair of exhaust openings - sorta like a roll pan.
I'm definitely opposed to an in-trunk fuel cell.. I mean I know this car is going to become less and less practical but I just don't want to make and weld in a support frame, and have to open the trunk to fill up, and lose all that trunk space. I've thrown bags in the back for a weekend trip or put my mountain bike in there.
The tailpipe routing would be going over or under the axle (under more likely) and then spreading wider while staying high (if over-axle) or angling upwards (if under-axle), snaking between the coilovers and the front dog-eared corners of the gas tank, then rearwards on the sides of the gas tank (unsure if I'll route inboard, outboard, or underneath the framerails.. or trim the framerails upwards). Any tailpipe design/location aft of the back of the gas tank and other than straight back will be purely aesthetic choice and not driven by any physical constraints.
Maybe something closer to this? There's probably 12" of room between the rear of the gas tank and the bumper (think of how long the filler neck is).. enough room to make a bit of a Z shape in the tailpipes to narrow their spacing under the bumper in from the wide width of the frame rails..
why don't you just look at dropping a CTSv pump into your tank? It will be much less headache, and to date nobody has been able to find an effective solution for the pump-on-a-stick design. vaporworx makes controllers, and can set you up with a dual setup if you need more than 800 fwhp that a single can handle. All you need is 6-7" tank depth.
After all of my drivability issues, hiccups on the autocross course, pouring over every "fuel tank solutions?" thread here and P-T, and talking to Carl at vaporworx, that's the way I'm headed (albeit with a Camaro SS pump, which supports 600 fwhp NA). A big part of that, of course, is that cost is a wash between that and a new Aeromotive pump/filter/regulator.
I'm familiar with the CTS-V setup (I think).. and isn't it significantly tall... much taller than our tanks? Do you have a link to the work you did? I really don't want to touch the gas tank fabrication-wise.
Yes, talk to Carl. You can use a ZL1 pump, much cheaper through Amazon, the CTS pump is pricey. Get Carl's PWM, it works perfectly. I am using the ZL1 pump and Carl's PWM on my blower car with no issues what so ever....good stuff...
The only reason I suggested the CTSv over the ZL1 is that it supports a significant amount more horsepower (800 vs 650 boosted), per their website. I didn't ask Carl personally, since I'm a ways off from those levels.
The SS and CTSv require 5.5-6.5" of depth, while the ZL1 is slightly taller. My tank is 5.9" with the clearance panel I made for the Aeromotive setup, so yours should be OK unless you dropped it appreciably more than I did. I essentially need to cut a ~7" hole in place of the current 5"x5" square, and remove some of the baffling.
Vaporworx sells the mounting and lock rings for $165(!), but I'm on the prowl this weekend for a late-model Chevy from the junkyard after reading this thread. I can also use the cheaper mechanical regulator, while you'd need a PWM controller ($~500).
Understood, Carl was the one that suggested the ZL1 pump to me and even told me to get it through Amazon....I was going to use the CTS pump until I looked at the cost.....wow...who knew..
In the grand scheme of things, making a swirl pot would actually be the easiest. My tank already has decent baffling.. at least enough that the transfer pump(s) wouldn't be sucking air all that often, the current plate/bracketry fits the Walbro body style of pump, I already have a 3rd pump that I could drop right in place, and I need to run lines up into the trunk and then back down for a rollover vent & high point for sloshing.
In theory I could just make a new tank access plate that instead of the bulkhead fittings and fuel pump brackets it currently has, it is machined to accept the CTS-V retaining ring pattern.. but I just don't feel like ******* around with all that and the additional cost of the drop-in unit and required PWM module.
To improve my engine cooling amongst some other areas of the car, I've been doing a ton of online reading, including ordering some knowledge slabs!
Plan is to vent the hood in an appropriate area, totally seal off the radiator support, make inner fenders that fit the 275's, make a chin spoiler/air dam, and possibly make a belly pan for under the engine, between the chin spoiler and subframe crossmember, potentially extending all the way back to the firewall. Plan is to keep the pressure in the engine bay as low as possibly, and have the high velocity air flowing over the hood suck out much hot air, as well as keep the pressure in front of the intercooler/radiator as high as possible.
Here's some really good/interesting reading I came across:
UOTE=frojoe;19520070]To improve my engine cooling amongst some other areas of the car, I've been doing a ton of online reading, including ordering some knowledge slabs!
Plan is to vent the hood in an appropriate area, totally seal off the radiator support, make inner fenders that fit the 275's, make a chin spoiler/air dam, and possibly make a belly pan for under the engine, between the chin spoiler and subframe crossmember, potentially extending all the way back to the firewall. Plan is to keep the pressure in the engine bay as low as possibly, and have the high velocity air flowing over the hood suck out much hot air, as well as keep the pressure in front of the intercooler/radiator as high as possible.
Here's some really good/interesting reading I came across:
No body bushings.. no problems! I removed the subframe spacers years ago before I even finalized my turbo kit or did my floorpan/tunnel mods for proper driveshaft clearances and working angles. Zero issues, and it gives the front of the car ~0.75" static drop by pulling the subframe up. I still needed one spacer per side (which I believe was 0.5") on the front subframe mounts, as the subframe front bushings are taller than the rears. And I had to shorten the solid radiator core support spacers since the subframe horns were now higher up relative to the core support.
No prob! There's really no reason to use bushings/spacers.. replacing with stock rubber or poly bushings is just silly, and paying $100+ USD for machined & anodized aluminum ones is a bit much, when you could just remove them entirely and have the car lower. The one thing you'll have to modify tho is the steering shaft to steering box.. go to a universal joint (I think I remember the increase in angle being too much for stock rag joint) and probably modify/ovalize the hole in the firewall for the steering column. Also not sure on your transmission/crossmember/driveshaft angle but that could get tight for clearance if you're close to stock in the sheetmetal department.
Btw, where are you from.. neat to see more Canadians on here.
Thanks for the heads up. I'm in Ottawa it's a far drive but if I go cross country I'll be sure to let you know haha. I've followed your build since the start and it's amazing to see the transformation in not only your car but you as well. If you come my way let me know.
Awesome! I'll keep that in mind if I ever venture out that way. Thanks for the kind words.. I agree that both the car and I have grown quite a bit since I started on it during my 2nd year in engineering school wayyyy back in 2009.. a lot of years and learning and skills have been developed since!
Speaking of which.. I've found a nice 3D solid model of a Nova and downloaded it, for some air dam/vent/other tweaks to model up.. because the garage is still too full of other things to wheel the car into and start taking it apart.
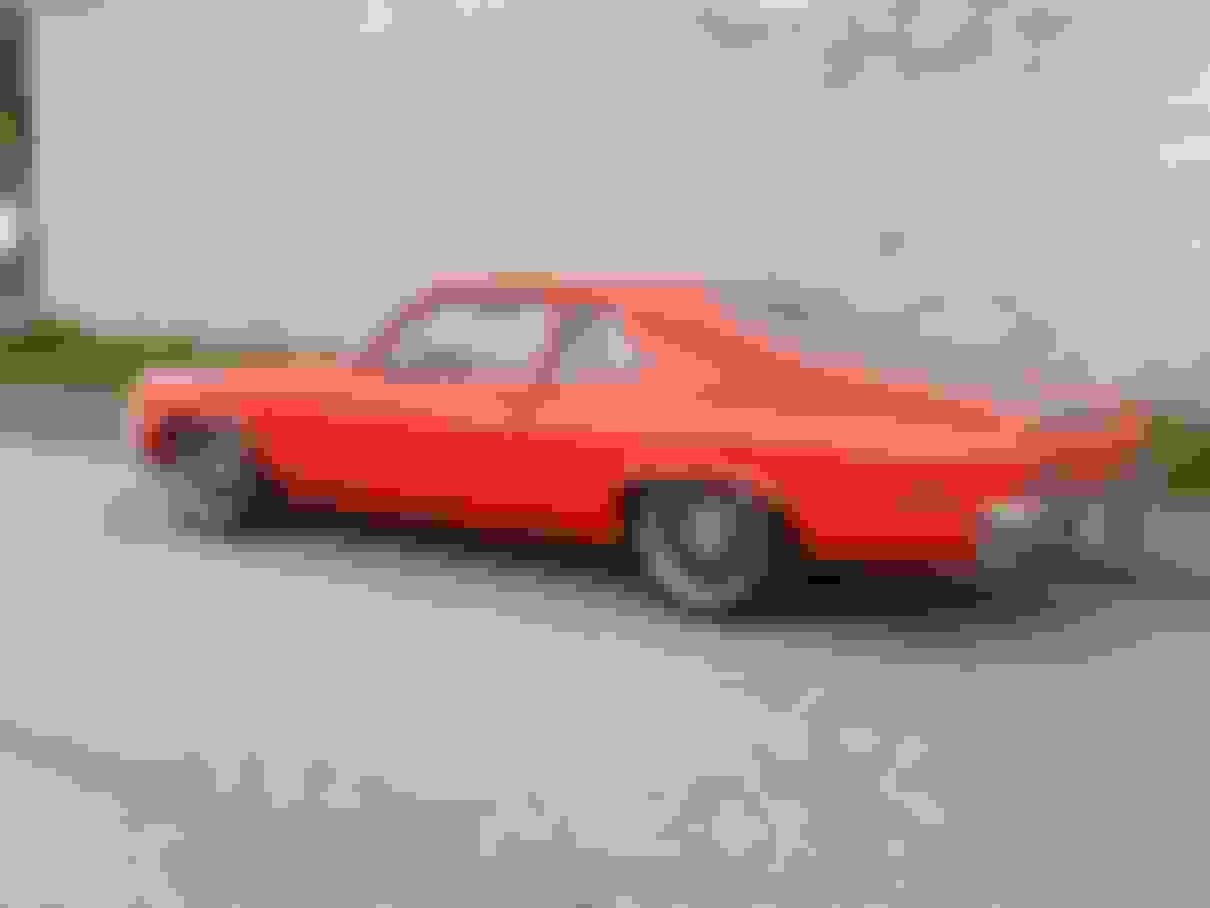
I spent a bunch of time scouring the 'net looking for nice quality 3D models of Nova's, just because. I started with finding pretty rough models, like these..
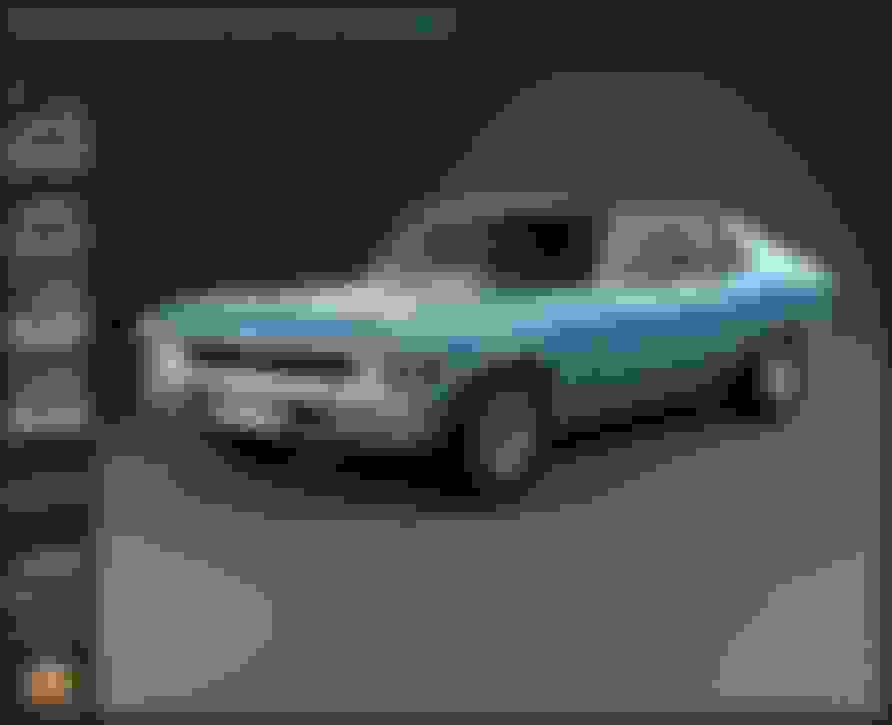
Then another that was a bit better, but left a lot to be desired..
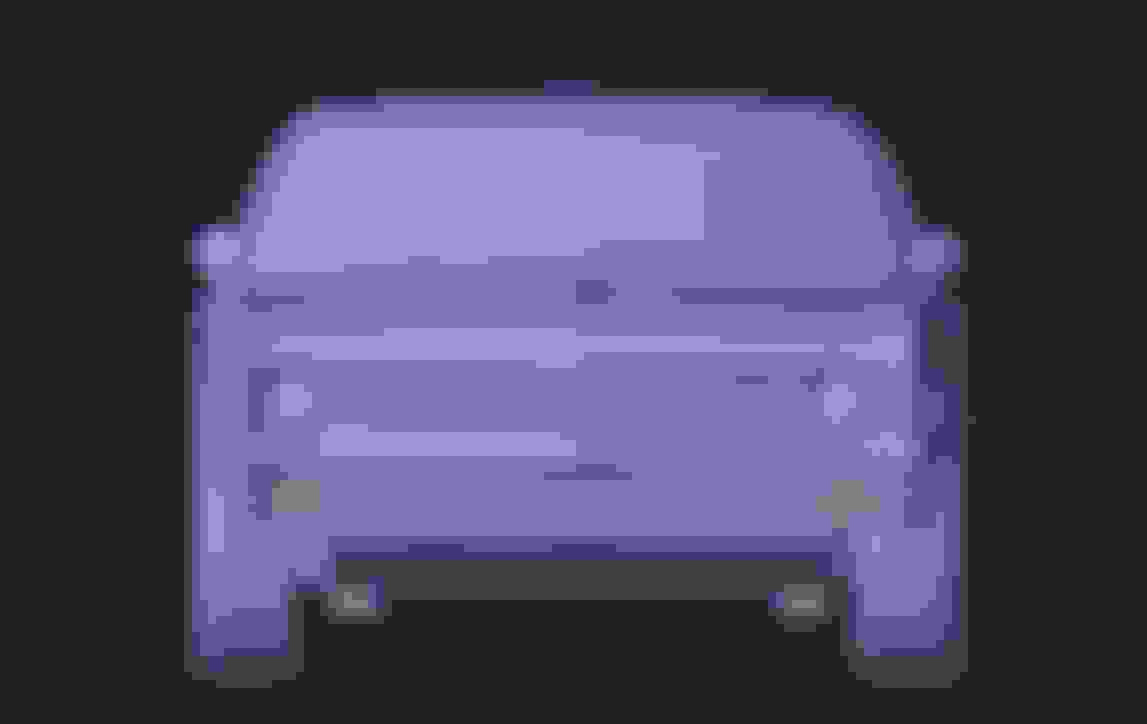
Then I found this one, which look surprisingly good, but the more I looked over the different angles, a couple things started looking strange, like the height and angle of the bumpers, and around the rear quarter window and decklid..
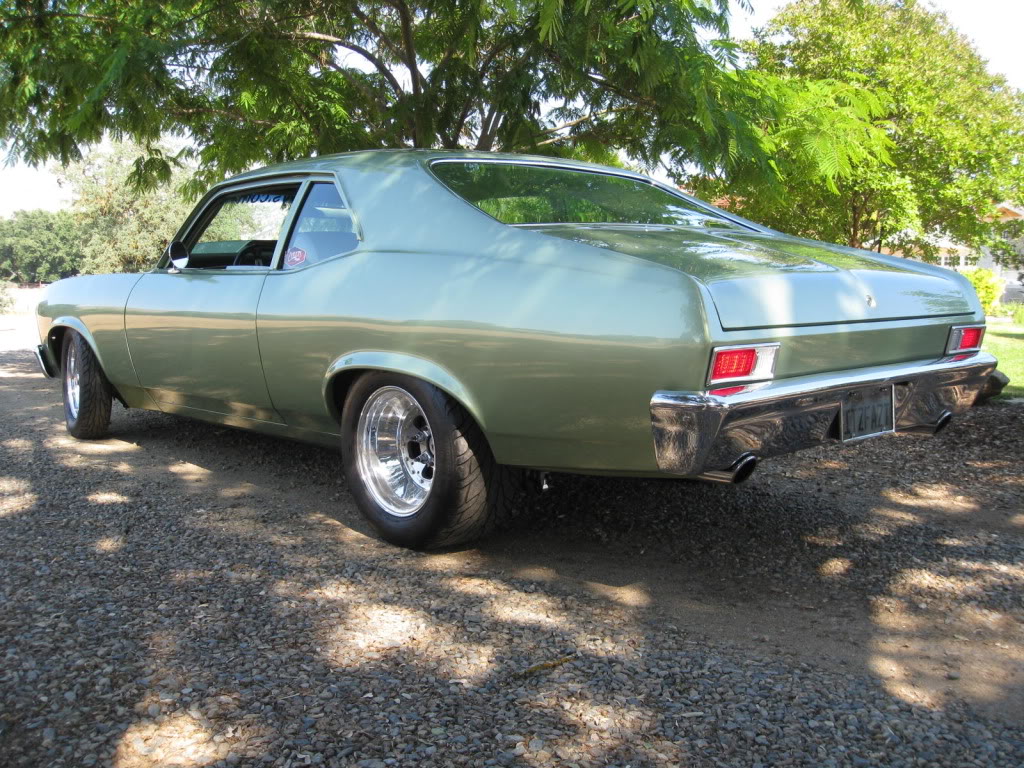
Then I found this model on Hum3D. By far had the best website, the most high-quality pics, and excellent customer service and information..


 01-25-2017, 05:26 PM