When you click on links to various merchants on this site and make a purchase, this can result in this site earning a commission. Affiliate programs and affiliations include, but are not limited to, the eBay Partner Network.
Please excuse the length of this post but I have already done a fair amount of troubleshooting and don't want to waste folks' time...
Not long after getting the car it was washed at a coin-op car wash. Afterwards the front passenger-side carpet was wet. Thinking that the sunroof may have been partially open we just dried it out. Subsequent hand washes didn't get the carpet wet so we felt more confident that it had probably been an open sunroof and since there hadn't been any rain here in Seattle -- imagine that -- we had no other tests.
The car sat outside last week during an all-night rain -- not a gully washer, just a steady rain -- and afterwards the passenger side carpet was wet -- not just a wet spot but completely soaked - a lot of water. Reached up under the back edge of the panel under the passenger-side dash and it was full of water and poured out with a little downward tug. A little research indicated that the most common cause is a plugged sunroof drain and occasionally a plugged HVAC drain. I found one unresponded-to post that said that the windshield seal could also be the problem.
The headliner and A-Pillar trim were not wet but there were visual indications (water marks on the aluminum air bag mounting bracket) of past leaks.
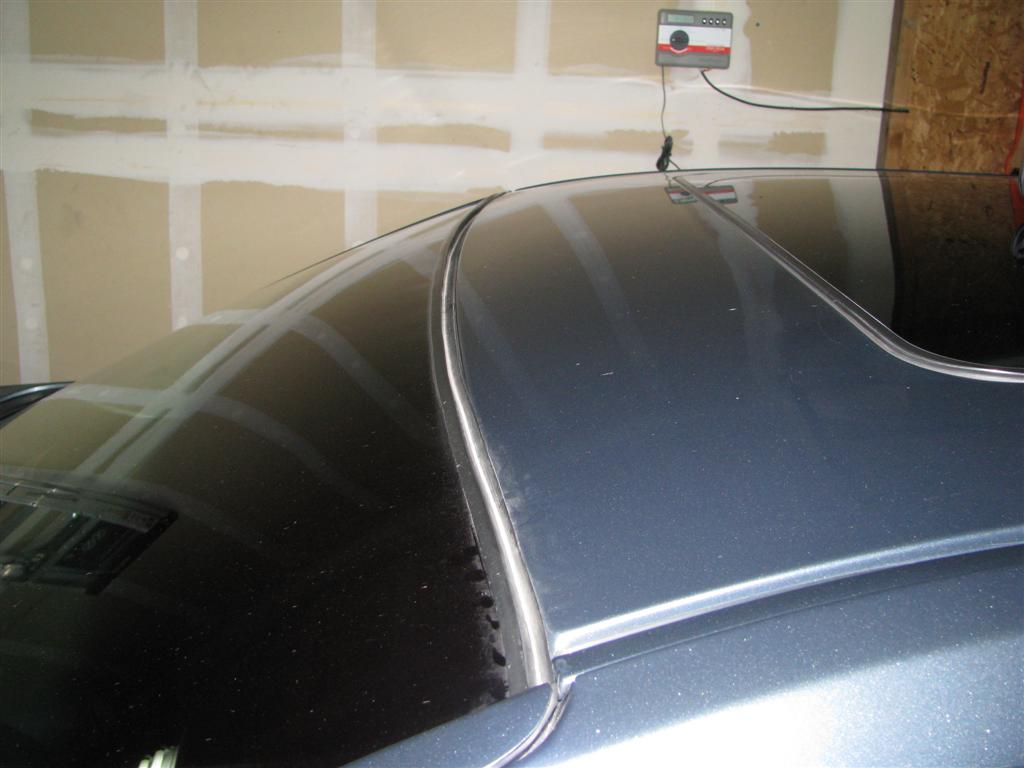
The inside of the sunroof was dry and showed no signs of recent wetness. I poured water into each corner of the sunroof and clean water immediately came out the proper exits as fast as I was pouring it in. I ran weedeater line through the hoses but found no obstructions. The rubber front fender seals were in place and not moving over the drain exits as the door opened and closed -- the water exited the front drains just as quick with the door closed as it did with the door open.
I removed the plastic cowling between the windshield and the firewall. There was no debris or other blockages and the big body drain was open. I removed the cabin filter -- it was completely dry. Looking into the back of the fan there was no evidence of water -- present or past.
I ran a fairly heavy stream of water over the top of the sunroof and down onto the rain gutters and windshield for about 20 minutes. The water flowed where you would expect it to and exited where you would expect it to with no backups.
With one exception. There is an open gap in the top center of the windshield seal. It accepts a pretty healthy amount of water without backing up and overflowing. The water that went into that gap exited on the driver side drain, saw nothing on the passenger side.
Removed the panel and glove box but could see no water tracks or other evidence of water above.
Removed the A-pillar trim and the sunroof hoses and everything looked pristine and were dry as a bone.
The process of elimination seems to indicate that the windshield may be letting the water in but I can't find any visual evidence of that. No condensate builds up inside the car and close examination of the exposed edges doesn't show any evidence of water.
I'm left with the possibility that there is another path for the water to follow underneath the edge of the windshield and/or it has something to do with the top center gap in the windshield seal.
Before I take it in to Safelite to have the windshield removed, cleaned and resealed I thought I'd see if anyone has any experience, or knowledge of, a similar issue and what the fix was. Also, curious if all the CTS-V cars have that open top center gap in the windshield seal.
[Almost] at wits end...
Do all CTS-V windshield's have this gap?
Last edited by WoodyFromBama; 09-28-2017 at 04:18 PM.
No, and I'm not sure that's the factory part. It should be one solid piece all the way across. Part # is 25680777, and it's only $20-25.
With that said, that's just a cosmetic part and/or reduces wind noise over the gap between the windshield and roof. As it sounds like you already know, the actual seal is the adhesive that holds the windshield in place. So even with that gap, I don't think that would explain your leakage issue. I'm no help on that front - you've already checked everything I would've thought to check!
Like looking for a tire -- a very big tire -- leak. Another guy suggested I close everything up and set off a smoke bomb inside. Might work but the difficulty of sealing the "Nader Vents" make both of those approaches very difficult.
Like looking for a tire -- a very big tire -- leak. Another guy suggested I close everything up and set off a smoke bomb inside. Might work but the difficulty of sealing the "Nader Vents" make both of those approaches very difficult.
Depends on how creative you can be.
You say the cabin air filter is dry, so no problem sealing that one off.
Since you already managed to force water in via a steam clean, have someone lay down in the passenger side with a flashlight after you remove all the interior stuff and do it again.
I wouldn't do the windshield until I found the leak.
What about the door? The fact that you said there was water under the dash would tend to make me think it's not the door, but it seems like you've focused a lot of effort on the windshield & sunroof without finding a source, so maybe it's the door.
I have noticed that there appears to be 4 evenly placed drains under the car that tend to be pretty slow to drain and when they do there is a fair amount of water with some dark sediment. They look like they are located inboard enough to be coming from a body panel or sub-frame. After spraying it with water for quite a while I let it dry out before pulling it into the garage. When I jacked up the passenger side I was surprised to hear water moving but when I put it back down nothing came out. When I backed it out of the garage today the water was dripping out of those 4 spots but my son had to leave and I didn't get a chance to investigate further. The next time I get the car I'll put it up on stands and see if I can find and clear all of the drain holes.
Now for the embarrassing part. I broke one of my cardinal rules and did not take a picture or otherwise document where I removed the following foam piece from. I think it was from under the passenger side corner of the cowling but it's like a darned Rubic's Cube -- I turned it ever which way but didn't find anyway that it seemed to fit like it belonged there. Do any of you recognize it and do you have a picture or description of where/how it fits?
I've never seen mine removed from that area, and now I don't want to remove it (for fear that I'd never get it back in there correctly!). If I remember, I'll take a look at mine tomorrow to see if I can offer any advice on how it appears to be oriented.
Yes if you don't mind. You don't have to remove the cowling vent cover, just take a well lighted pic down into the hood hinge area so that I can see what part of this is visable and in what orientation.
Welcome. How did u remove the battery box anyways? I tried to remove mine when i did the header install but it snapped in half, still works good though with the bolts in it and the battery inside the tray
At first I couldn't get the box out after removing all the bolts. Then I removed the cowl vent for the driver side and loosened that little center section which allowed me to push it out of the way which let the battery box [barely] come out. I had to remove the same fastener that gets in the way of removing the cabin filter.
 09-24-2017, 12:08 PM


 (for fear that I'd never get it back in there correctly!). If I remember, I'll take a look at mine tomorrow to see if I can offer any advice on how it appears to be oriented.


