When you click on links to various merchants on this site and make a purchase, this can result in this site earning a commission. Affiliate programs and affiliations include, but are not limited to, the eBay Partner Network.
Since it seems like 4L60 builds are what all the cool people are doing these days, I thought I'd post mine. It's for my wife's 4.8 swapped '89 Firebird. You can read the swap thread here.
I'm using the best parts from two transmissions: One is from the engine donor (an '04 Tahoe), which I can tell has been rebuilt at least twice, and the other is from an '01 Silverado (I think this one is all original).
I'm not going to be reinventing the wheel on this build, and I'm not building it for a 1,000 horsepower engine, either. I'm just going to be doing tried-and-true methods, and using a few upgrades and real-world tips that I've learned on here.
This isn't my first 4L60 build; I did one years ago in tech school, where I had access to all the fancy gadgets and gizmos that GM had to offer for these transmissions. I don't have that stuff now, so I'll be doing it the hard way.
Here's the parts/ mod list:
-Borg Warner High Energy clutches
-Sonnax end plugs
-Fitzall TCC valve
-Torlon check *****
-Central Valvebodies AFL valve (with 3-2 valve springs inside)
-Wide 2-4 band
-4-pinion planetaries (Because "Danger" is my middle name...)
-Corvette servo
-Press out and re-seal input shaft
-New bushings and Torrington bearings
-Bonded apply pistons
-Kolene steels for 3-4 clutches
-Blocking both 3-2 valves
-Removing rear checkball for faster reverse engagement (I HATE slow reverse engagement)
-Eliminating 3-4 accumulator
-Drill valvebody accordingly
-Trailblazer I-6 torque converter
-Vacuum-test valvebody
I appreciate any questions, input, parts suggestions, criticisms, or **** talk that y'all can dish out.
I'll spare y'all some of the teardown pics (if you've seen one set of used clutches out of a core transmission, you've seen them all, am I right?), and try to concentrate on what will be different in this build, or to detail something that may have been glossed over before.
Something I remember Vorteciroc mentioning/ complaining about was guys on here not posting before/ after input/ output shaft endplay numbers.
Well here ya go!
Start:
Finish:
Output shaft (measurement taken off of the reluctor ring):
Start:
Finish:
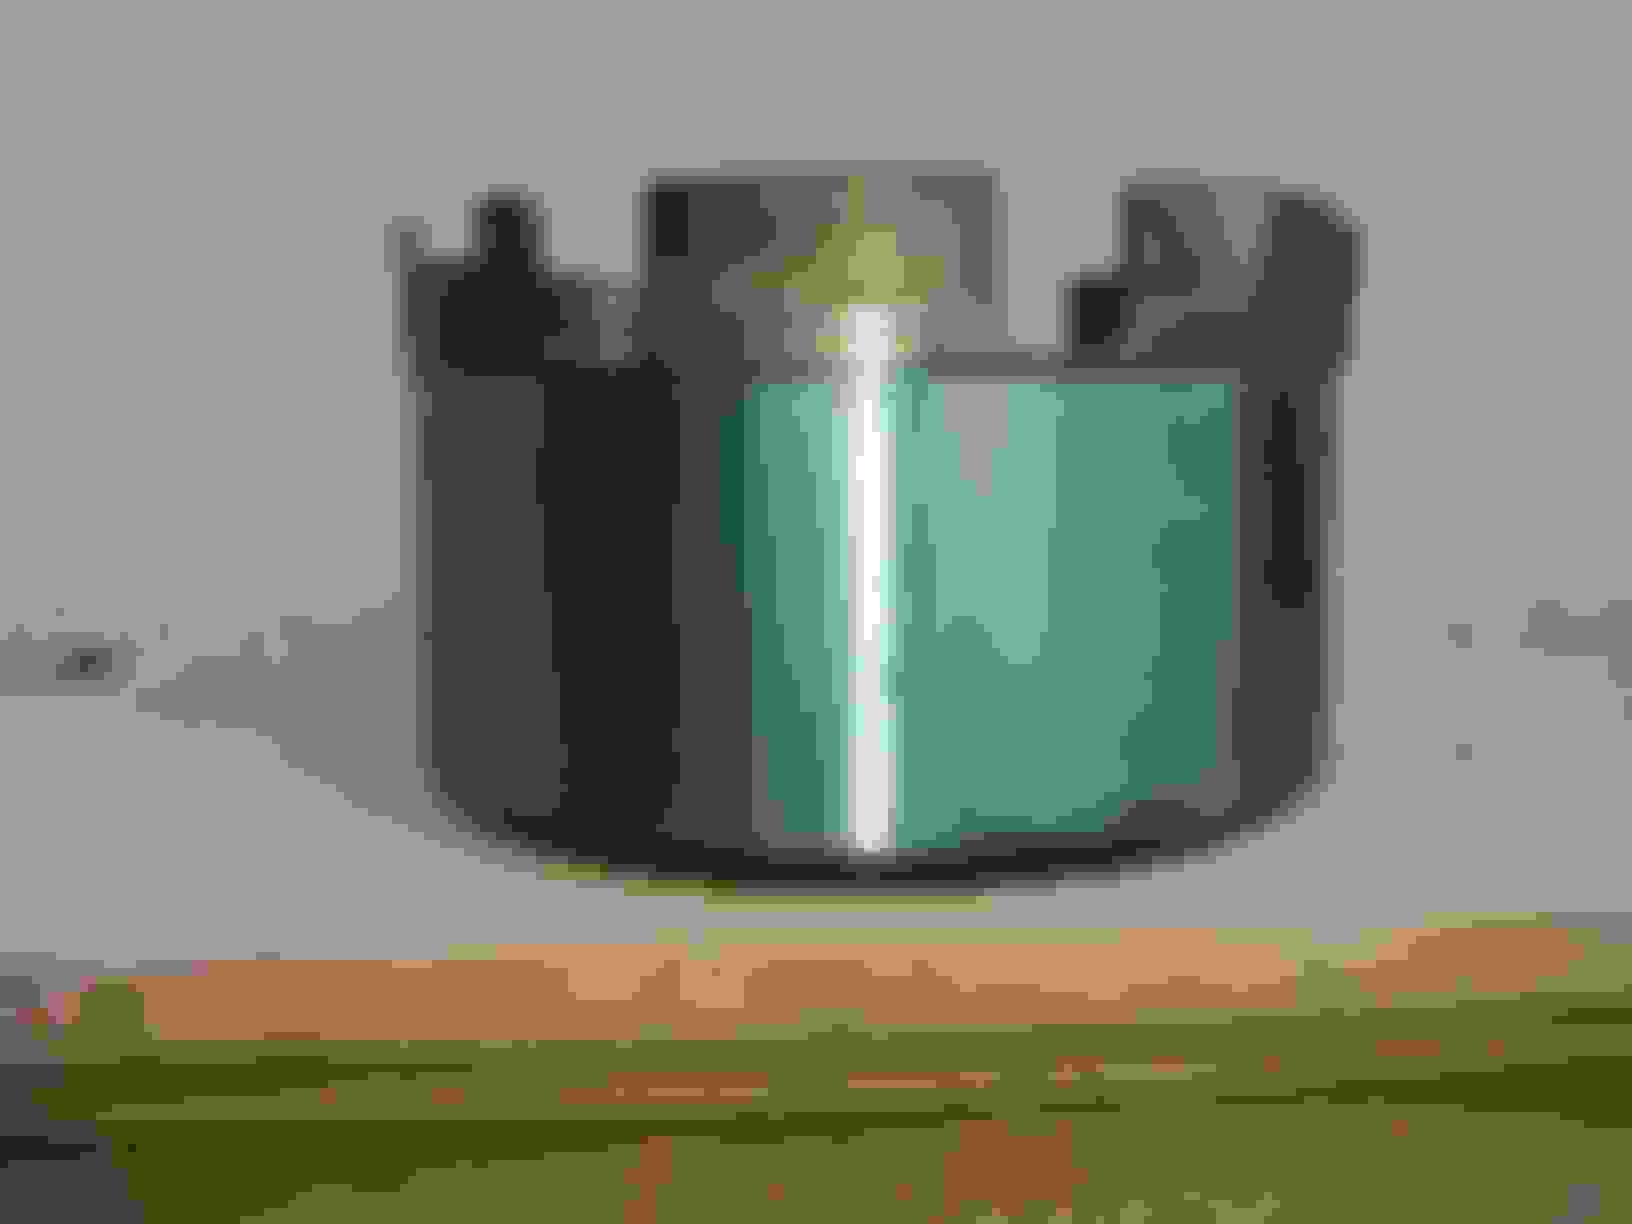
I think I'll be reusing the reverse input drum from the '04 Tahoe; I checked the flatness in six spots with a straightedge, and couldn't get a .0015" feeler gauge through anywhere.
The same could not be said for the '01 drum; a .004" feeler gauge made it through a couple of spots; I suspect that the Tahoe drum was replaced during its last rebuild.
I've heard that buffing this with 400 grit sandpaper should be sufficient.
My drum was low miles but I read nearly everywhere to replace it if going with a wide band so I fell for it & bought a GM TY-mfd. new one back before the shortage...
Is that the VJCX converter or the TMBX?
P.S. Are you building as a 2004 with wedge seal, or as 2001? I saw big differences in rebuild kit prices for '04 & up... that seal adds $10-$20 alone...
Looks like a good build plan to me. I would not lose any sleep over that reverse input drum. Be sure to sand around the drum not up and down, I'm sure you knew that though.
Is that the VJCX converter or the TMBX?
P.S. Are you building as a 2004 with wedge seal, or as 2001? I saw big differences in rebuild kit prices for '04 & up... that seal adds $10-$20 alone...
I'm going to use the "high-stall" (2,600 rpm), slightly smaller VJCX converter. It's a cheap upgrade, and believe it or not, even though this an "LS" swap, it's not a high-performance build (read the thirdgen.org thread for all the details.).
As far as the seal goes, I just cross-referenced the part, and I don't think there will be any issue.
I'm buying most of these parts locally; there are a lot of transmission parts shops down here... But they are all in this one small area of one town, for some reason.
Where are you buying your parts from?
EDIT:
Originally Posted by bbond105
Looks like a good build plan to me. I would not lose any sleep over that reverse input drum. Be sure to sand around the drum not up and down, I'm sure you knew that though.
I'm going to chuck it up into a brake lathe and use a piece of sandpaper on a rubber pad for a minute or so; just give it a good fresh surface, sort of like doing a dingle-ball hone on some cylinders.
I dont want to be a , but both of your reverse drums looks so hardly .
They both doesnt look straight. You might want to replace them with a new piece. Maroon named a cheap RID brand name that ACDelco uses with it's logo printed on as OEM.
Nice build tho. How do you feel about them kolenes? What clearances did you set on 3/4?
I'm going to use the "high-stall" (2,600 rpm), slightly smaller VJCX converter. It's a cheap upgrade, and believe it or not, even though this an "LS" swap, it's not a high-performance build (read the thirdgen.org thread for all the details.).
As far as the seal goes, I just cross-referenced the part, and I don't think there will be any issue.
I'm buying most of these parts locally; there are a lot of transmission parts shops down here... But they are all in this one small area of one town, for some reason.
Where are you buying your parts from?
EDIT:
I'm going to chuck it up into a brake lathe and use a piece of sandpaper on a rubber pad for a minute or so; just give it a good fresh surface, sort of like doing a dingle-ball hone on some cylinders.
I buy from transmissionjobber in El Paso TX, usa.industries, mtsautotransparts, maxxindustries, or amazon. Most I listed are on ebay. These 4 usually have the best prices, cheaper than wholesalers like WIT or Transtar. I used globaltransmissionparts too. Rock Auto was cheapest on many items if you can get everything from 1 warehouse--otherwise you pay multiple shipping costs--I got some big-ticket parts (Sonnax Smart Tech drum & M300 shafts) from them, and up until this month they offered 5% discount codes. Global also had a 5% discount code if you sign up and leave something in your shopping cart--they'll send you a 5% off code that doesn't expire.
As for the seal, they changed from an o-ring type seal that went around the pump in a groove (2003 & down) to a rigid stiff seal that goes on between the transmission/pump and the bellhousing and gets squeezed between the pump & bellhousing (2004 & up.)
Thanks for posting. Look forward to your build process. Looks like you have a good start.
-Borg Warner High Energy clutches -Sonnax end plugs -Fitzall TCC valve -Torlon check ***** - peen the sep plate for these -Central Valvebodies AFL valve (with 3-2 valve springs inside) - vacuum check this first, you may not need this. Odd are you will, and this is a great piece, but check it first. -Wide 2-4 band -4-pinion planetaries (Because "Danger" is my middle name...) -Corvette servo -Press out and re-seal input shaft - make sure to dress the input shaft ledge before you press this back in to prevent galling the drum -New bushings and Torrington bearings -Bonded apply pistons -Kolene steels for 3-4 clutches -Blocking both 3-2 valves -Removing rear checkball for faster reverse engagement (I HATE slow reverse engagement) -Eliminating 3-4 accumulator - leave out the check ball also -Drill valvebody accordingly - assuming you meant sep plate? -Trailblazer I-6 torque converter -Vacuum-test valvebody - post your results. One thing that I do before I tear down an aluminum VB is clean it well with brake clean. Vaccum check. Then soak the **** out of it with WD-40 and let sit overnight. The WD will creep all around the valves and makes it SO much easier to get them out of the bores and prevent getting stuck. Especially the abuse plugs. Then, once you have your VB bare, clean it well with brake clean, mod it accordingly then soak it again with WD then assemble.
A few questions I have.
I dont see any pump mods?
Are you doing the HD 2-3 valve? If so, leave the check ball out. If not, leave check ball in
Forward and Rev Abuse valves? These tighten up the VB really well.
Make sure to check your reaction shaft. Ill bet money the teeth are worn where it splines to the ring gear.
Also im assuming those end play numbers are before tear down by how dirty the input/output shafts are?
Dont forget to vacuum check the pump as well
Forward sprag?
Thanks for posting. Look forward to your build process. Looks like you have a good start.
-Borg Warner High Energy clutches -Sonnax end plugs -Fitzall TCC valve -Torlon check ***** - peen the sep plate for these -Central Valvebodies AFL valve (with 3-2 valve springs inside) - vacuum check this first, you may not need this. Odd are you will, and this is a great piece, but check it first. -Wide 2-4 band -4-pinion planetaries (Because "Danger" is my middle name...) -Corvette servo -Press out and re-seal input shaft - make sure to dress the input shaft ledge before you press this back in to prevent galling the drum -New bushings and Torrington bearings -Bonded apply pistons -Kolene steels for 3-4 clutches -Blocking both 3-2 valves -Removing rear checkball for faster reverse engagement (I HATE slow reverse engagement) -Eliminating 3-4 accumulator - leave out the check ball also -Drill valvebody accordingly - assuming you meant sep plate? -Trailblazer I-6 torque converter -Vacuum-test valvebody - post your results. One thing that I do before I tear down an aluminum VB is clean it well with brake clean. Vaccum check. Then soak the **** out of it with WD-40 and let sit overnight. The WD will creep all around the valves and makes it SO much easier to get them out of the bores and prevent getting stuck. Then, once you have your VB bare, clean it well with brake clean, mod it accordingly then soak it again with WD then assemble.
A few questions I have.
I dont see any pump mods?
Are you doing the HD 2-3 valve? If so, leave the check ball out. If not, leave check ball in
Forward and Rev Abuse valves? These tighten up the VB really well.
Make sure to check your reaction shaft. Ill bet money the teeth are worn where it splines to the ring gear.
Also im assuming those end play numbers are before tear down by how dirty the input/output shafts are?
Dont forget to vacuum check the pump as well
Forward sprag?
Thanks for posting. Look forward to your build process. Looks like you have a good start.
-Borg Warner High Energy clutches -Sonnax end plugs -Fitzall TCC valve -Torlon check ***** - peen the sep plate for these -Central Valvebodies AFL valve (with 3-2 valve springs inside) - vacuum check this first, you may not need this. Odd are you will, and this is a great piece, but check it first. -Wide 2-4 band -4-pinion planetaries (Because "Danger" is my middle name...) -Corvette servo -Press out and re-seal input shaft - make sure to dress the input shaft ledge before you press this back in to prevent galling the drum -New bushings and Torrington bearings -Bonded apply pistons -Kolene steels for 3-4 clutches -Blocking both 3-2 valves -Removing rear checkball for faster reverse engagement (I HATE slow reverse engagement) -Eliminating 3-4 accumulator - leave out the check ball also -Drill valvebody accordingly - assuming you meant sep plate? -Trailblazer I-6 torque converter -Vacuum-test valvebody - post your results. One thing that I do before I tear down an aluminum VB is clean it well with brake clean. Vaccum check. Then soak the **** out of it with WD-40 and let sit overnight. The WD will creep all around the valves and makes it SO much easier to get them out of the bores and prevent getting stuck. Especially the abuse plugs. Then, once you have your VB bare, clean it well with brake clean, mod it accordingly then soak it again with WD then assemble.
A few questions I have.
I dont see any pump mods?
Are you doing the HD 2-3 valve? If so, leave the check ball out. If not, leave check ball in
Forward and Rev Abuse valves? These tighten up the VB really well.
Make sure to check your reaction shaft. Ill bet money the teeth are worn where it splines to the ring gear.
Also im assuming those end play numbers are before tear down by how dirty the input/output shafts are?
Dont forget to vacuum check the pump as well
Forward sprag?
@Edward Stark
Aside from the 2 items in green, this is either stock parts or basic parts needed to fix the hydraulics in the Valve Body
You'll have a similar amount of hydraulic repair parts to properly do a 4l80e
the 4l80e needs EXTENSIVE modification that isn't talked about on this forum...even in the long early vs late lube thread
This is just a list of quality parts and emphasizing a quality assembly/attention to detail.
I don't get the "swap to a 4l80e" hype
I also don't understand how you've gone from asking the most basic questions, to giving all the advice, in under a calendar year. That's a bit surprising for anybody that takes the advice
I don't know anything about a 4L60E but since rebuild suggestions are being listed in this thread just wanted to check with the experts on which upgrades/mods are necessary on a 700 rwhp build? Say 3800 lbs and and not spinning past 7000.
And yes, I probably should review the ASTG manual and more performance rebuild threads on this site and other sites before even asking these questions.
Getting ahead of myself here just out of pure curiosity alone to learn more about a performance 4L60E. Kind of embarrassing for me that I know more about the 4L80E swap into an fbody than a 4L60E when the 4L60E comes in the car lol...
Where would one start to look for a write up on the "pump mods" and "free mods" done to the 4L60E and the typical hydraulic repair parts?
I've come across mention of the items below. Which ones are done on a 700 rwhp build?
Front and Rear HD 5 Pinion Planetaries - saw mention of these in a rebuild kit
Heavy Duty Sun Shell 77749-02K
29 Element Heavy Duty Dual Cage Sprag
Using an 8 count BW High Energy frictions in the 3-4 clutch
Using a 13 vane billet pump rotor
Sonnax billet forward clutch piston
Heavy Duty Overrun Clutch Hub 74574-HD
HD input shaft
HD output shaft
Heavy Duty Reaction Shaft Kit 74602-01Kft
4th Gear Super Hold Dual Servo Kit 77767K
Making notches in the pump surface to prevent movement - where can I find pictures on this modification?
Eliminating the the partial lockup function - how is this done?
Modifying the front and rear sun gear - lube slots I'm assuming?
Looks nice, don't it? That's what about a minute on a brake lathe with 400 grit sandpaper will do.
Originally Posted by 2BFAST
Thanks for posting. Look forward to your build process. Looks like you have a good start.
-Drill valvebody accordingly - assuming you meant sep plate?
HA! Yes, that's what I meant.
Originally Posted by 2BFAST
A few questions I have.
I dont see any pump mods?
Are you doing the HD 2-3 valve? If so, leave the check ball out. If not, leave check ball in
Forward and Rev Abuse valves? These tighten up the VB really well.
Make sure to check your reaction shaft. Ill bet money the teeth are worn where it splines to the ring gear.
Also im assuming those end play numbers are before tear down by how dirty the input/output shafts are?
Dont forget to vacuum check the pump as well
Forward sprag?
I dont see any pump mods? - The only pump mod that I had PLANNED was something I heard Maroon Monster mention awhile back: Stick a 5/16" bolt inside the pump slide spring to do the same job as a Sonnax spring.
Is there anything that you (or anyone else) recommend, while it's out? They're both 13-vane pumps, and I'm not upgrading to a 10-vane rotor.
Are you doing the HD 2-3 valve? - Will I really gain that much with the HD 2-3 valve? This is just a stock-ish rebuild, for a totally stock 4.8. If it's going to prolong the life of the transmission and improve shift quality, I'll do it.
Forward and Rev Abuse valves - I was just going to use the stock ones if they vacuum-check well; is there a better option?
Forward sprag? - Both sprags from both transmissions passed the ol' "spin test," so I was planning on reusing the best of them. Unless I shouldn't.
Yes, the endplay number were before the teardown. The "start" and "finish" labels referred to the start of the test (with the dial indicator at zero), and "finish" was with the shaft extended all the way. This thing isn't close to being finished yet. I'm still inspecting parts to see which are best, if either of the two are.
For example, one set of rear planetaries (from the '01 transmission) had a couple of wobbly gears, so it's going in the junk pile. But I wanted some practice taking one of the gears out to change the captive Torrington bearing. I used a die-grinder with a carbide burr to take off the stake marks, and the shaft came out pretty easy with a hammer and chisel.
Question: Is this the best way to do this? How do you smart guys do it?
For the pump, I would replace the cast iron ring with TransGo hardened steel rings. The stock ring has been known to break if the pump gets a gulp of air.
If you're not going to be beating on the trans you can get by without the HD 2-3 valve, but it adds some protection to the sprag. In my opinion the sprag is the weak point of this trans. so any help I can give it I will.
Looks nice, don't it? That's what about a minute on a brake lathe with 400 grit sandpaper will do.
I think what Edward might have been referring to is not the area that the band runs on, but the rest of it--the lug area with the notches. From the pic you posted, the lugs aren't parallel to the machined area where the band rides. they look bowed out at the top when the drum is sitting with the open end up. Those notches engage the notches on the sun shell.. maybe someone else can notice it.
Maybe if you turn it upside down, you can try putting a square up against the drum and it may show a gap under the bottom or, if the bottom of the square is completely on the table, you may see a gap between the vertical arm of the square and the lug section of the drum.
If you're not going to be beating on the trans you can get by without the HD 2-3 valve, but it adds some protection to the sprag. In my opinion the sprag is the weak point of this trans. so any help I can give it I will.
After further research, I don't think I will be installing an HD 2-3 valve. This car will be driven in "OD" all the time.
Thank you for the advice, though.
Originally Posted by matermark
I think what Edward might have been referring to is not the area that the band runs on, but the rest of it--the lug area with the notches. From the pic you posted, the lugs aren't parallel to the machined area where the band rides. they look bowed out at the top when the drum is sitting with the open end up. Those notches engage the notches on the sun shell.. maybe someone else can notice it.
Maybe if you turn it upside down, you can try putting a square up against the drum and it may show a gap under the bottom or, if the bottom of the square is completely on the table, you may see a gap between the vertical arm of the square and the lug section of the drum.
Hope this helps.
I appreciate your input, but that reverse drum is for sure going back into this transmission. I've seen pieces that were a lot worse running around just fine on other transmissions.
If Edward Stark wants to buy a new one for me, I'm always taking donations; I have a Paypal account.

 02-19-2022, 04:59 PM


 , but both of your reverse drums looks so hardly
  .
.