


D-I-Y ABS Delete
Thread Starter
Joined: Aug 2007
Posts: 24,241
Likes: 89
From: Turnin' Wrenches Infractions: 005
I'm creating this thread to help some people with ABS deletes that may have had a similar problem as me: flaring stock brake lines.
Lets start with the reason I decided to delete ABS. I ordered a Strange 12 bolt from Carl@CRP (super nice guy) and ABS never worked. I bought a bare housing, I pressed everything on the axles, I installed everything. I know it was right. Come to find out this isn't too uncommon with 4 channel cars where you have 2 sensors, 1 at each wheel. The new housing and axles change the clearance between the exciter wheel and the abs sensor and the system never works right. A vendor here (I won't name names) swore a housing couldn't cause these issues. Bullshit. After over a year of no ABS what's the point of keeping it? It's not working anyway, and its a pain to bleed the brakes. I have driven my car about 150 miles this year so let's ditch it. Naturally I ordered the SJM kit to the tune of $200+ bucks.
My experience with the SJM kit: F-ing sucked.....for a couple of reasons. One, an idiot wrote the directions. They start abbreviating crap and its aggravating. A (fake) example. Pickup the SKMUUY and insert it into the SDOPU after the SHYUDG. Do what? Speak English!!! Two, I grabbed the tool, I grabbed the flare adapter, then proceeded to ruin tons of flares. It took me quite a while to figure out they send two adapters, one YA DON'T NEED! Yep, I picked up the wrong one. Once I figured out my error, I could flare like a pro....on the table. My stock stainless lines on the car were having no part of it. They deformed, squished, twisted, you name it. These things are tough. I read others had problems as well.
To fix it: I bought Swagelok T fittings and did away with the flares. These fittings are rated to 8k psi if I'm not mistaken. The upper part of the system is flared and you could do it all out of softer line then stock and on the table. You won't need to flare anything leaned over under the hood. There was also a train of thought: If the engine is in, leave the soft braided lines, if the engine is out, remove them. My engine is in and I ruined the braided lines so I had to adapt and overcome. My fix was to remove the steering shaft and alternator and I was easily able to cut, debur, and file the stock lines with ease. BC I started with an SJM kit, the top lines were prefabbed to the linelock and the proportioning valve. I fabbed everything below that. If you do not want to use an SJM kit to start with, then you would need to source your own components down to the stock lines. Remember 3 channel cars will only need one T and one straight fitting (SS-300-6), 4 channel needs 2 Ts and no straights. I'm not sure of the stock fitting sizes on the master but if anyone has them chime in and I will add it to this post so its easy to find. I highly recommend deleting to braided lines for aesthetics and clearance.
And we are off: Here's what happened after I installed the SJM kit and filled up the master cylinder.
First off I had to find a way to hook to a stock 3/16th brake line without a double flare. I purchased two of these for a total price of $34.
This was about $5 at the local O'Riellys. Worked awesome for the money.
This was the longest piece of hose they had, it was about $10 I think. This was used from the linelock to the front T, and the proportioning valve to the rear T.
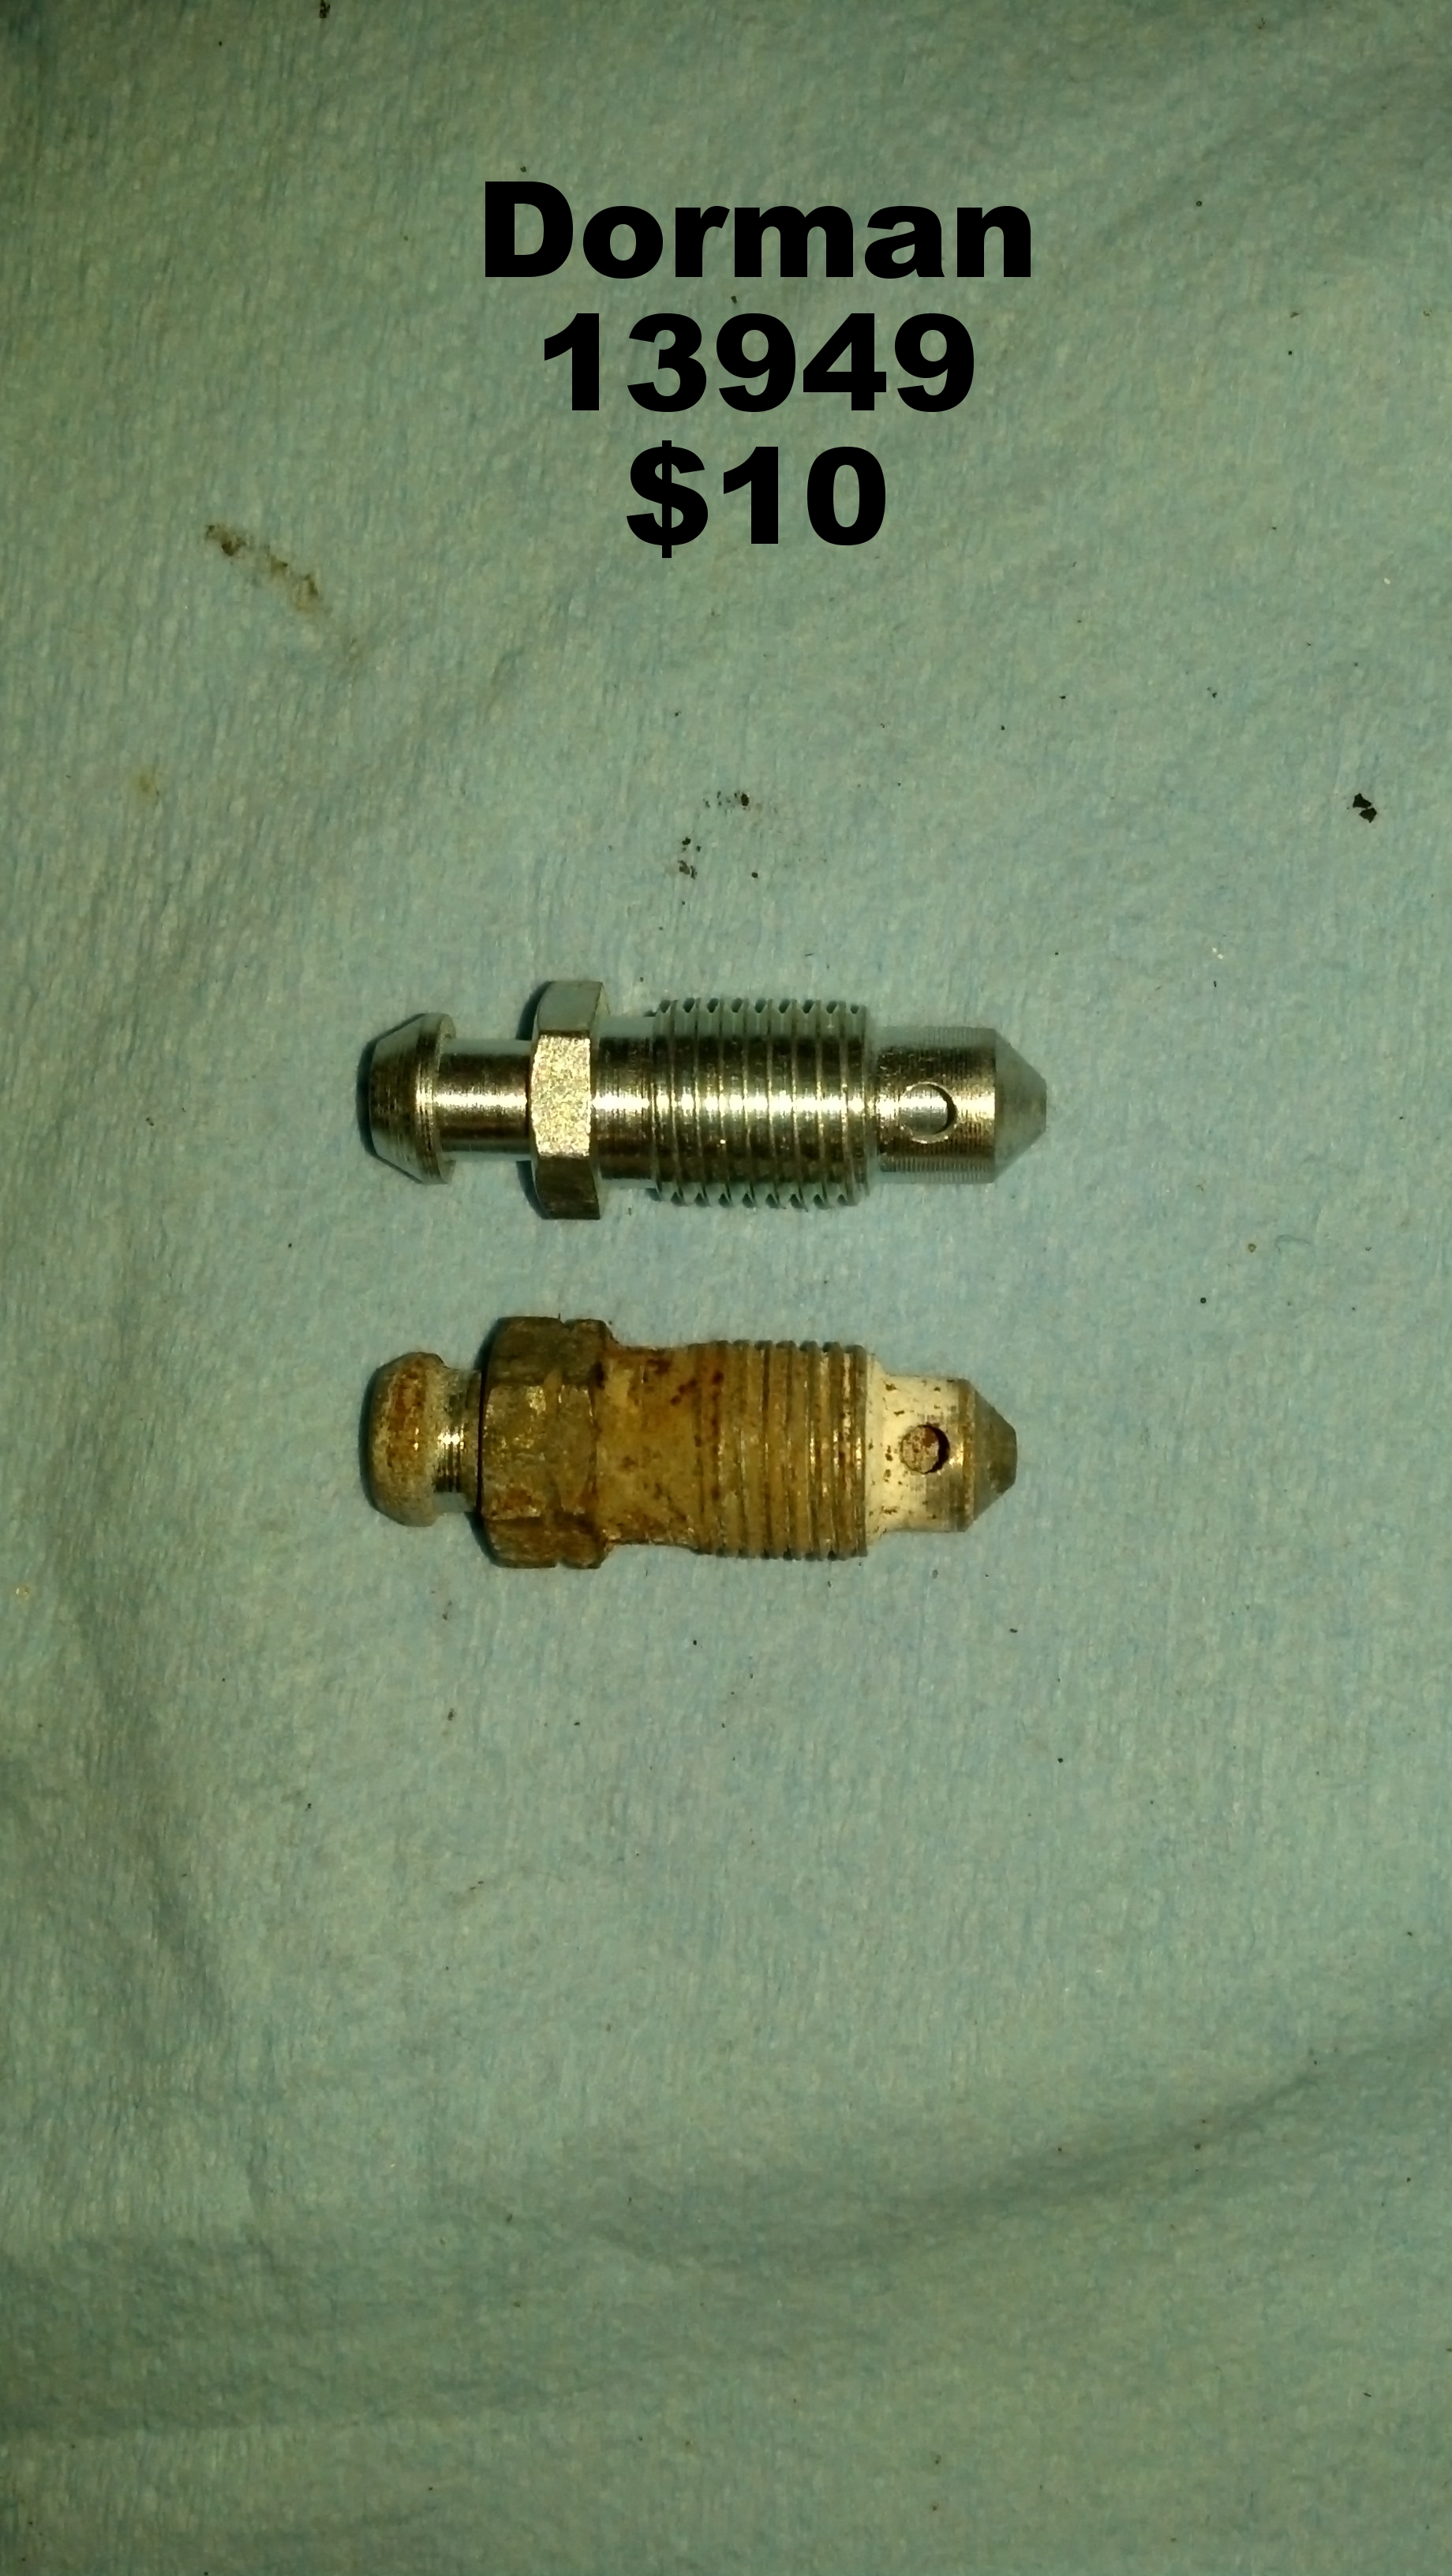
I've bled this car so many times I have stripped a bleeder nut. I decided to replace it and figured I'd replace them all with this combo pack from Dorman. Comes with about 10 total but it has the correct 4 for f-bodies.
So after removing the alternator and the steering shaft I had to cut the rear lines back down on the frame. I wanted to show where I located the Swagelok for reference. I decided on positioning the T sideways and only bending one line. I cut with a cutoff wheel, debured the outside of the tube and chamfered the inside. I made sure there was nothing that you could catch your nail on or whatever. The factory heat shield was able to be re-installed also.
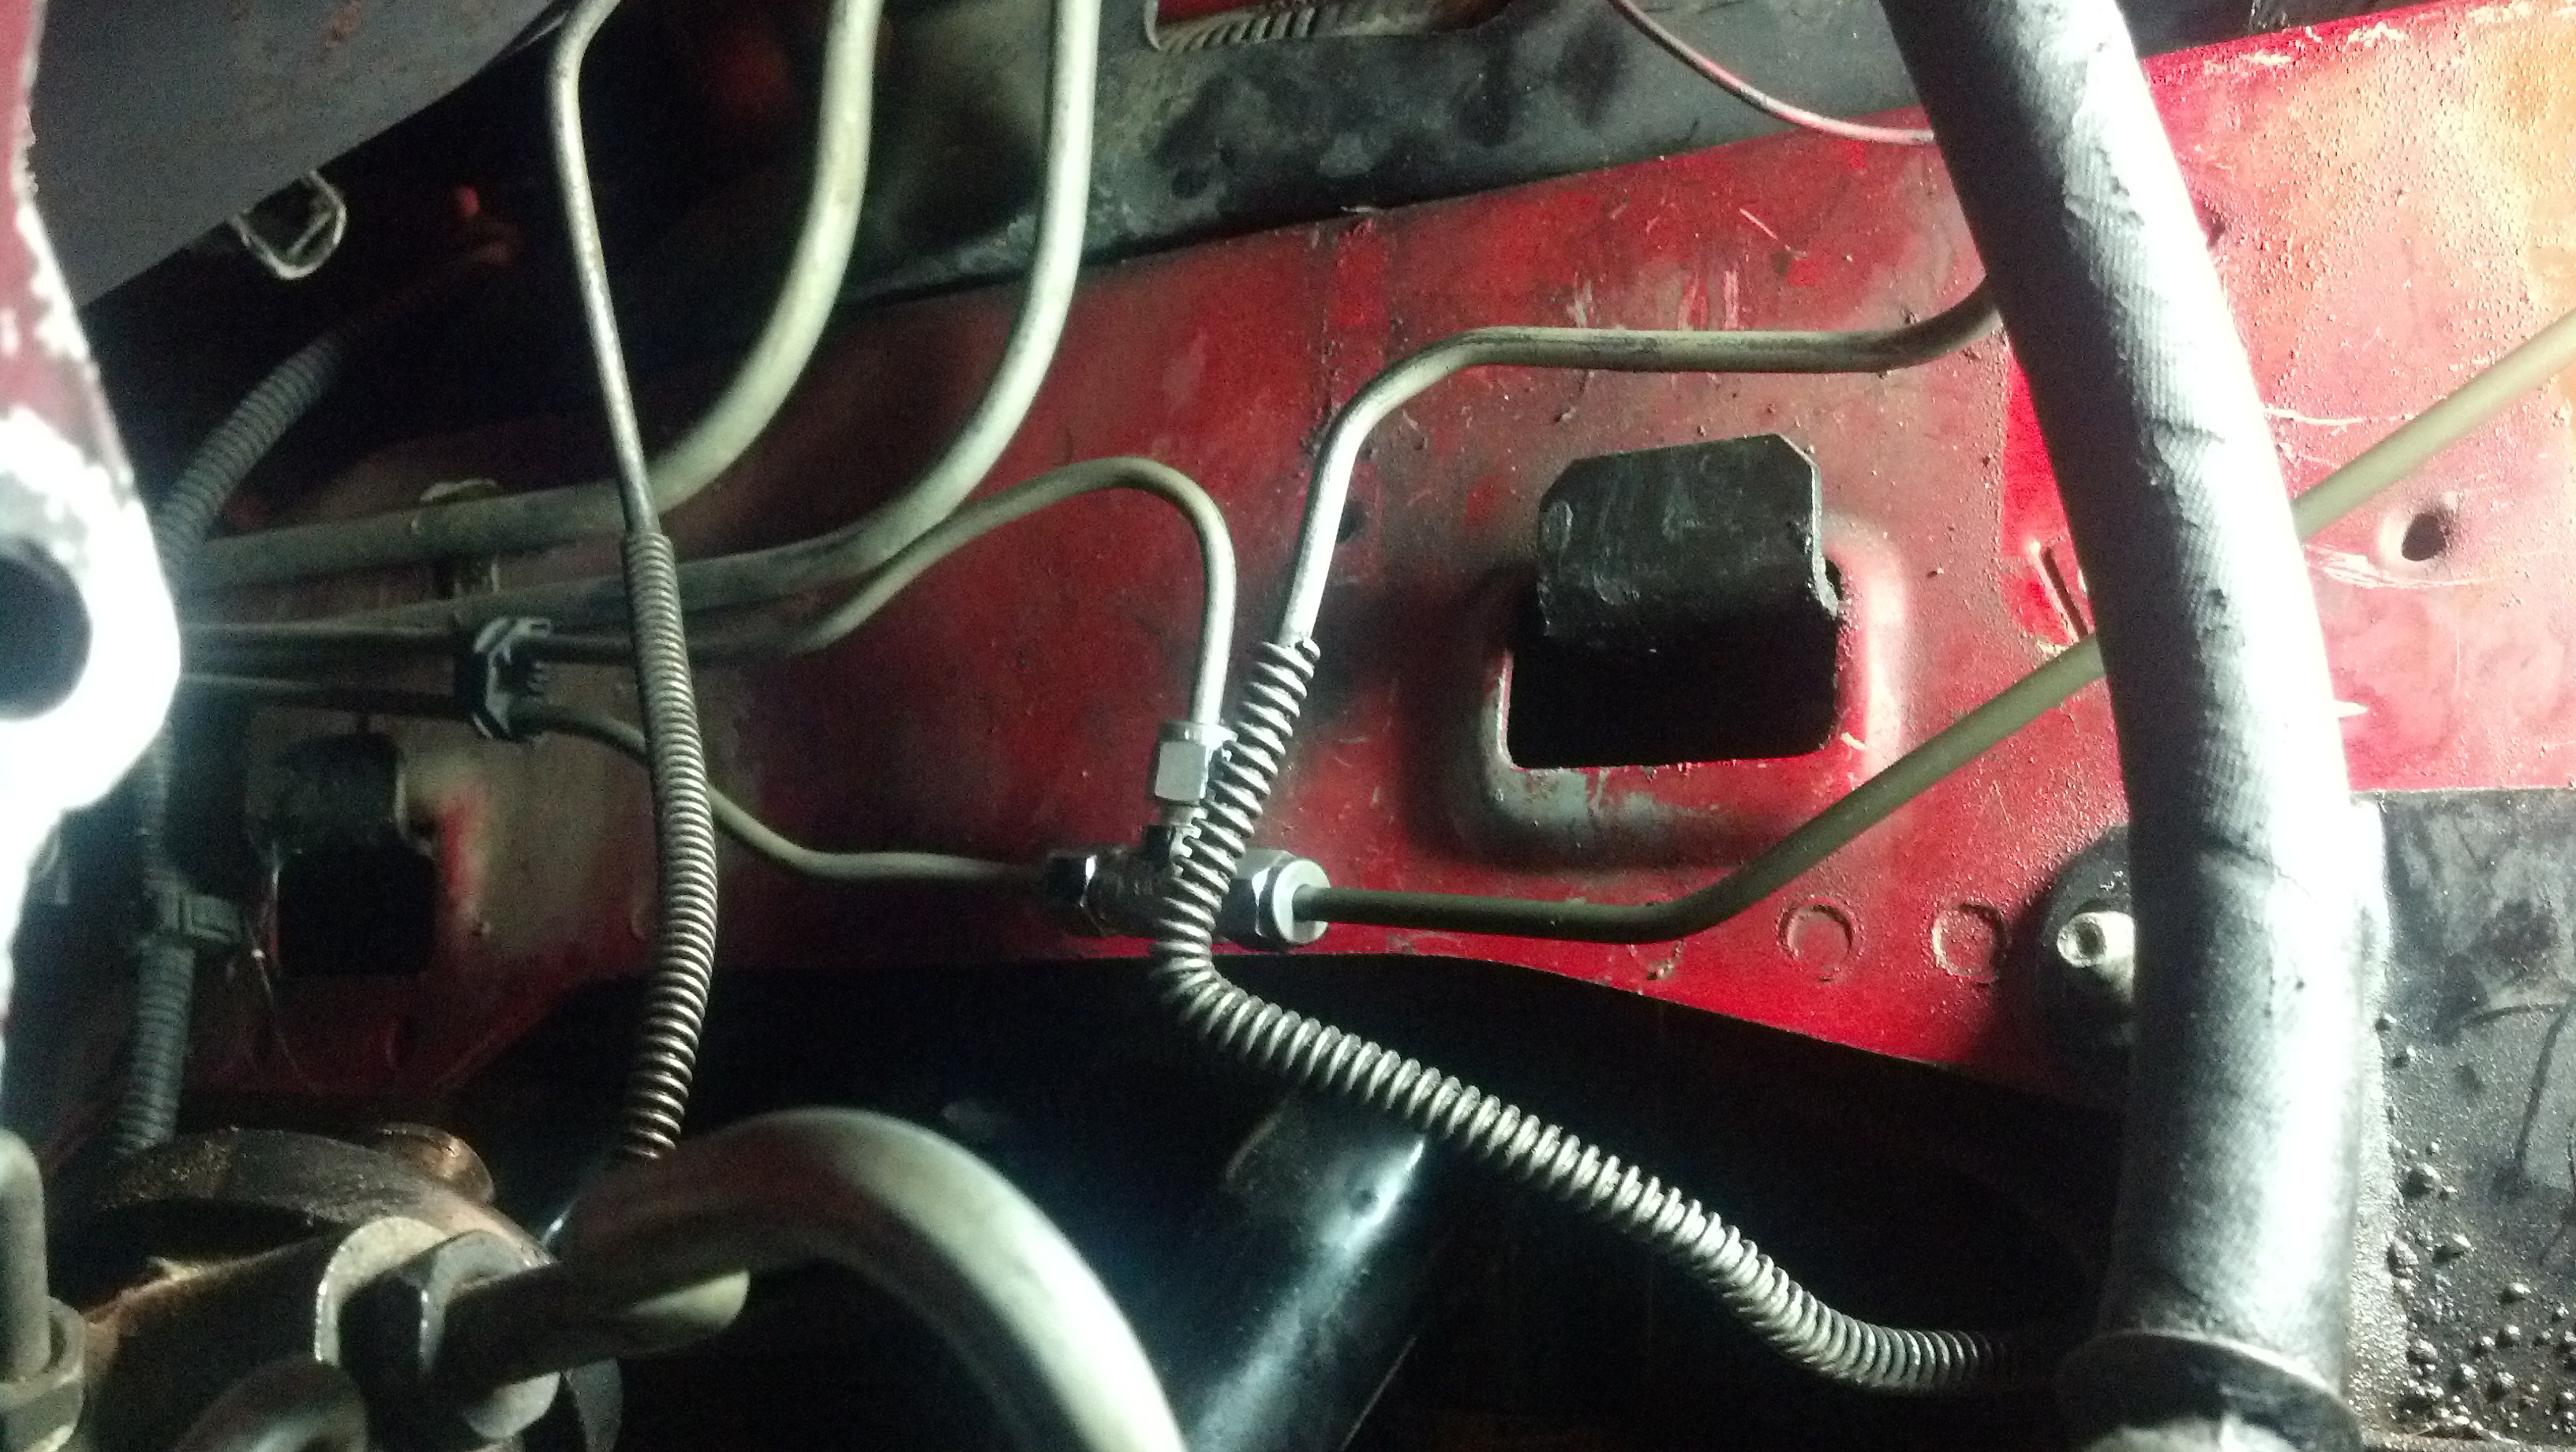
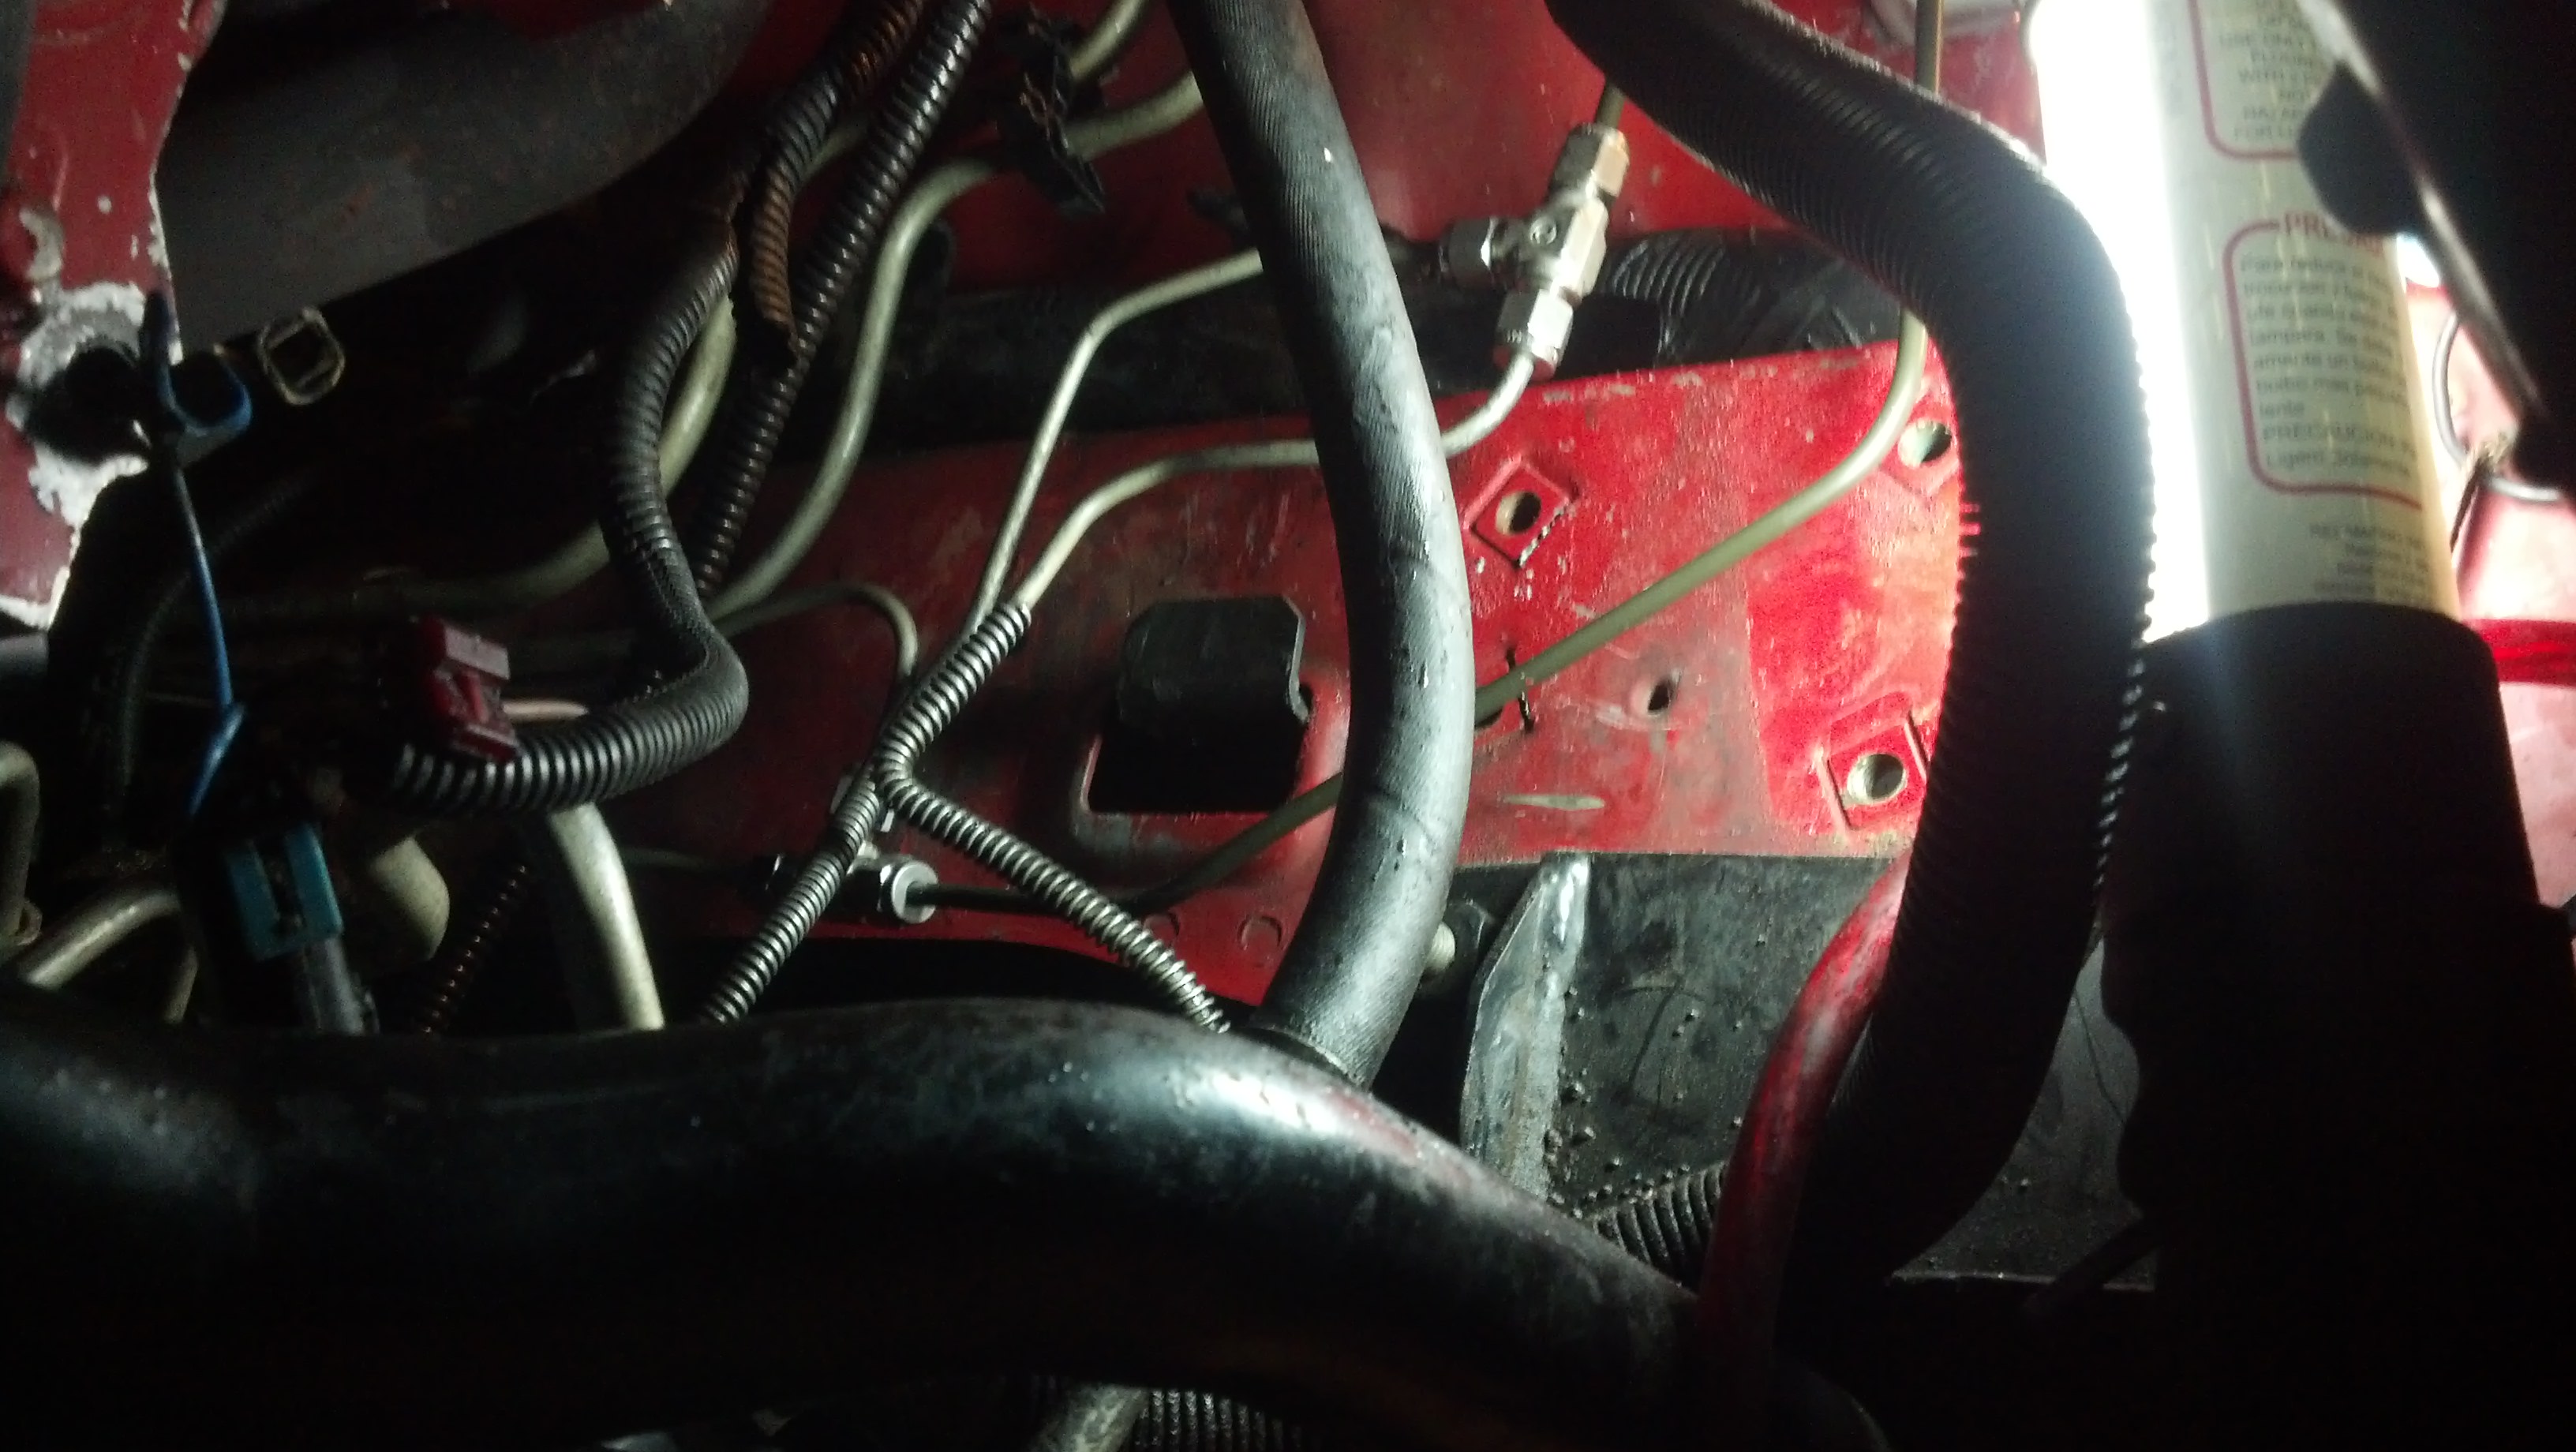
Things got a little more crowded with the front lines done. For reference I initially trimmed just below the braided section so I could get a gameplan. After I figured out how to use the stock bends to my advantage there was another final cut on each line just a tad down from my first cuts. It was super easy to accomplish this. First pic is from the bottom, second from the top. The dark line is the line from Orielly, and it comes flared on both ends. I cut it in the center and had my flared ends and my smooth ends, just need to cut it to length and bend which is simple because it is such a short run.
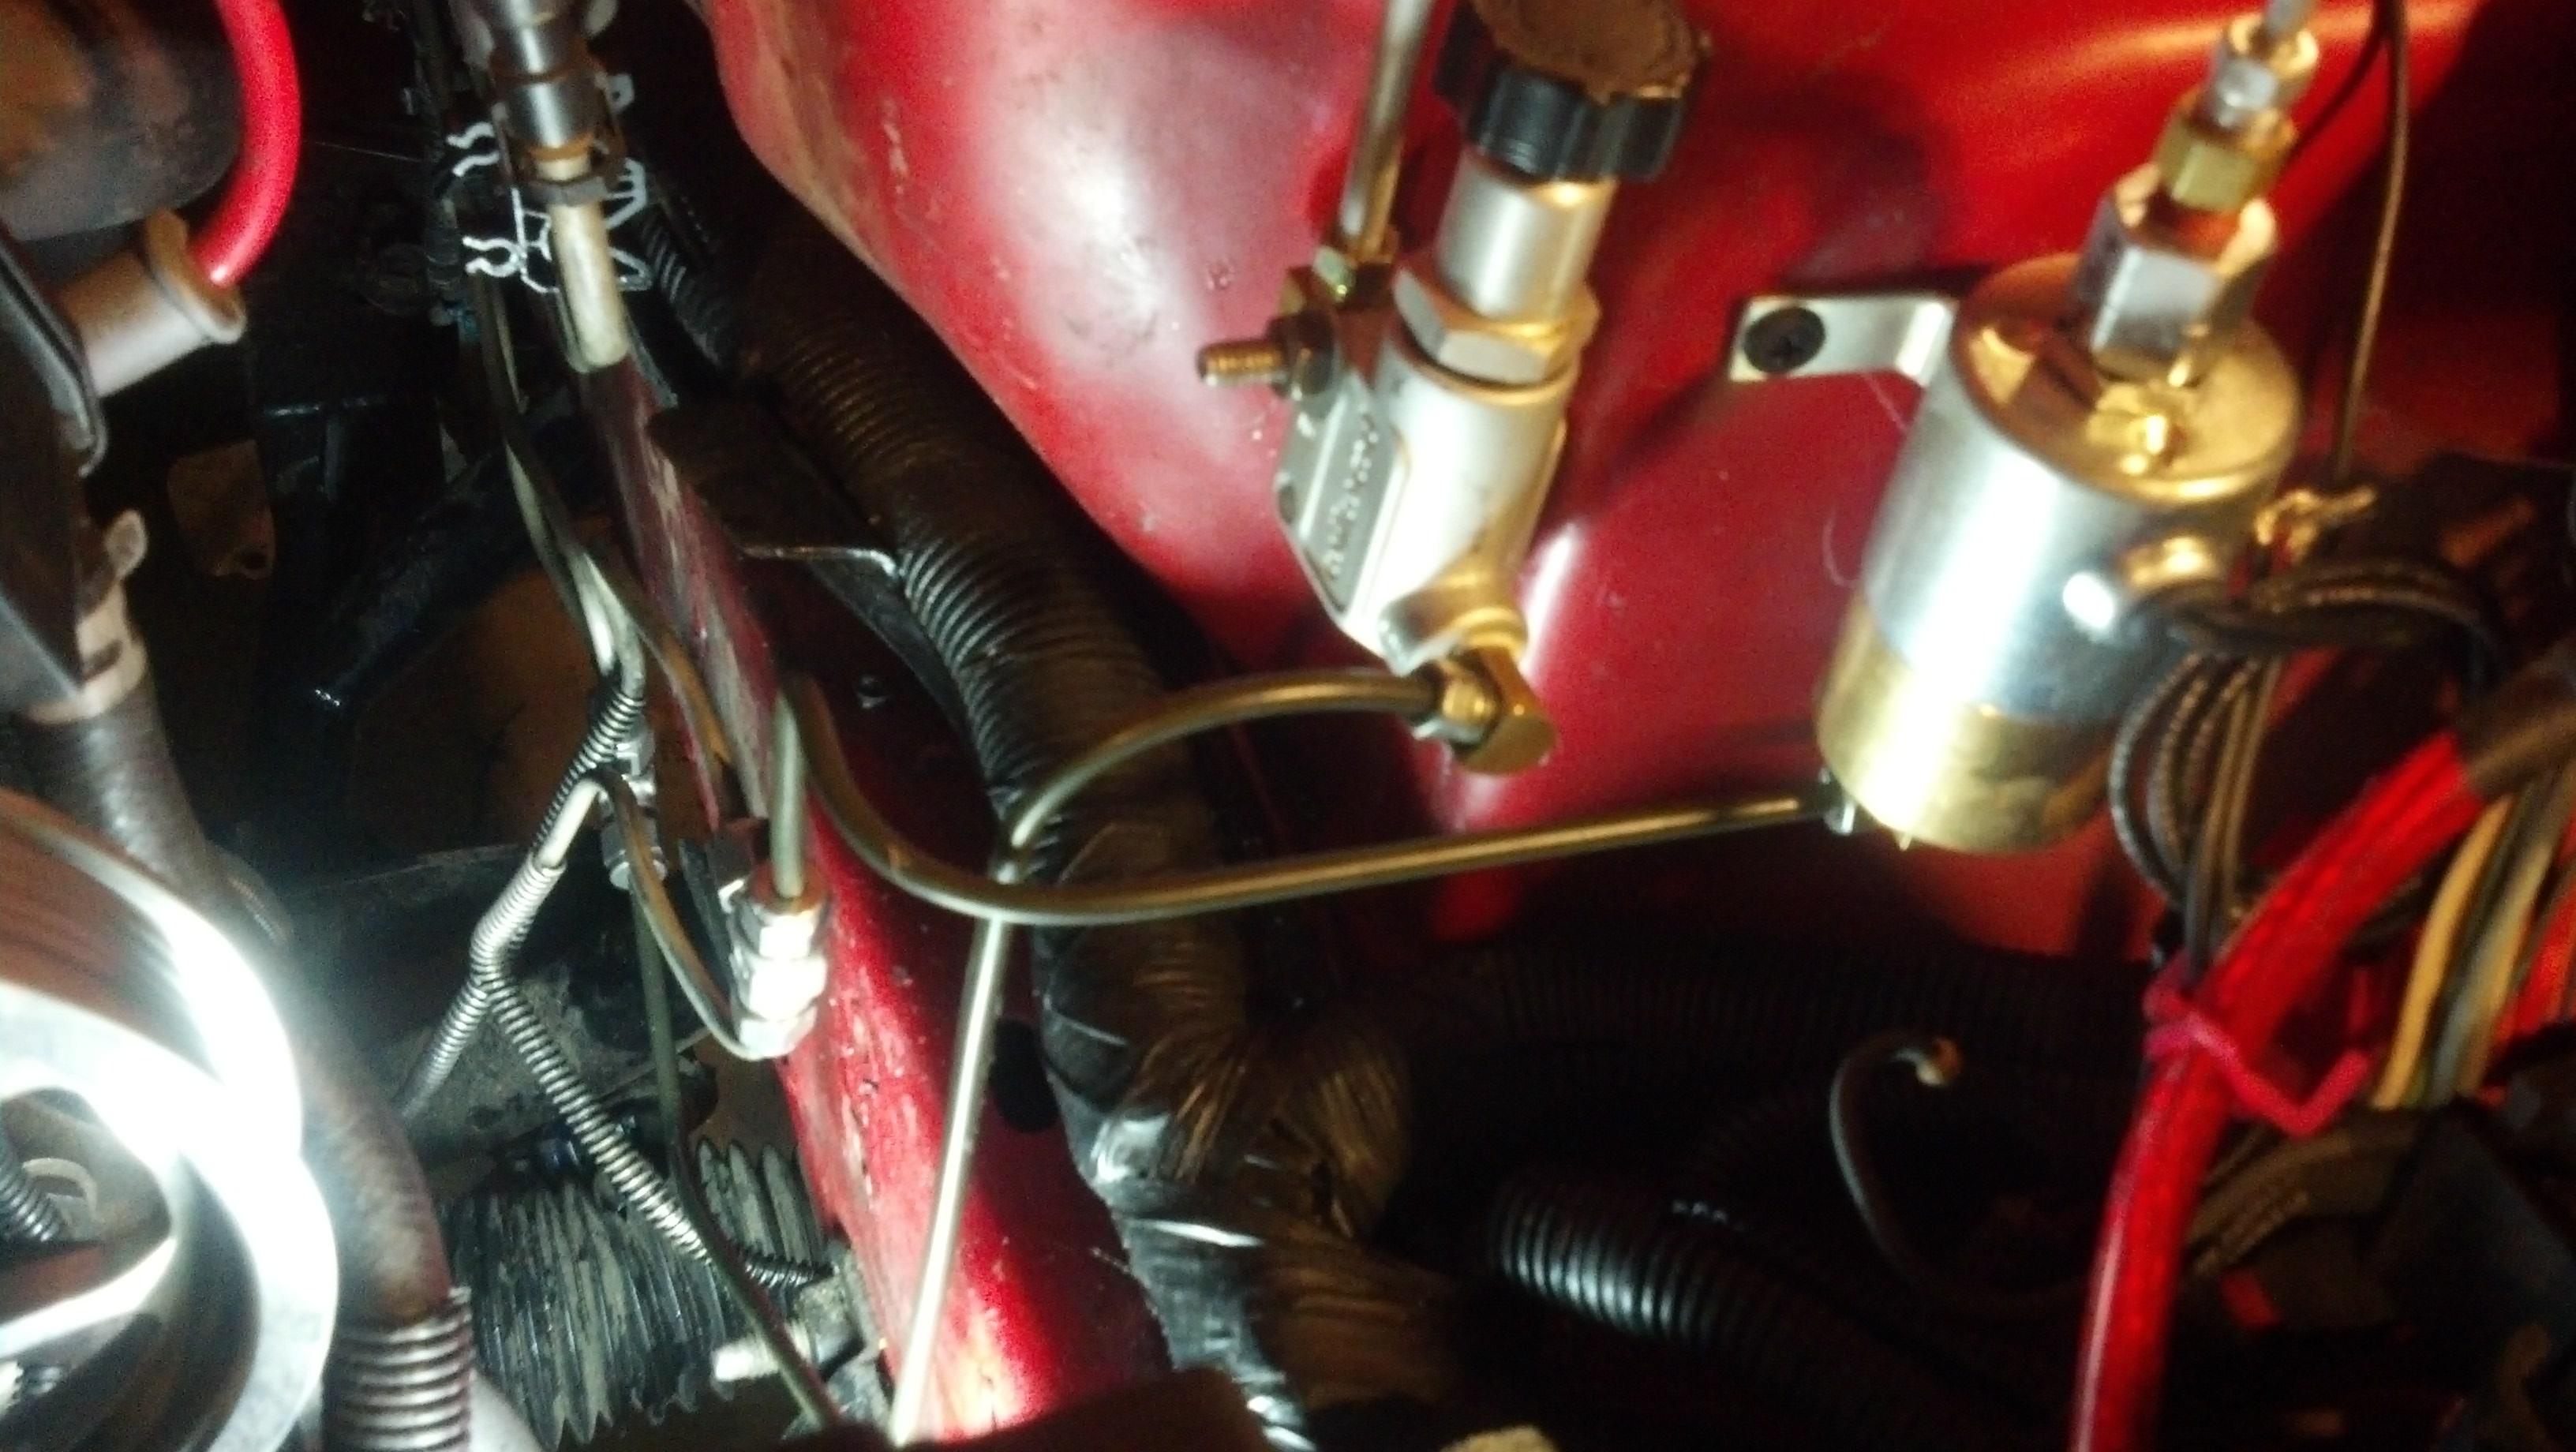
Tons more room on that side

If anyone has any more info about DIY, please feel free to chime in. It would be nice if this included all needed info for those wanting to do this with and without the SJM kit as a starting point.
Lets start with the reason I decided to delete ABS. I ordered a Strange 12 bolt from Carl@CRP (super nice guy) and ABS never worked. I bought a bare housing, I pressed everything on the axles, I installed everything. I know it was right. Come to find out this isn't too uncommon with 4 channel cars where you have 2 sensors, 1 at each wheel. The new housing and axles change the clearance between the exciter wheel and the abs sensor and the system never works right. A vendor here (I won't name names) swore a housing couldn't cause these issues. Bullshit. After over a year of no ABS what's the point of keeping it? It's not working anyway, and its a pain to bleed the brakes. I have driven my car about 150 miles this year so let's ditch it. Naturally I ordered the SJM kit to the tune of $200+ bucks.
My experience with the SJM kit: F-ing sucked.....for a couple of reasons. One, an idiot wrote the directions. They start abbreviating crap and its aggravating. A (fake) example. Pickup the SKMUUY and insert it into the SDOPU after the SHYUDG. Do what? Speak English!!! Two, I grabbed the tool, I grabbed the flare adapter, then proceeded to ruin tons of flares. It took me quite a while to figure out they send two adapters, one YA DON'T NEED! Yep, I picked up the wrong one. Once I figured out my error, I could flare like a pro....on the table. My stock stainless lines on the car were having no part of it. They deformed, squished, twisted, you name it. These things are tough. I read others had problems as well.
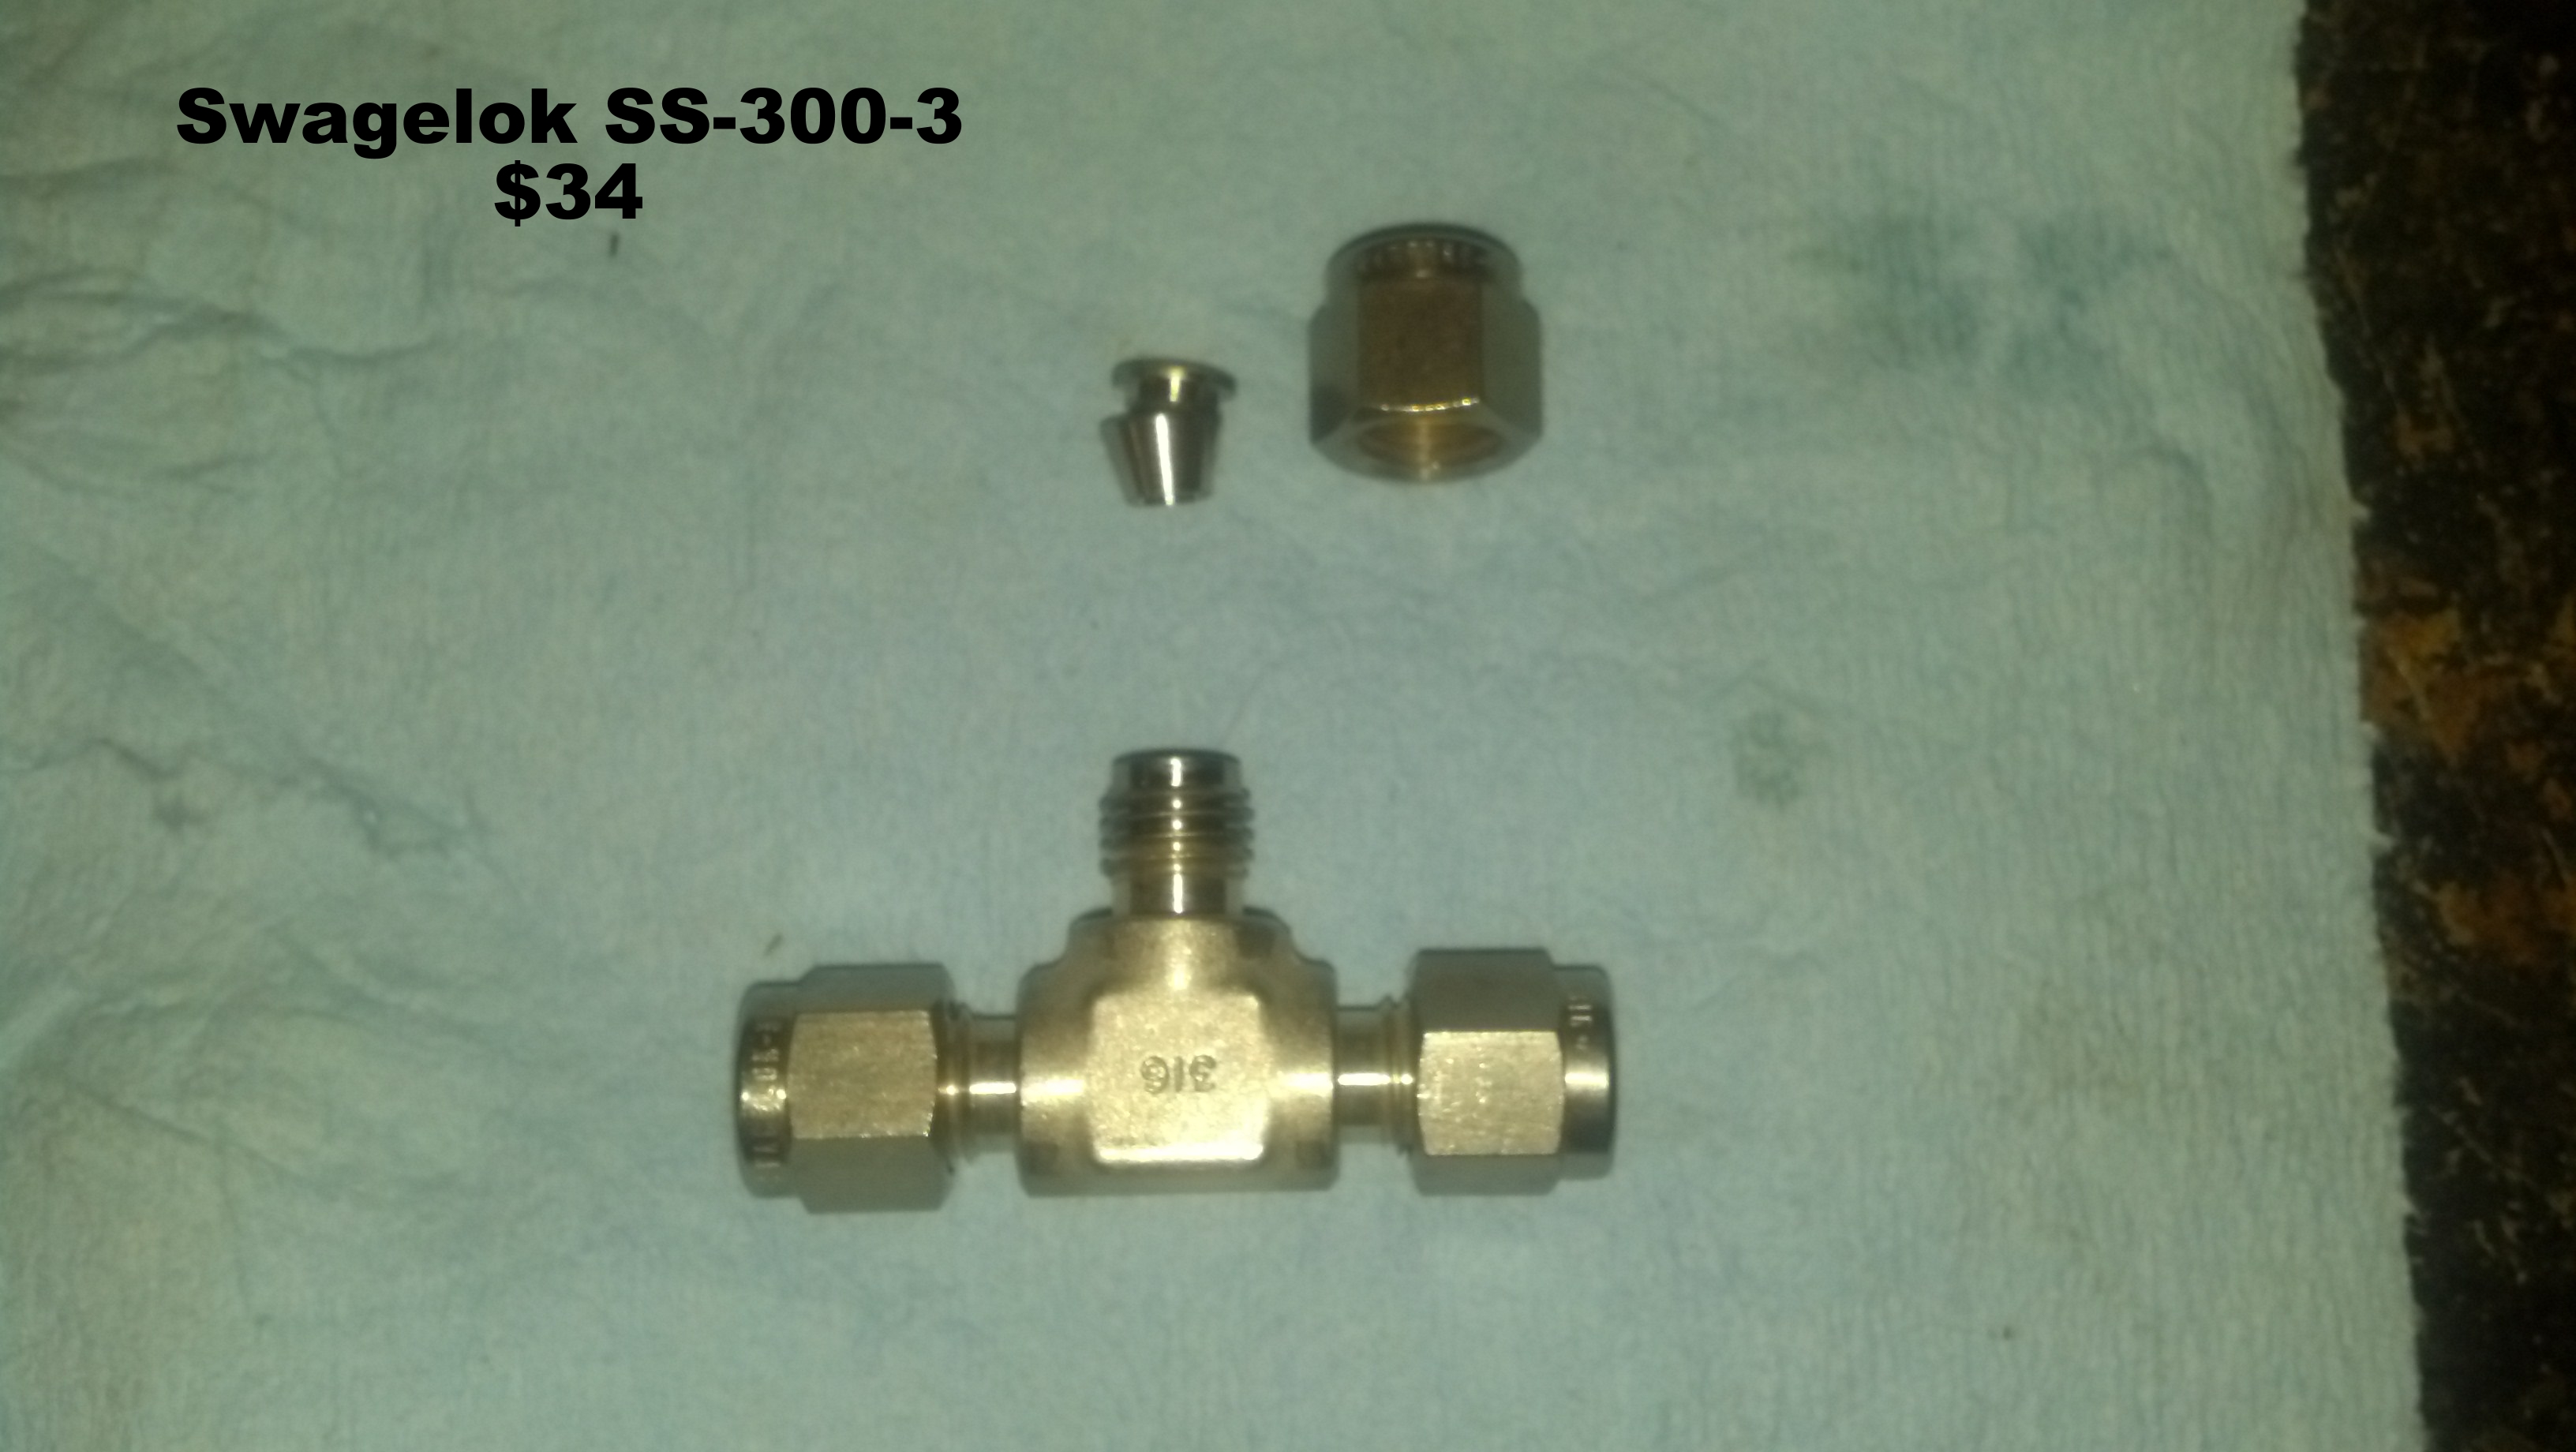
To fix it: I bought Swagelok T fittings and did away with the flares. These fittings are rated to 8k psi if I'm not mistaken. The upper part of the system is flared and you could do it all out of softer line then stock and on the table. You won't need to flare anything leaned over under the hood. There was also a train of thought: If the engine is in, leave the soft braided lines, if the engine is out, remove them. My engine is in and I ruined the braided lines so I had to adapt and overcome. My fix was to remove the steering shaft and alternator and I was easily able to cut, debur, and file the stock lines with ease. BC I started with an SJM kit, the top lines were prefabbed to the linelock and the proportioning valve. I fabbed everything below that. If you do not want to use an SJM kit to start with, then you would need to source your own components down to the stock lines. Remember 3 channel cars will only need one T and one straight fitting (SS-300-6), 4 channel needs 2 Ts and no straights. I'm not sure of the stock fitting sizes on the master but if anyone has them chime in and I will add it to this post so its easy to find. I highly recommend deleting to braided lines for aesthetics and clearance.
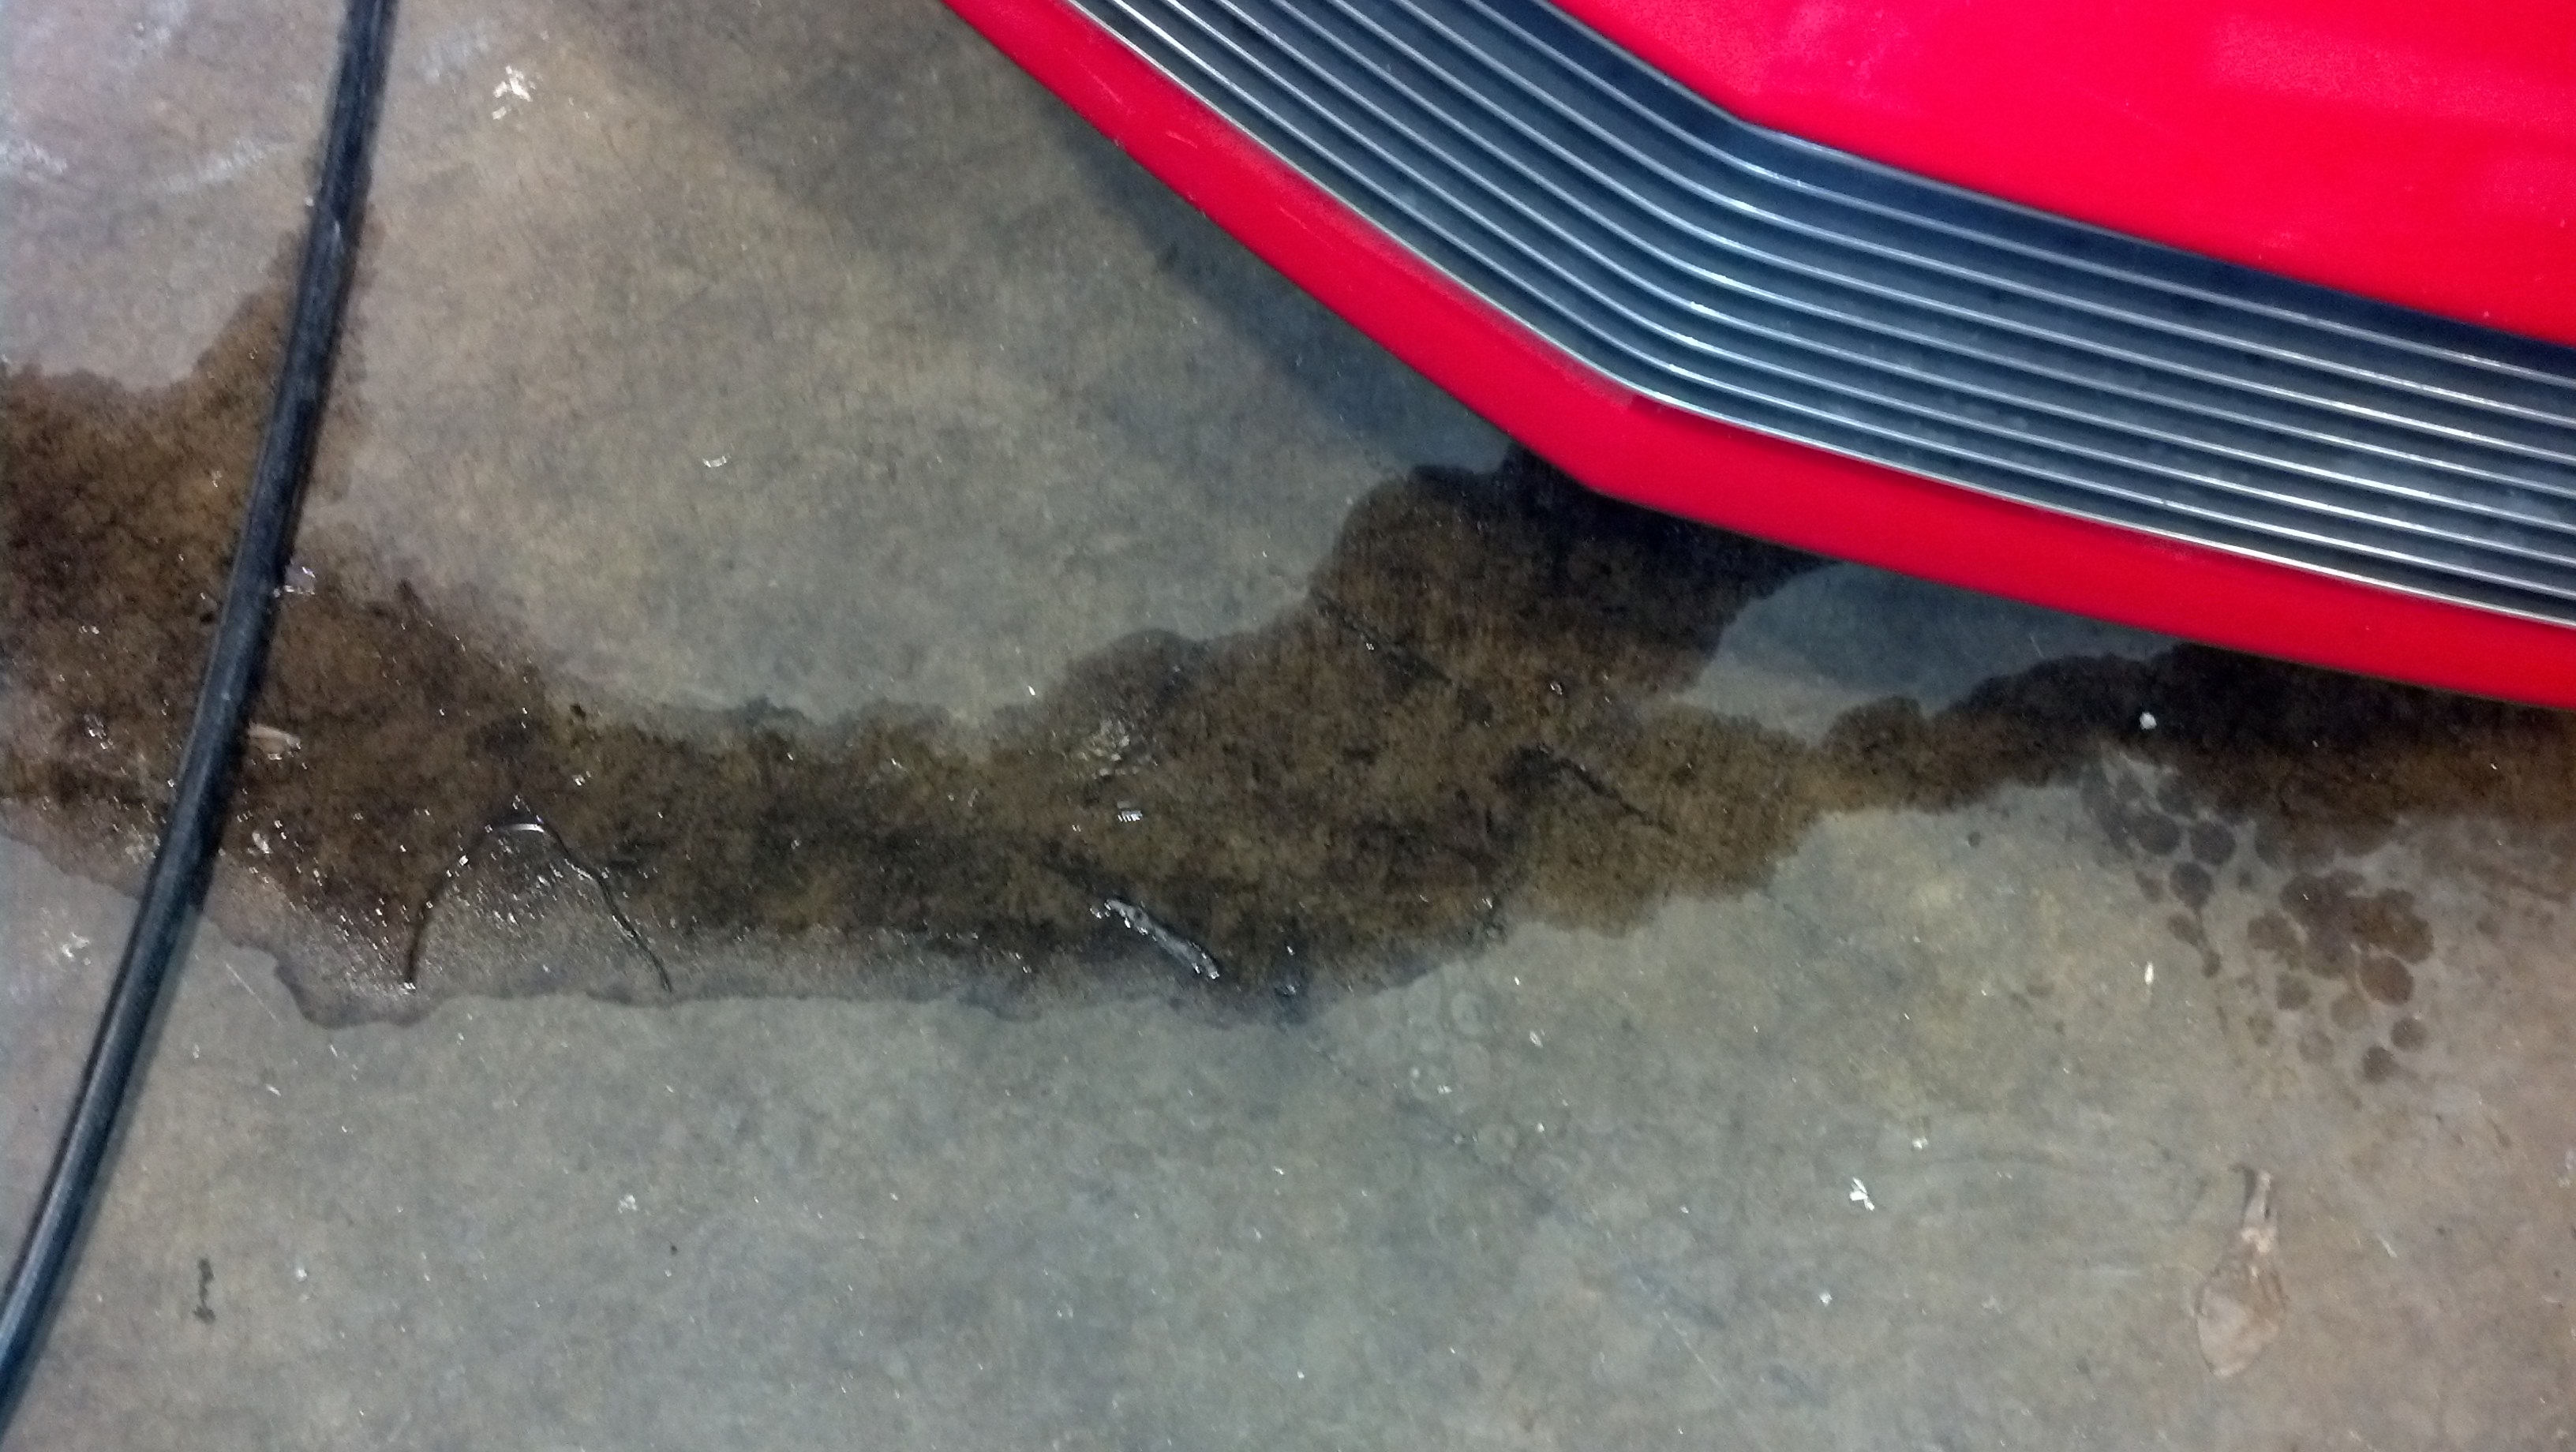
And we are off: Here's what happened after I installed the SJM kit and filled up the master cylinder.

First off I had to find a way to hook to a stock 3/16th brake line without a double flare. I purchased two of these for a total price of $34.

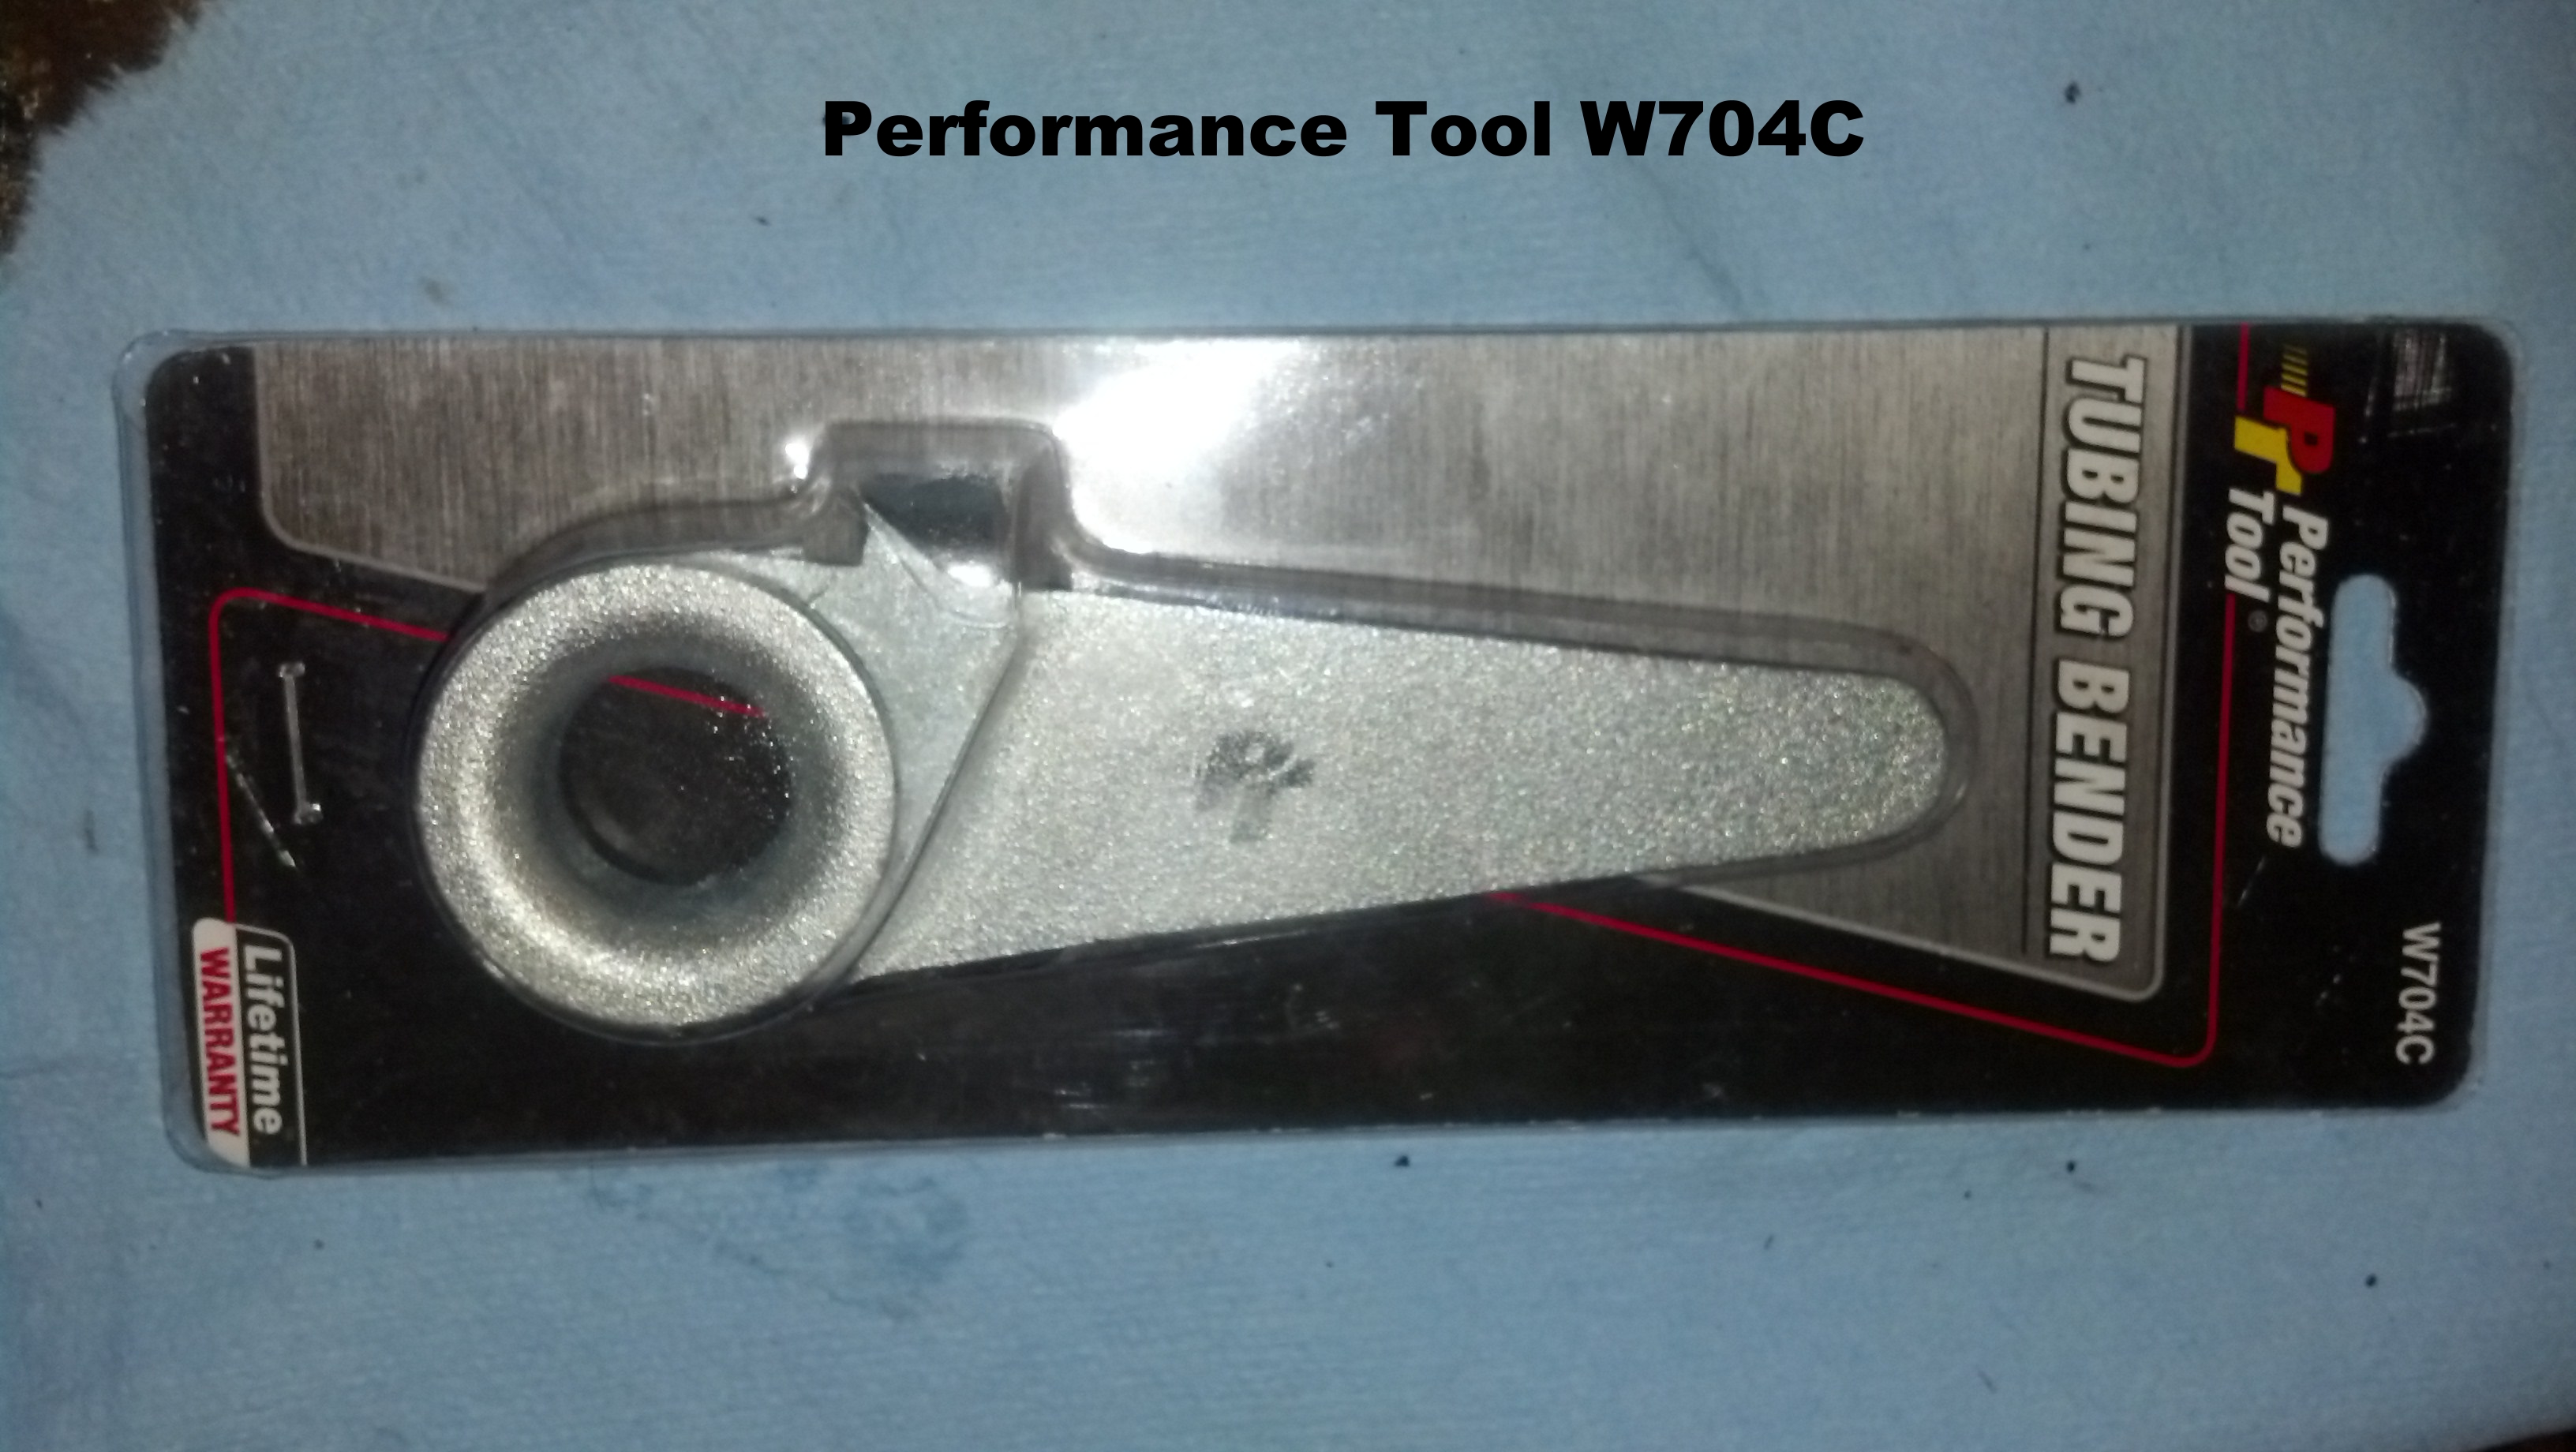
This was about $5 at the local O'Riellys. Worked awesome for the money.

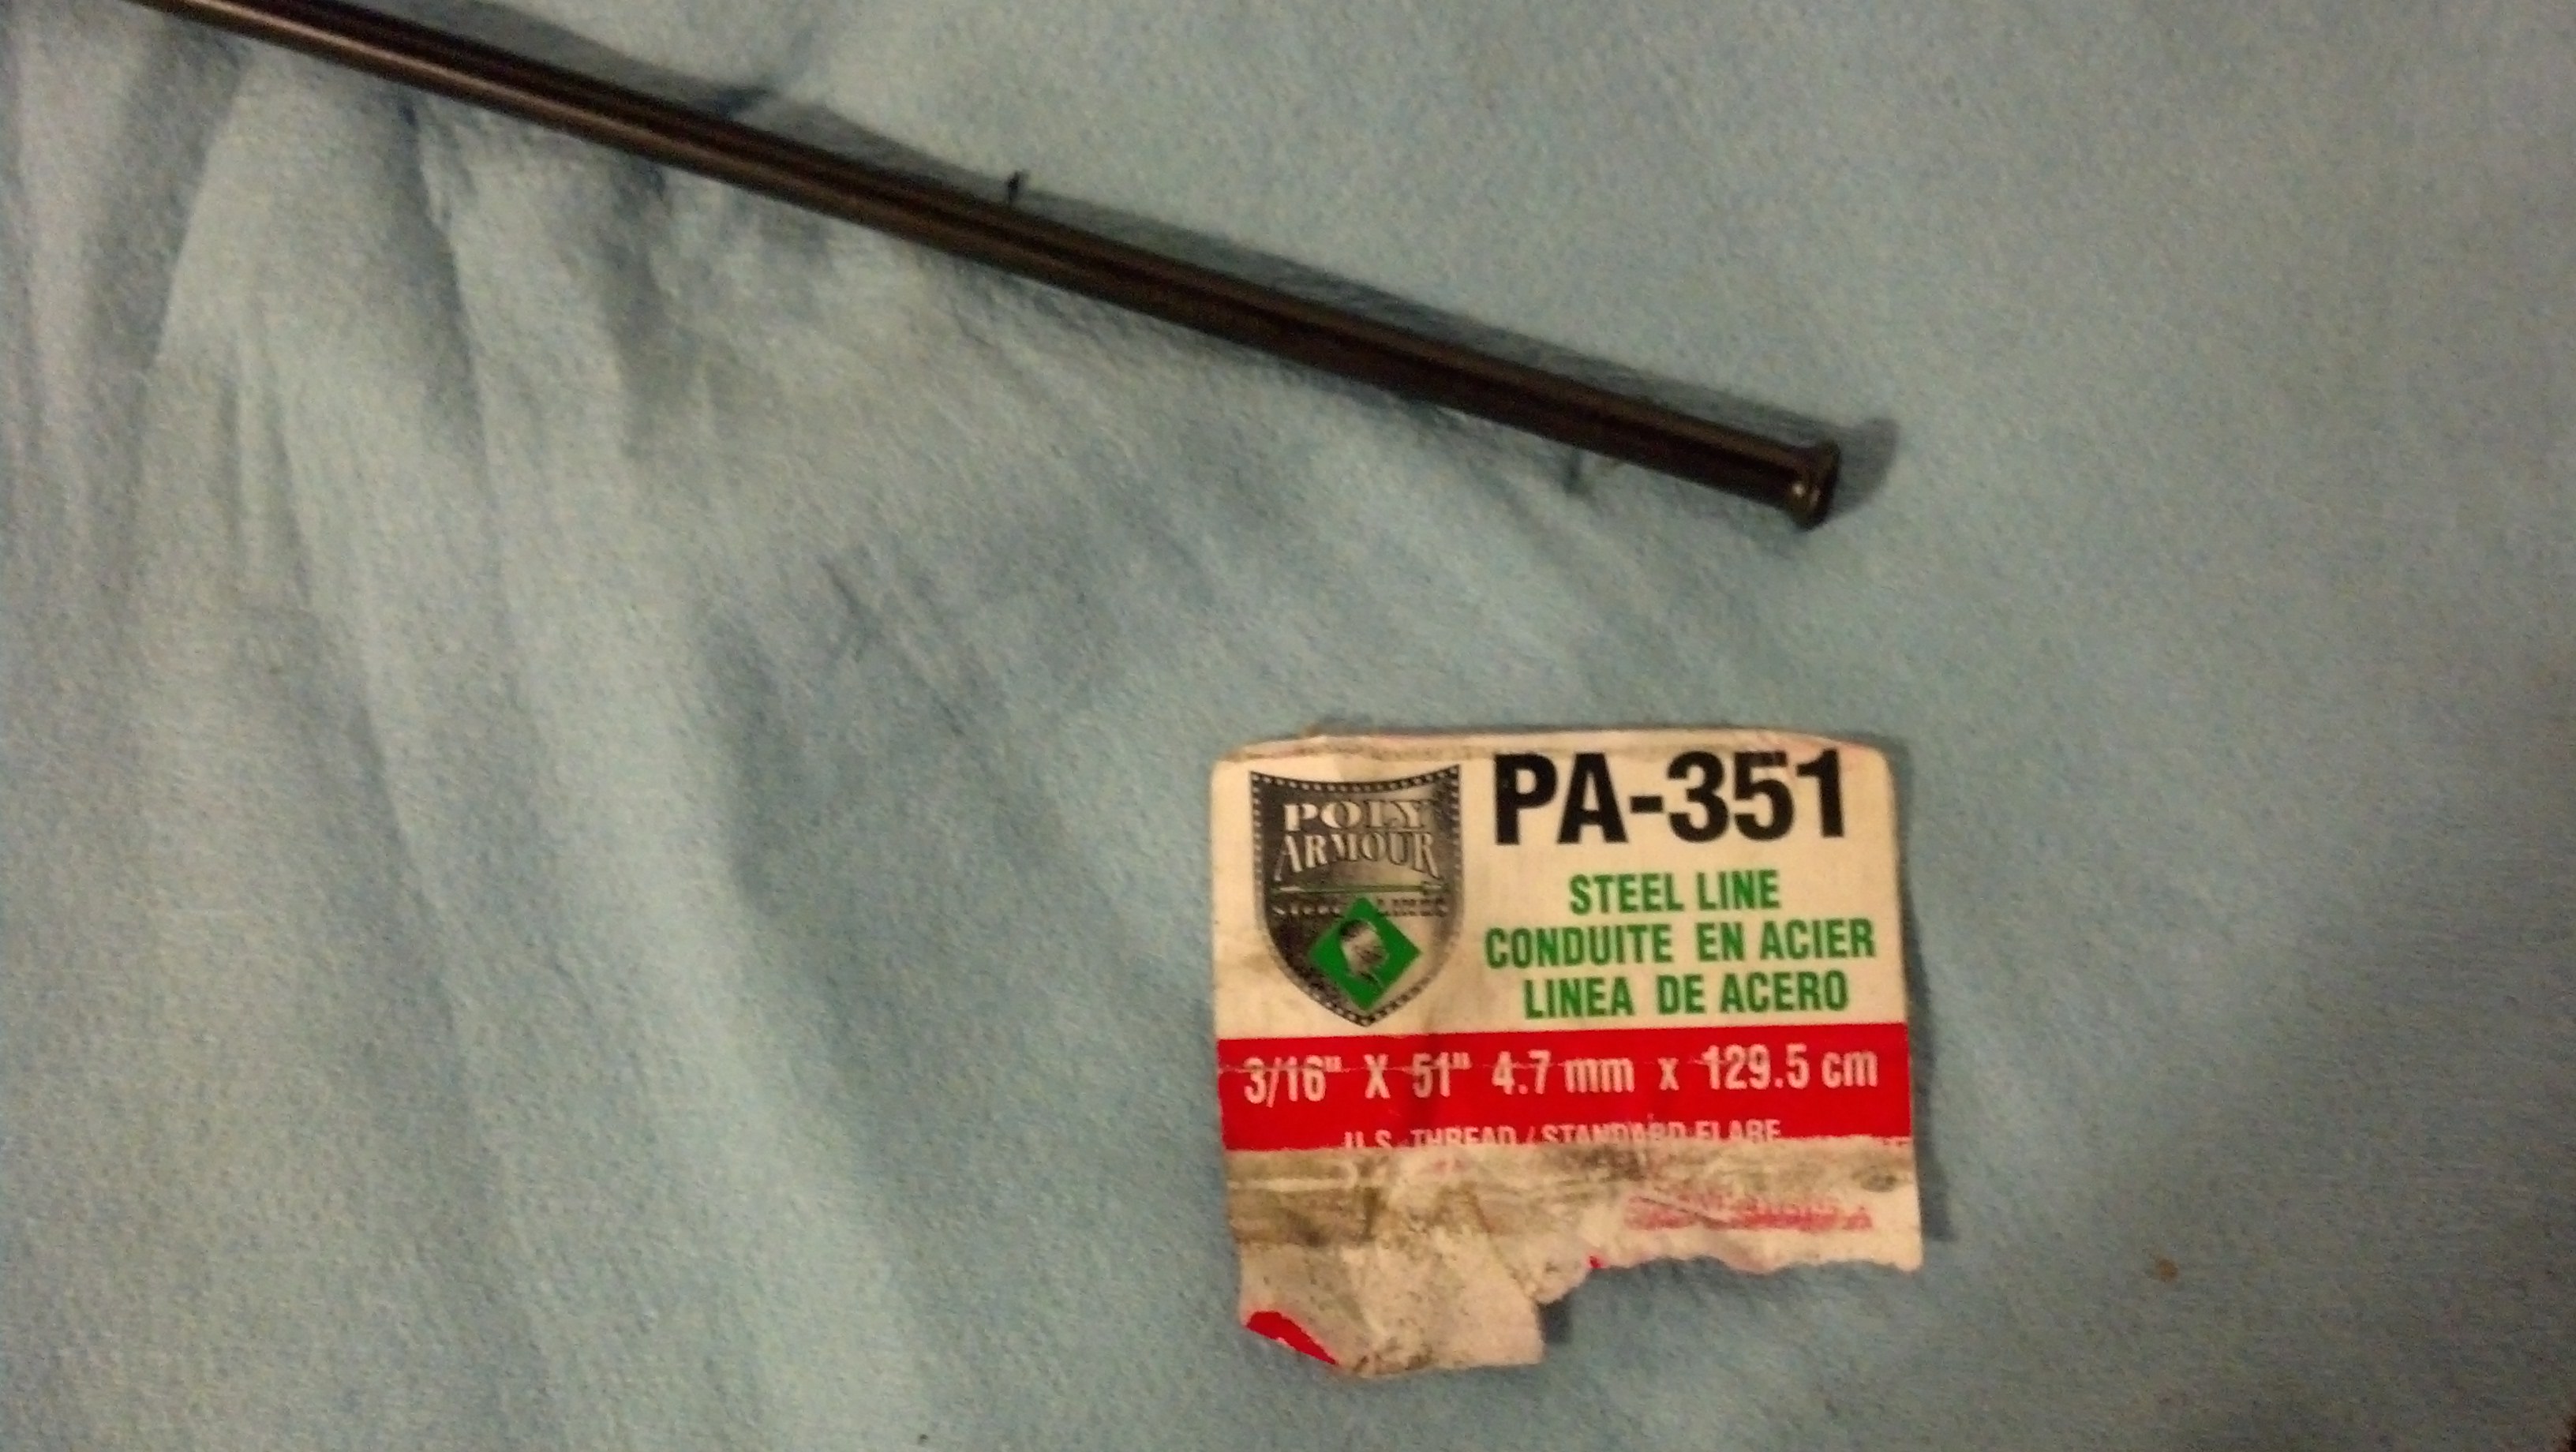
This was the longest piece of hose they had, it was about $10 I think. This was used from the linelock to the front T, and the proportioning valve to the rear T.

I've bled this car so many times I have stripped a bleeder nut. I decided to replace it and figured I'd replace them all with this combo pack from Dorman. Comes with about 10 total but it has the correct 4 for f-bodies.

So after removing the alternator and the steering shaft I had to cut the rear lines back down on the frame. I wanted to show where I located the Swagelok for reference. I decided on positioning the T sideways and only bending one line. I cut with a cutoff wheel, debured the outside of the tube and chamfered the inside. I made sure there was nothing that you could catch your nail on or whatever. The factory heat shield was able to be re-installed also.

Things got a little more crowded with the front lines done. For reference I initially trimmed just below the braided section so I could get a gameplan. After I figured out how to use the stock bends to my advantage there was another final cut on each line just a tad down from my first cuts. It was super easy to accomplish this. First pic is from the bottom, second from the top. The dark line is the line from Orielly, and it comes flared on both ends. I cut it in the center and had my flared ends and my smooth ends, just need to cut it to length and bend which is simple because it is such a short run.


Tons more room on that side

If anyone has any more info about DIY, please feel free to chime in. It would be nice if this included all needed info for those wanting to do this with and without the SJM kit as a starting point.
Last edited by 01ssreda4; Sep 24, 2013 at 09:15 AM.
Pretty much exactly what I did with mine. Didn't buy the kit the first time though. I only have a 3CH so I just needed the one connection. For the flex lines I just cut them off and added hardline. If you cut the front brake line in half right in the center of the k-member you can work the lines out without bending them. From there you can flare them off the car and extend any lines you need. Was quite easy after I cut the brake line in half. I'll see if I can dig up some pictures. Not sure if I took any of just the brakes.
Trending Topics
Thread Starter
Joined: Aug 2007
Posts: 24,241
Likes: 89
From: Turnin' Wrenches Infractions: 005
LS1 Tech Stories
The Best V8 Stories One Small Block at Time

Gas Monkey Built a 6-Wheel Ferrari Testarossa With a Corvette LT4 Engine
Verdad Gallardo
7 Most Reliable High-Performance Engines GM Has Ever Built
Verdad Gallardo
Amazing '71 Camaro Restomod Is Modern Muscle Car Under the Skin
Verdad Gallardo
6 Common C5 Corvette Failures and What's Involved In Repairing Them
Pouria Savadkouei
Retro Modern Bandit Pontiac Trans AM Comes With Burt Reynolds' Autograph
Verdad Gallardo
Top 10 Greatest Cadillac V Series Performance Models Ever, Ranked
Pouria Savadkouei
Top 10 Most Powerful Chevy Trucks Ever Made!

Hennessey's New Supercharged Silverado ZR2 Has 700 HP
Verdad Gallardo
Coachbuilt N2A Anteros Is an LS2-Powered C6 Corvette In Italian Clothes
Verdad Gallardo Thread Starter
Joined: Aug 2007
Posts: 24,241
Likes: 89
From: Turnin' Wrenches Infractions: 005
They are rated to 8k psi and have phenomenal feedback. They won't leak unless you install them wrong. Yes, system is working good and leak free. I did a preliminary 4 counter-clockwise turns from bottom on the wilwood and it stops well. I'll do more fine tuning later.
Just finished up my ABS delete.
I have a SLP line lock, and bought the wilwood brake proportioning valve from summit for 40 bucks and it came with free shipping so I didn't have to pay the extra 10 dollar handling fee.
Works just fine, my boss wasn't too happy with the burnout in the parking lot though, from testing the line lock.


Thread Starter
Joined: Aug 2007
Posts: 24,241
Likes: 89
From: Turnin' Wrenches Infractions: 005
Just did fella. A swagelok isn't exactly a "compression" fitting per se. Regardless yes it is against DOT regulation allegedly. Boo, better start getting my car in compliance (this may take a while).
As an update, they have been perfect. No issues.
As an update, they have been perfect. No issues.
Last edited by 01ssreda4; Mar 26, 2014 at 06:45 AM.
Lmao, always someone to say you cant do something on here but i see people doing it everyday

I have seen a compression fitting on a brake line come apart and cause total loss of brake pedal, it's not a good thing to see happen. Are people still going to do it, yes. Is it a very smart or safe idea, no. Would I ever consider installing anything other than a complete un-coupled brake line on my street/strip car? Absolutely not, I'd like to stick around to see my 2 year old grow up, and if I have to spend a little bit on a roll of brake tubing and double flare it to do it right, then I will.