When you click on links to various merchants on this site and make a purchase, this can result in this site earning a commission. Affiliate programs and affiliations include, but are not limited to, the eBay Partner Network.
It all started when I staged the car at the track and while foot-braking at the tree my brake pedal went straight to the floor. I babied the car home and got underneath and found a mess. Let’s just say I wasn’t surprised at what I saw knowing that I have a car with 200K on the body that has lived in the PA and VA rust-belt since 99. I decided that I was finally going to go through the braking system and redo everything I could while it was all out, and I mean everything. I went all new from the master to the bleeders. It took a good bit of asking questions and looking around in order to find out what worked and what didn’t work, but overall it was pretty straightforward.
My overall goal was to replace all wear items, bend all new lines, and delete the abs/traction control all in one go while the engine/trans/rear were still in the vehicle. I had been wanting to get it all deleted previously, but didn’t have the necessary push until the lines finally gave. I transitioned from a stock 99 4 channel (4 line) ABS/ASR system to a non-abs/non-traction-control 3 line system with an adjustable proportioning valve. I wasn’t able to find a clear write up on the forum so I decided that when I got done I would put it all in one place so nobody had to go searching all around old dead threads like I did. Here’s the list of parts I bought in order to get the job done in the way I wanted.
-2 25ft sections of 3/16” NiCopp Brake Line Tubing (Summit)
-Brand New Raybestos Master Cylinder (RockAuto)
-Front and Rear Brake Caliper Rebuild Kits (RockAuto)
-2 In/3 Out Wilwood Proportioning Valve (Wilwood #260-11179)
-Russell’s Stainless Steel Brake Line Kit “W/O Traction Control” (WS6-Store)
-Brake Pad Hardware Set “Squeal Clips and Bleeders” (RockAuto)
-16 ft of 3/16” Stainless Steel Brake Line Guard (Amazon)
-Small Misc Hardware pieces from a local True-Value Hardware Store
-Caliper Guide Pins (RockAuto)
-Metric ISO-Bubble Flare Fittings for 3/16” Brake Line (Amazon)
-A pack of 3/8”-24 brake lines Inverted/Double Flare Fittings (Summit)
-1/8”-27 NPT Pipe Plug (True-Value Hardware)
-DOT 4 Brake Fluid (Advance Auto)
-BrakeMotive Brakes and Rotors (Ebay) Optional for TCS Delete
-99 Non-TCS Throttle Cable (GM #12565559) (Pace Performance Chevrolet)
-99 Non-TCS Cruise Cable (GM #12563627) (Discontinued. I need to still find a used one)
It probably cost around $500 all said and done for everything. I probably could have done it all a bit cheaper if I had bought it all at once, or in larger orders from the same vendor, but at the time I was cramming for physics and engineering finals week, so it was a bit hectic in my jumbled head.
To start, I found a nice abandoned part of my college apartment’s parking lot a few feet from the dumpsters and got the car in the air on four corners on some jack stands, I then proceded to let them know it would be on stands for a while so they wouldn’t tow it due to being an inoperable vehicle lol. (Don’t put the stands on the axle tubes in the rear, you want the rear to hang for when you have to install the rear lines) Then I pulled all the wheels and proceeded to pull the flex lines off the caliper one by one and let them drain into a stainless steel pan with a few helping pushed from the pedal. I took a water bottle, cut slightly down the side of it, and wrapped it around the end of the flex hose above the pan so that brake fluid wouldn’t get absolutely everywehere. Remember this stuff eats paint.
(P.S if you need a good drain pan check out amazon for food grade stainless steel serving pans, super cheap, large drain area, big capacity, and only like 4 inches tall. Much better than the plastic crap you get at the local autoparts store and about the same price.)
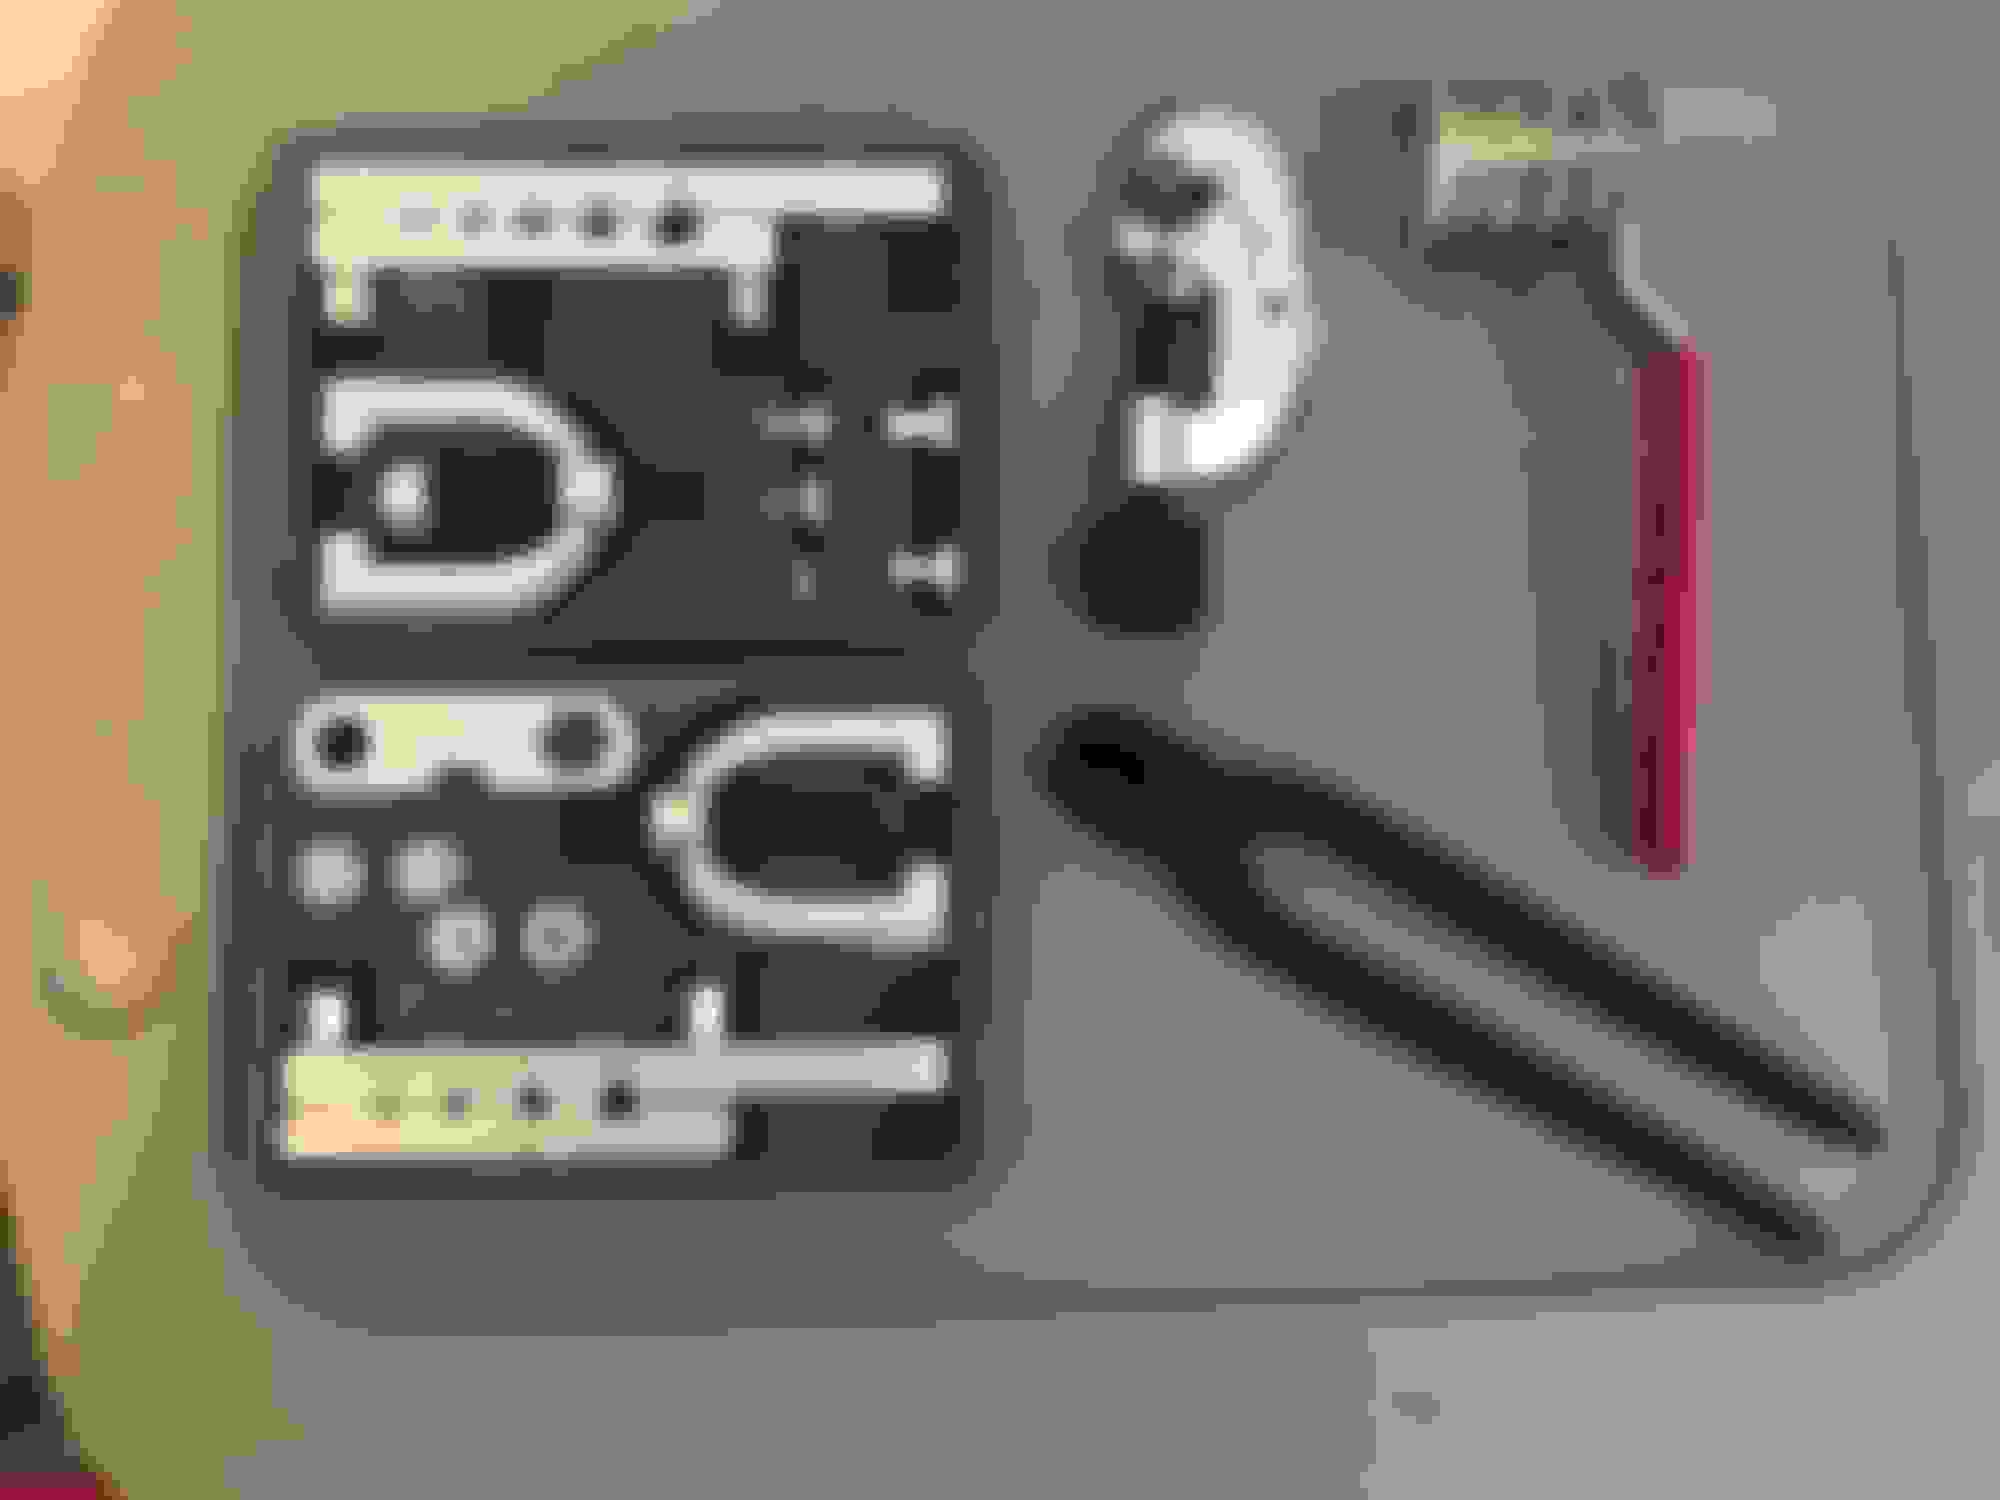
After all the lines were bled, I went and pulled the calipers, brackets, brakes and rotors. I attempted to remove the stock hardlines from the flexlines but they didn’t want to budge, so I got out some cutters and snipped them off flush with the tube nuts. I then tossed the brakes, rotors, flex lines, and bleeders in the conveniently placed dumpster and set the calipers aside to soak in some degreaser in the pan.
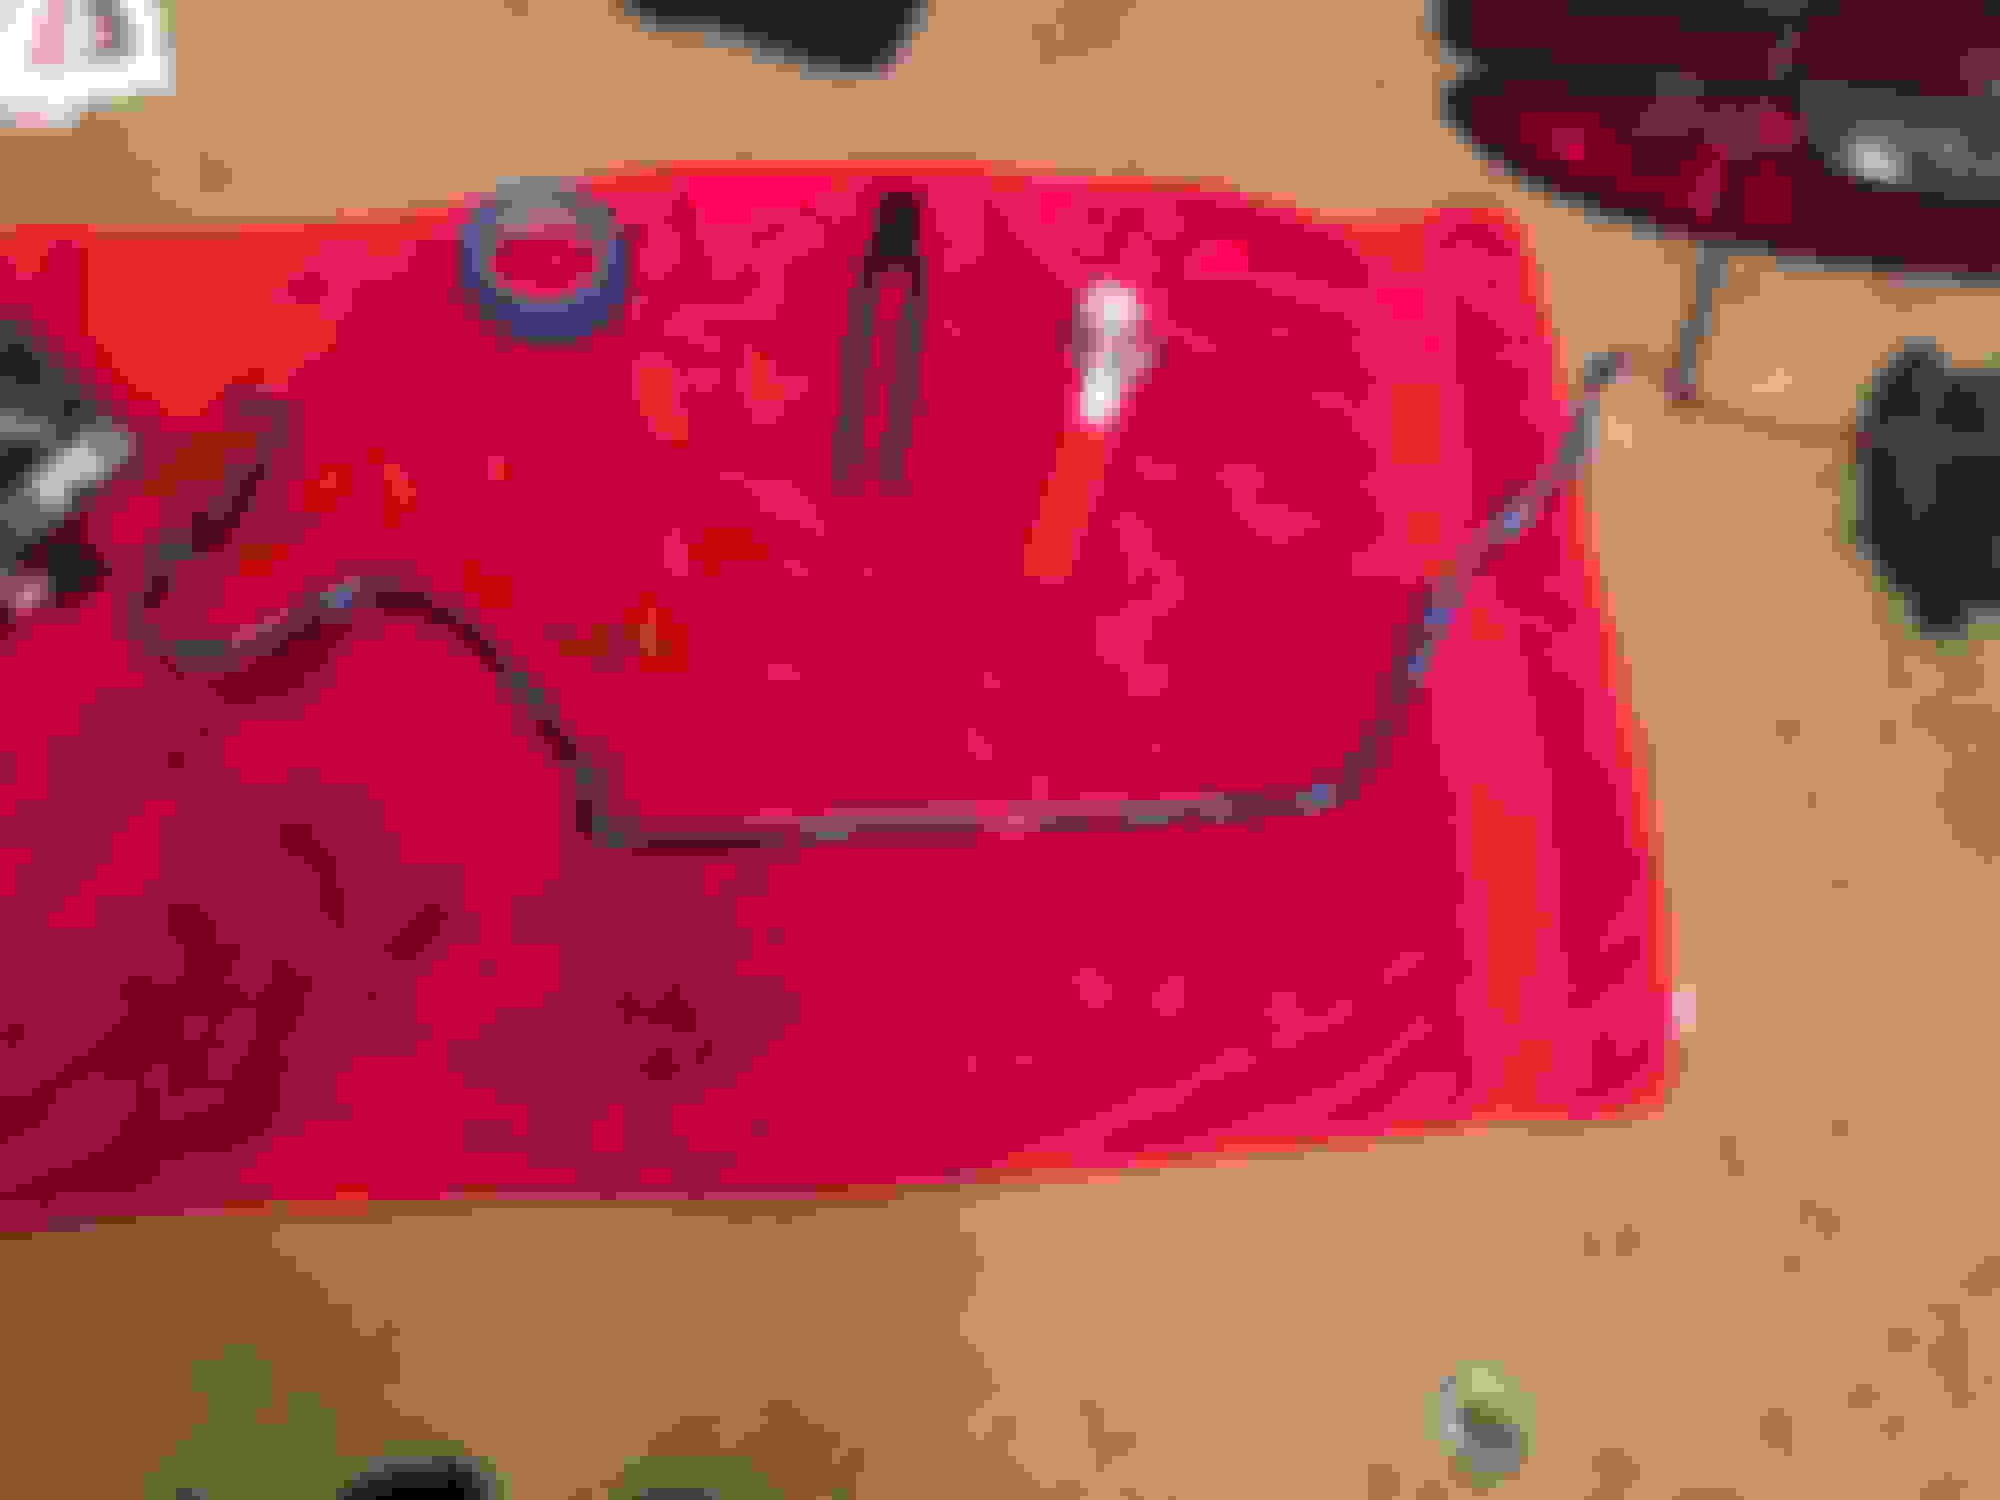
Next I moved onto the main attraction, pulling out that stock pos ABS block. Simply undo all the tube nuts with a line wrench and zip tie a ziplock bag around them to keep them from dripping all over your engine bay (there is probably residual fluid in both the block and the lines, be cautious). The large ABS connector has a small lock on it that pops the entire thing out of the unit and lets you pull it out completely, it takes a good look at it but it should come right out. Then I took that ABS module, packed it up, and sent it out to a forum member in-need that was having issues with his leaking. These things are expensive as hell new, and hard to find, don’t be a jerk and ask retail for it lol. May as well put it to good use in a car with a stock system right? At this point you can also remove the bracket that held the abs block in the vehicle. Its held in by 4 15mm bolts on the side of the subframe, a ratcheting wrench is going to be your friend on this one. I kept the bracket and later modified it to hold my prop-valve.
After the block was out I undid the nuts and connector on the master cylinder and pulled that right out as well and stuck that in the pile of garbage I was pulling out of the car. As you can see, I had a line lock pre-installed but the rest of this is exactly the same as factory, so there shouldn’t be too much confusion.
Now onto the slightly meticulous part, pulling out the stock front hard-lines without damaging them. While this is a bit of an annoyance, you can remove the stock front hard-lines from the front of the vehicle without warping, bending, or otherwise messing them up beyond recognition. To remove them you must undo the clip that holds the end of the flex lines on the body, and then undo the small clips that hold the lines to the body just a few inches towards the front of the vehicle in the wheel wells. These are both small 10 mm bolts. You also have a clip that holds the passengers side lines right in the middle of the k-member, below the steering rack. Now you must remove the drivers side heat-shield that blocks the heat to the exhaust manifolds from the brake and fuel lines. This is accomplished by removing 4 10mm nuts from the shield. The front-most nut comes off from above and the rest are easier to get out from the bottom. Lastly, you have to undo the clip containing all the brake lines on the large adel clamp just behind where the ABS block used to sit. This clamp is super easy to break, ask me how I know. You must pull the top locking portion out and it will swing downward. I ended up snapping mine off and I made a new lock out of some thin aluminum that I drilled a hole in and put a small bend in. After all this is disconnected, you can wiggle and twist the lines out around the sway bar, k-member, and rack. It’s a huge pita but they come out relatively easily, you just have to move them in pretty particular ways.
Once the two front lines are out and set aside it’s time for the rear hardlines, which honestly don’t matter at all. I cut the rear hard lines into 3 pieces each, pulled them out, and threw them in the garbage. Trust me, you don’t need them. Take the time while you’re already dirty to rip out the 2 flex lines from the body to the rear-end, and also take out the hard-lines on the rear itself. To remove these lines you need to bend the axle clip up and out of the way on both sides. The passengers side line also has a small clip that the line locks into and is held on one of the supports on the punkin, don’t throw that out, save it and clean it up to use on your new lines. Also don’t bend the welded axle tube brake lines clips out too far or you just might break them off.
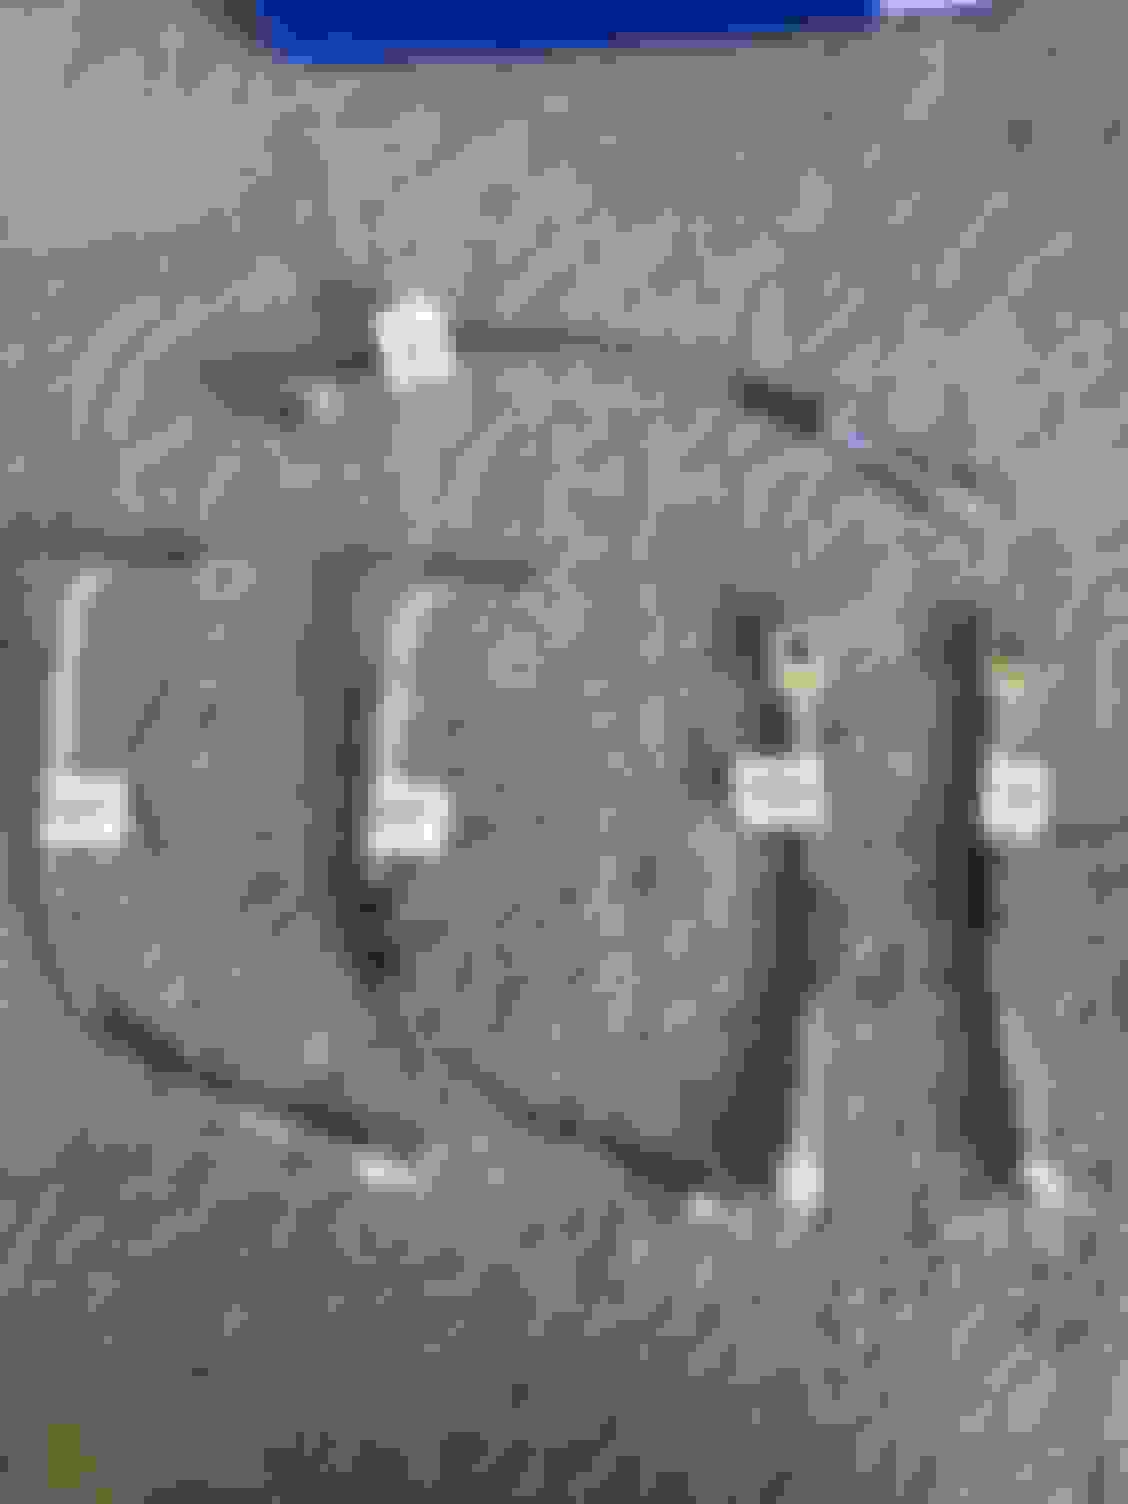
You are going to want to keep all the u-clips that were holding the flex lines to the body. I was not happy with the quality of clip that came with my Russell lines, and the stock clips worked just fine with them.
So now everything to do with brakes, minus the pedal, is out of the car and either in the trash or getting ready to be cleaned up, so its time to bend up some new lines. I saved the front lines for a reason, you want to bend them outside the car as much as possible, so having your stock lines to guide you is gonna be a big help.
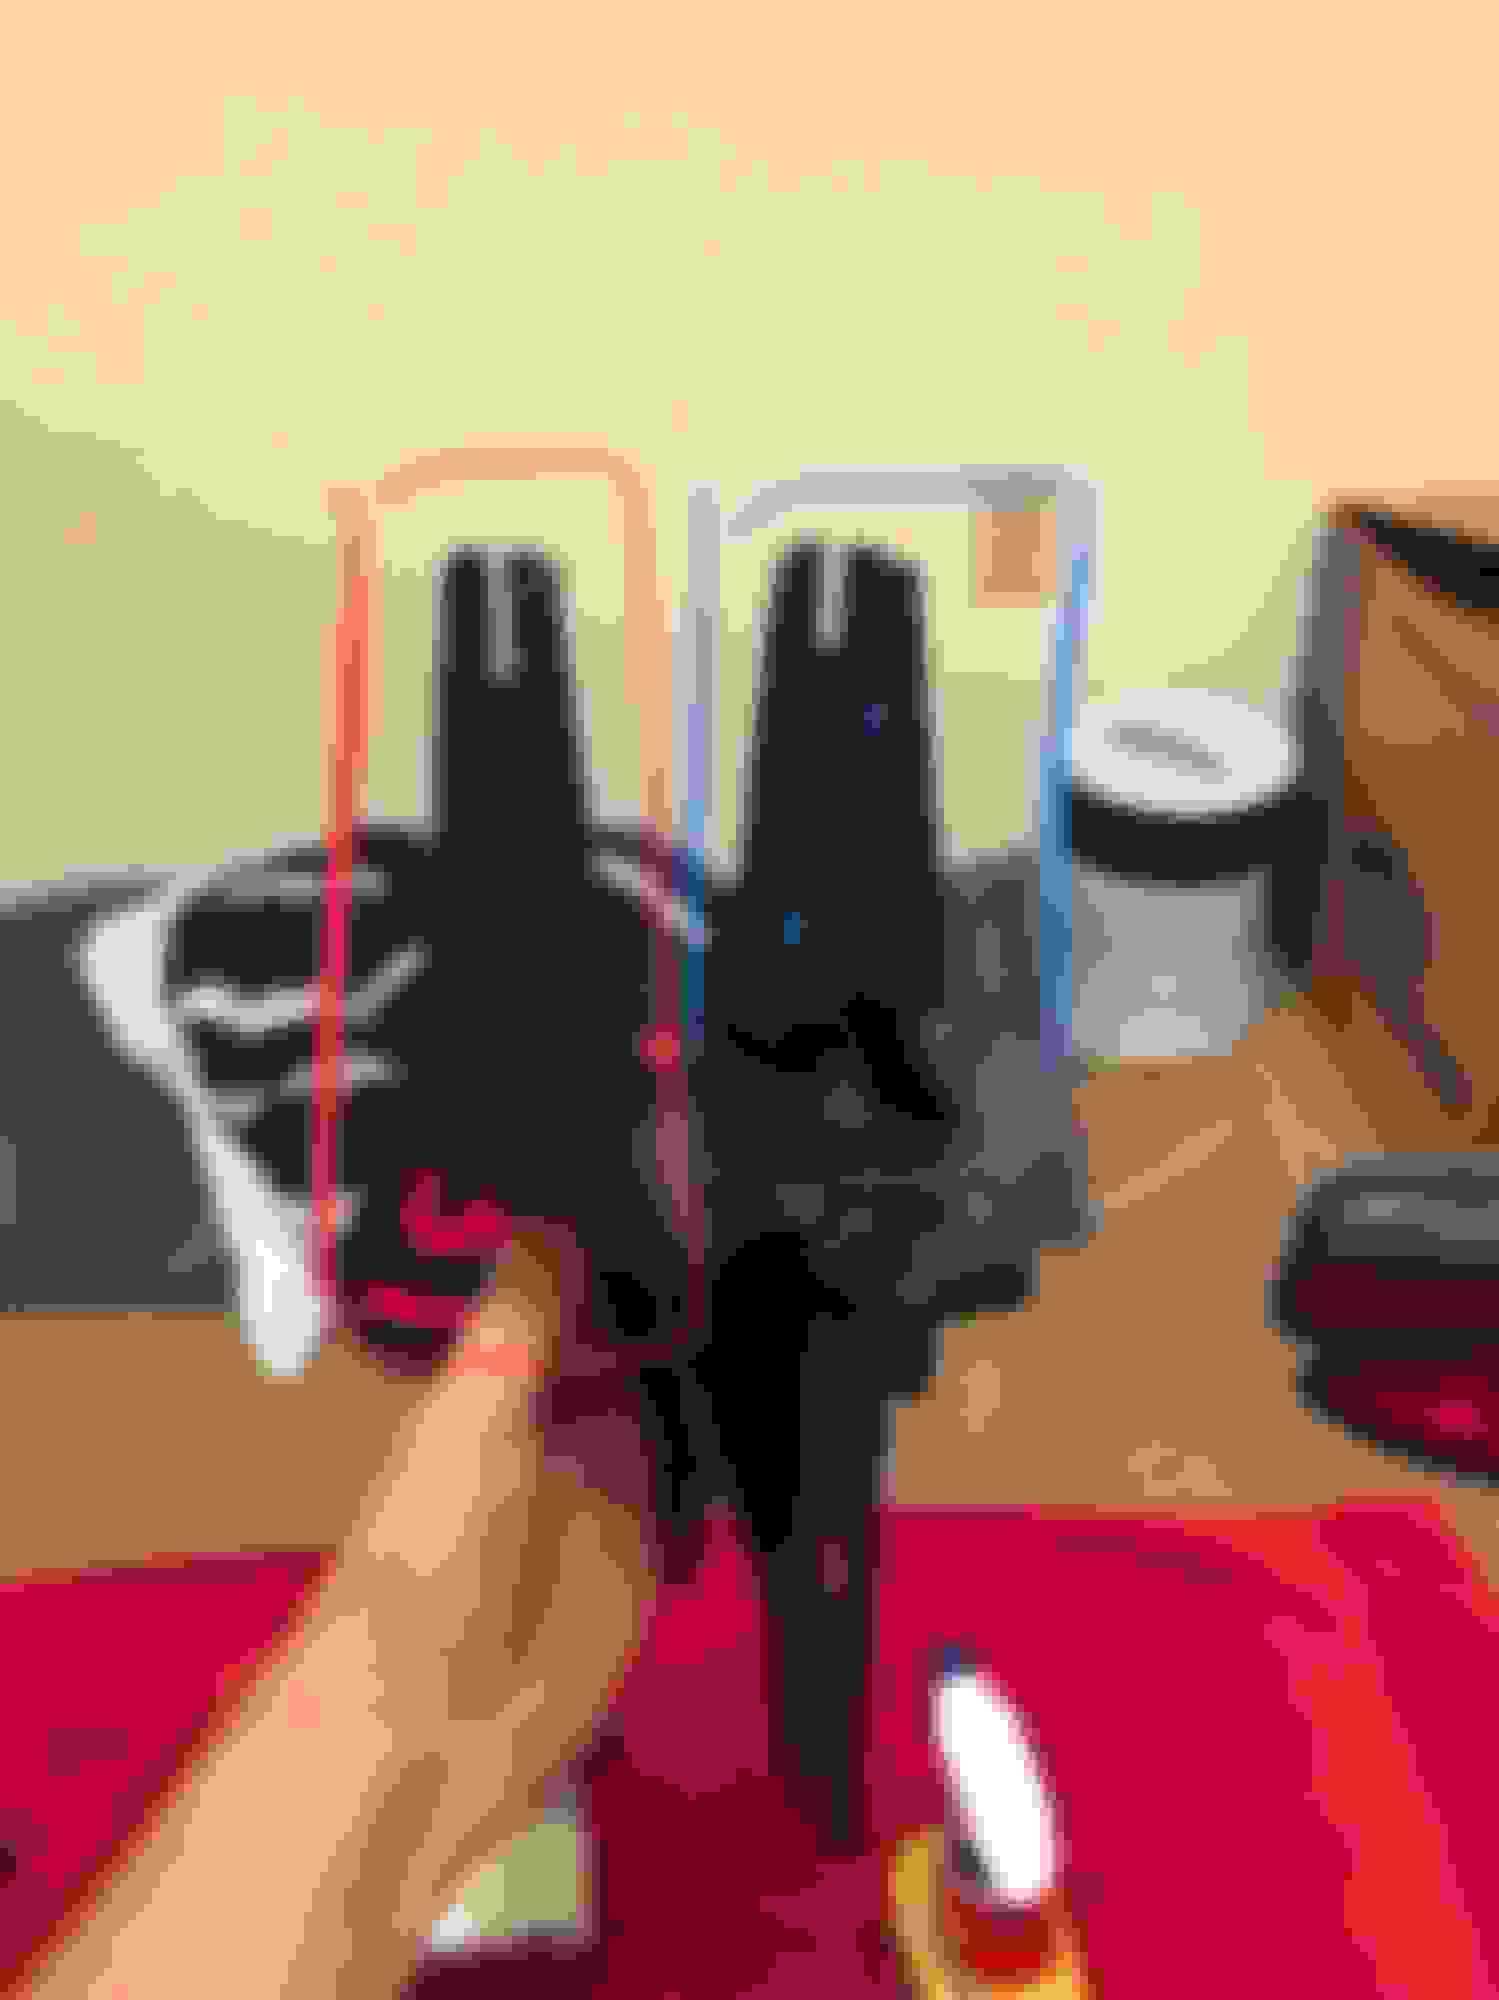
Disclaimer: Before this instance, I have never bent up and brake lines, flared brake lines, or serviced brake lines except for small cases of replacing others with stock units. This is not as difficult as people make it out to seem. I bought crappy ISO/Bubble and Inverted flare tools from advance auto for 20 bucks a piece and all the flares turned out just fine. The trick is to cut the line as straight as possible with a nice newer tubing cutter, deburr the inside of the line with a small machinist/hobby file or countersink, deburr the outside of the line, use a nice fluid to help the bend (I used WD-40), and make sure the line is perfectly straight in the flare tool before you flare. Read up on flaring brake lines with these tools before you use them and you’ll be fine. Its not as hard as people make it out to be, especially on the soft NiCopp line. Steel and Stainless may be a different story, but I don’t have any experiences to share with those materials.
Last edited by GtoProject; 06-15-2018 at 08:01 PM.
Now back to the point, grab your stock line and your new line and just trace them out over one another checking and measuring as you go. NiCopp line is soft and forgiving, just don’t overbend it and kink it or you’ll ruin your piece. I used my hands to do most of the bending, but when I needed a perfect 90 or a super clean radius I used a bender. I got a super cheap circular bender from advance and a tight radius bender from harbor freight for this job. They probably totaled like 25 bucks for both, but it was definitely worth buying them. They really came in handy. I got the lines where I wanted them and then taped them to the original line, I kept going until the bends were almost done then I left a bunch of excess (over a foot incase I was going to need more to bend/sneak it somewhere). I started the lines at the caliper/flex line and left the other end bare so I could do the fitting in the car to the prop valve. Once both lines were done I threw them in the car to check the fit and fixed small areas as needed. I also took this time to throw the new master cylinder in and snug the bolts so I could get ready to run my new lines to the prop valve.
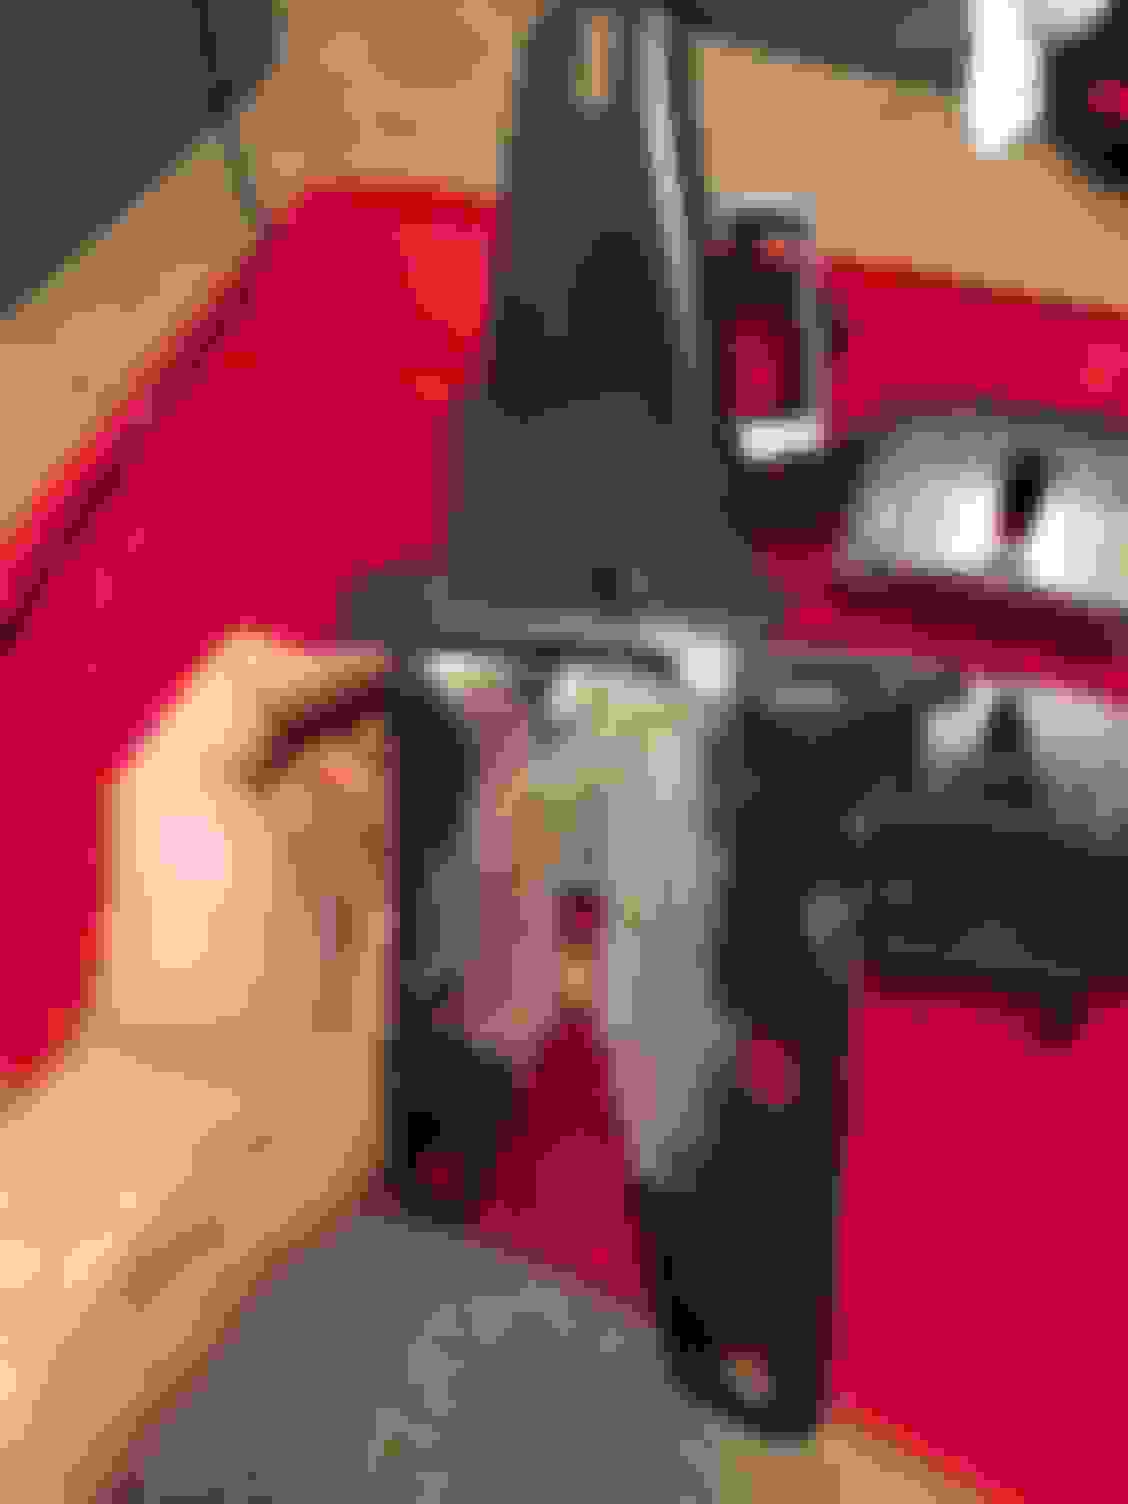
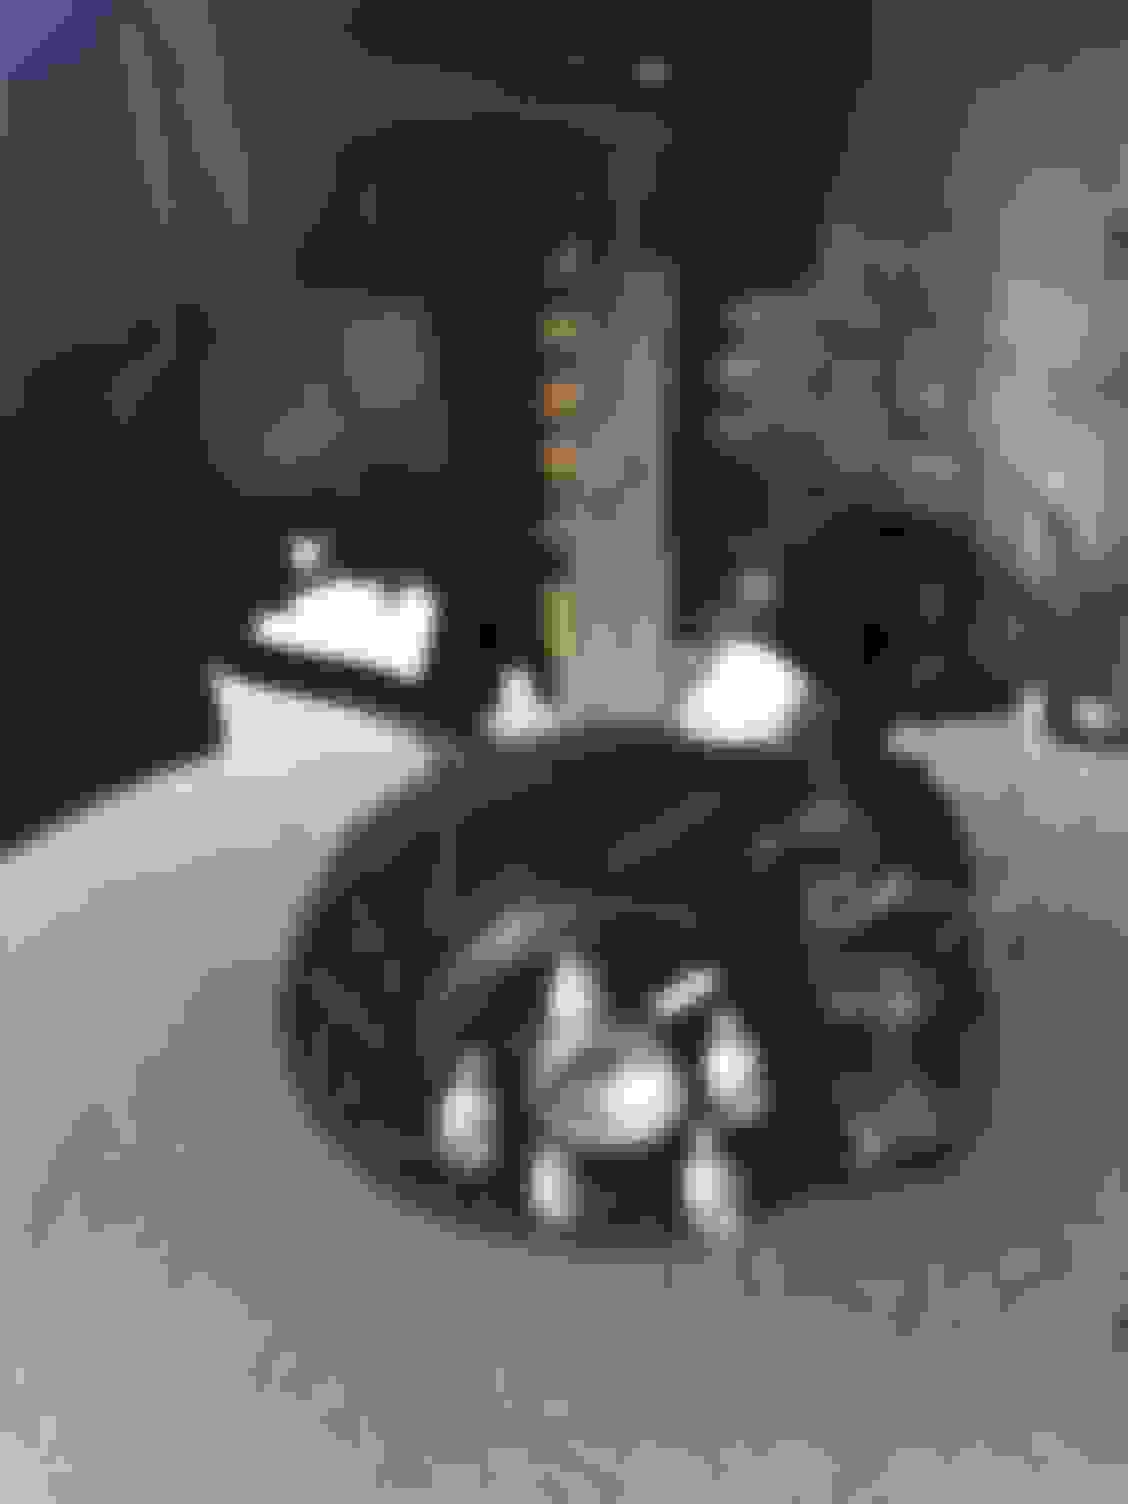
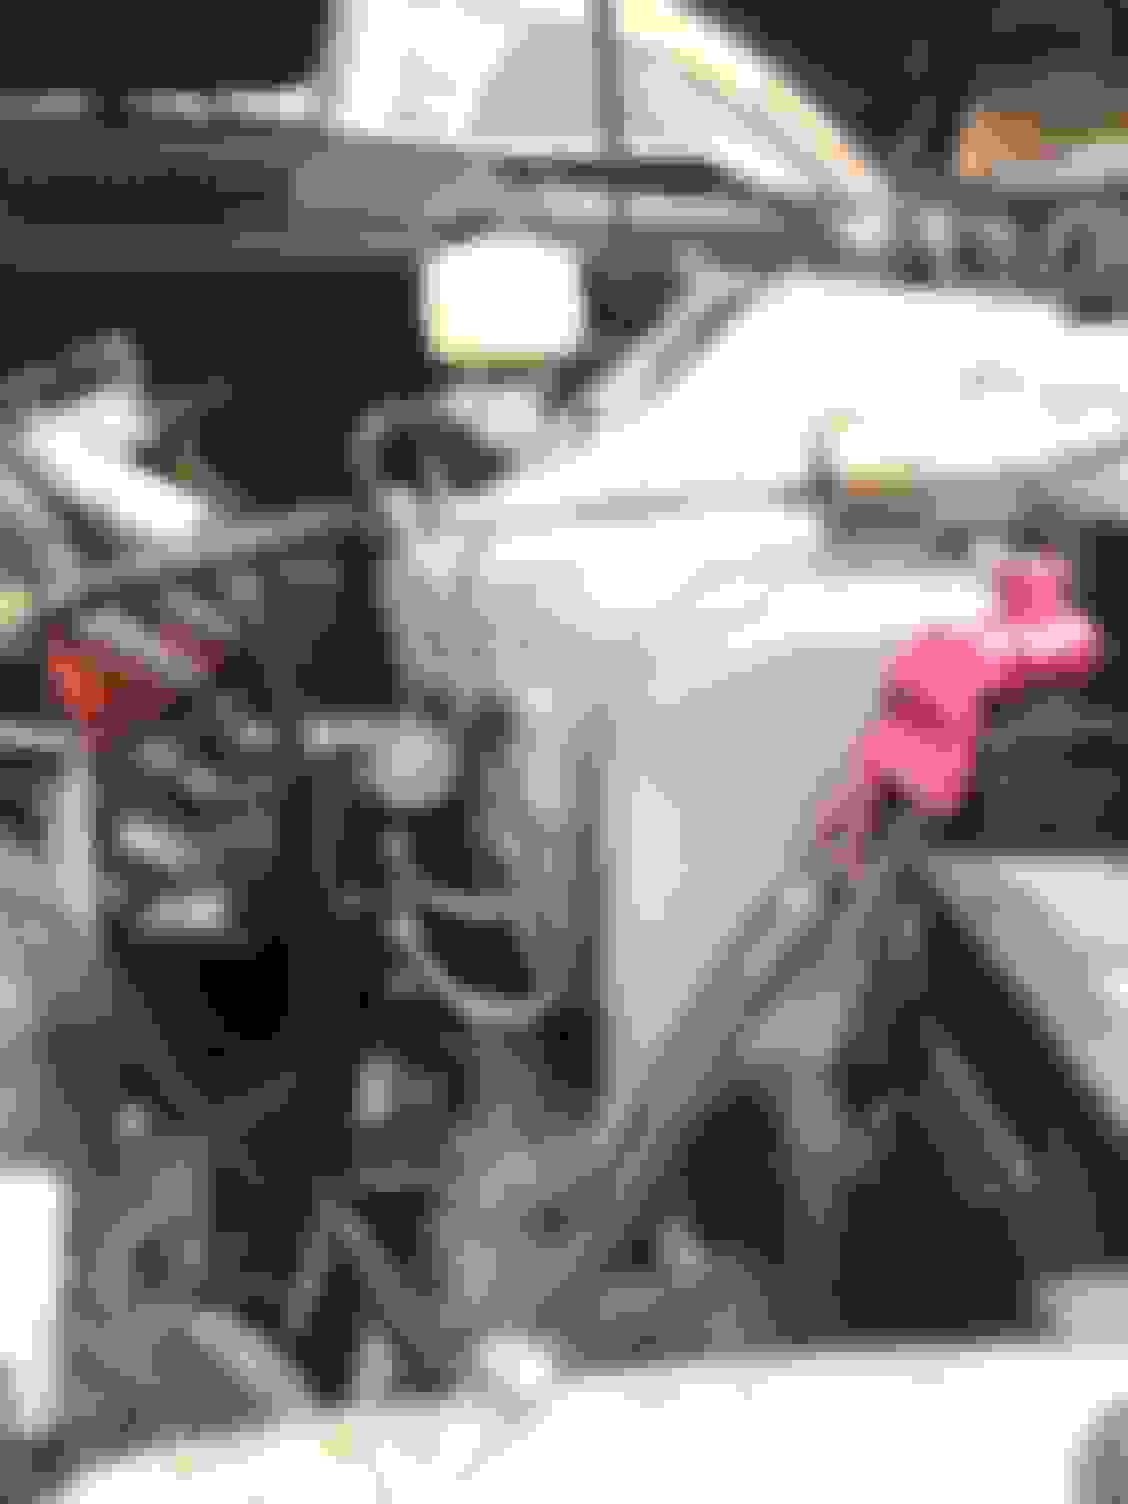
Finding a mounting location for the proportioning valve was getting on my nerves at first, but ended up being one of the easiest things about this job. I simply took the stock ABS block mount and cut it right in half with an angle grinder, then I opened up the upper slot a bit and through bolted the valve in there right where I wanted it. I went with this model wildwood p-valve because I liked the look and wanted my front line T and the rear valve all in one unit. I think it turned out pretty clean and it actually looks better than what I expected. I have seen that alot of people have run the lines differently, but that’s all up to you. This was a little more work, but I like the end result. The red got cut and the blue was the initial plan for the holes that I changed up a bit.
Now that the valve was mounted in the car I got on to bending the front hard lines into position and also running new lines from the master to the linelock and valve. On our later 4th gens the front portion of the master is for the rear brakes and the rear portion of the master is for the front brakes. With that said, I ran a line from the rear port on the master(front brakes) to my linelock, then from the linelock to the front port on the p-valve that splits the line into 2 outputs (one for each front caliper). Then I ran the front port (Rear brakes), straight to the p-valve, on the valve circuit, that has a single output to the rear brakes. The lines from the master to the valve can be bent, taken off, and flared easily because they are right at the top. I got them done in maybe an hour, and a lot of that was my ocd with the lines. For the front brake hardlines to the valve I simply measured how much line I would need then removed the lines from the car to bend them how I wanted them and to flare the ends of the lines for the p-valve.
***Remember to always install your fittings/brake line guard/clamps before you flare the lines, or you’re gonna have a really bad day***
Now I reinstalled the front lines and tightened everything up from the master to the p-valve and the 2 front hardlines to the p-valve. Now its time for the rear brakes.
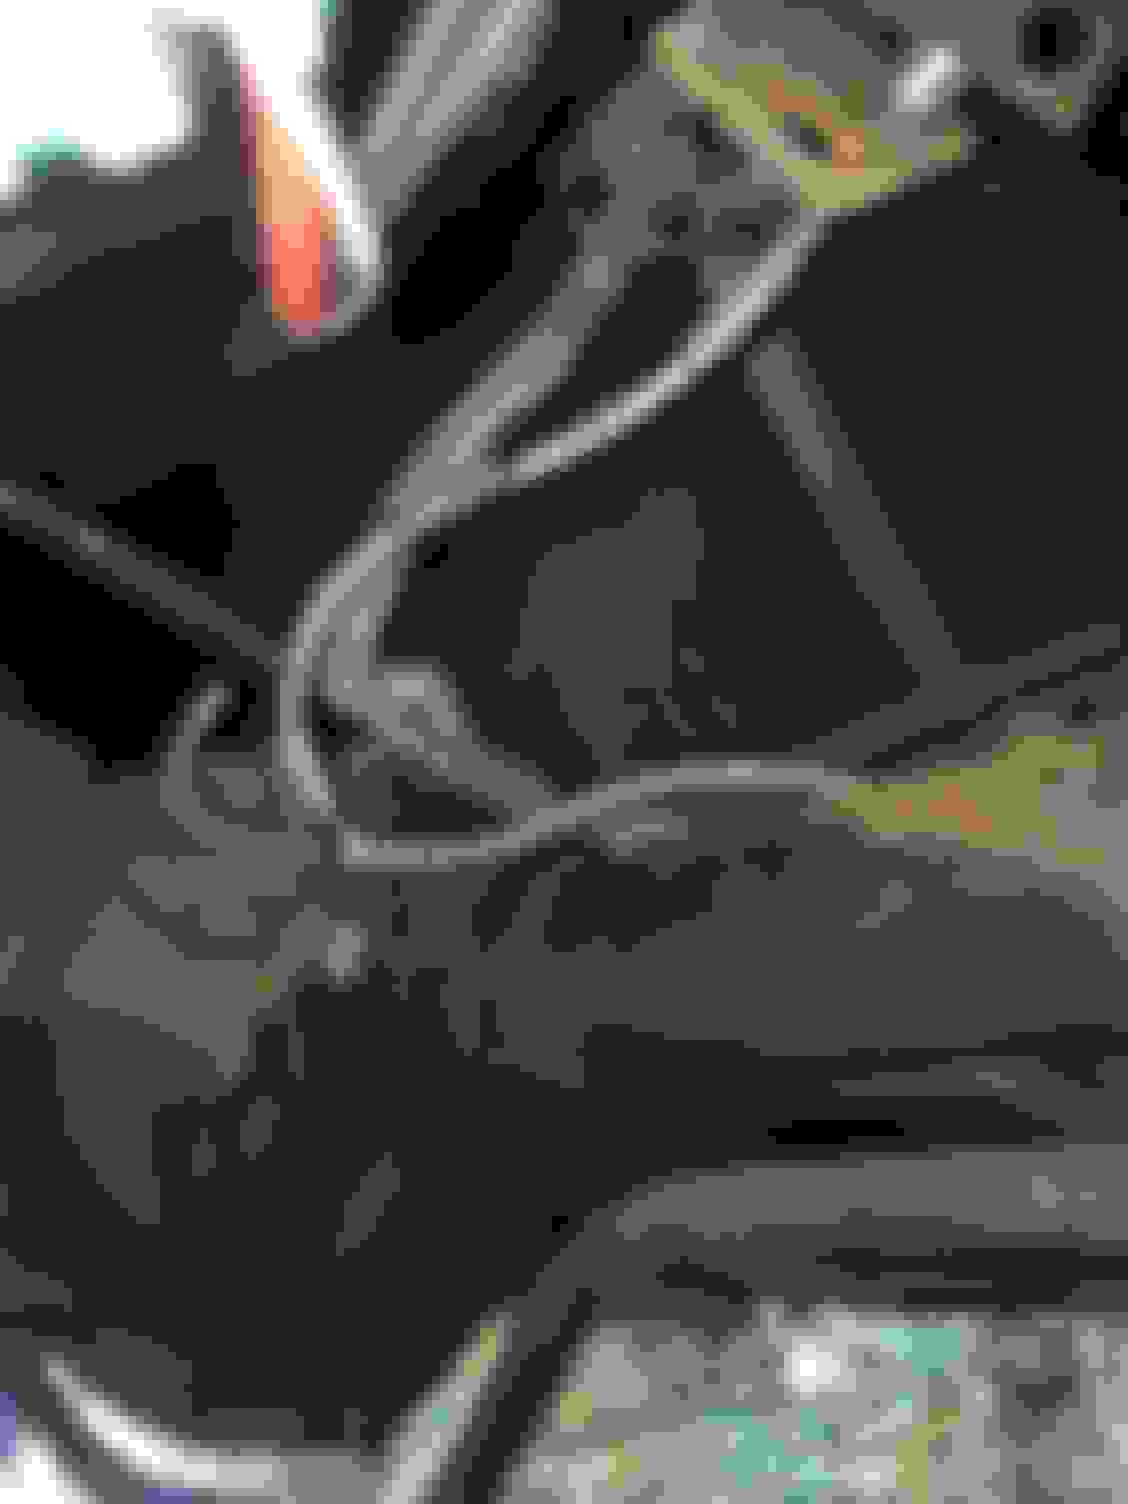
If you wanted to throw the rear in pre-bent, you would have to remove a whole bunch of stuff, so I chose not to go that route. What I did was take one of my 25 ft sections of tubing and straighten it all out perfectly flat. Then I flared the end that goes into the p-valve and put a few small bends on it to get it to the point that it would come out under the vehicle. Then, from the front of the car, I fed my non-flared end into the car overtop of all the things I didn’t want to remove, then I forced the flared upper portion of the line up into the engine bay. It actually worked really well. The bends under the car I was able to do very easily by hand and I got the line connected up front and coming out of the rear end of the vehicle in no time. Then I cut off the excess and flared the end of the line where the hard lines connects to the flex line to the rear end.
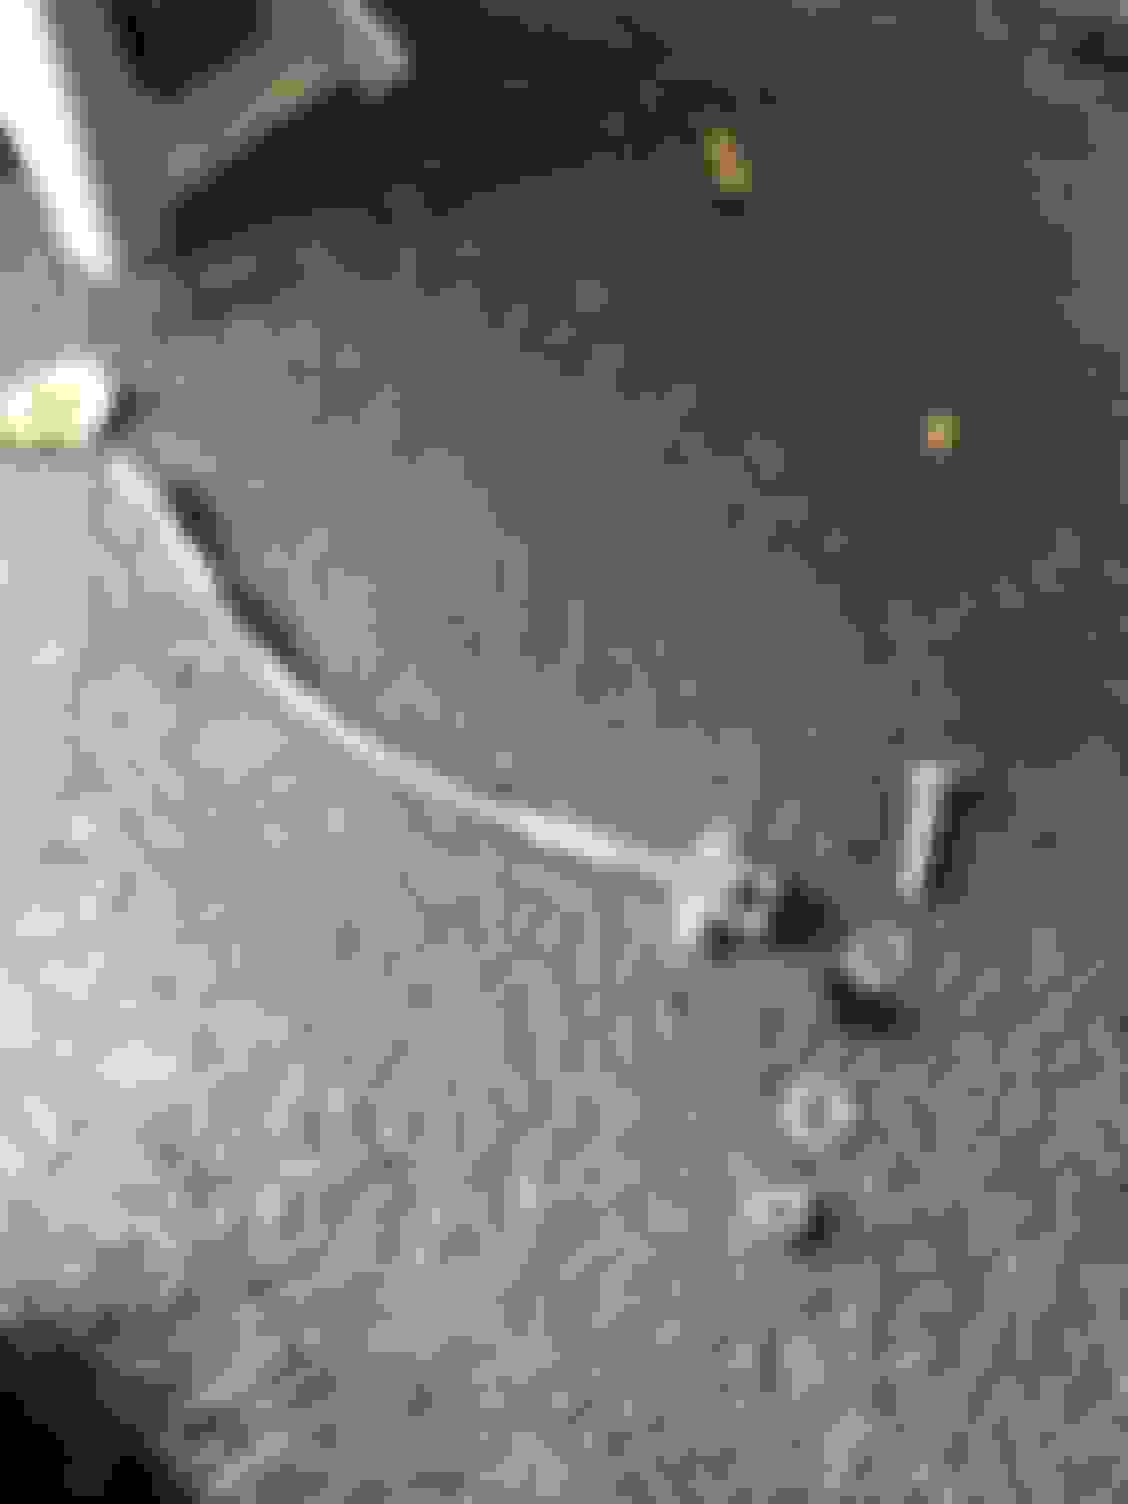
Now all you have left to do (line wise) is mount the the flex line solidly to the rear, and bend up your hard lines for the rear. If you made it this far you should have no trouble measuring and flaring the lines for the rearend. The flex line is also just as easy. I removed the bracket on the rear end where the previous 2 lines were attached and it exposes a tapped hole through part of the punkin. I went to the hardware store and found a longer bolt, some washers, and a nylock and used that bolt hole to mount the flex line to the rear. As you can see, because of the size of the hole compared to the bolt, I threw some rubber hose in there just to help it line up. While it didn’t need to be through bolted, I like the comfort of a nylock there to make sure it will absolutely never come out. Now get the lines bent where they need to go and move on to the rest of it all.
Here's a few of the finished pics from the install. I still have to remove my modified abs bracket and weld the seam as well as paint it. But otherwise the brakes are done. I have around 600 miles on the setup so far with no leaks or issues. So I would say it was a success thus far.
At this point, if you’re just replacing the lines all you need to do is bleed the brakes, pull the abs fuses, cover/break the led bulbs that will trip in the dash, and get some of the possibly occurring DTC’s tuned out. I however also went about bench bleeding the master, rebuilding and repainting my calipers and installing new brakes and rotors.
****Now I’ll answer what I think the general FAQ would be regarding this specific swap, as these are what I was looking for regarding the swap. If there are any more specific questions I’ll add the answers here so it’s a nice quick reference guide****
-Yes you can run 3/16” line throughout the entire system without issue, pressure is pressure, and the master will only displace so much volume of brake fluid throughout the lines. You don’t need to bump up to �” lines like the Non-ABS cars run stock
-Yes they make metric flare nuts in all sizes for 3/16” line. I found a set on amazon for $16 that has all the metric thread to 3/16” nuts you need. Just type (Metric Brake Line Fitting Kit for 3/16 Tube into amazon, it’s a 16 piece set)
-The fitting sizes you will need, for how my system is set up, is as follows
Wilwood 5 Way Proportioning Valve (x5)
-3/8”x24 Inverted/Double Flare
-1/8”x27 NPT (To remove and plug the brake light switch us LS guys don’t need)
Brake Hard Lines to Caliper Flex Lines (x4)
-M10x1.0 Bubble Flare
Rear Hard Line to Flex Line on Rear-End (x1)
-M12x1.0 Bubble Flare
Rear Flex Line to Hard Lines on Rear-End (x2)
-3/8”x24 Inverted/Double Flare
- I can imagine setting the proportioning valve may make people wary of it. I have mine set all the way closed, then backed out a quarter turn. It locks front and rear at both times on my setup. 28” drag rears and 26” skinnies up front. I have full on locked/panic stopped this setup a number of times and it stops fast and straight like this. Other tire/suspension setups may be different.
Hopefully this can help cut down on the amount of searching necessary to do a swap like this. It was a nightmare figuring out what I needed to order when I first started looking.
Last edited by GtoProject; 05-30-2018 at 08:41 PM.
Very good write up, and great choice on the Ni-Cop line. So easy to work, easier to flair than regular steel, and won't rust out. If you or anyone else reading this were to use SS you need a different flair tool. You don't double flair stainless, you single flair it at 37* different tooling involved, just an FYI.
did that fitting kit come with the ones for the master?
Yes, this fitting kit contained the proper fittings for both masters, the 4 caliper hard to flex lines, and the fitting for the rear single flex line to the rear end. The rest of them were the standard 3/8"x24 size fittings with inverted flares (which I bought a separate pack of).
 05-27-2018, 07:28 PM