
Sound Deadening Project in a 2002 Camaro
 11-22-2011, 10:02 PM
#21
Teching In
Thread Starter
 11-22-2011, 10:17 PM
#22
Teching In
Thread Starter
nice work, i emailed second skin and asked for there input on what products i should use and they suggested the damplifier pro and luxury liner pro. it would be 2 layers also doubling the cost. are there any problems with getting the carpeting back over this stuff? im new to this sound deadening stuff and im having a hard time figuring out whats what. thanks
 11-22-2011, 10:37 PM
#27
Teching In
Thread Starter
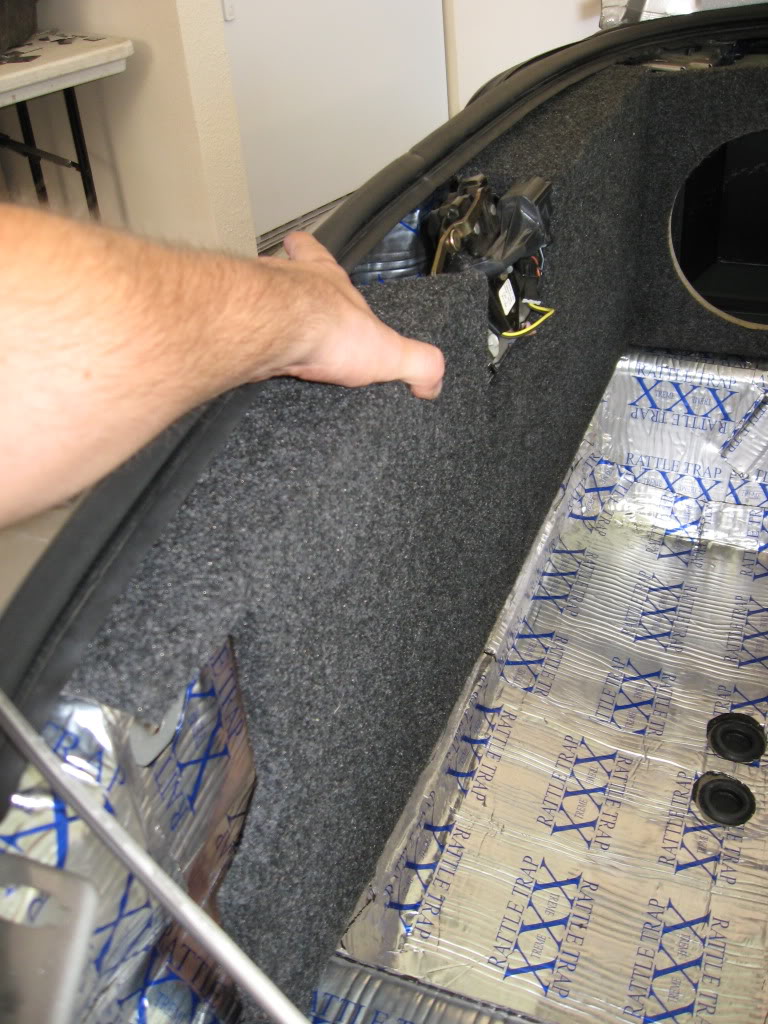
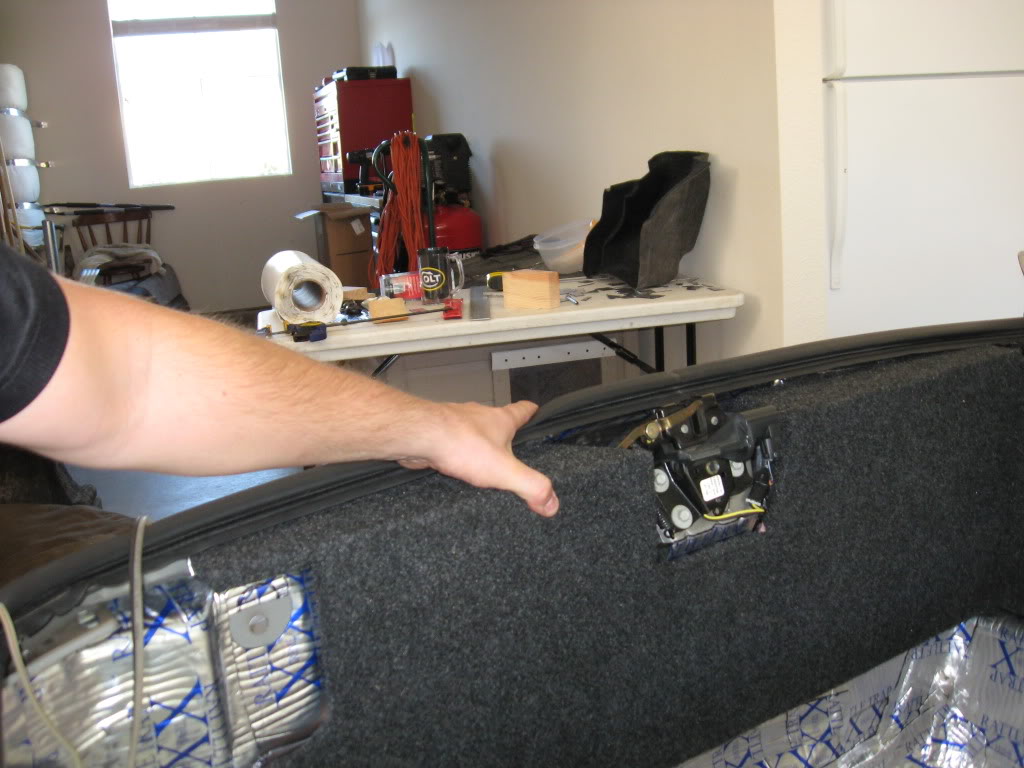
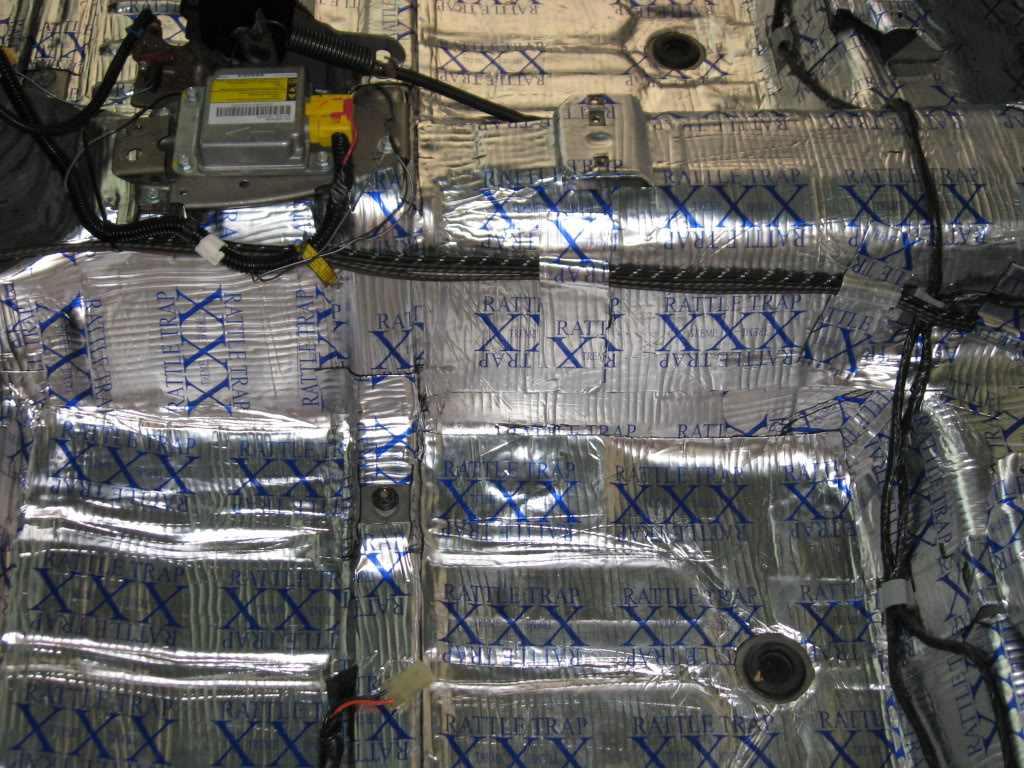
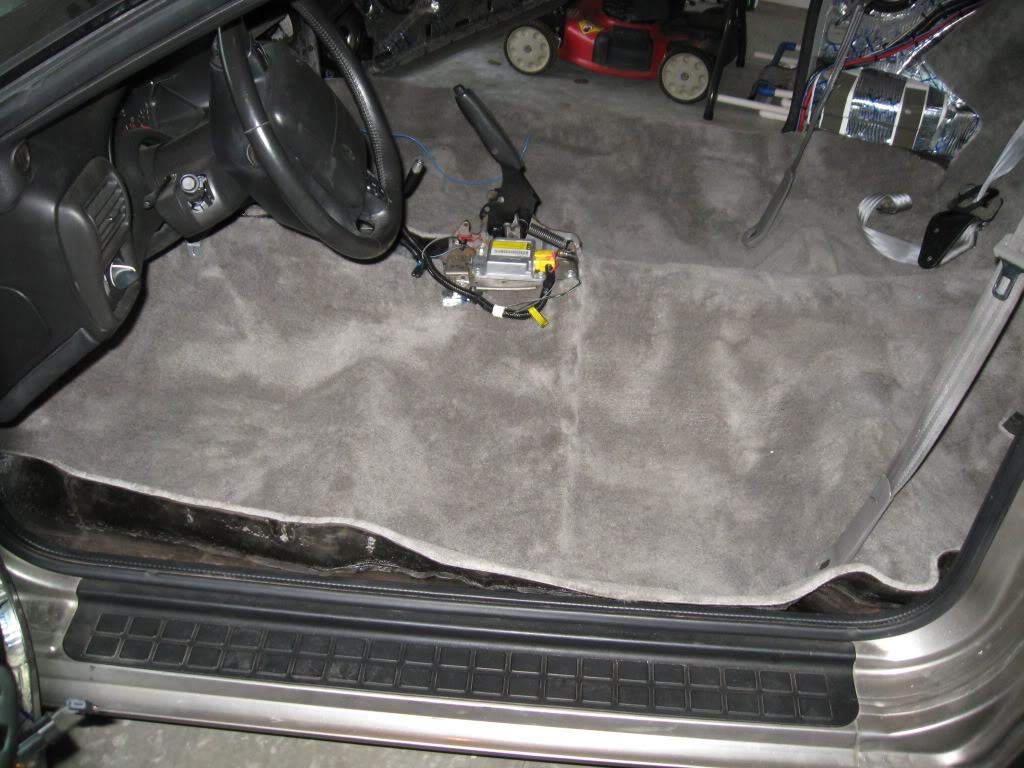
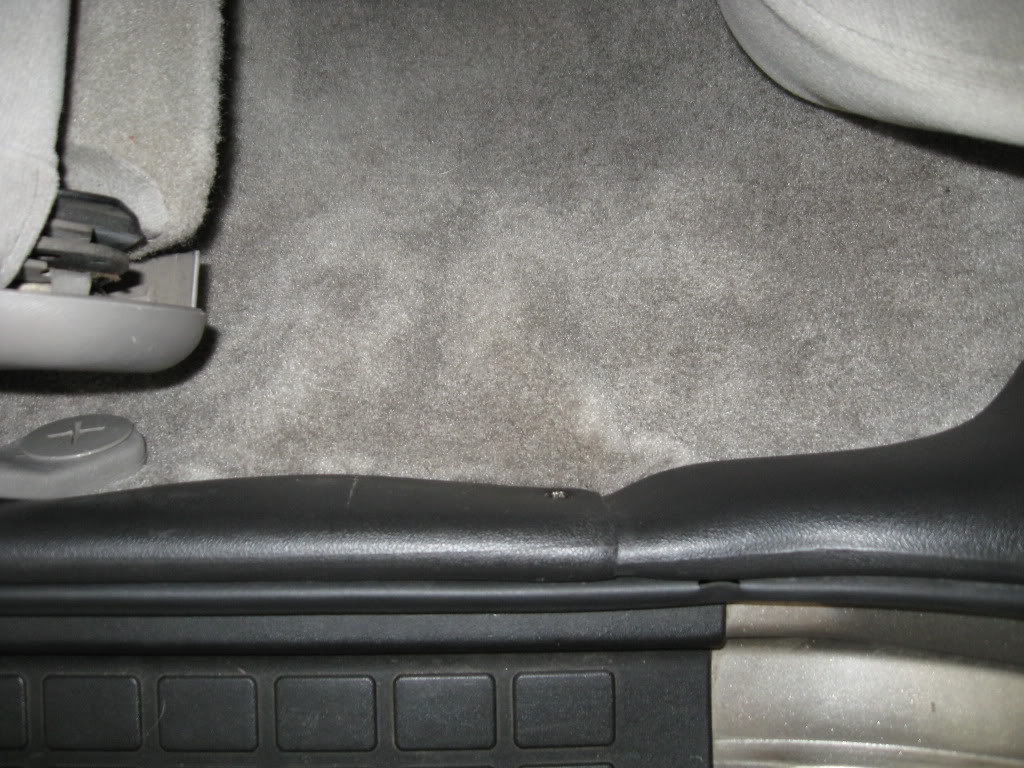
Carpet is in and we are ready for wiring the stereo. NOTE: I used the mass backed carpet which is great for insulation and sound deadening but it is a painful experience to work with, follow the instructions from the company to make thins go easier.
 11-23-2011, 04:44 PM
#30
Teching In
Thread Starter
If you go to Stock Interiors, you can see all the options for the Camaro:
http://www.stockinteriors.com/AutoCa...d=5&ModelId=71
http://www.stockinteriors.com/Carpet...&HideACC=False
It is their "Grey, part number 1066", ultra plush cut pile.
Shipped to me with all the extra padding it was just under $350.00.
http://www.stockinteriors.com/AutoCa...d=5&ModelId=71
http://www.stockinteriors.com/Carpet...&HideACC=False
It is their "Grey, part number 1066", ultra plush cut pile.
Shipped to me with all the extra padding it was just under $350.00.
11-23-2011, 05:31 PM
#31
Teching In
Thread Starter
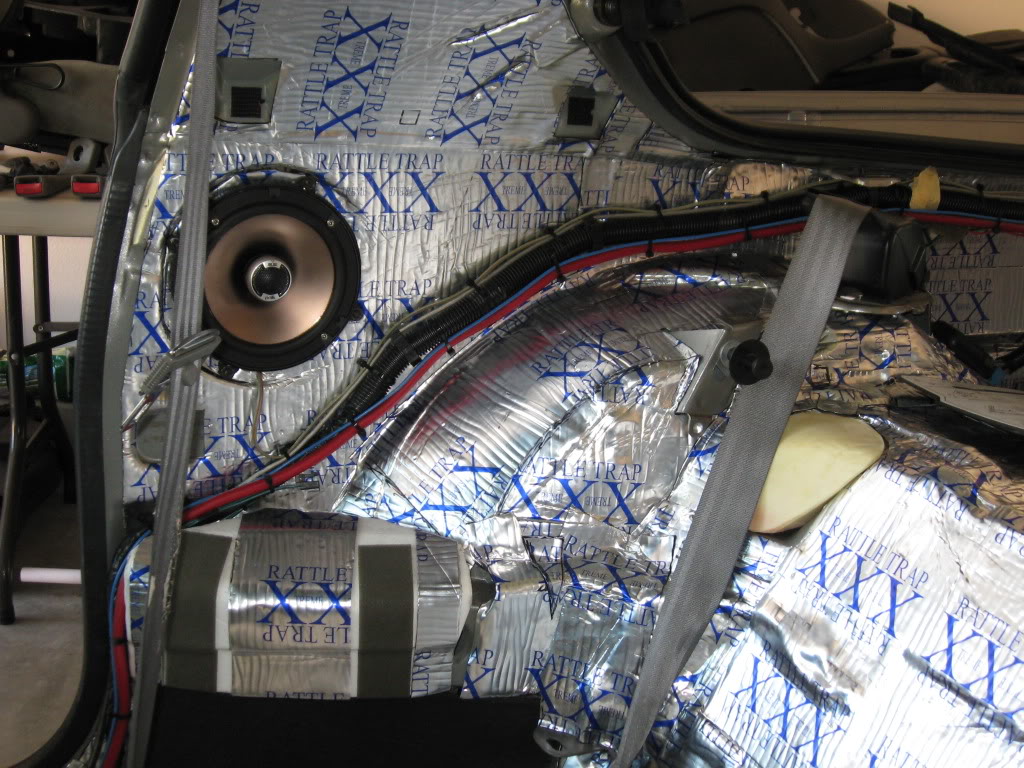
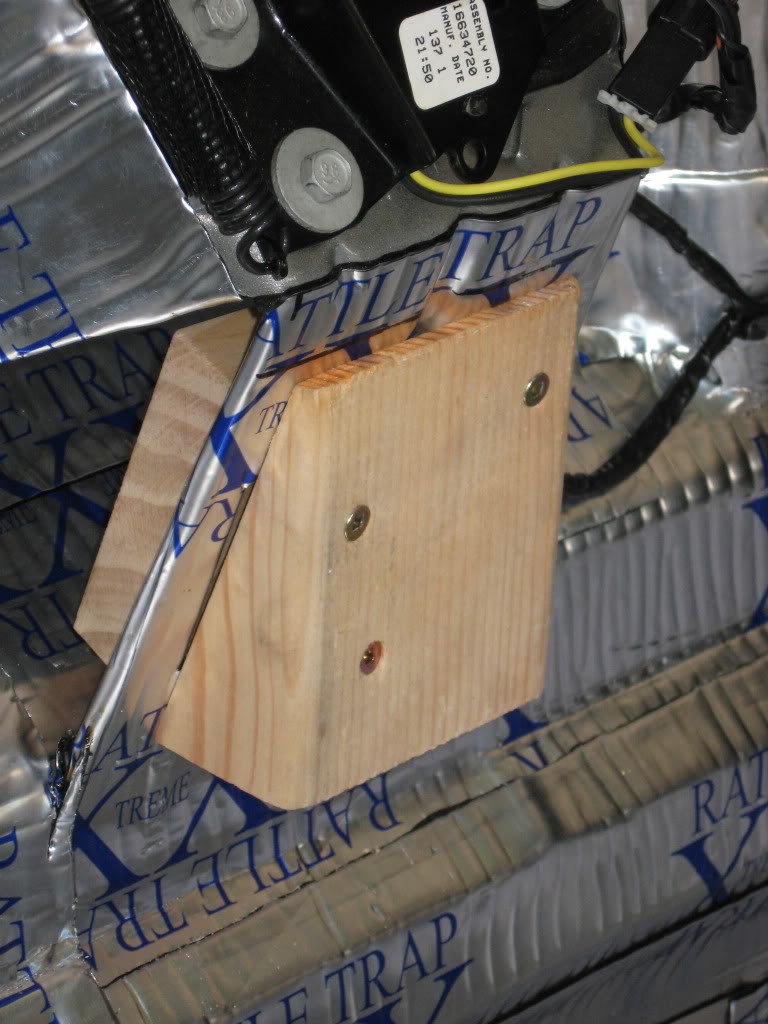
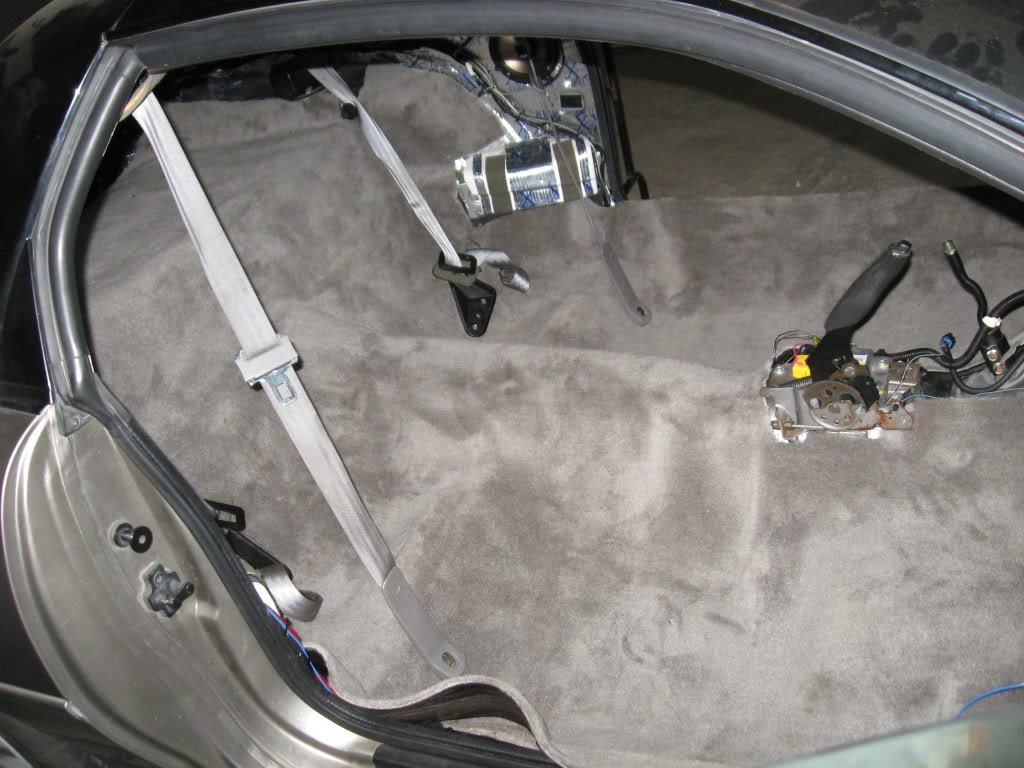
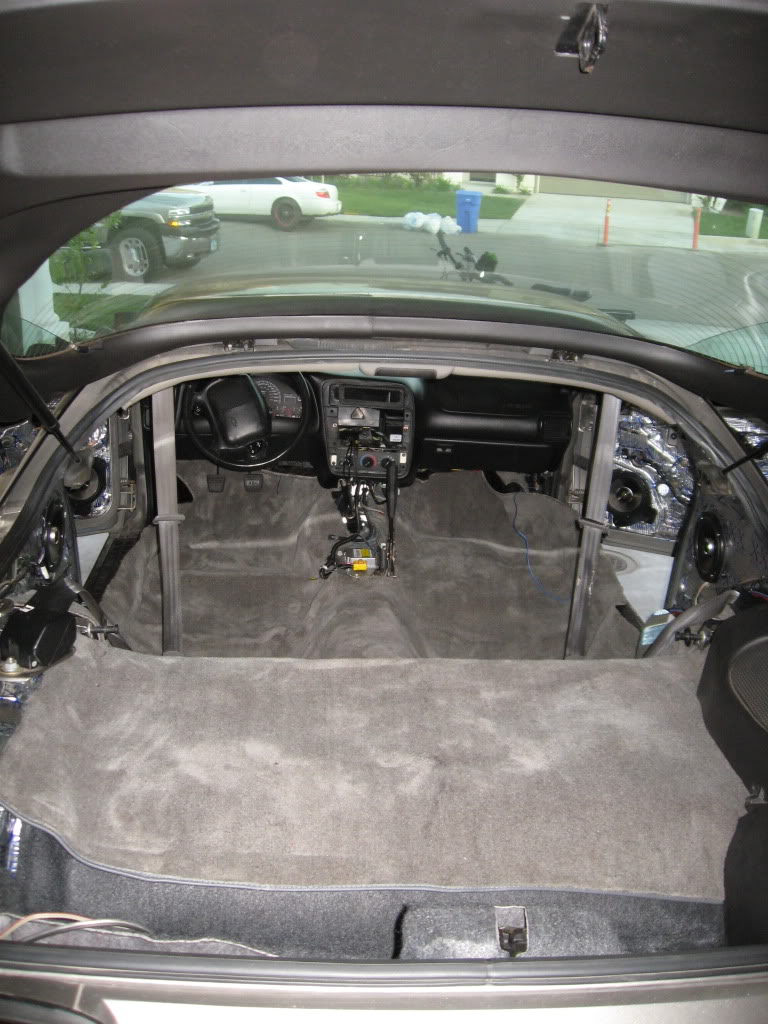
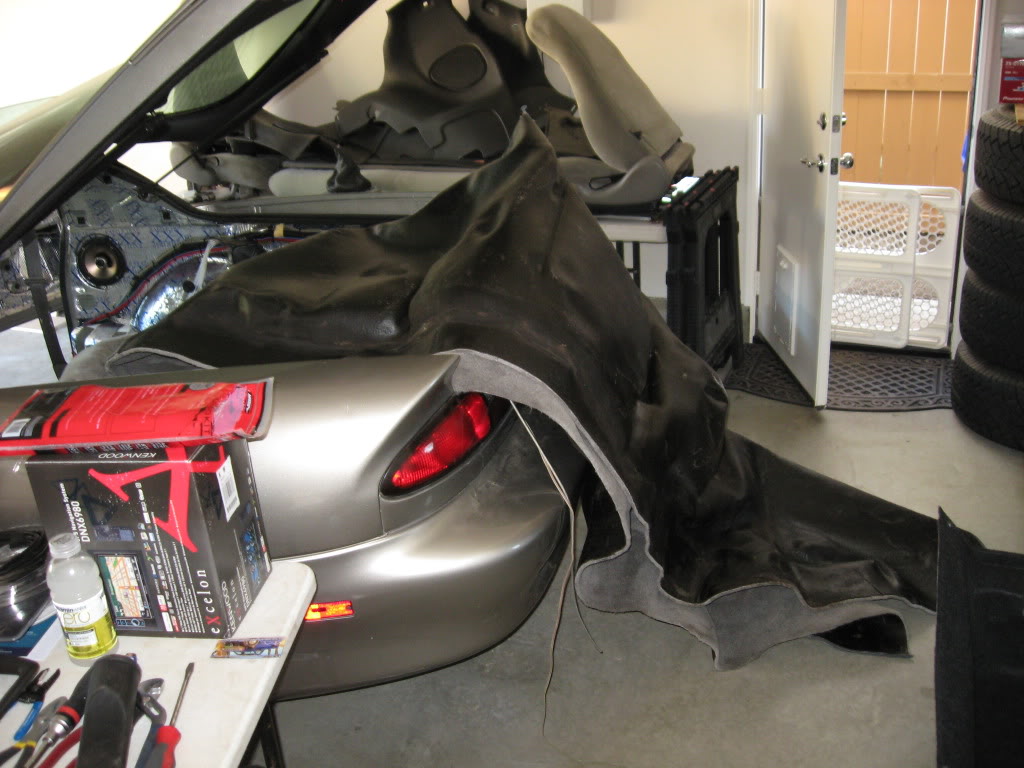
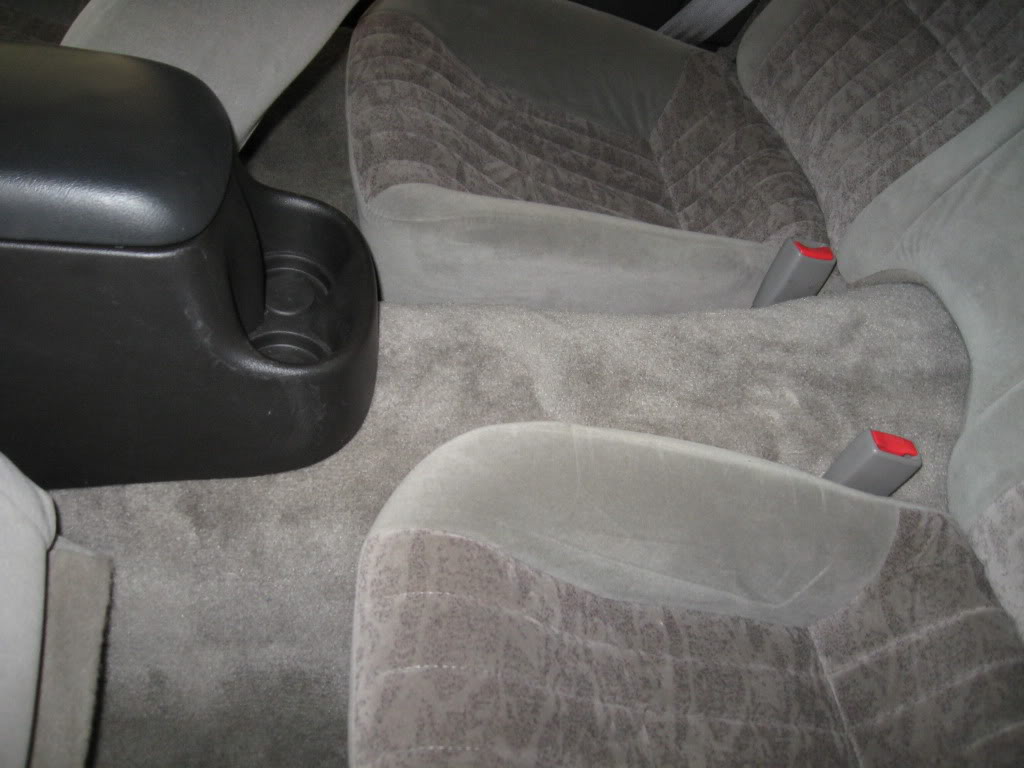
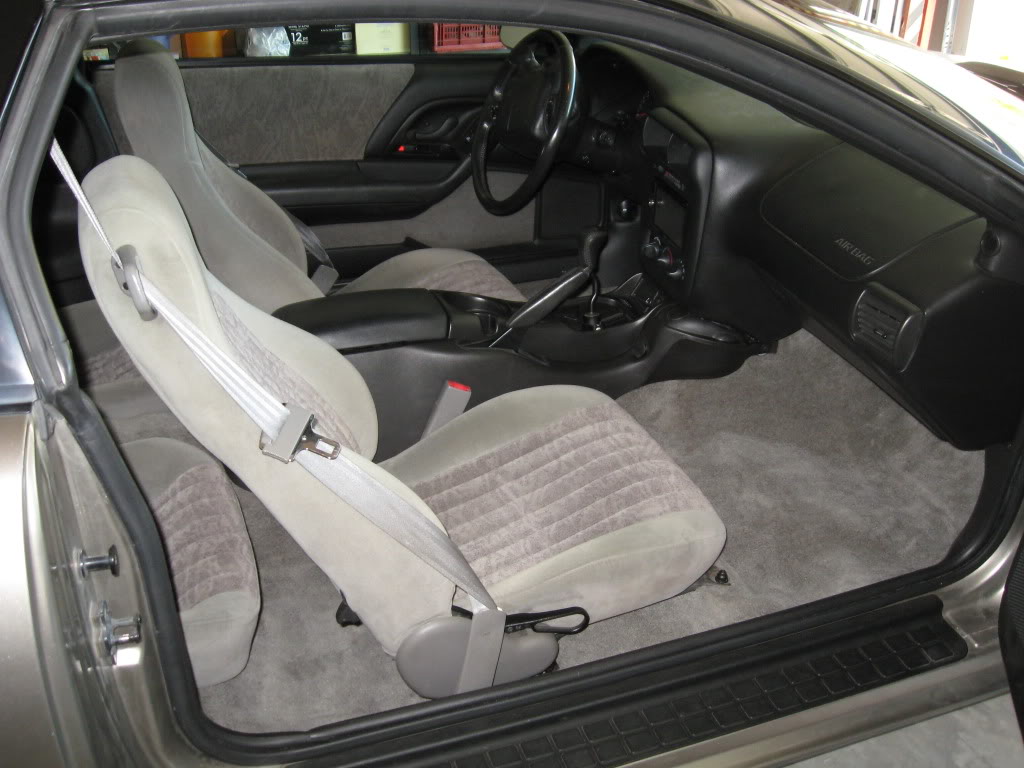
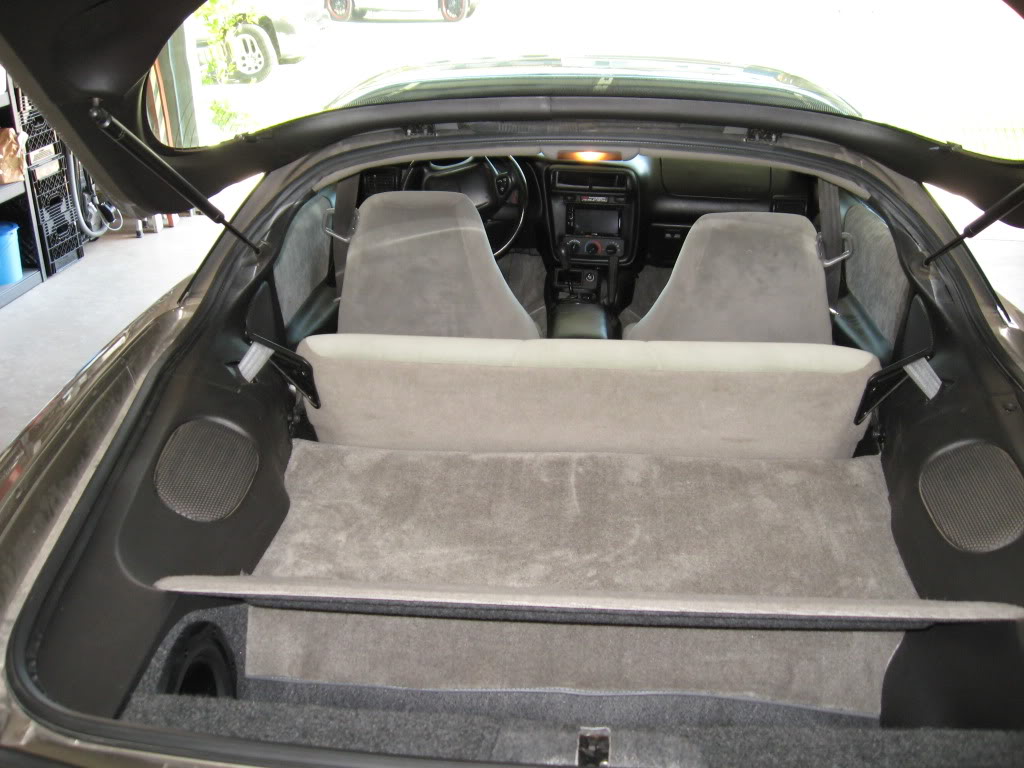
I apologize for not taking more pictures on the reassembly portion of the interior, my unit is getting ready to deploy to Afghanistan and we have been really busy so I forgot to take pictures on portions of the instalation, but here is the "almost finished interior". You can see in some of the pictures how the carpet got bunched up, I worked the carpet into the nooks for a month before I started installing interior parts but still had some problems, I recommend calling the company for assistance, and install all floor mounted items (seats, seat belts, senter console etc...) before you cut anything or you might come up short!

11-23-2011, 05:41 PM
#32
Teching In
Thread Starter
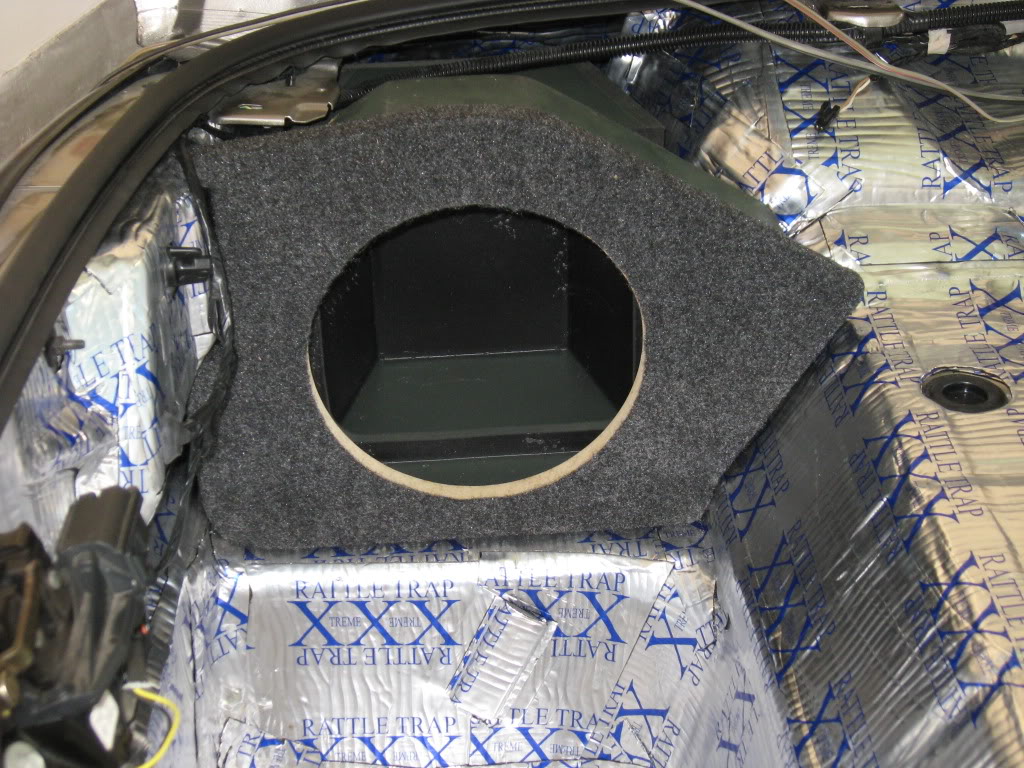
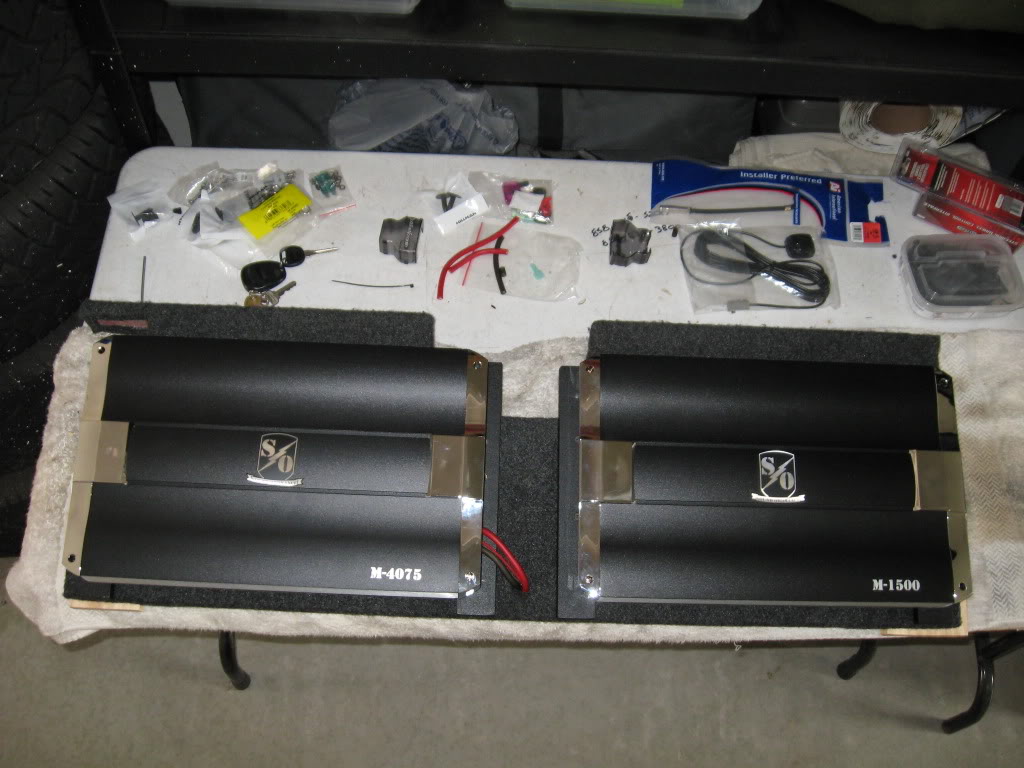
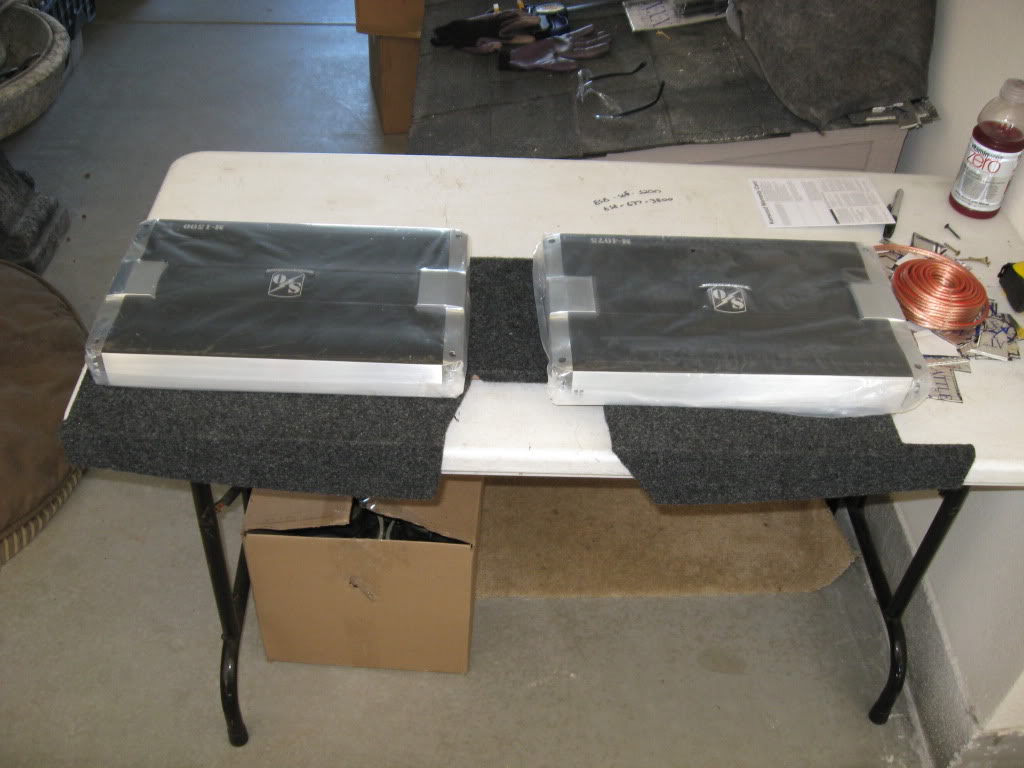
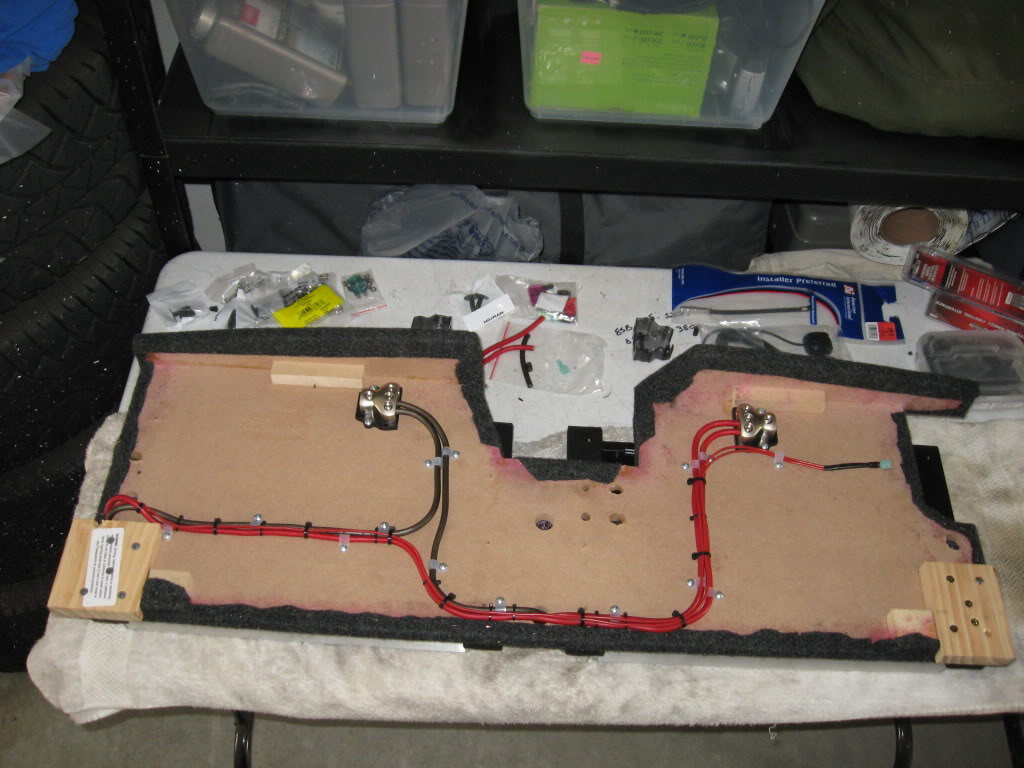
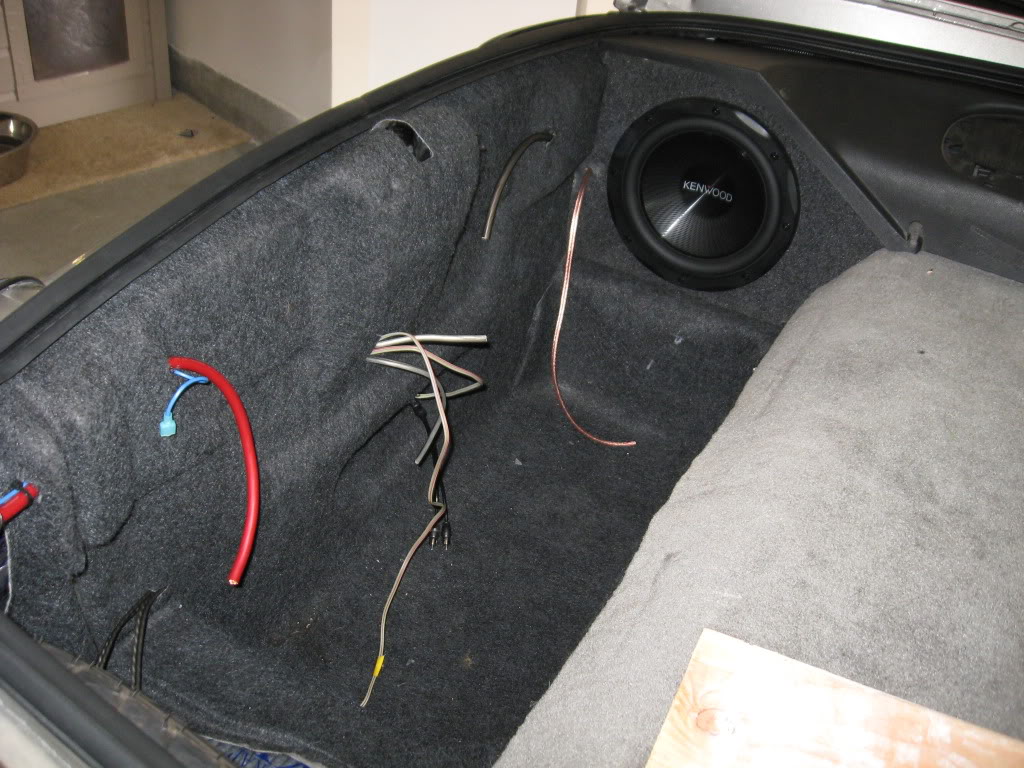
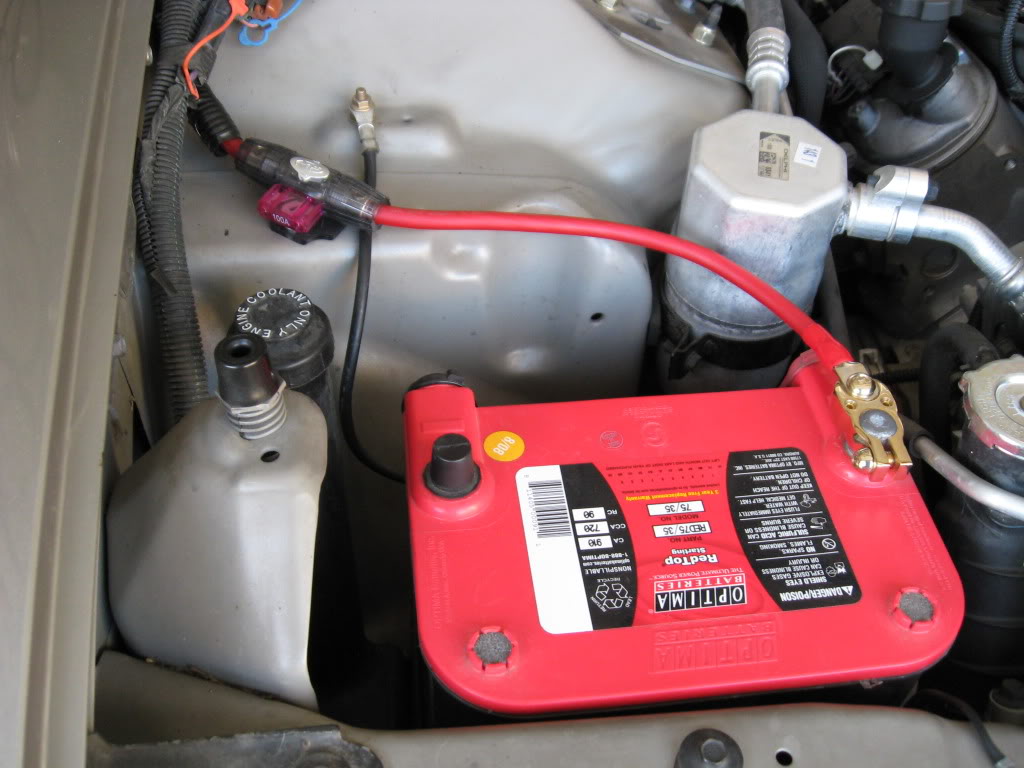
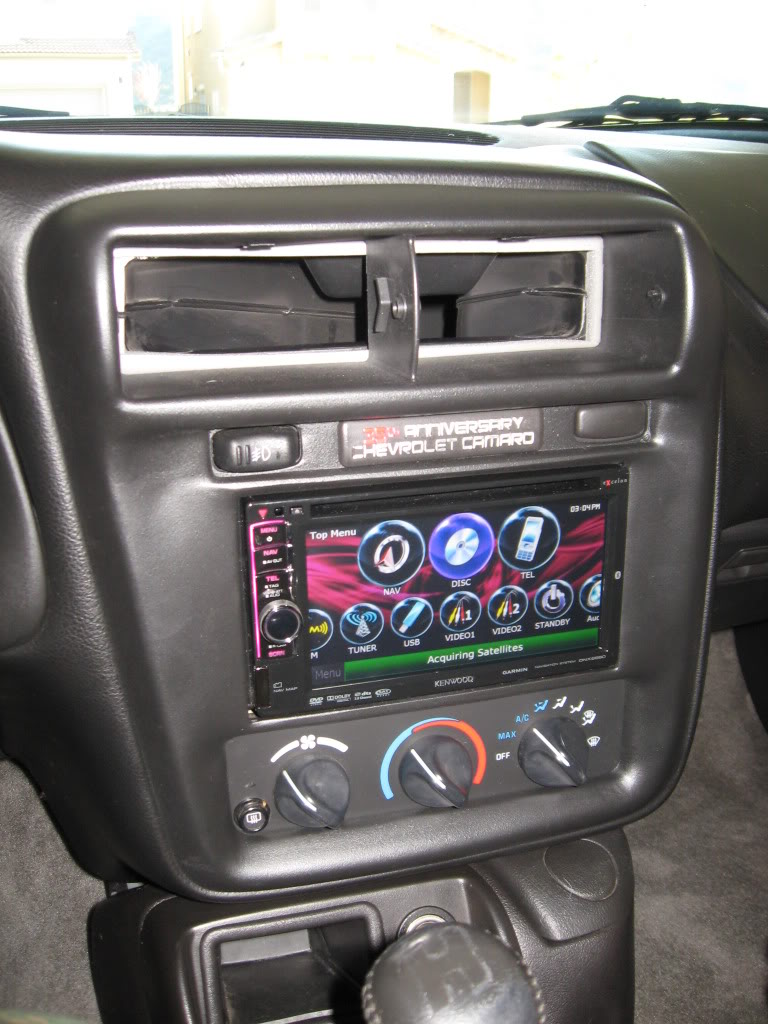
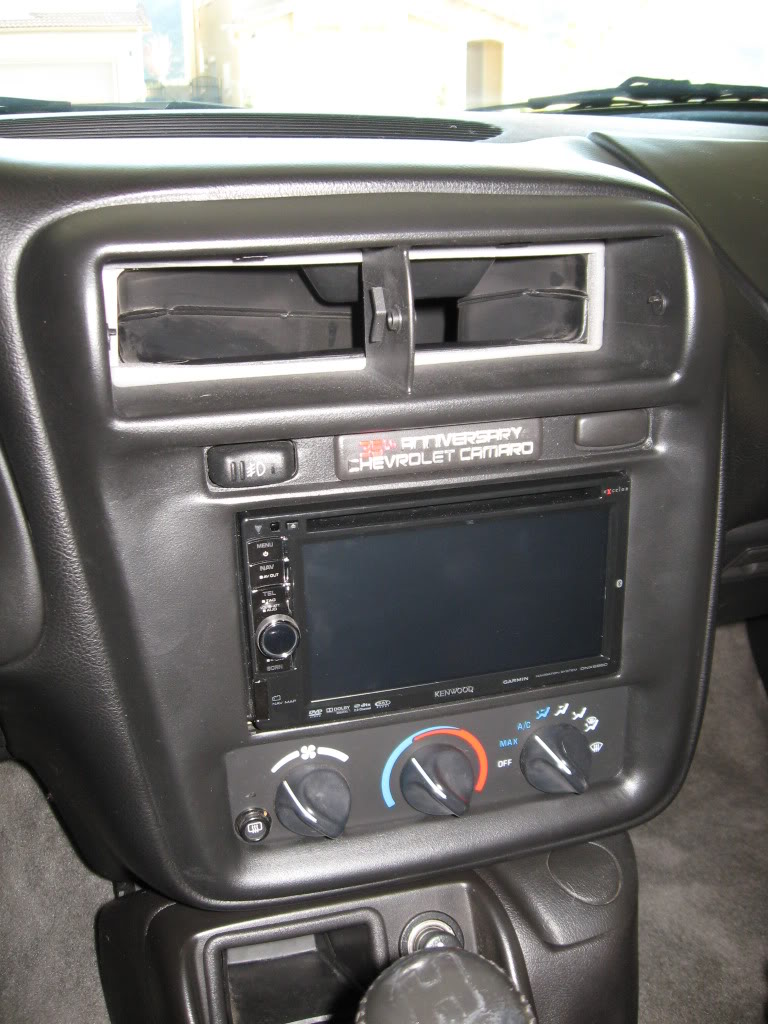
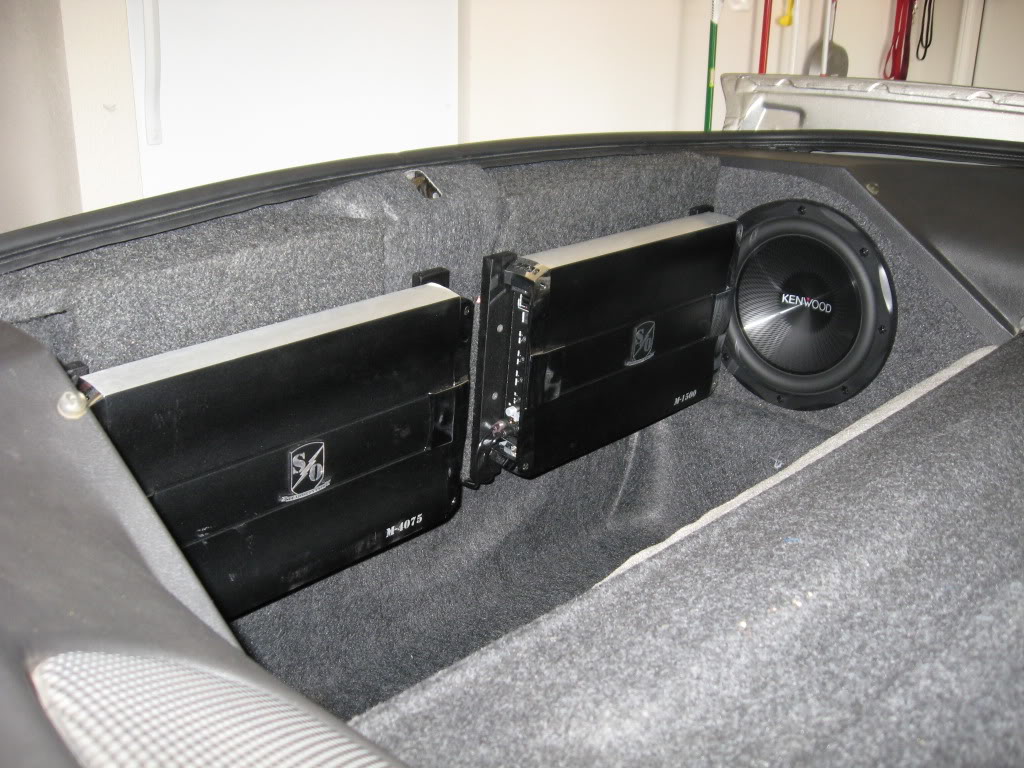
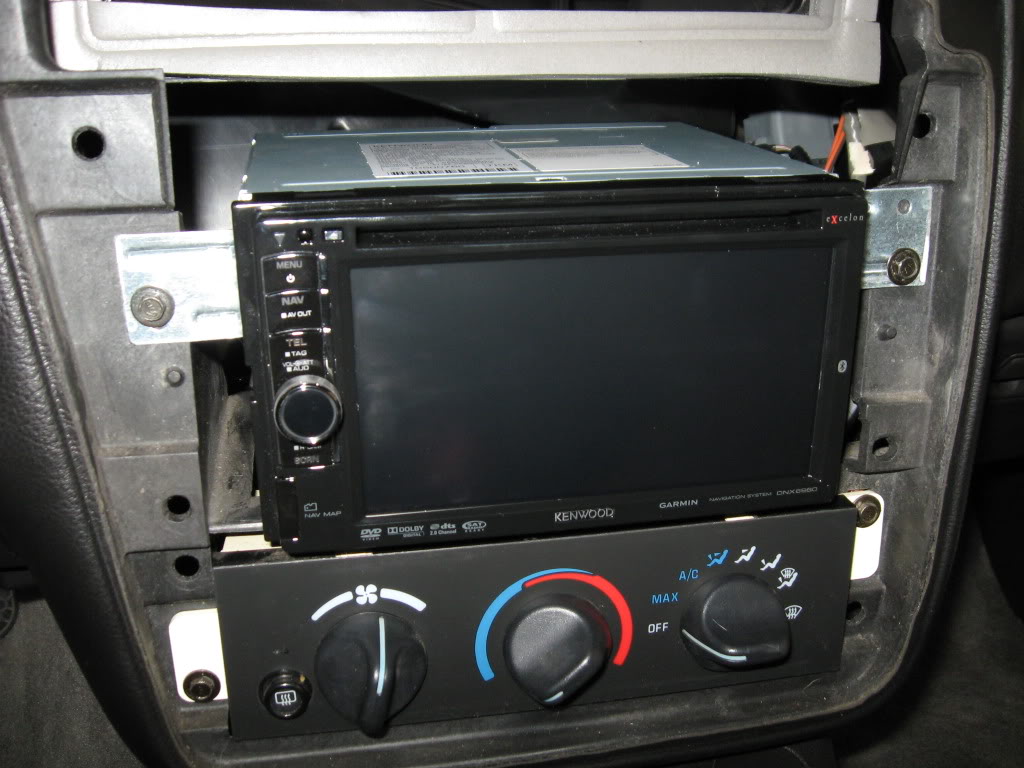
Battery Connection, Finished bezel with head unit, and the Amps and the Subwoofer. I bought a Rockford Fosgate multil Amp installation kit and it had everything I needed, very happy overall for what I wanted out of it. The Vents are not in the bezel yet because there was an issue with the Bezel (Dennis at DD Mods has been AWESOME to work with however and he is sending another one my way so next week we should be completely finished). Very Happy with the head unit, awesome features and is super user friendly, All of our vehicles have Kenwood headunits and this is the second navigation unit that I have installed in our vehicles and I recommend it. I also installed the axess steering wheel controls and it was great, better that the PAC unit. Most people ask me why I chose Kenwood for the Sub... Well I have ran them and Pioneers since I was 15 years old and I really enjoy them. I like them because I can get a deep, full, and tight bass at 300 watts RMS instead of other subs that sound the same to me but require 700-1000 watts RMS. That means I don't need a huge amp, and or a capacitor just to listen to music at average sound levels. In addition to this, I think I paid about $75 for this sub, and other JL's, I looked at were about $200. If you heard the system, I think you would understand =)
Last edited by 45Colt45; 11-23-2011 at 05:55 PM. Reason: forgot portion
11-23-2011, 05:51 PM
#33
Teching In
Thread Starter
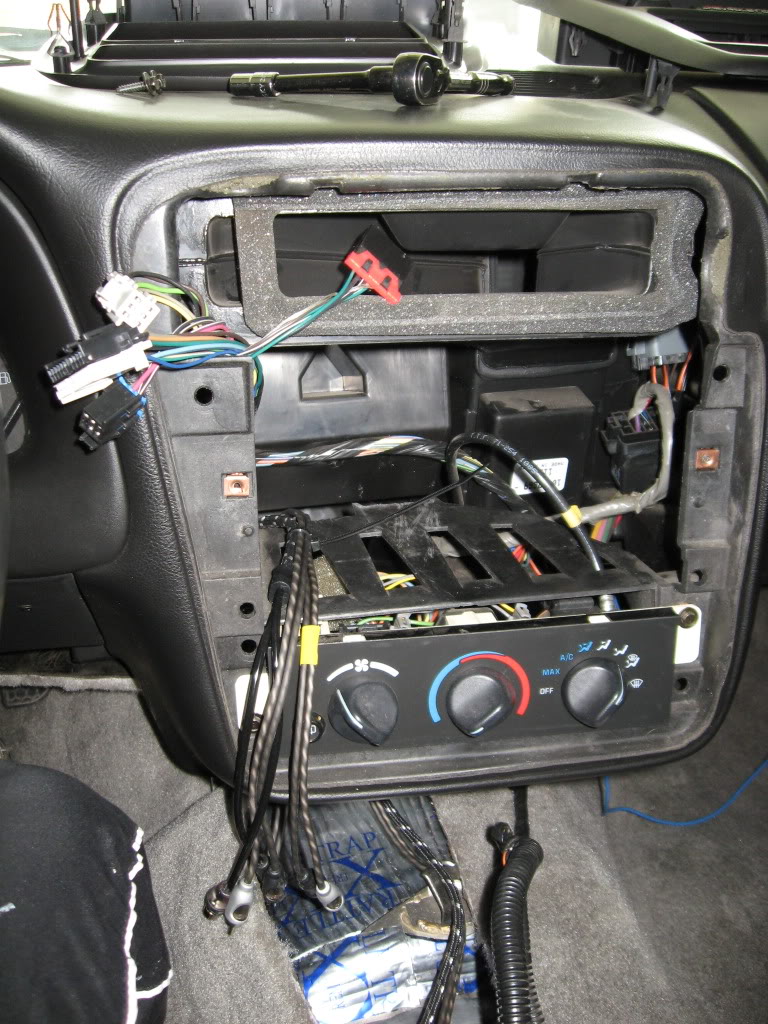
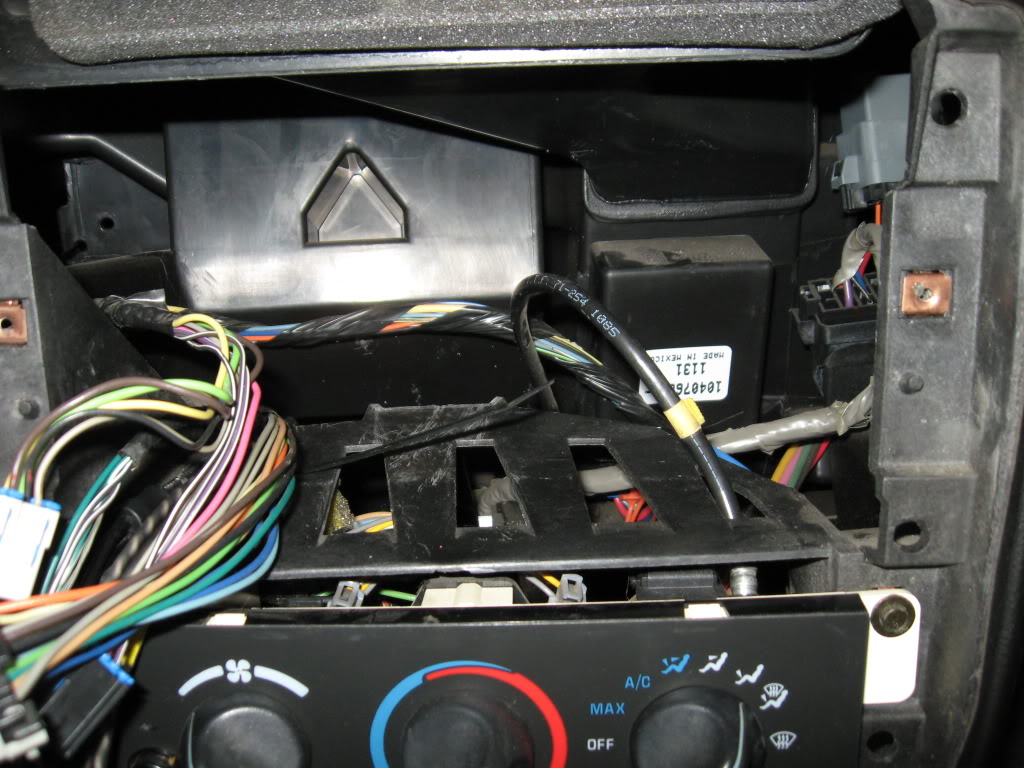
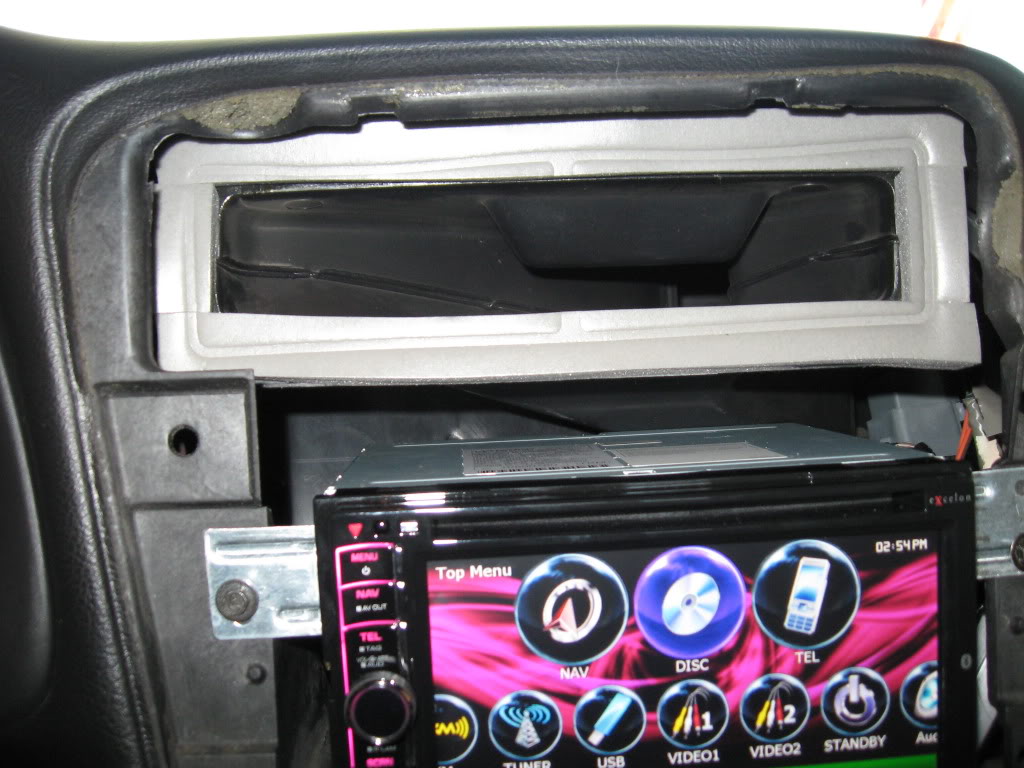
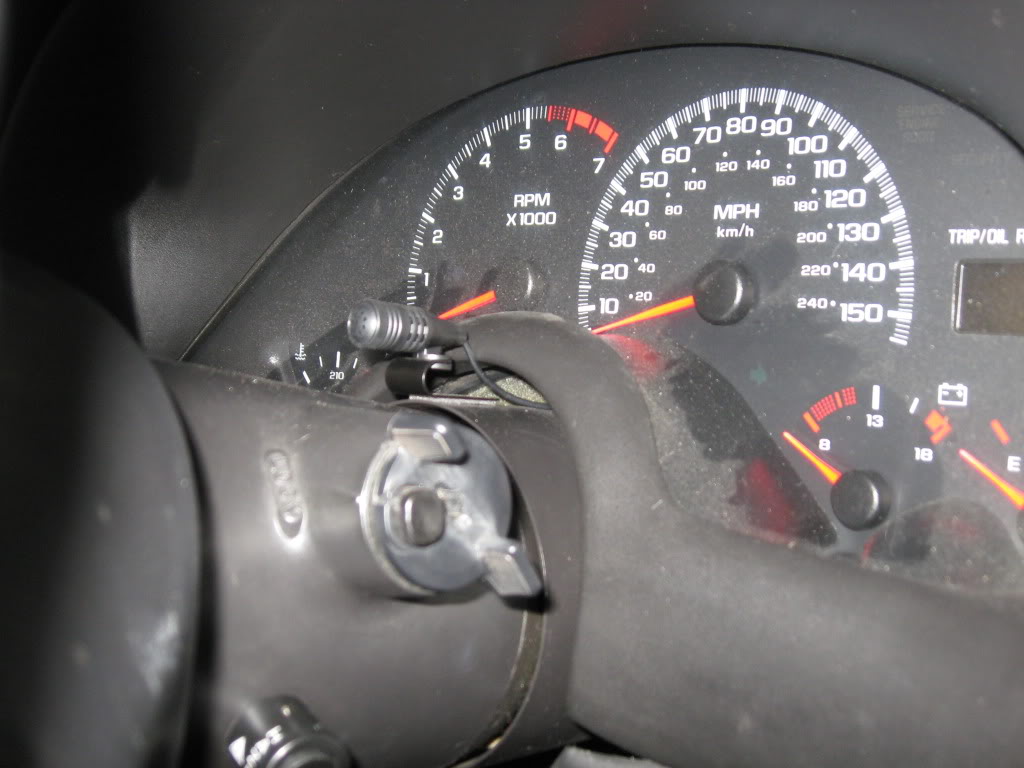
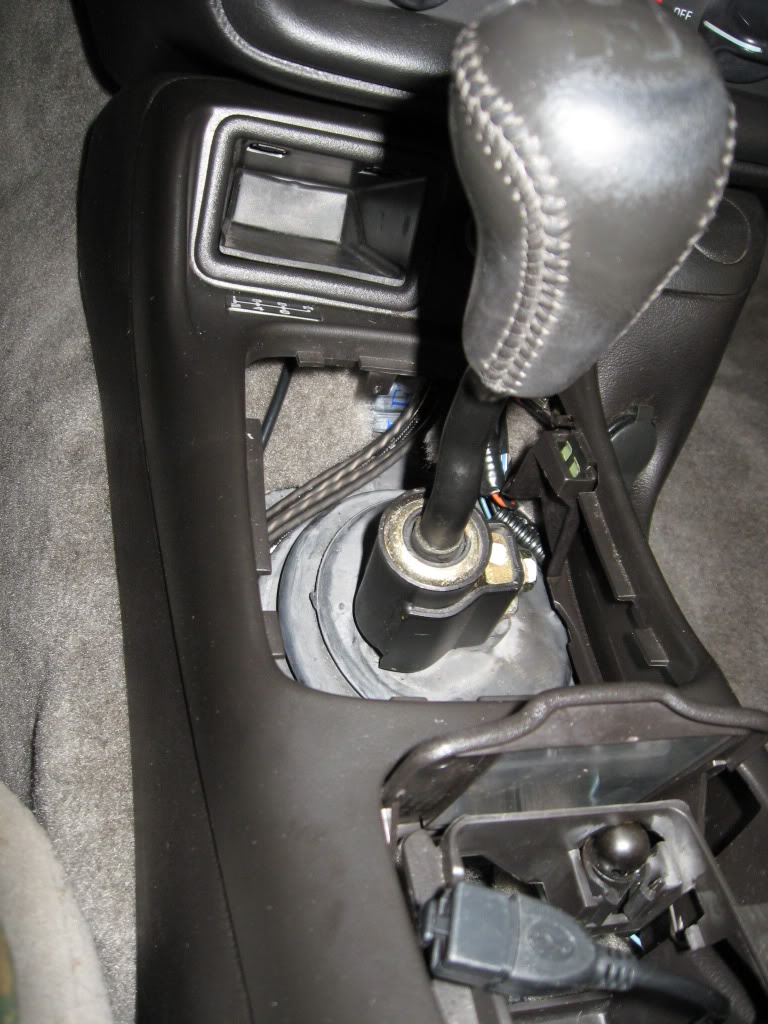
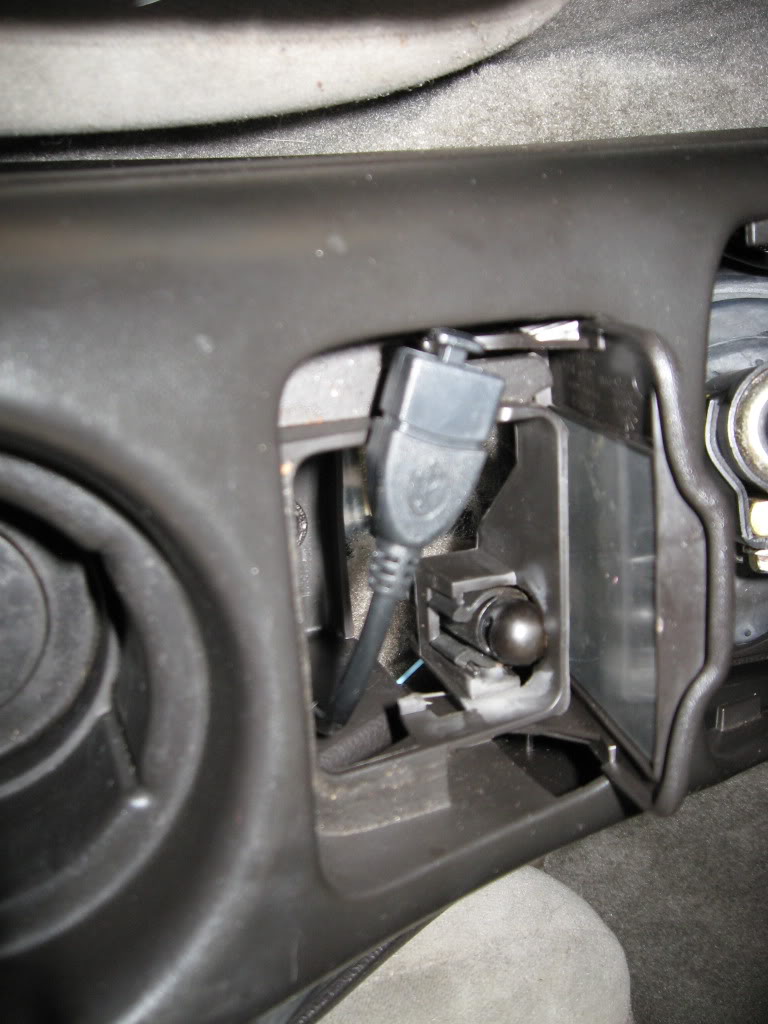
These are some images of the unseen details of the project: Mounting location for the microphone, mounting of the head unit, properly sealing the vents in the dash, broken shift boot retaining ring (hense the missing shift boot) and a possible new project of turning the ash tray into a media port center for I=Pod, usb, and aux in connections??? Posibilities are endless!

Last edited by 45Colt45; 11-23-2011 at 06:11 PM.
11-23-2011, 06:10 PM
#35
Teching In
Thread Starter
Hmmm, well about $312 for deadener, $350 for the carpet, about $2,000.00 for the stereo and components, $100 for new shift **** and boot retainer (not pictured), and I guess maybe another $40 for the little plastic pieces for the seatbelt covers and the molding clips that I broke. It cost more in my time though, perhaps 60 hours total, but that is keeping in mind that I am **** retentive and this project took over 6 months to complete because I wanted to be slow and steady. It was TOTALLY worth it though, it is like driving a brand new cadilac, smooth and quiet.
11-23-2011, 06:16 PM
#36
Teching In
Thread Starter
Now that the project is complete I need to get rid of the extra parts (sunroof holders, MONSOON sound system, extra dash bezel, etc...) and get ready for the next phase, engine and drive train modifications. After I return from my deployment I am thinking of BBK headers, Borla Exhaust, MSD wires and coils, and air intake for starters...
Any other suggestions, eventually this will get a vortec super charger with heads bottom end upgrade etc... but that might be 10 years down the road.
Any other suggestions, eventually this will get a vortec super charger with heads bottom end upgrade etc... but that might be 10 years down the road.
11-23-2011, 06:17 PM
#37
TECH Enthusiast
Join Date: Nov 2009
Location: Brownsville, texas
Posts: 620
Likes: 0
Received 0 Likes
on
0 Posts
Hmmm, well about $312 for deadener, $350 for the carpet, about $2,000.00 for the stereo and components, $100 for new shift **** and boot retainer (not pictured), and I guess maybe another $40 for the little plastic pieces for the seatbelt covers and the molding clips that I broke. It cost more in my time though, perhaps 60 hours total, but that is keeping in mind that I am **** retentive and this project took over 6 months to complete because I wanted to be slow and steady. It was TOTALLY worth it though, it is like driving a brand new cadilac, smooth and quiet.
11-23-2011, 06:26 PM
#38
Teching In
Thread Starter
Honestly I would say 95% noise reduction in the cabin. Keep in mind that I did not drive the vehicle for about 8 months total so I might be biased, but you can barely hear the stock exhaust, cruising around, road noise is all but eliminated. I think someone else mentioned this on their post also but it is like being in a bank vault when the doors close. totally awesome!
11-23-2011, 06:44 PM
#39

Honestly I would say 95% noise reduction in the cabin. Keep in mind that I did not drive the vehicle for about 8 months total so I might be biased, but you can barely hear the stock exhaust, cruising around, road noise is all but eliminated. I think someone else mentioned this on their post also but it is like being in a bank vault when the doors close. totally awesome!