


CDT Audio install/write up on my Trans Am.
My basic writeup of installing new speakers in your Firebird/ Trans Am. It may be a "piece of cake" to some, while a daunting "I wouldn't even attempt it cause I'll mess it up" task for another. I'm kinda in the middle.  Just wanted to snap some pics for the people who want to try it but are not sure what to expect.

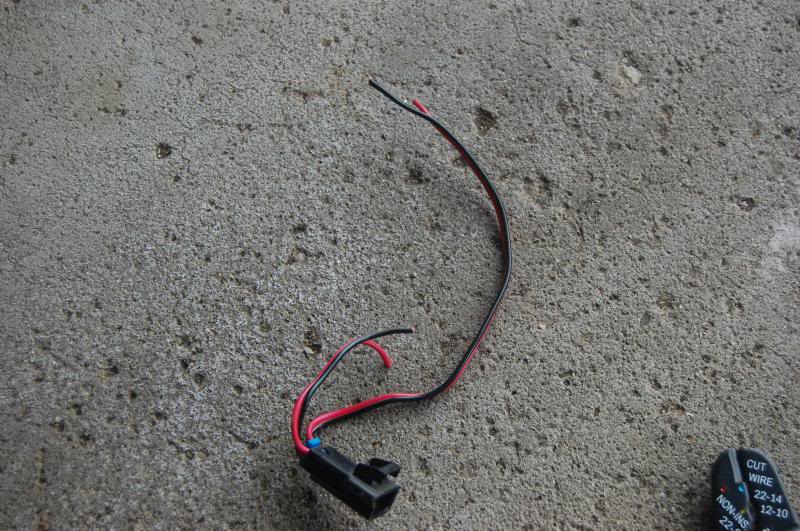
I'm not really going to go into much detail about the sail panels. With the CDT Subs the terminals are spring loaded. Remove the old sub, snip and strip the 4 wires off the old harness and install new sub. Obviously I used tape to hold the speednuts in place. You can purchase Dorman nuts at any automotive store also. Moving on.
Shot of the stock hatch speakers. Rivets must be drilled out.

Find a bit close to the size of the rivet and have at it.
Then just twist the old speaker out.
The new holes won't line up, but there is still plenty of plastic surrounding it, including some "dimples" to drill new holes and use some small machine screws to bolt it in.
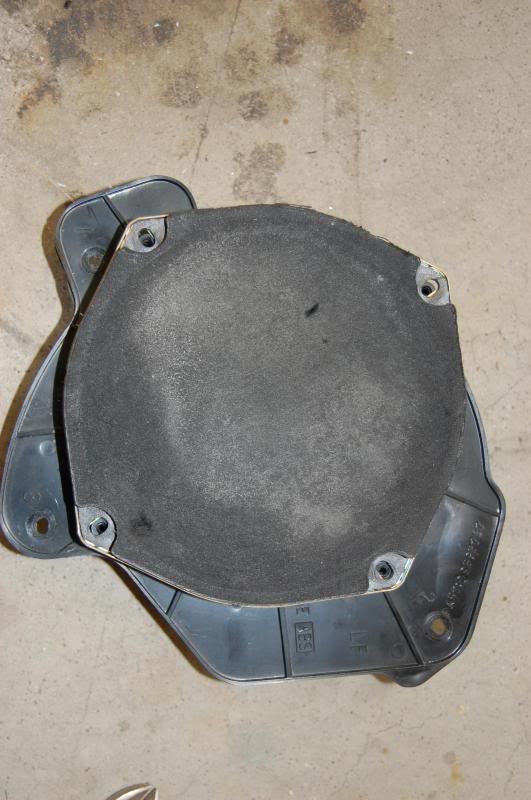
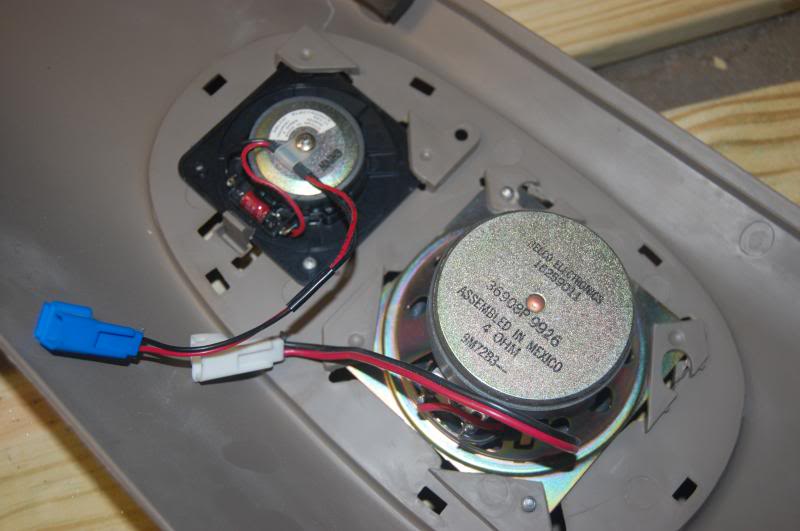
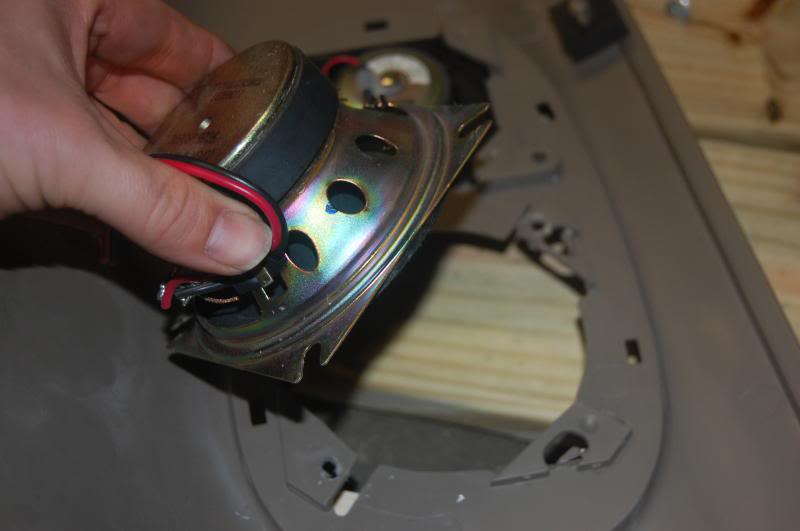
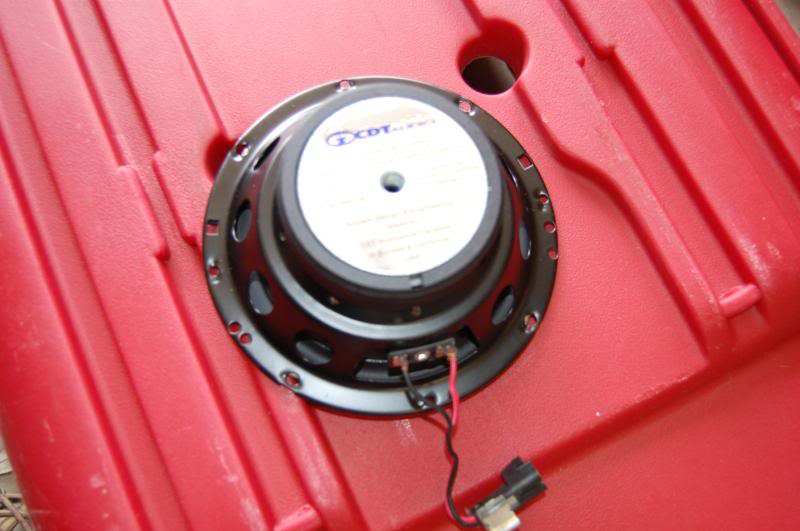
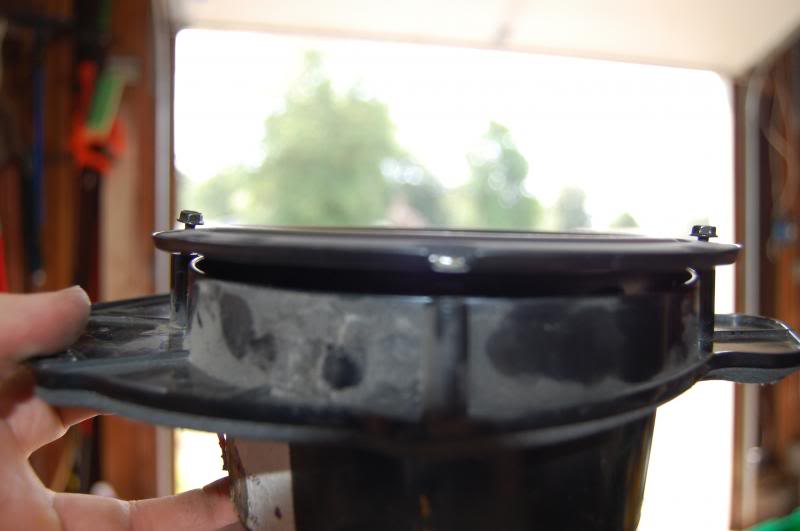
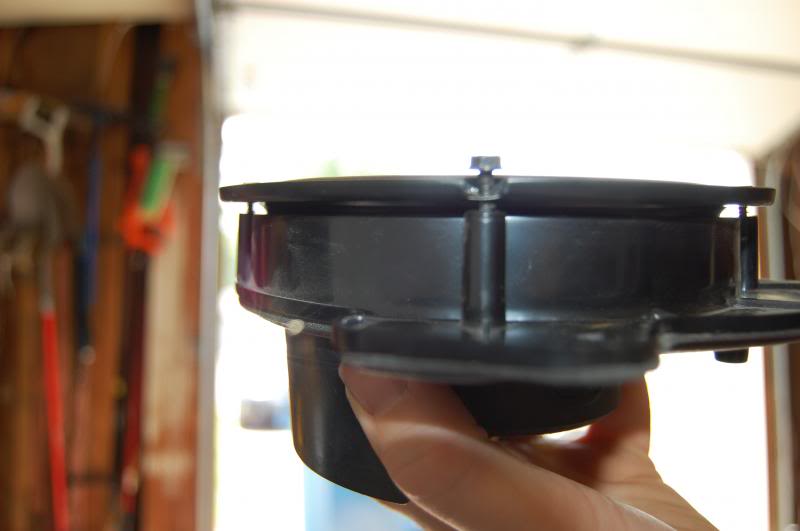
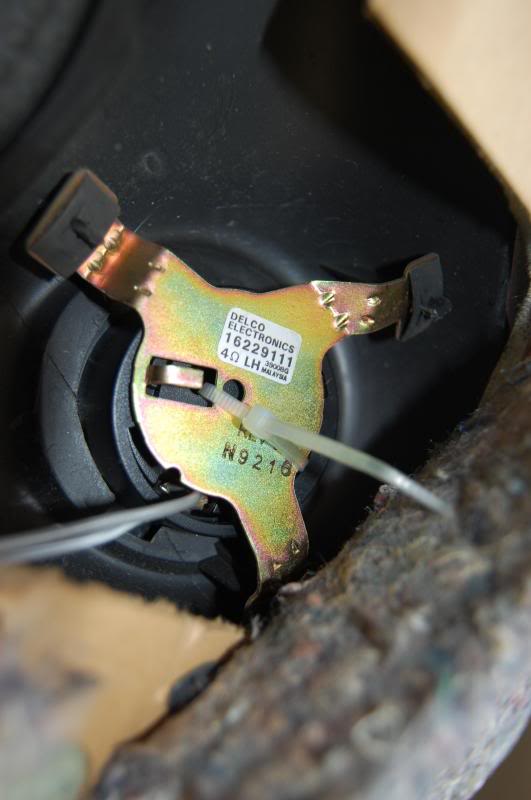
Here is a shot of the stock door speaker. I won't go into the removal of the door panel as there are many write ups on this already. Once you get the panel off there are 3 bolts holding the plastic "basket/mount" onto the door. Remove the 3 bolts then unplug harness and take the basket to your work area. Remove the 4 bolts surrounding the speaker to remove the speaker.
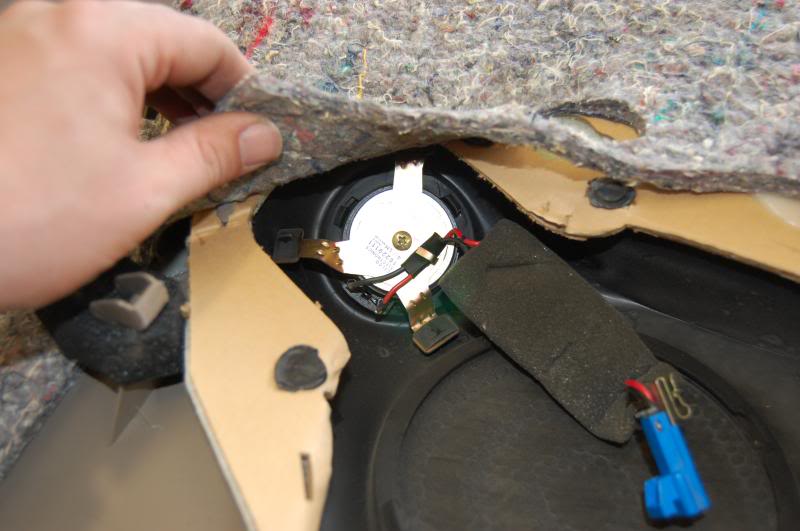
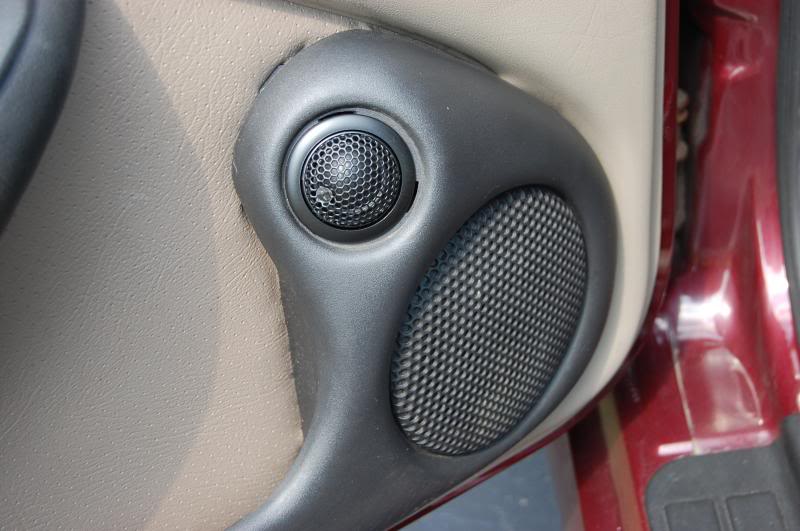
Shot of the stock tweeter in the door panel. Remove the single gold screw. Use a screwdriver and give the tweeter a quick tap to free it from the mount, as it has some sort of glue from factory I believe.
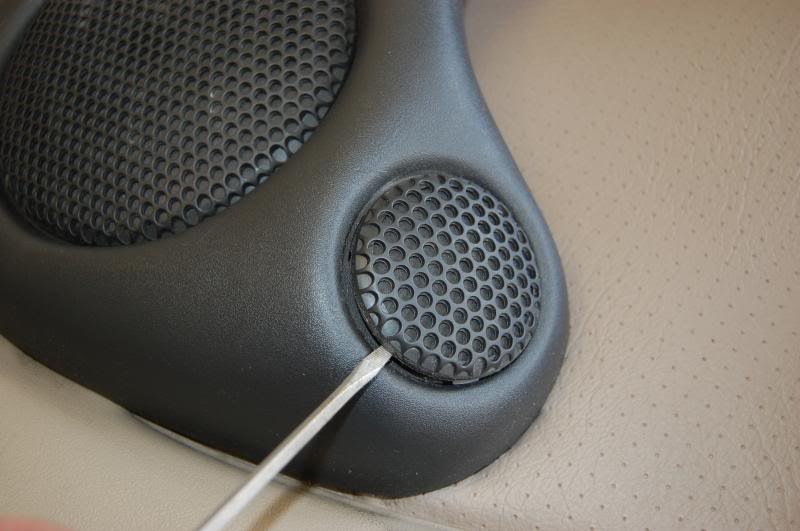
Use a really thin screwdriver to pry up the stock tweeter grill.
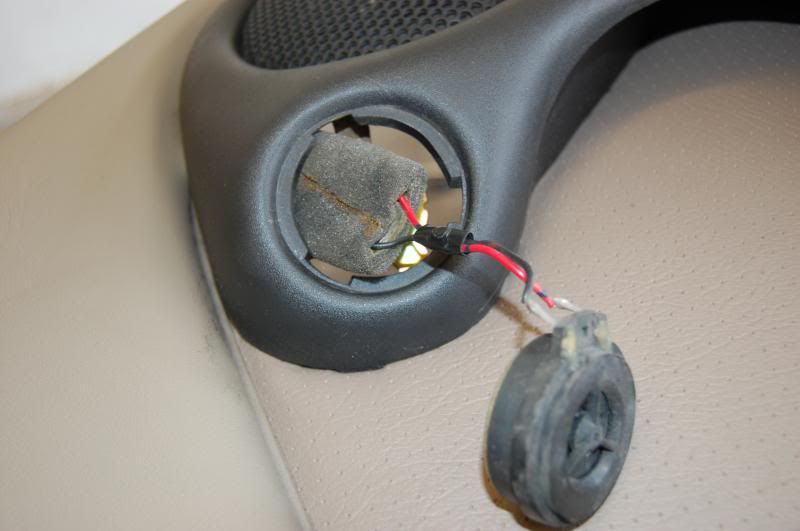
Pull the tweeter out the front. There will be enough room to push the factory filter out through the gold bracket and out the front.
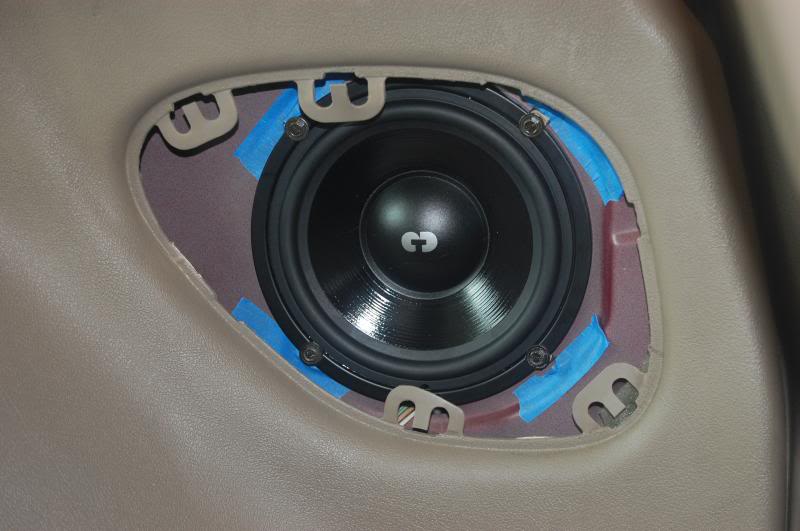
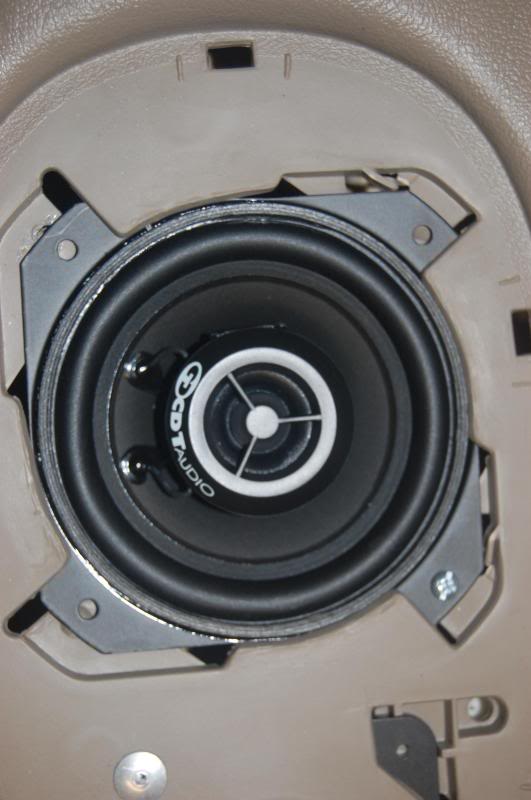
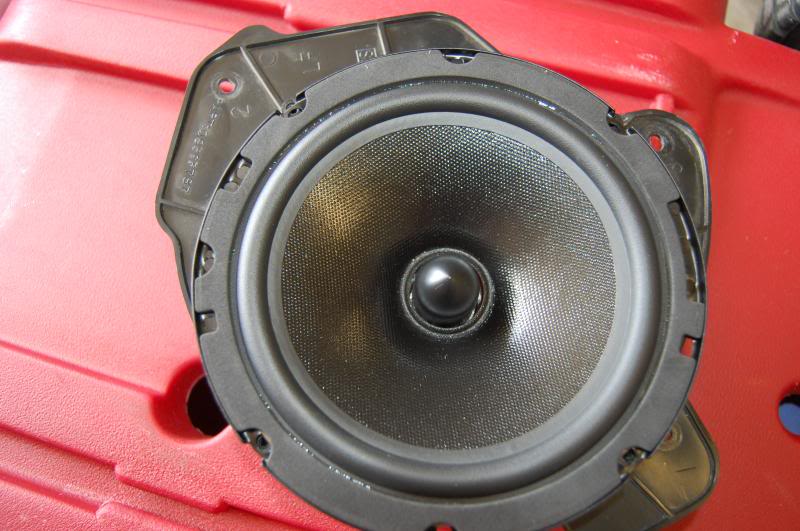
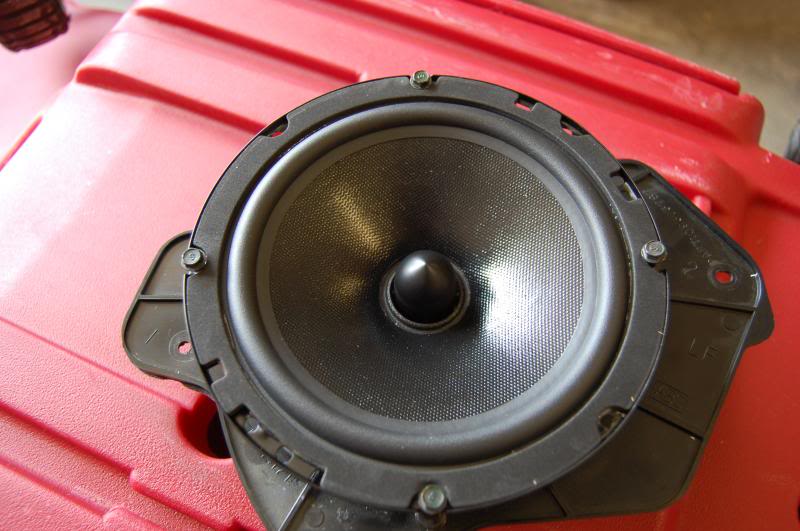
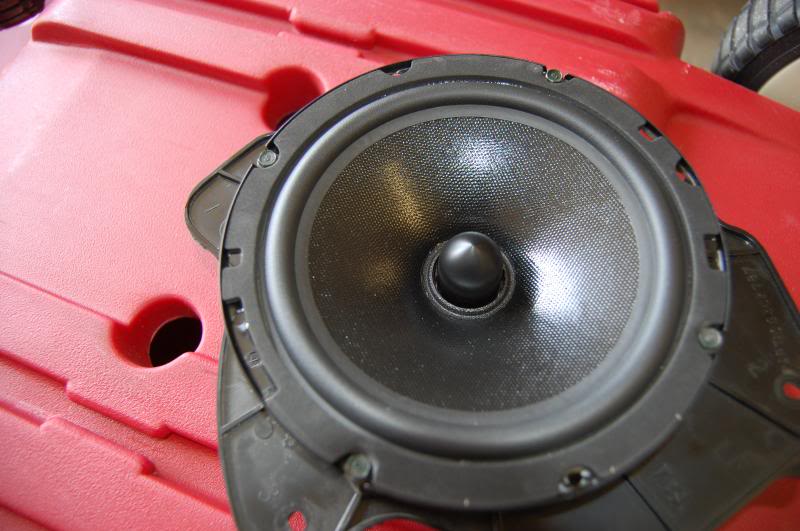
Shot of the new door speaker.
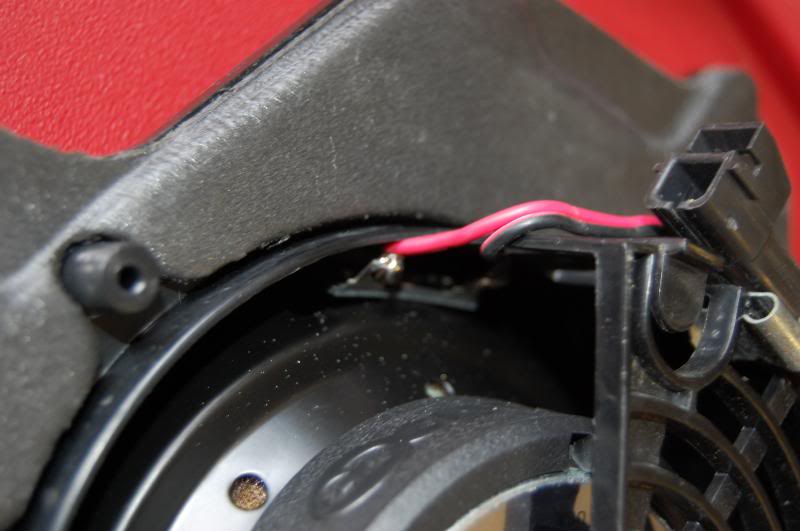
Be careful putting the new speaker back in the basket. The + and - terminals will need to be slightly bent down to fit.
Now here comes the part where some people may panic. The bolt holes on the new speaker will appear not to line up. You will get there.
Install 1 bolt about 1 thread in and let it be. Move the speaker up the bolt so that it's not sitting on the surface of the basket. This way the speaker can "shift" towards the other bolt holes.
Do this approach for all 4 bolts holes. You want the speaker to be able to tilt and shift to get all 4 bolts started. You can see the daylight between the speaker and the surface of the basket.
Made it!!! All 4 bolts are now started. Speaker is still slightly upraised from surface of basket. Go slow and turn each bolt 1/2 to 1 whole turn, kind of like torquing lug nuts, in a clockwise pattern.
Eventually all 4 bolts will be down and speaker will be flush on basket.
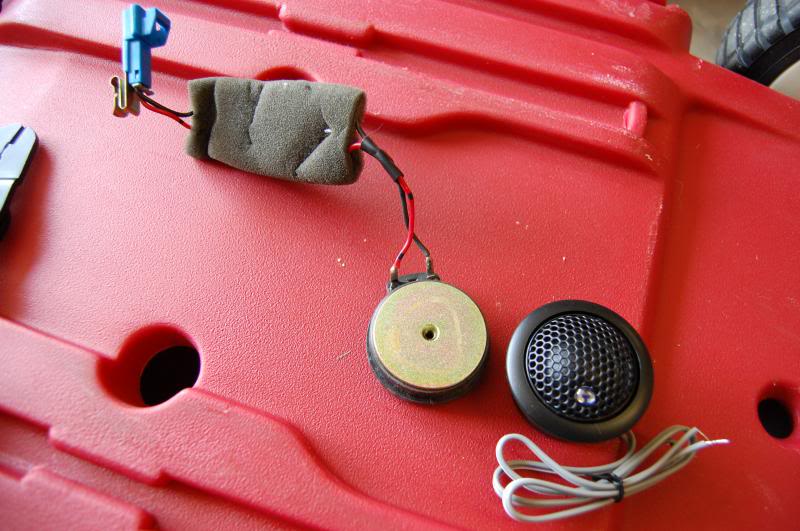
Shot of the stock tweeter. Leave the factory filter on, just snip off old wires then splice new wires from new tweeter.

Feed the factory filter back through the gold bracket. The new tweeter won't have a bolt hole, so the factory gold screw is out. I've heard using 3M Double Sided Emblem Adhesive was the way to go to mount the new tweeter, but I decided to use a zip tie instead. The CDT tweeter fits really good in the factory location. Run a zip tie through the back of the tweeter.
No need to Hulk Smash! the zip tie, you just need it snug.
From this point it's just reassembly. Take your time and you'll be pleased with the final product.
Overall this a great package. I'm using a basic Sony HU I've had for about 3 years, but only have had it in my Bird for close to a year. There really is a night and day difference. I switched the HU first. After about 6 months I put the CDT Subs and hatch speakers in first. Had those with the stock door speakers for about 4 months and finally did the door speakers today. The highs are crisp, the bass is great and I can turn it up LOUD will no distortion at all. I have my EQ set at 1 out of 6 for the lower bass frequencies and it still hits and my highs are maxed out and the guitar/vocals are amazing. (Metal / Hard Rock) Definitely a great package! Thanks Kee Audio!!!
Just wanted to snap some pics for the people who want to try it but are not sure what to expect. I'm not really going to go into much detail about the sail panels. With the CDT Subs the terminals are spring loaded. Remove the old sub, snip and strip the 4 wires off the old harness and install new sub. Obviously I used tape to hold the speednuts in place. You can purchase Dorman nuts at any automotive store also. Moving on.
Shot of the stock hatch speakers. Rivets must be drilled out.
Find a bit close to the size of the rivet and have at it.
Then just twist the old speaker out.
The new holes won't line up, but there is still plenty of plastic surrounding it, including some "dimples" to drill new holes and use some small machine screws to bolt it in.
Here is a shot of the stock door speaker. I won't go into the removal of the door panel as there are many write ups on this already. Once you get the panel off there are 3 bolts holding the plastic "basket/mount" onto the door. Remove the 3 bolts then unplug harness and take the basket to your work area. Remove the 4 bolts surrounding the speaker to remove the speaker.
Shot of the stock tweeter in the door panel. Remove the single gold screw. Use a screwdriver and give the tweeter a quick tap to free it from the mount, as it has some sort of glue from factory I believe.
Use a really thin screwdriver to pry up the stock tweeter grill.
Pull the tweeter out the front. There will be enough room to push the factory filter out through the gold bracket and out the front.
Shot of the new door speaker.
Be careful putting the new speaker back in the basket. The + and - terminals will need to be slightly bent down to fit.
Now here comes the part where some people may panic. The bolt holes on the new speaker will appear not to line up. You will get there.
Install 1 bolt about 1 thread in and let it be. Move the speaker up the bolt so that it's not sitting on the surface of the basket. This way the speaker can "shift" towards the other bolt holes.
Do this approach for all 4 bolts holes. You want the speaker to be able to tilt and shift to get all 4 bolts started. You can see the daylight between the speaker and the surface of the basket.
Made it!!! All 4 bolts are now started. Speaker is still slightly upraised from surface of basket. Go slow and turn each bolt 1/2 to 1 whole turn, kind of like torquing lug nuts, in a clockwise pattern.
Eventually all 4 bolts will be down and speaker will be flush on basket.
Shot of the stock tweeter. Leave the factory filter on, just snip off old wires then splice new wires from new tweeter.
Feed the factory filter back through the gold bracket. The new tweeter won't have a bolt hole, so the factory gold screw is out. I've heard using 3M Double Sided Emblem Adhesive was the way to go to mount the new tweeter, but I decided to use a zip tie instead. The CDT tweeter fits really good in the factory location. Run a zip tie through the back of the tweeter.
No need to Hulk Smash! the zip tie, you just need it snug.
From this point it's just reassembly. Take your time and you'll be pleased with the final product.
Overall this a great package. I'm using a basic Sony HU I've had for about 3 years, but only have had it in my Bird for close to a year. There really is a night and day difference. I switched the HU first. After about 6 months I put the CDT Subs and hatch speakers in first. Had those with the stock door speakers for about 4 months and finally did the door speakers today. The highs are crisp, the bass is great and I can turn it up LOUD will no distortion at all. I have my EQ set at 1 out of 6 for the lower bass frequencies and it still hits and my highs are maxed out and the guitar/vocals are amazing. (Metal / Hard Rock) Definitely a great package! Thanks Kee Audio!!!
Last edited by SweeTbone; Aug 19, 2013 at 09:31 PM. Reason: More info added.
Staging Lane
Joined: Aug 2008
Posts: 70
Likes: 3
From: Western Burbs, IL
I was searching high and low for replacement speakers, and found a dual 4 OHM speaker is near impossible to find. Understanding this technology is not something i know very much about. In my search I found Kee Audio, and then the thread above which to me is a life saver! Many thanks for the pics and notes.
No problem. I too was searching high and low for some pics before I dove into this project and didn't find too many. While it's not rocket science or anything I'm one of those people who likes seeing what I'm getting into before I even start the project. I probably could have taken more pics and put in more details but I figured with what I posted most mechanically inclined people shouldn't have any problems.
Biggest issue I always read about was people freaking when the bolt holes didn't line up PRECISELY with the factory bolt holes in the basket for the front 6.5" speaker. Kee posted using the method of one bolt and one thread at a time and moving the speaker itself around on the bolts to get it to sit flush and it did just that. Good luck with your install!
Biggest issue I always read about was people freaking when the bolt holes didn't line up PRECISELY with the factory bolt holes in the basket for the front 6.5" speaker. Kee posted using the method of one bolt and one thread at a time and moving the speaker itself around on the bolts to get it to sit flush and it did just that. Good luck with your install!
On The Tree
Joined: Apr 2015
Posts: 175
Likes: 0
From: Lethbridge AB
I did one door speaker yesterday. I did it like explained, but my speaker wouldn't fully seat into the bracket? The speaker magnet is bottomed out into the back of the (basket) bracket....
I'd say the speaker flange is about a 1/4" away from the bracket.
I'd say the speaker flange is about a 1/4" away from the bracket.
Trending Topics
LS1 Tech Stories
The Best V8 Stories One Small Block at Time

Topdon ONE vs. Artidiag 800 BT2: Which is the Diagnostic Tablet For You?
Pouria Savadkouei
Gas Monkey Built a 6-Wheel Ferrari Testarossa With a Corvette LT4 Engine
Verdad Gallardo
7 Most Reliable High-Performance Engines GM Has Ever Built
Verdad Gallardo
Amazing '71 Camaro Restomod Is Modern Muscle Car Under the Skin
Verdad Gallardo
6 Common C5 Corvette Failures and What's Involved In Repairing Them
Pouria Savadkouei
Retro Modern Bandit Pontiac Trans AM Comes With Burt Reynolds' Autograph
Verdad Gallardo
Top 10 Greatest Cadillac V Series Performance Models Ever, Ranked
Pouria Savadkouei
Top 10 Most Powerful Chevy Trucks Ever Made!

Hennessey's New Supercharged Silverado ZR2 Has 700 HP
Verdad GallardoStaging Lane
Joined: Aug 2008
Posts: 70
Likes: 3
From: Western Burbs, IL
Sweet! Can I ask how long it took from when you placed your order until you received the speaker set? I'll be locked in on this thread definitely! Hope you get your speaker issue fixed and if you don't mind passing along what you had to do to make it work.Good luck with the rest of the install.
Left them unplugged. Such great highs coming out of the door tweeters you'll never hear the hatch tweeters. Those are just for "fill" anyways in the stock system.
I got the Stage 2 system if that makes any difference. I had no issues with clearance, might be a bigger magnet for stage 3. Did you get the other one flush or are they both still sitting 1/4" off the basket?
On The Tree
Joined: Apr 2015
Posts: 175
Likes: 0
From: Lethbridge AB
I got them about 1/8" from being flush.
Ian Kee told me those were the biggest speakers that you can squeeze into the doors.
Once I get my car out on the road, I'll see how I like the hatch tweeters hooked up? It's easy enough to unhook them if I don't like it.
I think have to take the door panels apart again too see if I hooked up the door tweeters correctly? I can really hear them? I'll have to unhook the 6" door speakers to see how the tweeters sound alone....