Camaro Firebird: Shock Reviews and How to Replace Shocks
Shocks control the movement created by the springs when driving over bumps, thus dissipating the force instead of transferring it through the cabin. Here's how to replace your shock absorbers.
This article applies to Chevrolet Camaro and Pontiac Firebird (1993-2002).
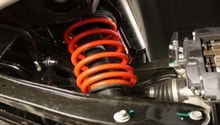
After five to ten years of driving, chances are your shocks have lost some or all of their ability to control your vehicle's suspension movements. When combined with the proper spring setup, shocks can alter the way your vehicle handles around corners and jostles over bumps. Rear shocks can be replaced relatively easily with minimal tools, although the coil over shock design found on the front will require a spring compressor, extending the procedure. That said, it's still easily handled by your average DIY'er, so let's get it done.
Table of Contents
How to Replace Front and Rear Shocks

Materials Needed
- Floor jack
- Jack stands (x2)
- Impact wrench and lug nut socket
- 3/8" Allen socket
- Hammer
- Tie rod removal tool
- t50 socket
- SAE Socket set with ratchet and extension
- Torque wrench
- Phillips and flat head screwdrivers
- Knife
Front Shocks
Step 1 – Raise and support the front wheels then remove the front wheels
If you do not have an air or electric impact wrench, loosen the wheels on the ground. Jack the car up at the front, and remember to use jack stands.
(Related article: Camaro and Firebird, How to Jack Up Your Car - LS1tech.com)
Step 2 – Remove the brake calipers and rotors
- Grab the brake calipers and squeeze them against the rotors towards the direction of the caliper piston. This will prevent the caliper from seizing on the rotor.
- Remove the two caliper slide bolts with a 3/8" Allen socket/wrench.
- Remove the rotors. Tap the center section "hat" of the rotor with a hammer to un-seize it from the wheel studs/hub.
(Related article: Camaro and Firebird, How to Replace Brake Pads/Calipers/Rotors - LS1tech.com)
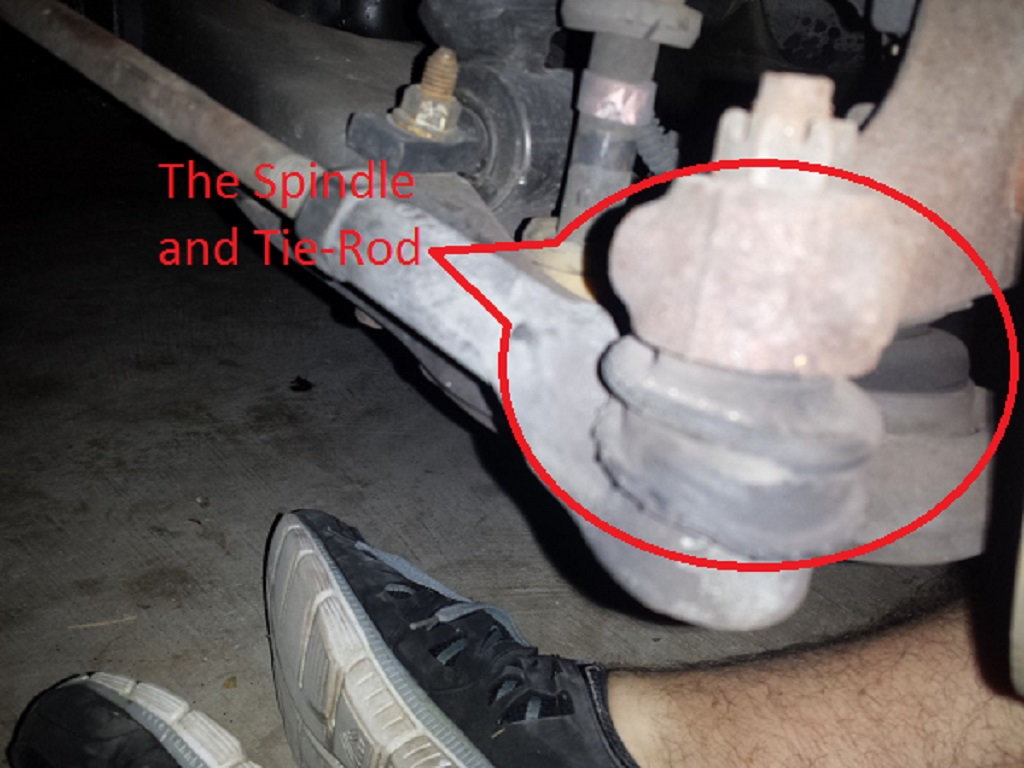
Step 3 – Remove the outer tie rods from the spindle
Remove the tie rods by loosening the tie rod nut. Loosen the nut until it is held on by only a few threads. Use a tie rod removal tool to separate the tie rod from the spindle. You can also use a pickle fork, but the fork may damage the tie rod end boot.
In some cases, the tie rod will separate from the spindle with a firm strike from a hammer. Strike the spindle near the tie rod. Do not use this method on aluminum spindles as damage may occur.
Step 4 – Remove the shock lower mounting bolts
You'll see the two bolts attaching the shock to the lower control arm directly below the shock. Remove these bolts to free the shock from the lower arm.

Step 5 – Remove the shock upper mounting bolts
- Remove the two bolts from the studs and the two bolts with a t50 star wrench.
- You may need to remove the brake master cylinder from the firewall for more space. There are two nuts holding it to the firewall. This will not cause you to lose brake fluid.
- Repeat the process on the passenger side. Be careful working around the A/C lines. They are flexible to an extent.
- Refer to Steps 1 through 3 of the article: Camaro and Firebird, How to Install Lowering Springs for more information on compressing the front coil springs and disassembling the shocks. This article also contains the torque specs you'll need during re-assembly, except for the outer tie rod nuts. Torque those between 35 and 45 ft./lbs.
Rear Shocks
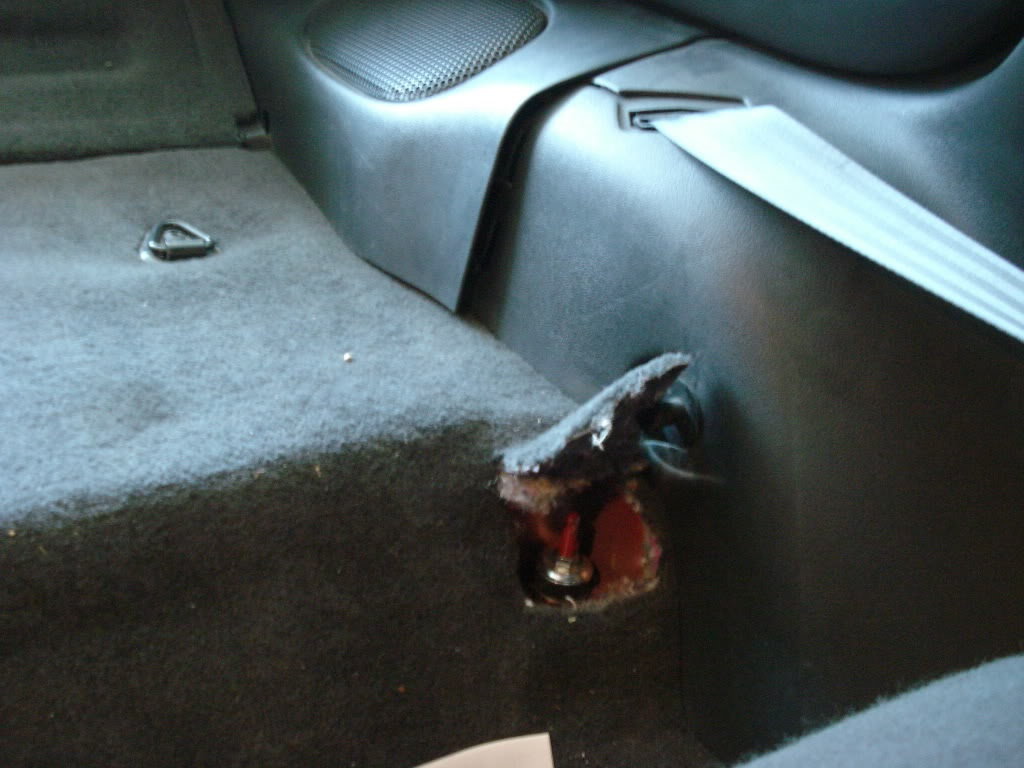
Step 1 – Remove the rear interior panel
Some year models have pre-cut marks in the carpet above the shock bolts. If yours does not, then you'll need to remove the side panels unless your fourth gen is a convertible. Behind the side panels you'll find the hydraulic lines for the convertible top. Look closely for the pre-cut marks in your carpet.
Remove the clip that holds the clothes hanger by pulling the center portion of the clip away from the panel. This will disengage the clip. The rest of the panel is held in place by plastic clips behind the panel. Watch the edge near the door to avoid damage to the trim in that area. There are some screws connecting the panel to the speaker cover. If you need more room, remove the speaker cover as well. Refer to Step 2 of the article: Camaro and Firebird, How To Sequence Tail Lights.
Pull the carpet towards the middle of the car to expose the upper shock bolts. You may need to pull back a piece of white foam underneath the carpet as well.
Step 2 – Raise and support the rear tires
Jack the rear of the car up via the differential and then throw your jack stands under the car to hold it up.
Related article: Camaro and Firebird, How to Jack Up Your Car - LS1tech.com
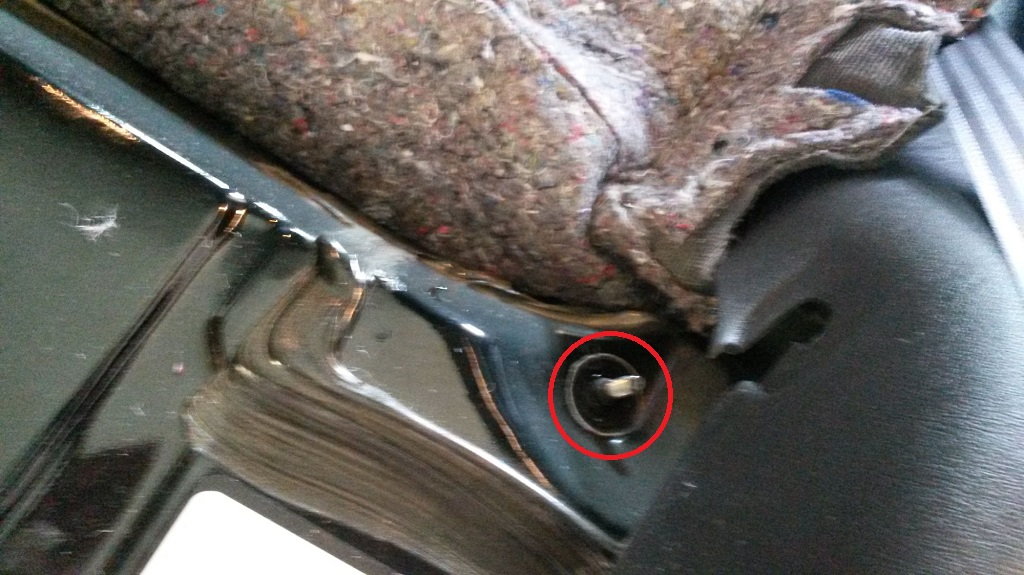
Step 3 – Unbolt the shocks from the upper mounts
Loosen the nut at the upper shock mount. Hold the middle shaft with a wrench if it begins to spin.
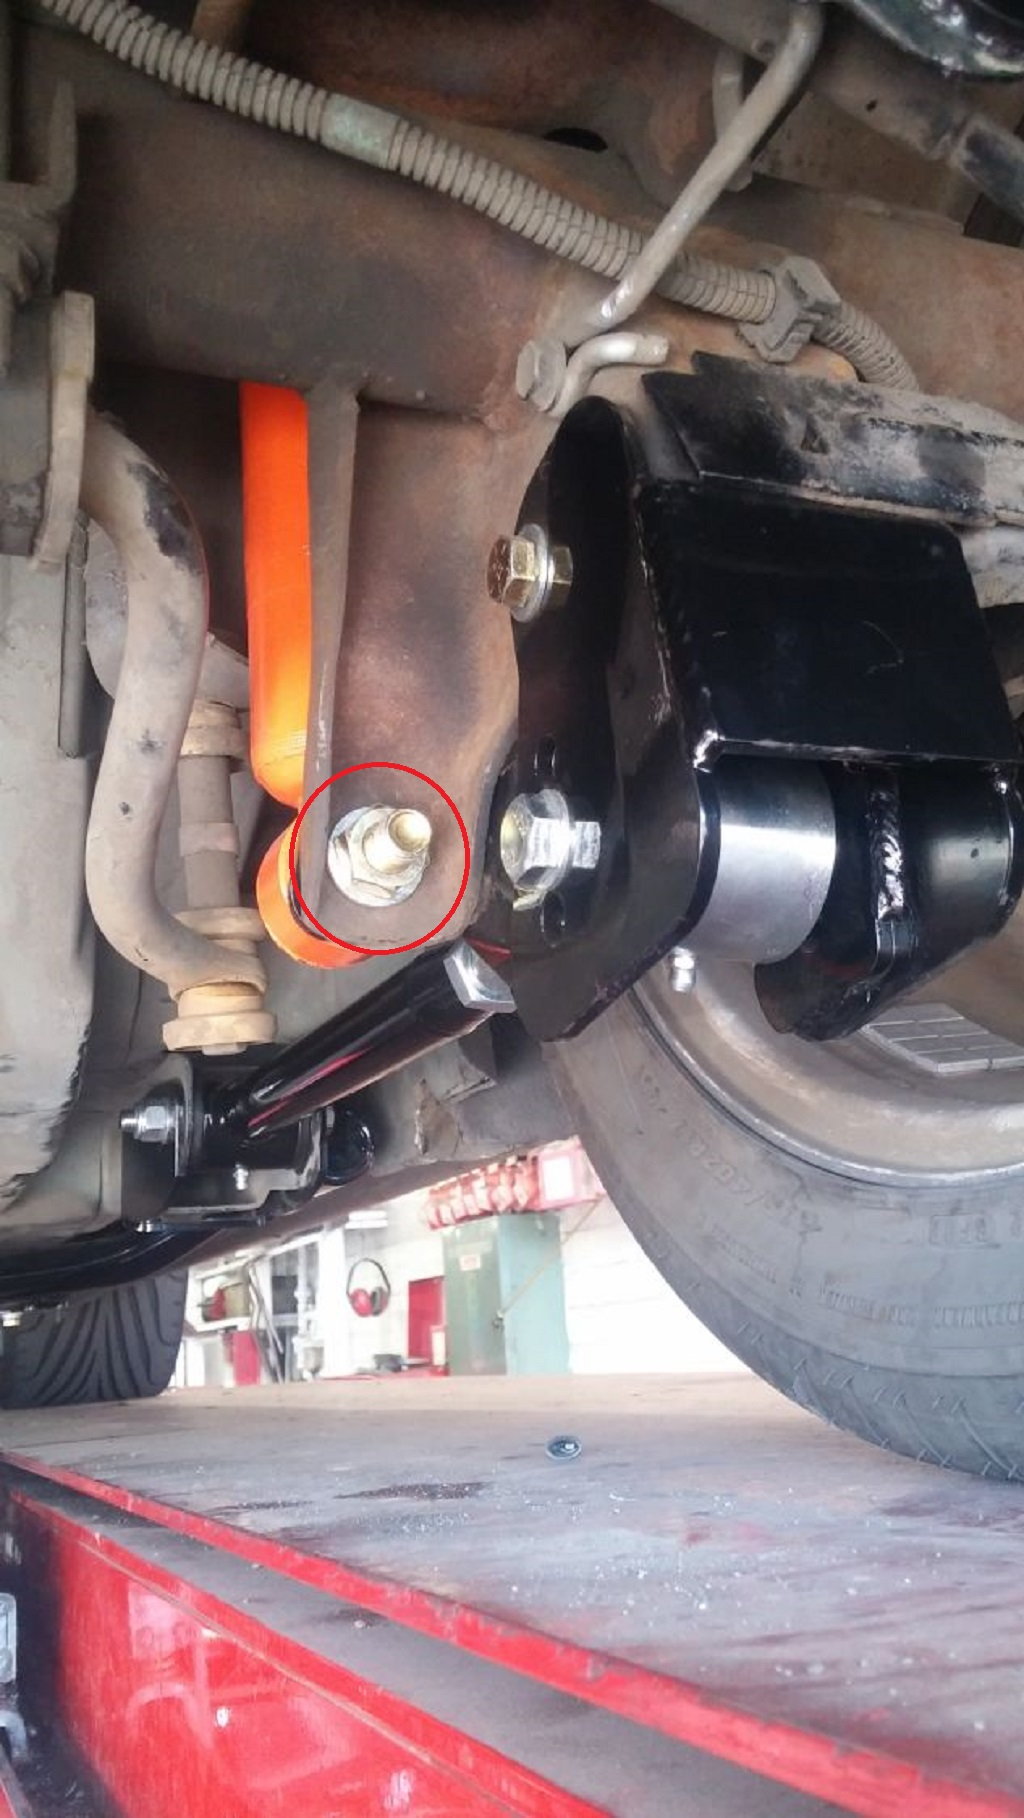
Step 4 – Unbolt the shocks from the rear axle
- Remove the bolt holding the shock to the lower control arm.
- Slide the shock down and out of the vehicle.
- After installing the new shock, torque the lower shock bolt to 60 ft./lbs. and the upper shock bolt to 13 ft./lbs.
Featured Videos
-
How to Replace Front Shocks
-
How to Replace Rear Shocks
Shock Absorber Reviews
The 4th generation f-body has no shortage of options in the shock market. Everything from a factory like replacement to shocks designed for drag racing can be purchased.
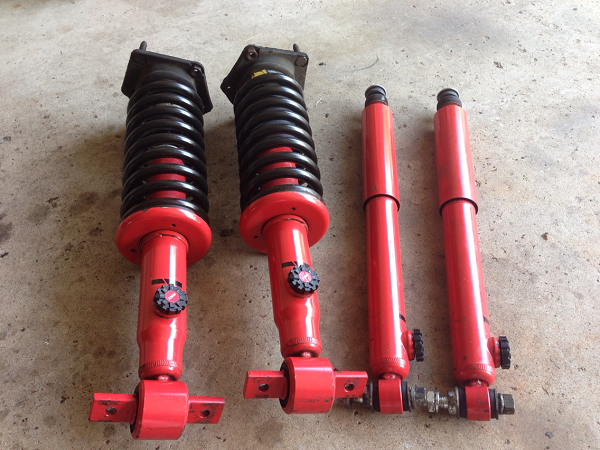
KYB AGX |
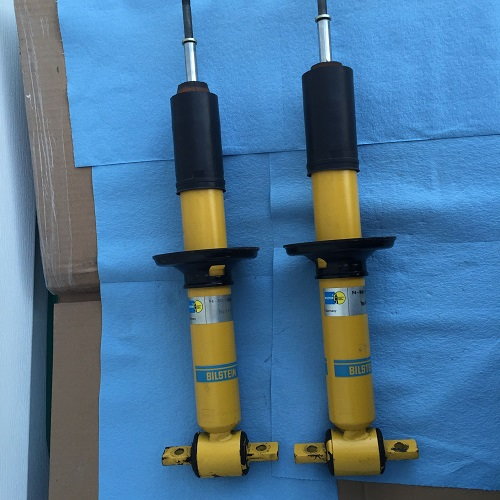
Bilstein B6 |
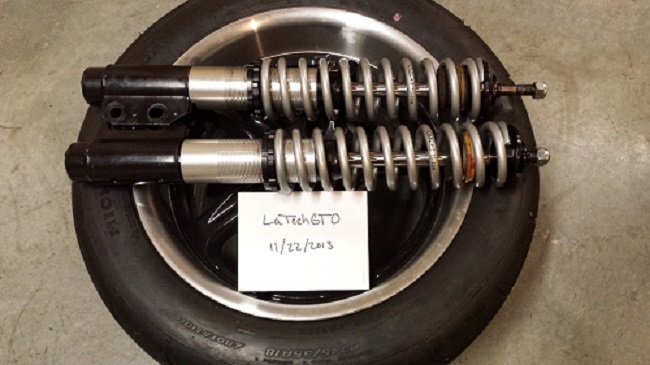
QA1 Stocker Star Shocks TS704 |
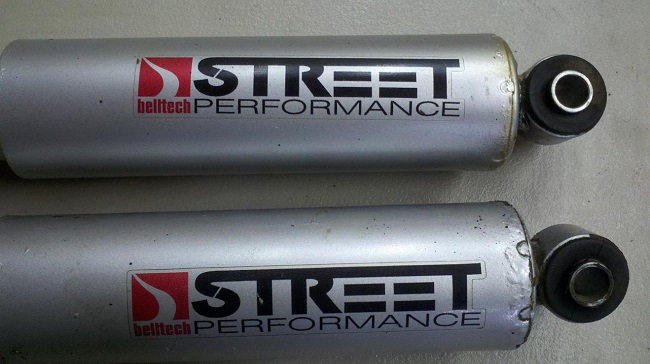
BellTech Street Performance |
Monroe Sensa-Trac 58675T |
Koni 8241 |
Strange Engineering 5270 | |
|---|---|---|---|---|---|---|---|
Price |
$85 | $85 | $160 | $60 | $25 | $290 | 150 |
Adjustable? |
Yes | No | Yes | No | No | Yes | Yes |
Twin-Tube or Monotube? |
Twin-Tube | Monotube | Twin-Tube | Twin-Tube | Monotube | Twin-Tube | Twin-Tube |
Gas Charged? |
Yes | Yes | No | Yes | Yes | Yes | No |
Warranty |
Lifetime | Lifetime | 1 Year | Lifetime | Limited-Lifetime | Lifetime | Lifetime |
Best Value: KYB AGX
KYB AGX
Price – $85
Adjustable – Yes
Twin-Tube or Monotube – Twin-Tube
Gas Charged – Yes
Warranty – Lifetime
KYB AGX shocks are externally adjustable without hoisting your vehicle or removing the tire. They are designed for the performance-focused owner that wants total control over their shocks' adjustments. Recommended for their easy adjustability and competitive price.
Bilstein B6
Price – $85
Adjustable – No
Twin-Tube or Monotube – Monotube
Gas Charged – Yes
Warranty – Lifetime
Bilstein was created in the 1880's and has become a leader for manufacturers inside and outside of the performance market. Bilstein specifically tunes the shock to your vehicle for increases in comfort, durability, and performance. These shocks tend to offer a firmer ride. Recommended for the company's highly regarded reputation and ease of use.
QA1 Stocker Star Shocks
Price – $160
Adjustable – Yes
Twin-Tube or Monotube – Twin-Tube
Gas Charged – No
Warranty – 1 year
QA1 designs their shocks to perform best in drag racing or all-around street performance. QA1 shocks are 18-way adjustable and use deflective disc valving. This circulates the oil in the shock, lowering temperatures and improving shock life. Recommended if you're looking for a rebuildable shock with quality components.
Bell Tech Street Performance
Price – $60
Adjustable – Non-Adjustable
Twin-Tube or Monotube – Twin-Tube
Gas Charged – Yes
Warranty – Lifetime
This shock was specifically tuned to control low speed characteristics such as dive, pitch, and roll. Teflon seals are used to provide a long service life and reduce metal on metal contact. The progressive rebound tuning will respond well to vehicle wheel/tire and ride height changes. Recommended for use primarily outside of the racetrack.
Monroe Sensa-Trac 5867S
Price – $25
Adjustable – No
Twin-Tube or Monotube – Monotube
Gas Charged – Yes
Warranty – Limited Lifetime
A worldwide leader in the shock and strut industry, Monroe shocks are used by many original equipment manufacturers. The position sensitive valving is designed to meet or exceed your vehicle's handling and ride quality. This is the budget, comfort option for those looking for OEM-like replacements. Recommended for its comparable design to factory and low cost.
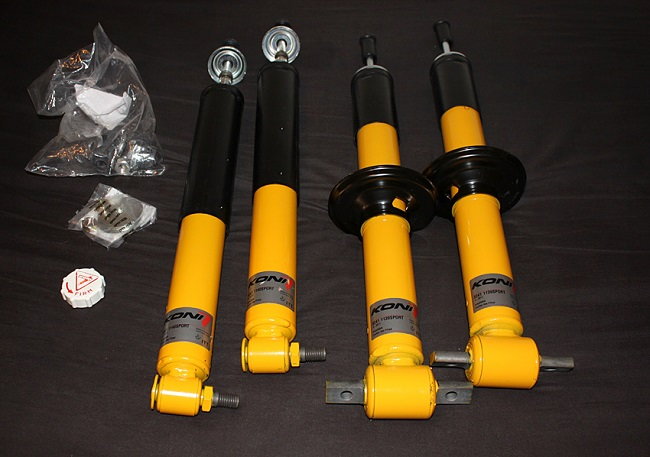
Koni 8241
Price – $290
Adjustable – Yes
Twin-Tube or Monotube – Twin-Tube
Gas Charged – Yes
Warranty – Lifetime
Koni engineers their shocks to closely combine performance and comfort. They create their shocks from high quality materials and machine each component to very close tolerances. There shocks are rebound-adjustable by including an external knob in the design. These are an excellent performance upgrade for use with OEM springs, or a stiffer aftermarket lowering spring. Recommended for its high quality and proven performance.
Strange Engineering 55270
Price –$150
Adjustable – Yes
Twin-Tube or Monotube – Twin-Tube
Gas Charged – No
Warranty – Lifetime
Strange is able to custom-make their shocks to your preference using their in-house shock dyno and talented staff in the categories of length, valving, and stroke. They also manufacturer single and double adjustable options. These shocks go great in any drag or road racing application. Recommended if you're looking for a completely adjustable, customizable shock.
Related Discussions
- Bilstein vs. Koni - LS1Tech.com
- Various Spring and Shock Combos with Reviews - LS1Tech.com
- Best Shocks for Drag Racing - LS1Tech.com
- KYB AGX Shocks - LS1Tech.com
- SLP Bilstein Shocks vs. Bilstein HD - LS1Tech.com