88 Fiero Formula LS4/F40 6 speed swap
 06-12-2014, 08:19 PM
#181

Thanks for the compliment!
Not much to report on... I started driving the car daily again about a month ago.
For the last several months I have been busy converting a carbed SBC to fuel injection with a HSR intake and 24X conversion. It is nearing completion, so I am starting to have time to do more work on the LS4/F40 car.
I have started working on a new shifter cable that is thicker/stronger and a better overall length. Of course this means I have to rework the shifter bracket. I have another shifter and transmission on the shelf, so I can make the new bracket w/o taking my car out of service. I am hoping to have the new bracket done in a week or two.
 06-13-2014, 01:38 PM
#182

If you wouldn't mind, I would greatly appreciate info how the SBC/HSR/24x conversion is going. I am very seriously considering this route rather than an LS swap, but cant make up my mind (I go back and forth daily). Feel free to pm me if you don't want to clutter up this thread.
 06-14-2014, 06:23 AM
#184
If you wouldn't mind, I would greatly appreciate info how the SBC/HSR/24x conversion is going. I am very seriously considering this route rather than an LS swap, but cant make up my mind (I go back and forth daily). Feel free to pm me if you don't want to clutter up this thread.
 07-07-2014, 08:47 PM
#185
My garage is now empty, so I can get back to doing some minor upgrades to this car. The main things I would like to get done this summer and before LS Fest in September:
Upgrade shifter cable to stronger version.
Swap stiffer springs front/rear
Replace the rear struts with Koni's (on order) and adjust the front Konis to full stiff.
Swap nicer dash and interior from 86 parts car along with the PW/PL
I started working on the cable upgrade a little while ago and documented most of the details here:
http://www.fiero.nl/forum/Forum1/HTML/094069.html
The things I wanted the new shifter cable to solve were:
Stronger cable - don't want to break it again.
Proper length - old setup had one cable 4" longer than the other.
No more c-clips - had them pop off twice.
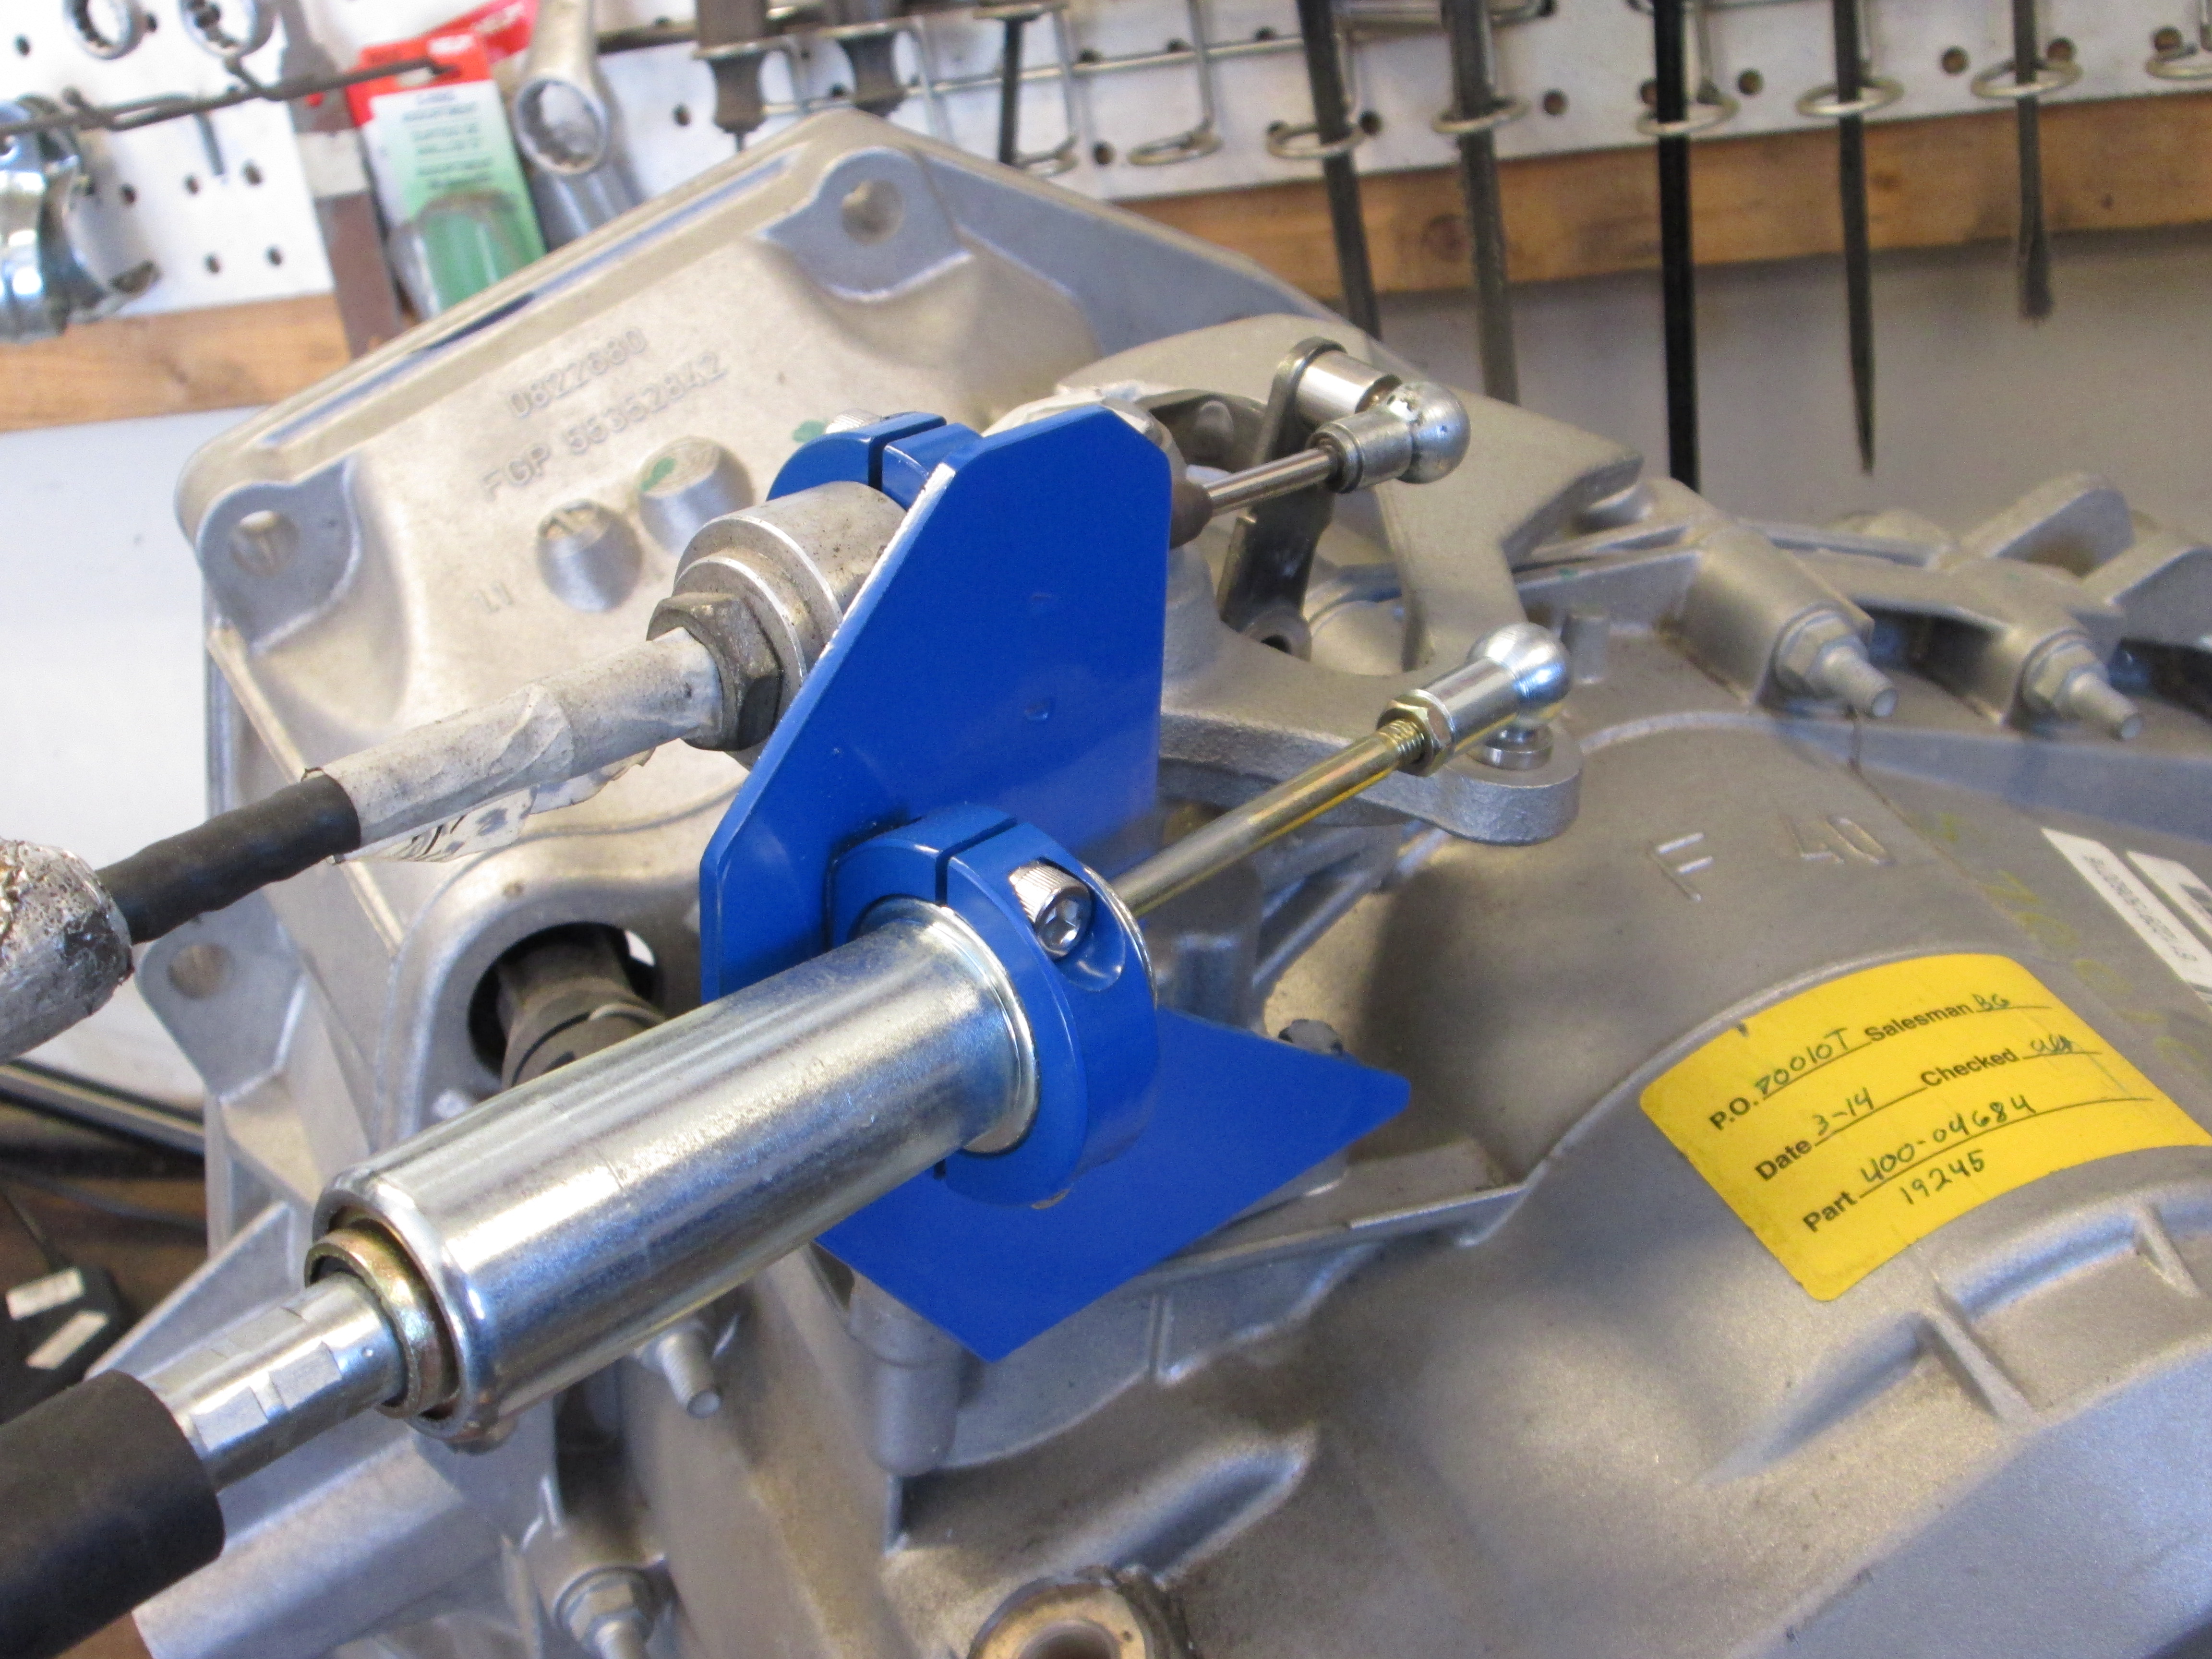
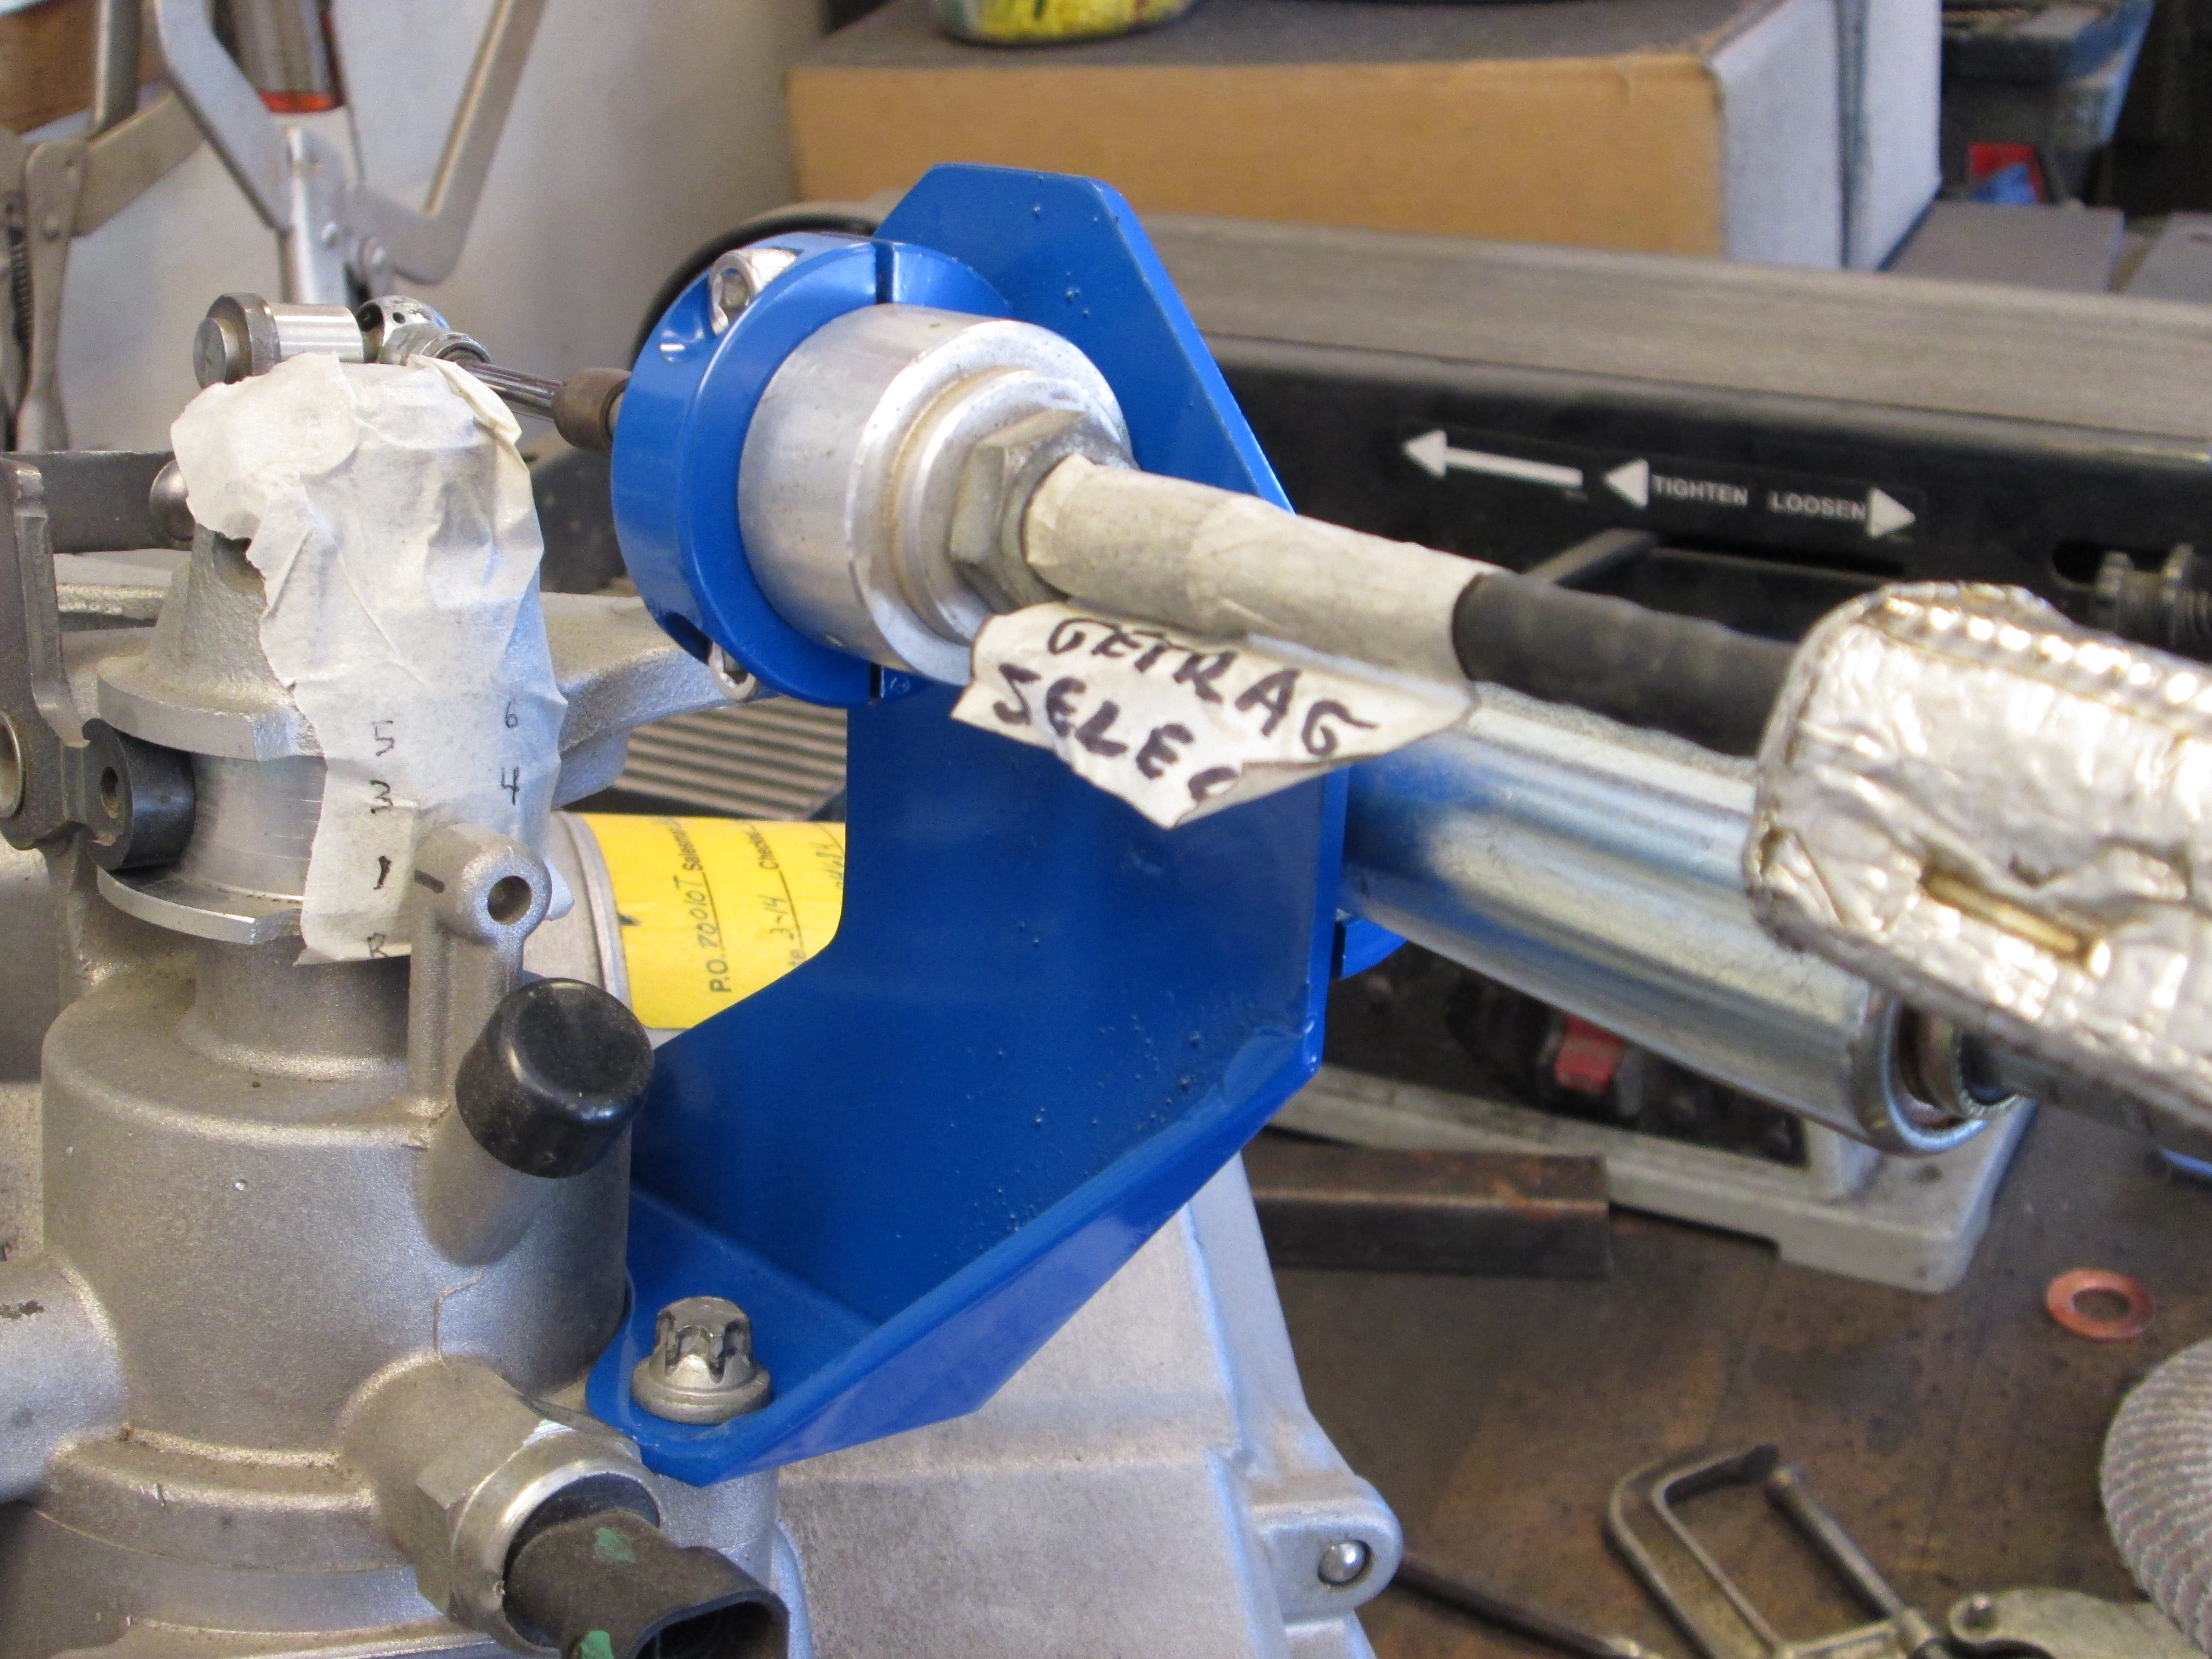
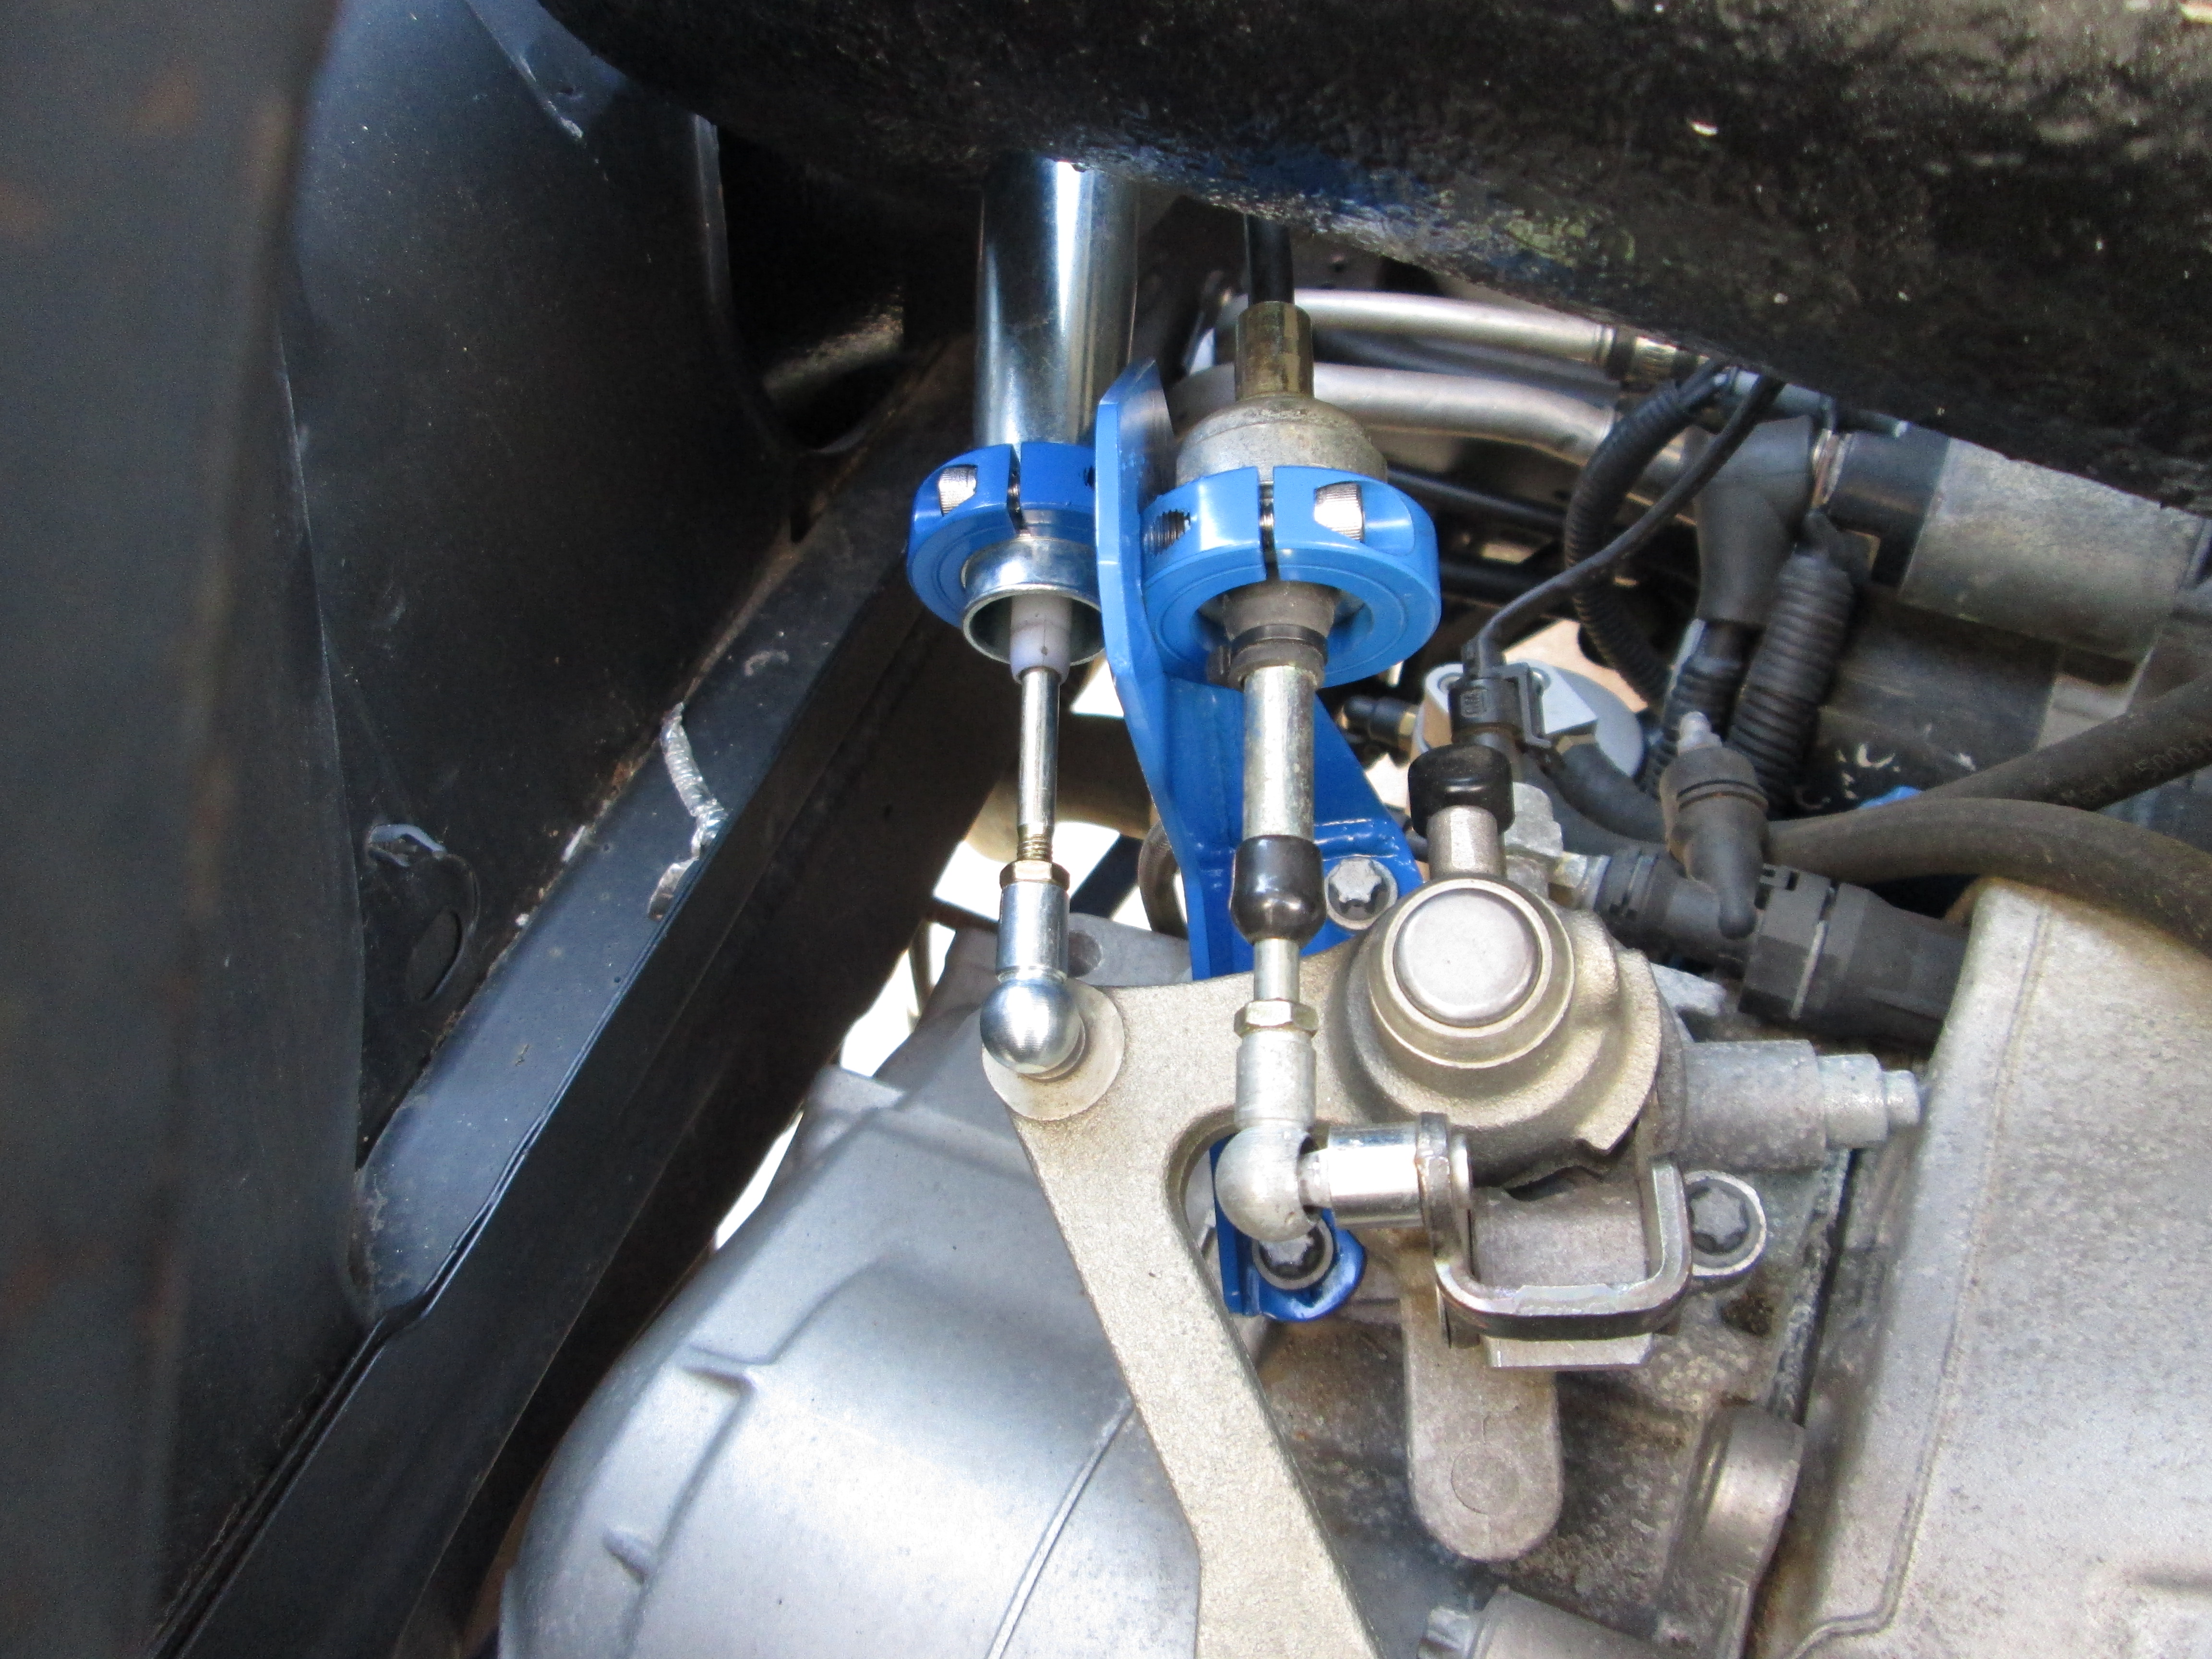
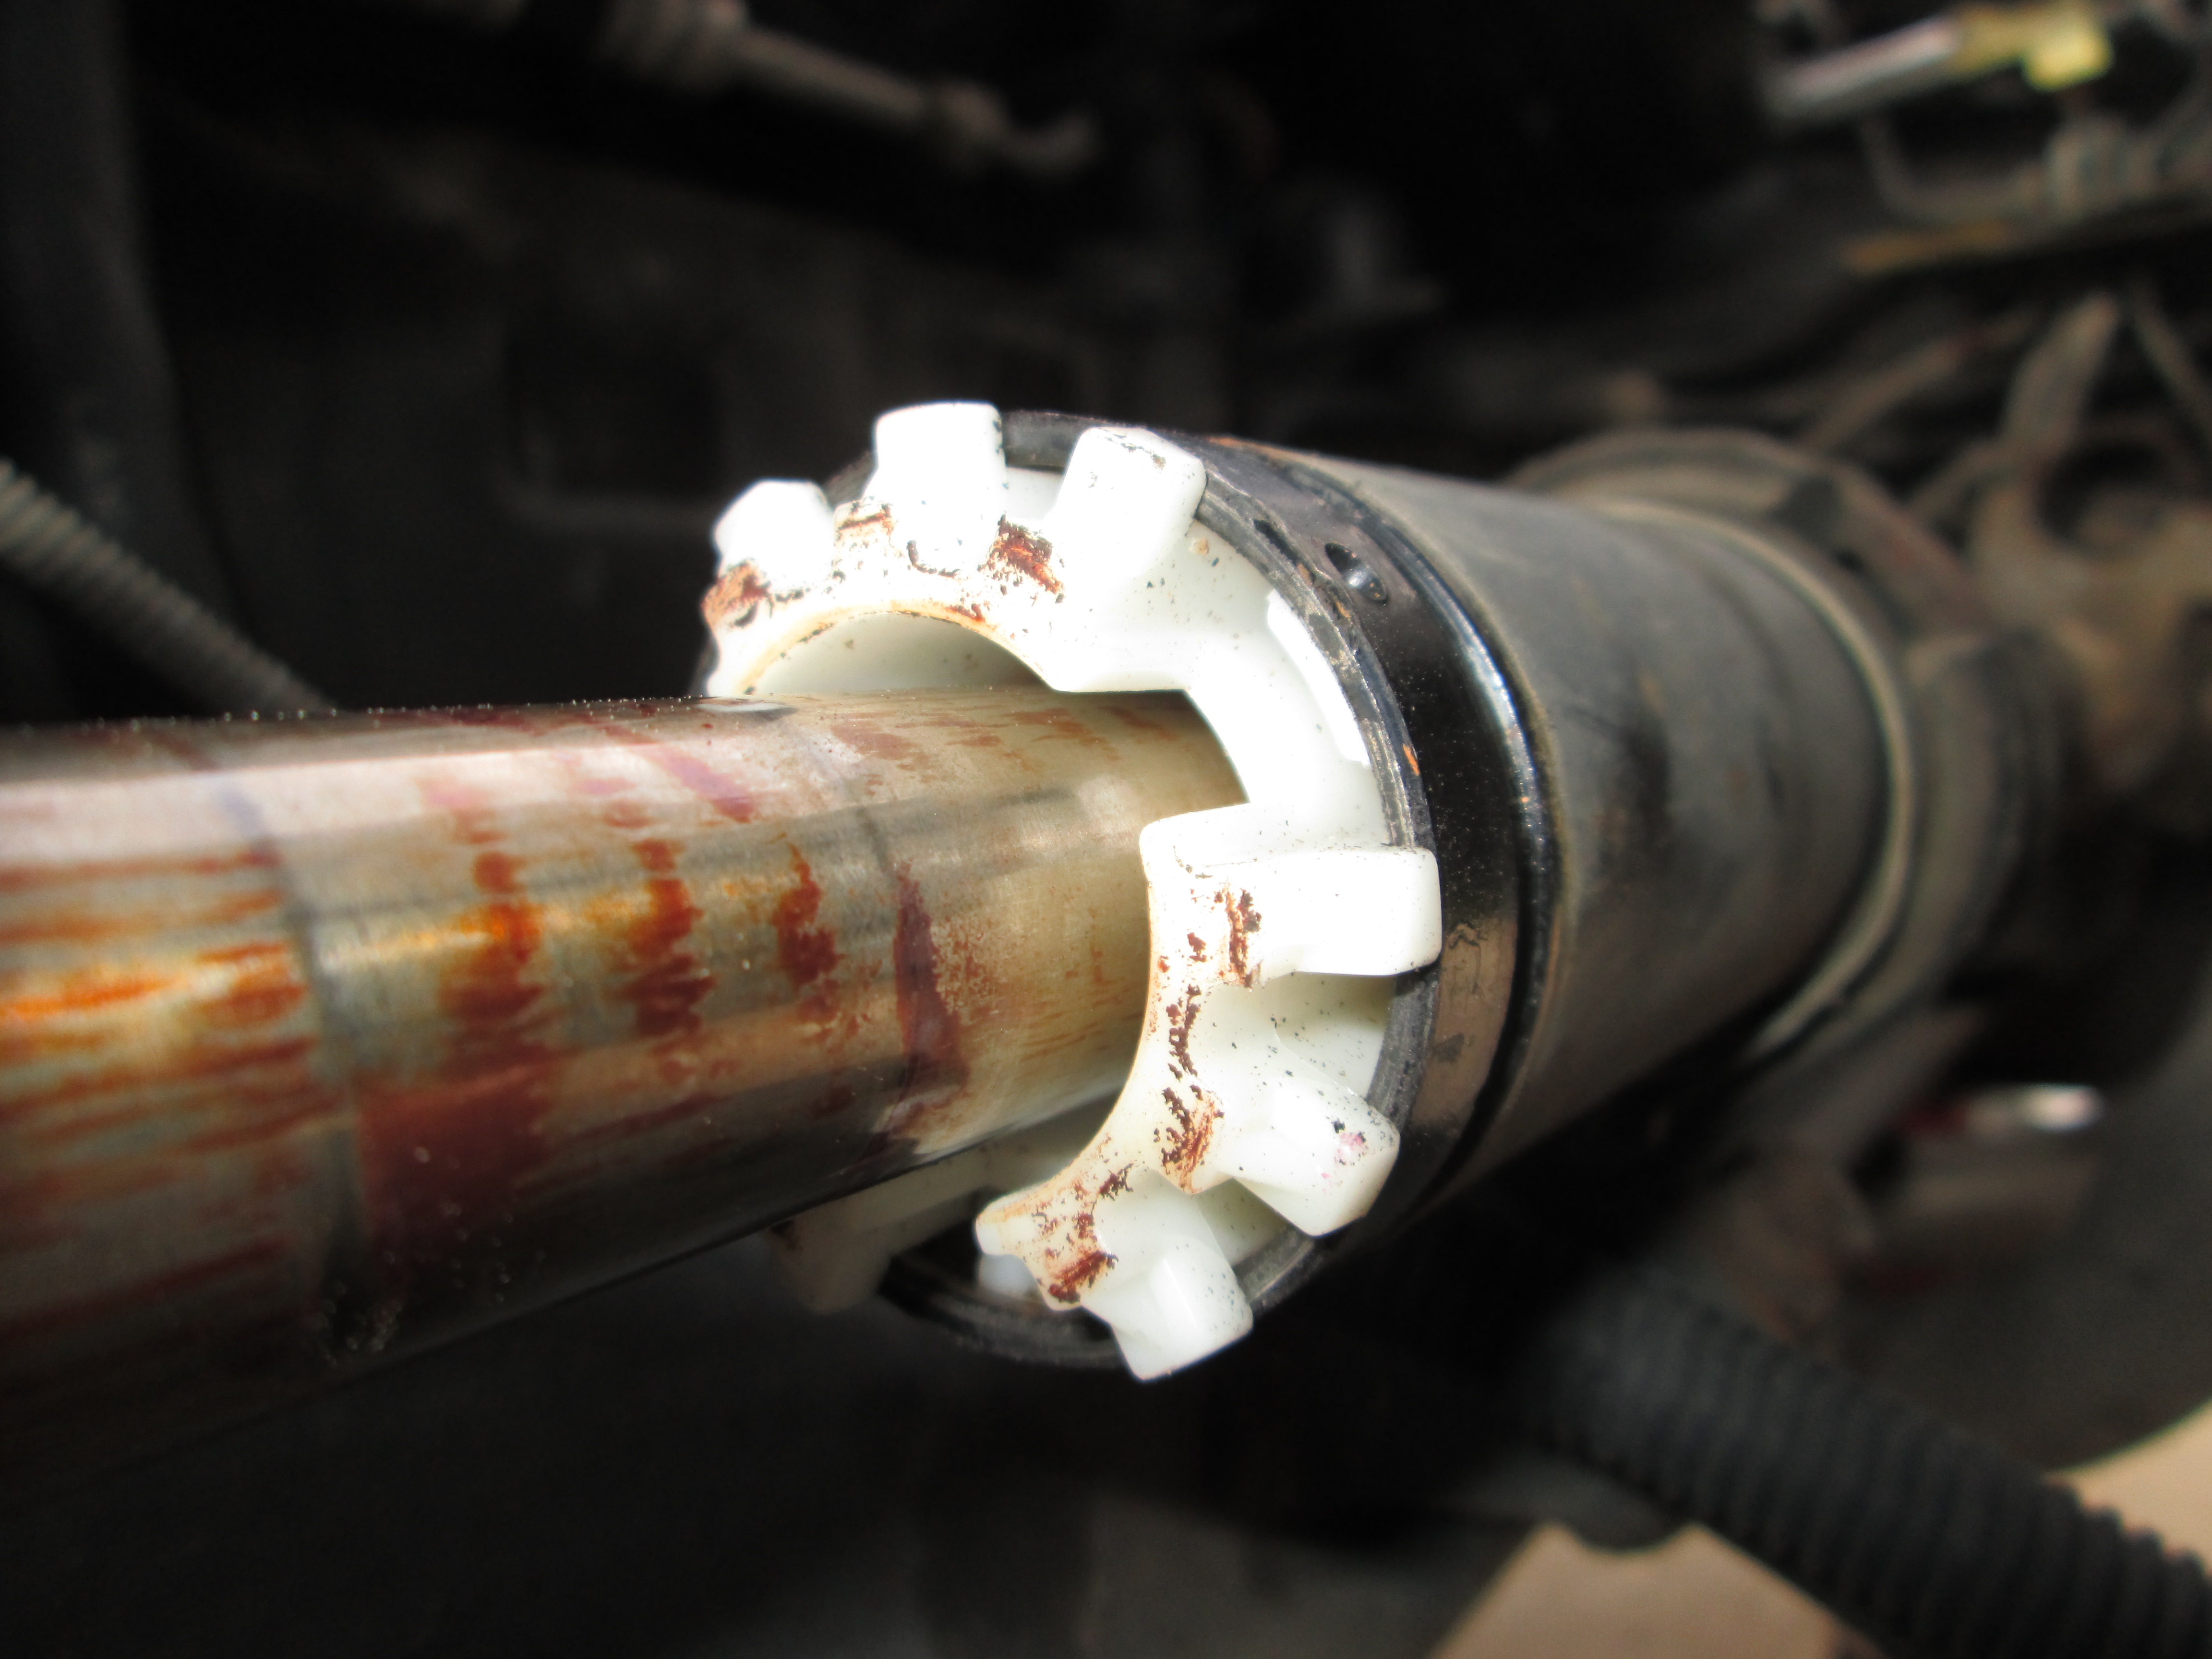
The short version is the stock Isuzu shift cable is the prefect length, it just needs the smaller ball end. Rodney hooked me up with a new isuzu cable and the right ball end. Then I fabbed up a new shift bracket to work with the Isuzu Shift and Getrag select cables using shaft collars (with machined grooves) to hold both shift cables in place. The 5 speed shifter works great and doesn't need to be modified at all. The only thing it needs is a reverse lockout.
New shifter bracket:
5 speed shifter with reverse lockout added:

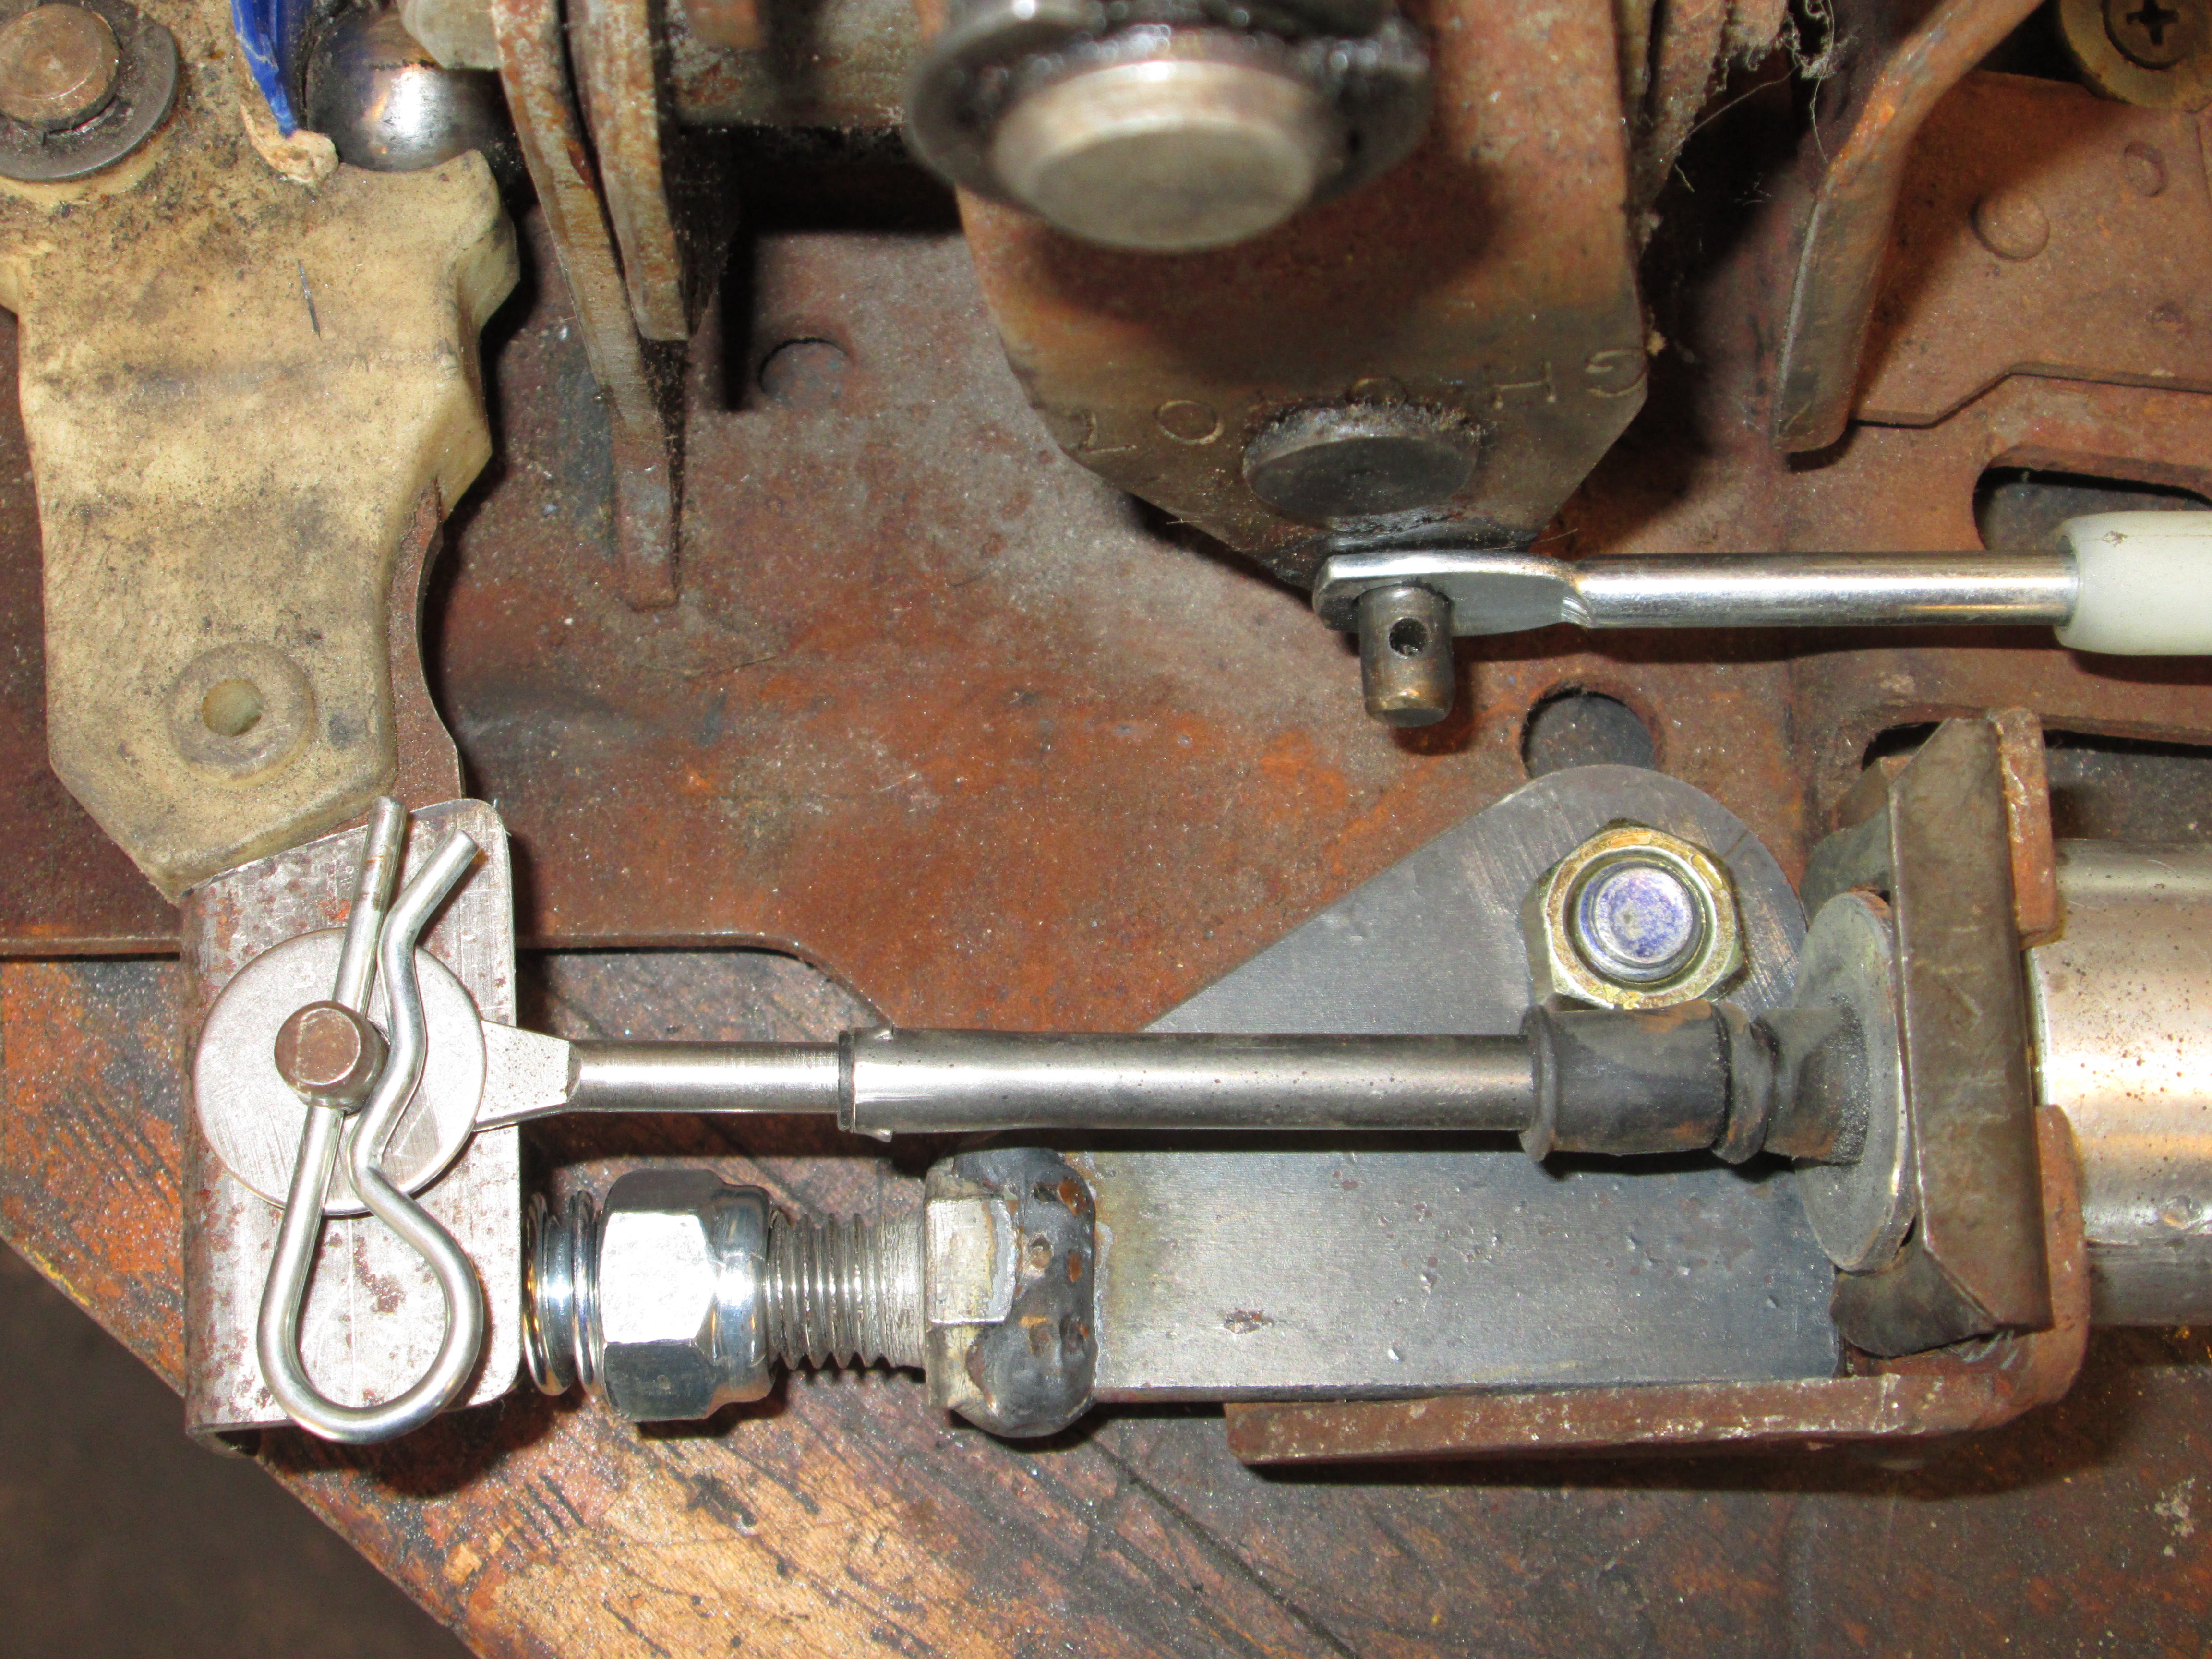
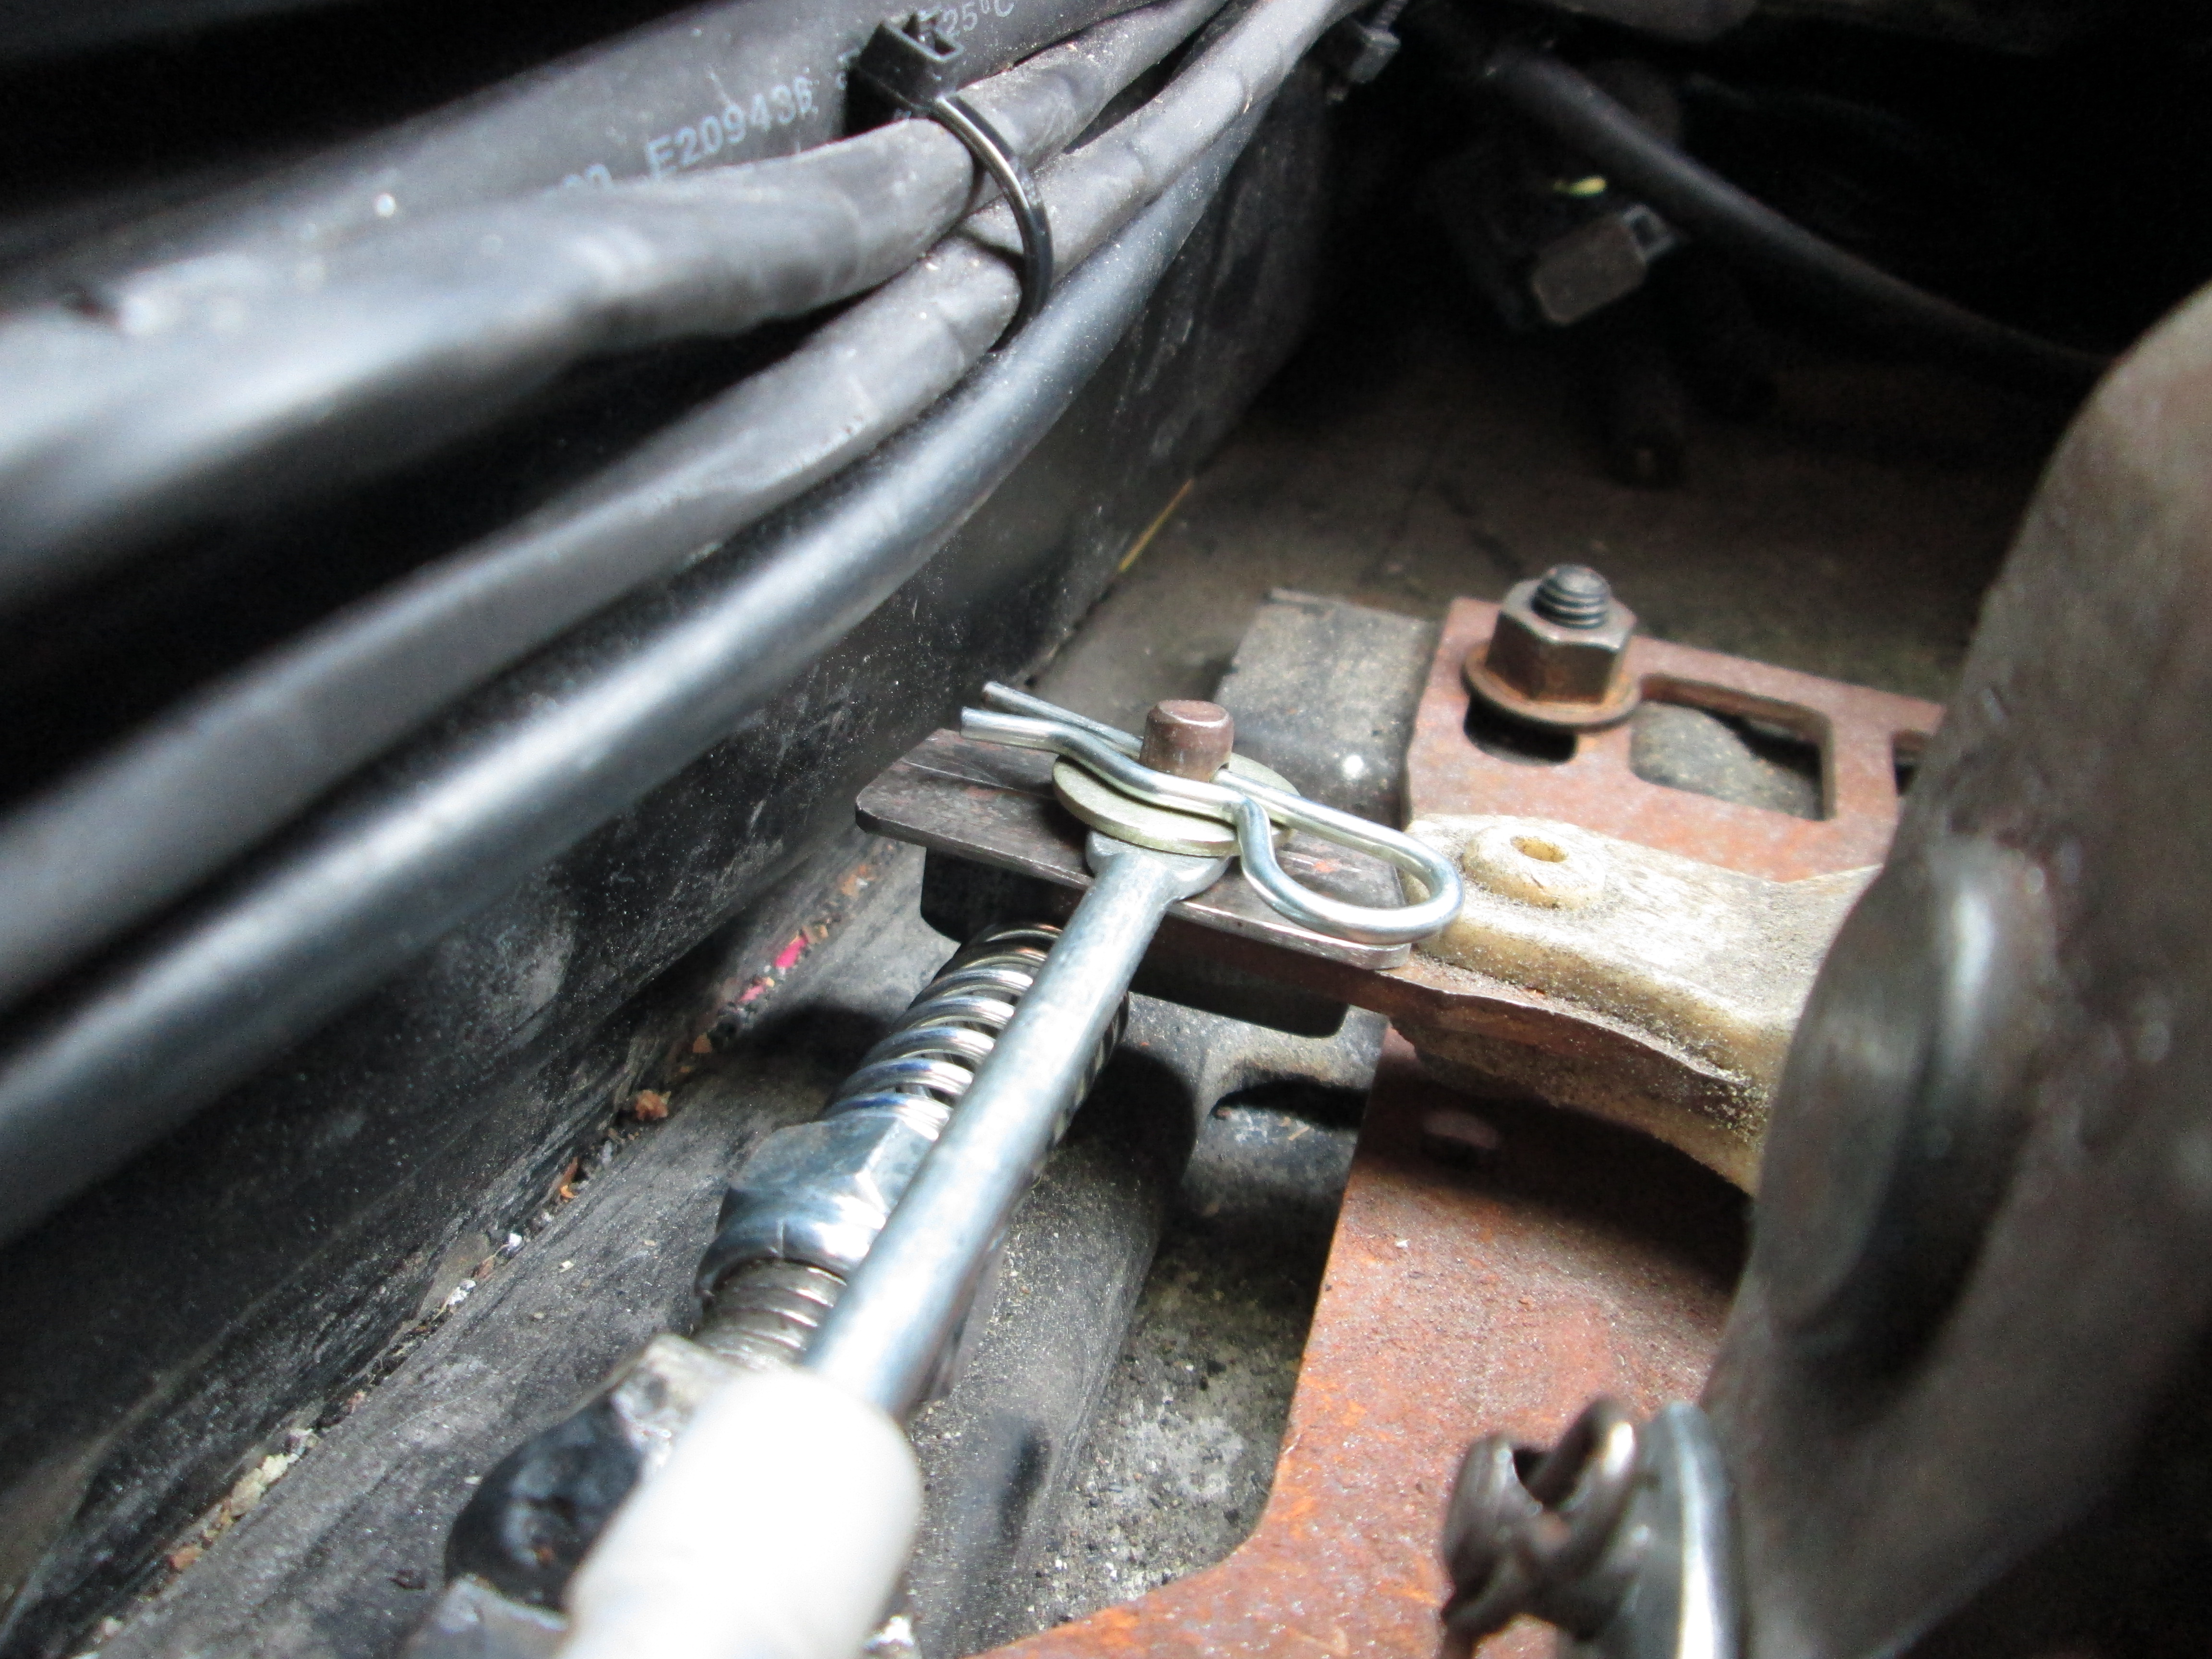
New shifter cable routing (both are now the same length):
The 5 speed shifter places the gears closer (longer select lever), the shifter cable is certainly more firm shifting into 3rd, and the shaft collars will keep the cables firmly attached... so far I am really liking the upgrade, but need to do some 7K RPM upshifts to know if it will help my 1/4 mile performance.
Upgrade shifter cable to stronger version.
Swap stiffer springs front/rear
Replace the rear struts with Koni's (on order) and adjust the front Konis to full stiff.
Swap nicer dash and interior from 86 parts car along with the PW/PL
I started working on the cable upgrade a little while ago and documented most of the details here:
http://www.fiero.nl/forum/Forum1/HTML/094069.html
The things I wanted the new shifter cable to solve were:
Stronger cable - don't want to break it again.
Proper length - old setup had one cable 4" longer than the other.
No more c-clips - had them pop off twice.
The short version is the stock Isuzu shift cable is the prefect length, it just needs the smaller ball end. Rodney hooked me up with a new isuzu cable and the right ball end. Then I fabbed up a new shift bracket to work with the Isuzu Shift and Getrag select cables using shaft collars (with machined grooves) to hold both shift cables in place. The 5 speed shifter works great and doesn't need to be modified at all. The only thing it needs is a reverse lockout.
New shifter bracket:
5 speed shifter with reverse lockout added:
New shifter cable routing (both are now the same length):
The 5 speed shifter places the gears closer (longer select lever), the shifter cable is certainly more firm shifting into 3rd, and the shaft collars will keep the cables firmly attached... so far I am really liking the upgrade, but need to do some 7K RPM upshifts to know if it will help my 1/4 mile performance.
07-08-2014, 09:06 AM
#186
Staging Lane
iTrader: (2)
Join Date: Feb 2011
Location: Lancaster, PA
Posts: 81
Likes: 0
Received 0 Likes
on
0 Posts
Words really don't describe thoughts while reading this thread. I am giving you a standing ovation right now at my desk at work ( yes I am getting weird looks from coworkers). On another note completely what is your obsession with button head bolts?
07-12-2014, 07:30 PM
#187
I have been driving the car to/from work and other joy rides and really like the new shifter/cable/bracket setup. It feels like a completely different transmission. The gear spacing is tight, but the 2-3 shift just falls into place, and just feels right. The shifts feel less clunkier too. The detents feel softer as I go into each gear. I think using the select cable allowed the cable to flex slightly as the detent was depressed and made it "feel" harder. Now with the stiffer cable, I can pass through the detents with less effort. I suspect the stiffer cable provides for higher impact loads to depress the detent vs. the cable flexing and having to more slowly force them to depress.
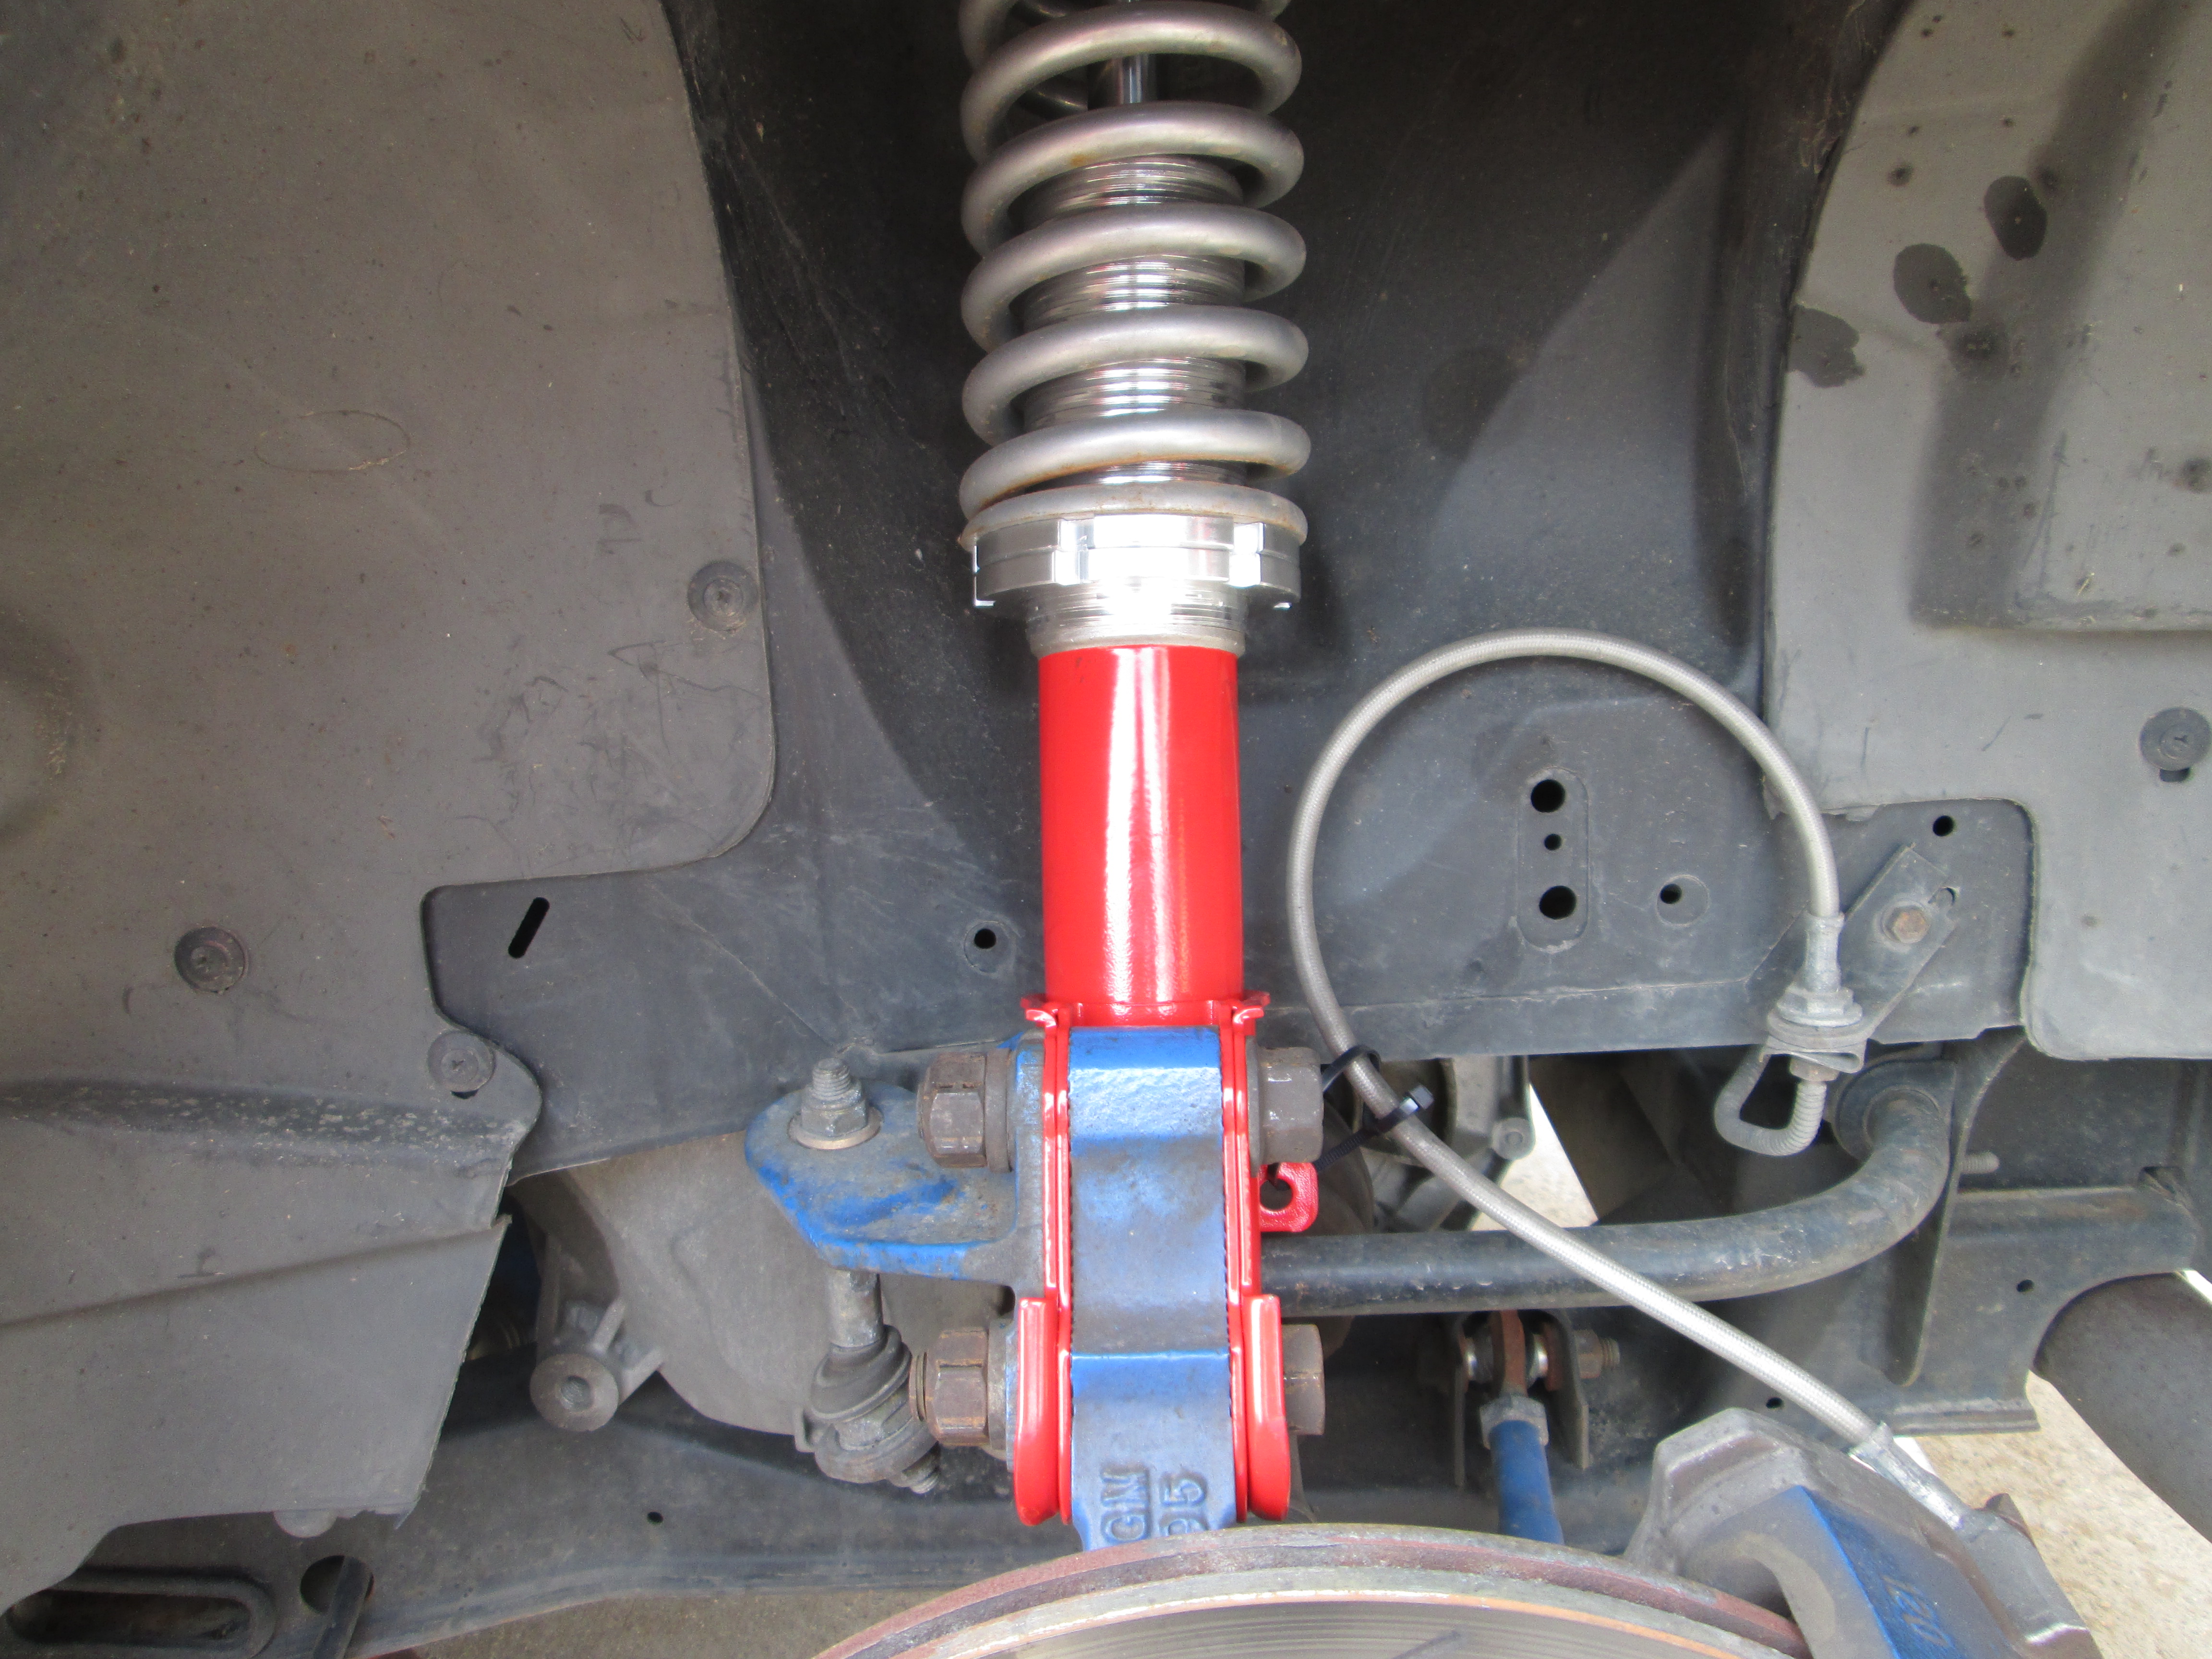
The conical springs are Moog 7634 from a 99+ Chrysler Cirrus and they cost about $55 for the pair. In stock form they are 13.5" long and have a spring rate of 265 lb/in. I cut them down to 9 1/2" long which should increase the spring rate to 350-370 lbs/in. Here is a cut one along side the stock Moog spring, the cut down 84-87 front spring, and an 88 lowering springs of some brand (suspect fiero store). As you can see the new cut down spring is shorter and the car ride height is just about the same (slightly taller to allow for some settling).
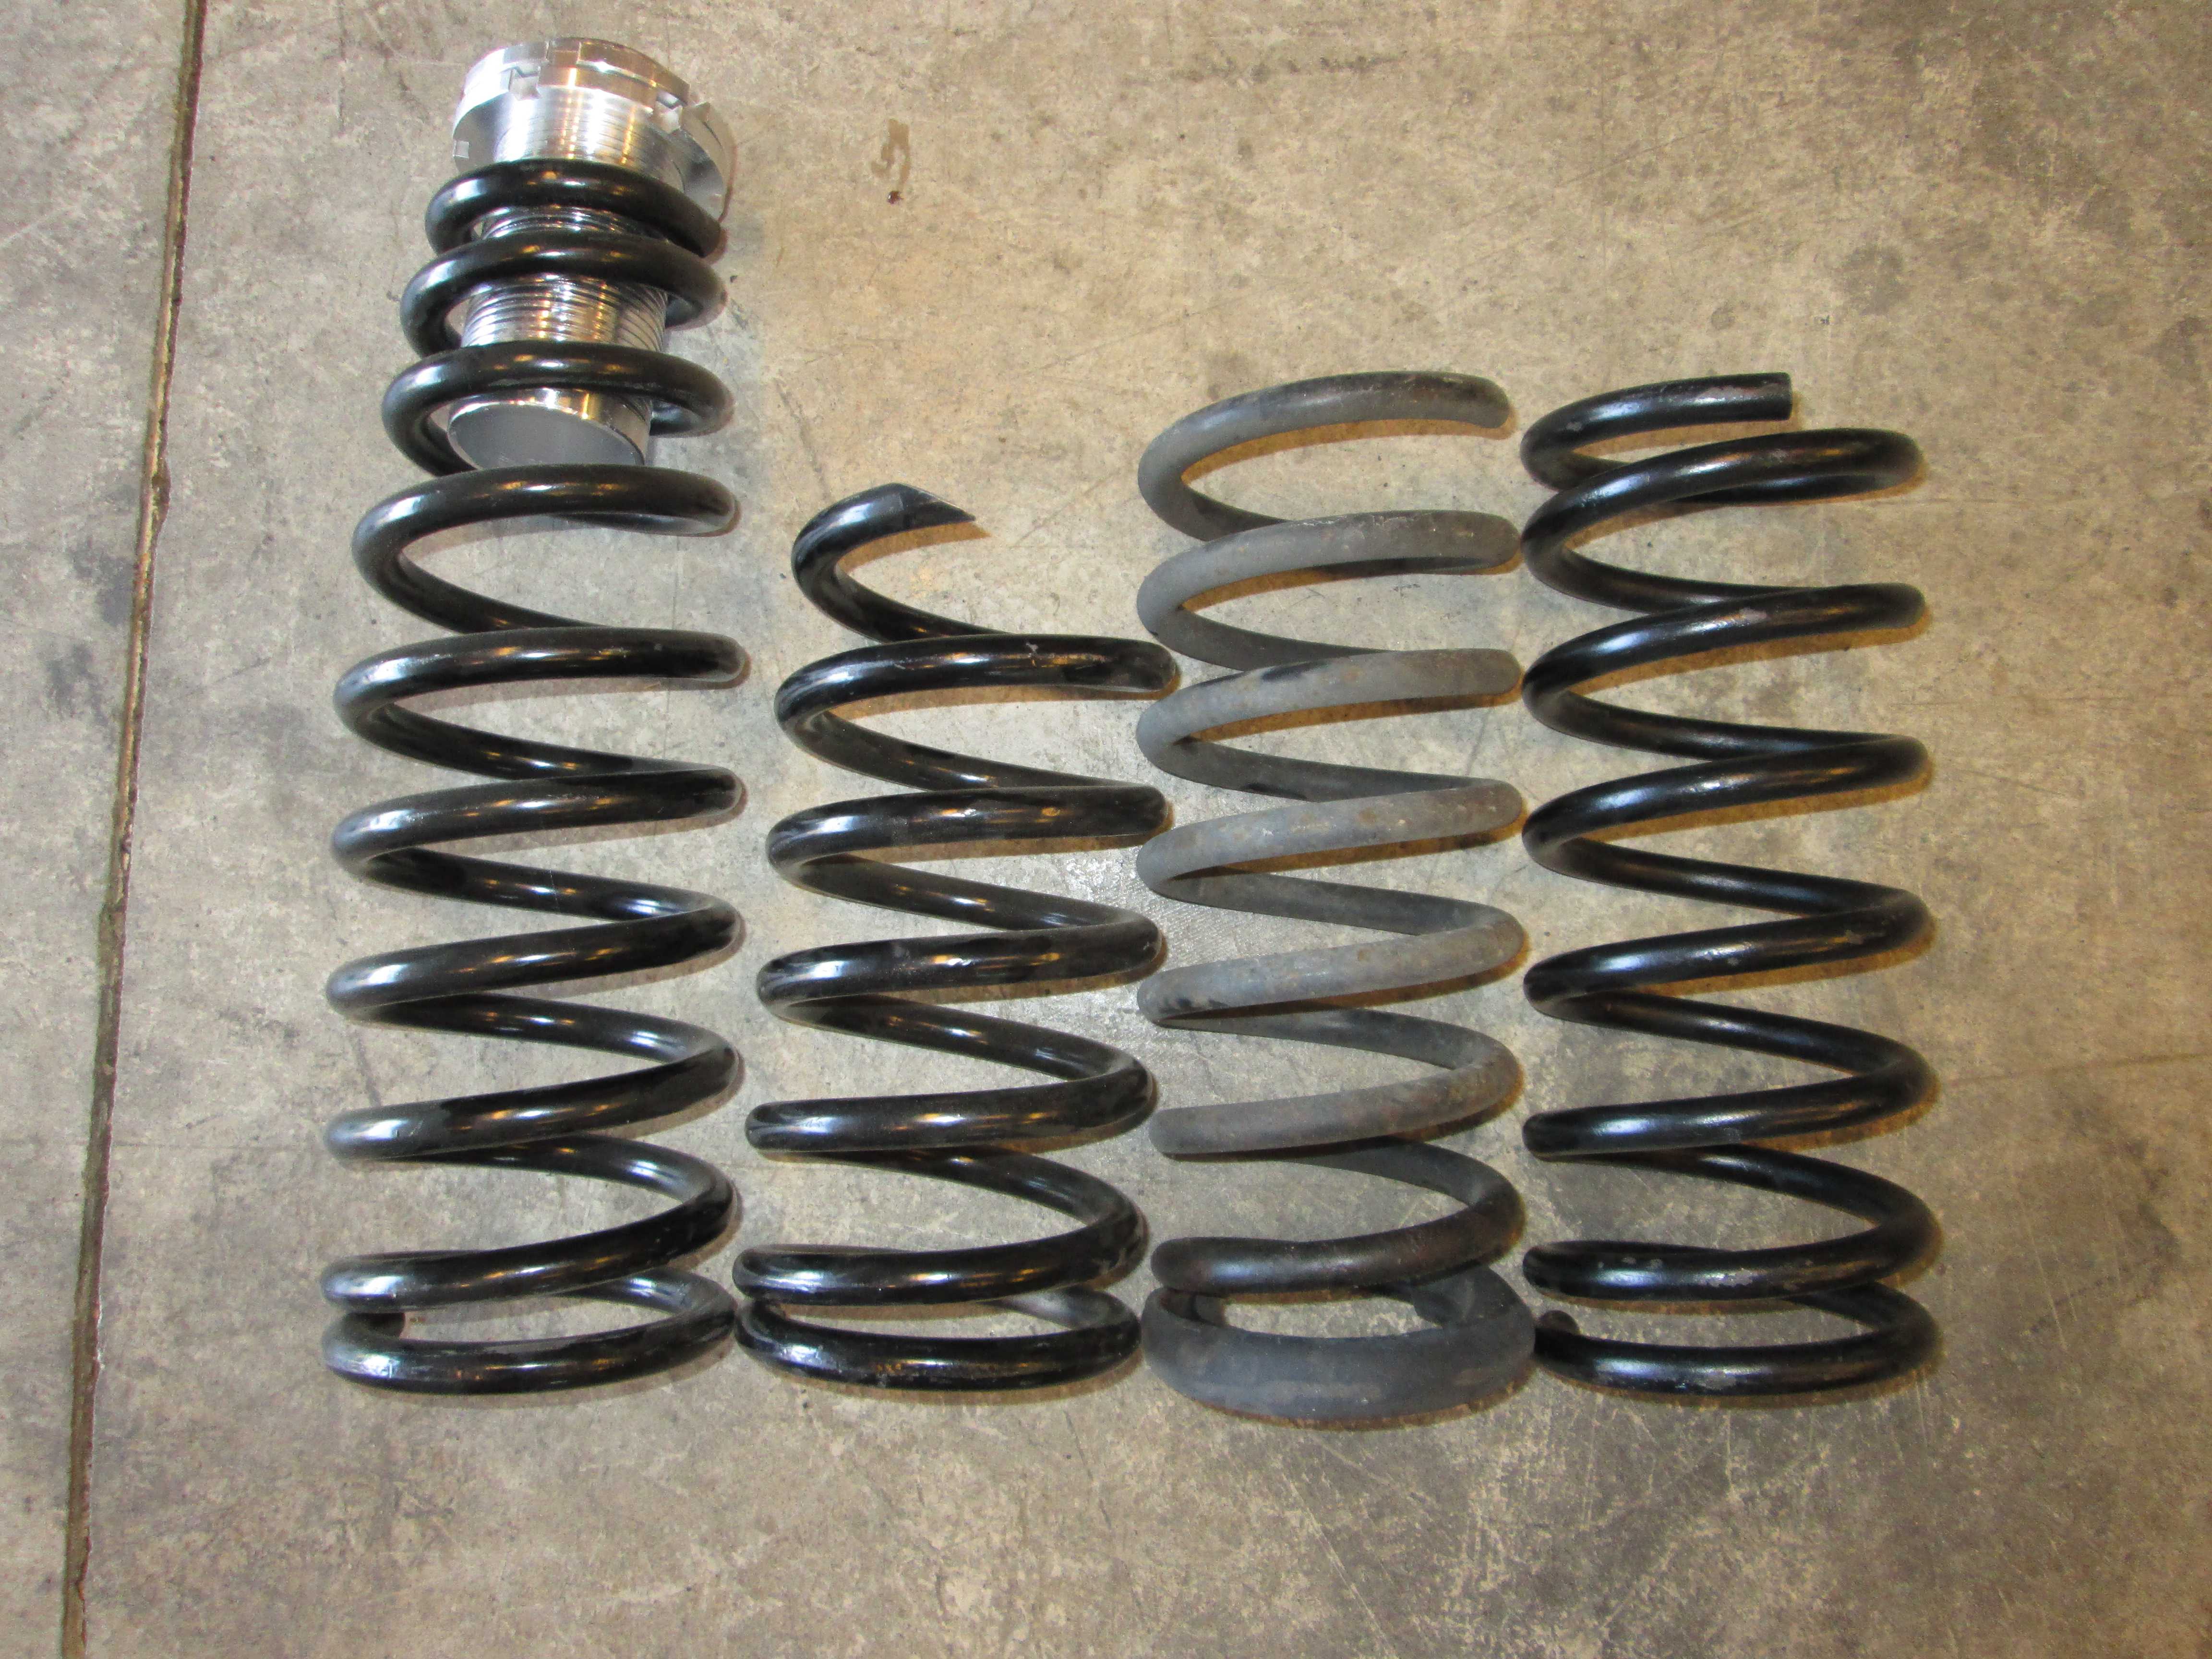
The new stiffer front springs and adjusting the front Konis to be full stiff (on rebound - no adjustment for compression) really cut down on the movement of the front suspension. The front ride is firmer, but still isn't harsh, but I still have stock rubber front bushings (eventually those will be changed).
My car has close to the factory curb weight and weight bias, so I want to keep the relationship of the spring rates front/rear the same.
Stock 88 Spring Rates:
Front: 205lb/in
Rear 142 lb/in
New front spring rate of 360 lb/in is 1.75 times stiffer, so the rear spring should be 1.75 times stiffer = 249 lb/in. My current rear coil over springs are 275 lb/in and that is close enough for now.
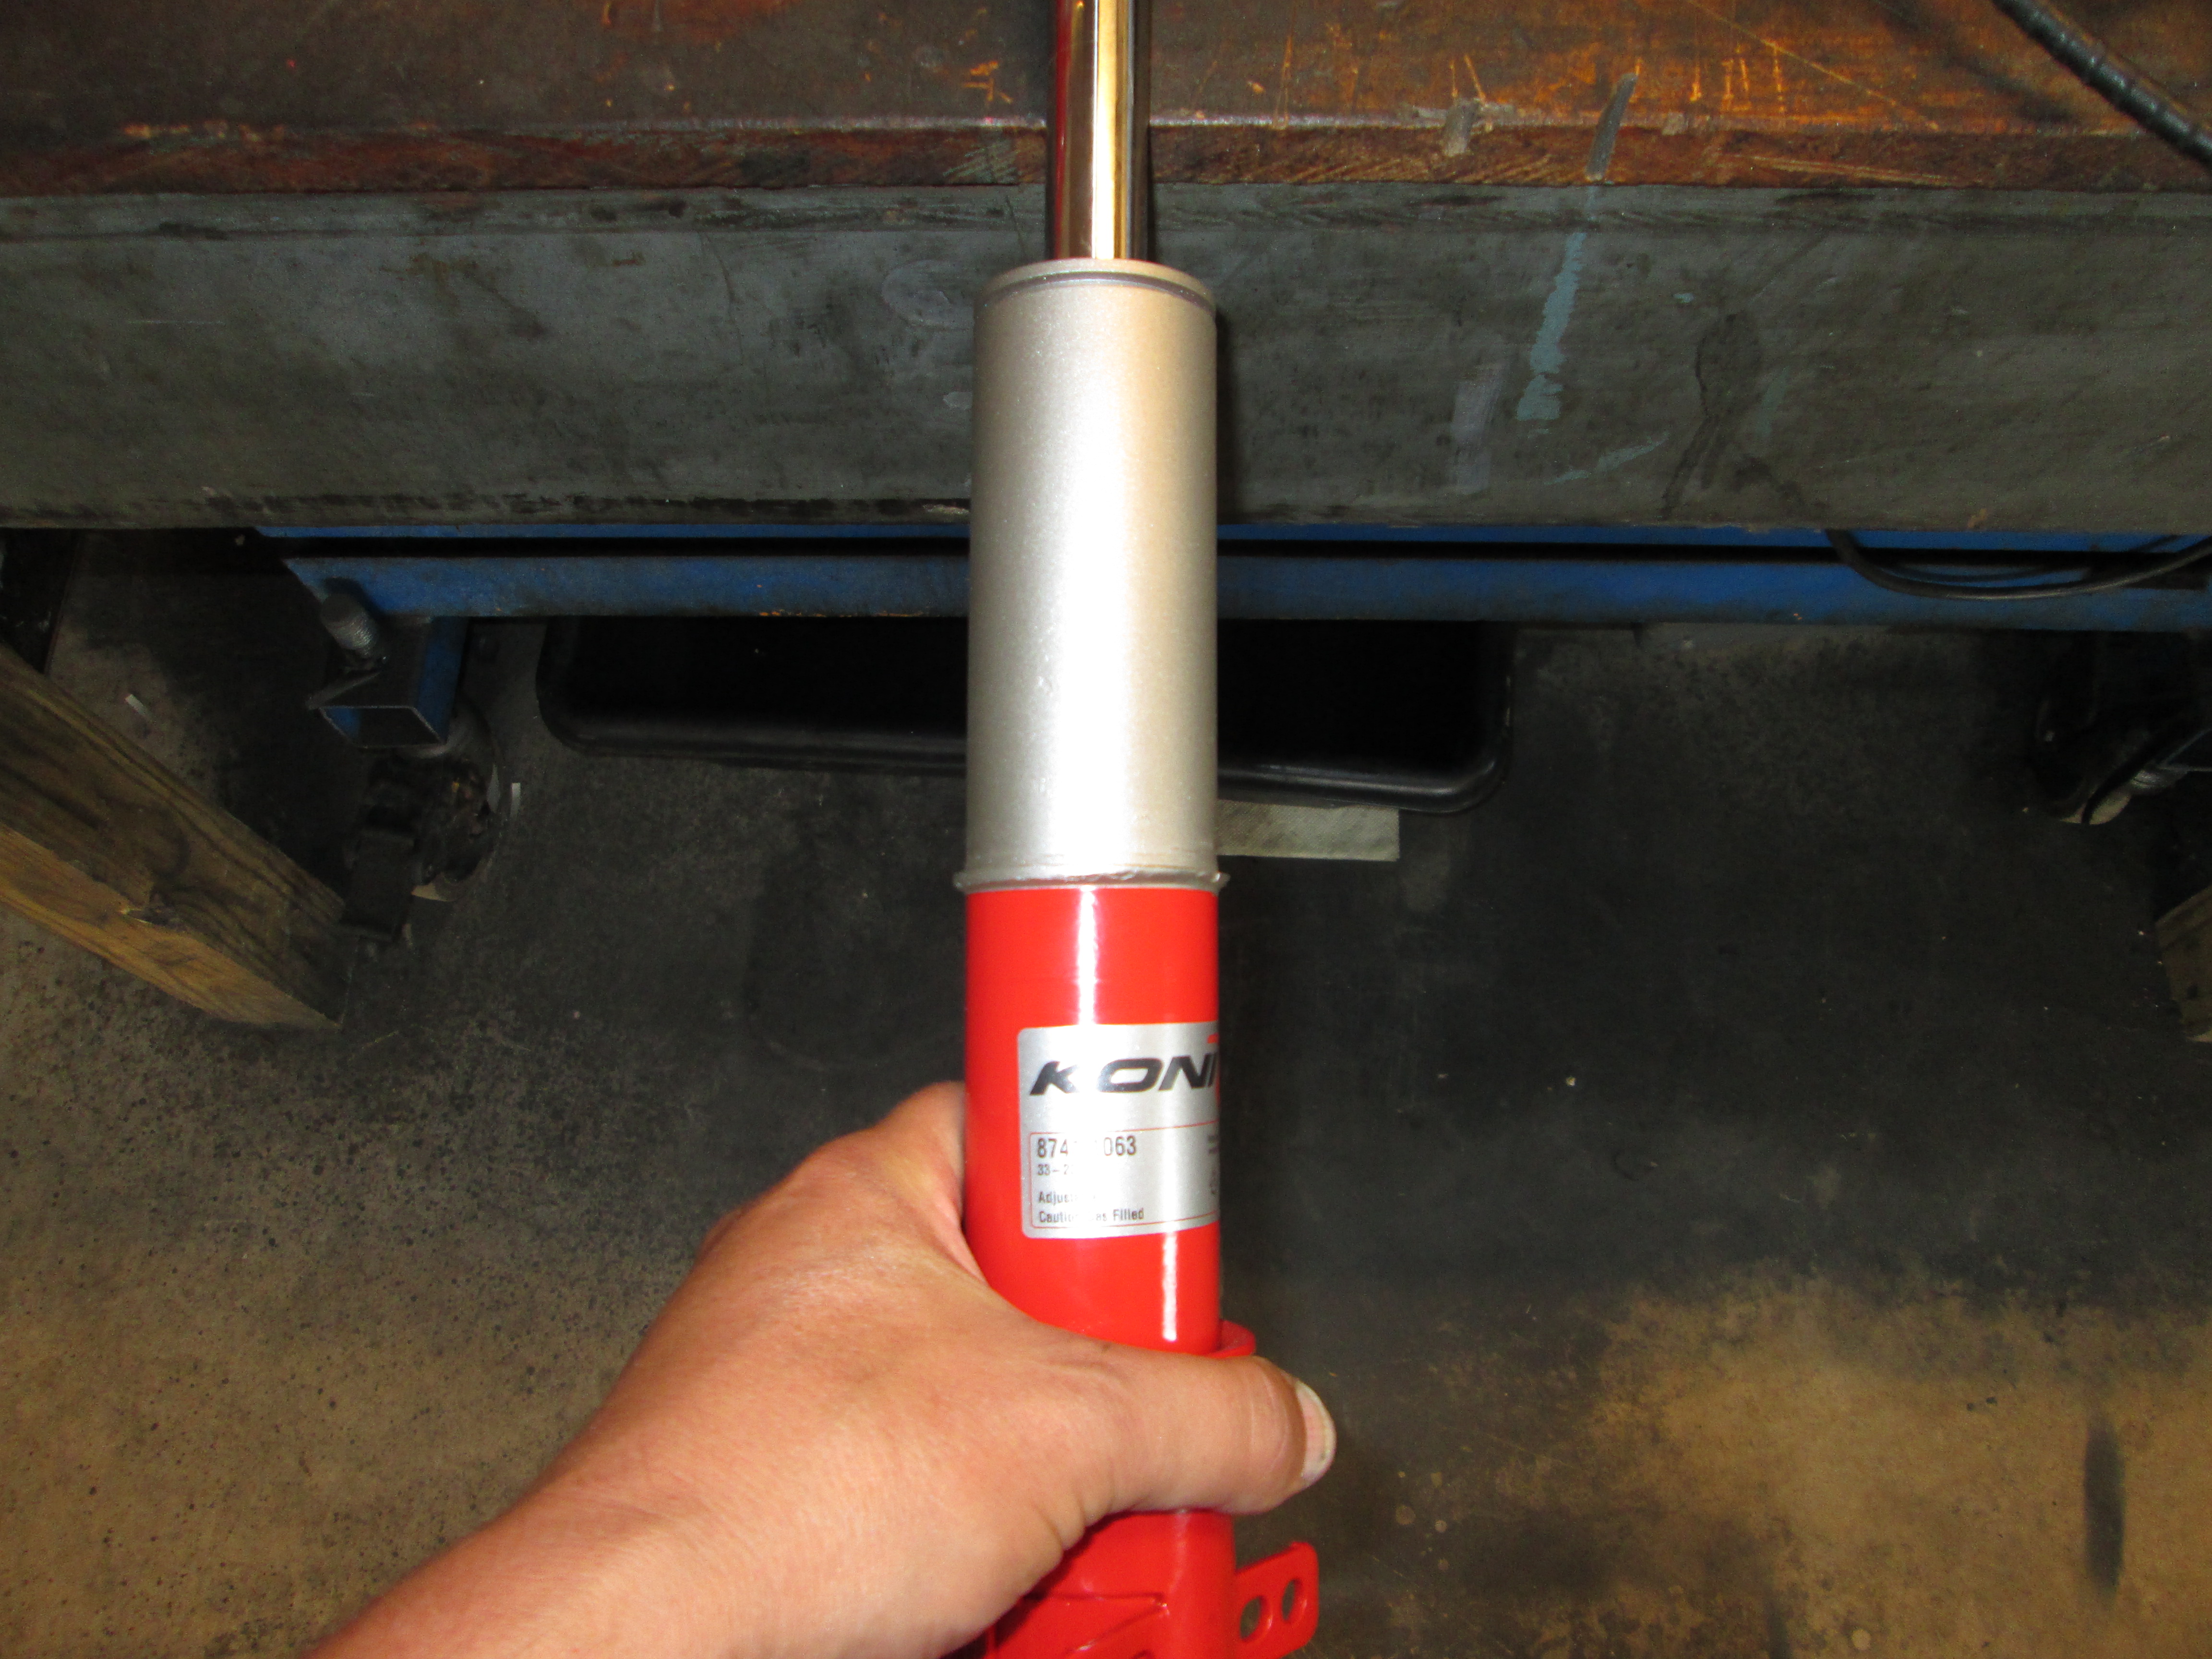
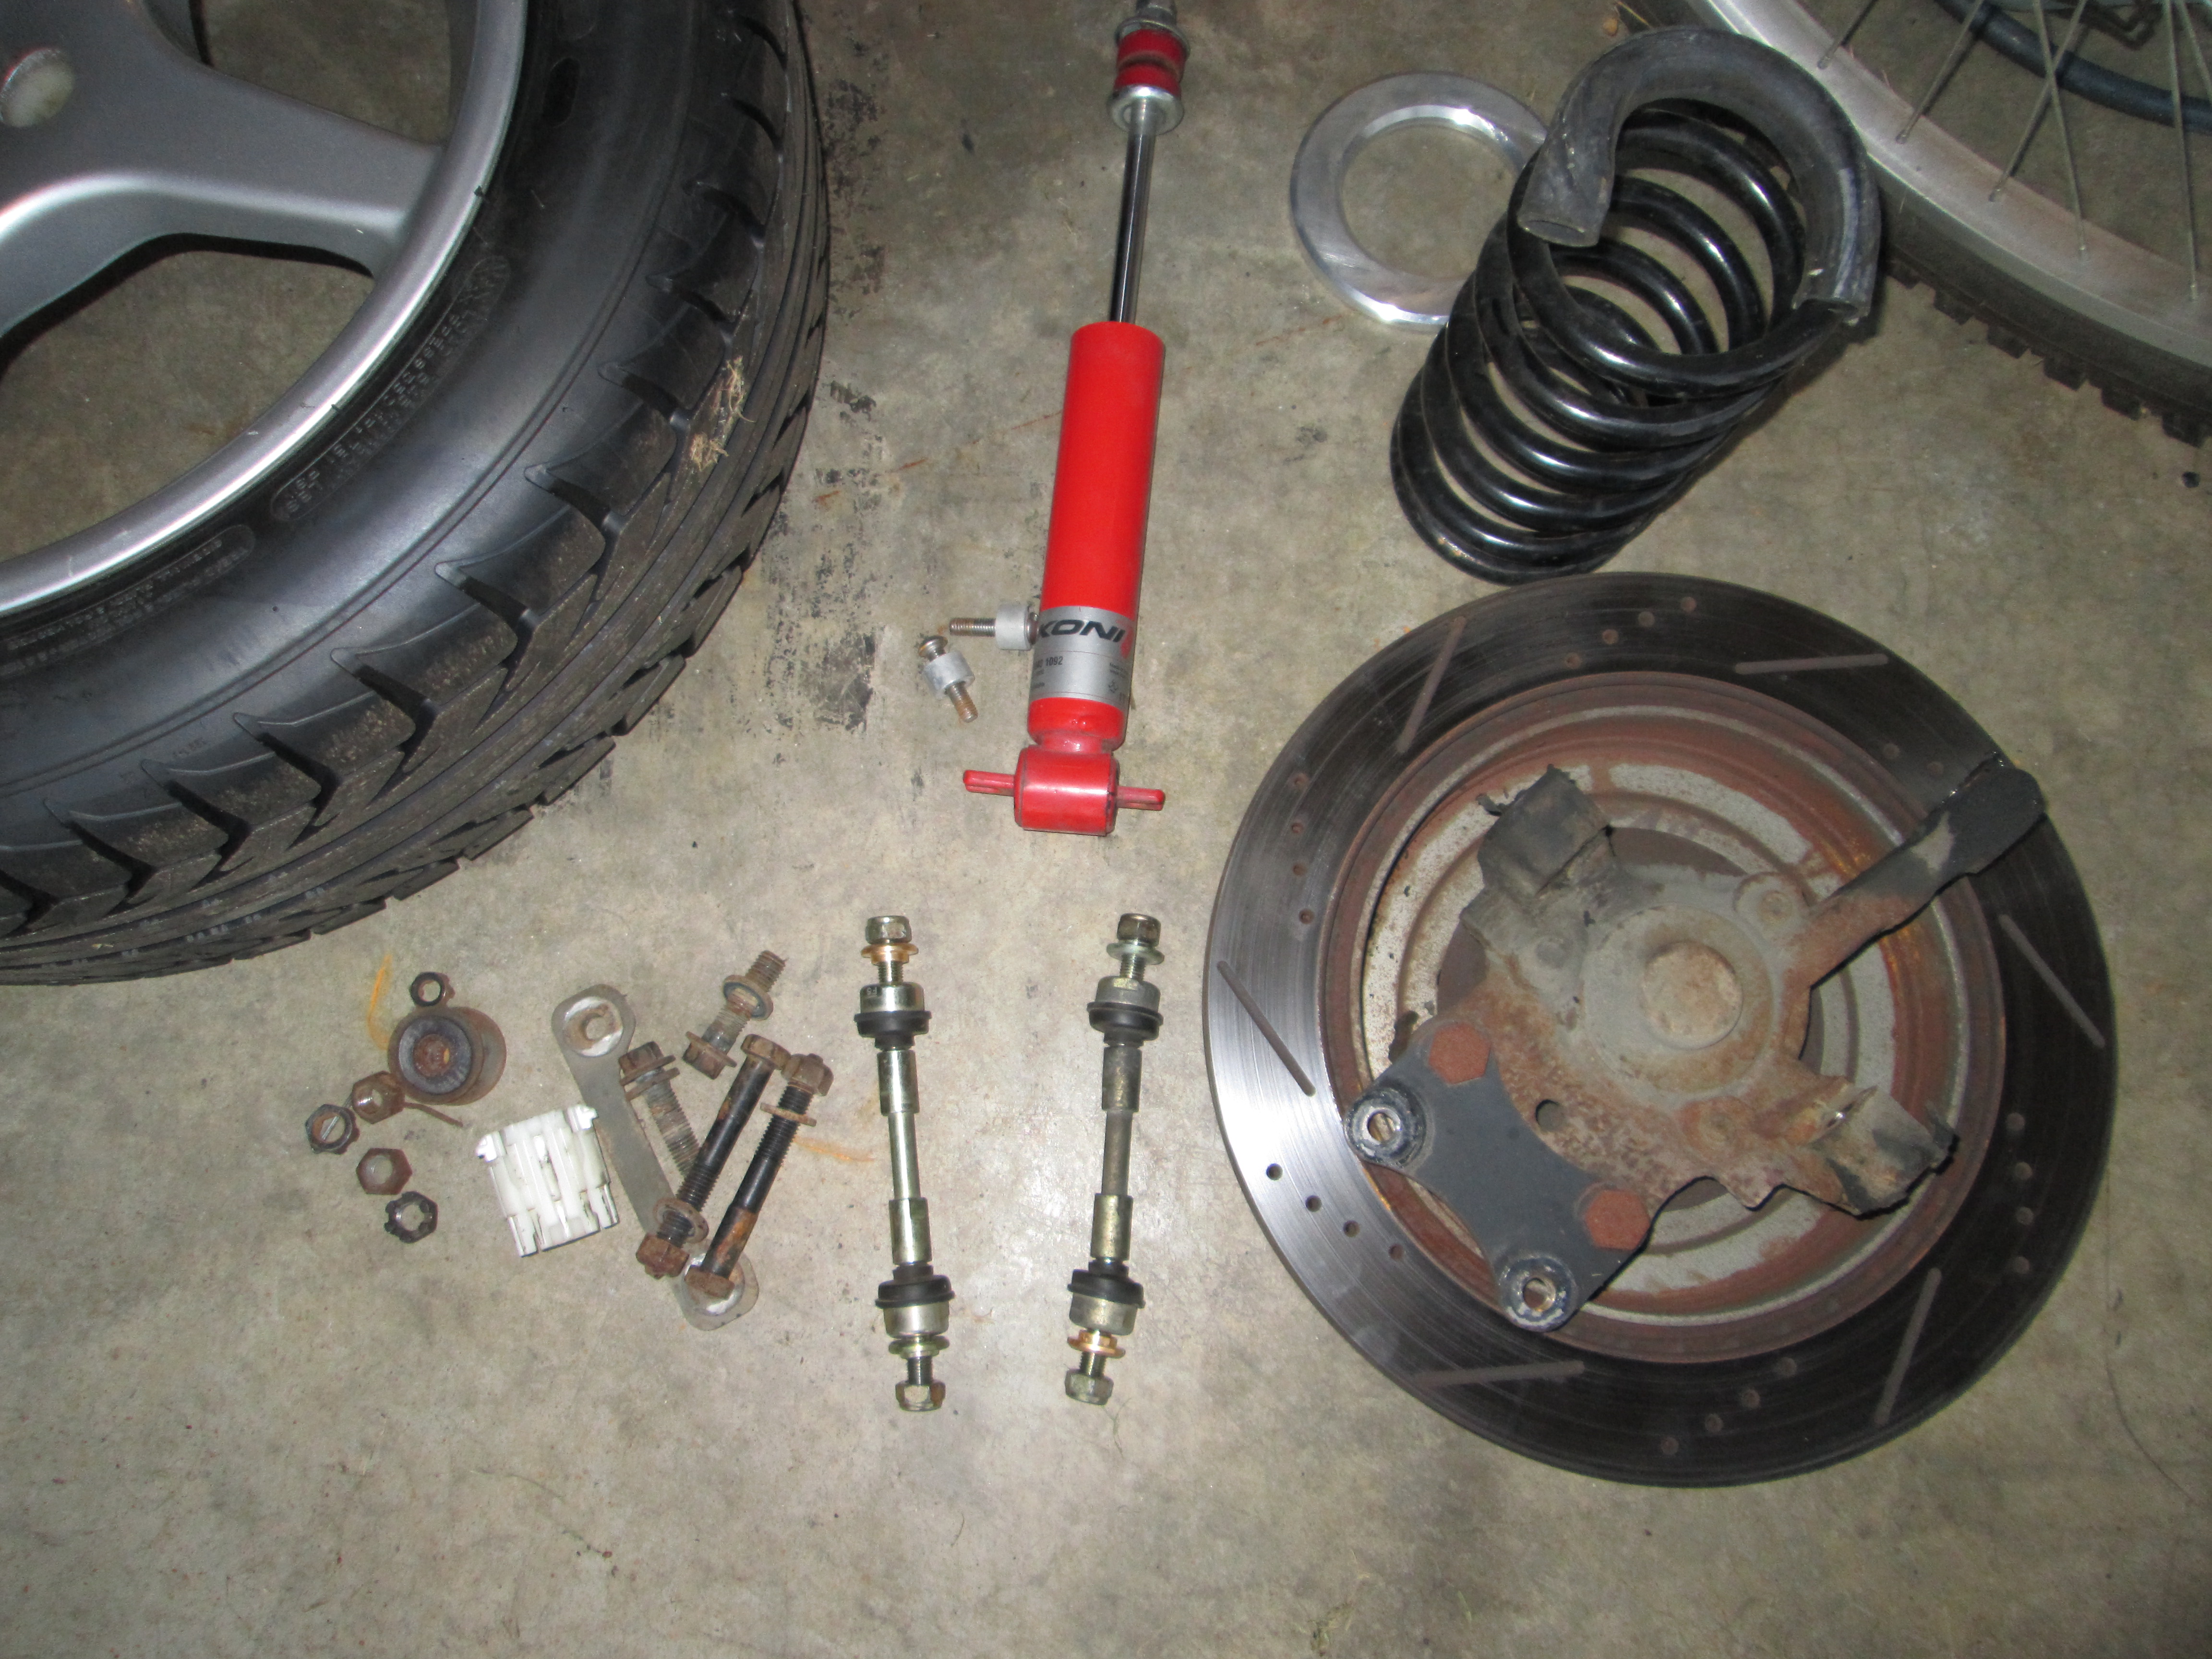
These came in earlier this week:

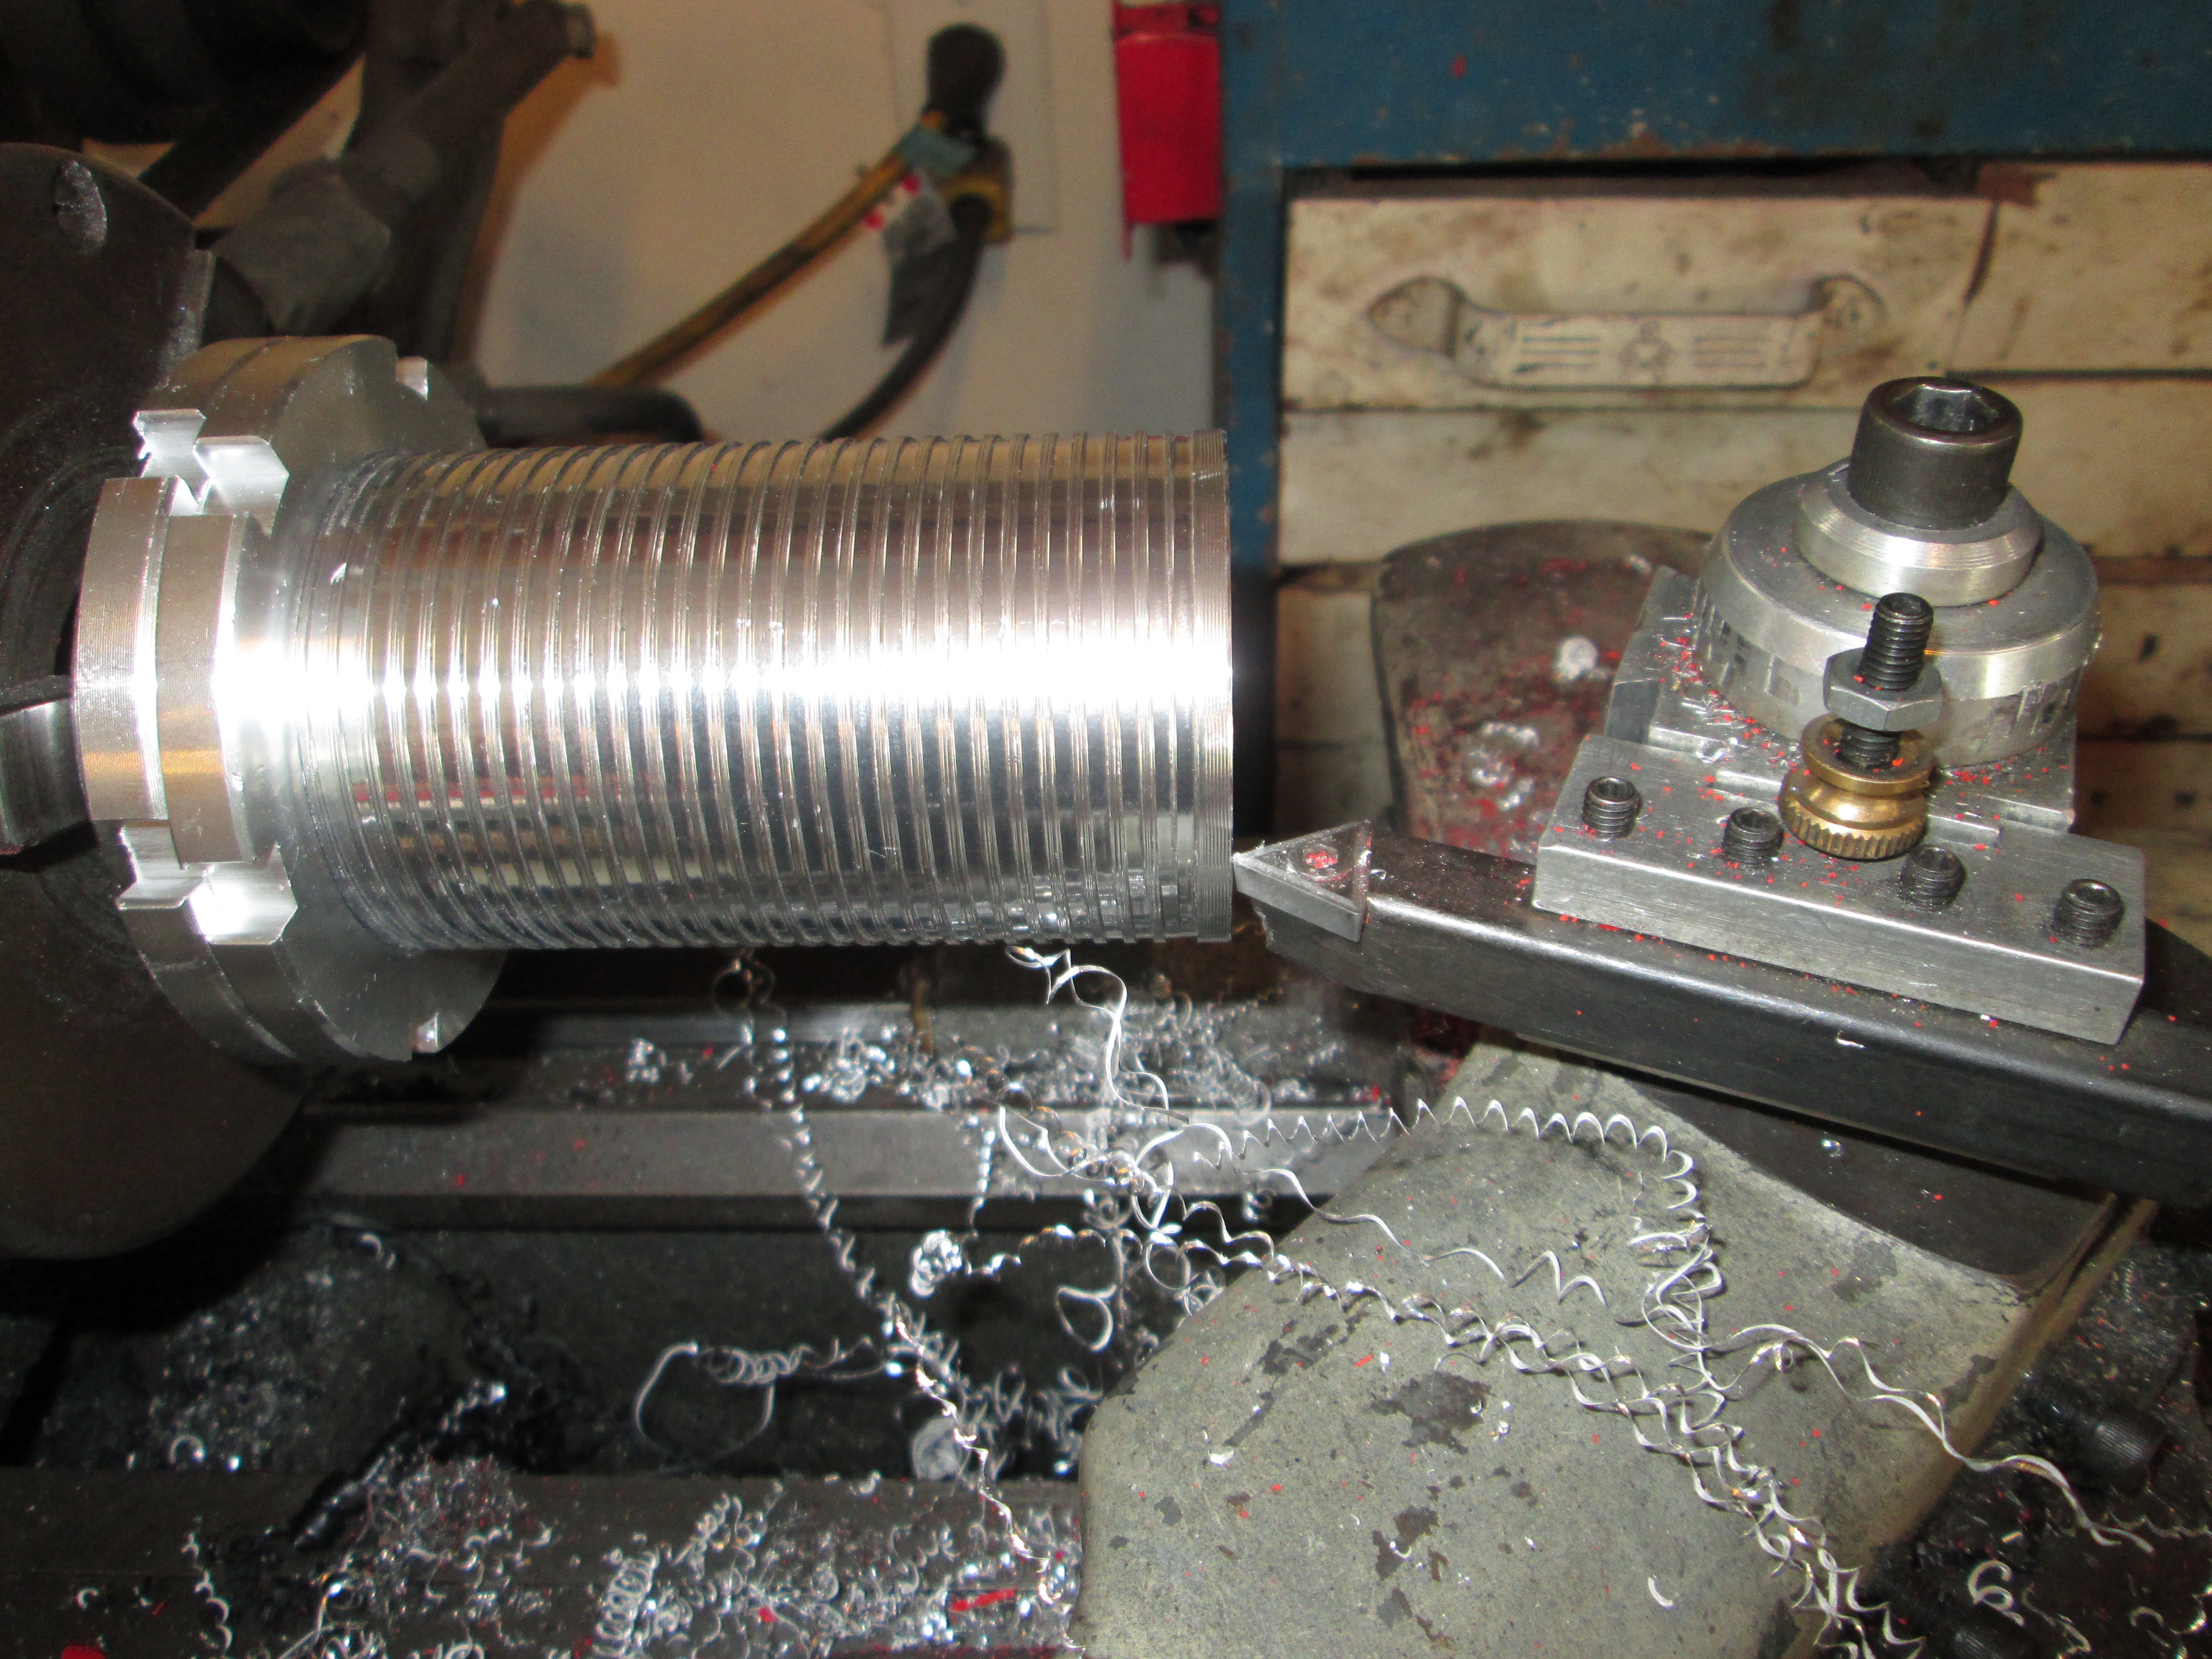
Chucked up the struts in the lathe so I could turn down the top cap so the coil over sleeve would fit over it:
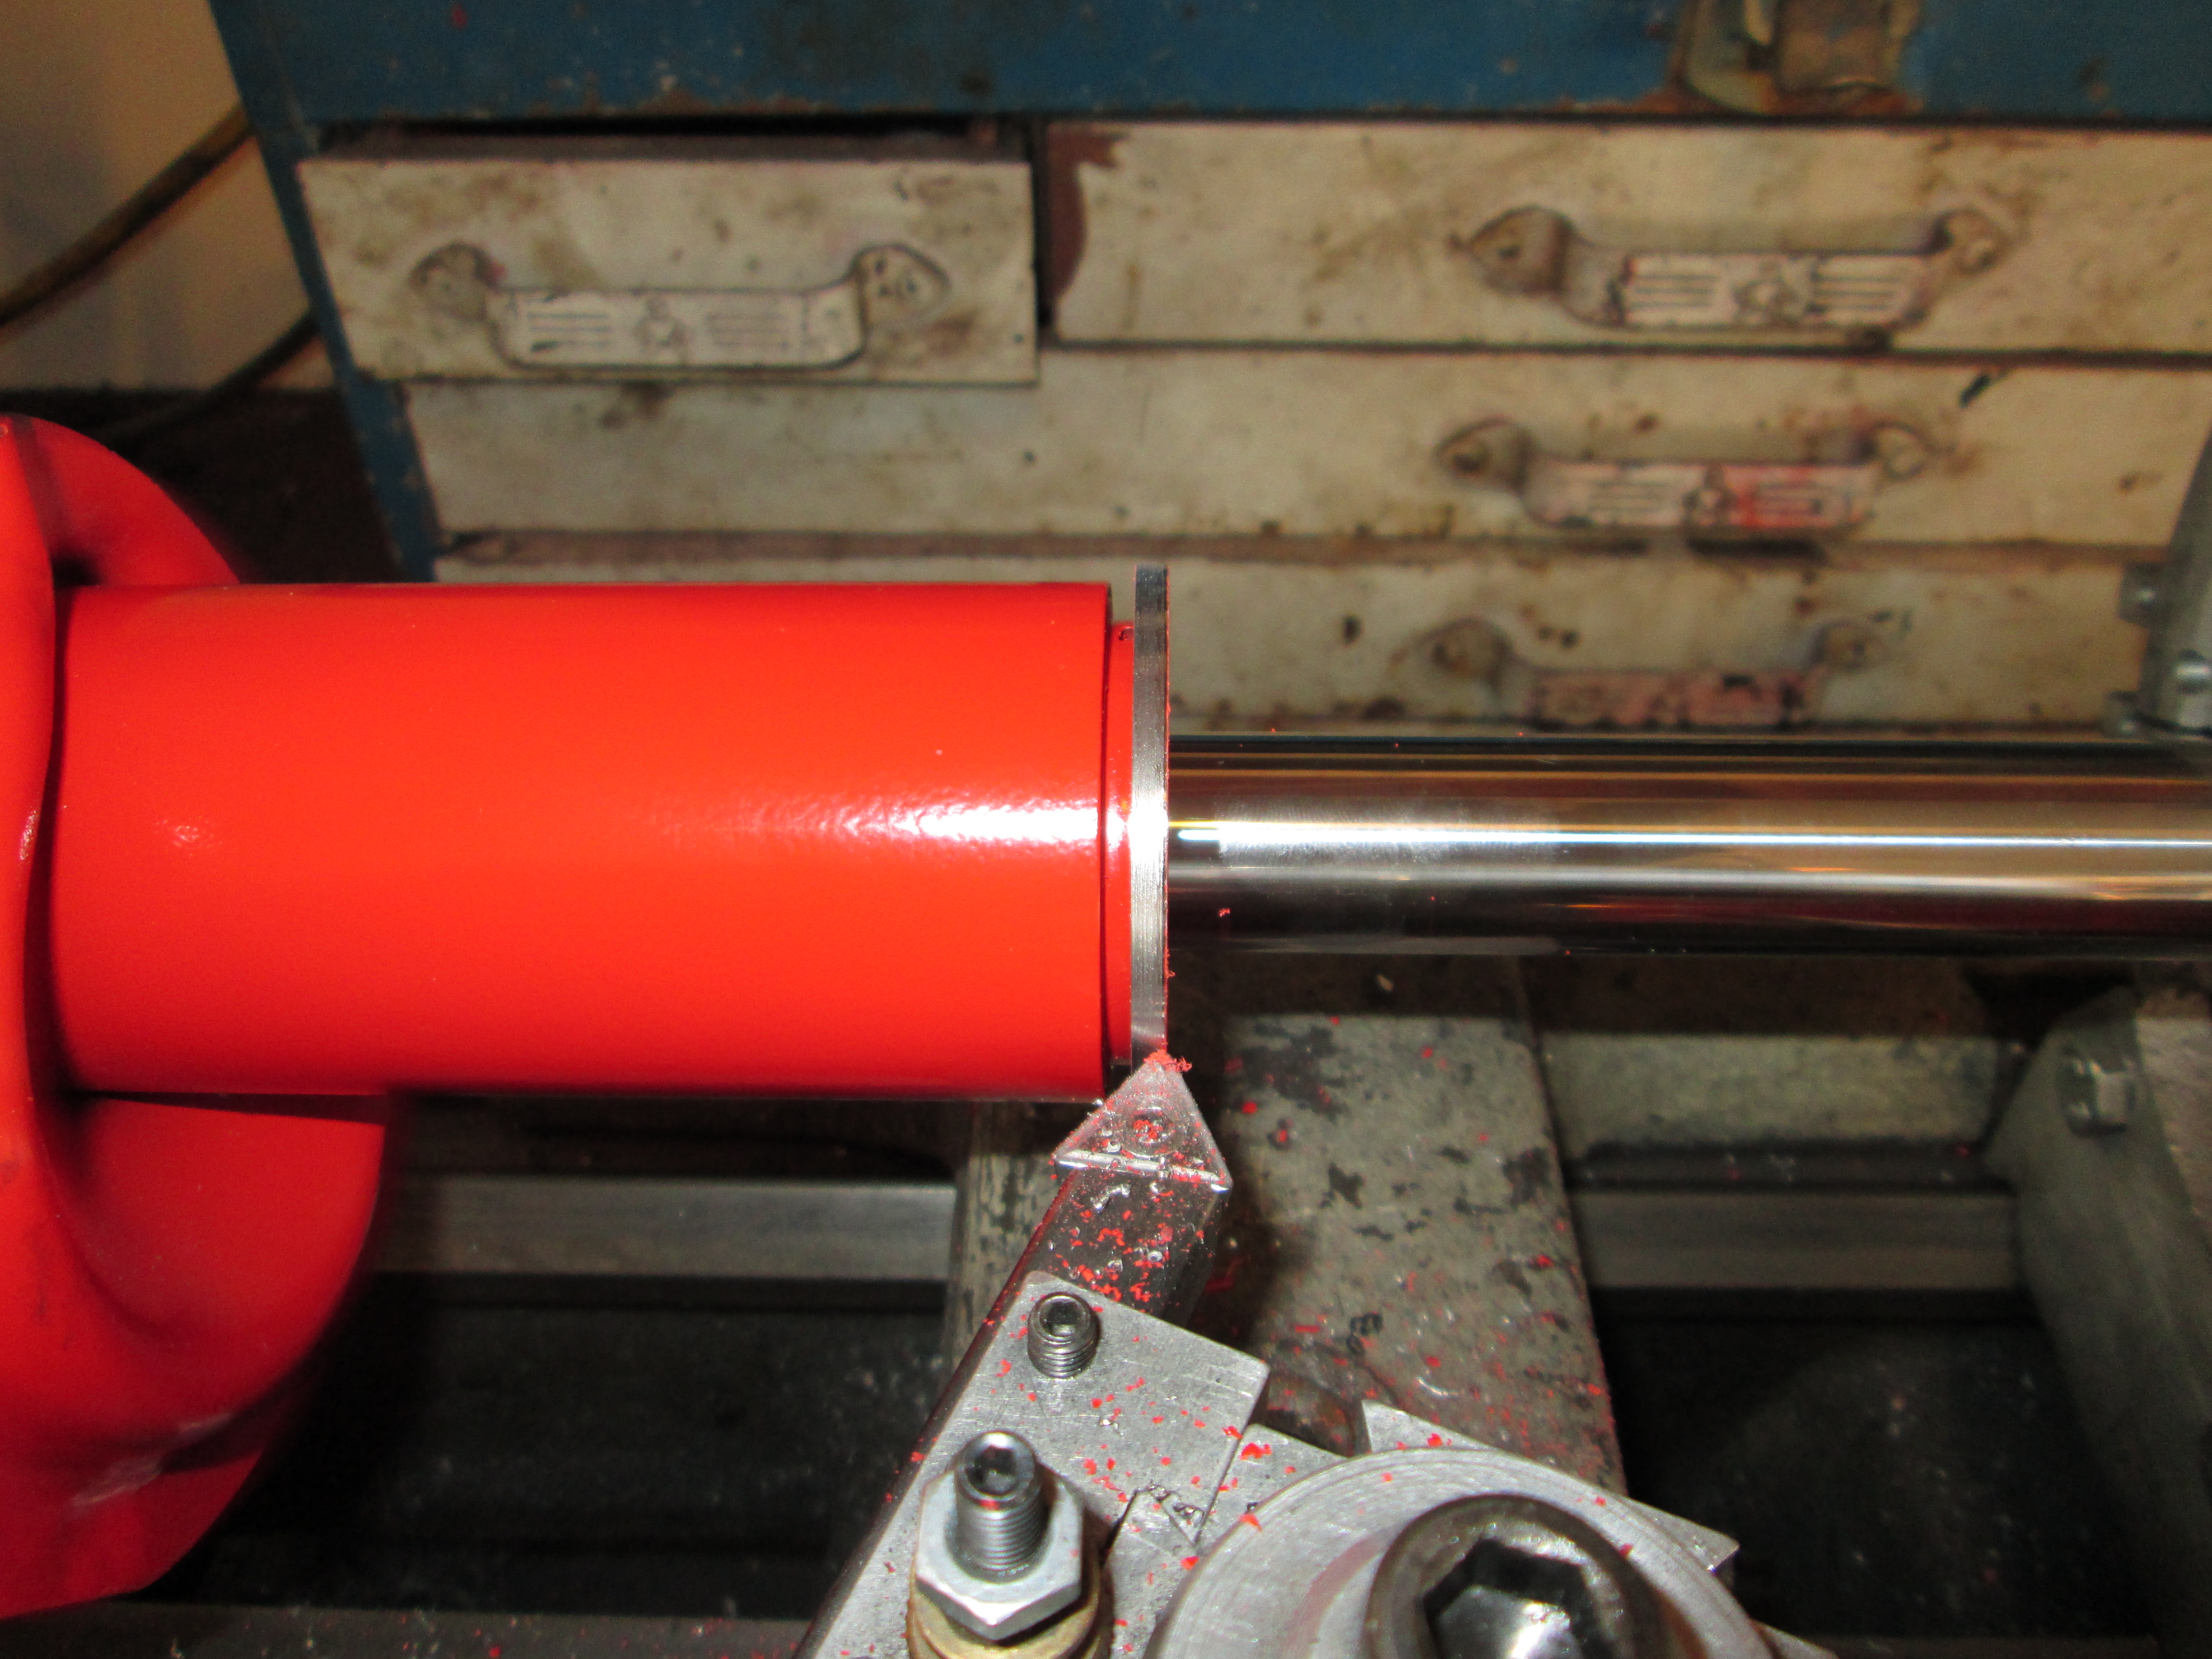
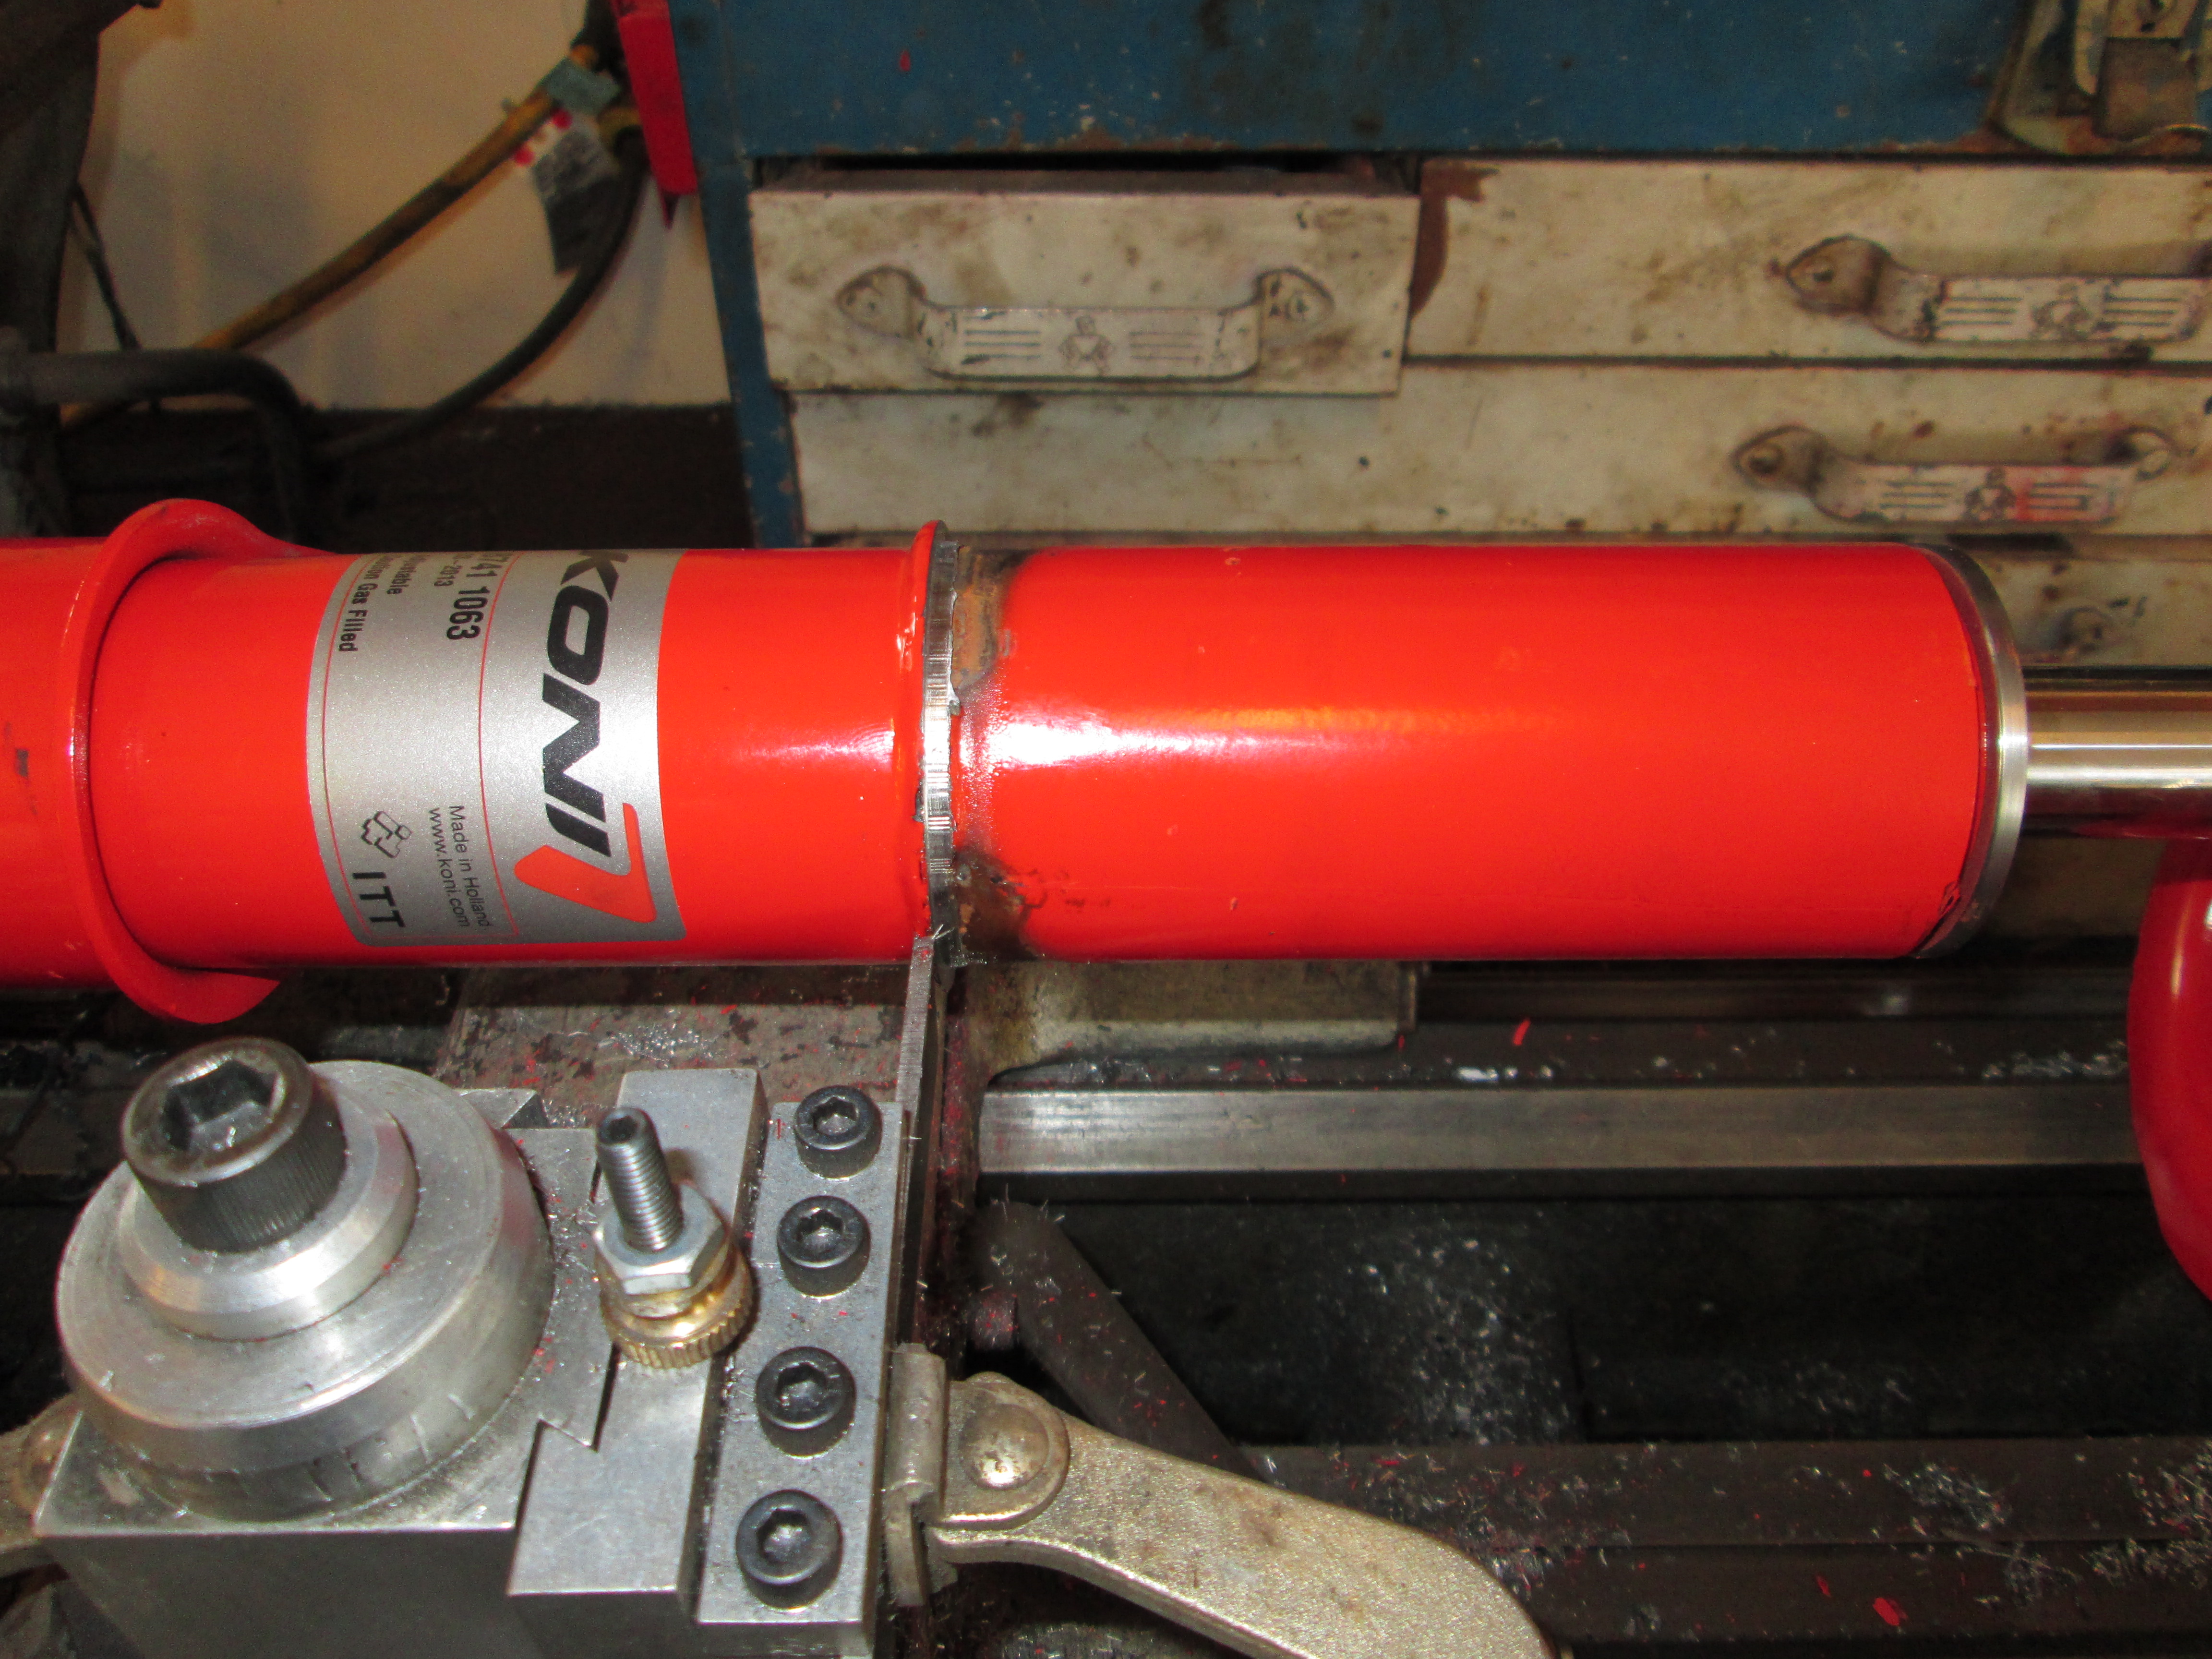
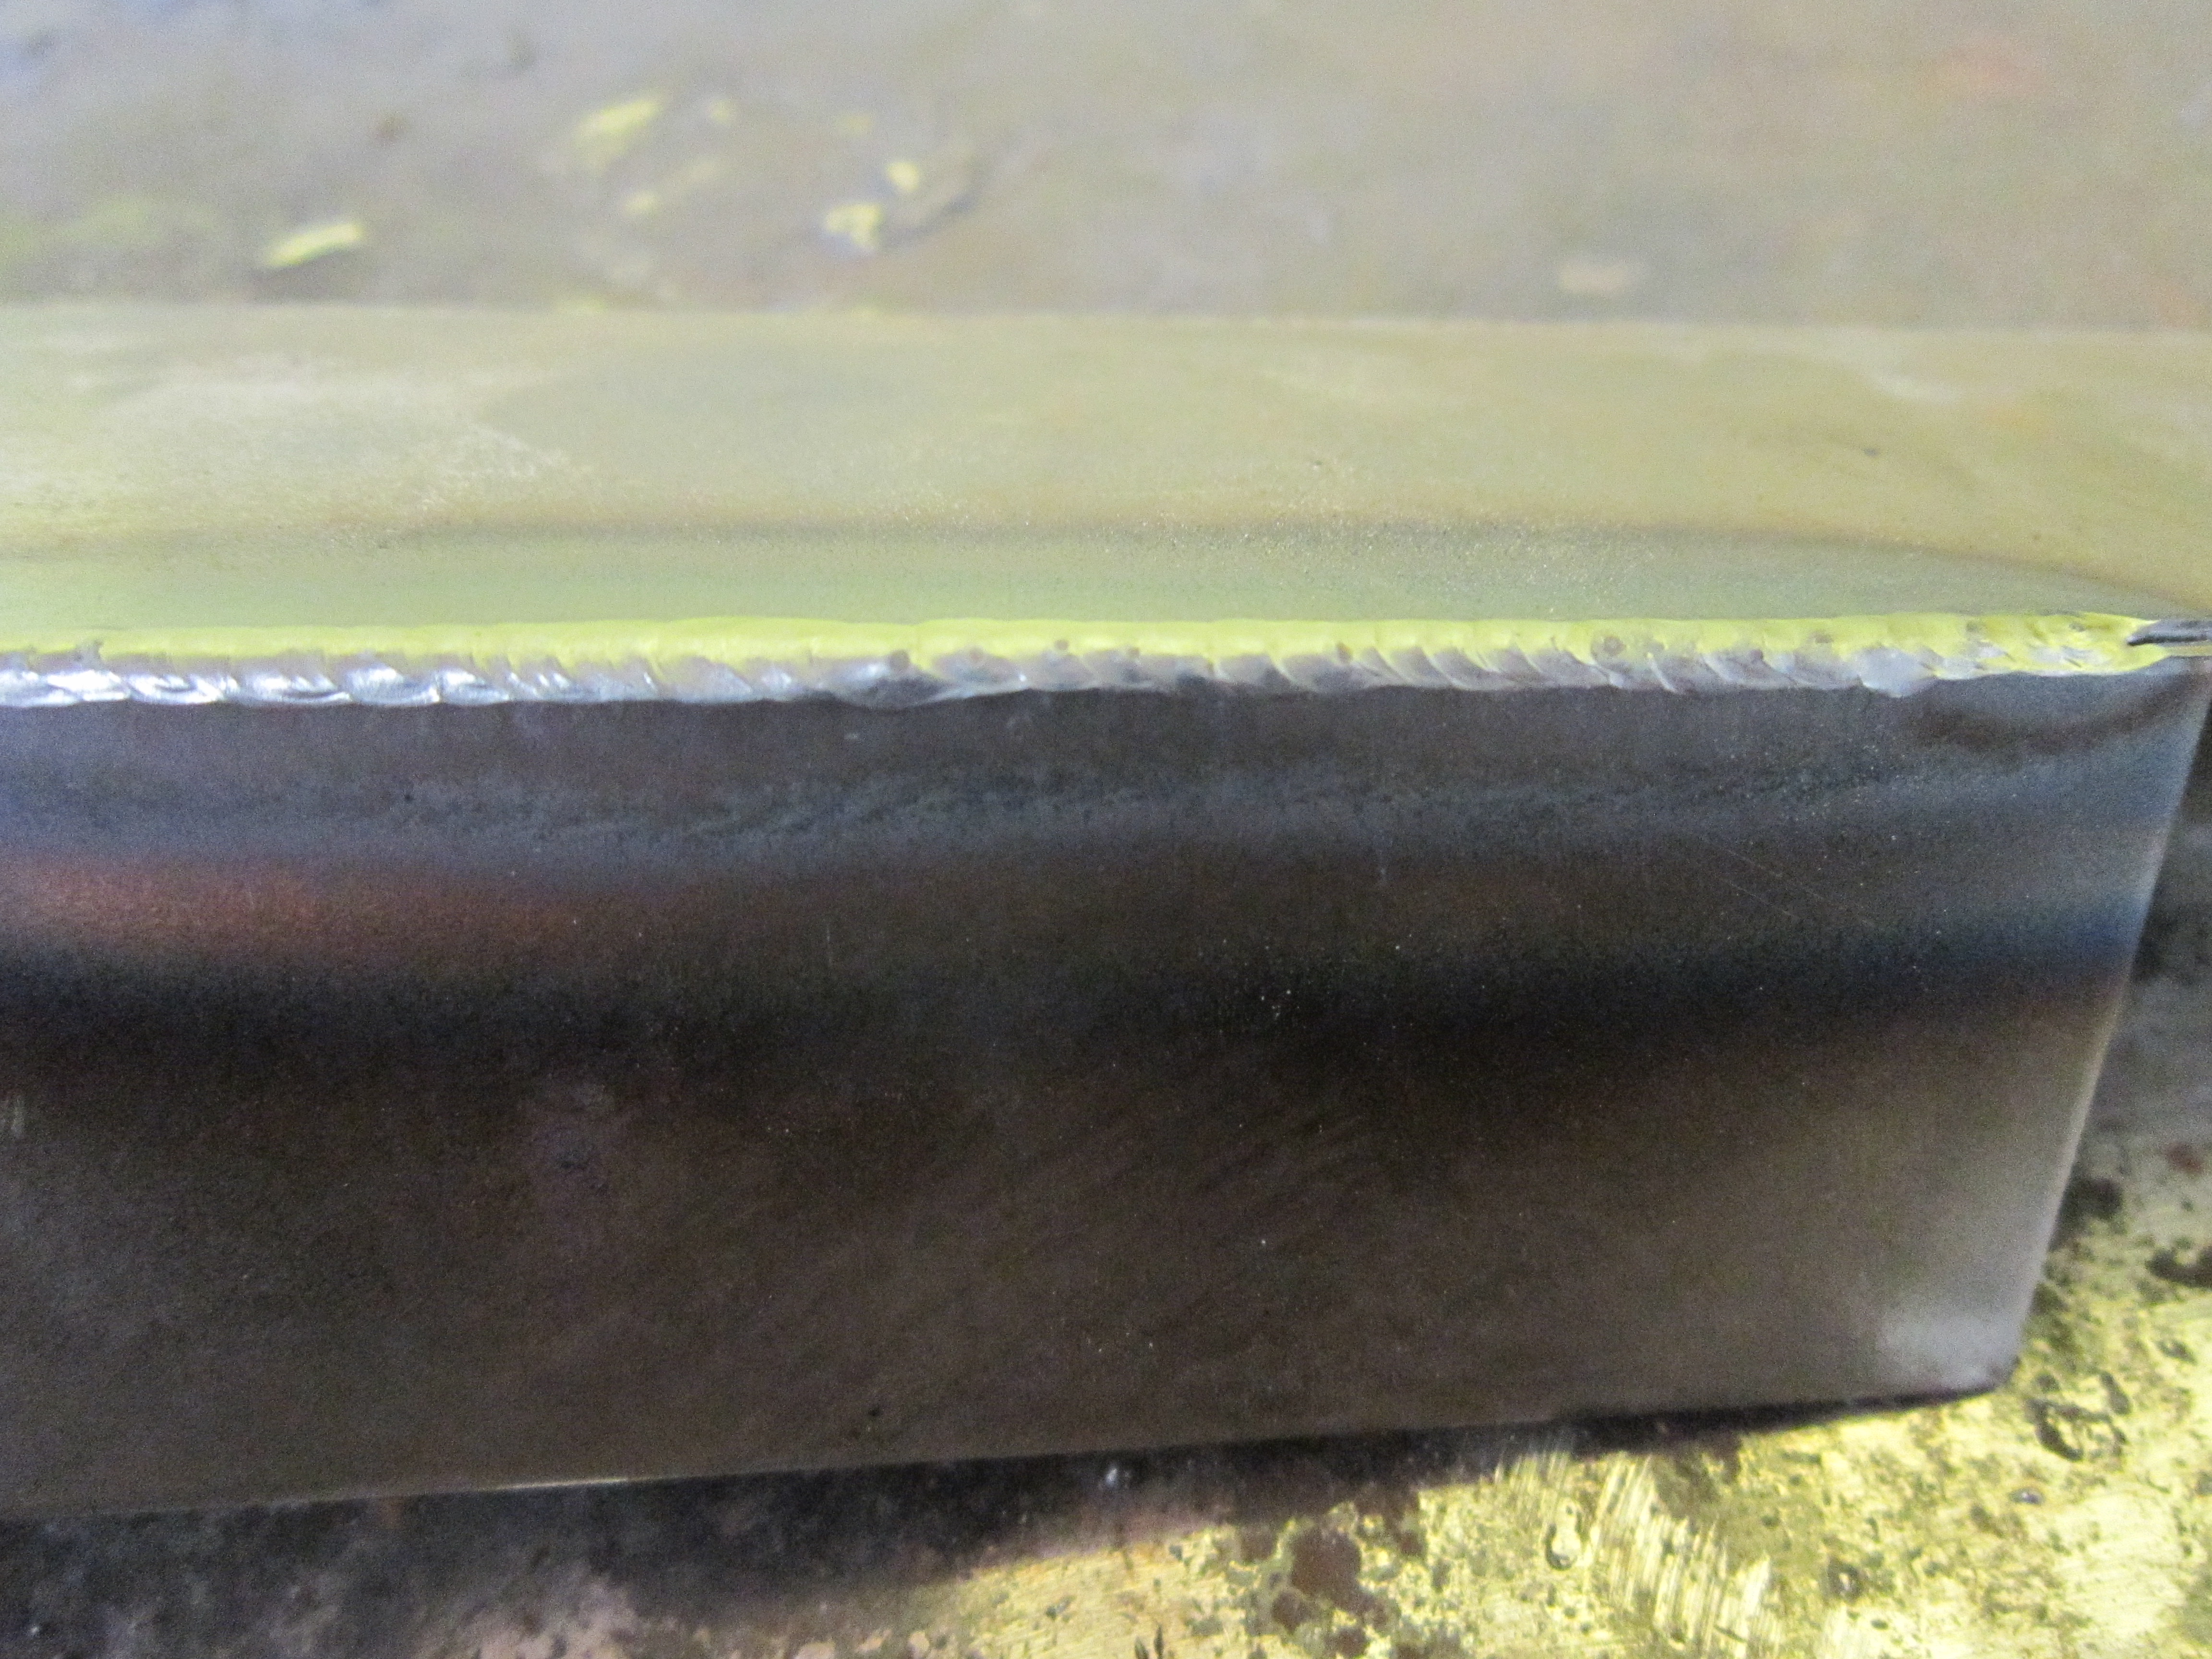
Then cut off the stock spring perch:
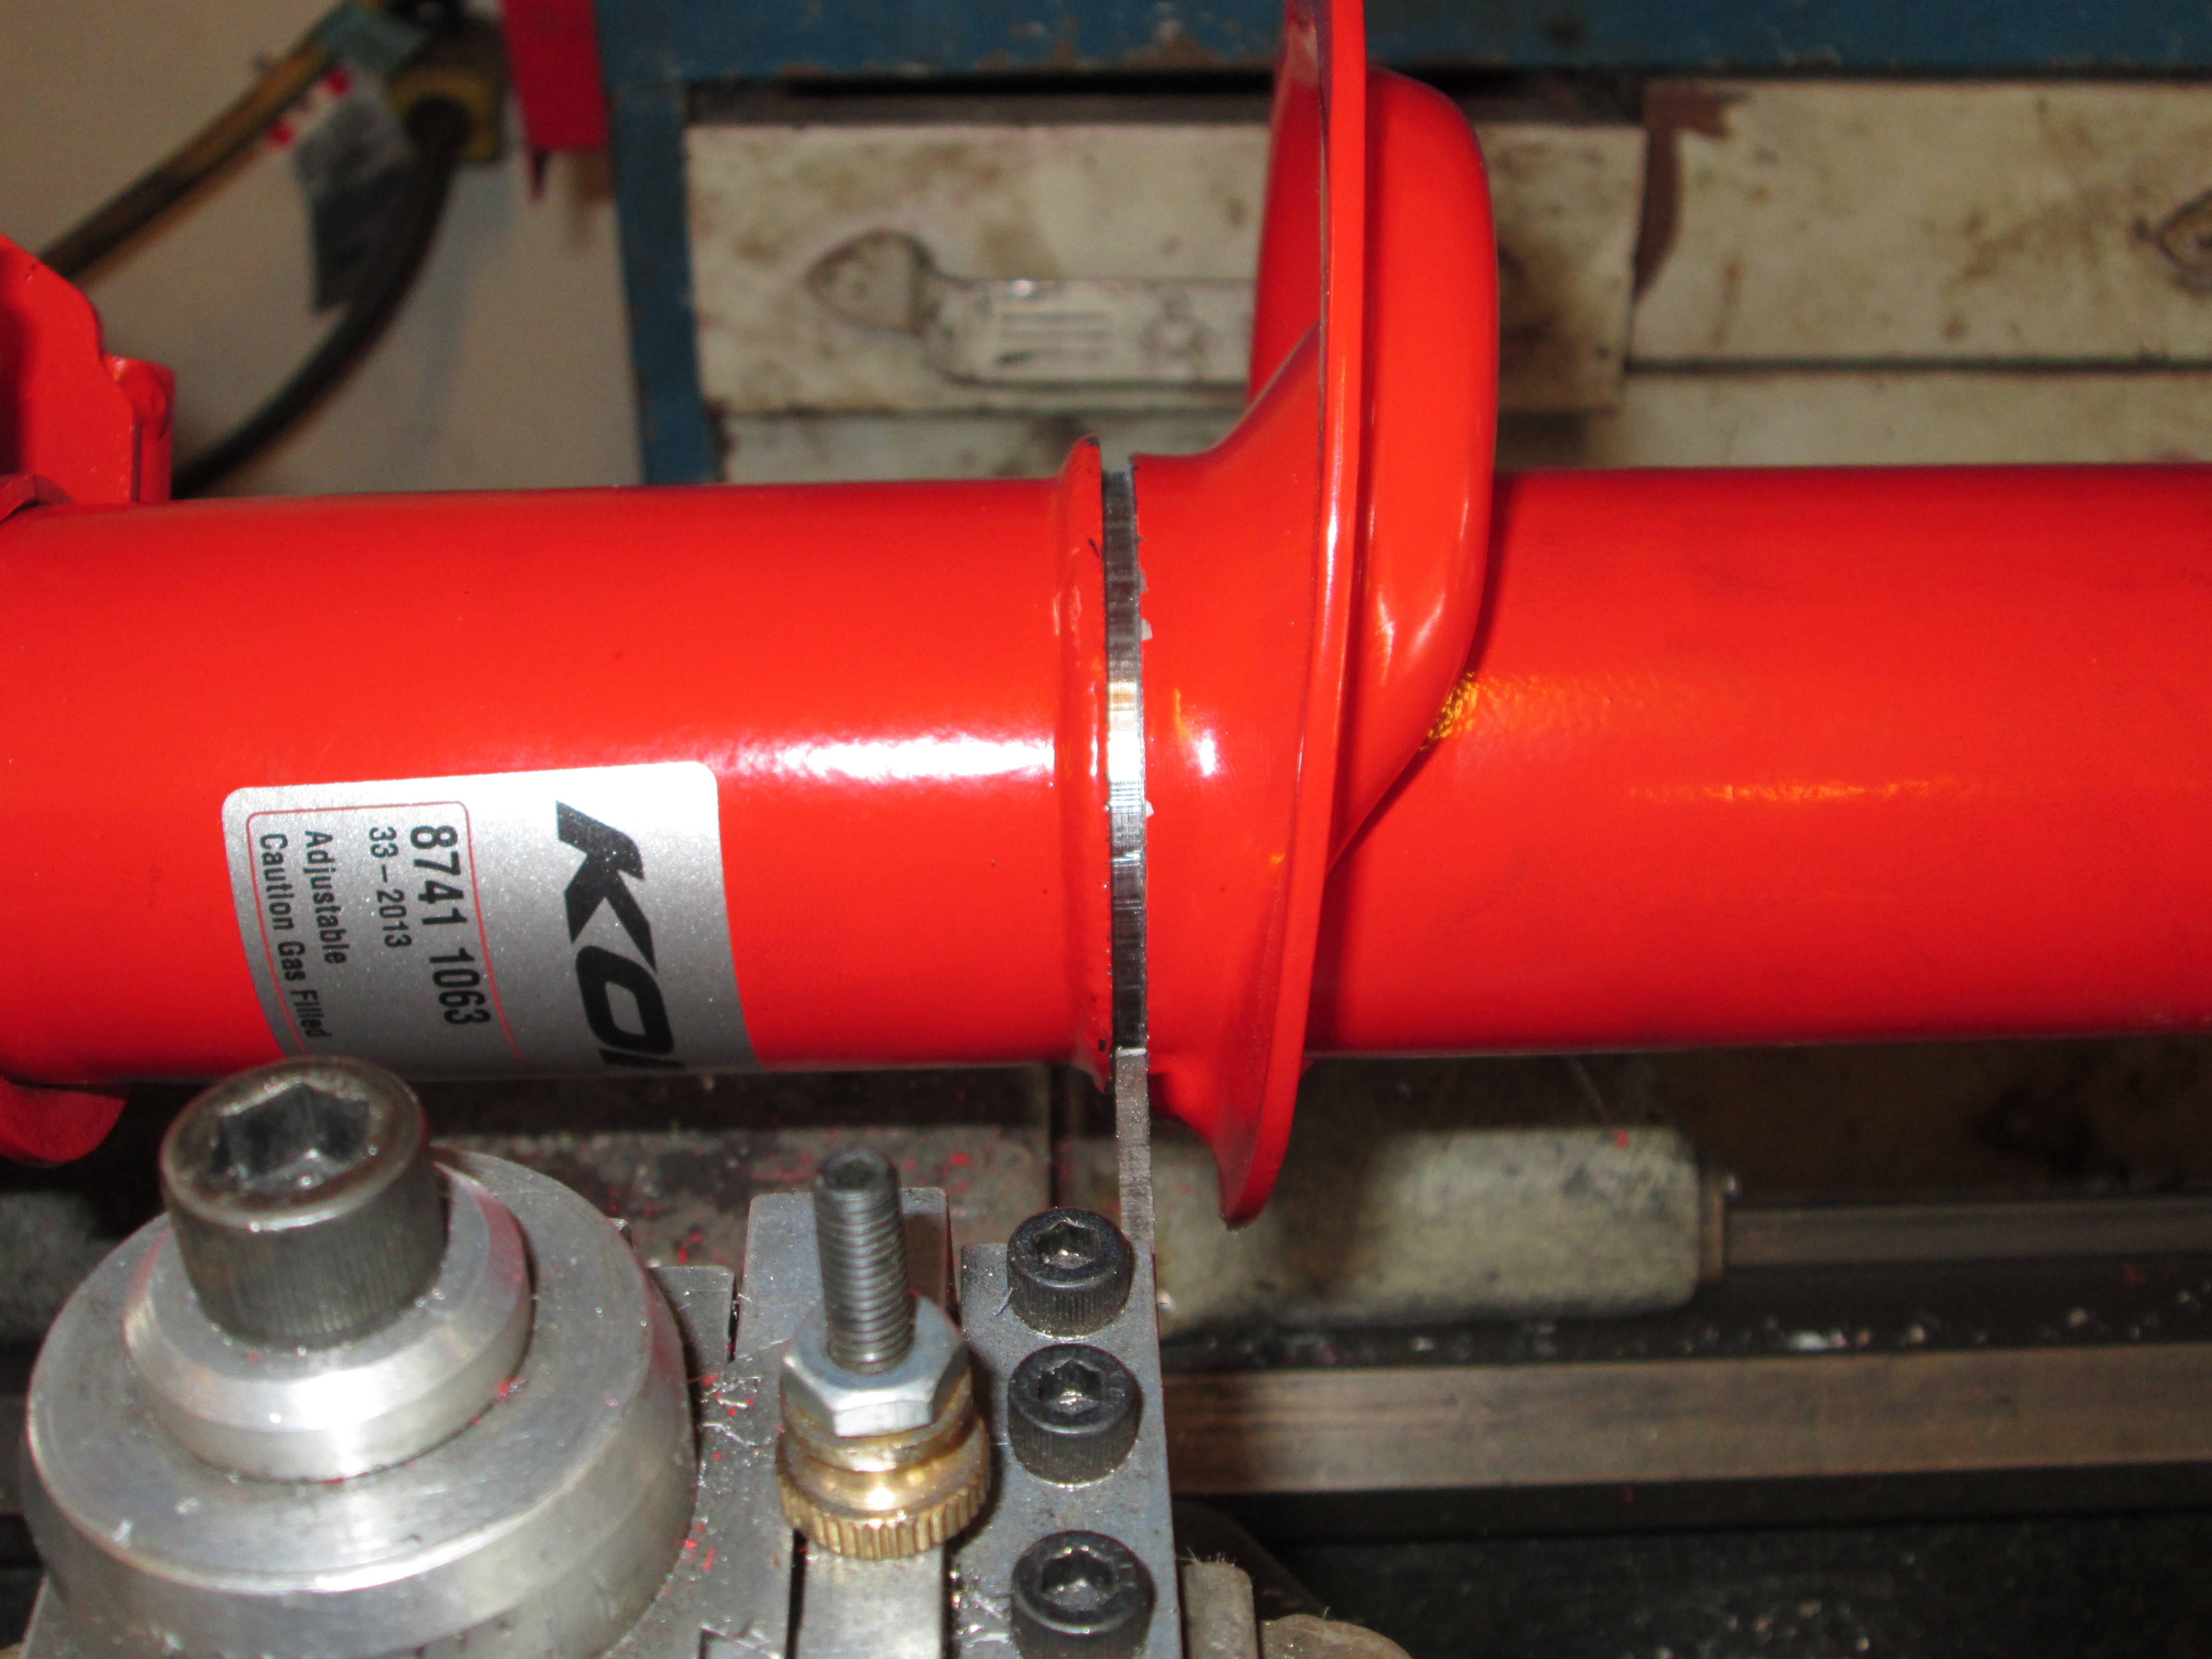
I left the weld bead in place and will use it to support the coil over sleeve. Eventually I will maximize the rear tire width and the backside of the wheel will not clear the coil over spring, so it needs to stay higher on the strut:
Test fitted the sleeve and they are about 1/4" too long. So they spent some time on the lathe as well:

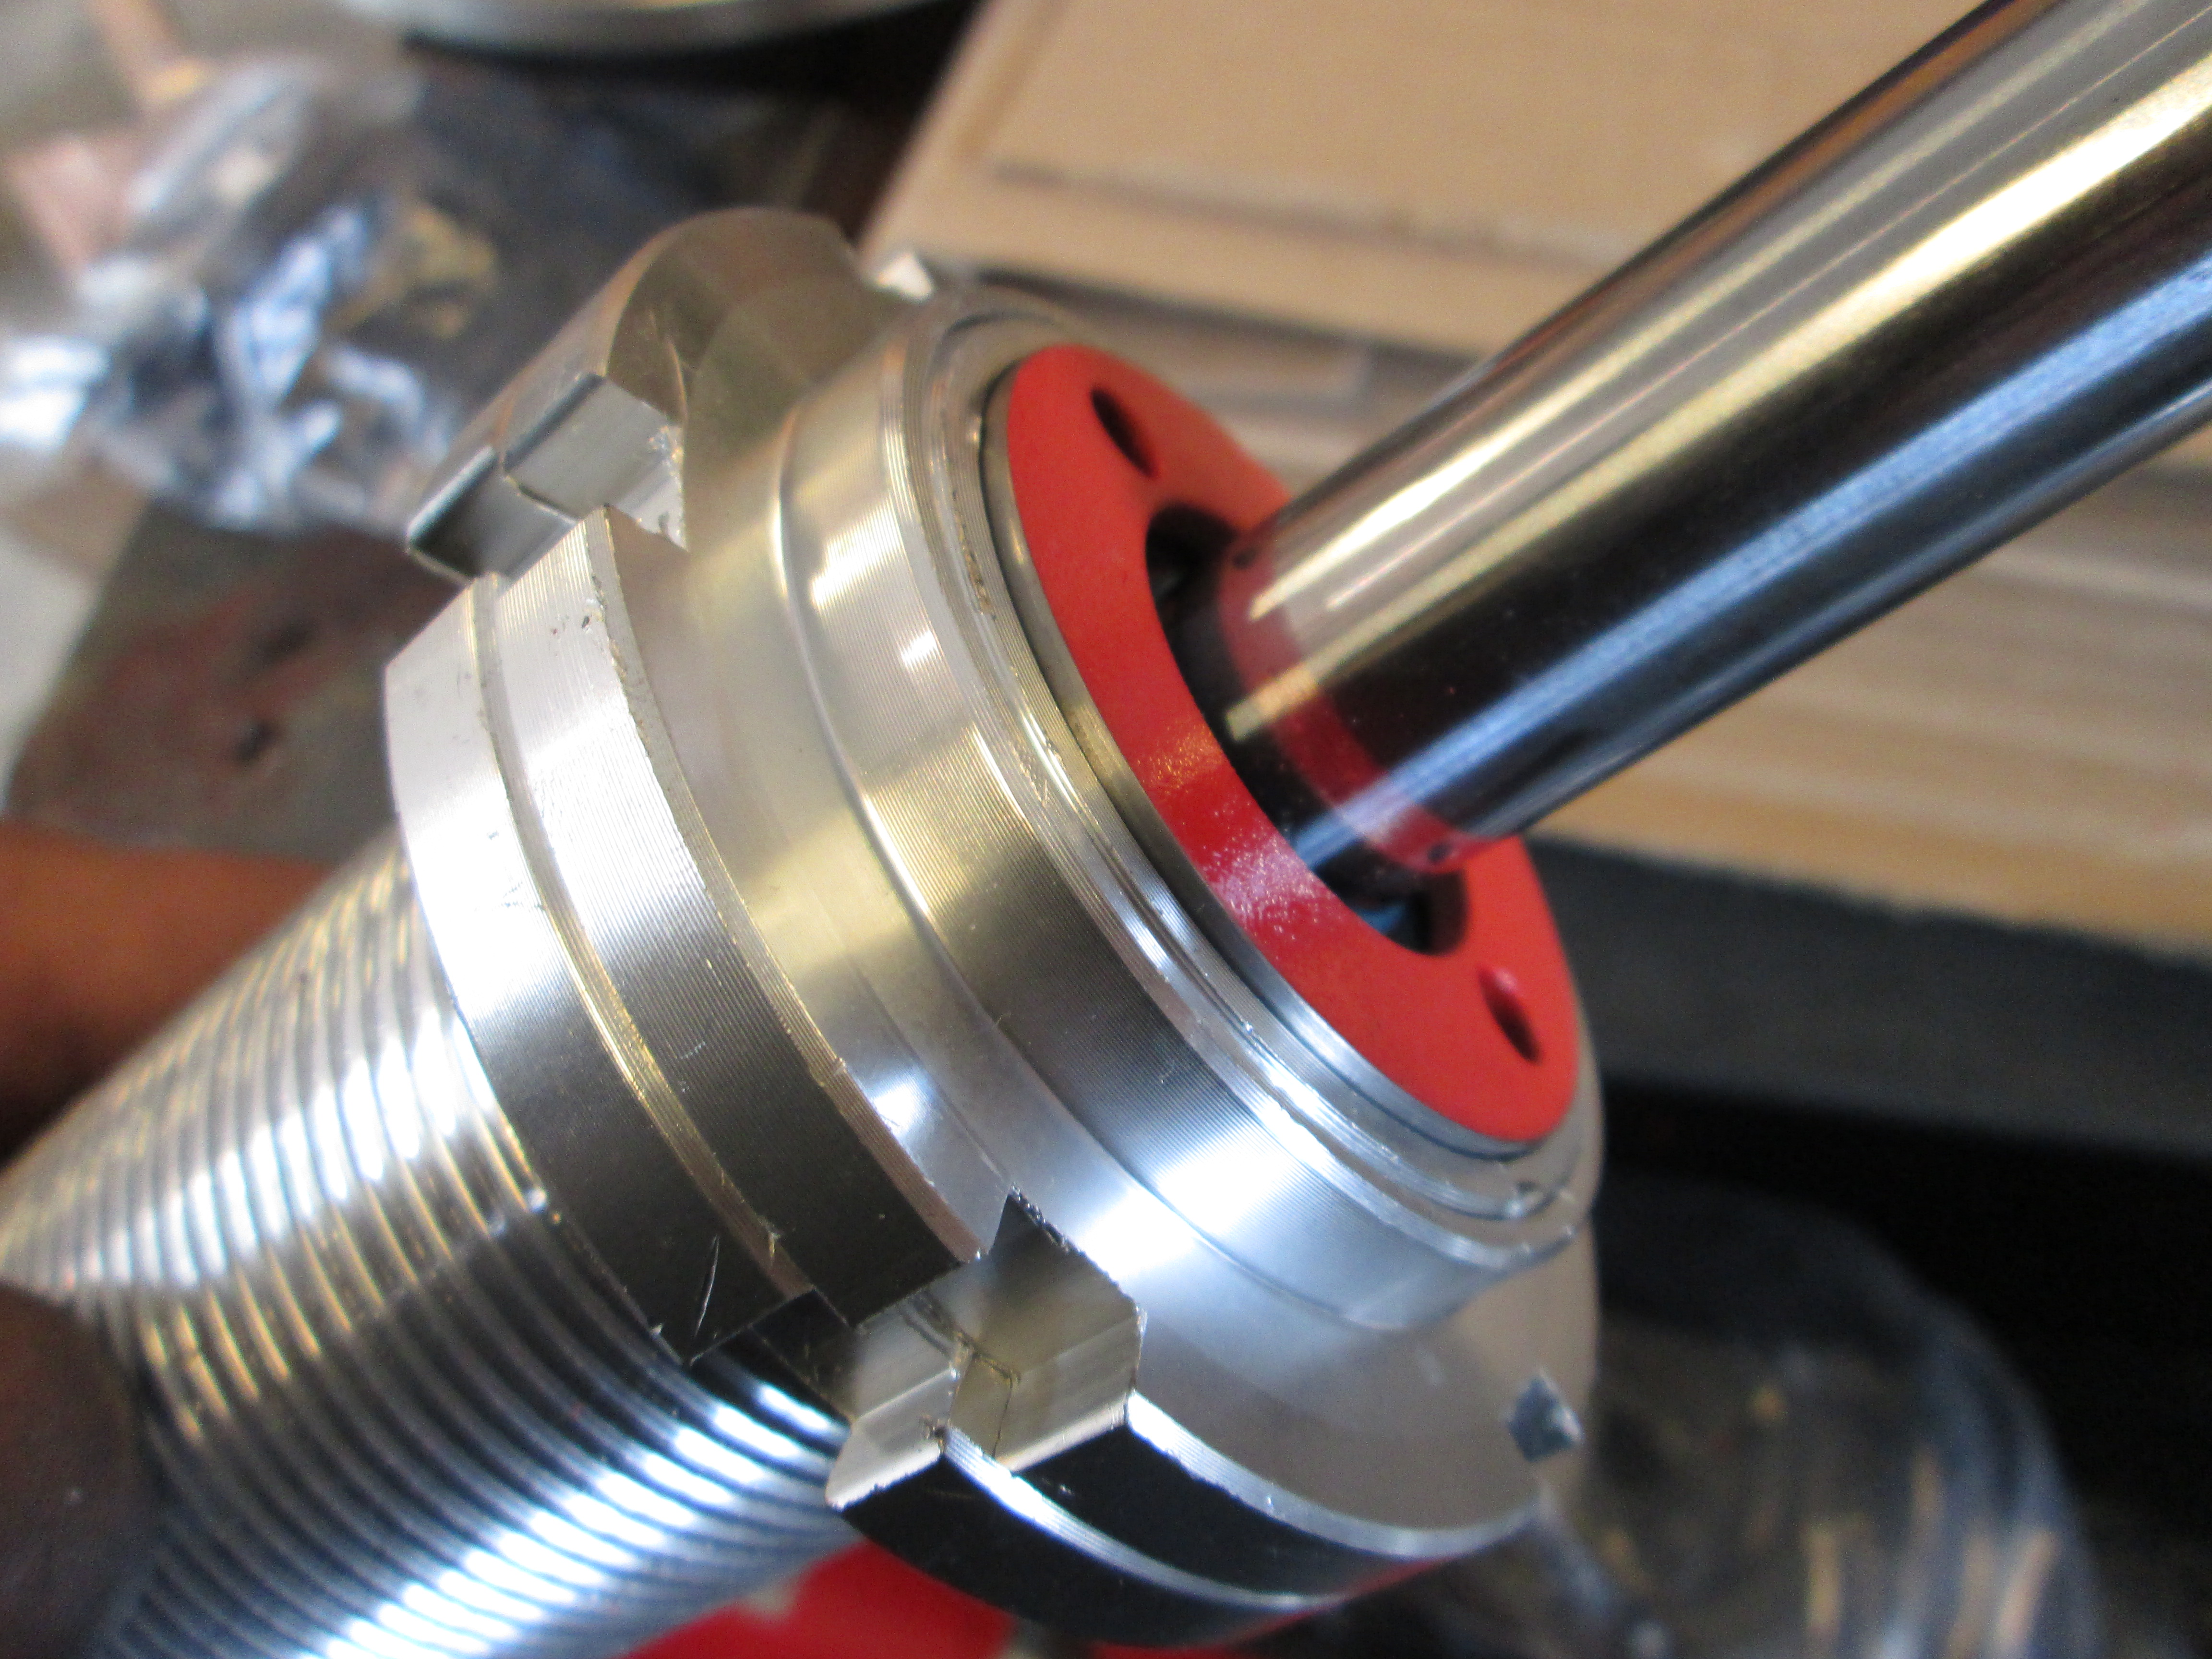
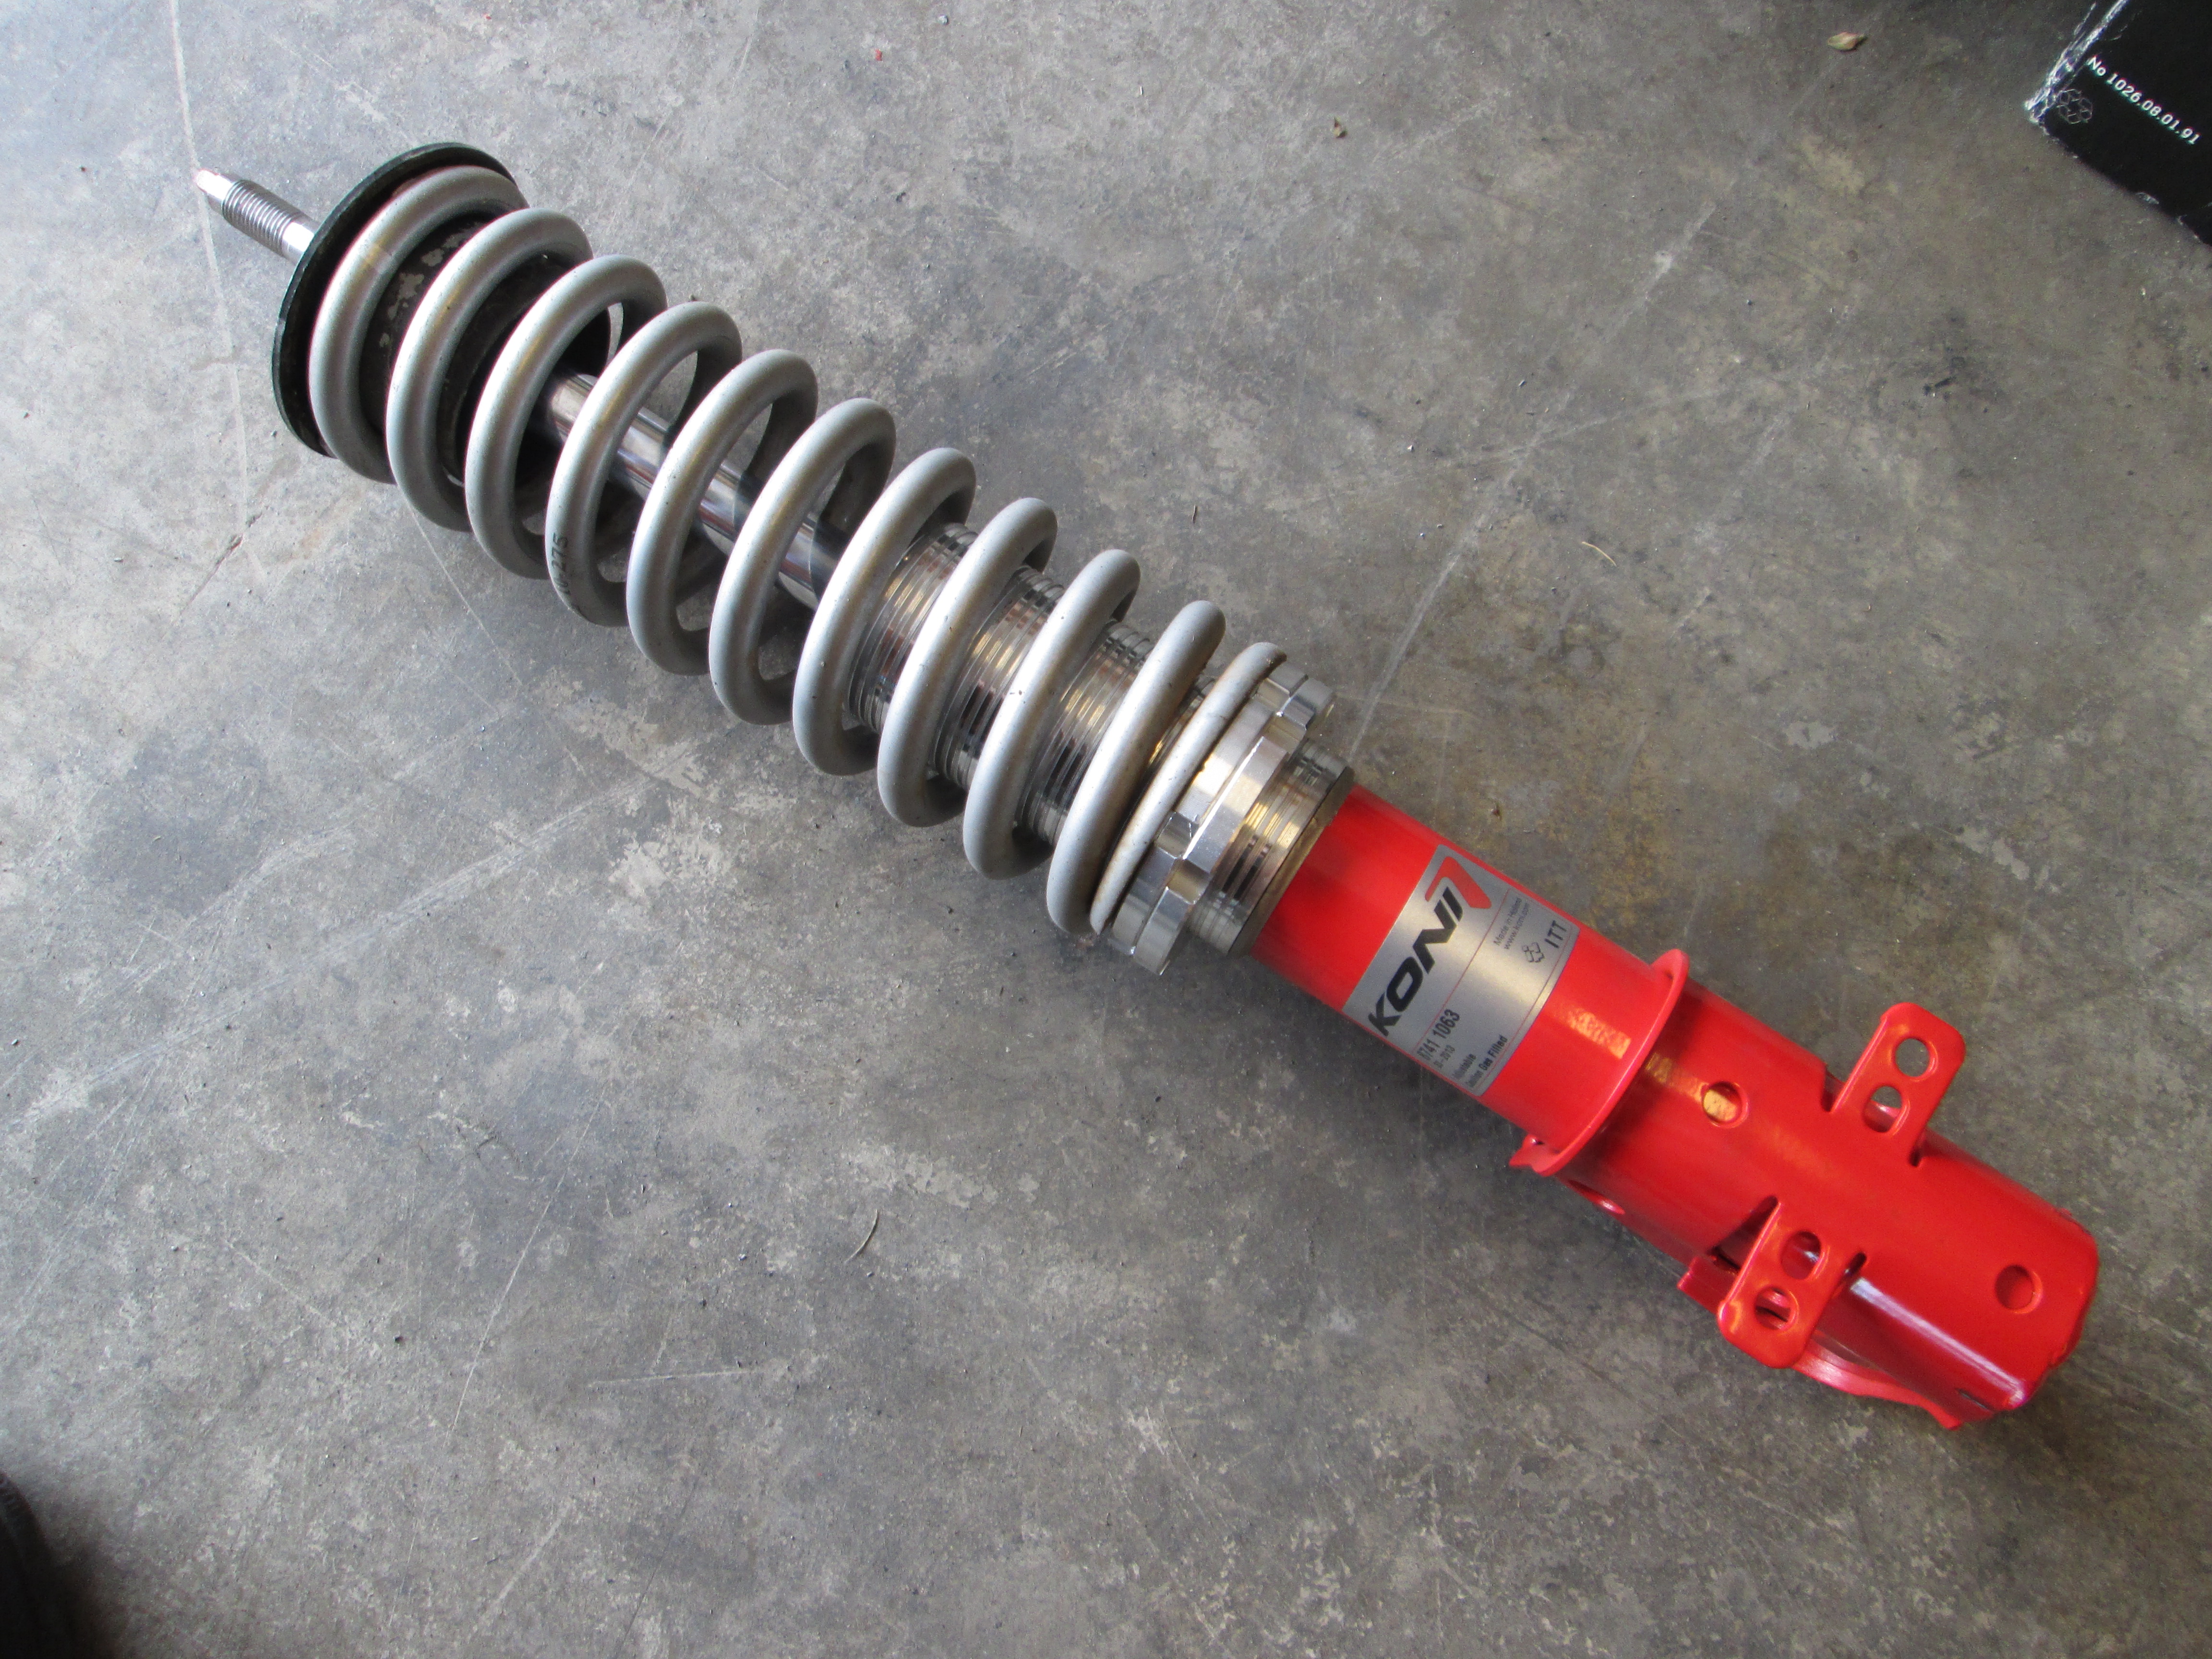
Then they were taped off and painted. I didn't have a color that would match the Koni red, so the silver will blend in to the aluminum sleeves:
Rear struts are installed and set to full stiff:
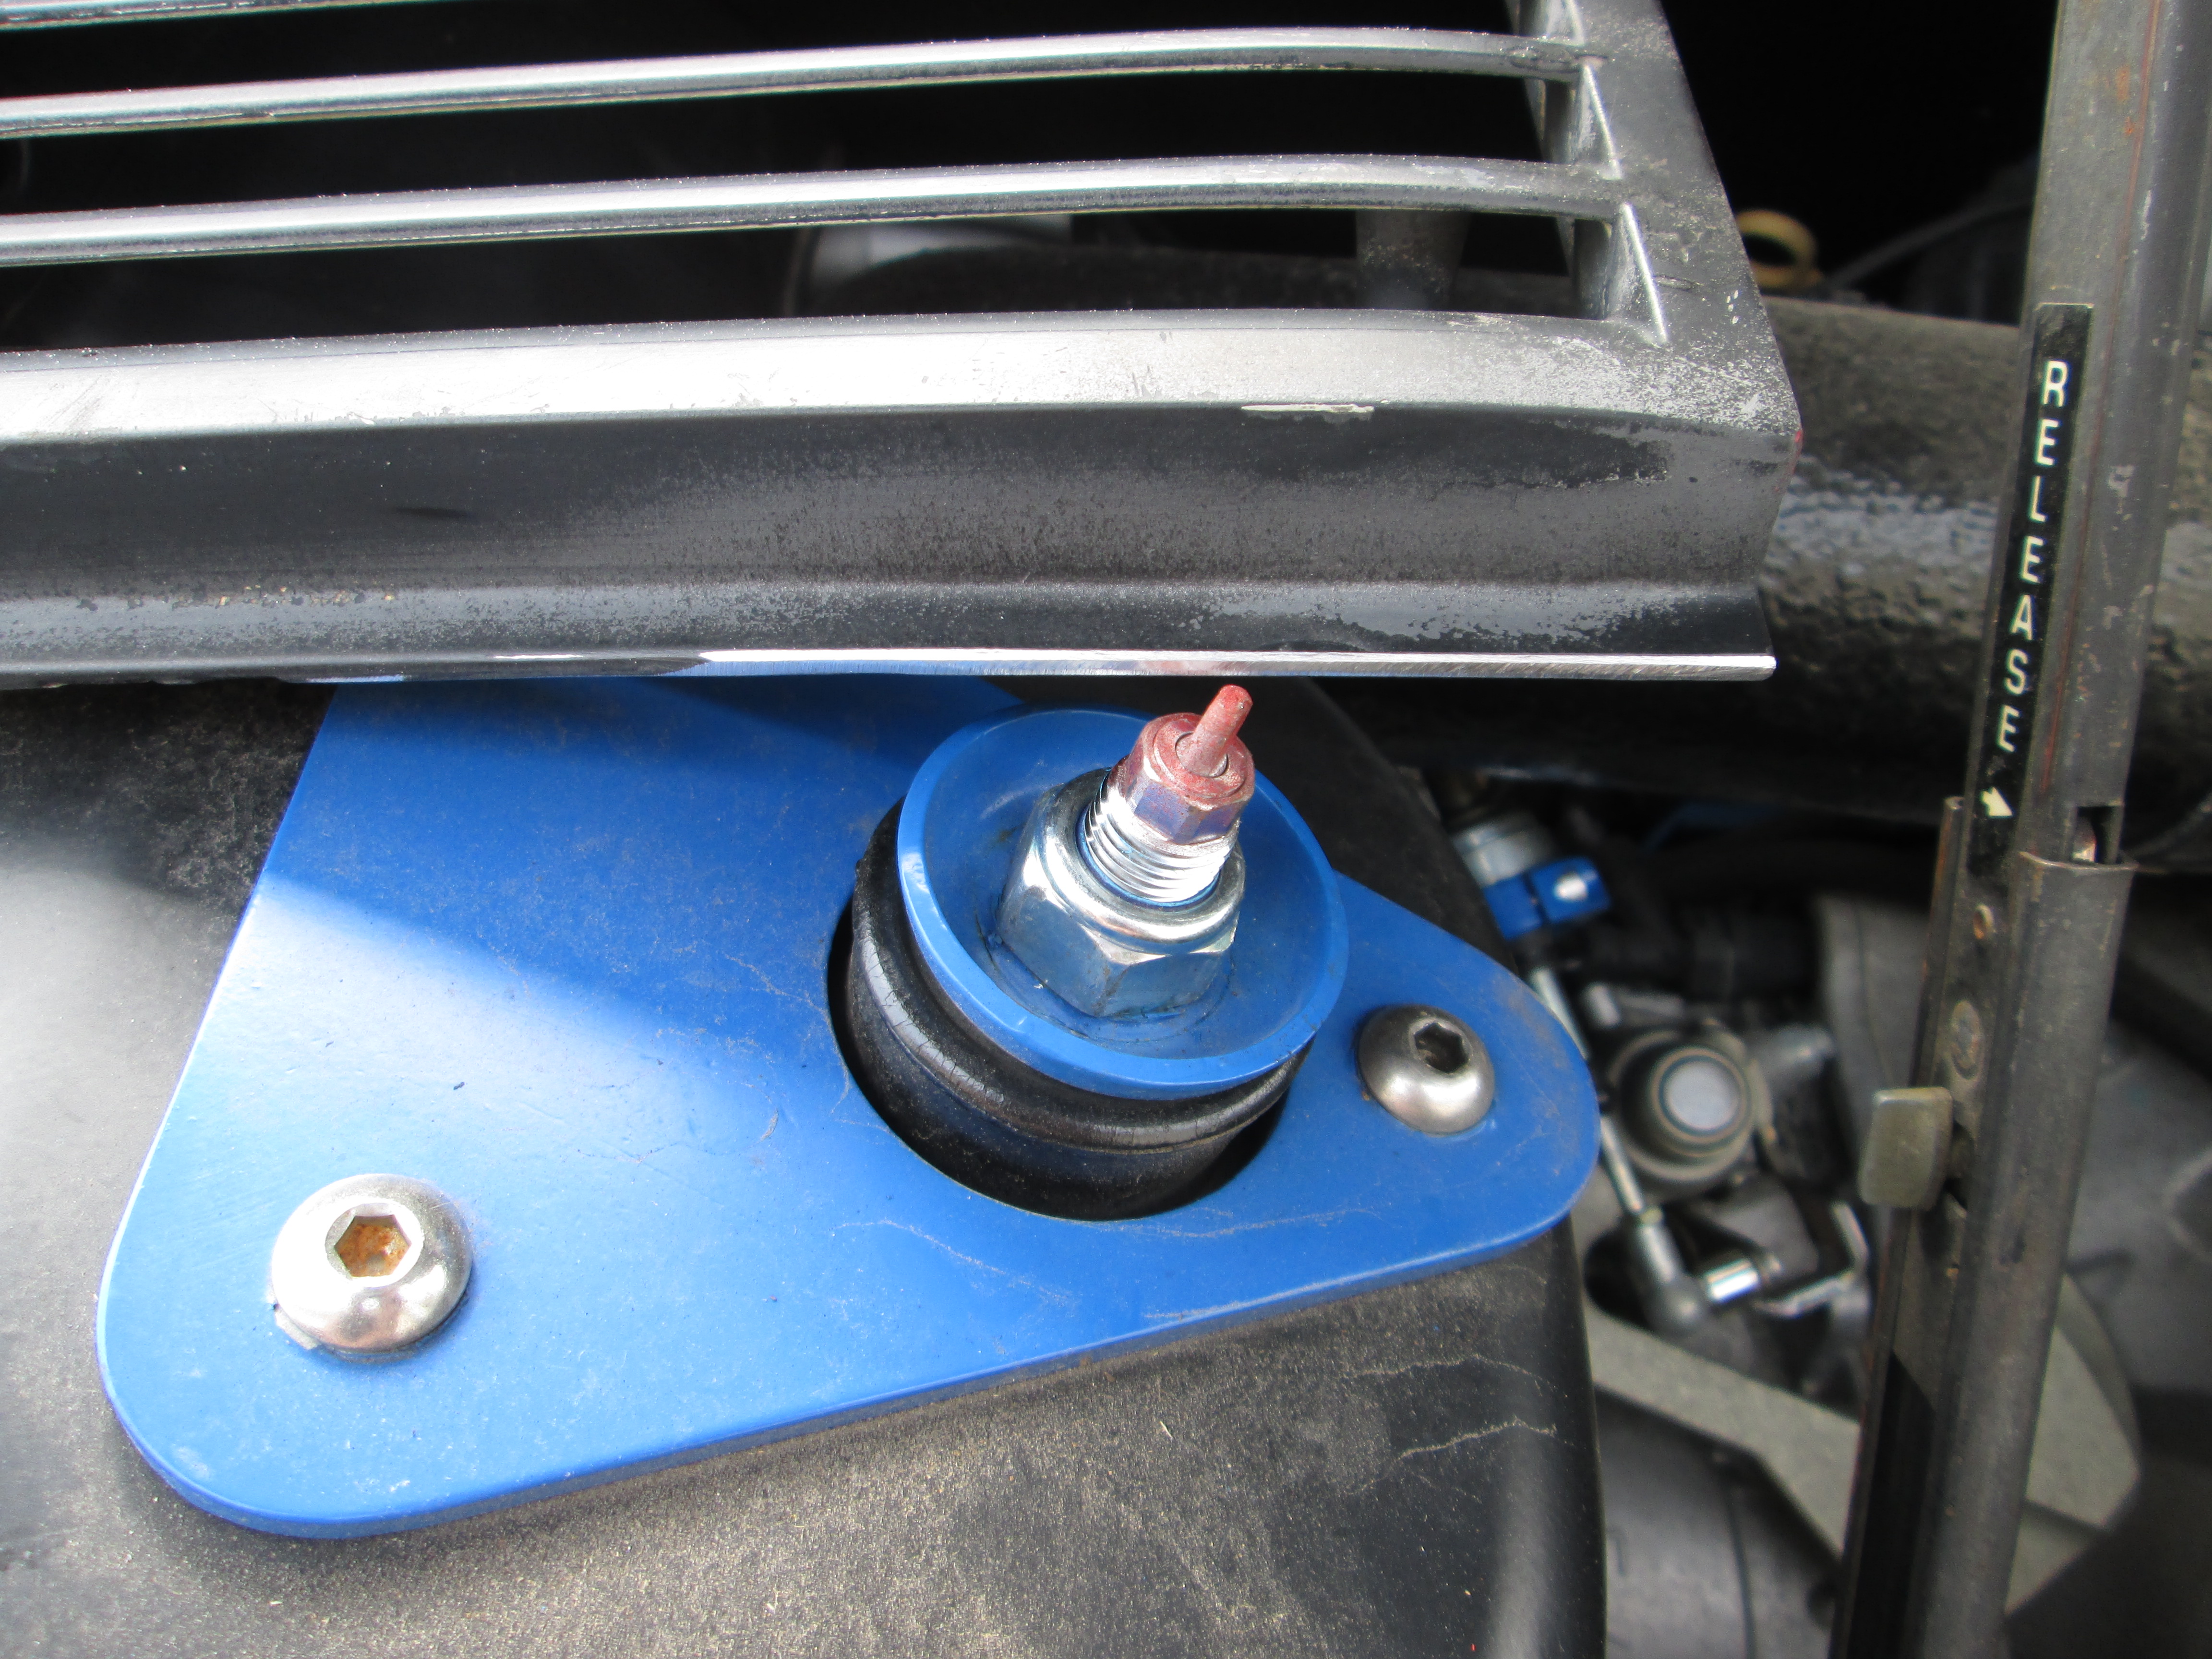
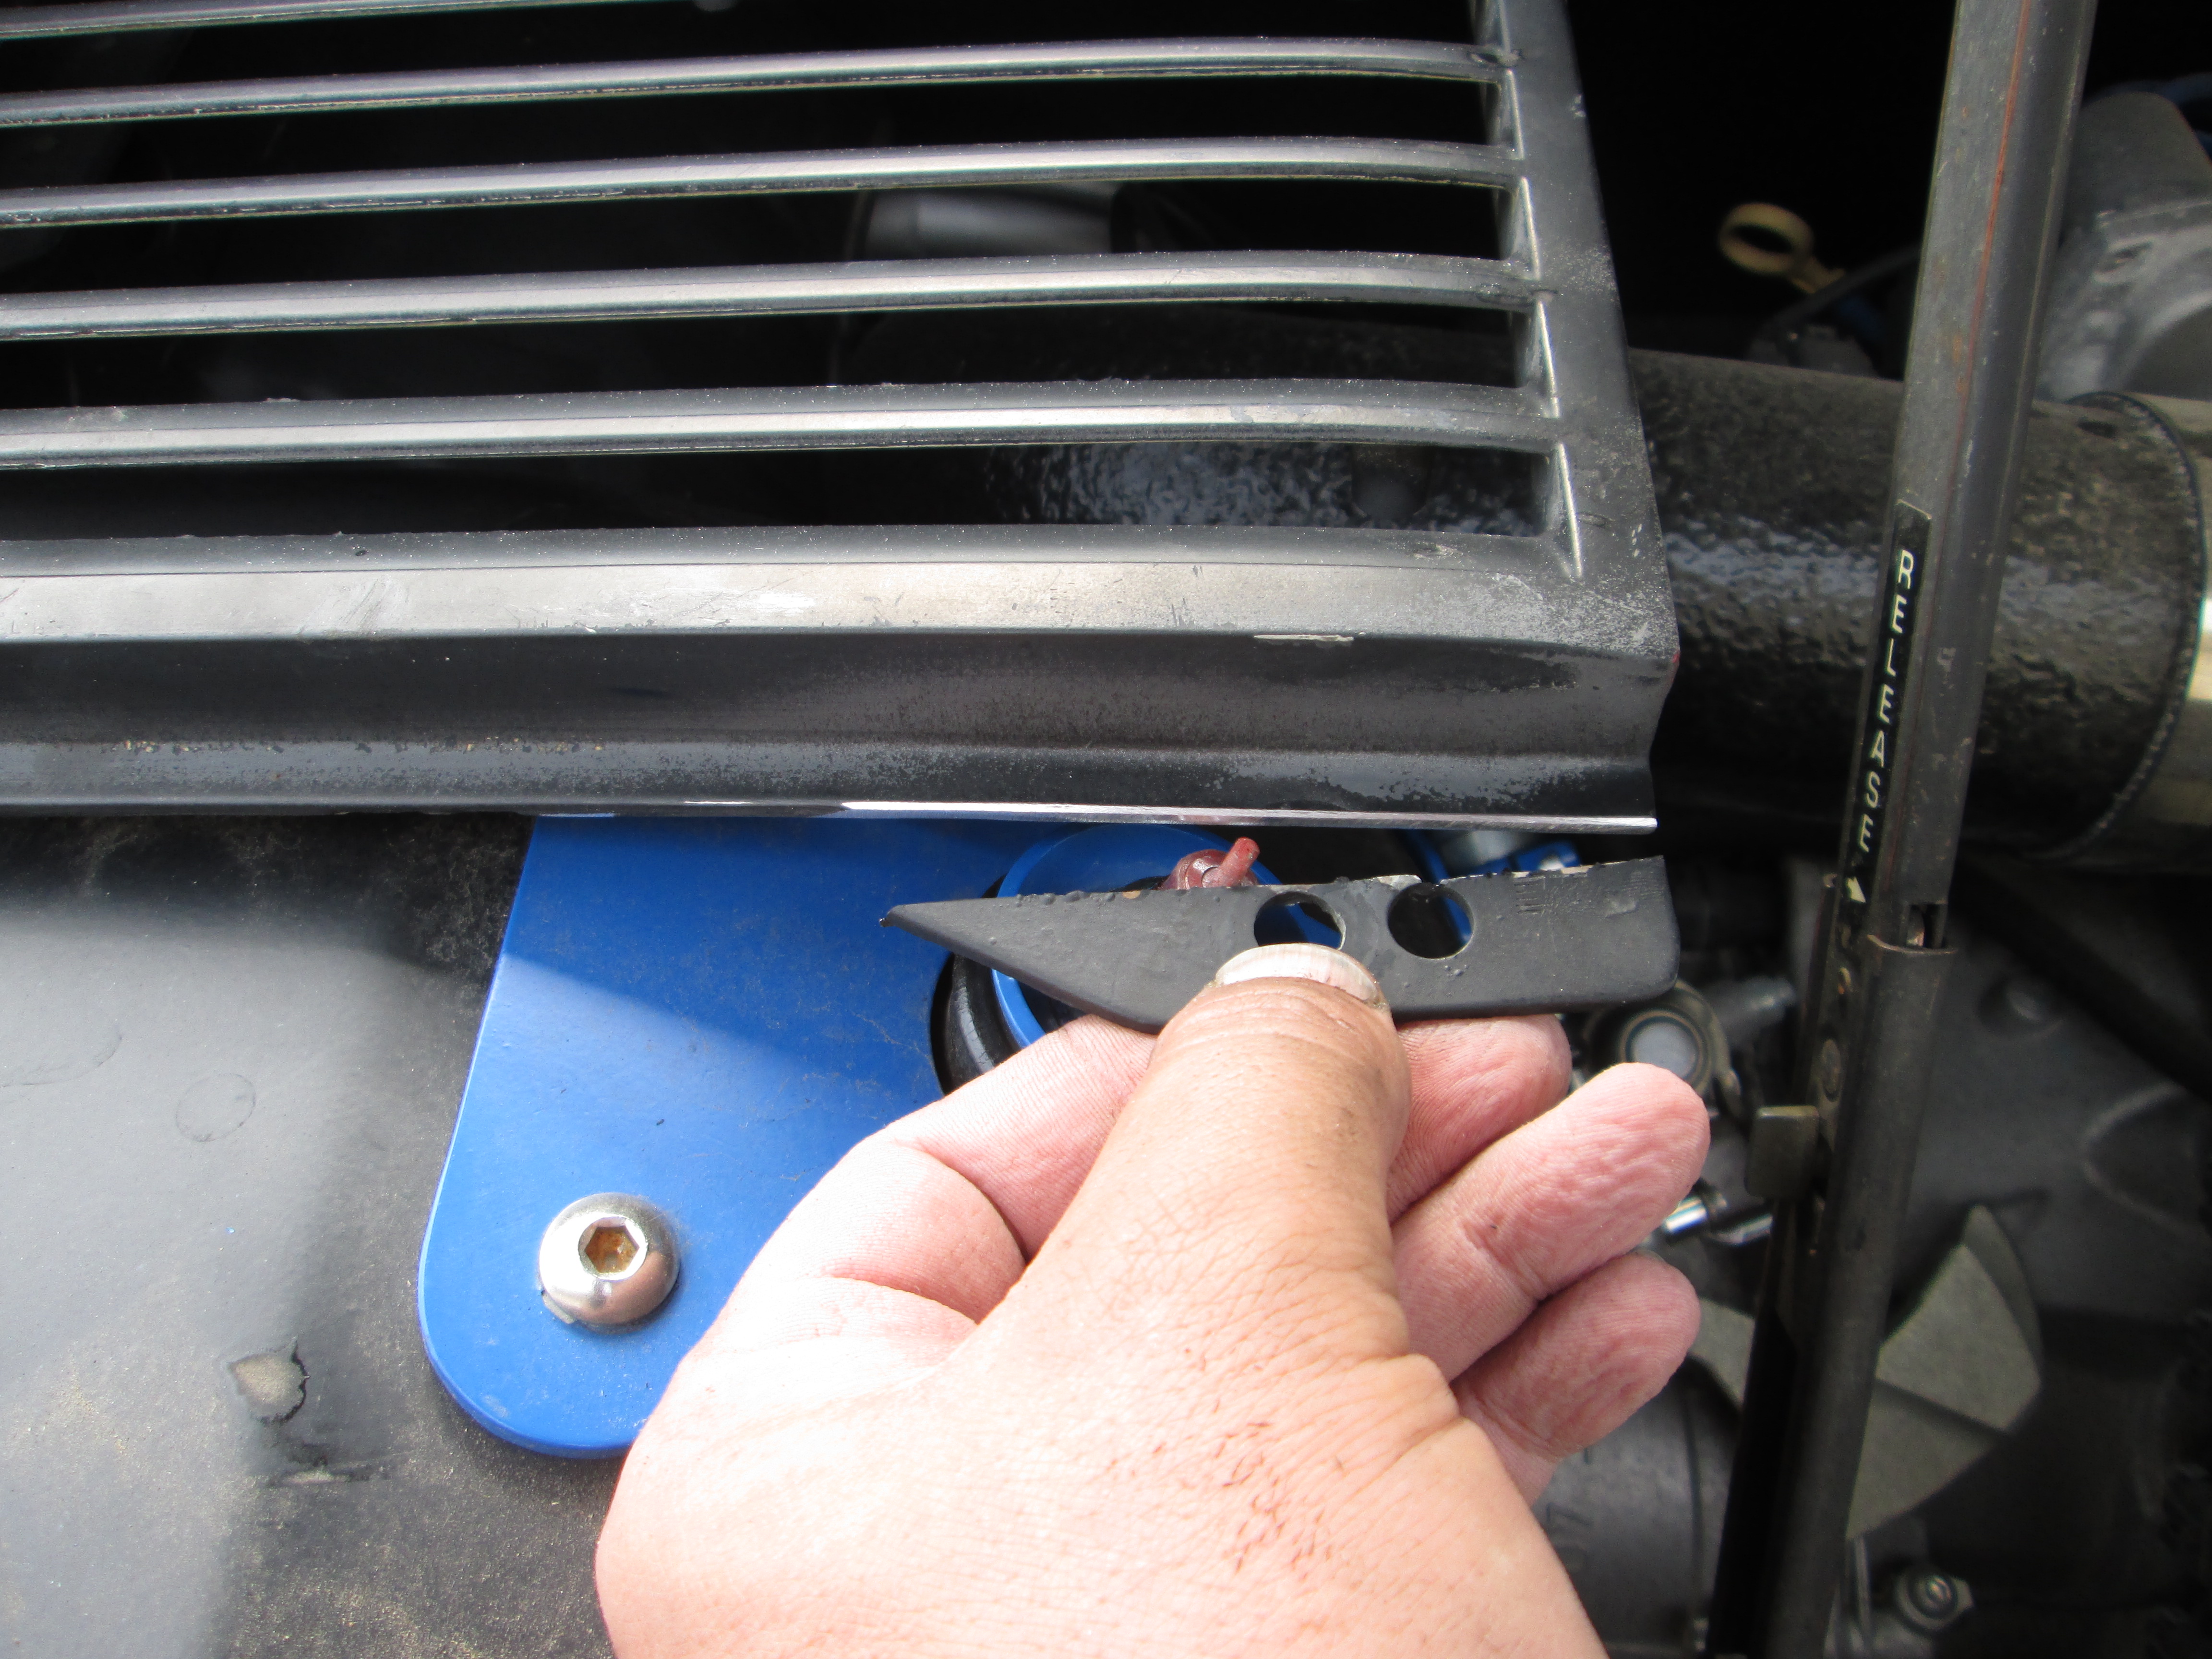
The adjustment nub that sticks out of the end of the shaft was interfering with the flange on the vents (flipped strut bushing). Since I don't use any hold down bracket on the inside of the vents, I just cut the flange off.
The conical springs are Moog 7634 from a 99+ Chrysler Cirrus and they cost about $55 for the pair. In stock form they are 13.5" long and have a spring rate of 265 lb/in. I cut them down to 9 1/2" long which should increase the spring rate to 350-370 lbs/in. Here is a cut one along side the stock Moog spring, the cut down 84-87 front spring, and an 88 lowering springs of some brand (suspect fiero store). As you can see the new cut down spring is shorter and the car ride height is just about the same (slightly taller to allow for some settling).
The new stiffer front springs and adjusting the front Konis to be full stiff (on rebound - no adjustment for compression) really cut down on the movement of the front suspension. The front ride is firmer, but still isn't harsh, but I still have stock rubber front bushings (eventually those will be changed).
My car has close to the factory curb weight and weight bias, so I want to keep the relationship of the spring rates front/rear the same.
Stock 88 Spring Rates:
Front: 205lb/in
Rear 142 lb/in
New front spring rate of 360 lb/in is 1.75 times stiffer, so the rear spring should be 1.75 times stiffer = 249 lb/in. My current rear coil over springs are 275 lb/in and that is close enough for now.
These came in earlier this week:
Chucked up the struts in the lathe so I could turn down the top cap so the coil over sleeve would fit over it:
Then cut off the stock spring perch:
I left the weld bead in place and will use it to support the coil over sleeve. Eventually I will maximize the rear tire width and the backside of the wheel will not clear the coil over spring, so it needs to stay higher on the strut:
Test fitted the sleeve and they are about 1/4" too long. So they spent some time on the lathe as well:
Then they were taped off and painted. I didn't have a color that would match the Koni red, so the silver will blend in to the aluminum sleeves:
Rear struts are installed and set to full stiff:
The adjustment nub that sticks out of the end of the shaft was interfering with the flange on the vents (flipped strut bushing). Since I don't use any hold down bracket on the inside of the vents, I just cut the flange off.
 07-27-2014, 05:47 PM
#190
Thanks for the compliments guys!
There is already a published HP book (Not mine) that covers an LS1/Fiero build (as well as more).
The challenge is almost everything I did for the this swap was a custom one-off part and most people just won't take the time do it my way (like the custom crossmembers - most want mounts they can bolt in and use the stock mounting points).
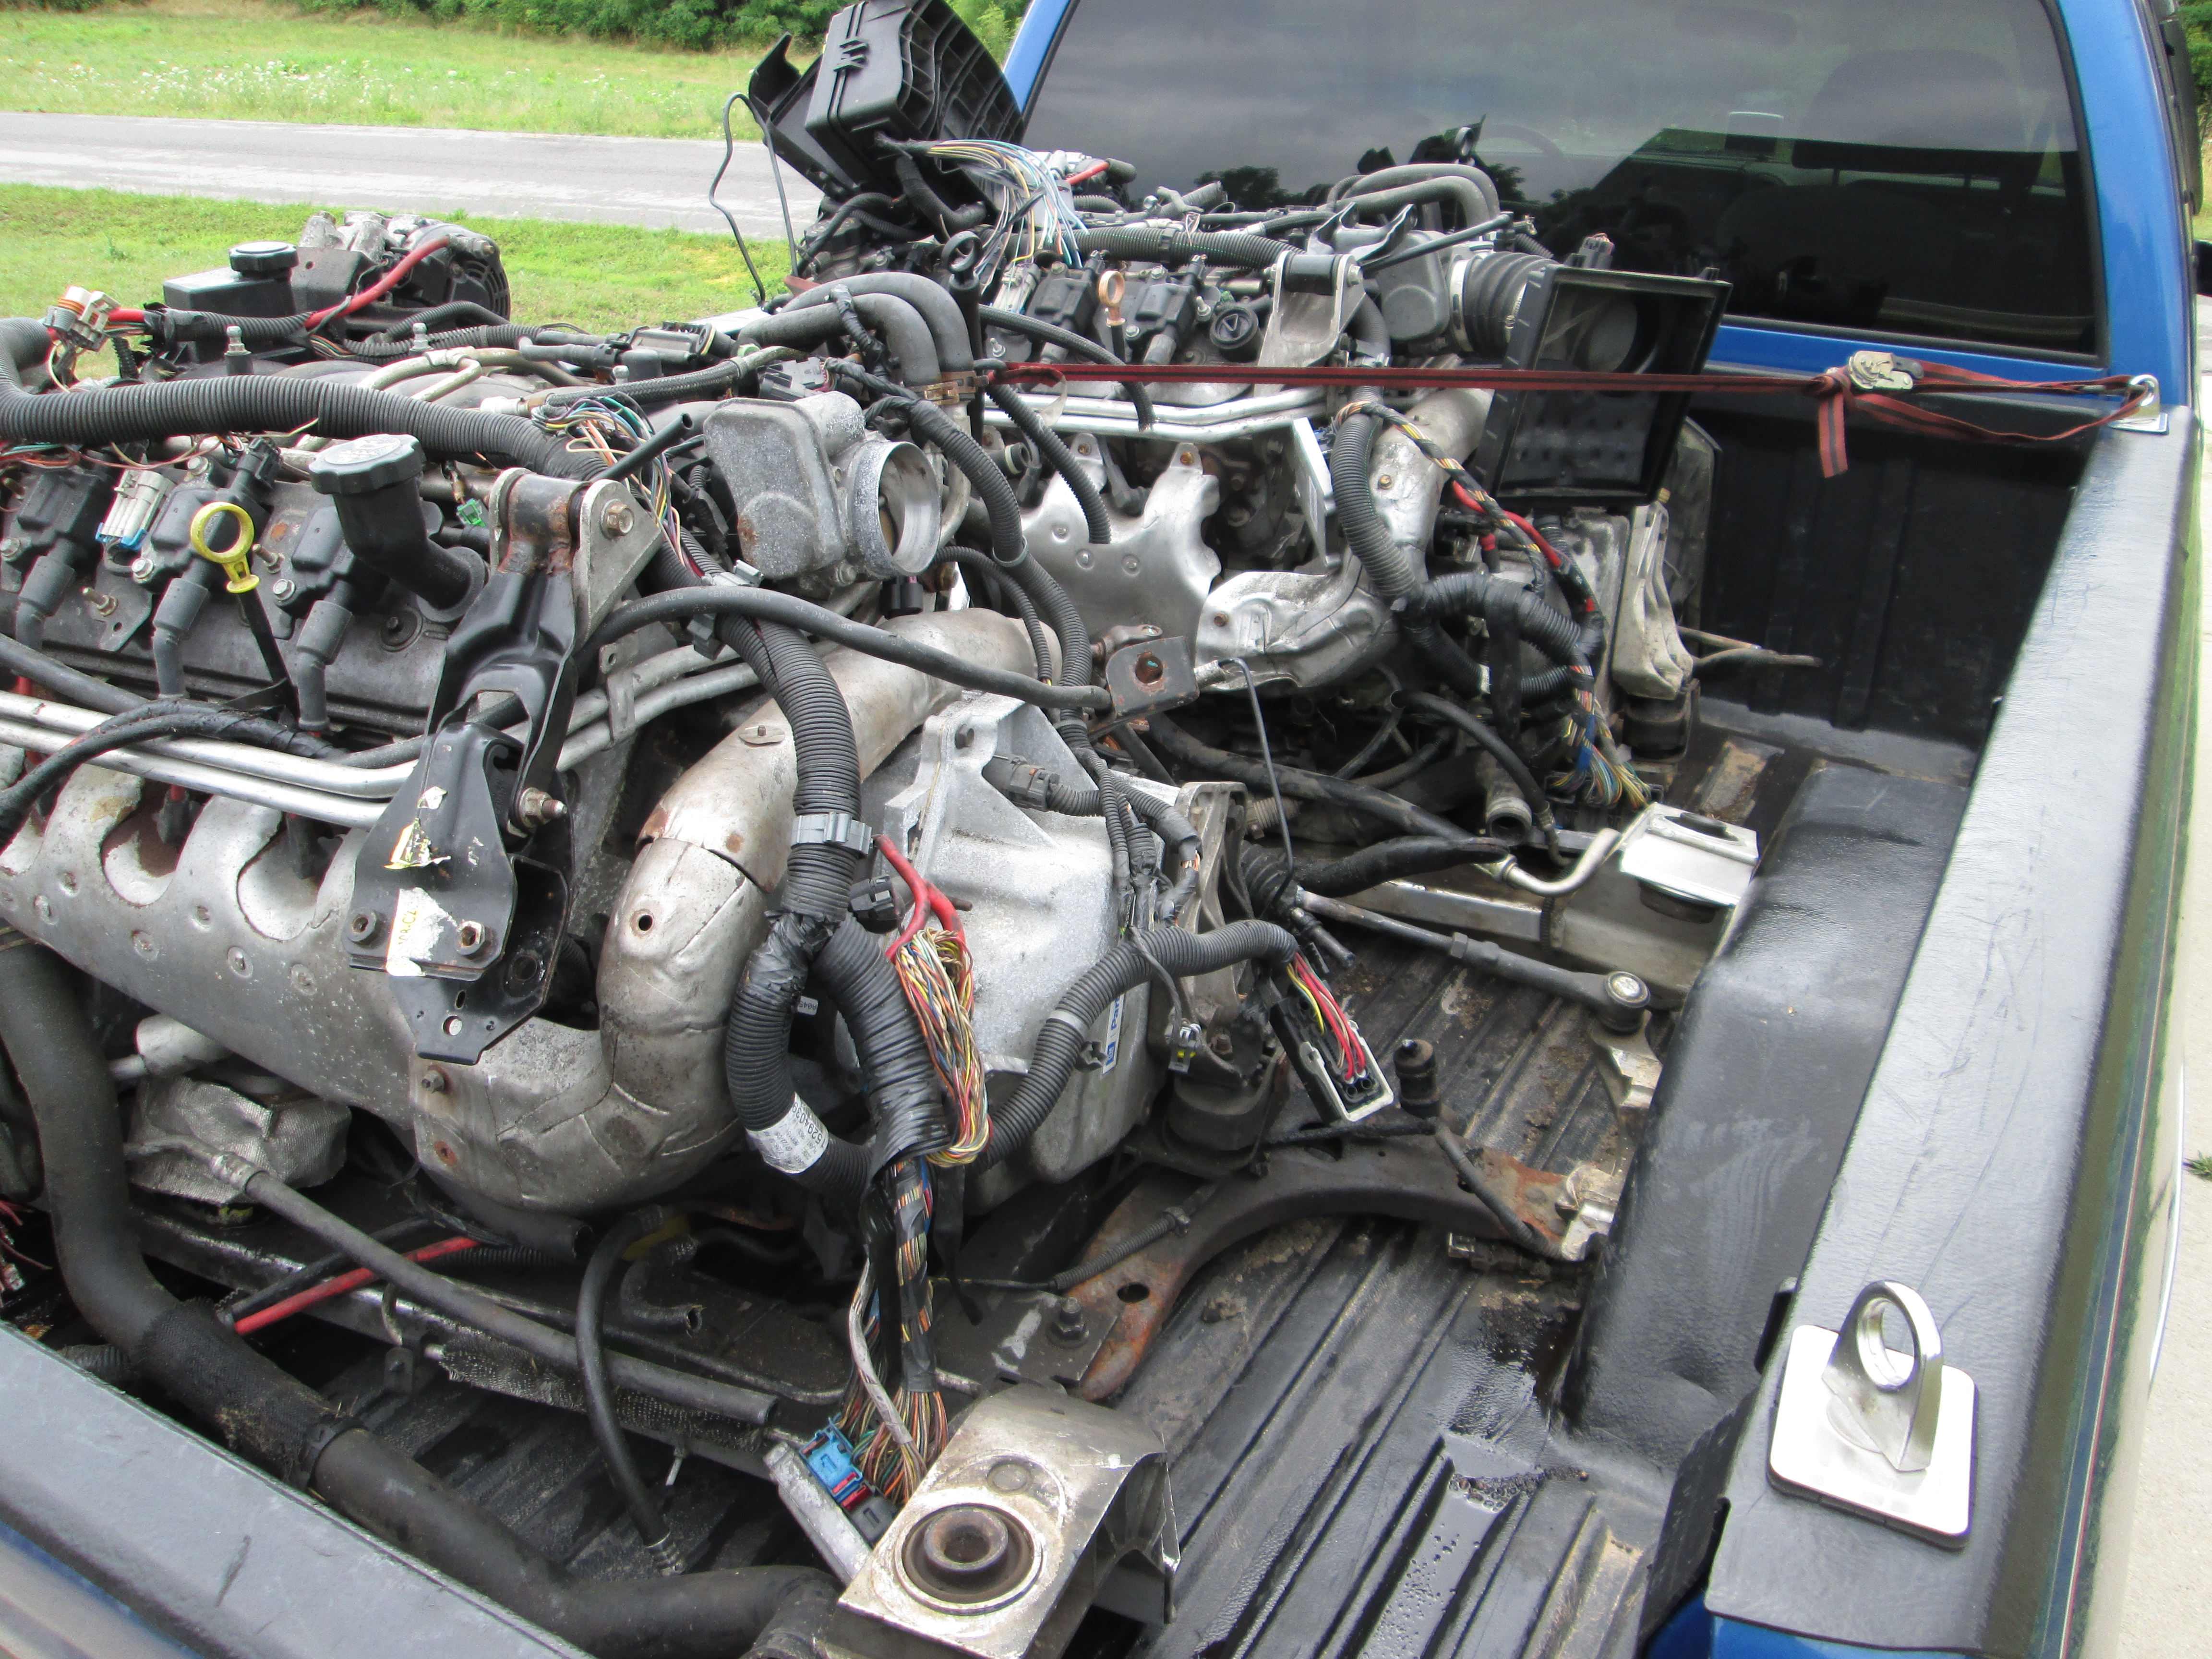
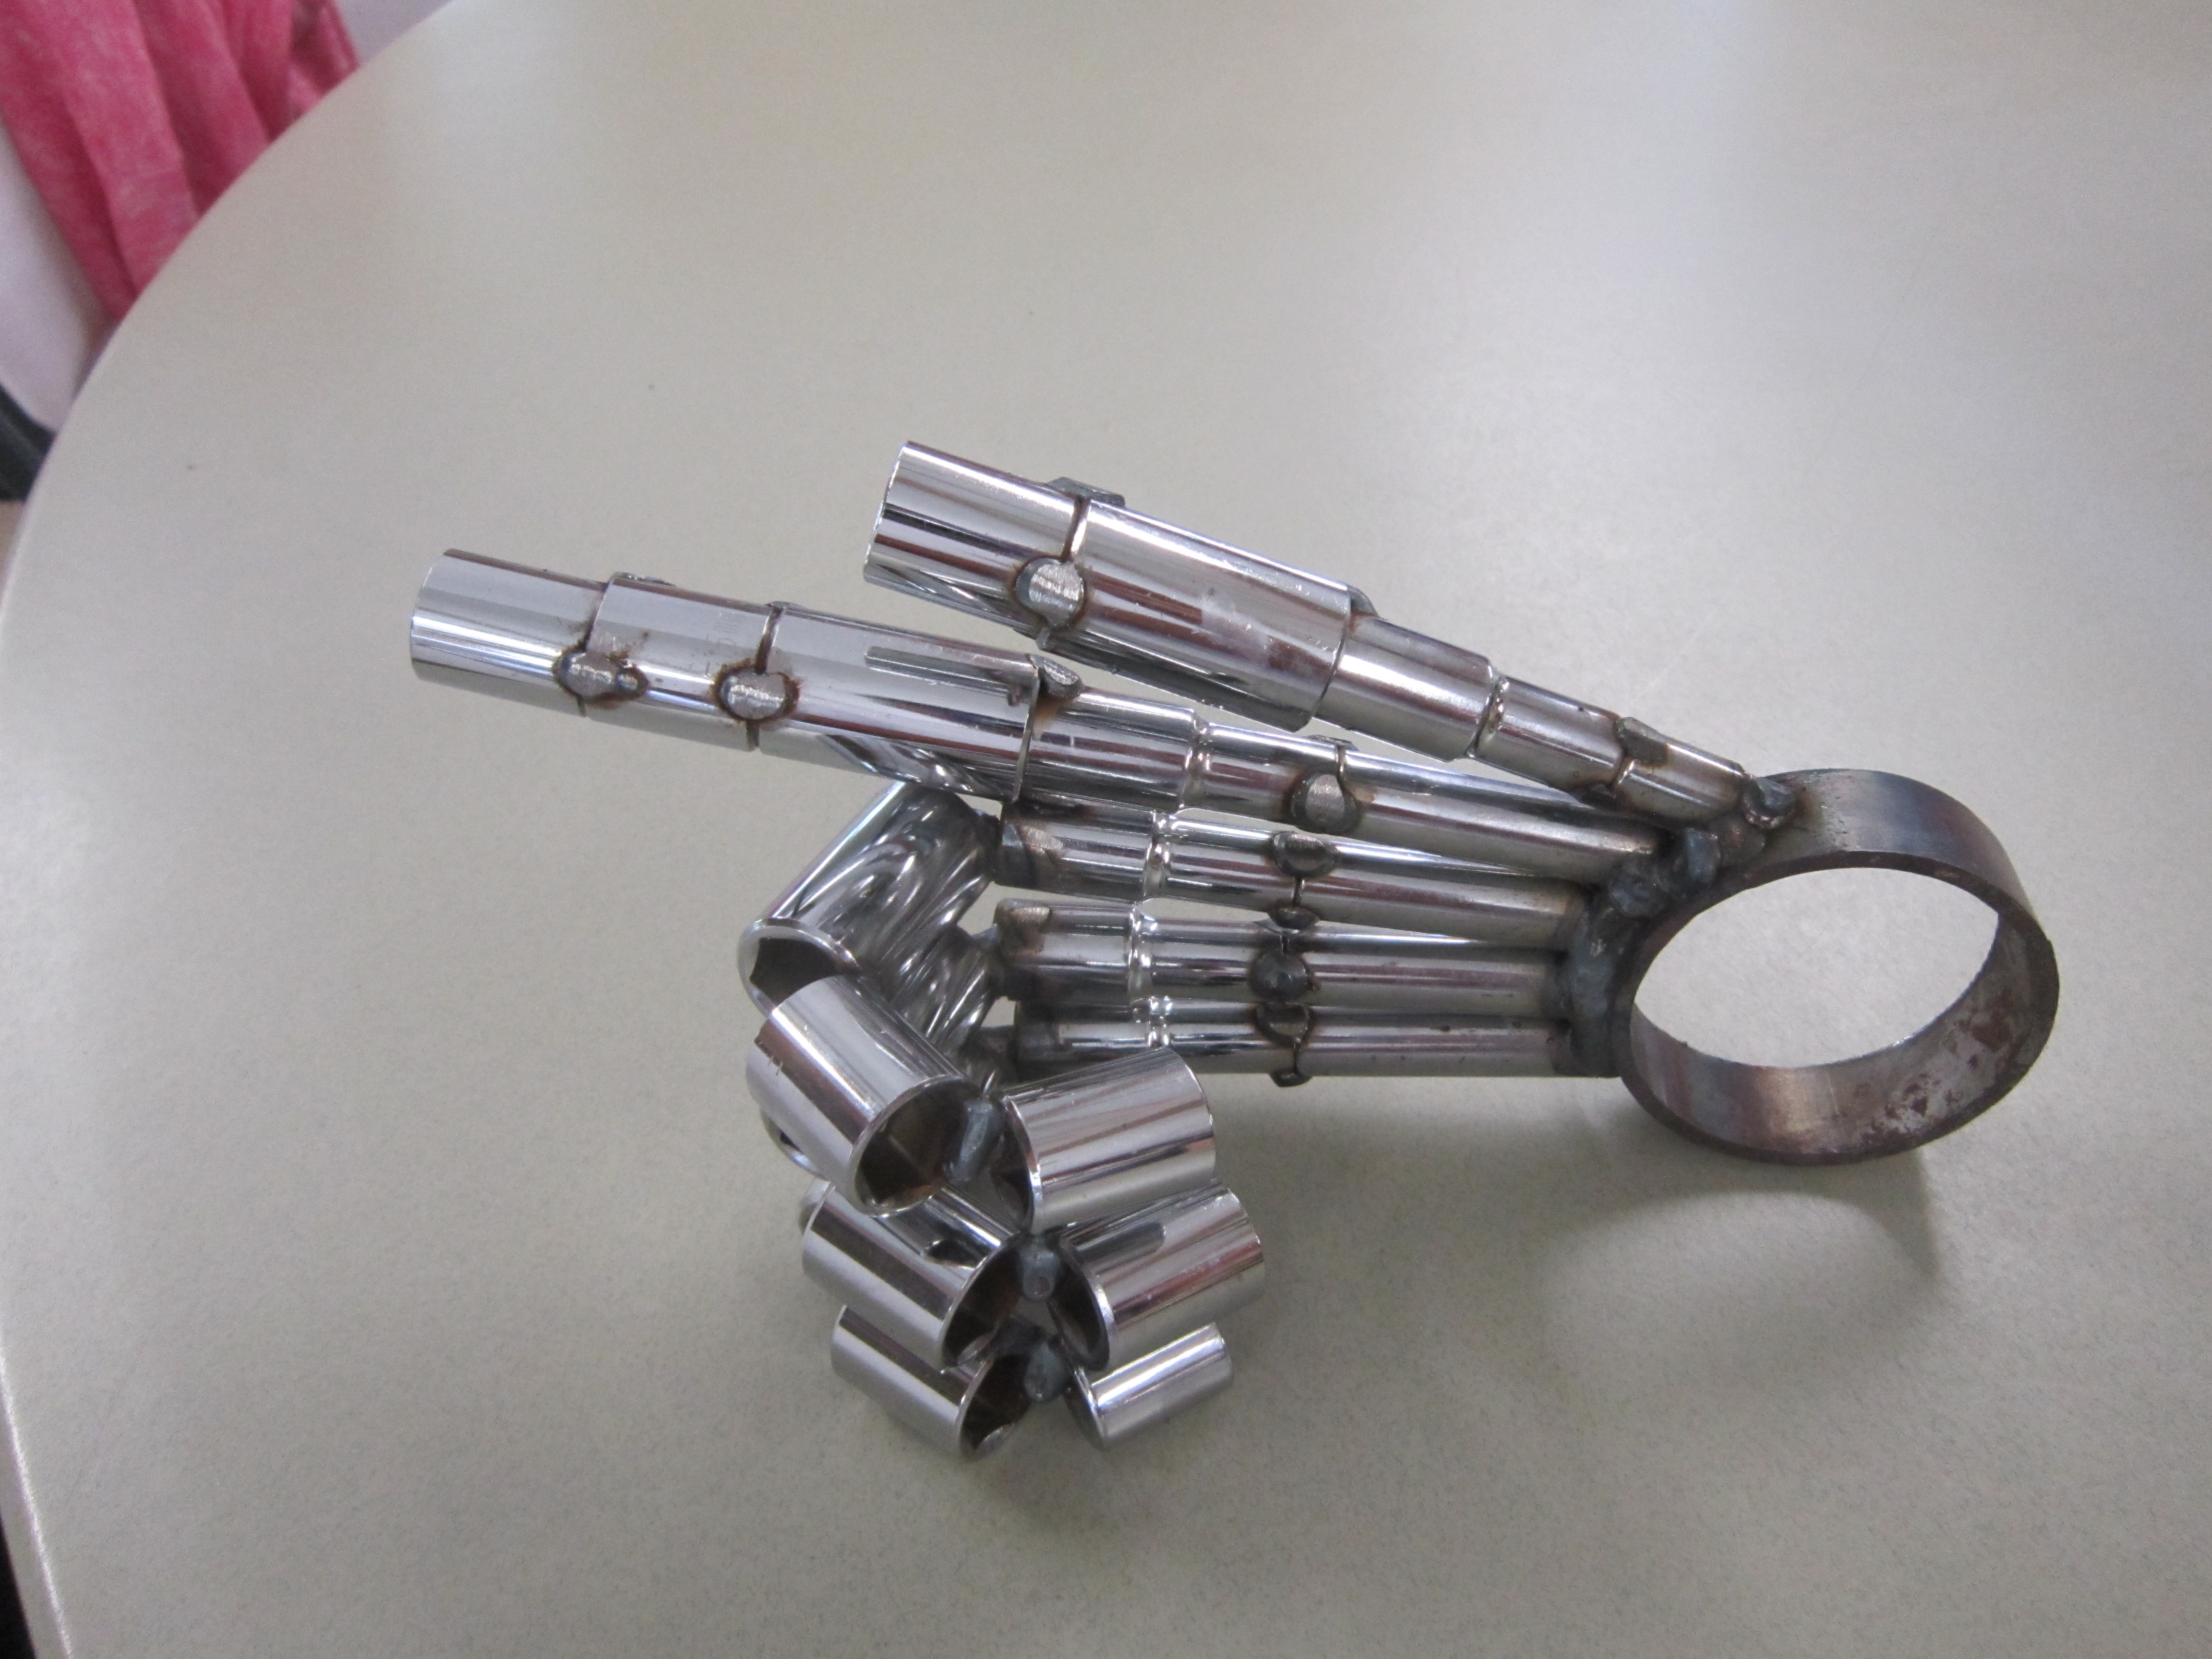
Last weekend I picked up another 2 LS4 dropouts (2006 & 2007). One will be another LS4/F40 and the other will keep the stock auto). For these swaps I am going to go about them in a simpler manner so others can better follow them.
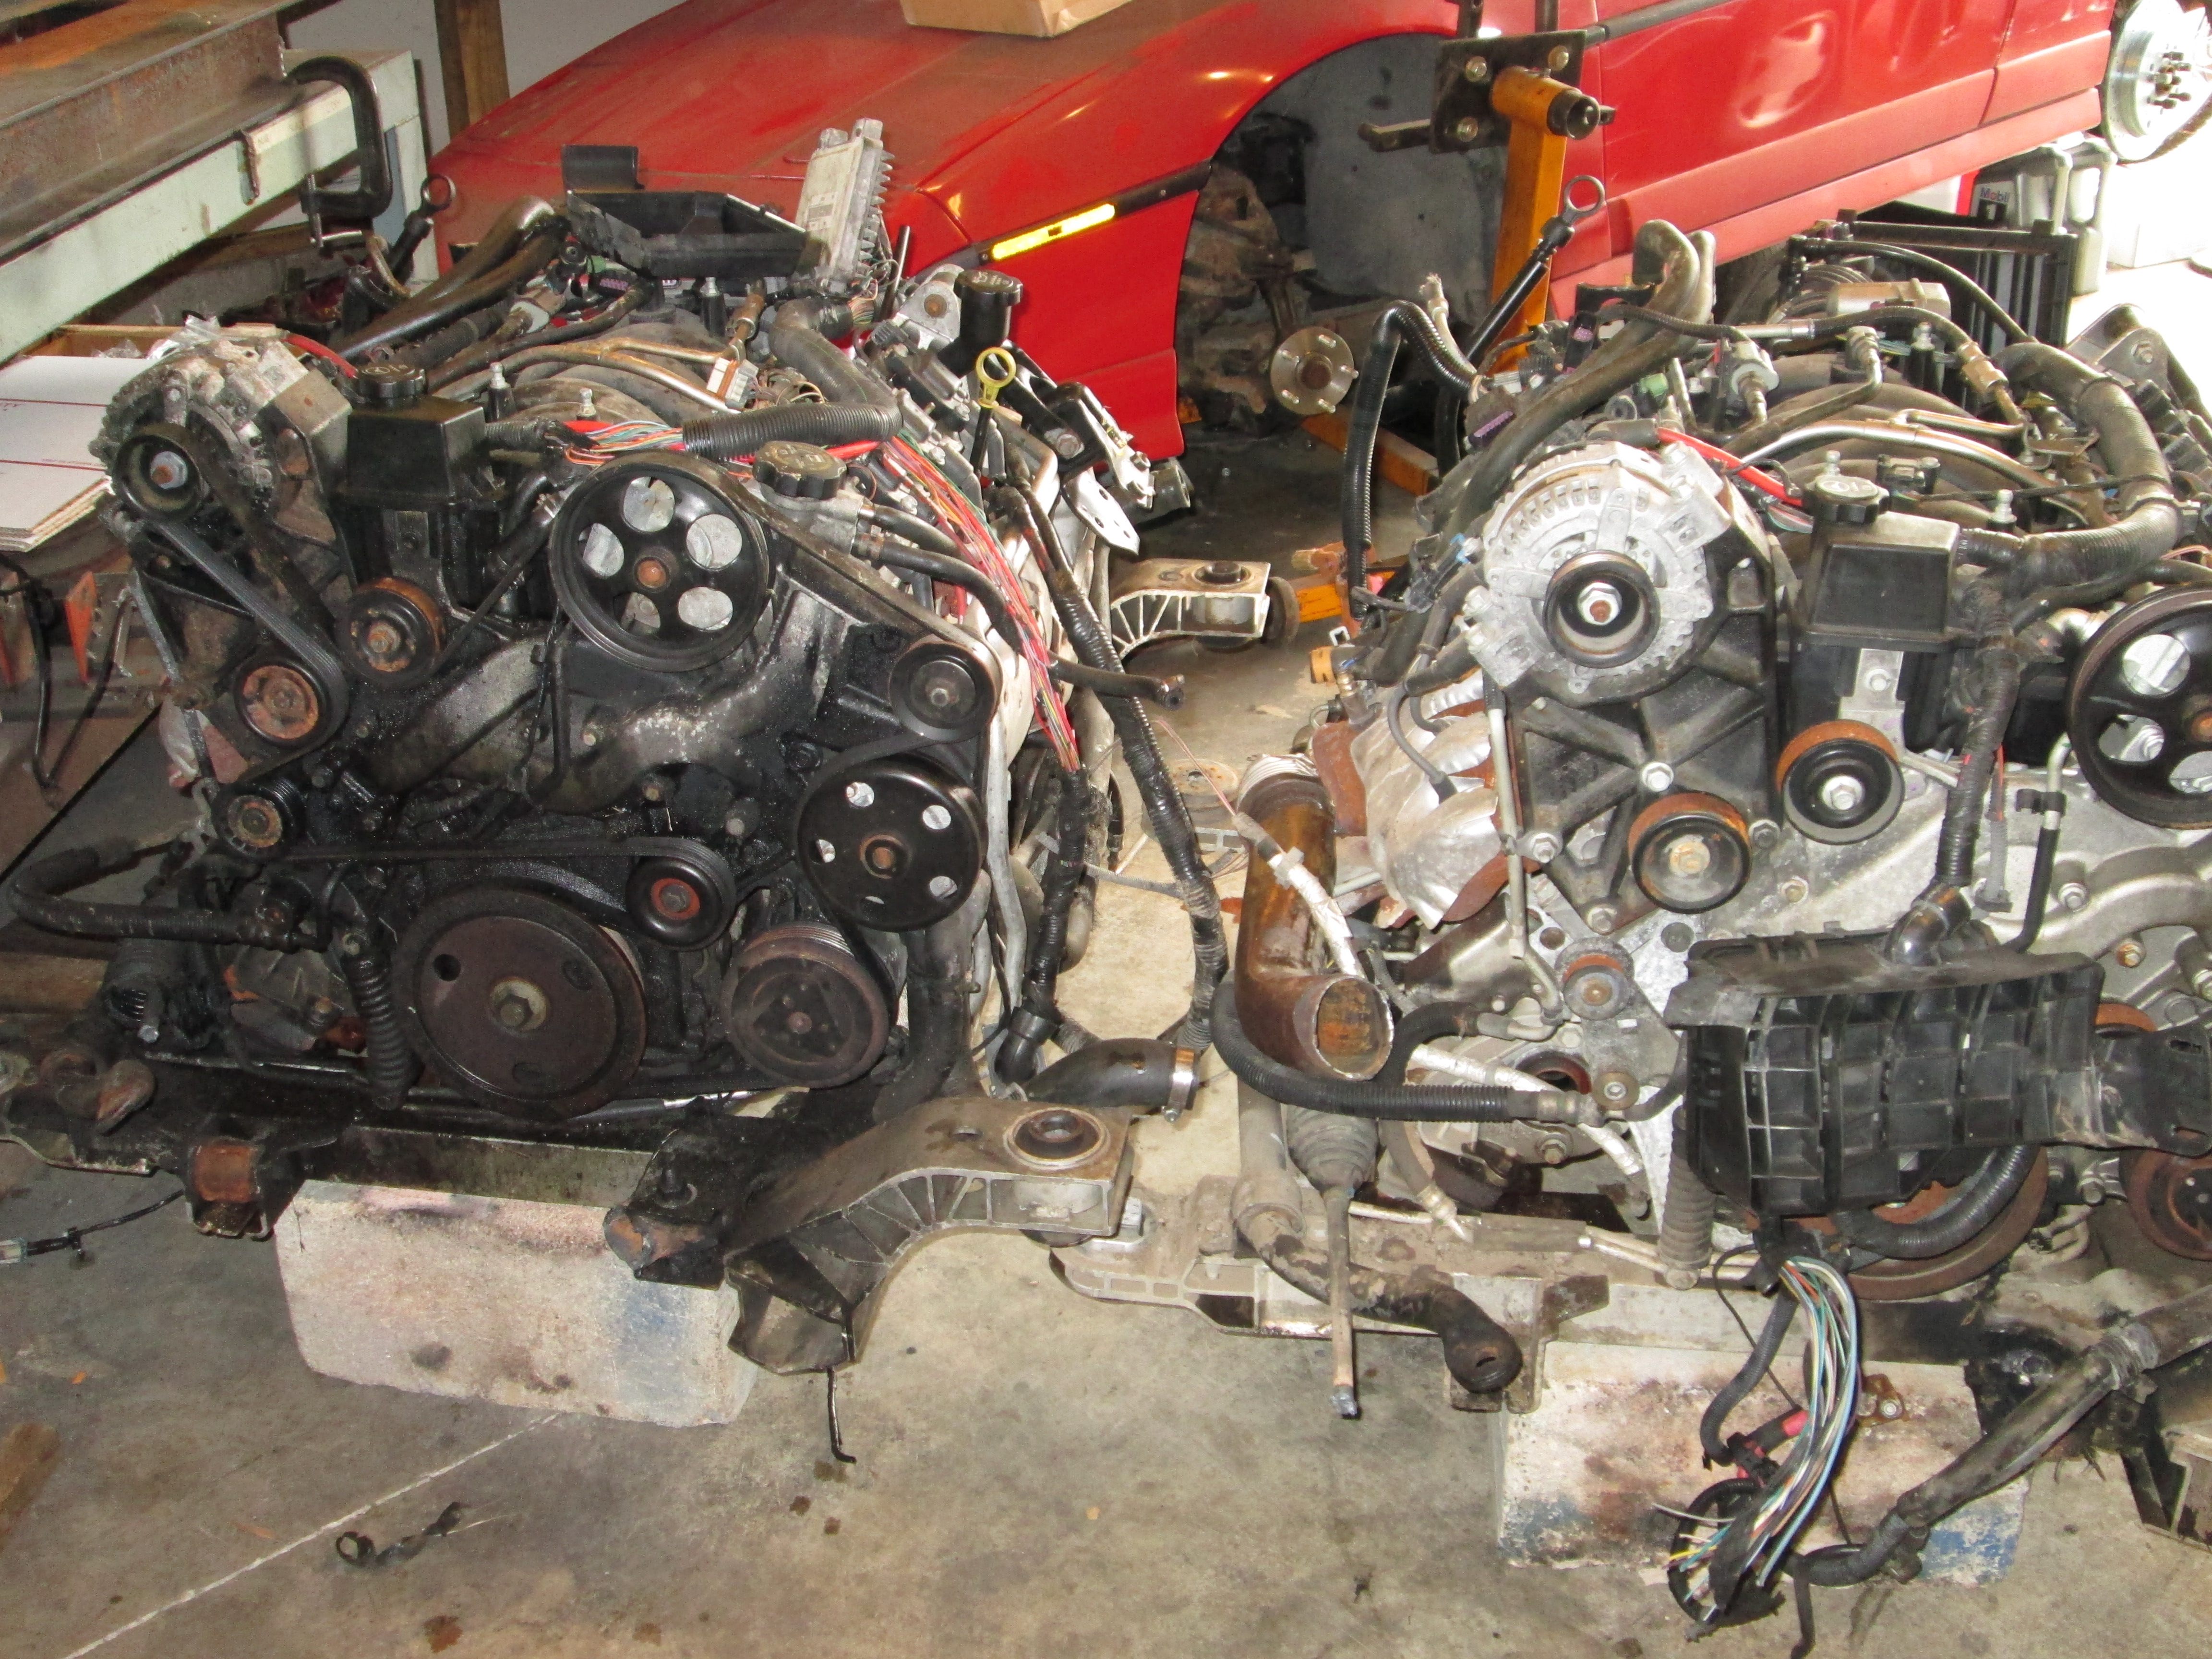
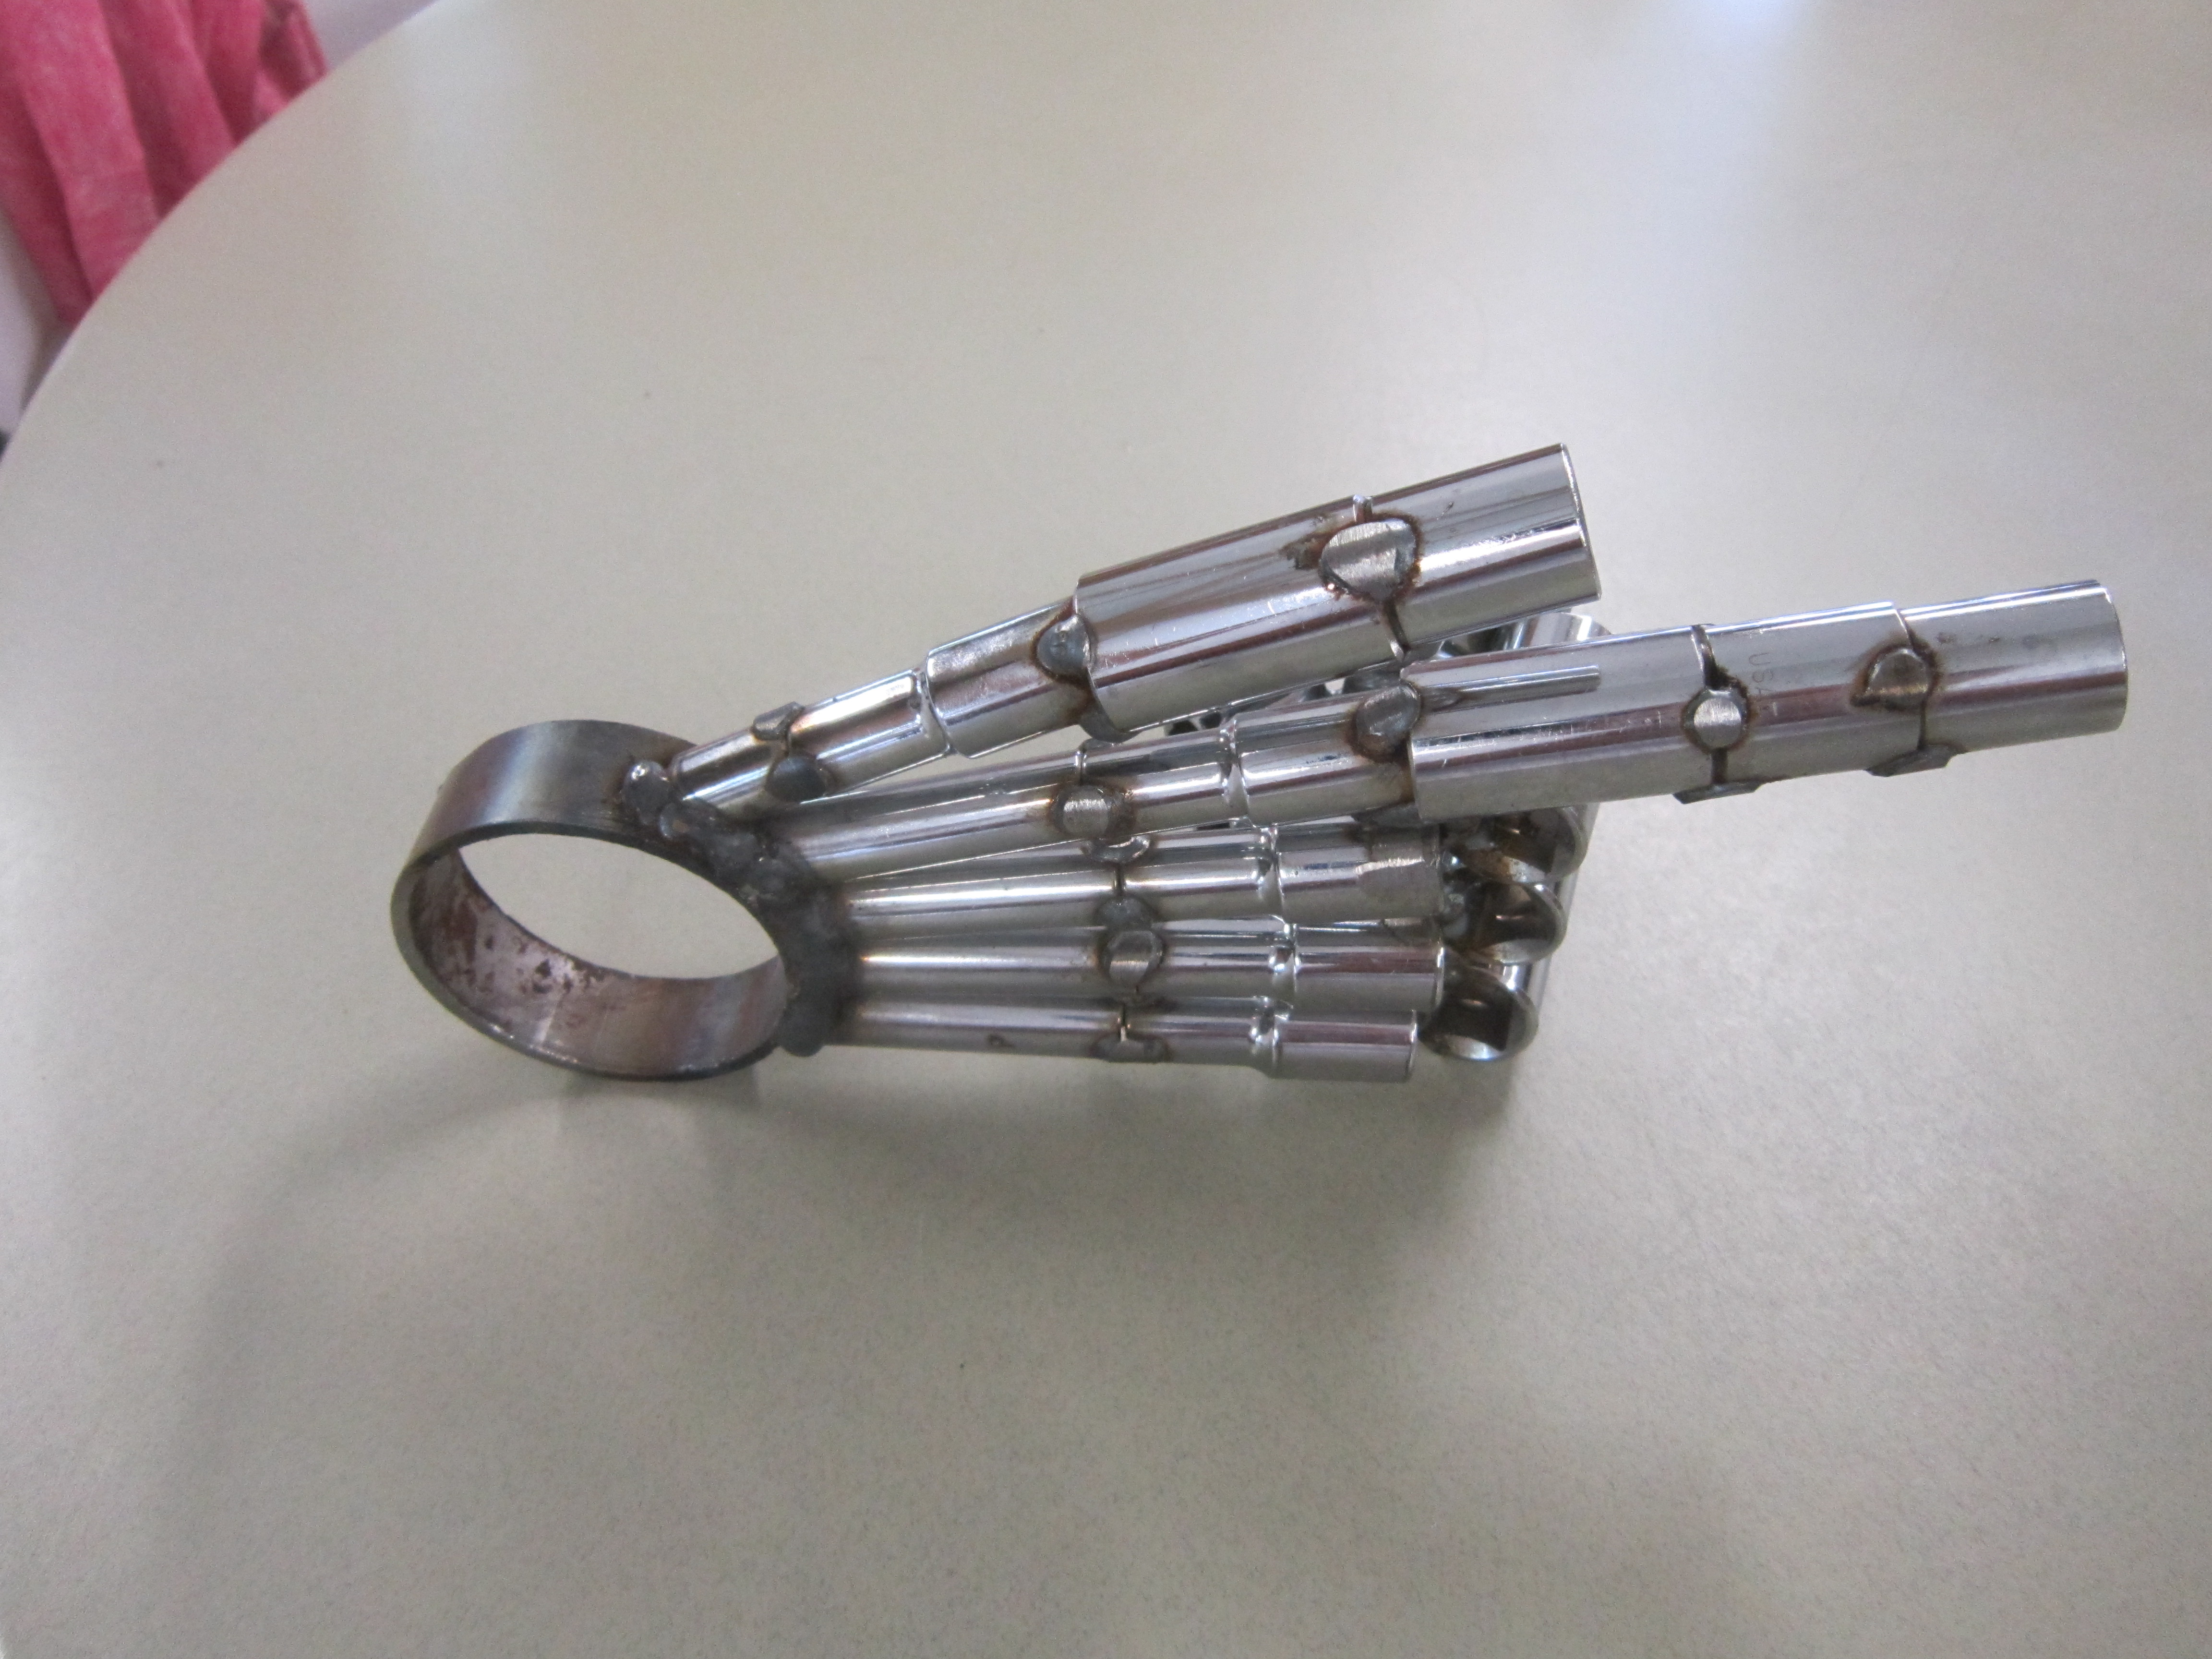
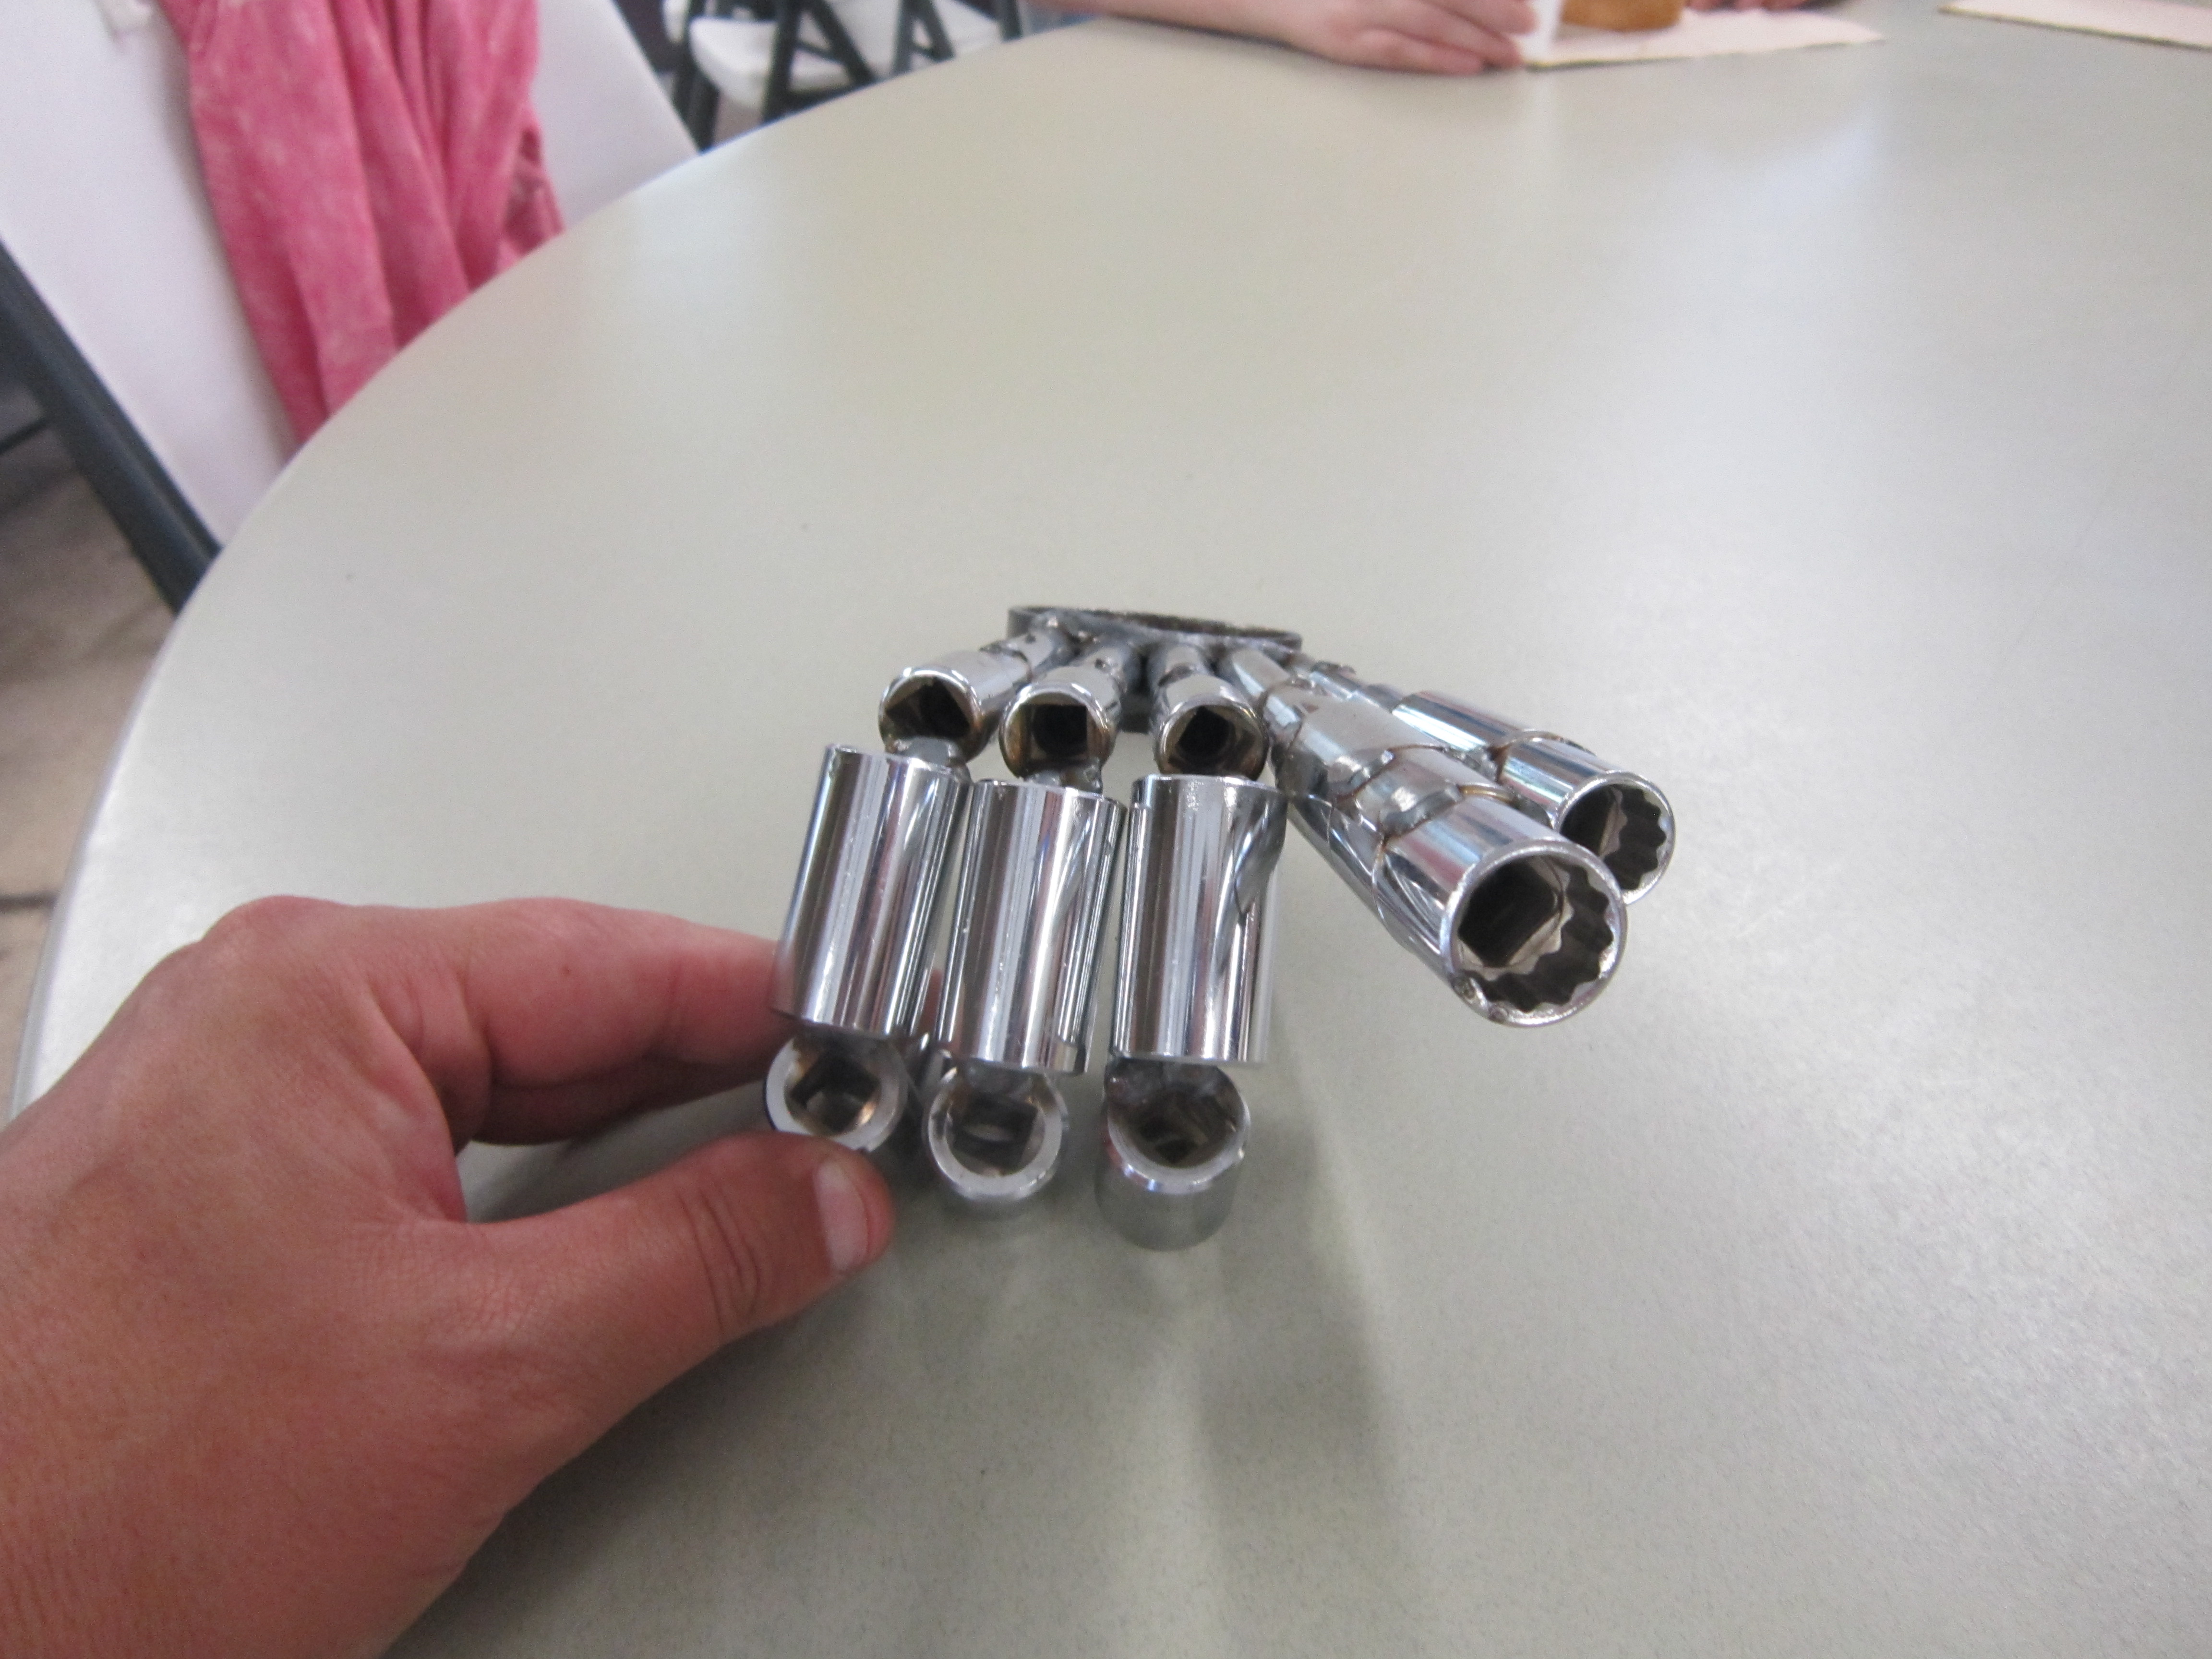
While away this past week I had the opportunity to take a short/simple welding class (5 hrs total) with my wife. I did manage to get some free time to work on my own projects. They had a bunch of scrap sockets from a local mfg and I decided to make a "terminatorish" hand:
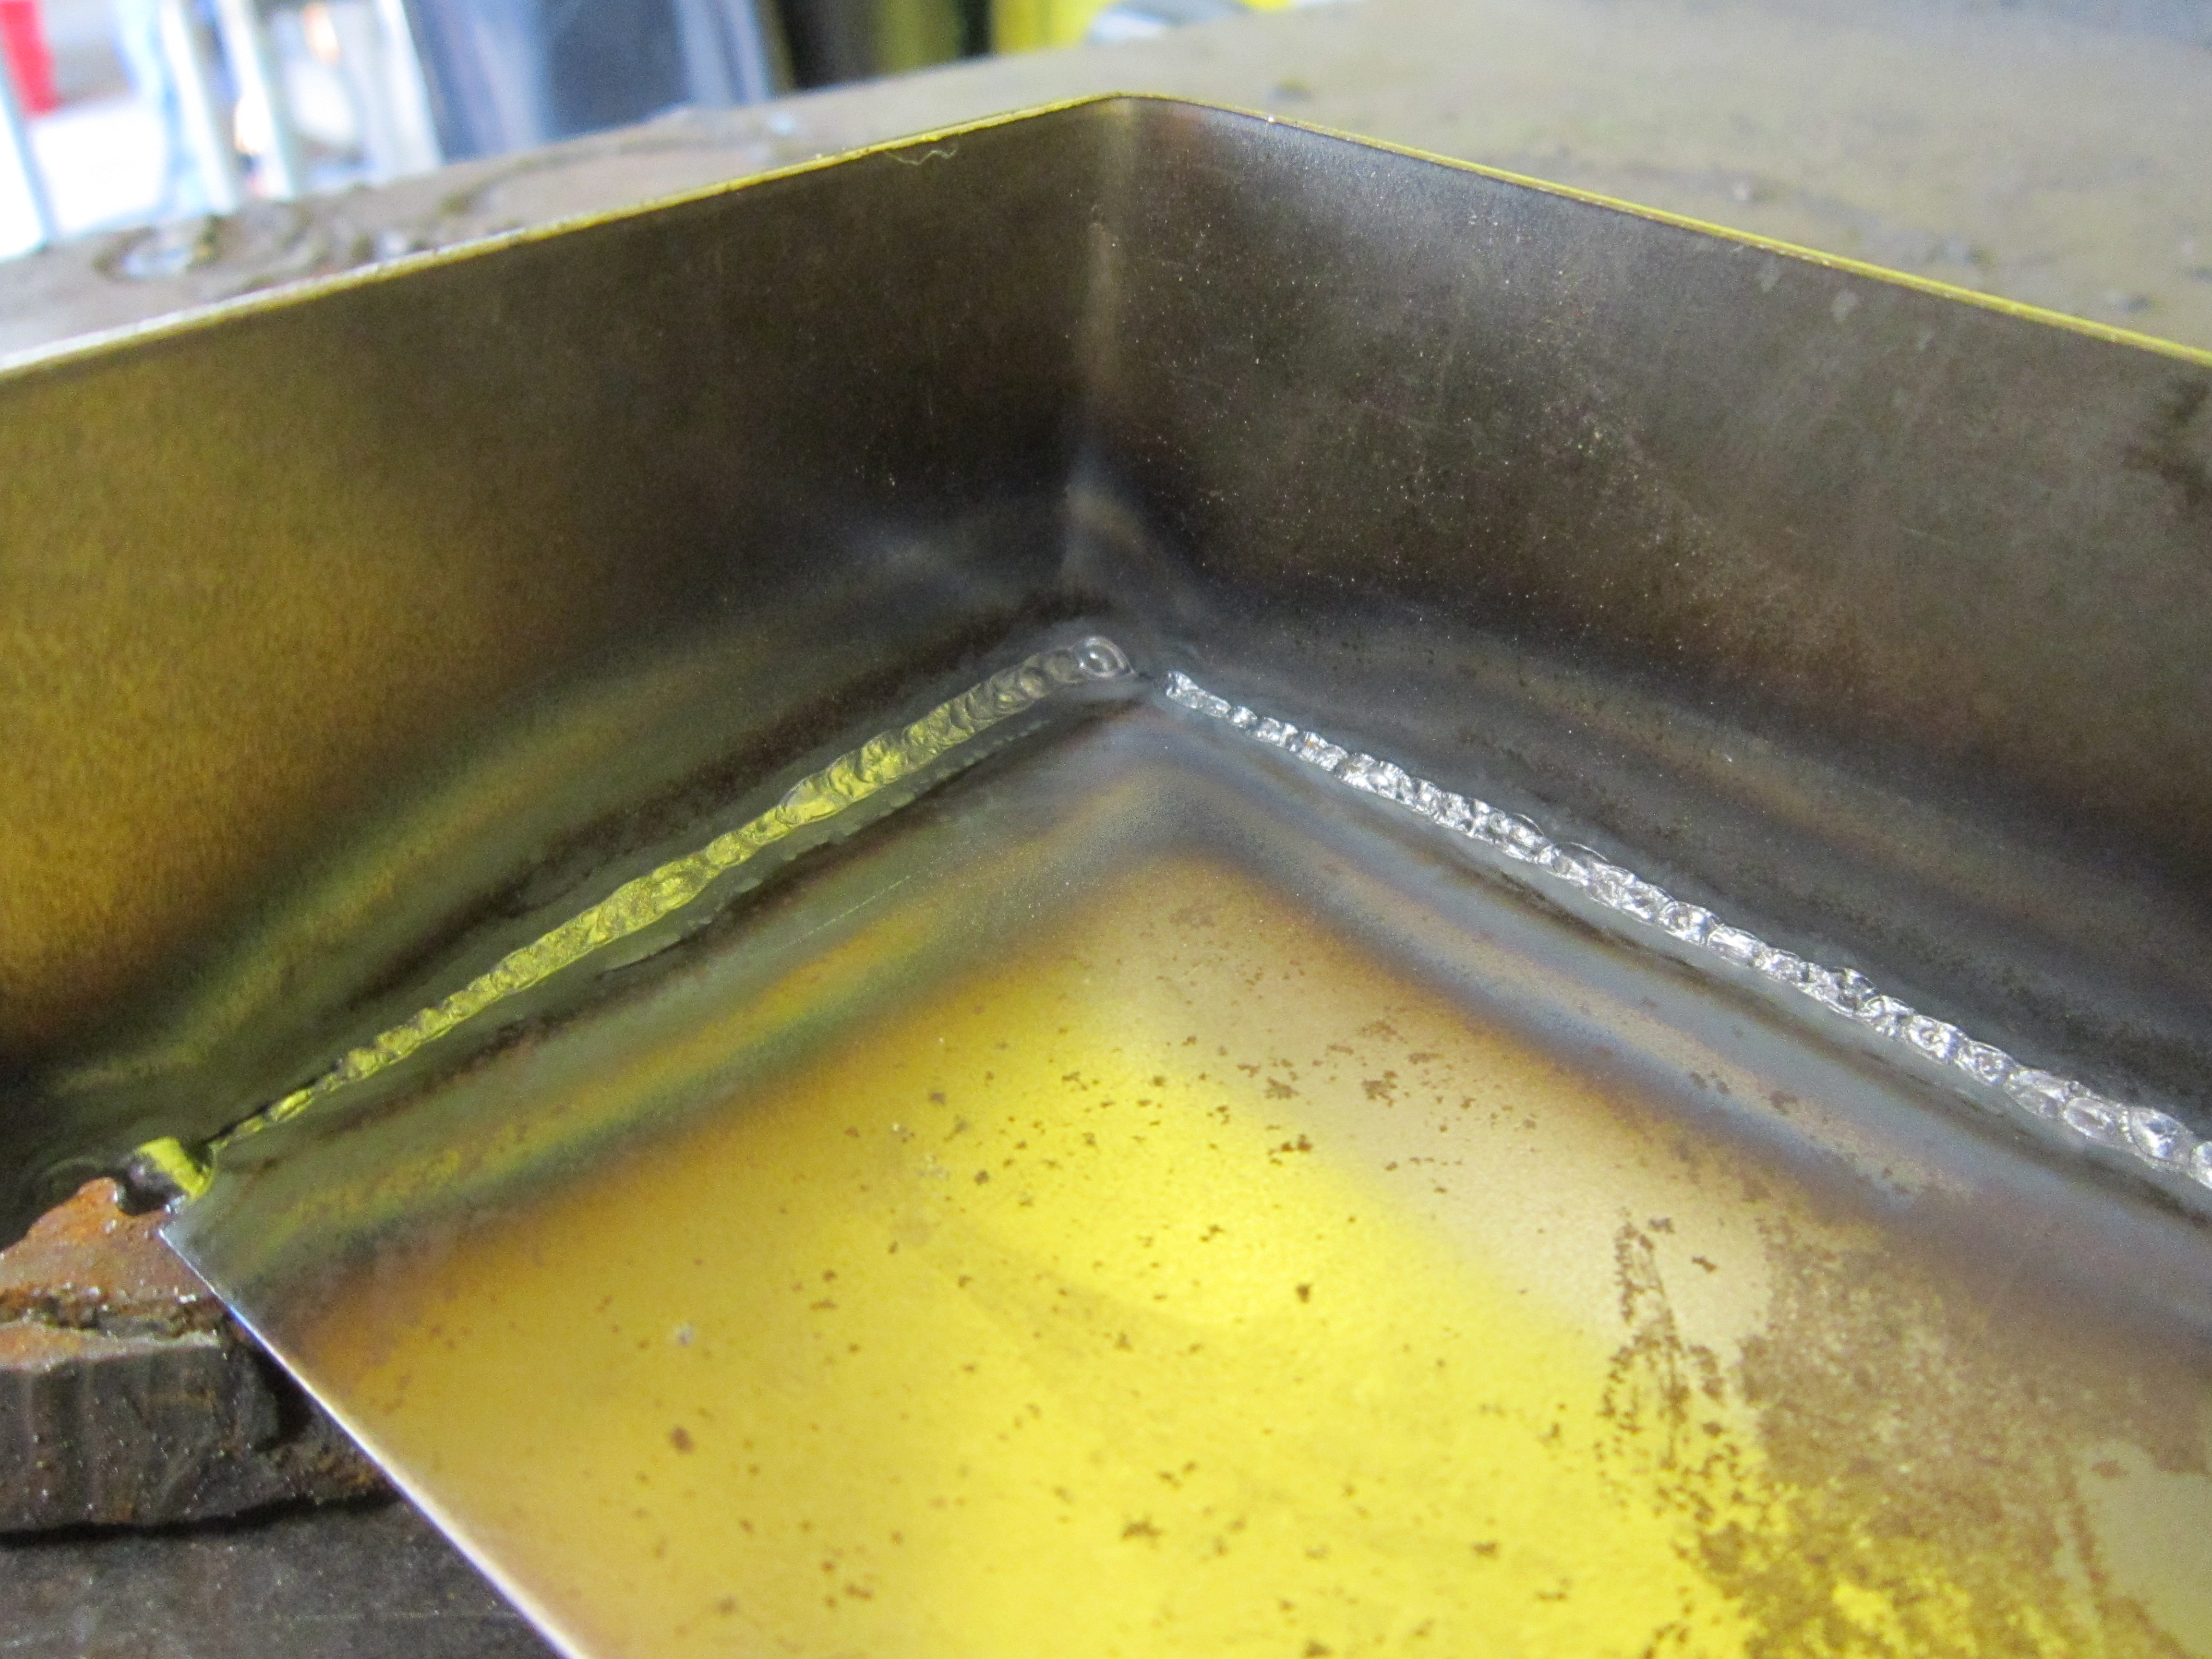
I also had about 30 minutes to play with the TIG (larger Lincoln) and some 16ga sheet metal. This was only my 2nd time using a TIG (first time was over 16 years ago for about an hour that time). This was a butted 90 w/o any filler rod... I really need to get one of these!
While at the class I quickly came to the realization that I really like my tools and my shop setup. They had a Lincoln 180 Mig and I am used to my Lincoln ProMig 175. It is very similar mine (newer generation), but theirs the wire tip was bent and came out more towards the side vs. in the center (and I didn't take the time to fix it). I also didn't like the feel of their welding helmet, really didn't like the button location on the grinder, and like welding from a vice vs. on a welding table. If I go back (and that's a big if), I am taking the class solo (so I have more time for my projects) and bringing my own tools.
The challenge is almost everything I did for the this swap was a custom one-off part and most people just won't take the time do it my way (like the custom crossmembers - most want mounts they can bolt in and use the stock mounting points).
Last weekend I picked up another 2 LS4 dropouts (2006 & 2007). One will be another LS4/F40 and the other will keep the stock auto). For these swaps I am going to go about them in a simpler manner so others can better follow them.
While away this past week I had the opportunity to take a short/simple welding class (5 hrs total) with my wife. I did manage to get some free time to work on my own projects. They had a bunch of scrap sockets from a local mfg and I decided to make a "terminatorish" hand:
I also had about 30 minutes to play with the TIG (larger Lincoln) and some 16ga sheet metal. This was only my 2nd time using a TIG (first time was over 16 years ago for about an hour that time). This was a butted 90 w/o any filler rod... I really need to get one of these!
While at the class I quickly came to the realization that I really like my tools and my shop setup. They had a Lincoln 180 Mig and I am used to my Lincoln ProMig 175. It is very similar mine (newer generation), but theirs the wire tip was bent and came out more towards the side vs. in the center (and I didn't take the time to fix it). I also didn't like the feel of their welding helmet, really didn't like the button location on the grinder, and like welding from a vice vs. on a welding table. If I go back (and that's a big if), I am taking the class solo (so I have more time for my projects) and bringing my own tools.
07-28-2014, 08:09 PM
#192
It was at a family camp. Didn't involve any teaching beyond the general safety discussions about the equipment. Just 5 hrs of access (over 5 days) to the tools and donated supplies.
I did take a welding class at a local college in IL back in 2001.
I did take a welding class at a local college in IL back in 2001.
07-31-2014, 05:56 PM
#193
TECH Resident

Join Date: Oct 2009
Location: Michigan
Posts: 793
Likes: 0
Received 0 Likes
on
0 Posts

 09-01-2014, 07:00 PM
#194
http://www.fiero.nl/forum/Forum1/HTML/094409.html
LS4/F40 #2 build thread:
http://www.fiero.nl/forum/Forum1/HTML/094411.html
09-01-2014, 07:14 PM
#195
Getting the LS4/F40 Fiero ready for LS Fest... although it looks like it will be raining Friday & Saturday...
Pulled the wheels off so I could clean them and inspect the suspension/brakes. Good thing I did as I found a nail in one of the rear tires that probably would have been ripped out during a burnout. So had to run and get it patched too.
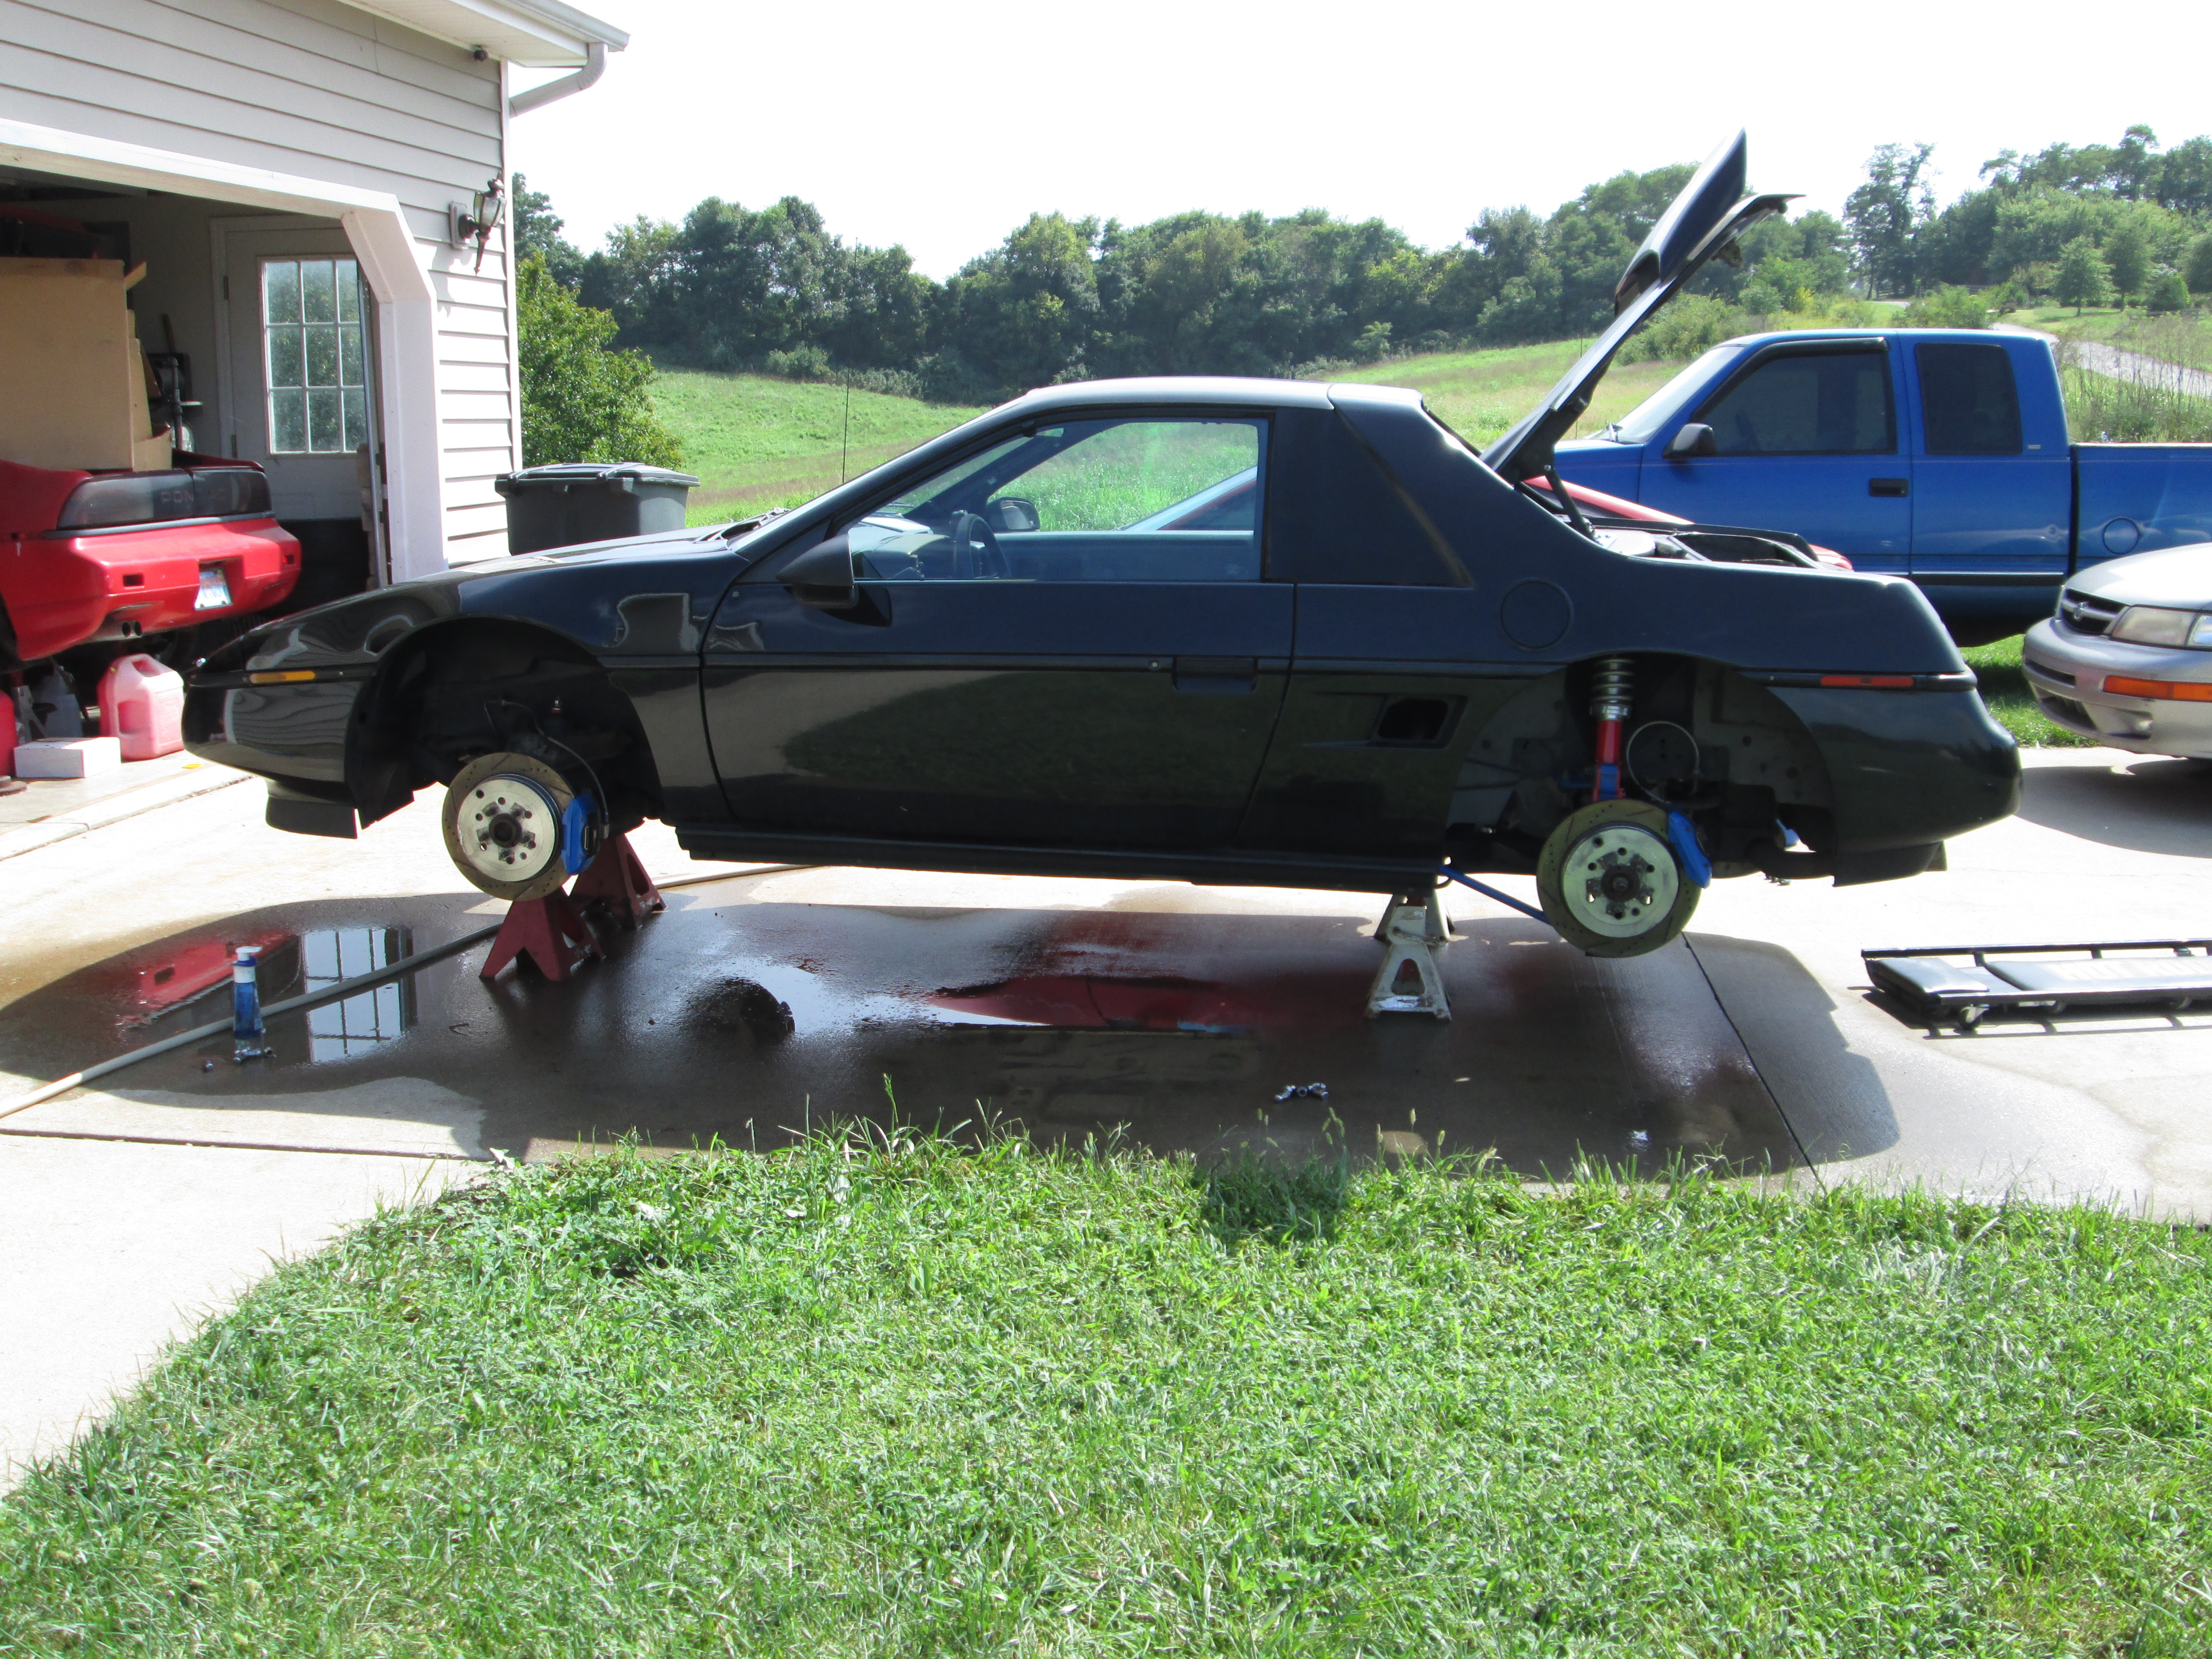
While the car was up in the air, I changed the oil (5w30 Mobile 1) and replaced the fuel filter (I do it annually since the fuel tank isn't the cleanest). I also ordered a new Goodyear Gatorback serpentine belt and some new front tires (BFG G-Force Comp2 - 205/50/16) to match the rear (BFG G-Force Comp2 - 245/45/16).
Pulled the wheels off so I could clean them and inspect the suspension/brakes. Good thing I did as I found a nail in one of the rear tires that probably would have been ripped out during a burnout. So had to run and get it patched too.
While the car was up in the air, I changed the oil (5w30 Mobile 1) and replaced the fuel filter (I do it annually since the fuel tank isn't the cleanest). I also ordered a new Goodyear Gatorback serpentine belt and some new front tires (BFG G-Force Comp2 - 205/50/16) to match the rear (BFG G-Force Comp2 - 245/45/16).
09-08-2014, 09:19 PM
#196
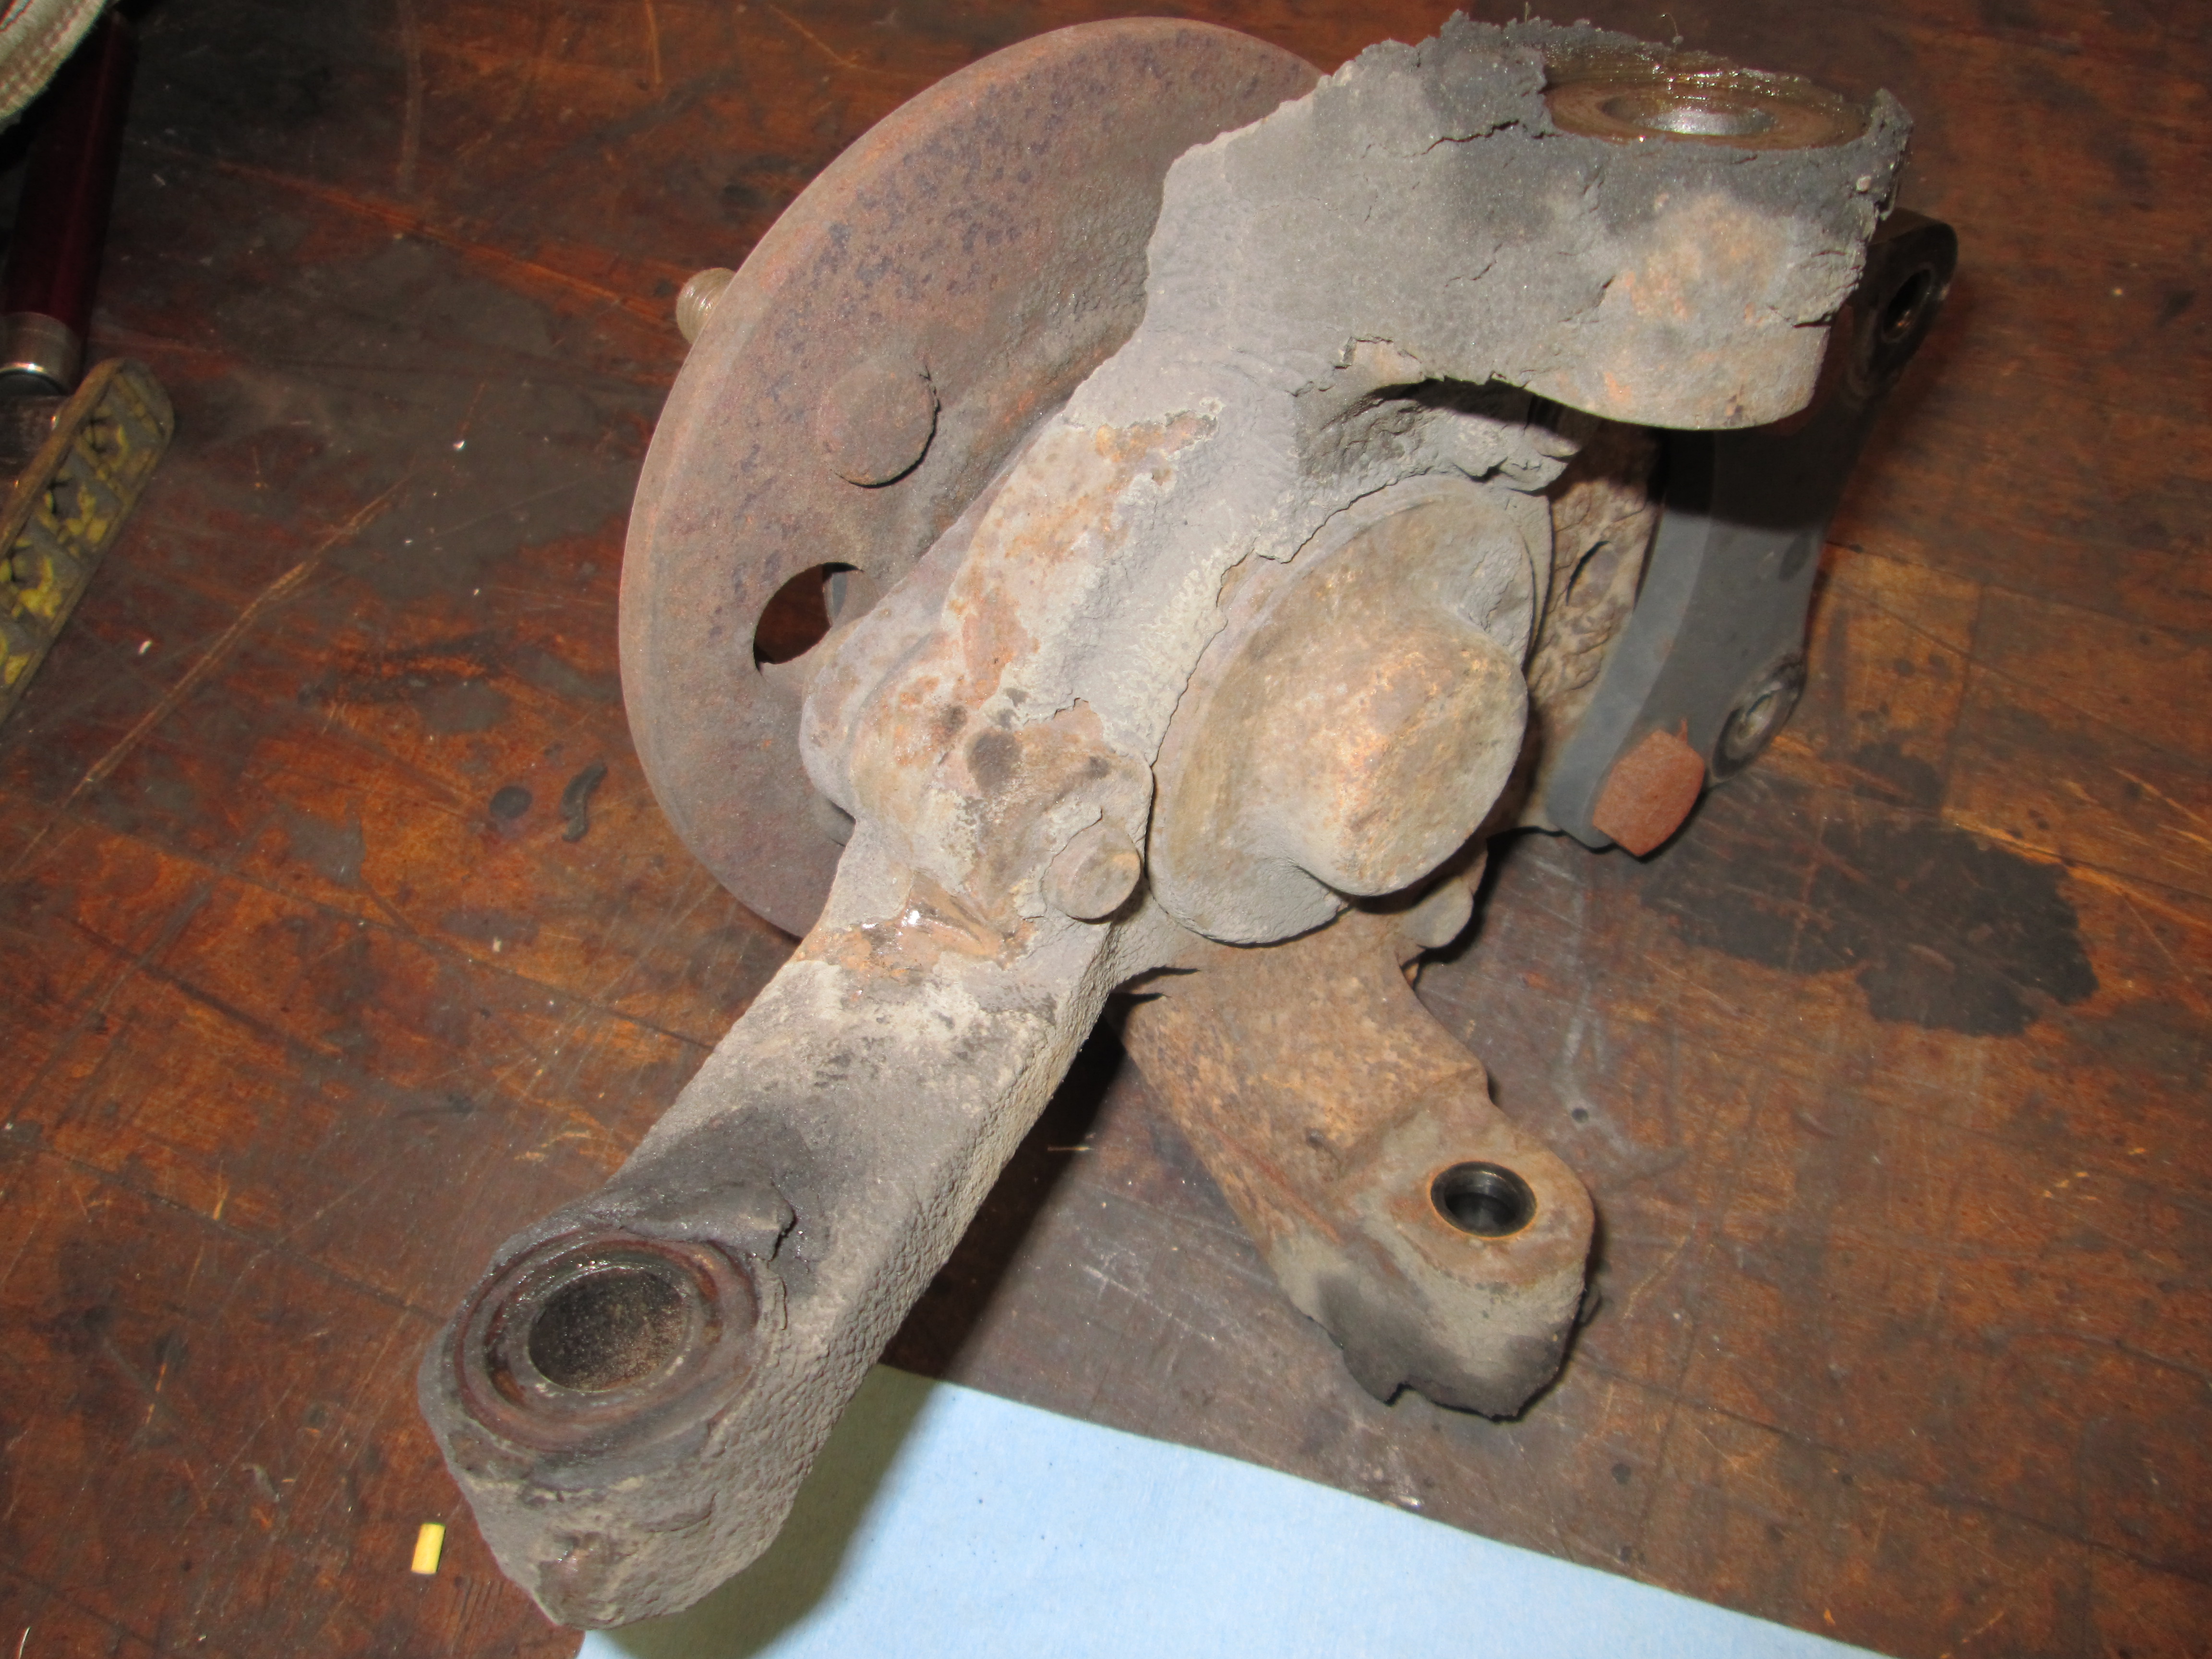
Pulled the car 3hrs to Bowling Green with a tow dolly, then found a bad ball joint when I swapped over the new front tires. It wasn't bad when I left but there was a major bump in the road on the Cumberland Parkway that I hit at 50 mph...
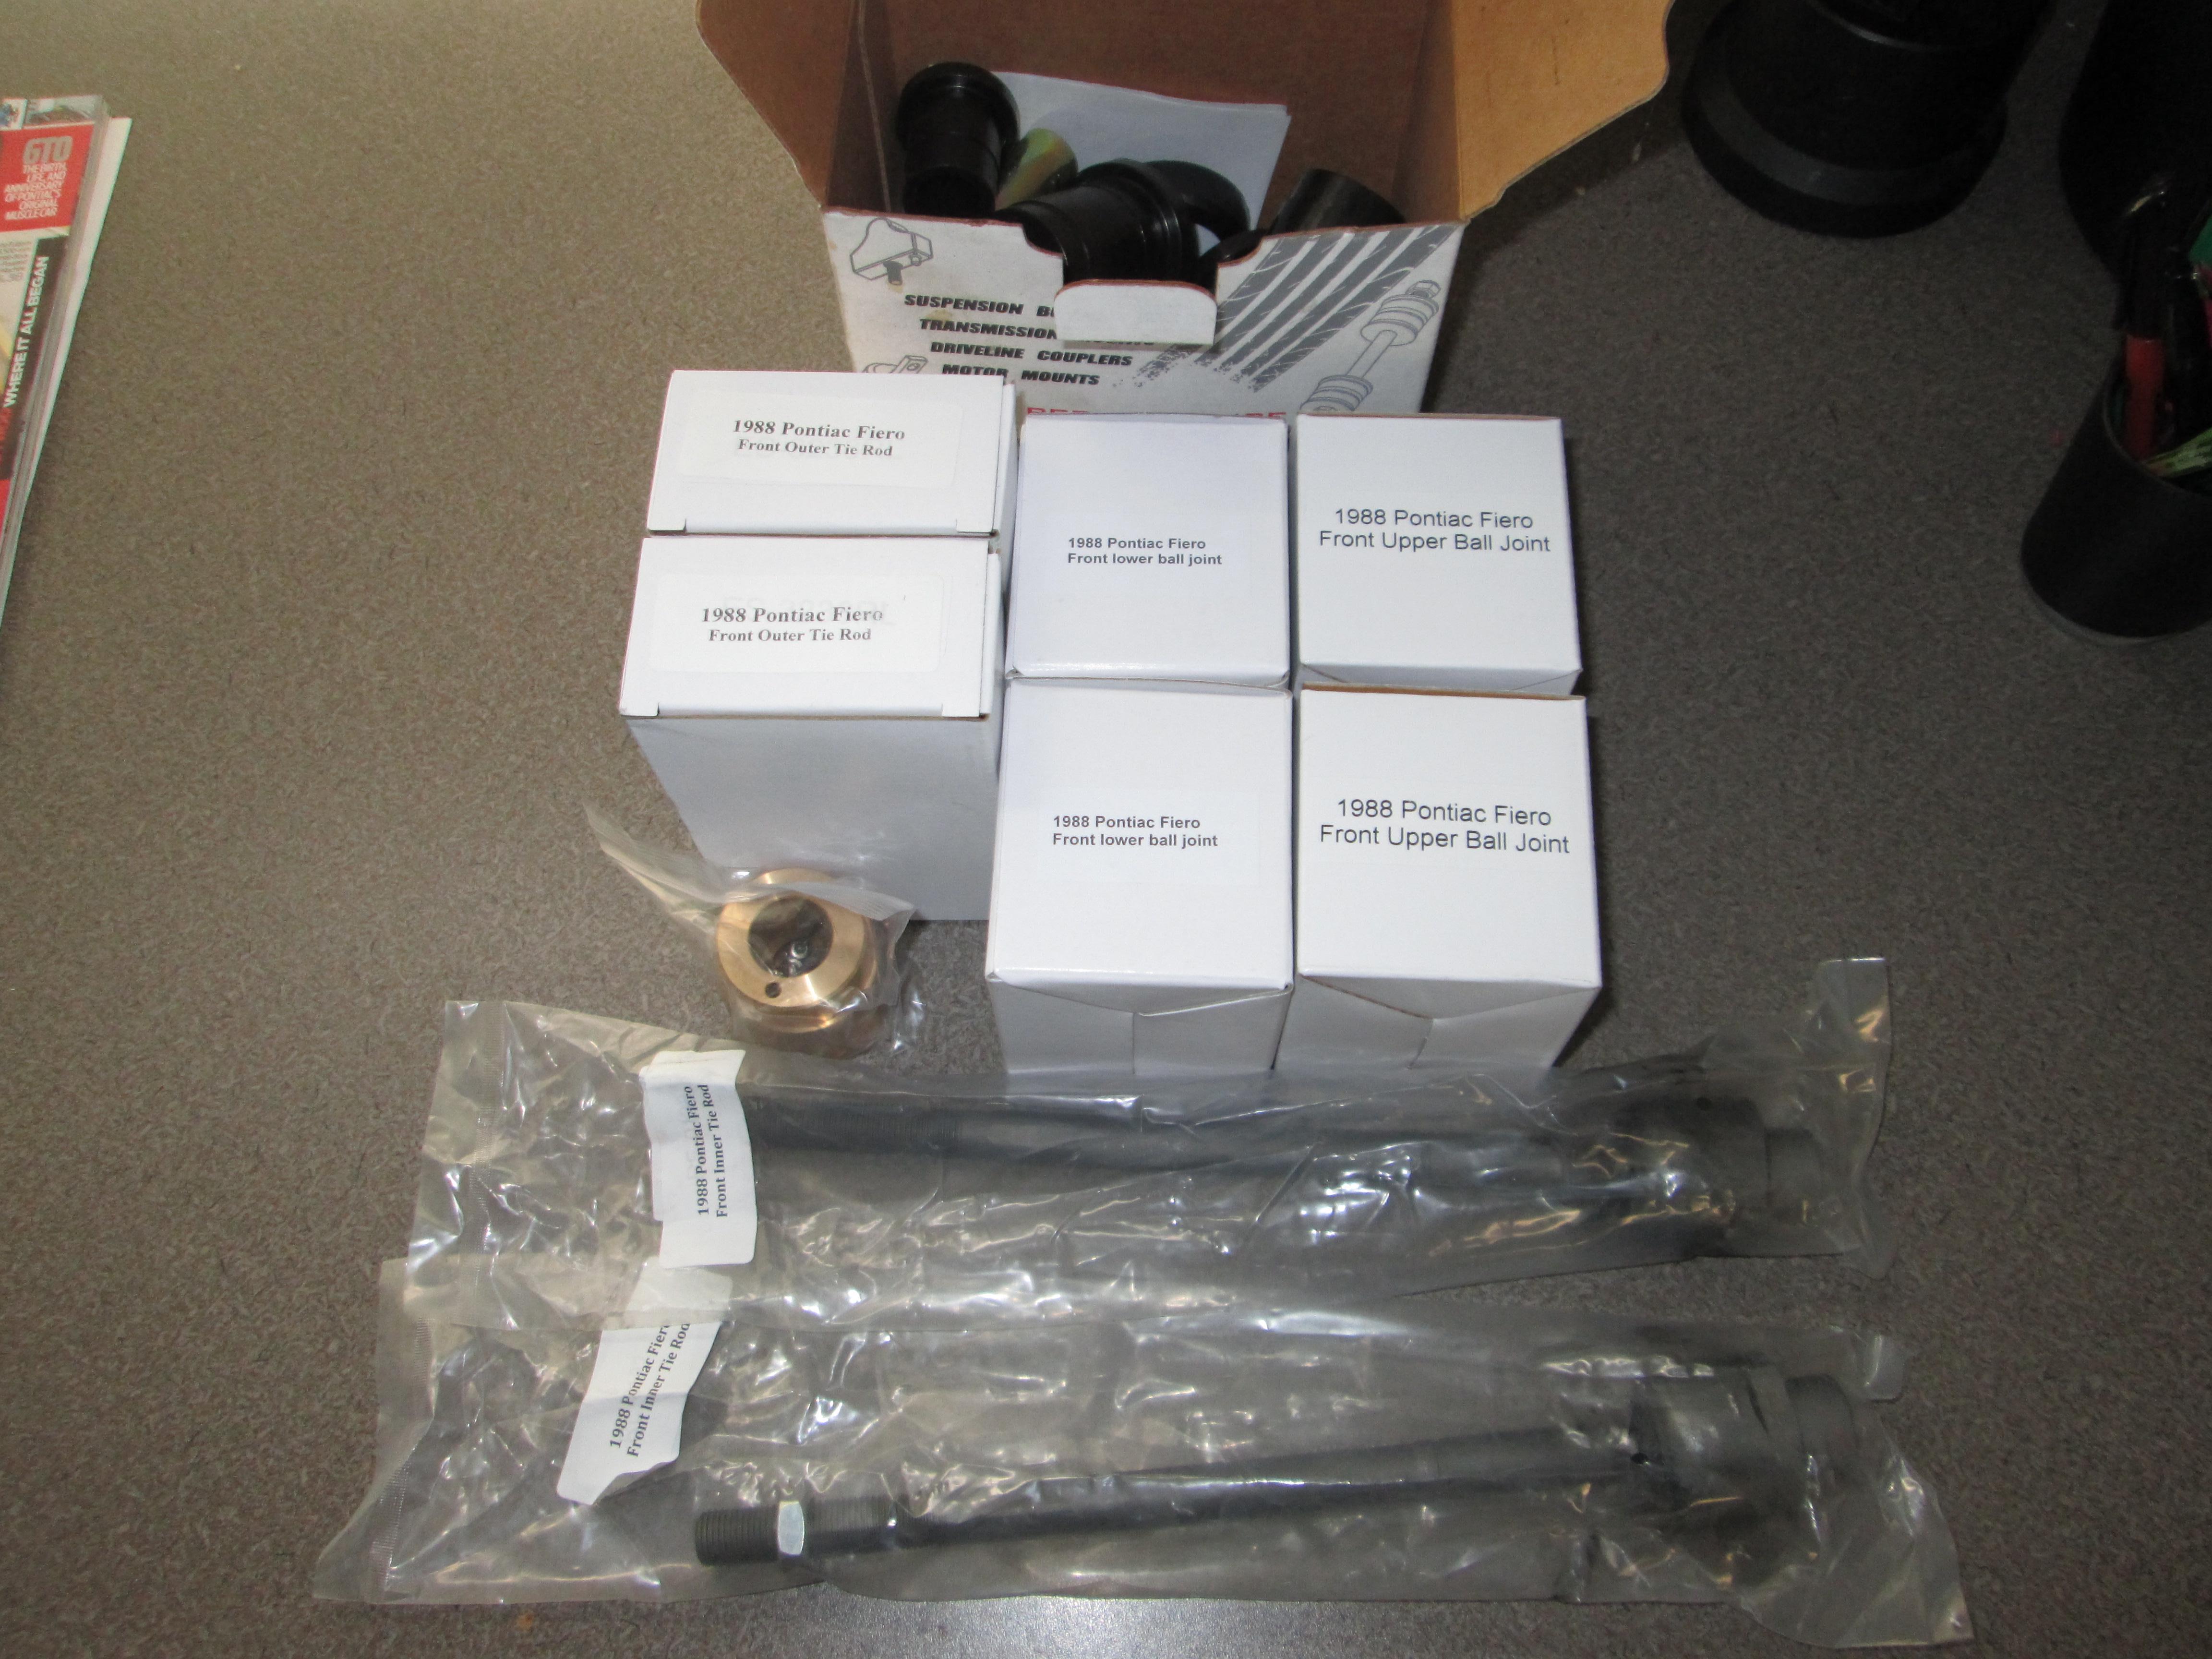
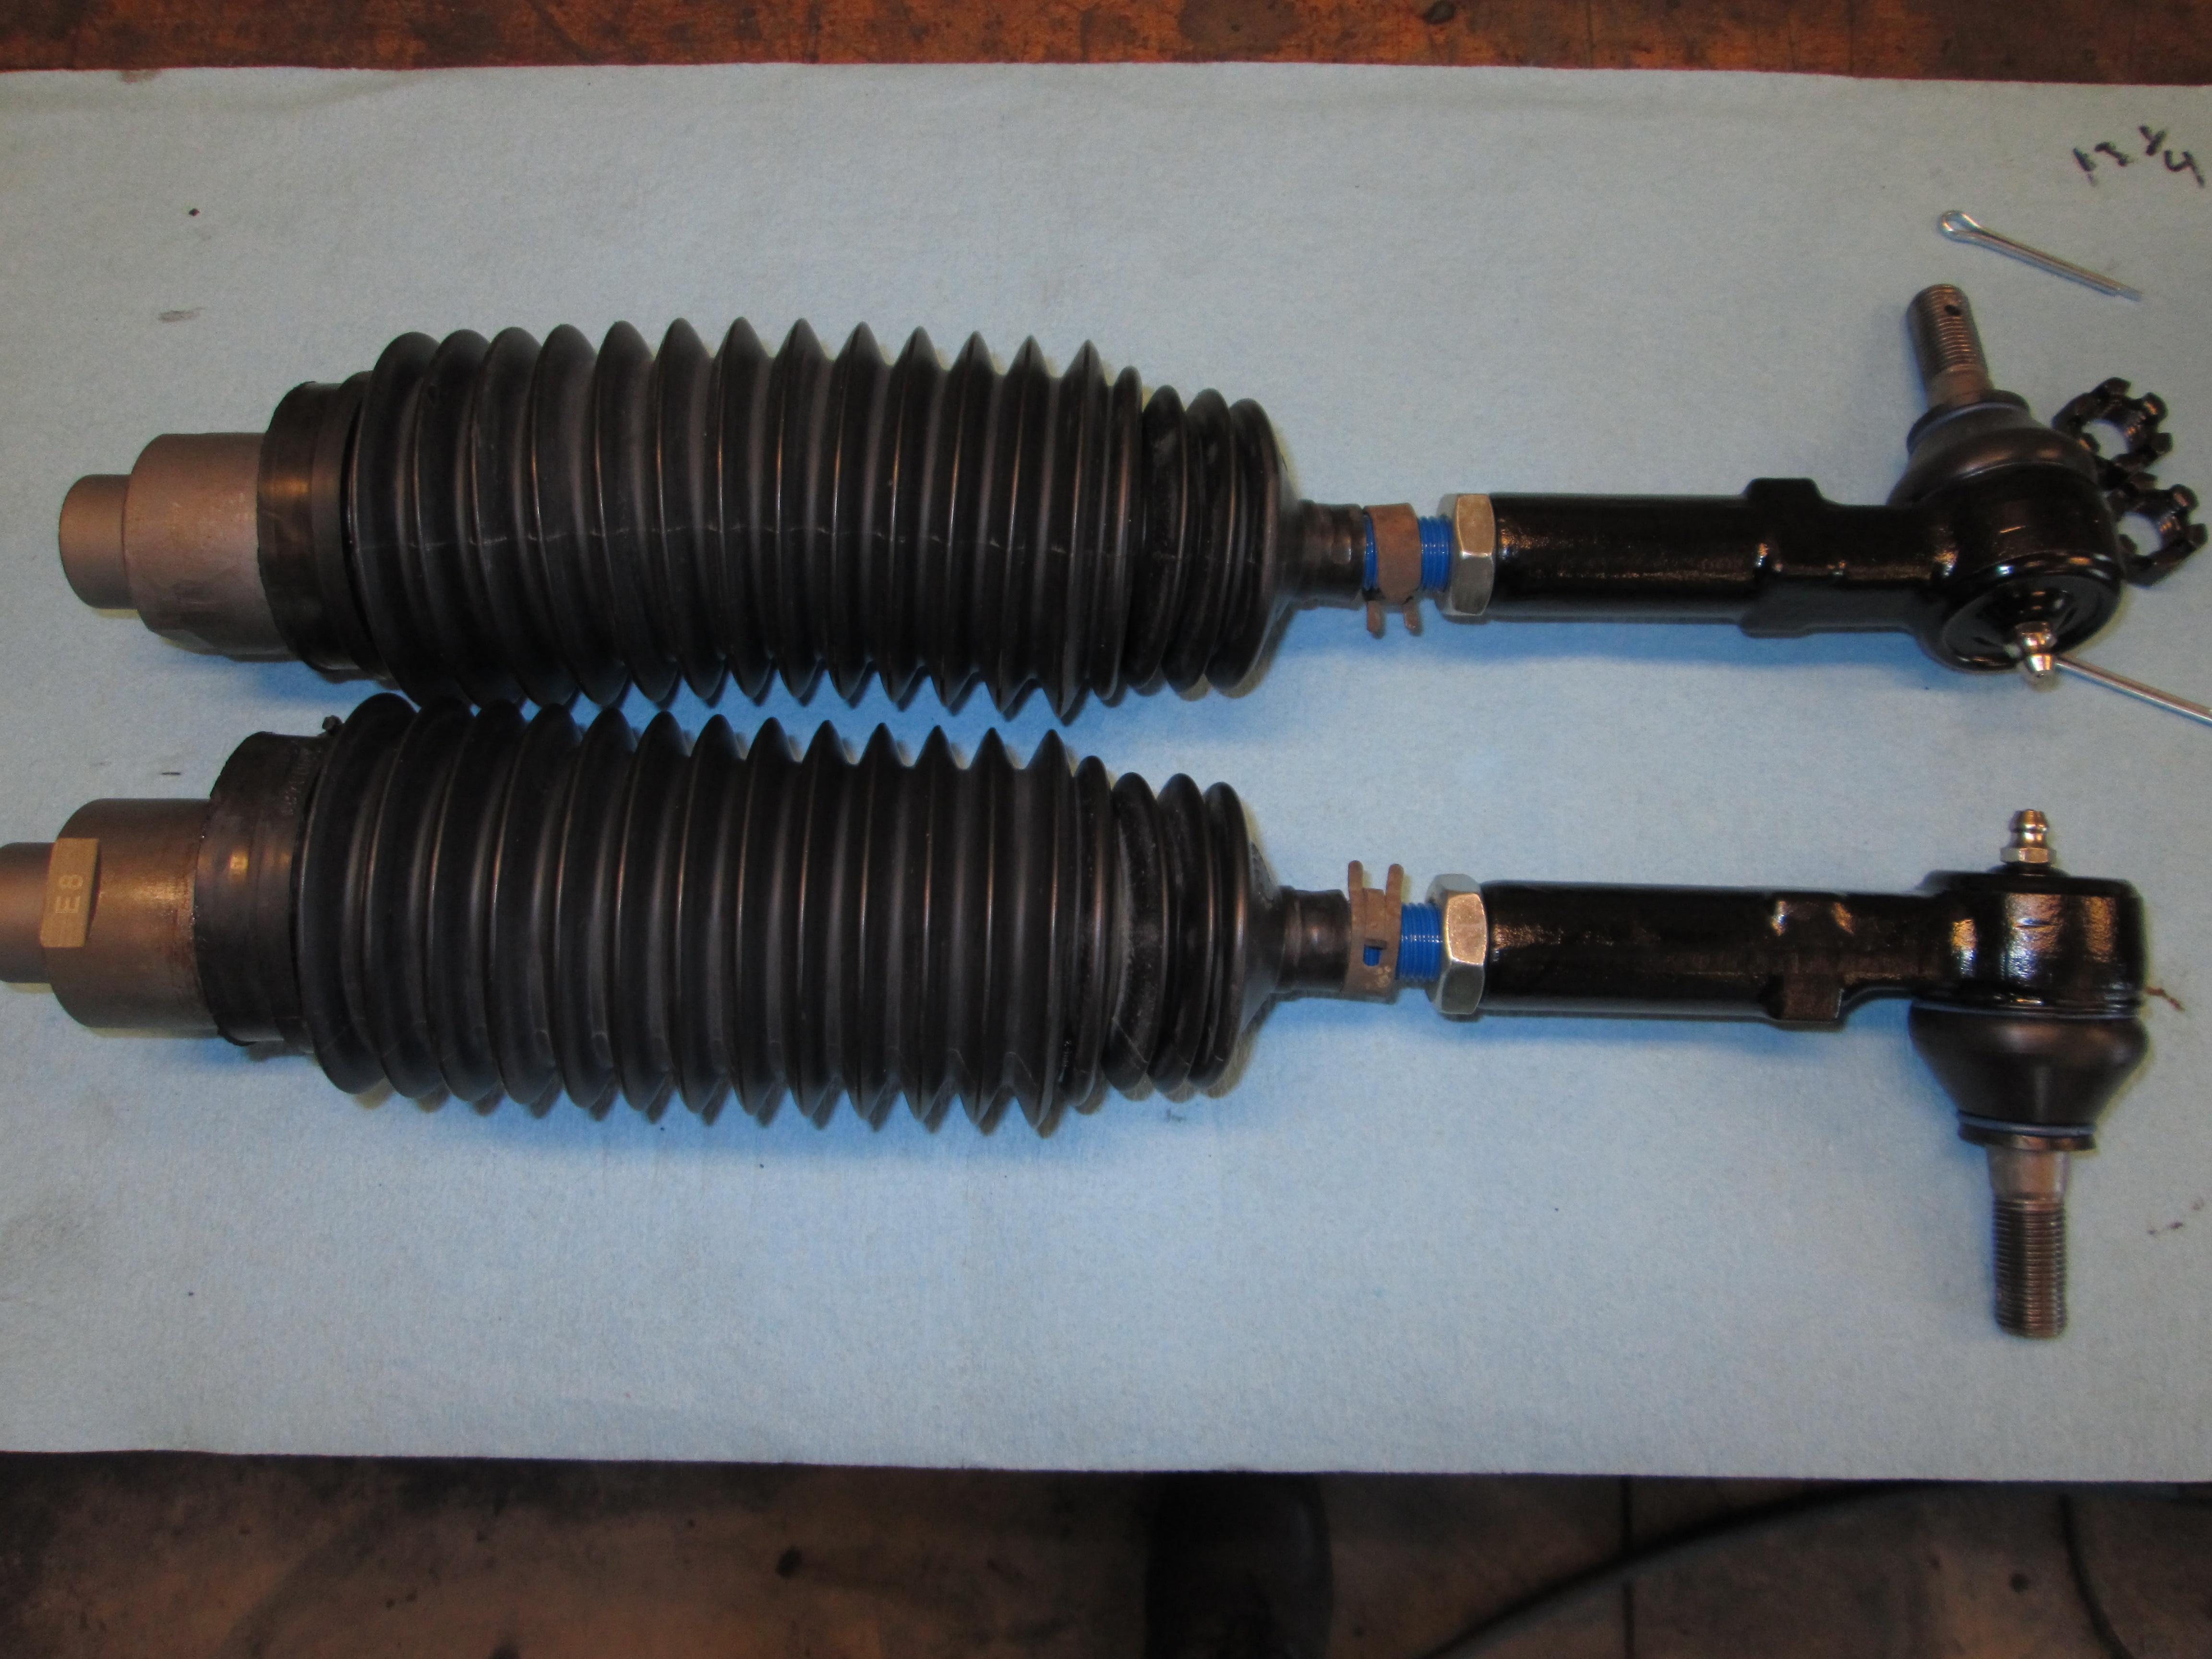
No one keeps Fiero parts in stock, so it was going to be nearly 3 PM on Saturday before the car was fixed (plus they wanted $430 to do a repair). I just pulled it back home on Friday and used the hotel and food $$$ from the weekend and ordered 4 new ball joints, 4 new tie rods and the rack bushing. The chassis has 195K on it and I hadn't touched the front suspension besides the stiffer springs and shocks. At least now the front suspension will be in good shape.
No one keeps Fiero parts in stock, so it was going to be nearly 3 PM on Saturday before the car was fixed (plus they wanted $430 to do a repair). I just pulled it back home on Friday and used the hotel and food $$$ from the weekend and ordered 4 new ball joints, 4 new tie rods and the rack bushing. The chassis has 195K on it and I hadn't touched the front suspension besides the stiffer springs and shocks. At least now the front suspension will be in good shape.
09-14-2014, 06:12 PM
#197
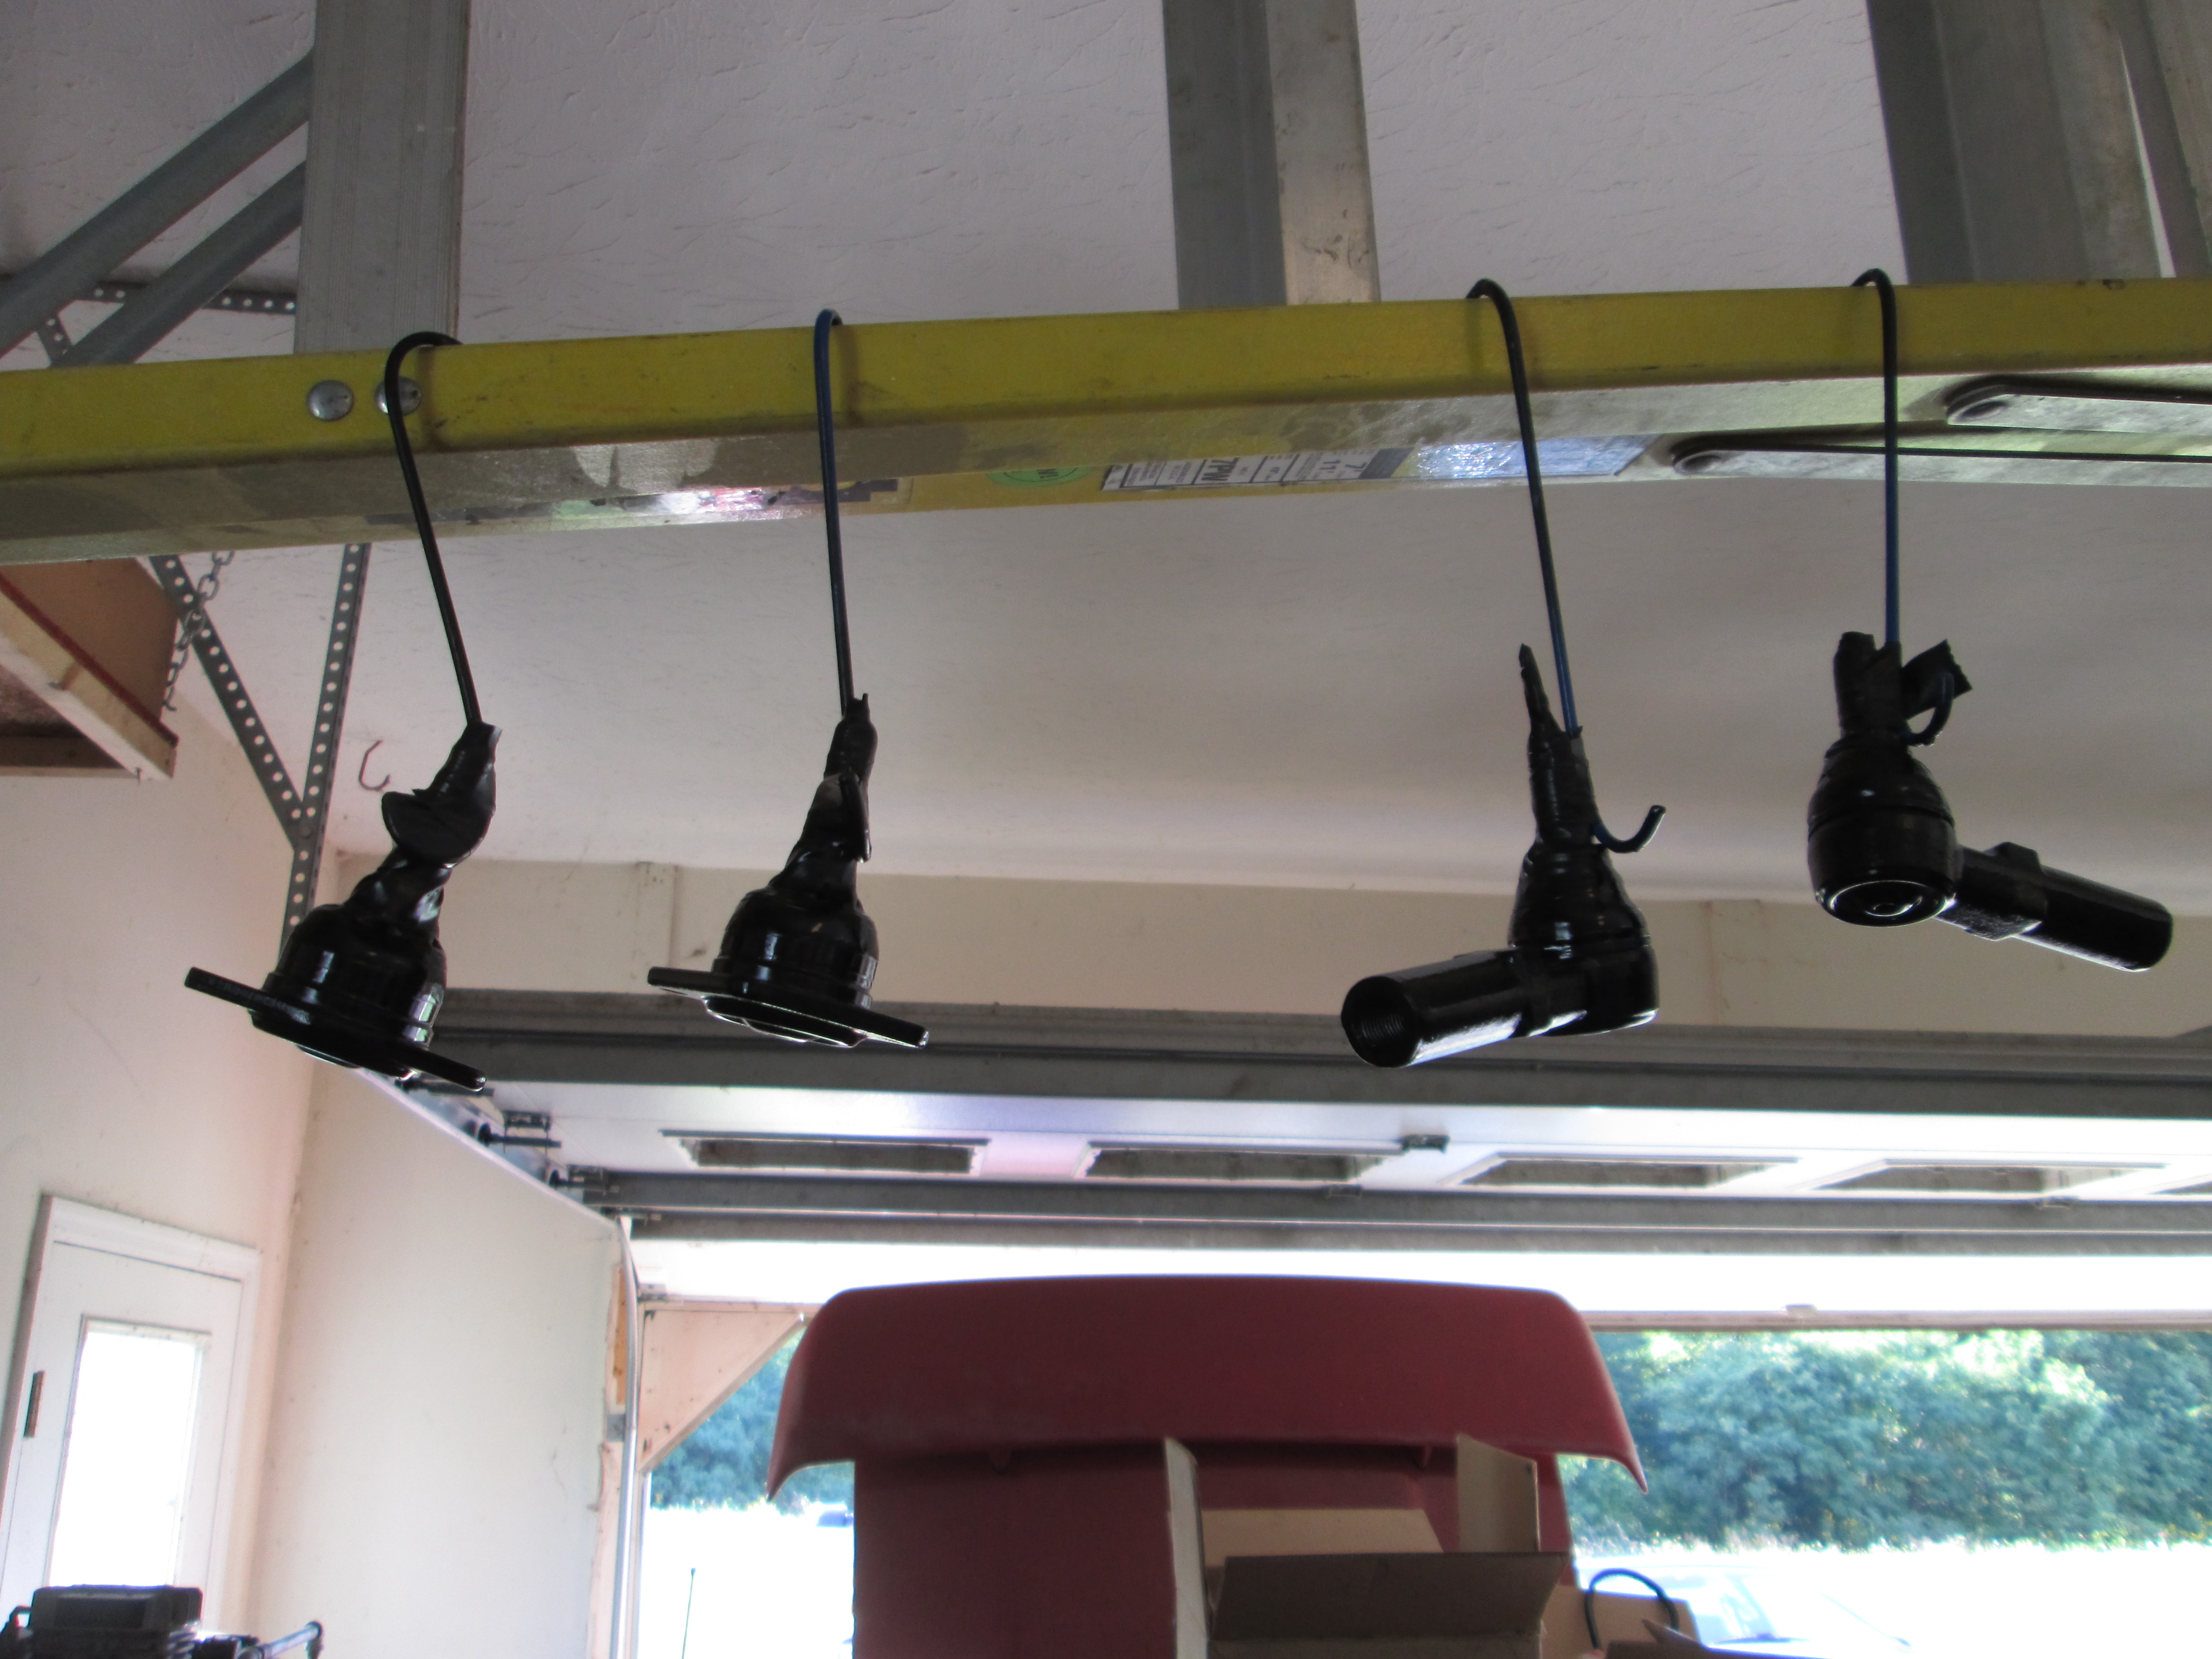
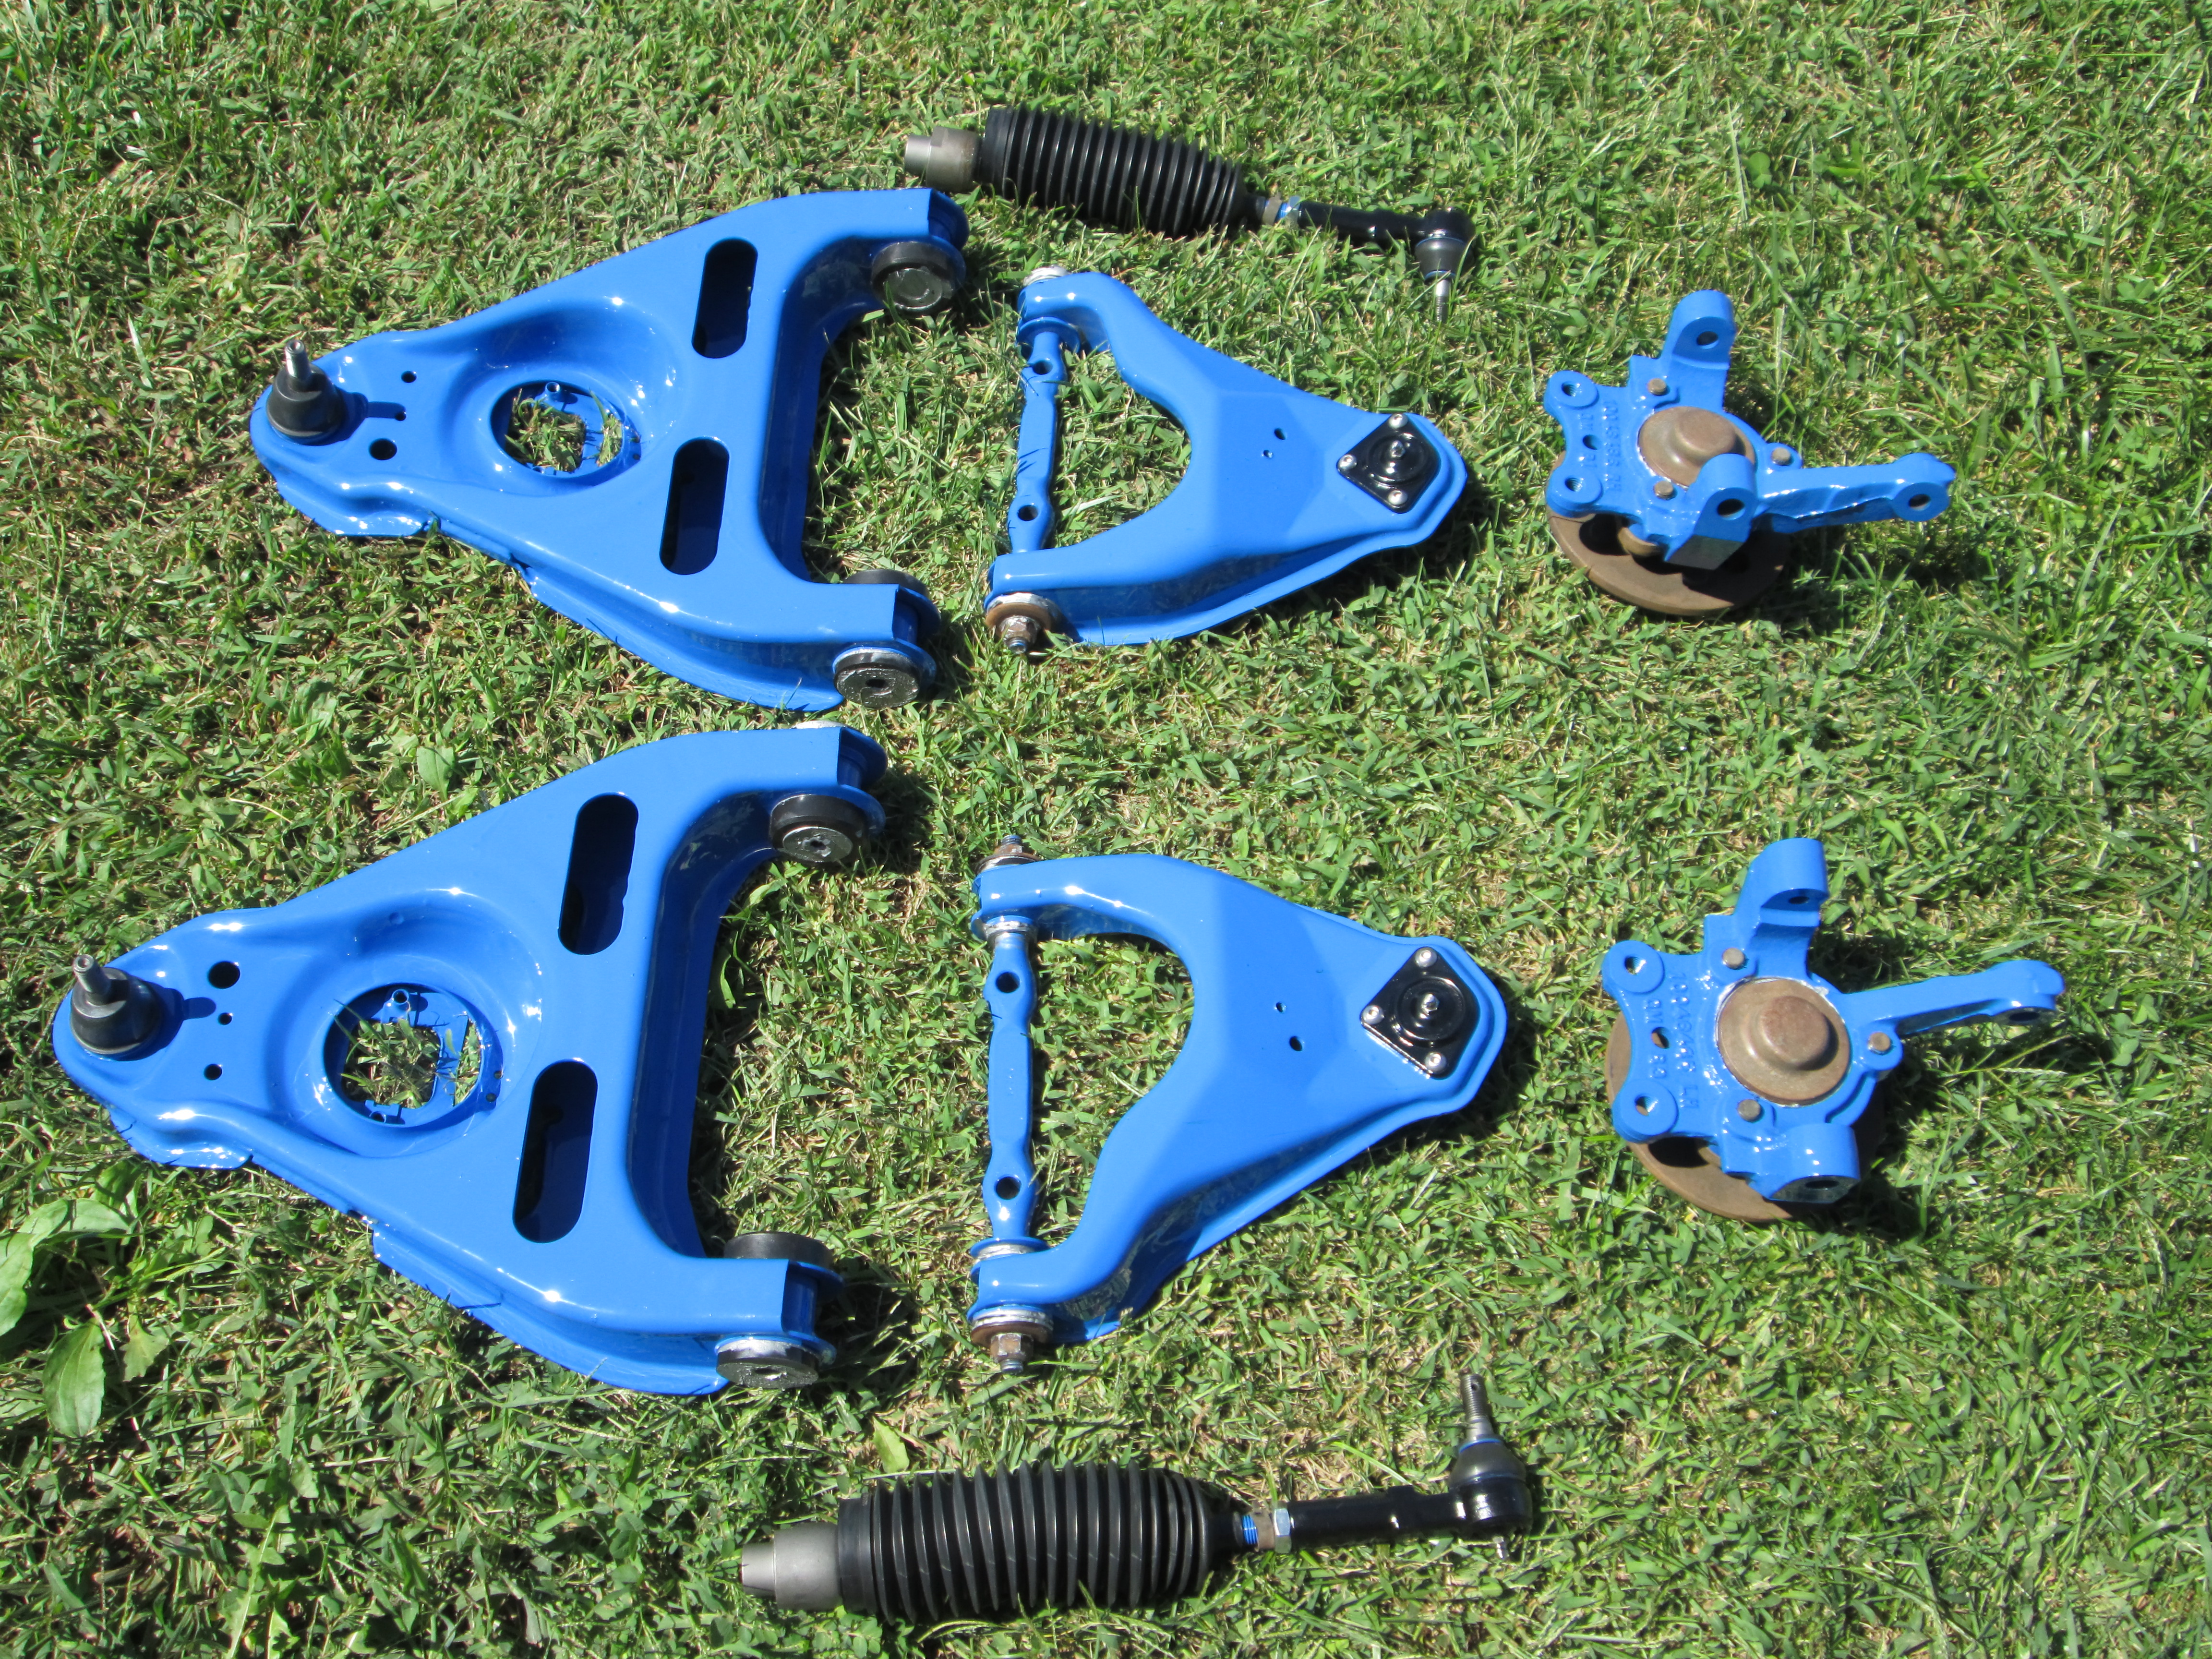
All the parts for the front suspension rebuild came in, so it was tear down time:


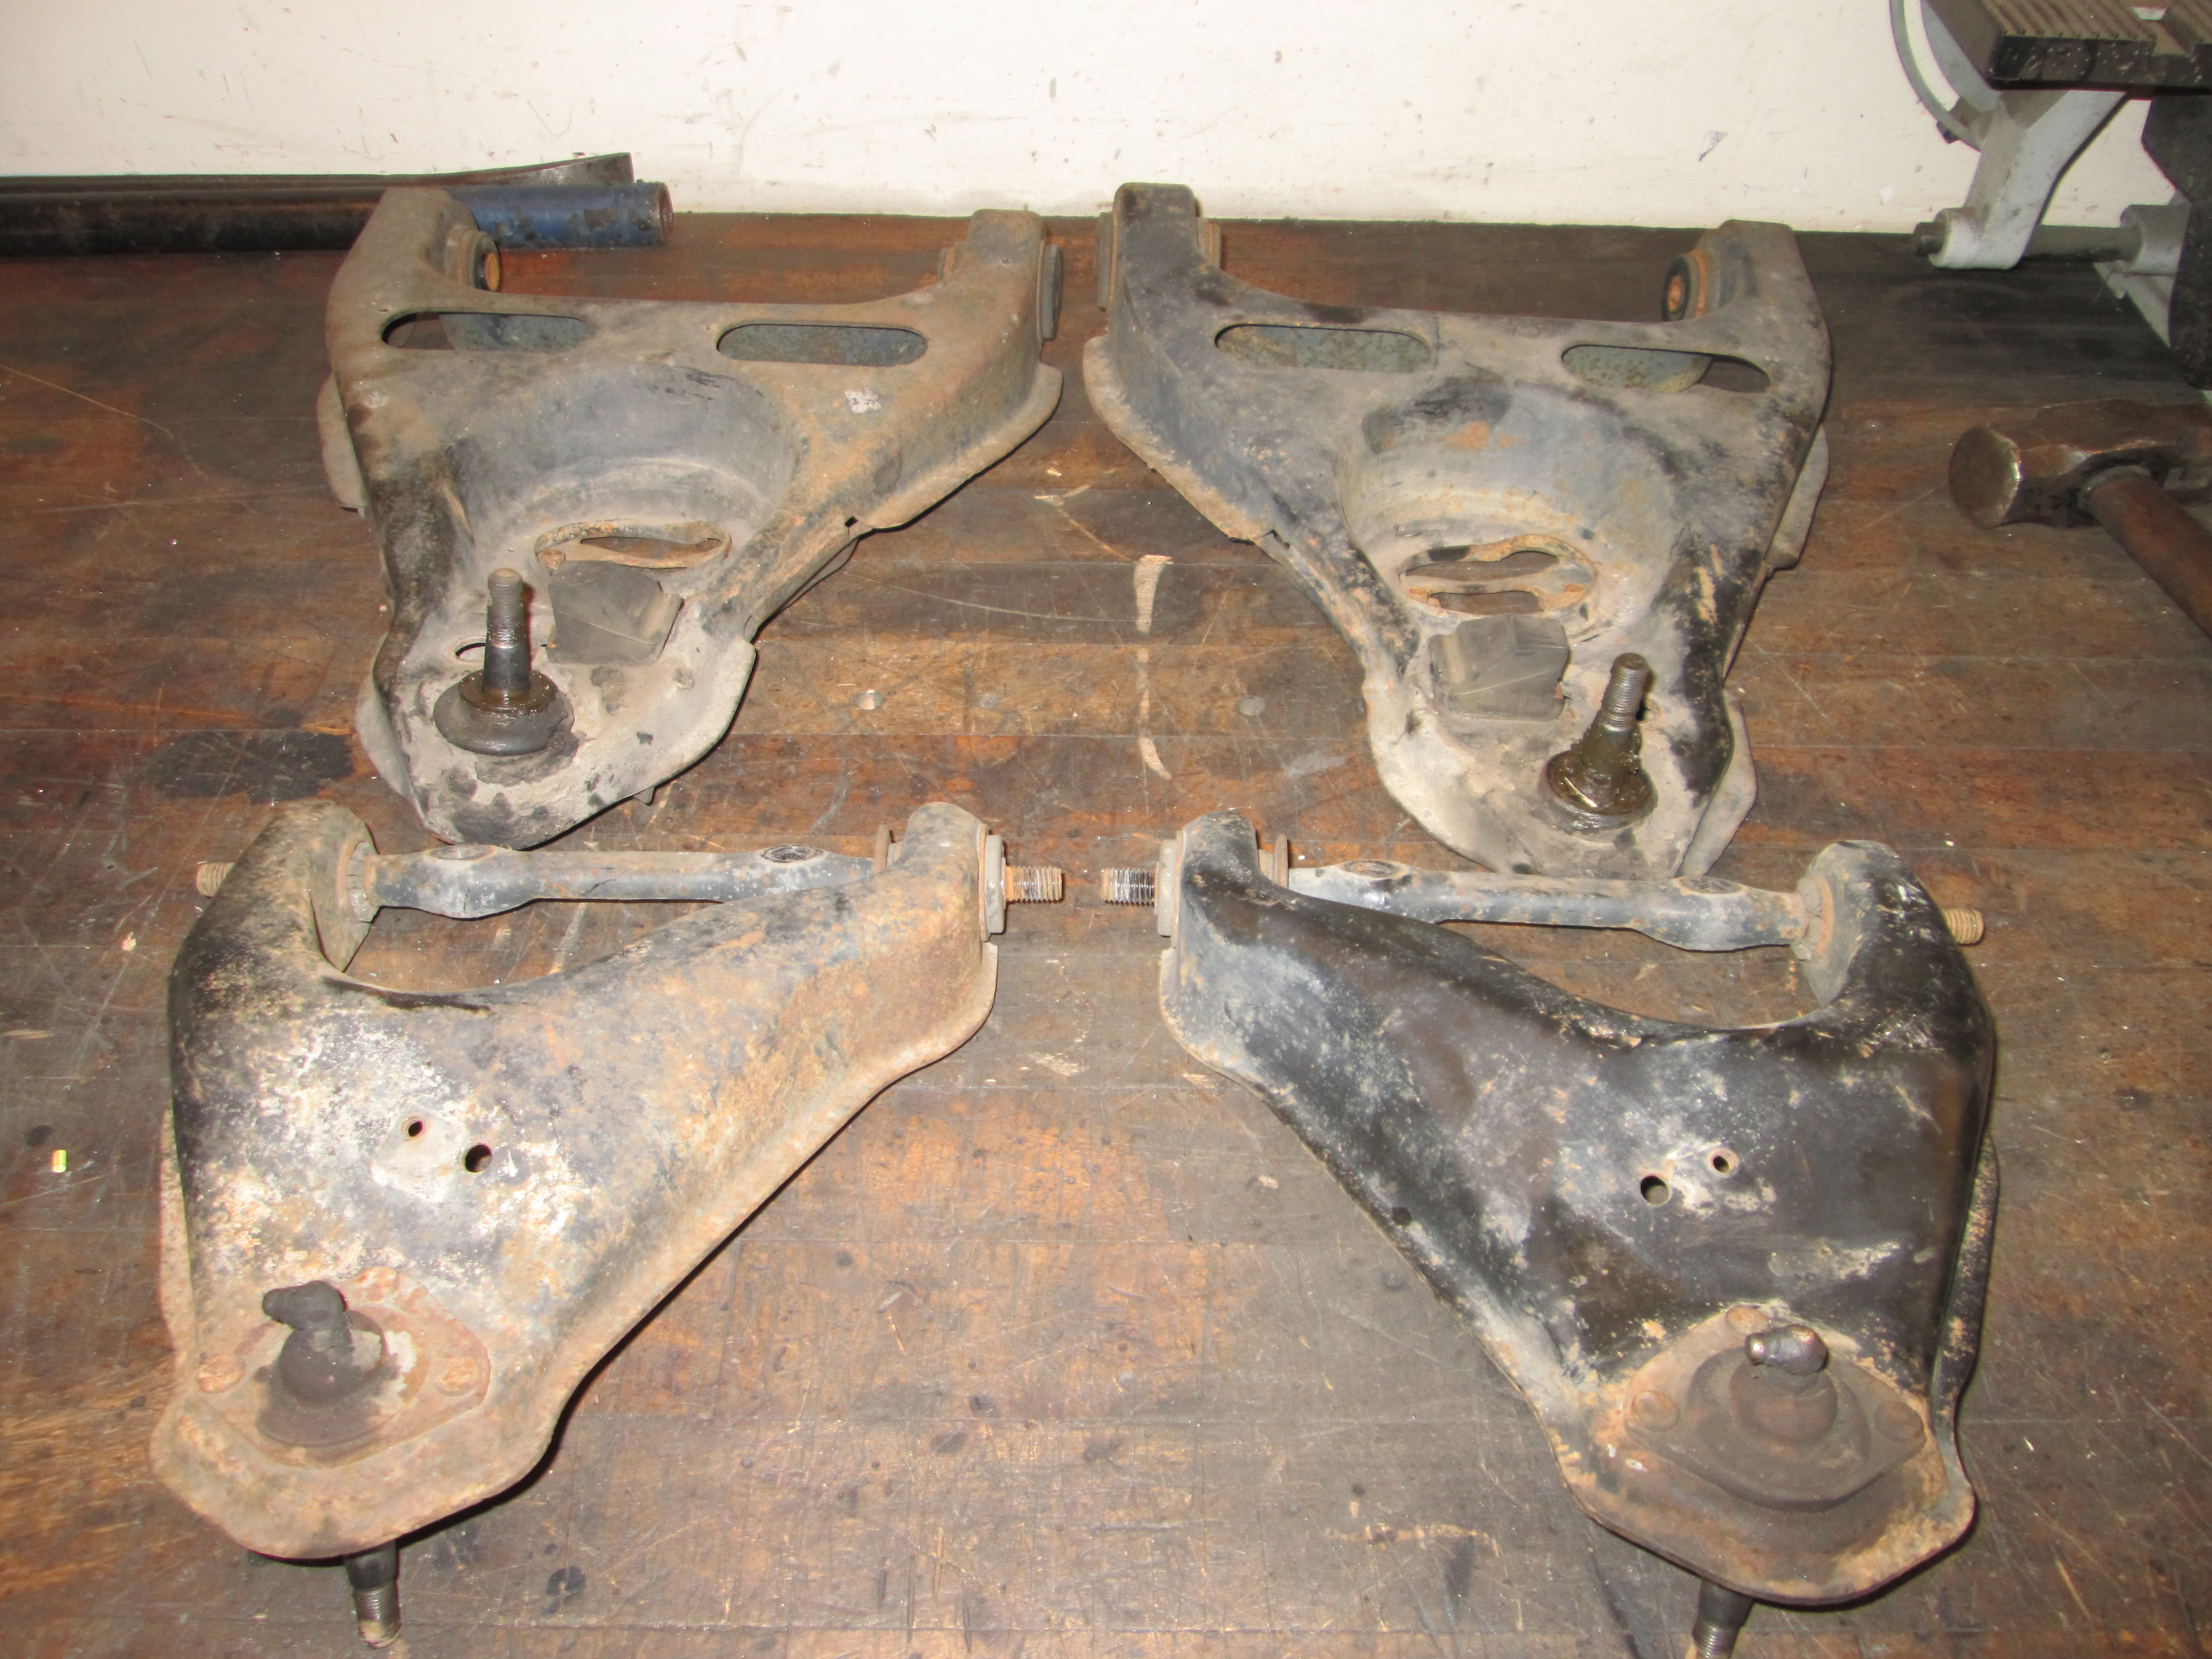
Then press out the lower ball joints, grind the rivets in the upper ball joints, burn out the rubber bushings, lots of scraping, wire brushing and cleaning. Paint the new parts, assemble the new parts and then install the new parts on the car.
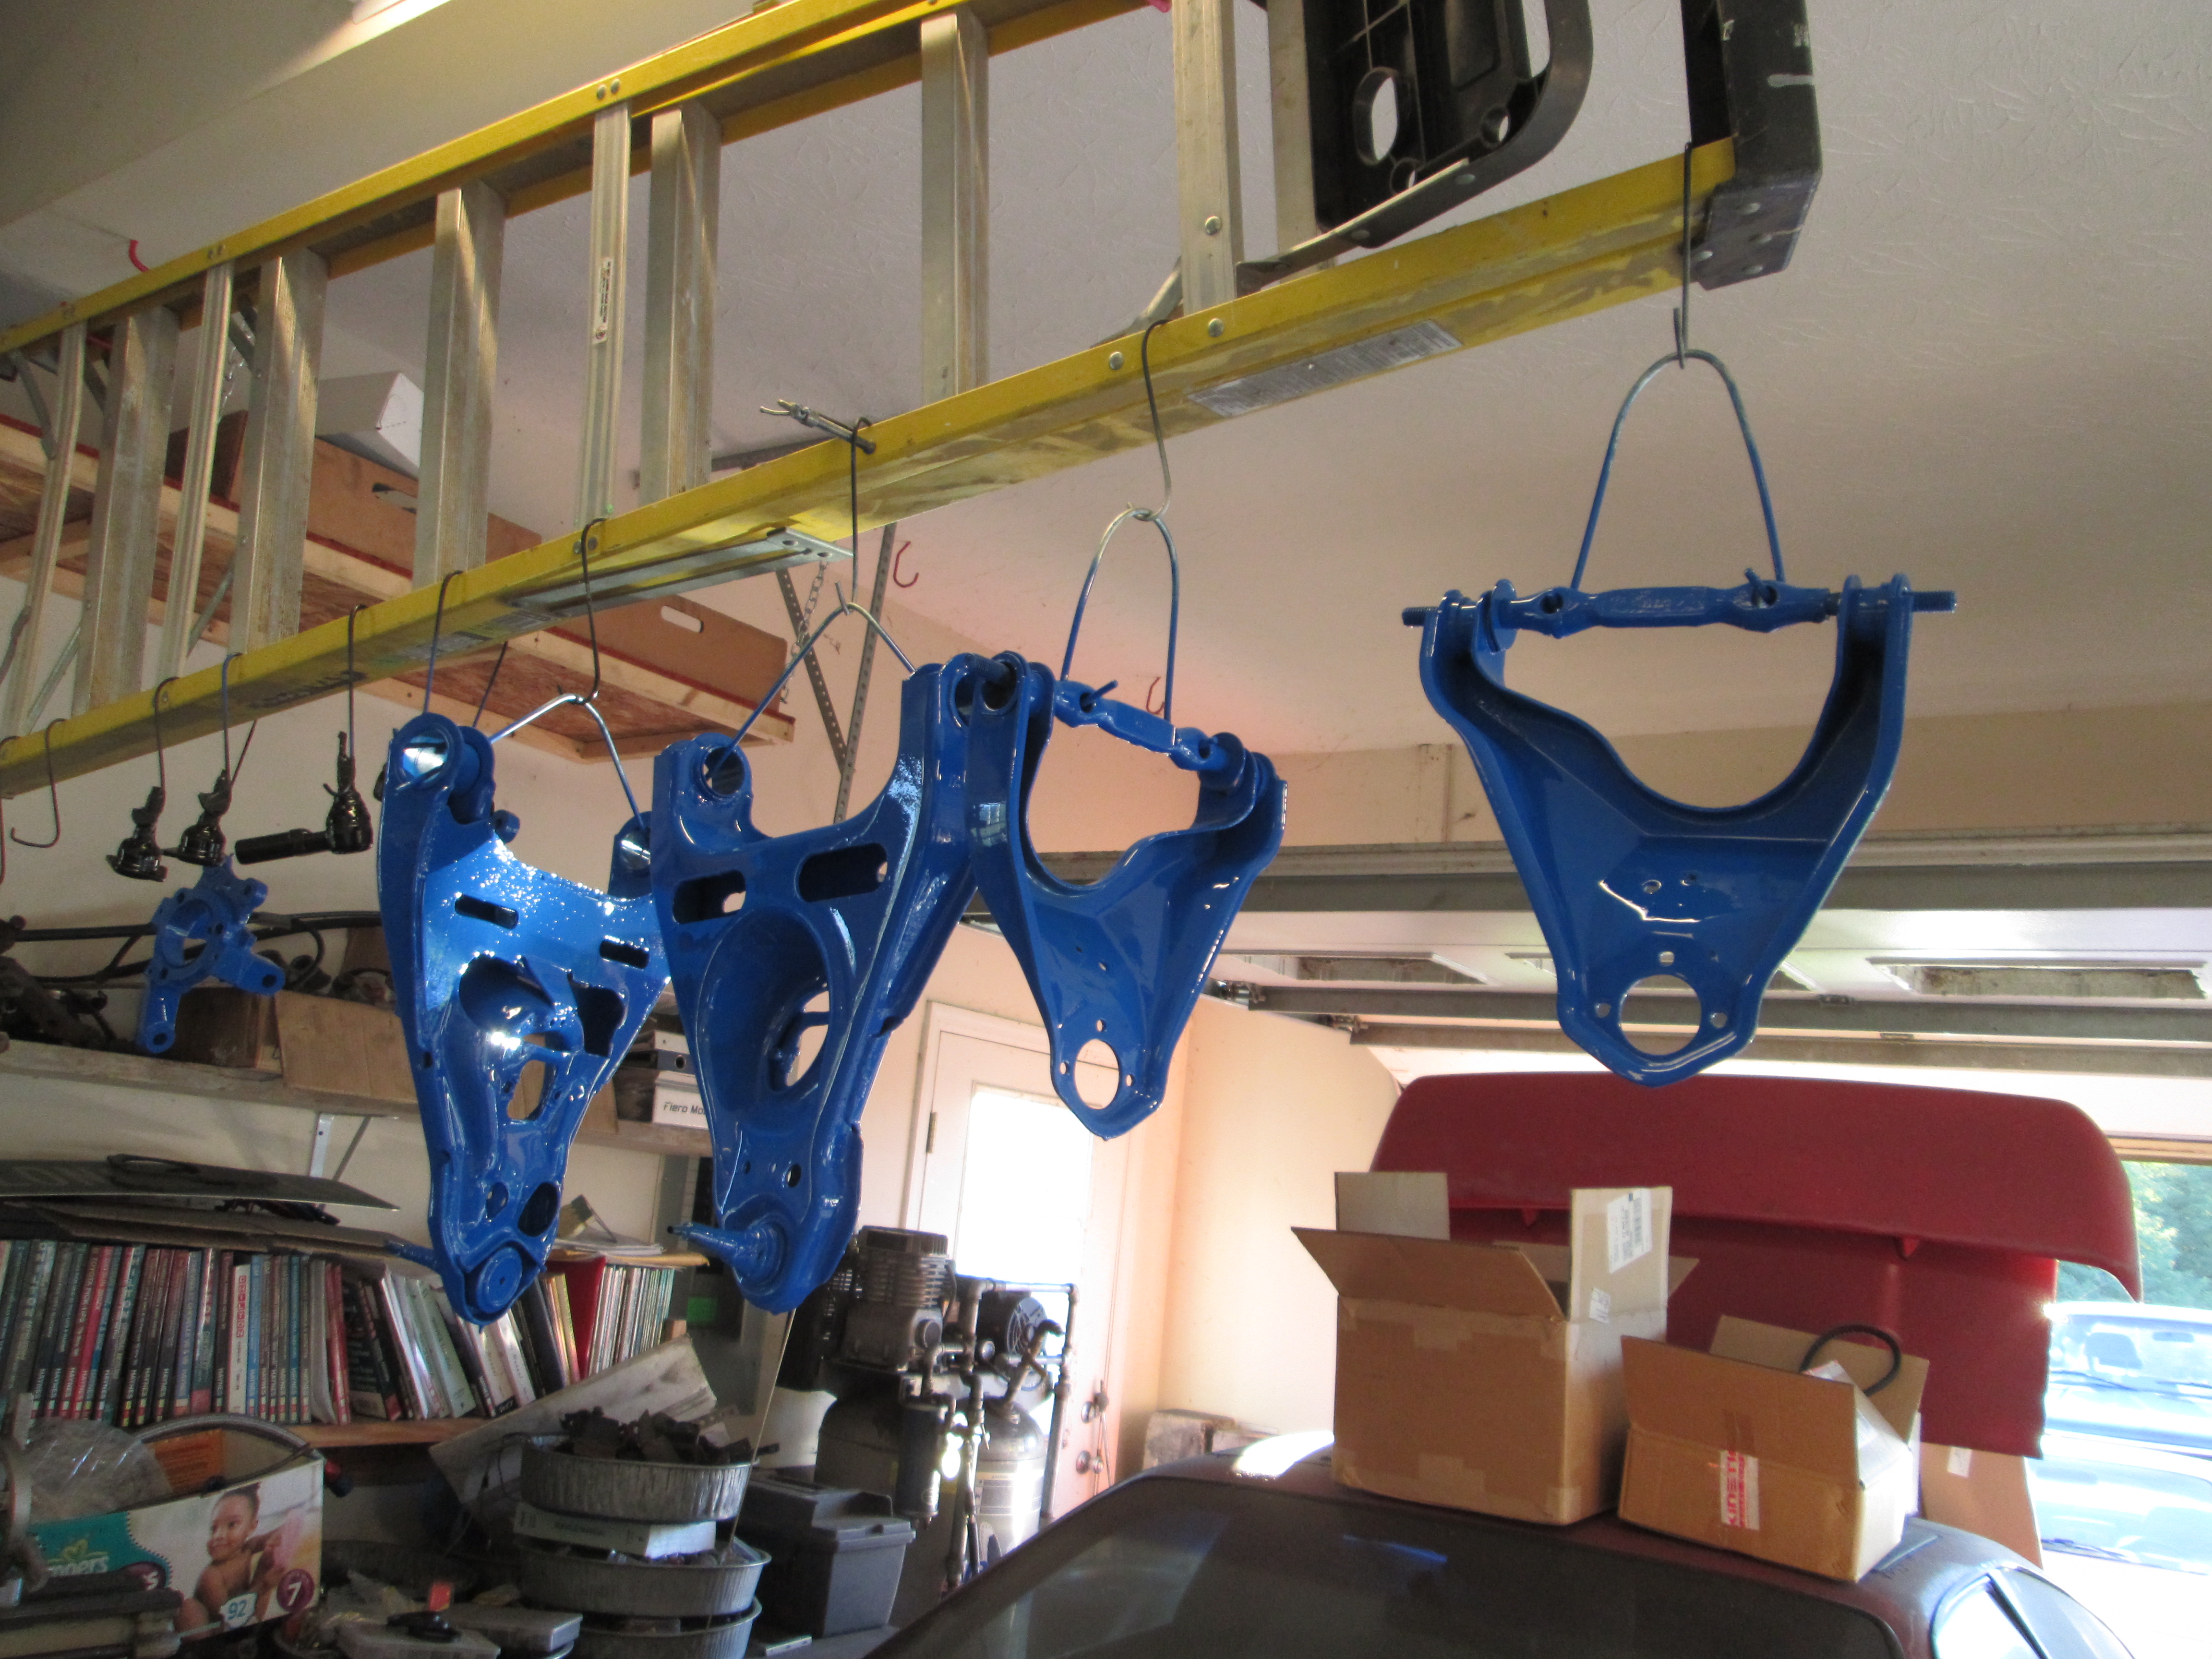
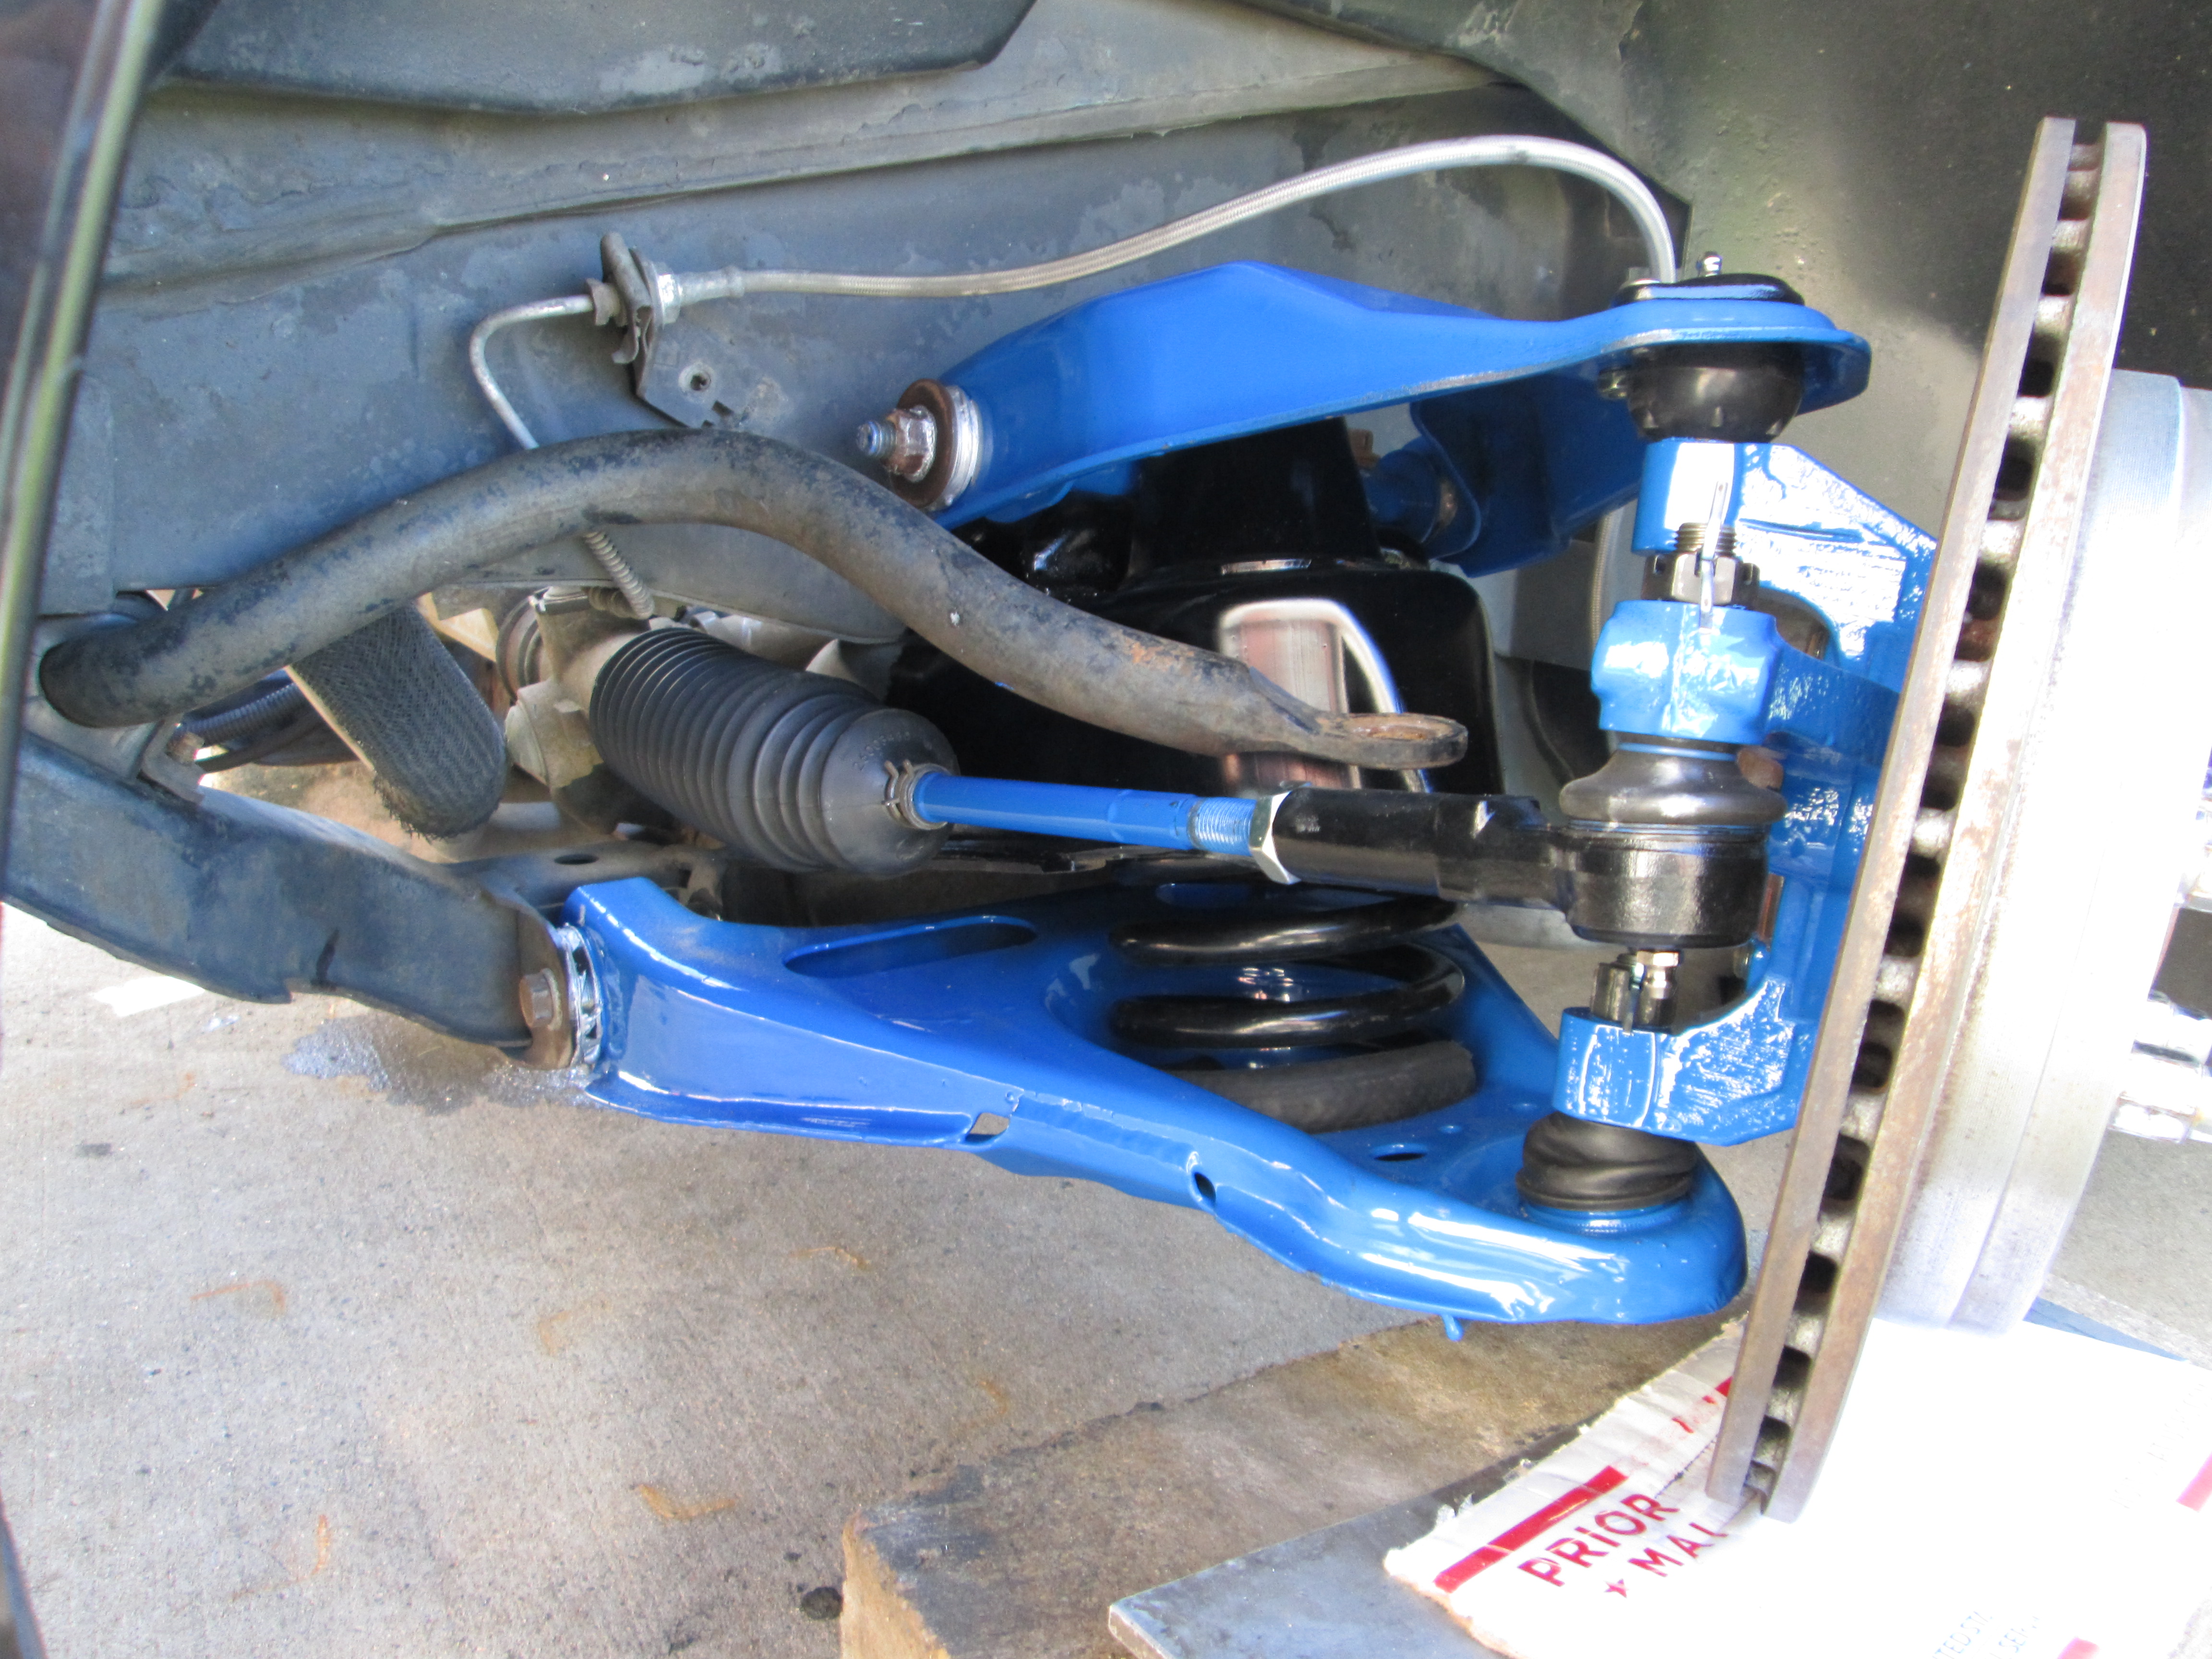
Got the alignment dialed in. Now I just need to install the shocks, sway bar end links, bump stops and wheels and take it for a shake down run!
Then press out the lower ball joints, grind the rivets in the upper ball joints, burn out the rubber bushings, lots of scraping, wire brushing and cleaning. Paint the new parts, assemble the new parts and then install the new parts on the car.
Got the alignment dialed in. Now I just need to install the shocks, sway bar end links, bump stops and wheels and take it for a shake down run!