
88 Fiero Formula LS4/F40 6 speed swap
 05-04-2021, 04:01 PM
#381
Launching!

It's all back in the car again. You gotta be getting excited.


 06-12-2021, 09:30 AM
#384

I remember really liking the power of my 07 Monte SS back in the day. This Fiero is half the size, this is gonna be a fricken riot to drive !!! Once he�s done, He could write a book like showcasing the whole build process. I bet it would sell
 08-07-2021, 04:34 PM
#385

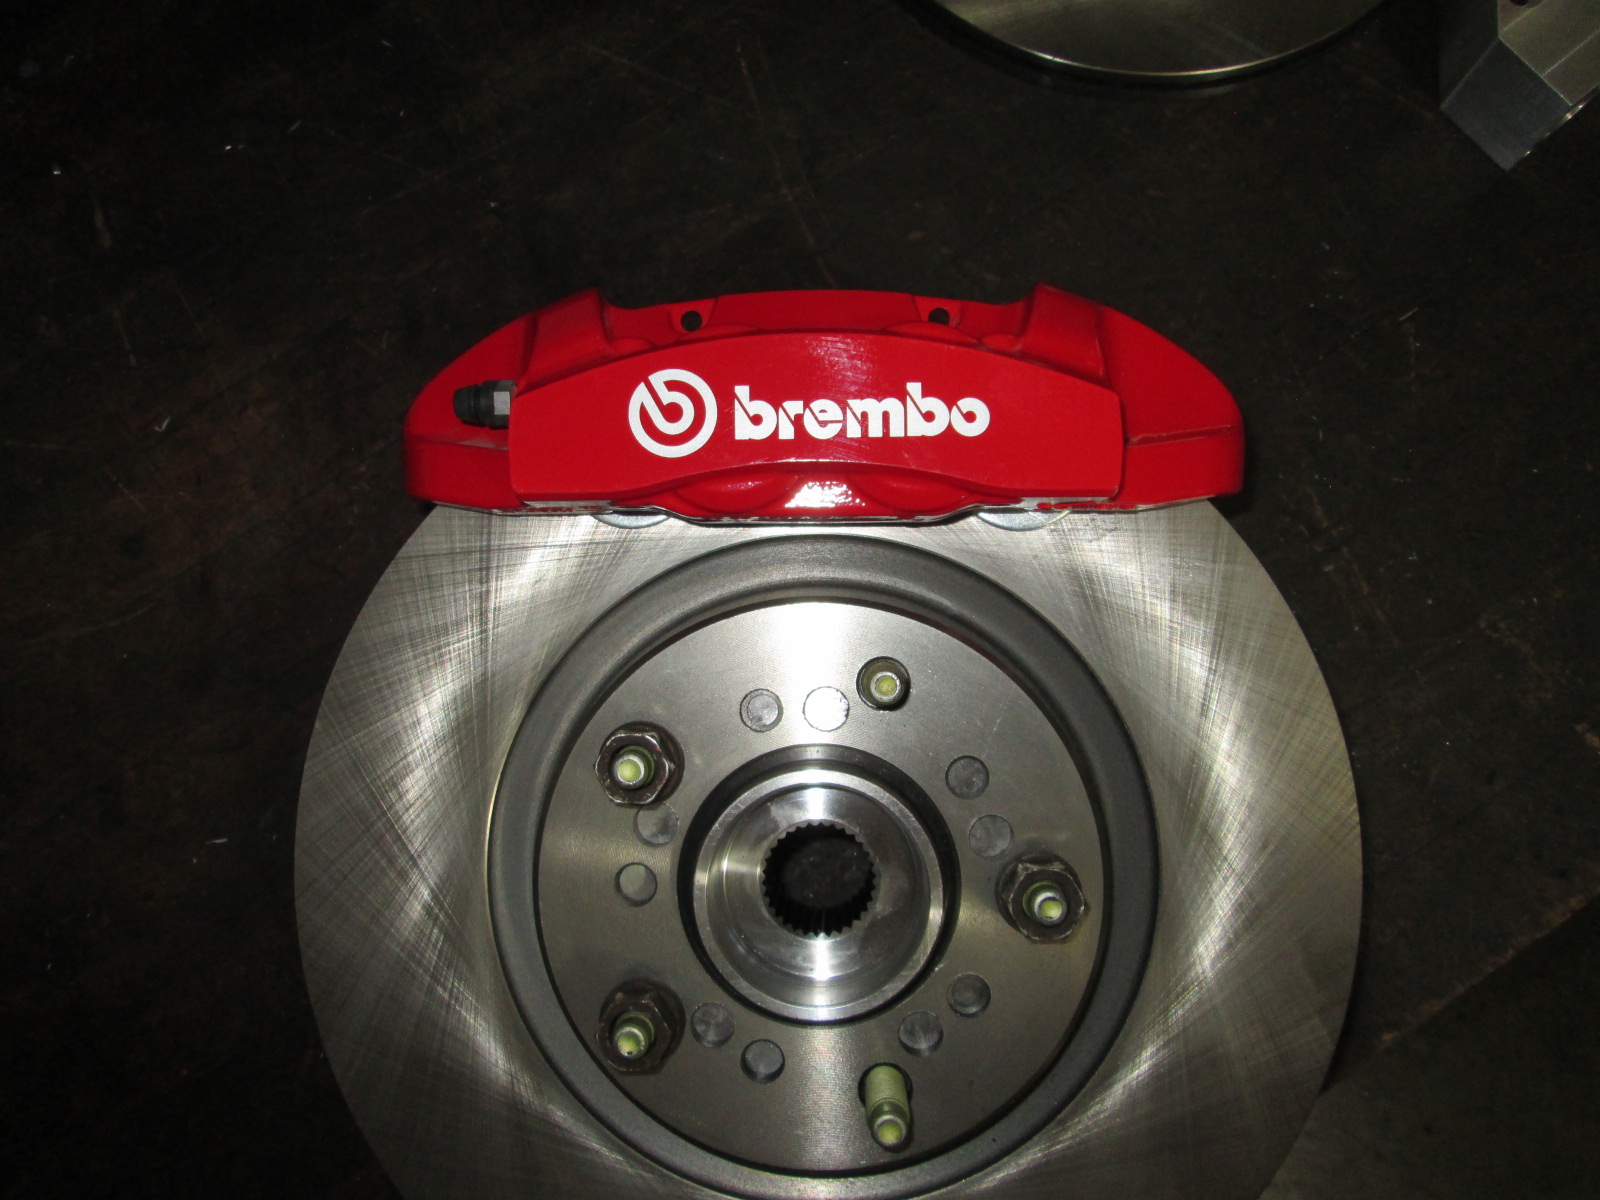
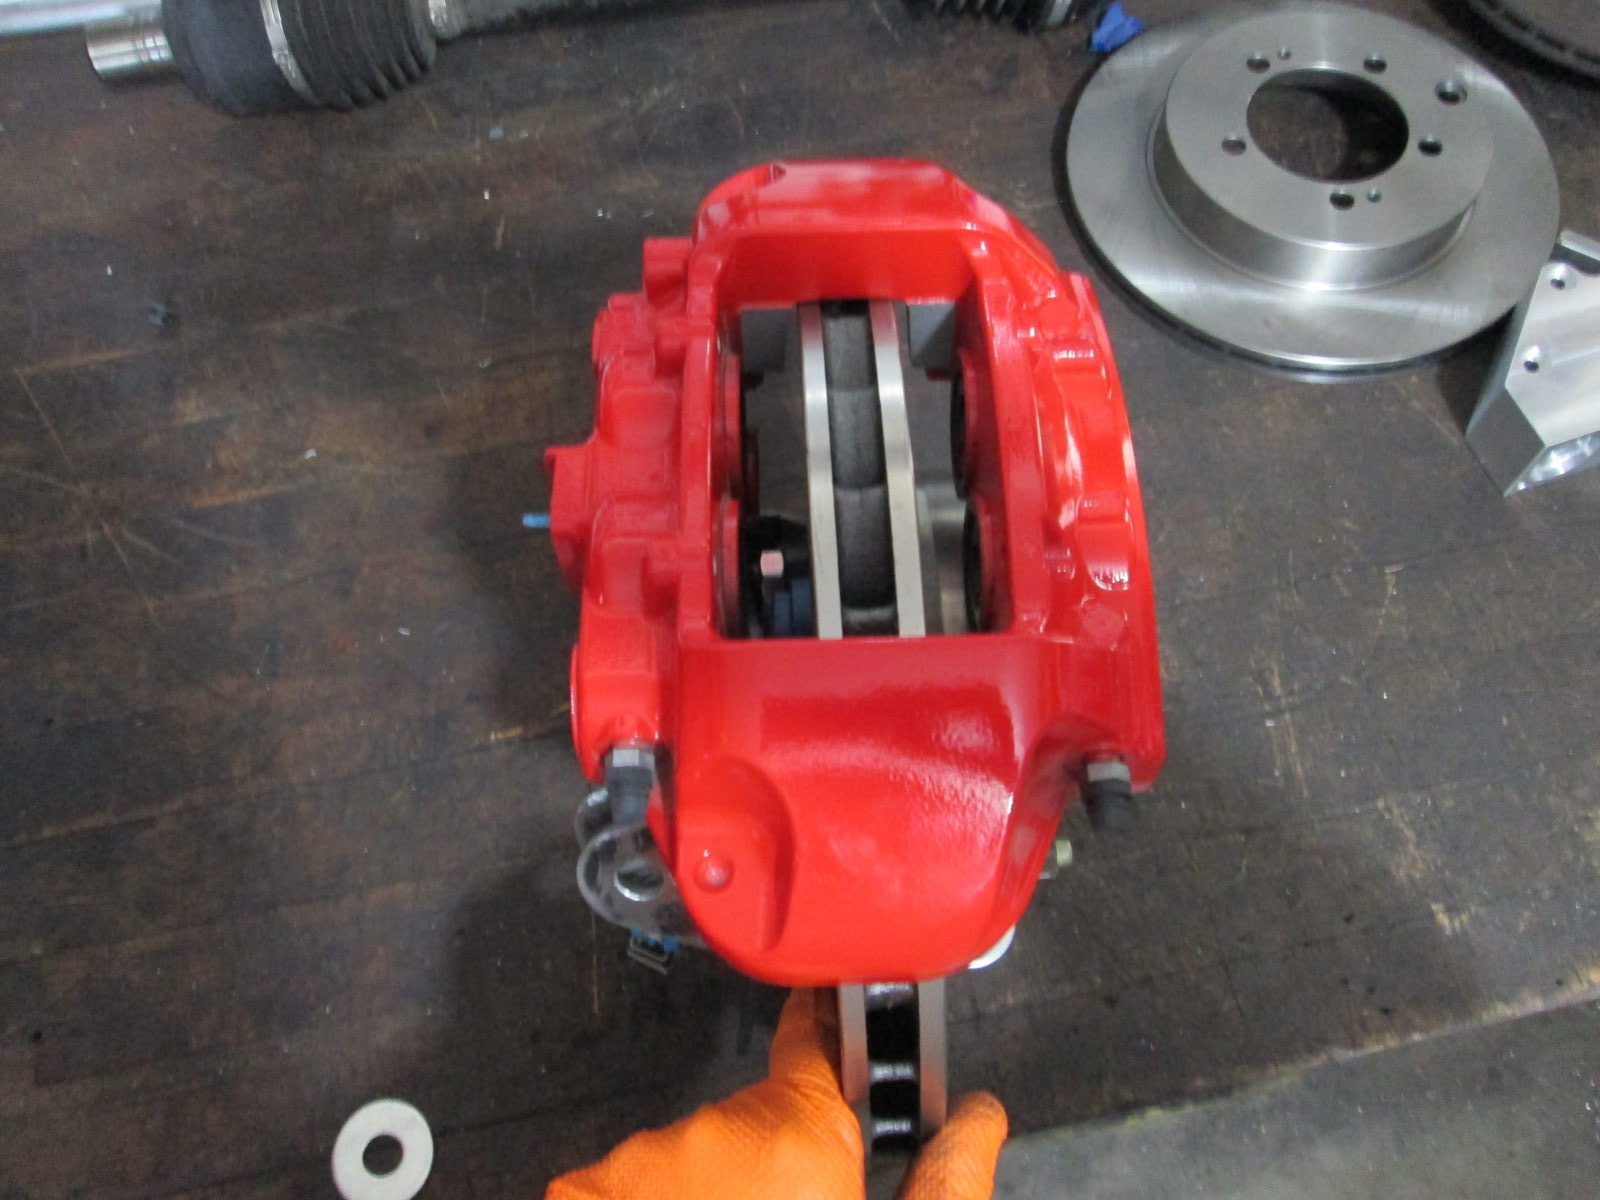
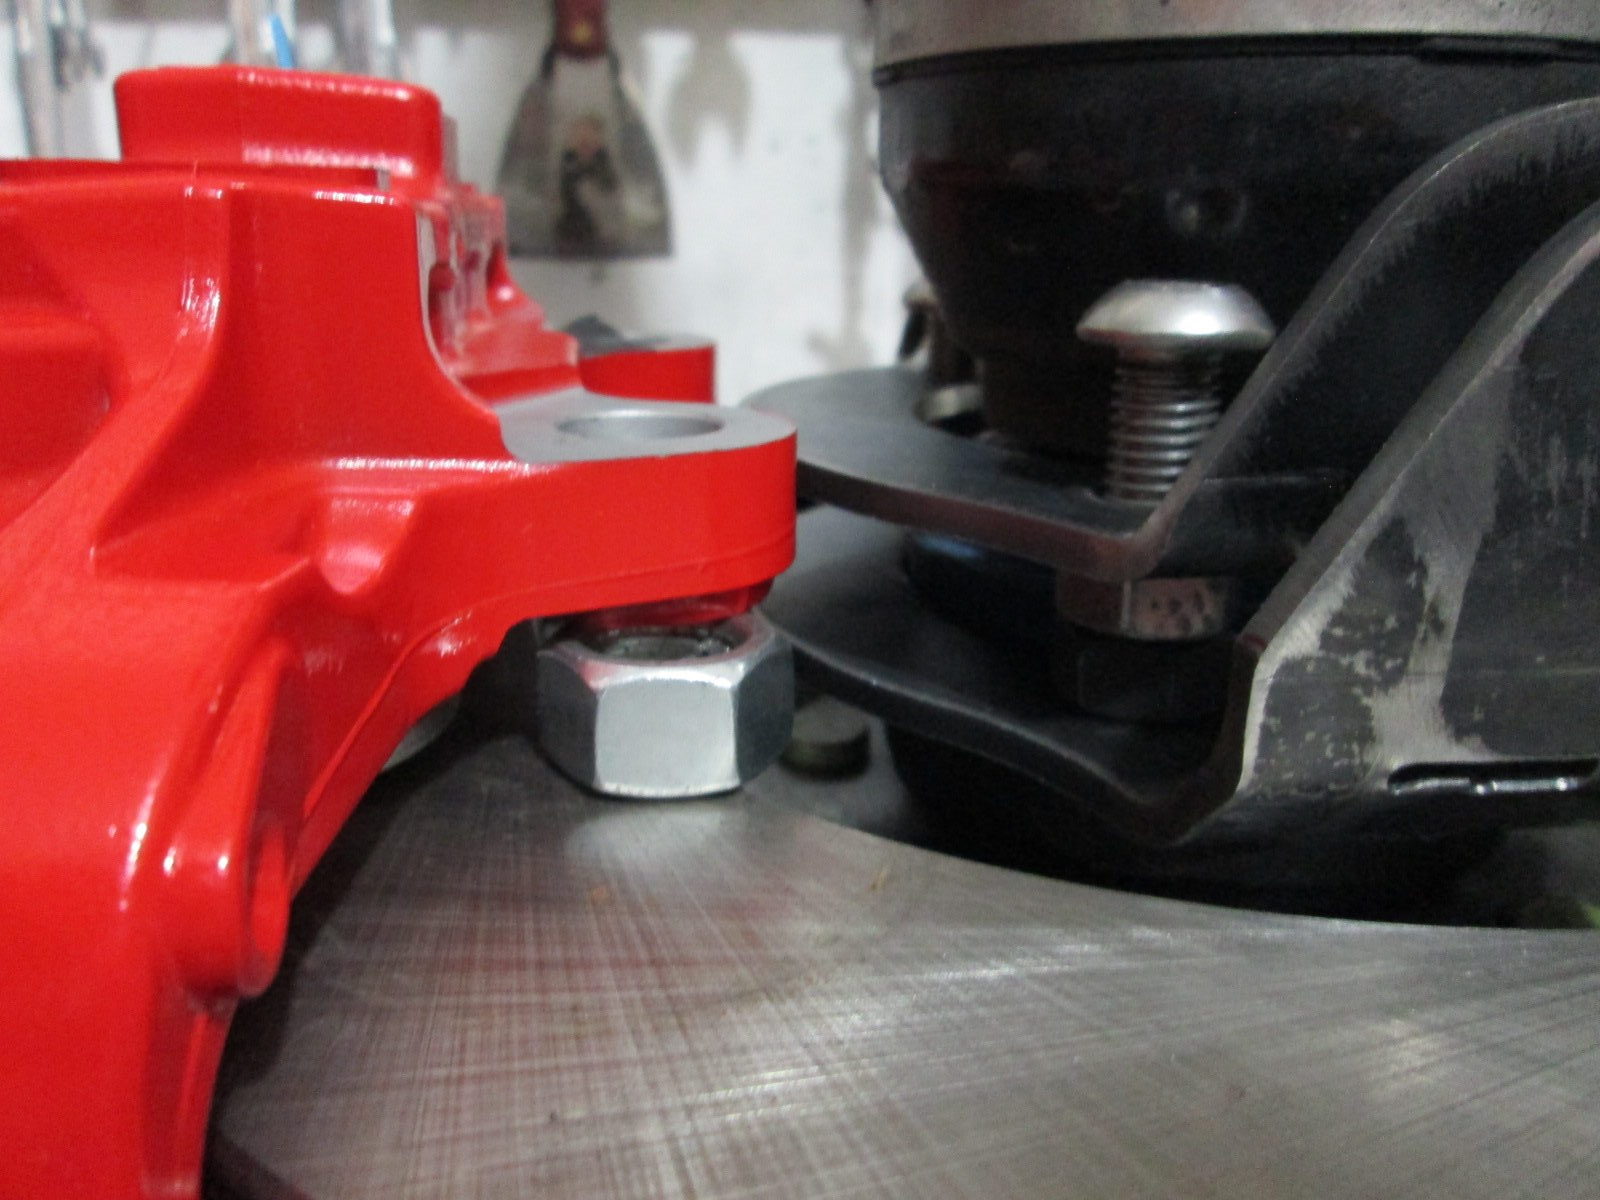
Been working some on an OEM brembo brake upgrade that has the same piston area as the stock 88 calipers
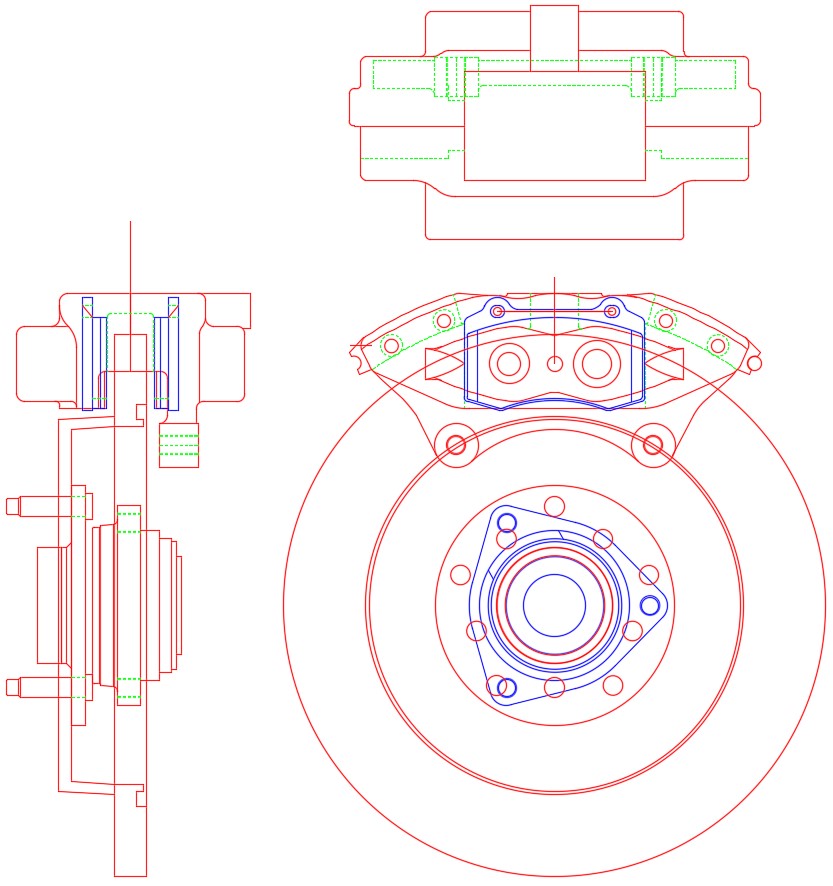
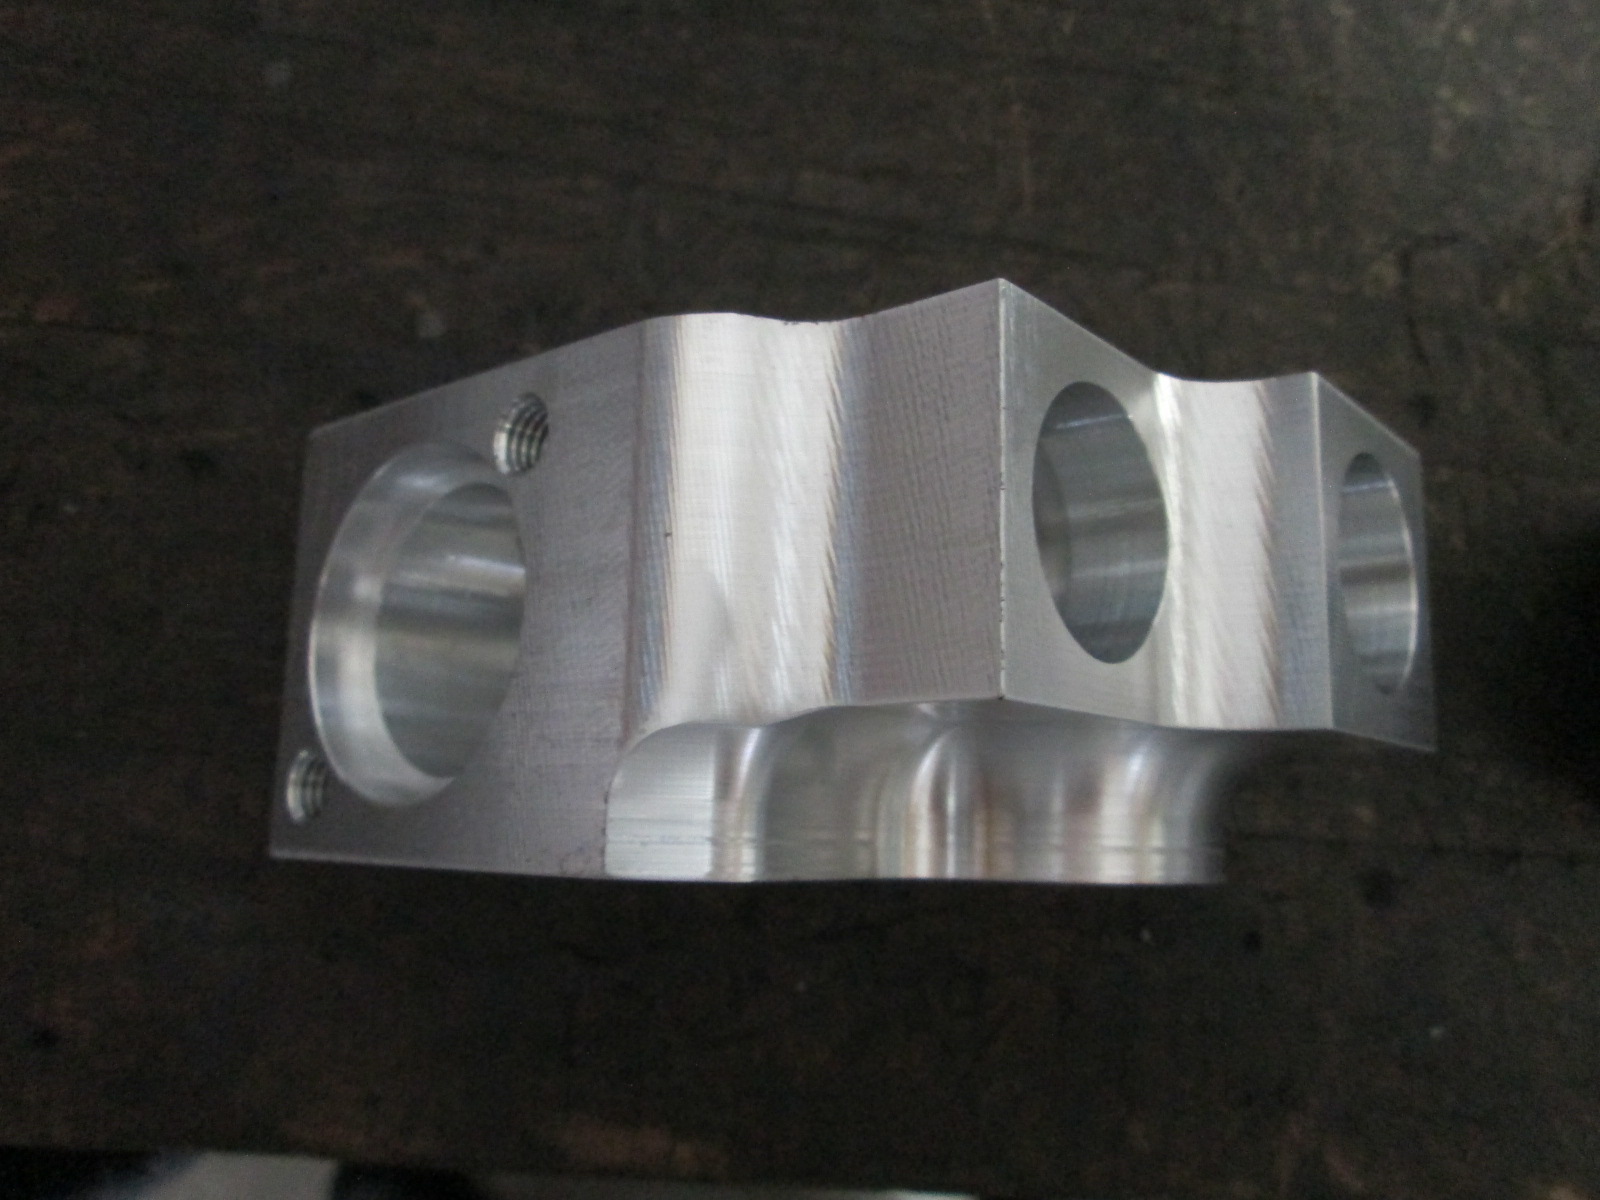
I have also been working on the design for the new front knuckle that will accept the larger wheel bearing, brembo calipers, and allow clearance for the future AWD. I incorporated a 1/2" drop as well as increased the space between the upper and lower ball joints by 1/2 and made some preliminary changes to the location of the tie rod to account to the increased knuckle height as well as the caster going from 5 to 8 degrees. Overall the concept is to use 3/16" plate for inboard and outboard with a 3/4" gap between them. All holes sleeved and all sides capped to box in the knuckle. Here is the outboard plate:
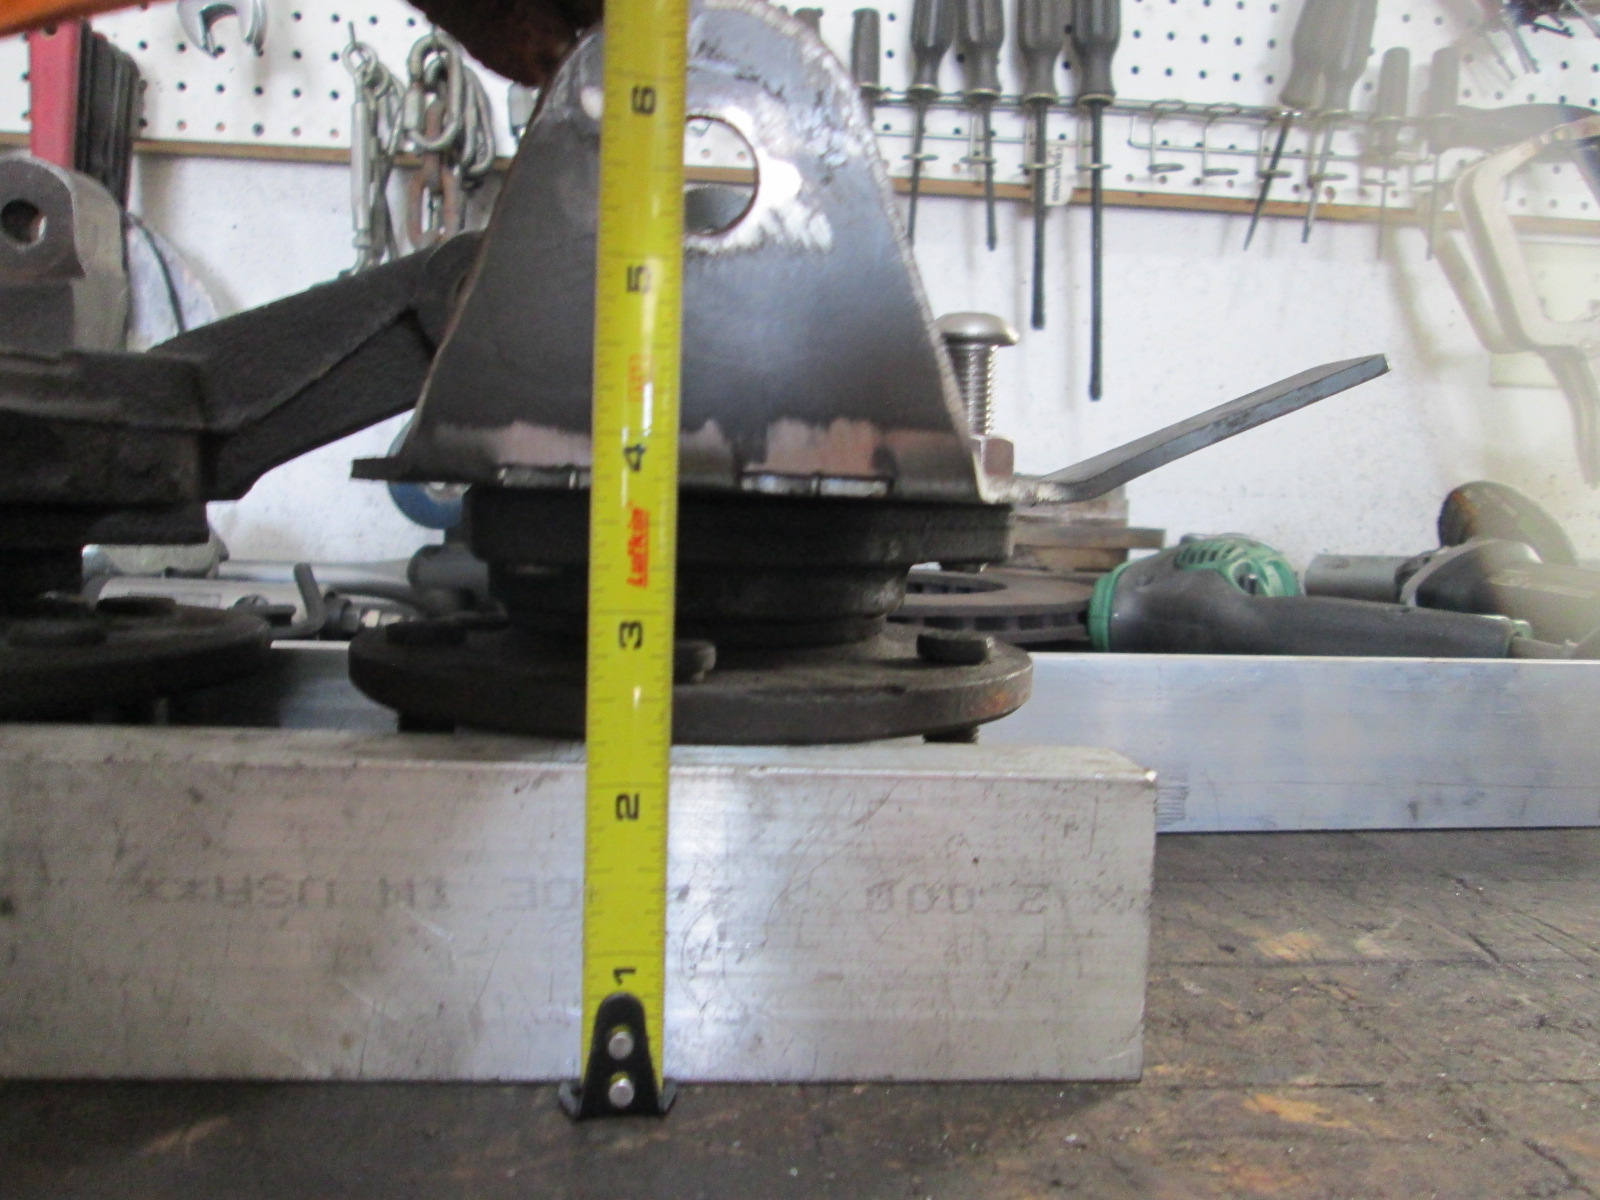
Here are several comparisons to the stock 88 front:
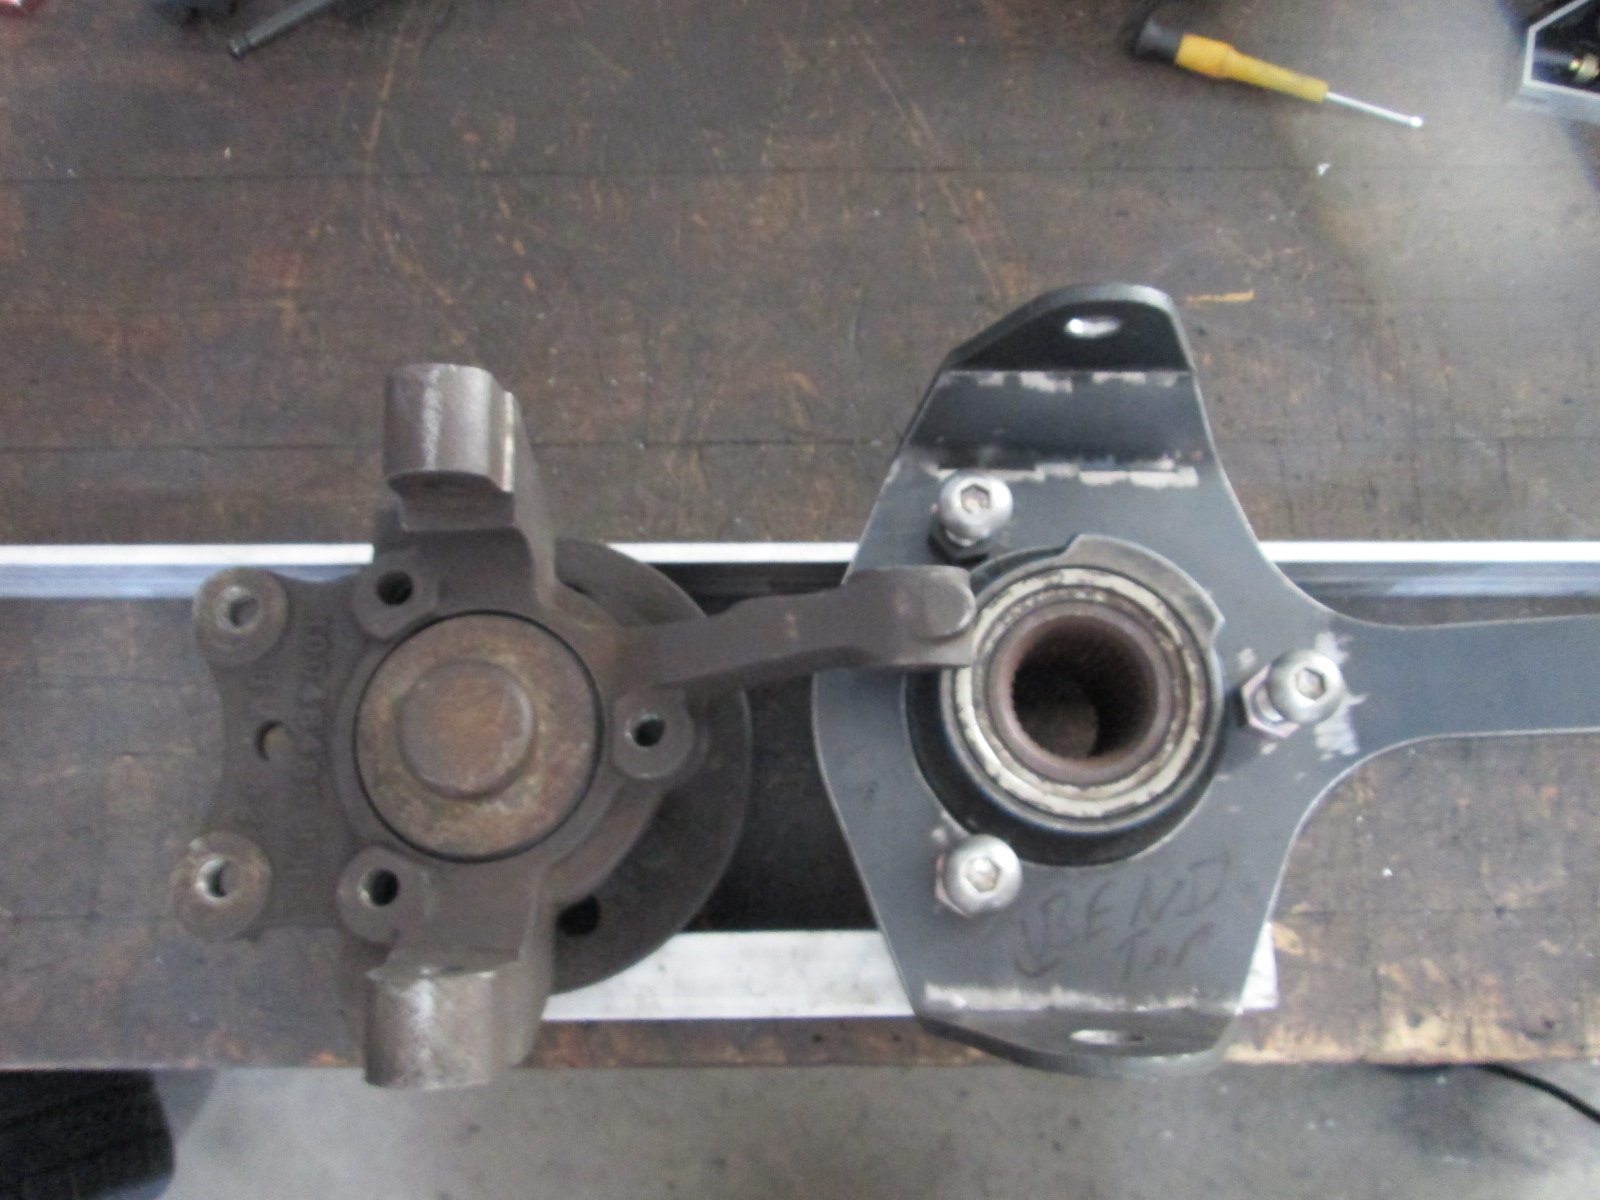
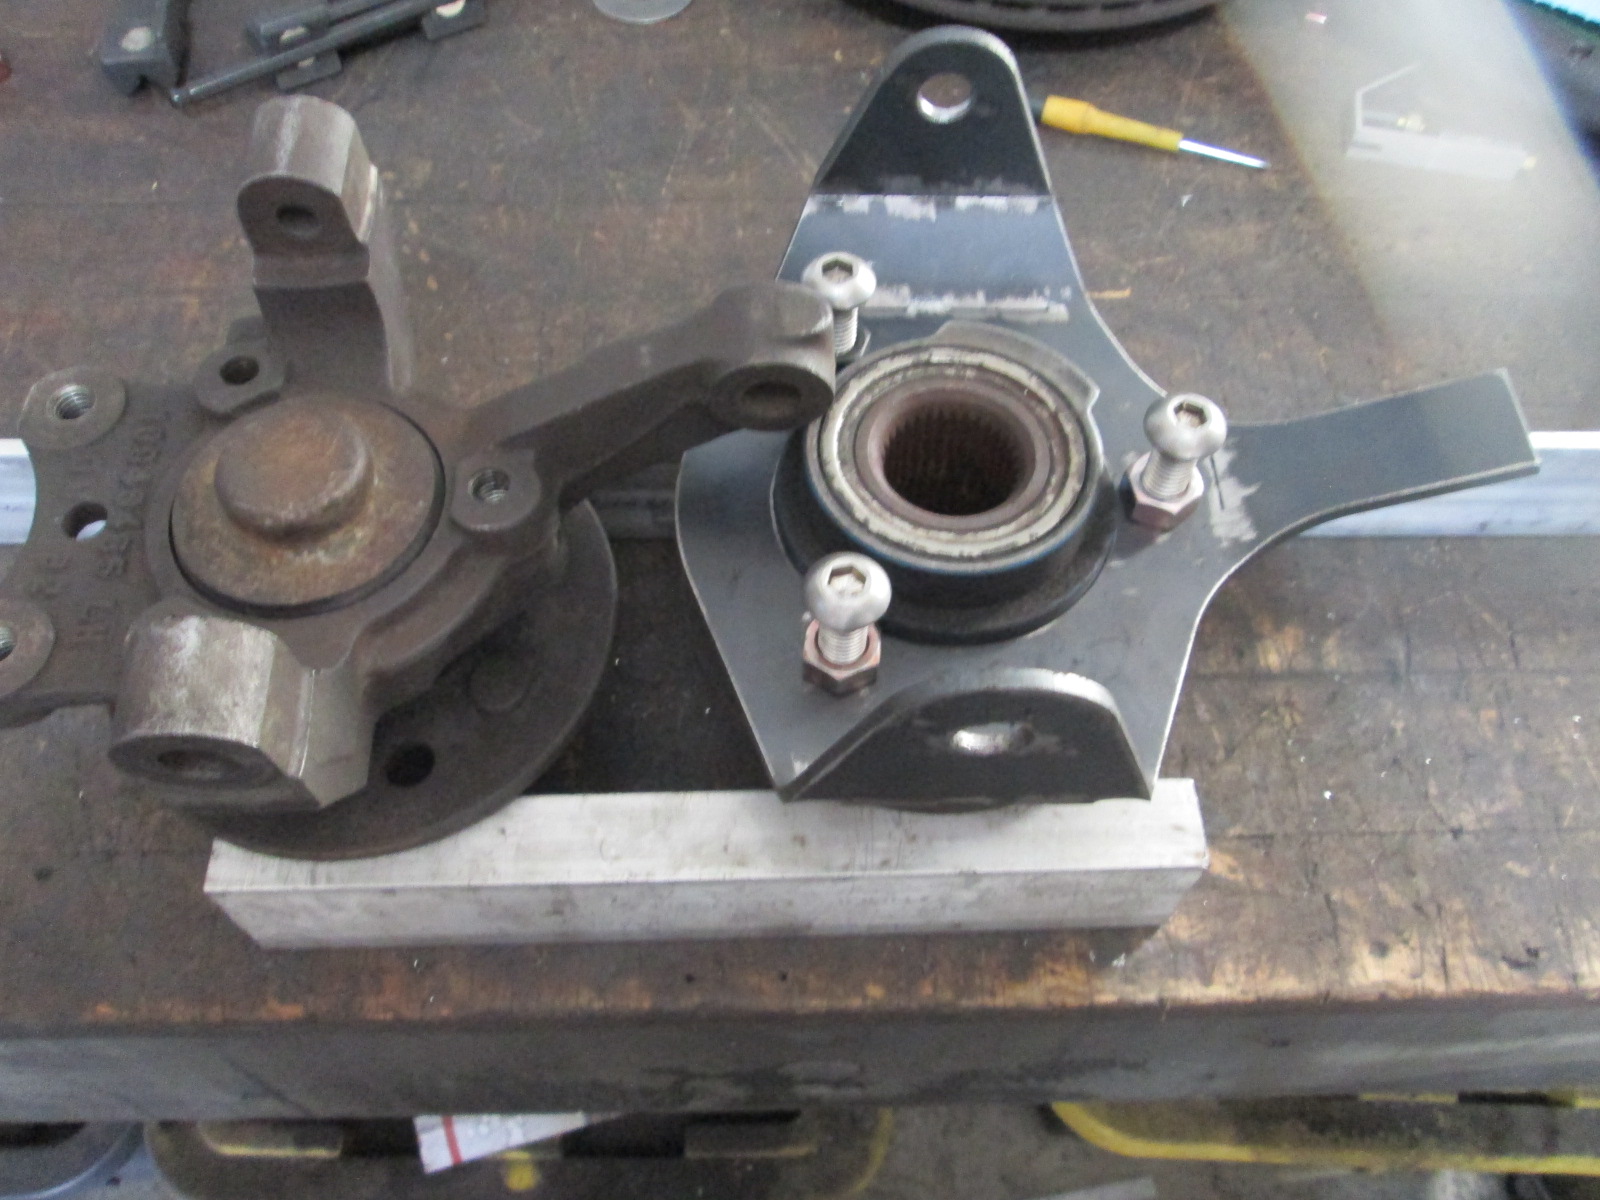
Different bearing offset accounted for, so the wheel flange to the lower ball joint remains the same:

I have also been working on the design for the new front knuckle that will accept the larger wheel bearing, brembo calipers, and allow clearance for the future AWD. I incorporated a 1/2" drop as well as increased the space between the upper and lower ball joints by 1/2 and made some preliminary changes to the location of the tie rod to account to the increased knuckle height as well as the caster going from 5 to 8 degrees. Overall the concept is to use 3/16" plate for inboard and outboard with a 3/4" gap between them. All holes sleeved and all sides capped to box in the knuckle. Here is the outboard plate:
Here are several comparisons to the stock 88 front:
Different bearing offset accounted for, so the wheel flange to the lower ball joint remains the same:
The following users liked this post:
NSFW (08-07-2021)
08-07-2021, 11:46 PM
#386
Launching!
I've never had enough ***** to make a knuckle. Be interested to see how it holds up.
 08-09-2021, 02:02 PM
#388
I would imagine boxing it in. This build is friggin amazing
08-09-2021, 06:58 PM
#389
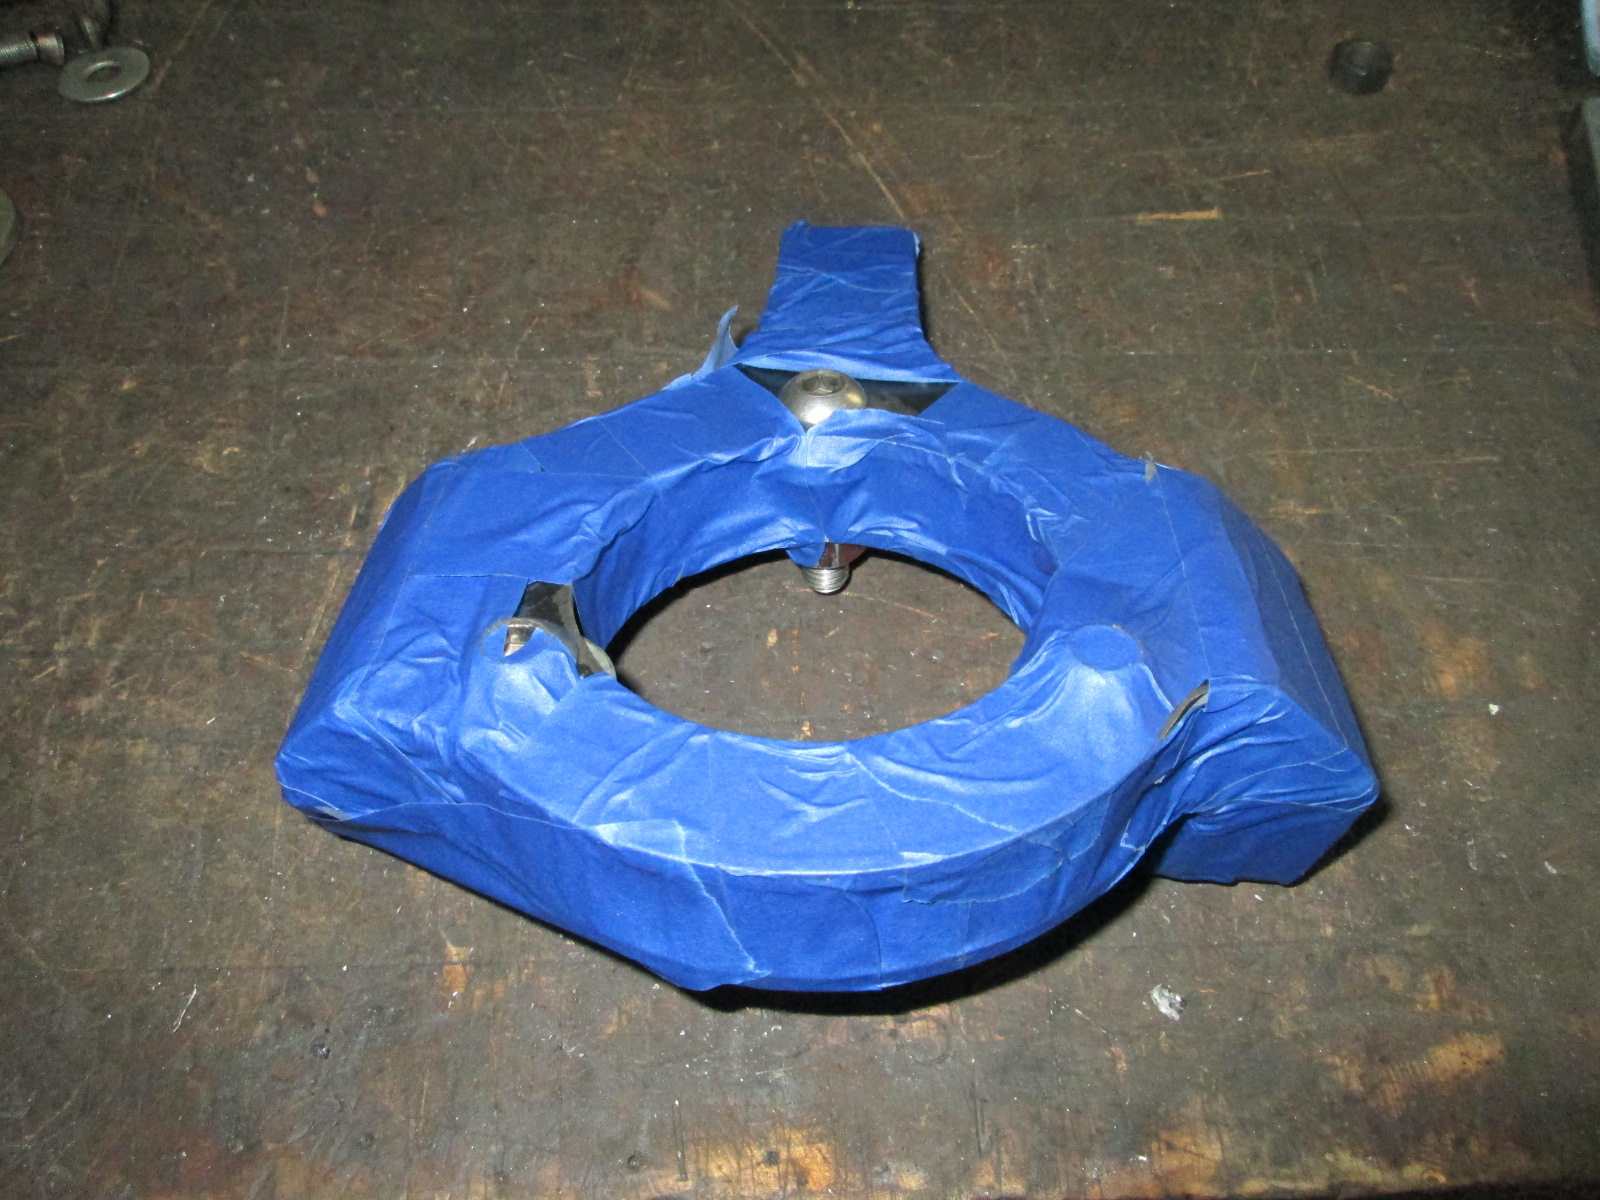
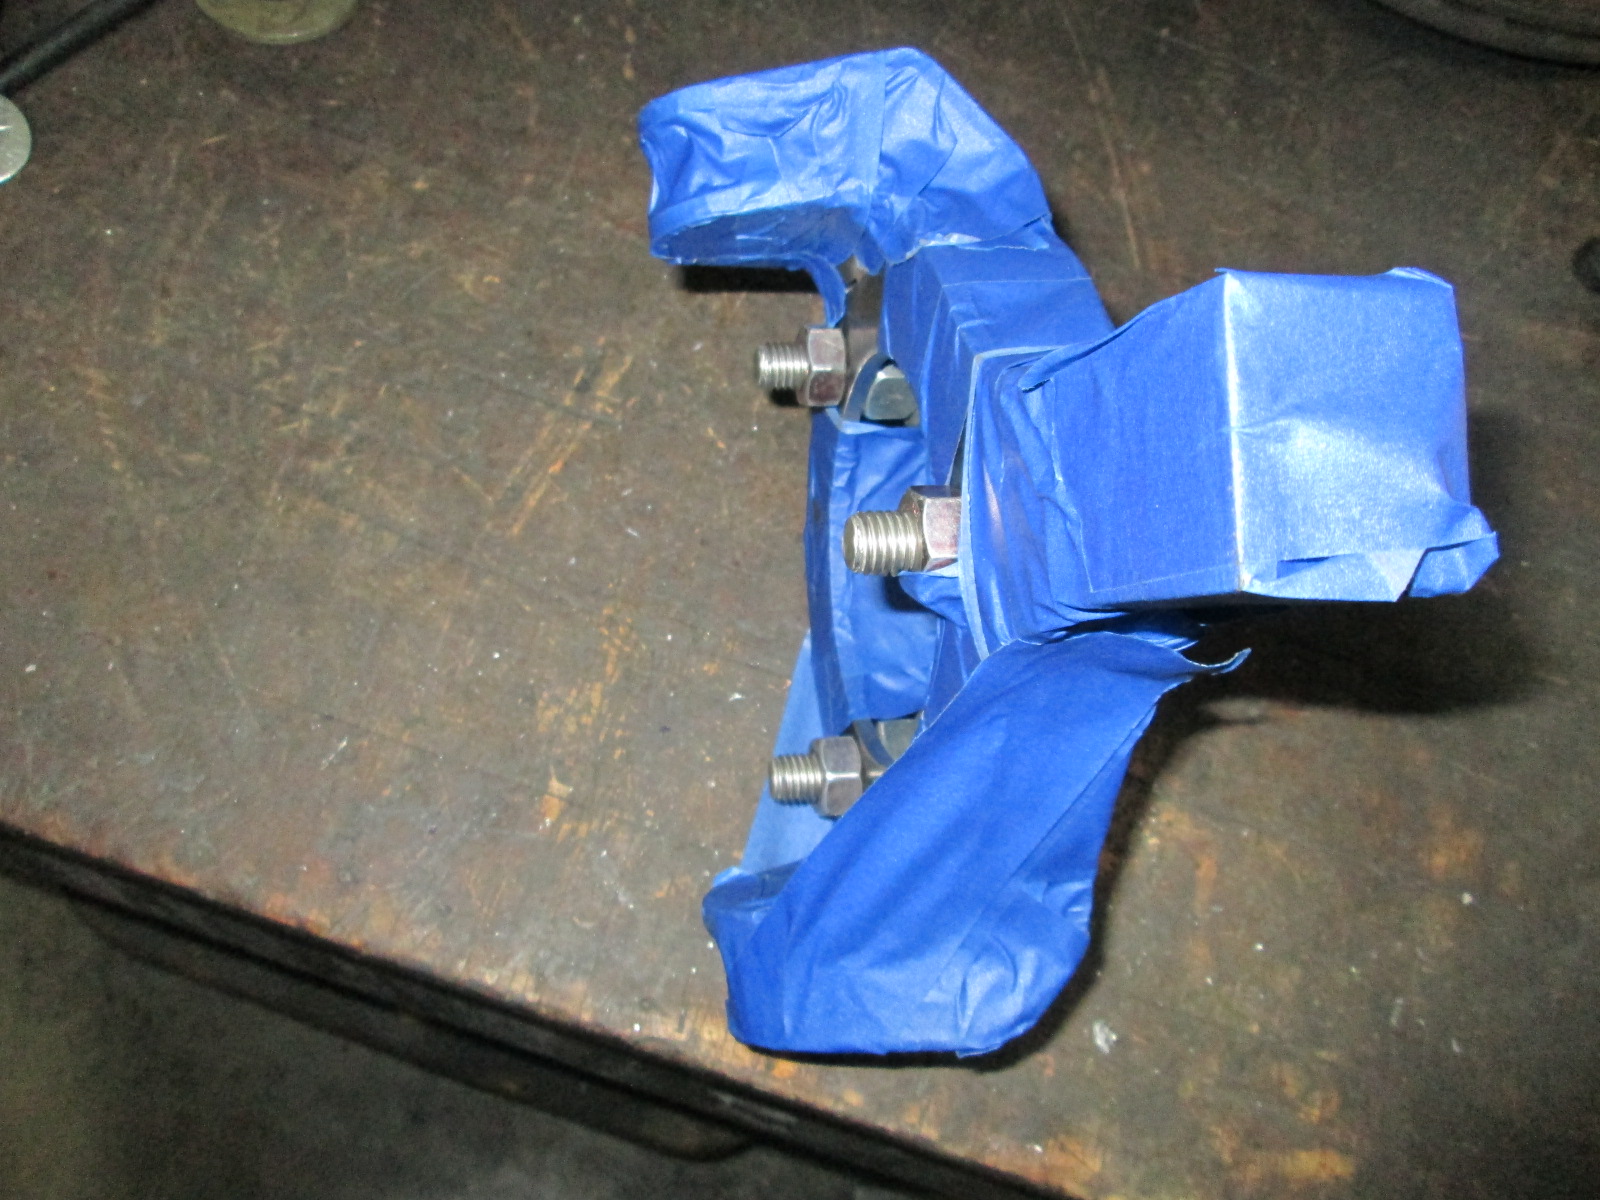
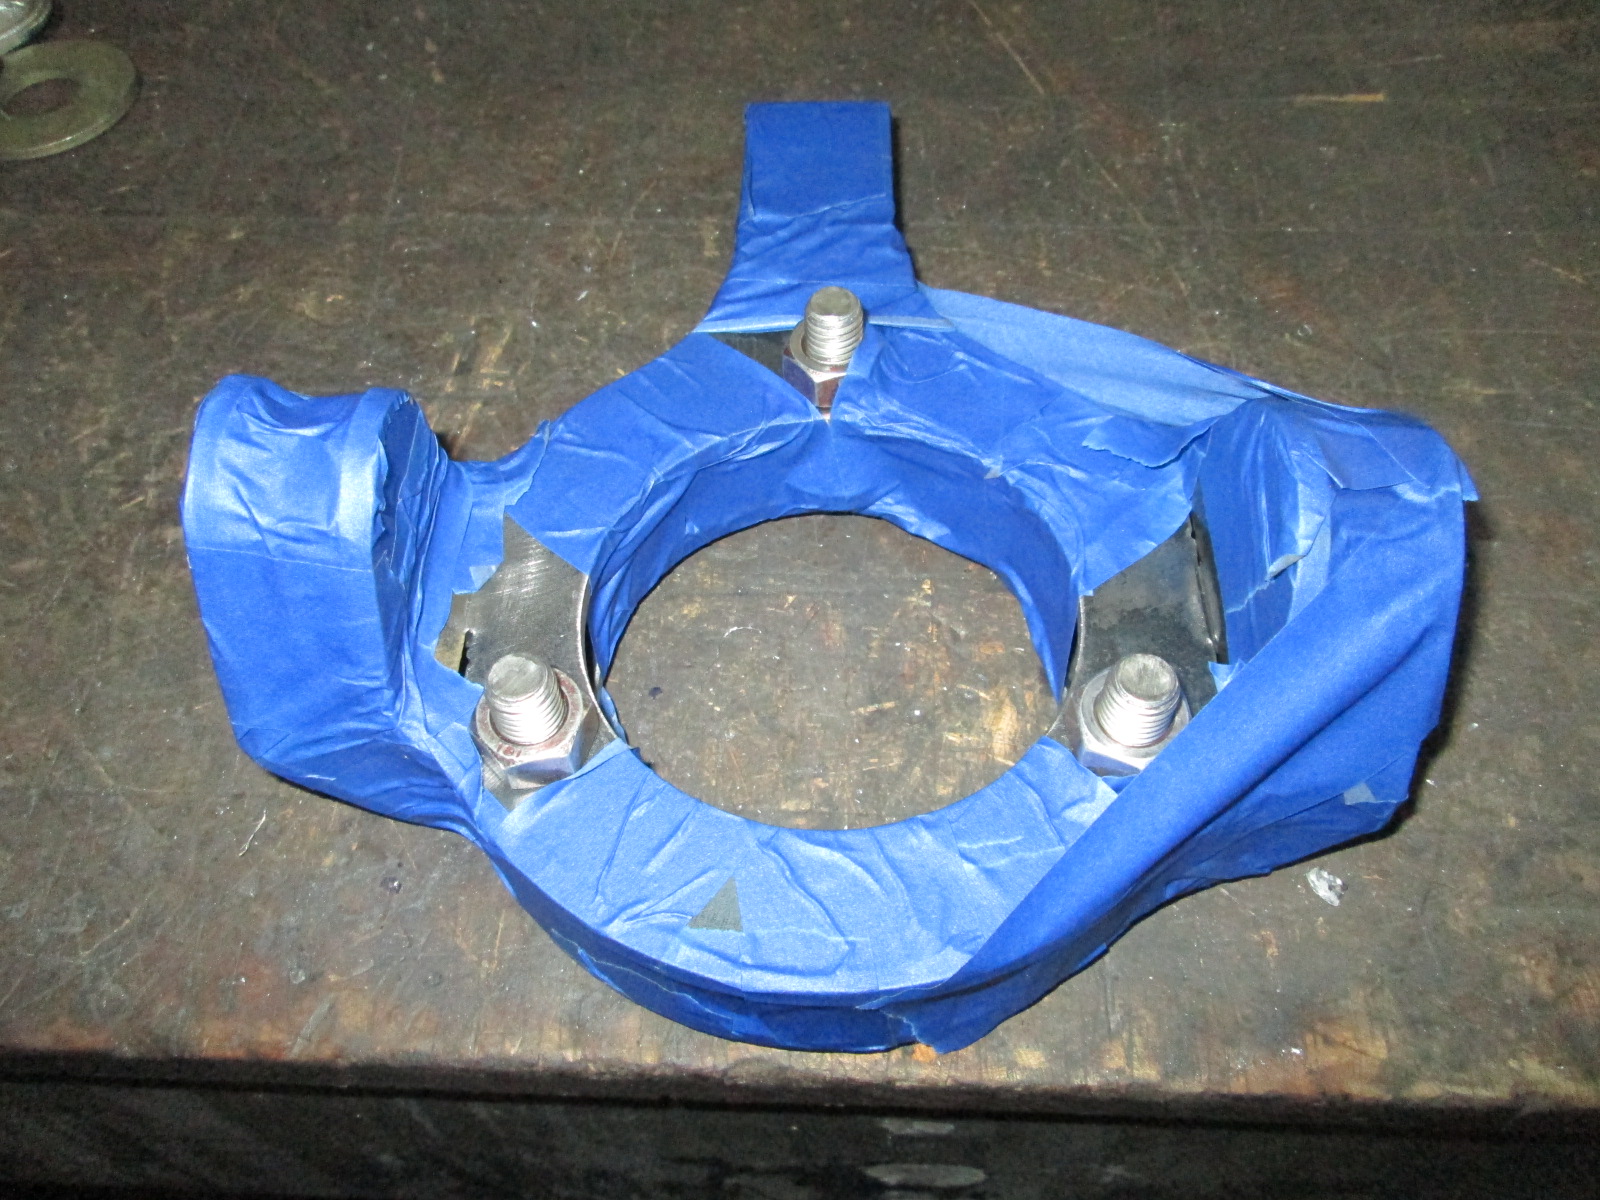
Yes, the knuckle will be fully boxed and a couple of angular reinforcement tabs will be added to the lower ball joint ear to help stabilize it as it will see the highest loads by far.
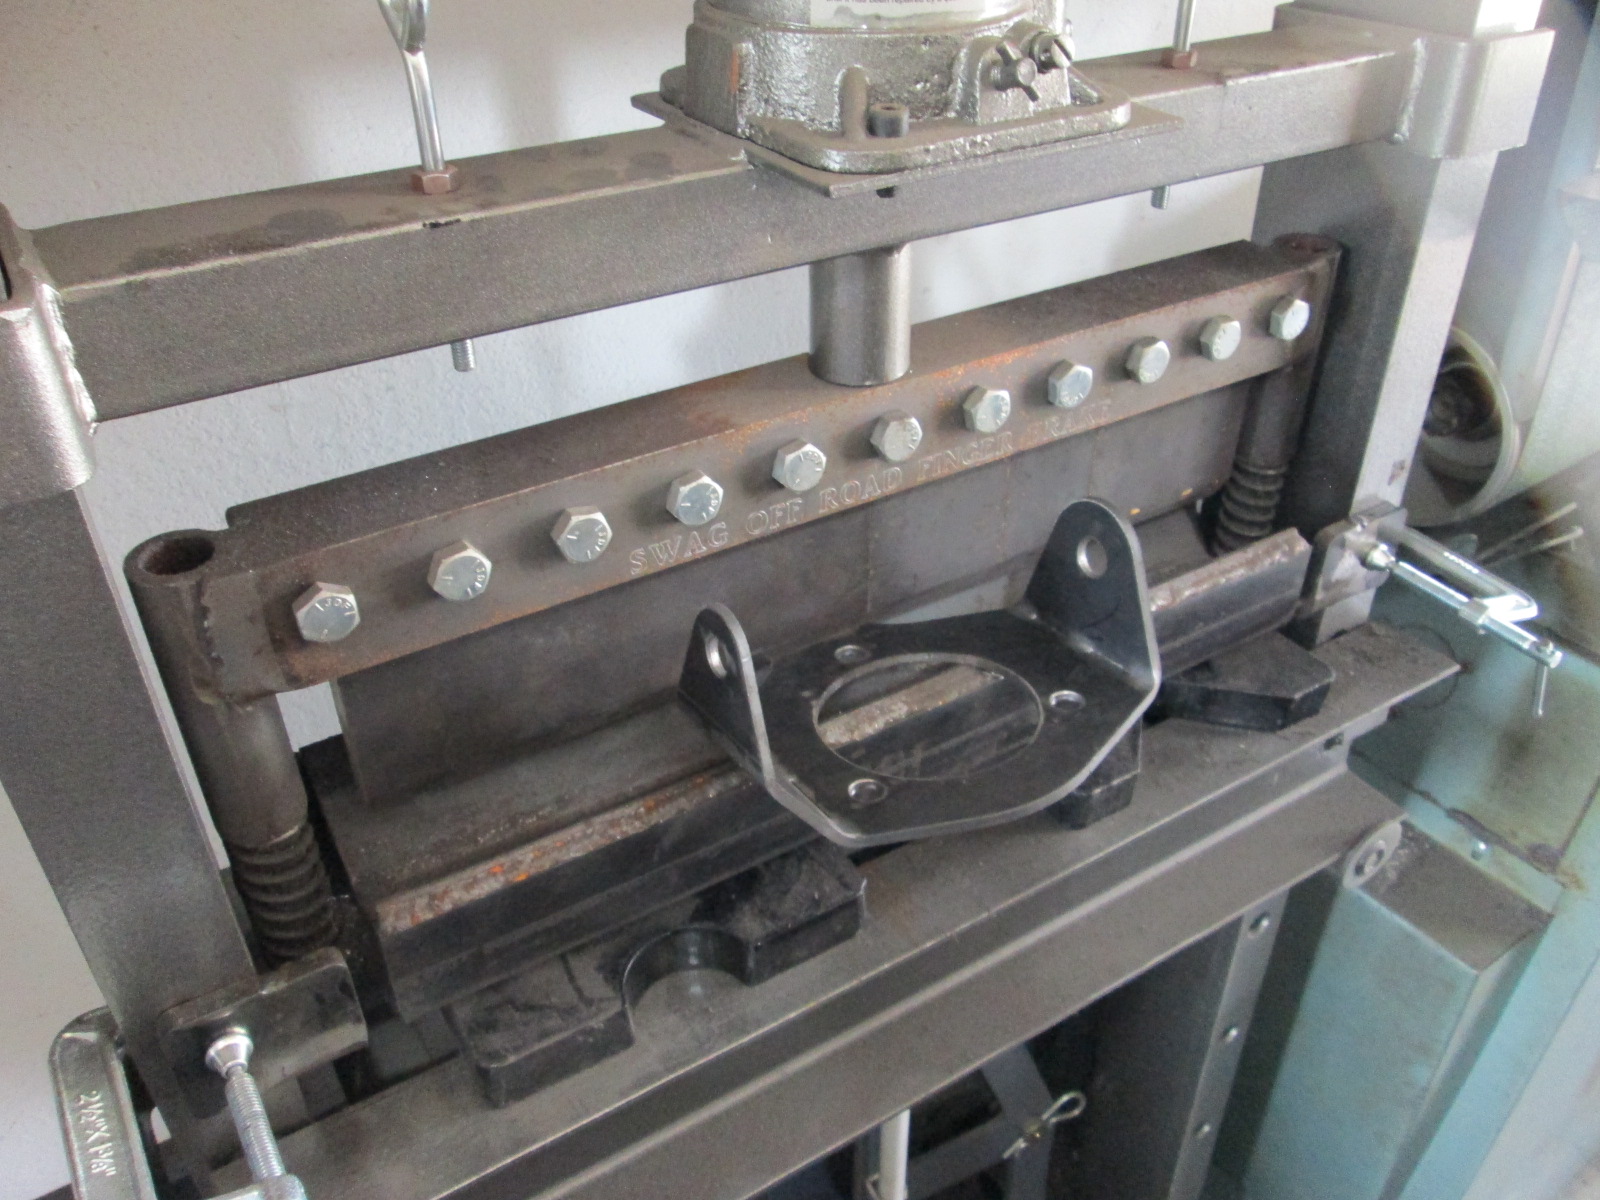
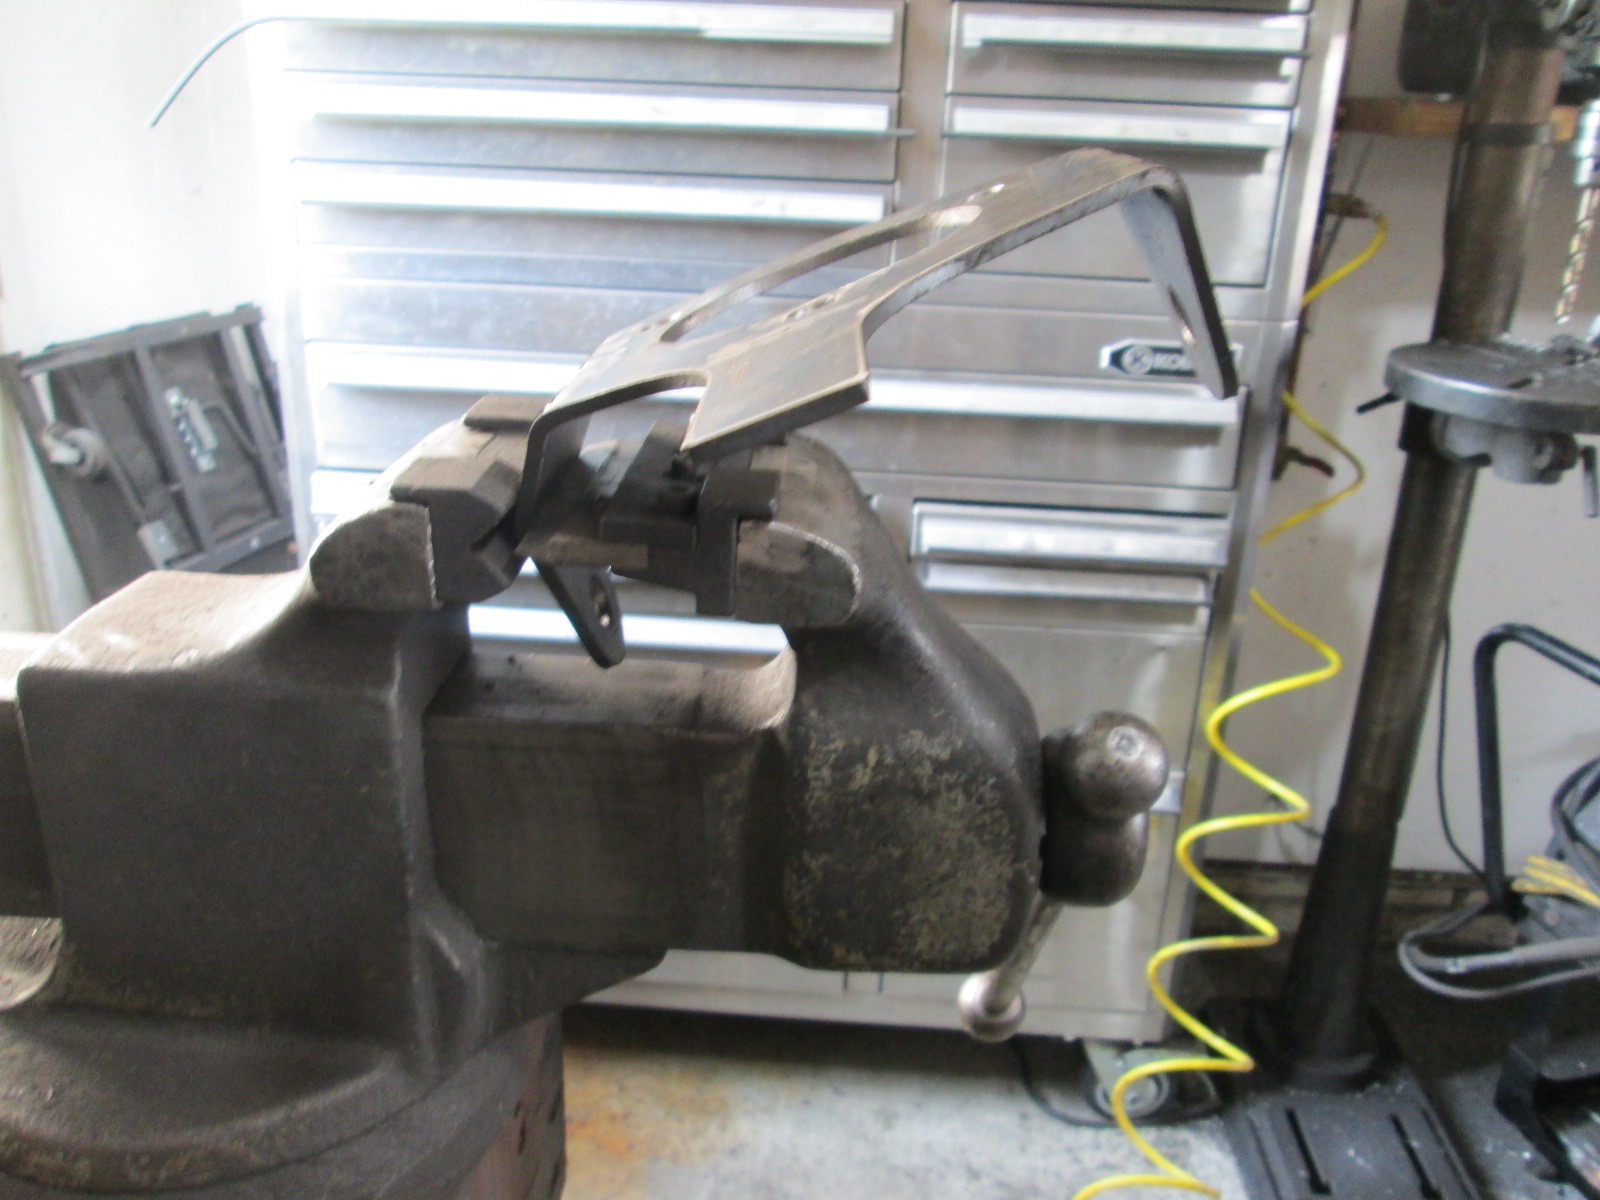
I guess we could call this take 3... getting closer, but still some details to work out.
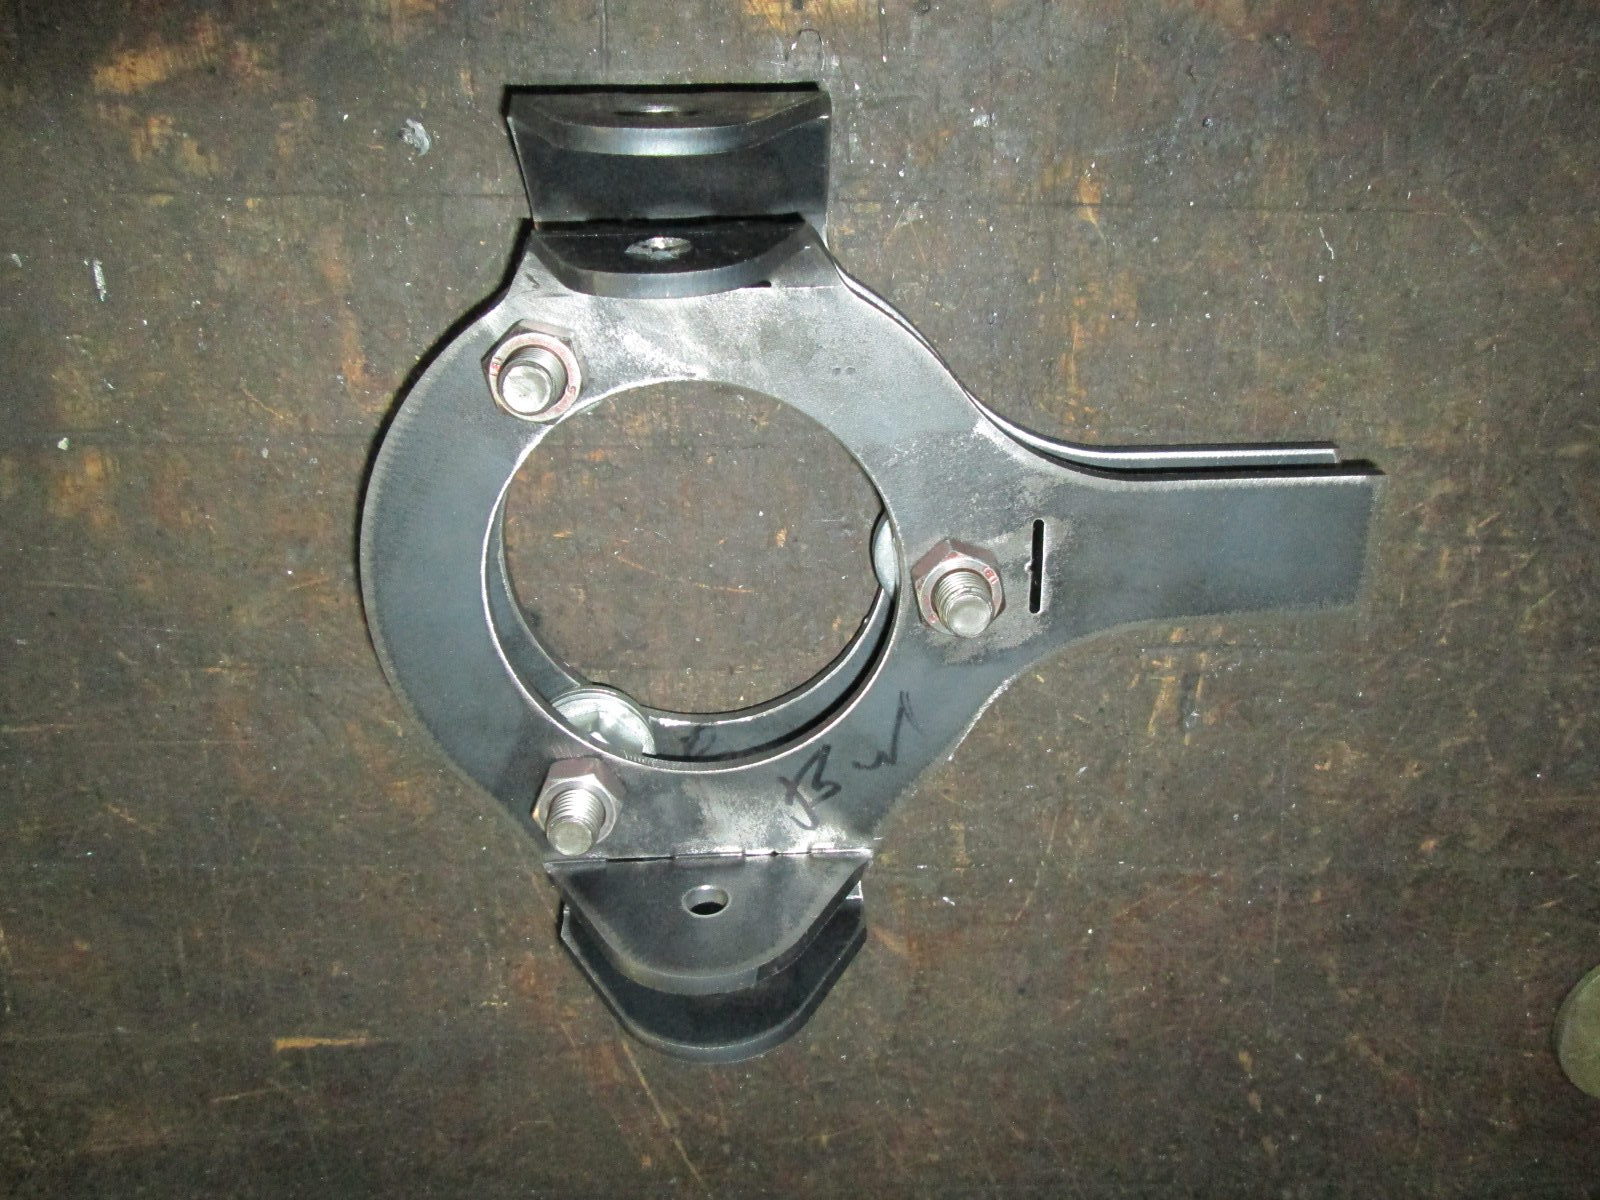
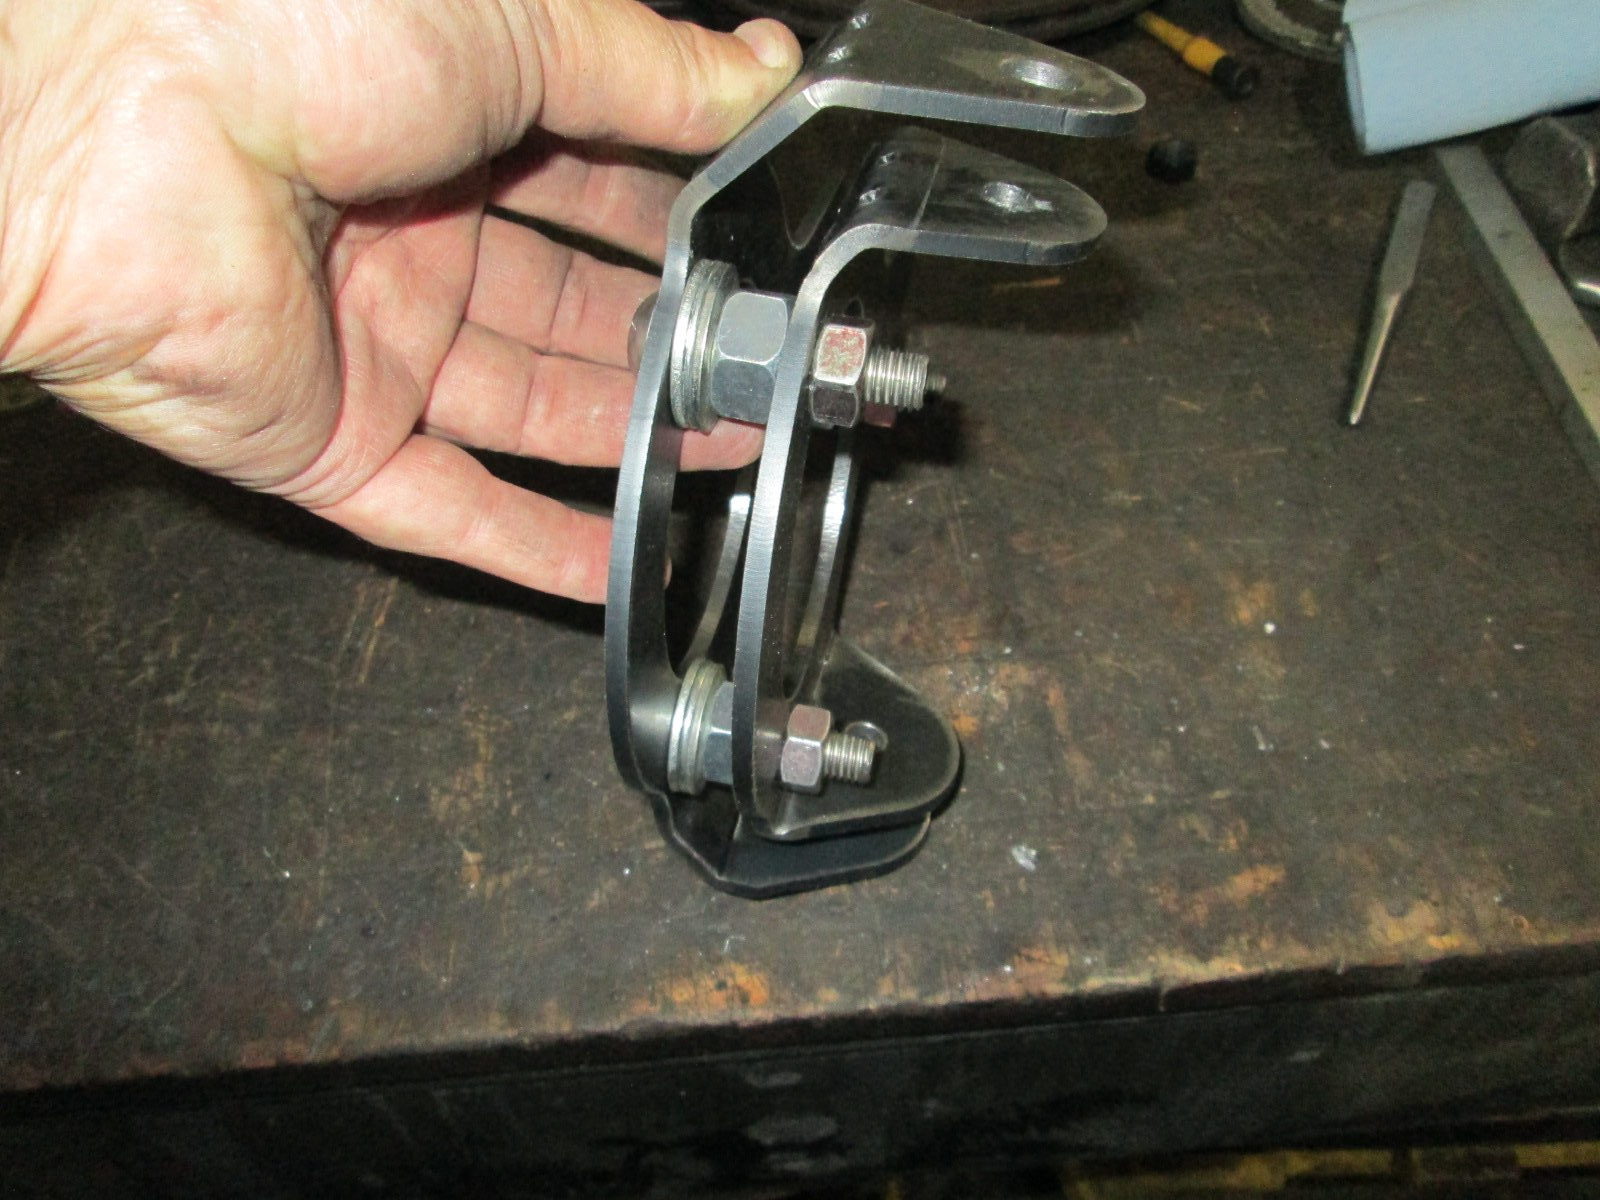
To give a better visual of what the end knuckle will look like, I wrapped it in painters tape. The lower ball joint ear will carry the majority of the load on the front end, so there will be some triangulation flanges on the sides (also shown poorly with the the tape).
The following users liked this post:
NSFW (08-11-2021)
 08-14-2021, 07:36 PM
#393
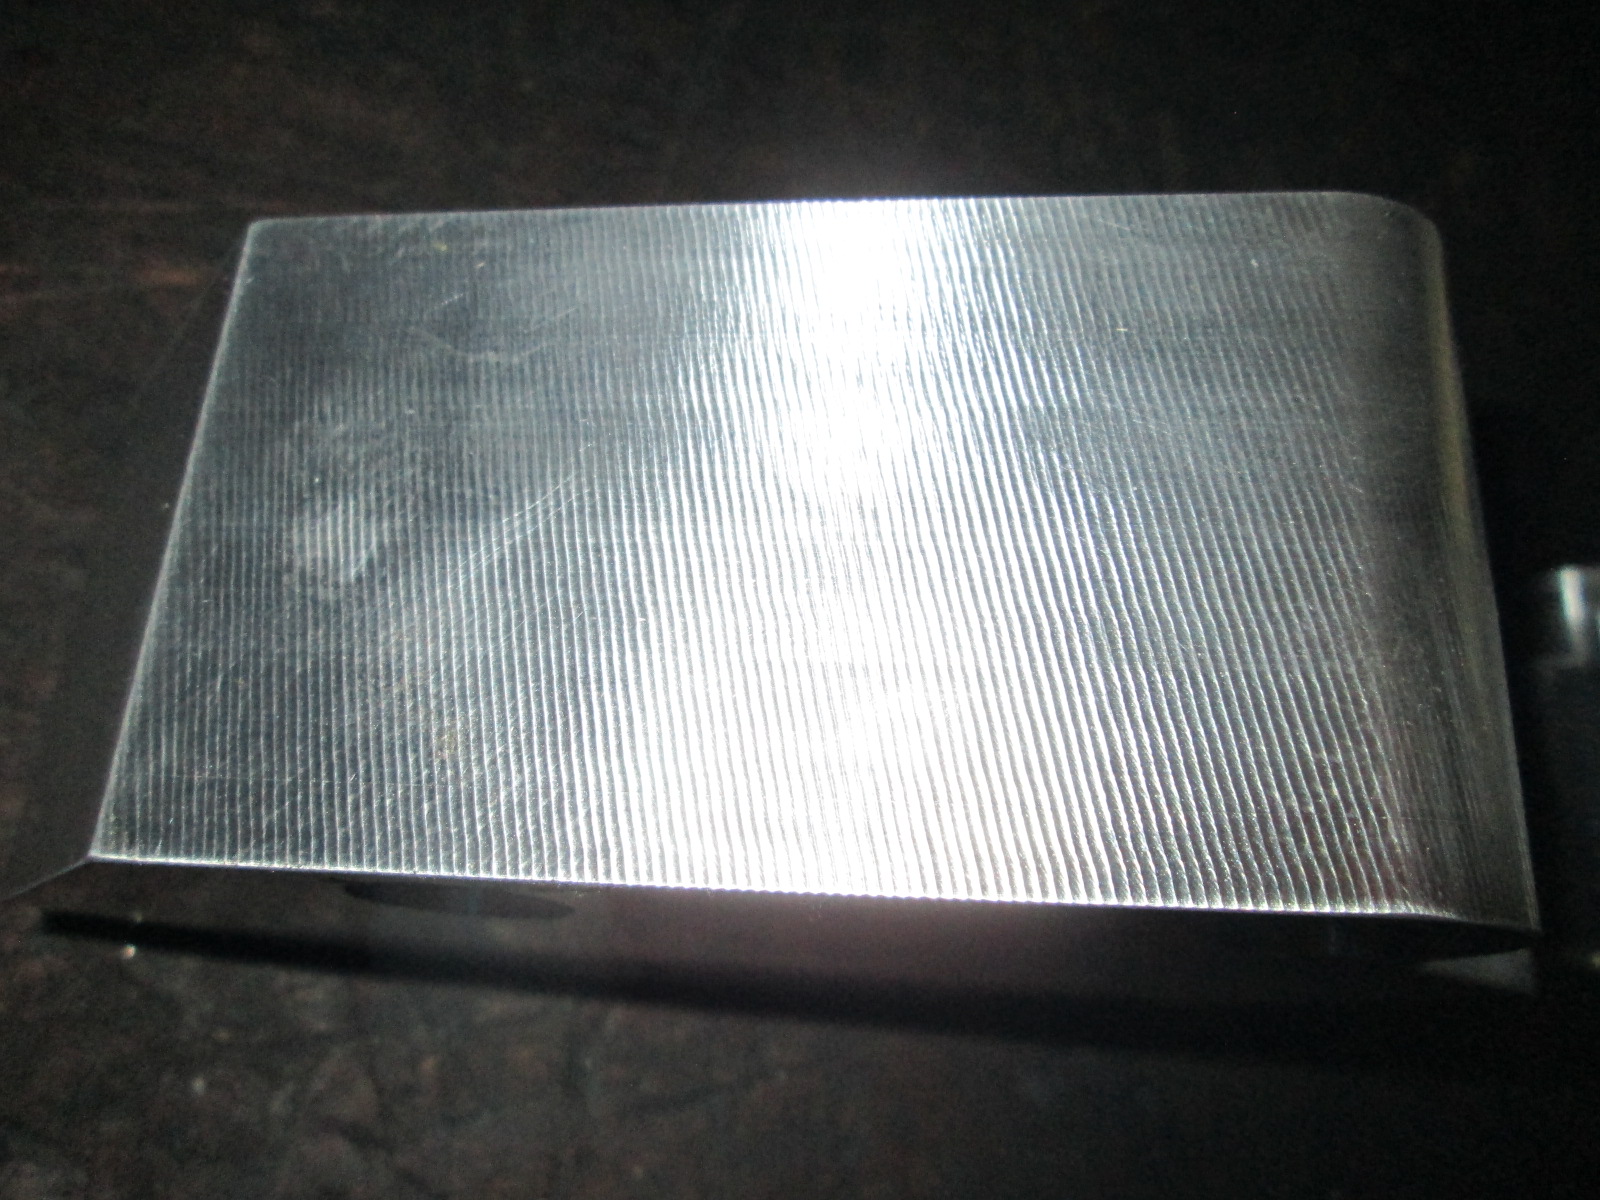
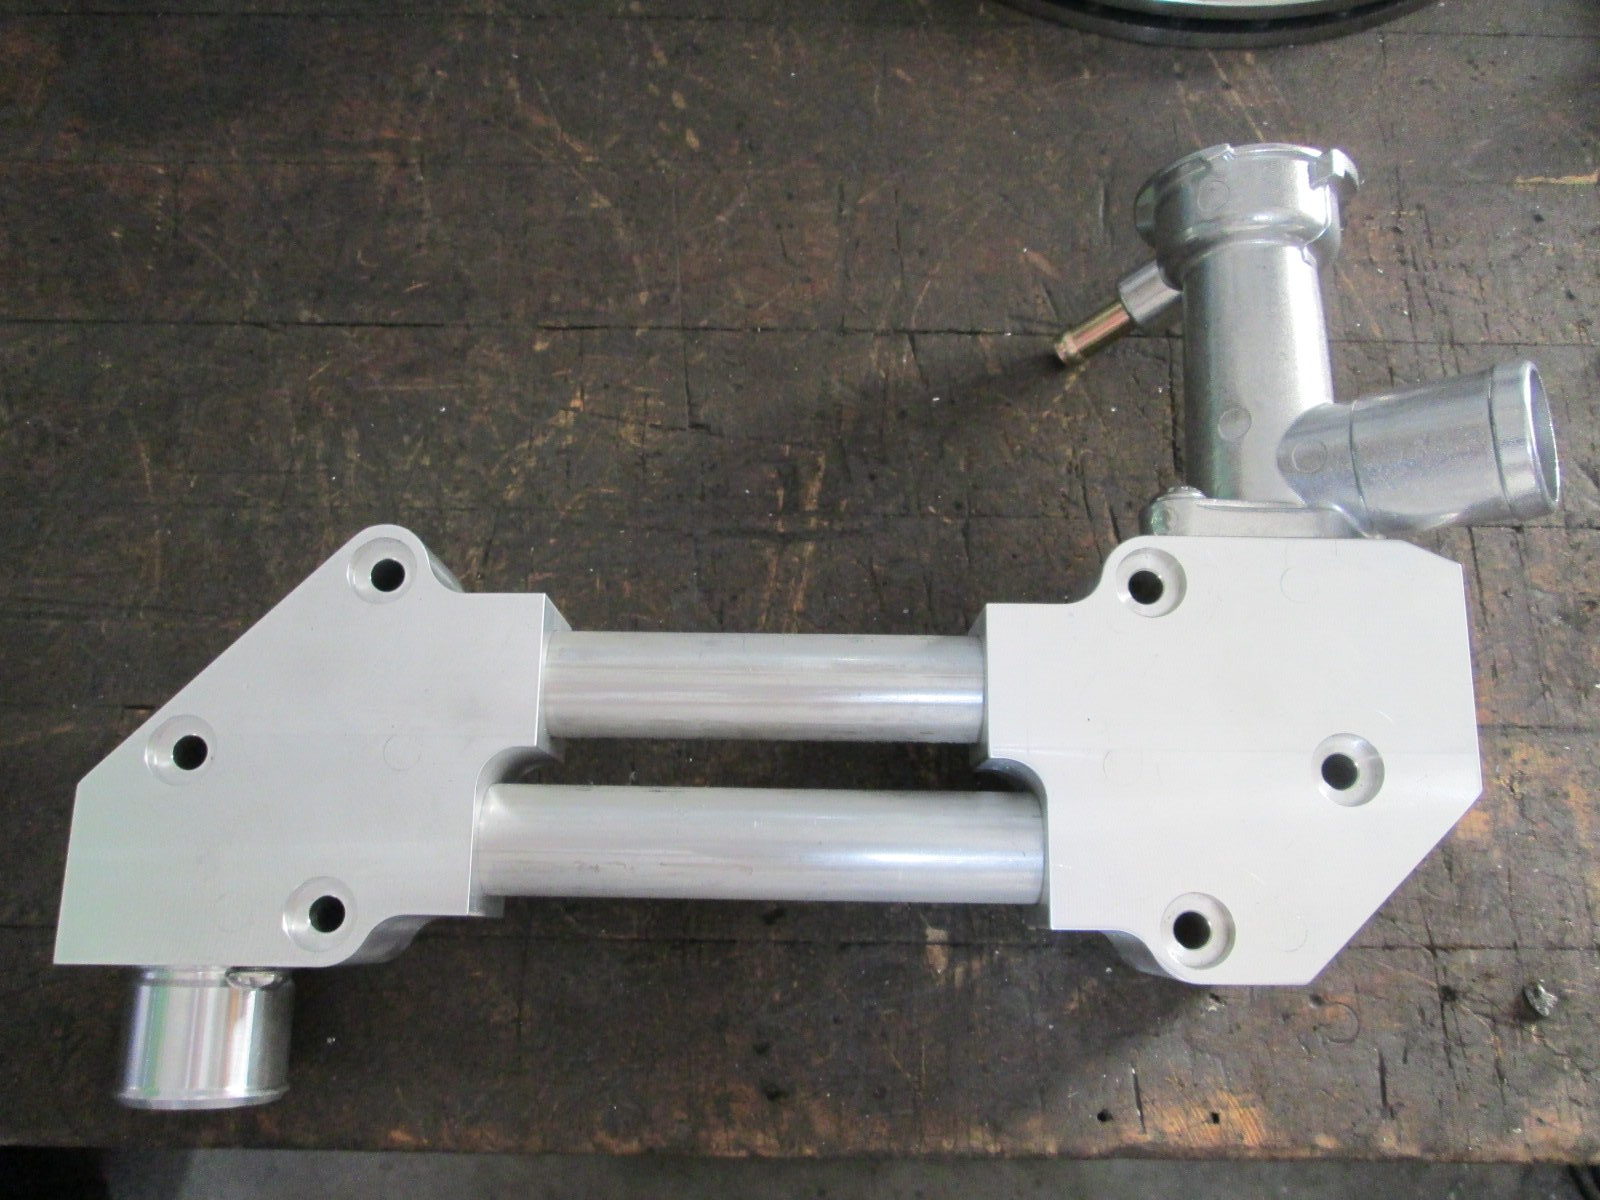
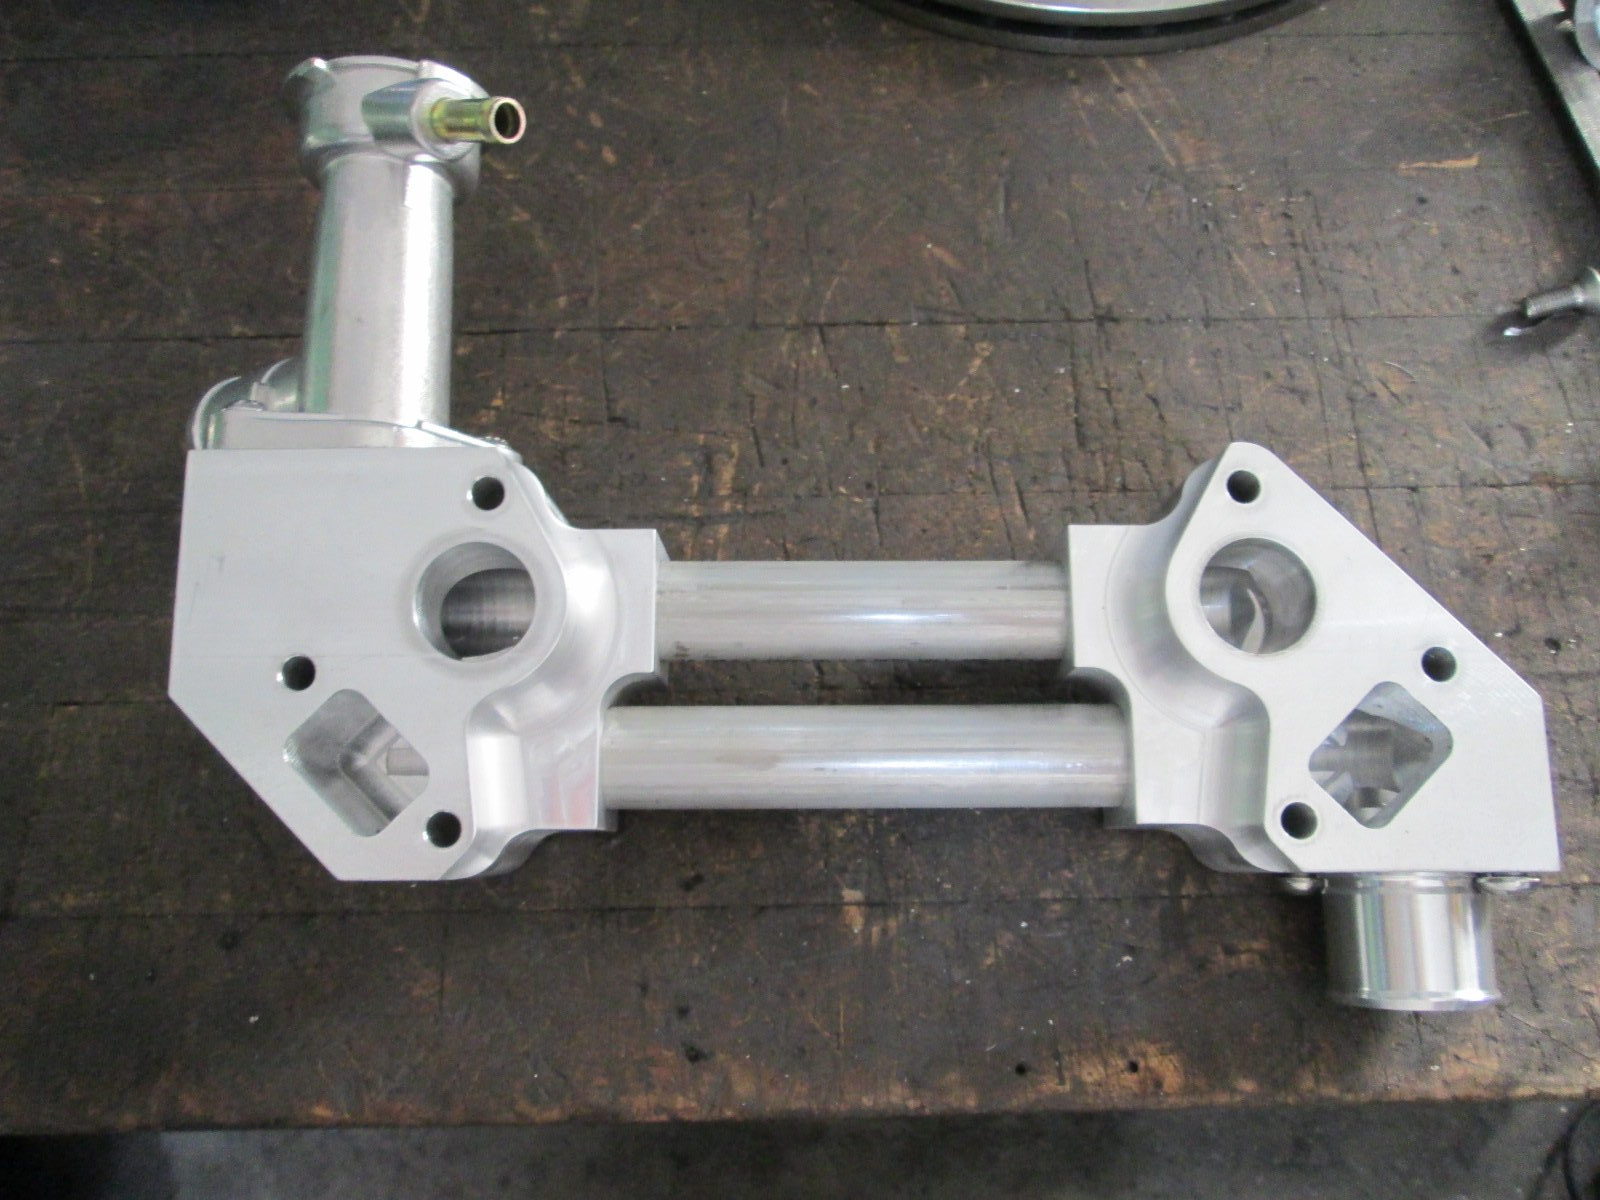
I also picked up the parts for the water manifold from the machine shop. I think they tried to machine it too fast and left some chatter marks that I will sand smooth:
The fully assembled water manifold (I still need to polish the center tube - it is just mill finished):
The fully assembled water manifold (I still need to polish the center tube - it is just mill finished):
The following 2 users liked this post by fieroguru:
G Atsma (08-15-2021), JoshHefnerX (08-15-2021)
08-15-2021, 09:17 AM
#394
I like it. Is it cost effective to offer it as a swap item? How are the round tubes connected to it?
08-15-2021, 02:41 PM
#395
Teching In

Damn it, and I am struggling to make a simple bracket to re-mount my meizer pump into the inner fender. That water manifold is amazing. I just sent off my water distribution block to be drilled and add have proper radiator cap bung tig welded to it. I do have a tig welder, but not really proficient enough to risk damaging my waterblock that I got from Archie.
I love your build its been awesome to follow along. Side note, I have Pickardt performance in Maryland building me a complete new turbo hot side, including manifolds, downpipe and V-Bands for the wastegate. I can't wait to see how it turns out.
I love your build its been awesome to follow along. Side note, I have Pickardt performance in Maryland building me a complete new turbo hot side, including manifolds, downpipe and V-Bands for the wastegate. I can't wait to see how it turns out.
08-15-2021, 08:44 PM
#396
The definition of cost effective is highly variable depending on who is asked and the application the part is used in, so who really knows...
I like the simplicity of this one with the 3 hose connections and built in thermostat and fill point. When installed in the Fiero, the lower hose will be hidden and the heater hose from the side will likely be hidden under the hose from the coolant fill... The single visible hose connection will just be another one of the things that make you go hmmm...
Thanks!
The following users liked this post:
G Atsma (08-15-2021)
08-24-2021, 08:26 PM
#397
On vacation this week for dedicated garage work...
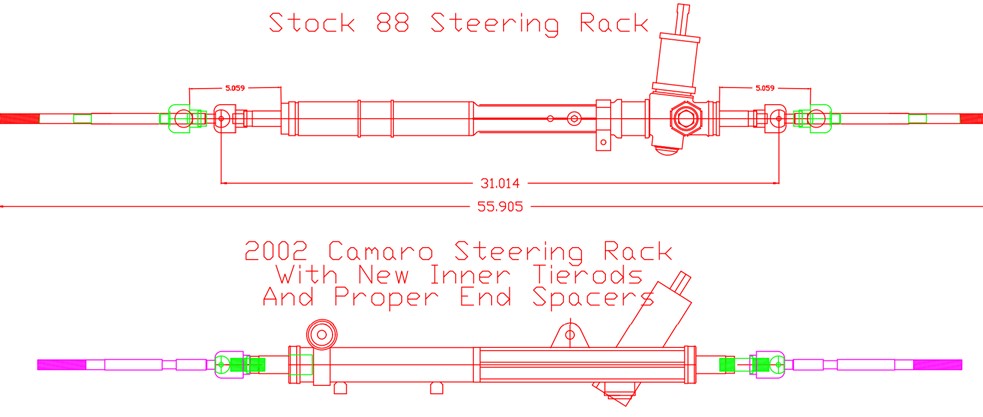
Before I can finish up the front knuckles, I wanted to complete the power steering rack swap. 88 Fieros has 3.35 turns lock to lock with a manual rack, works but is pretty slow when autocrossing. 4th Gen Camaro has a rack that is 2.25 turns lock to lock, so that is what I choose to swap.
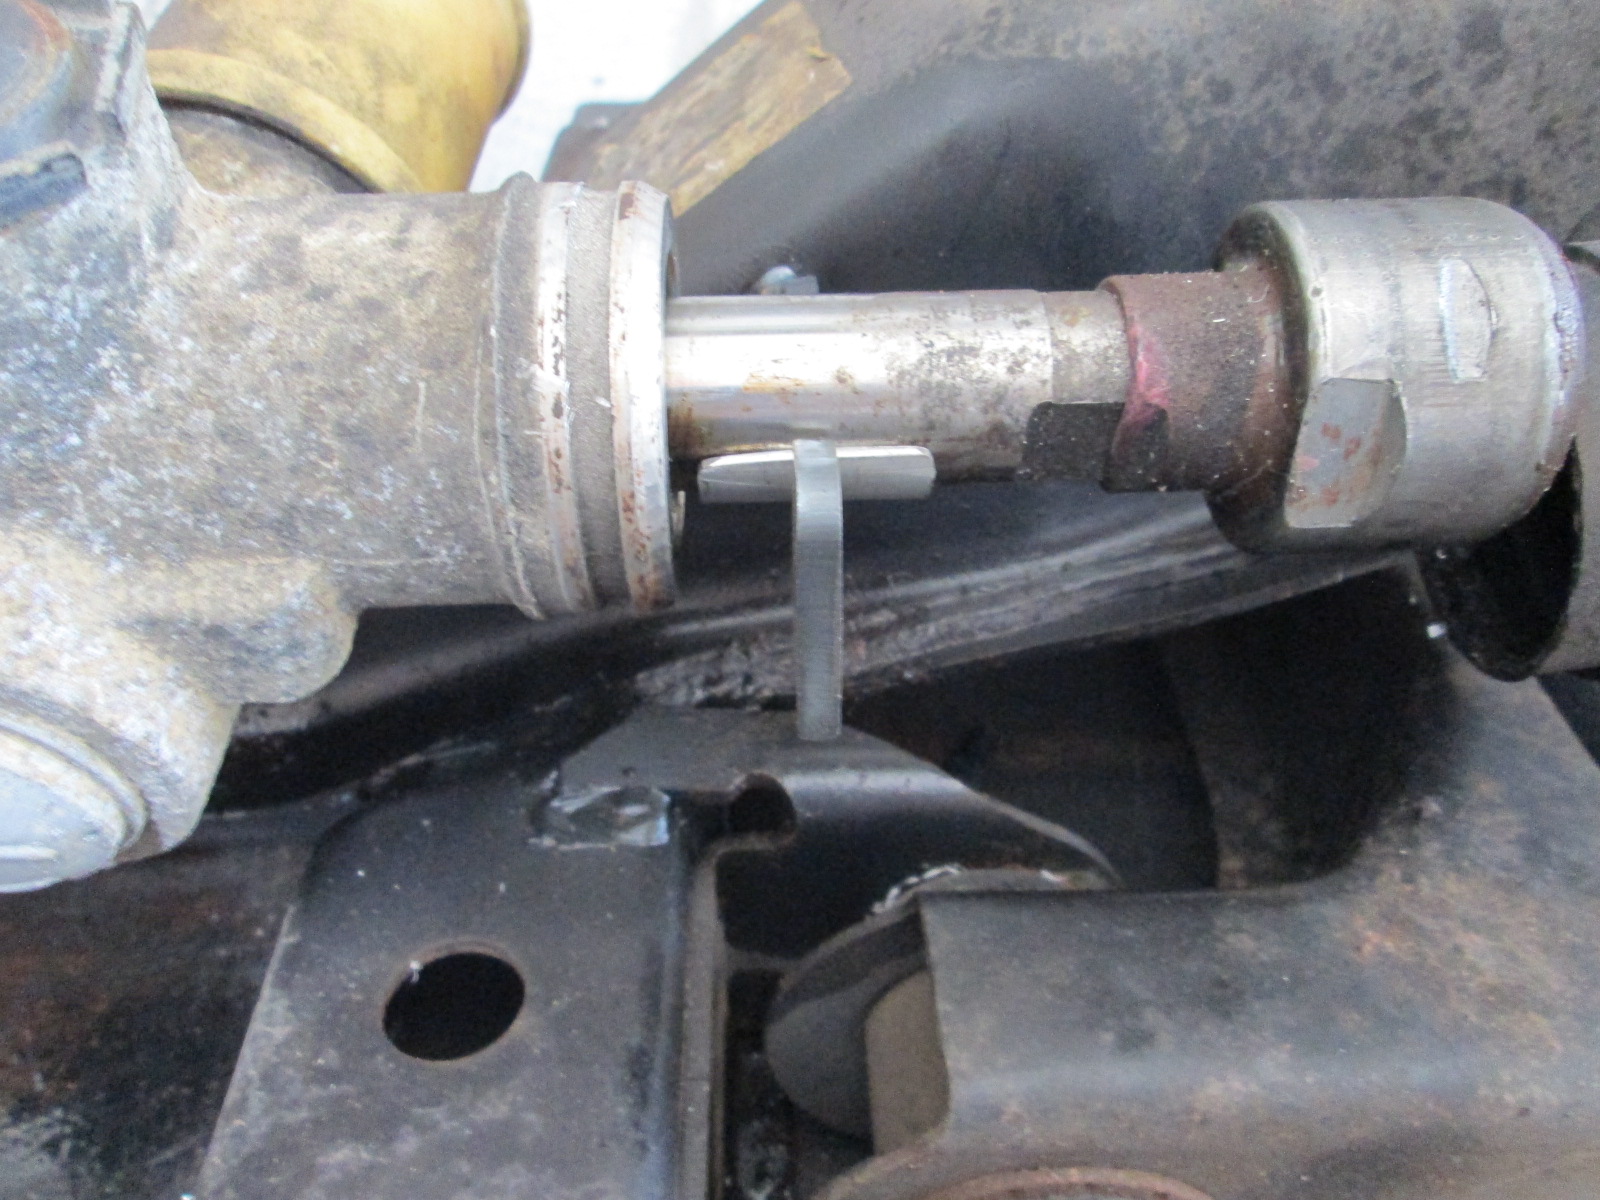
Detailed out both racks with the inner tie rod pivots aligned. The Camaro rack is narrower, so some spacers are needed. They are not the same side to side as I wanted to shift the rack to the passenger side for better column connection clearance.
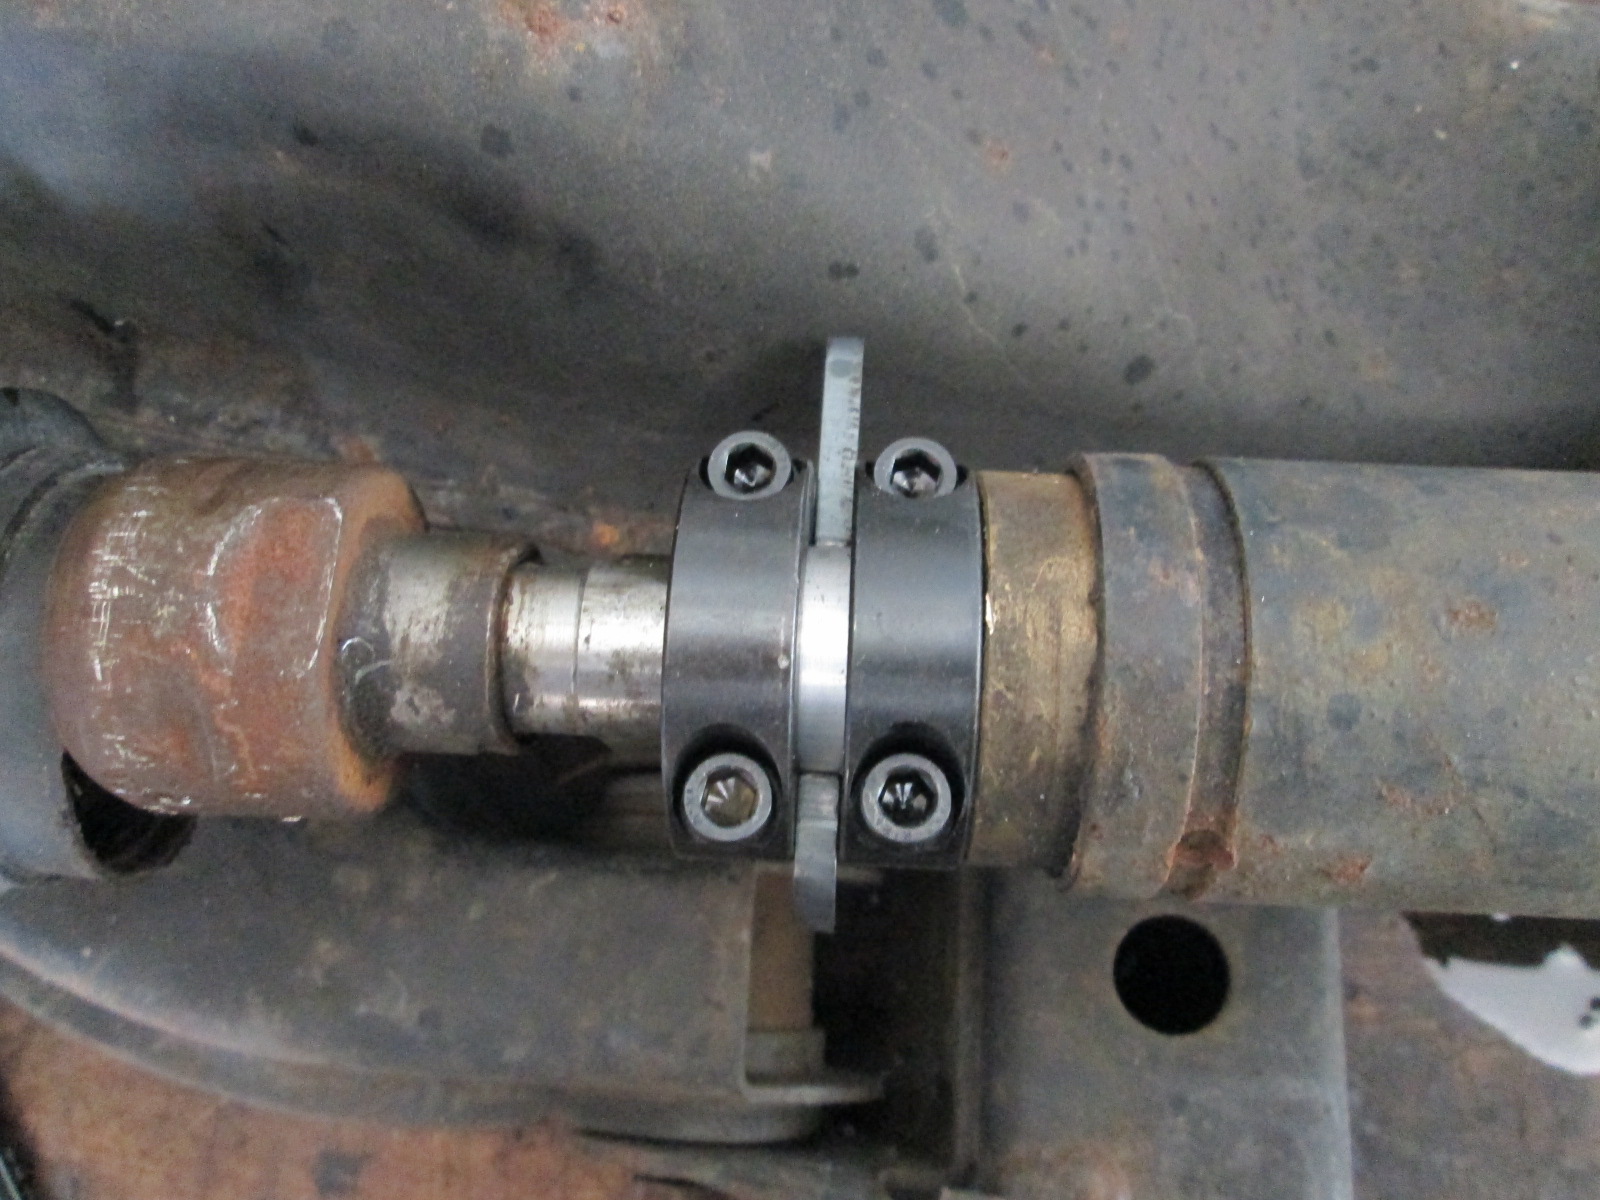
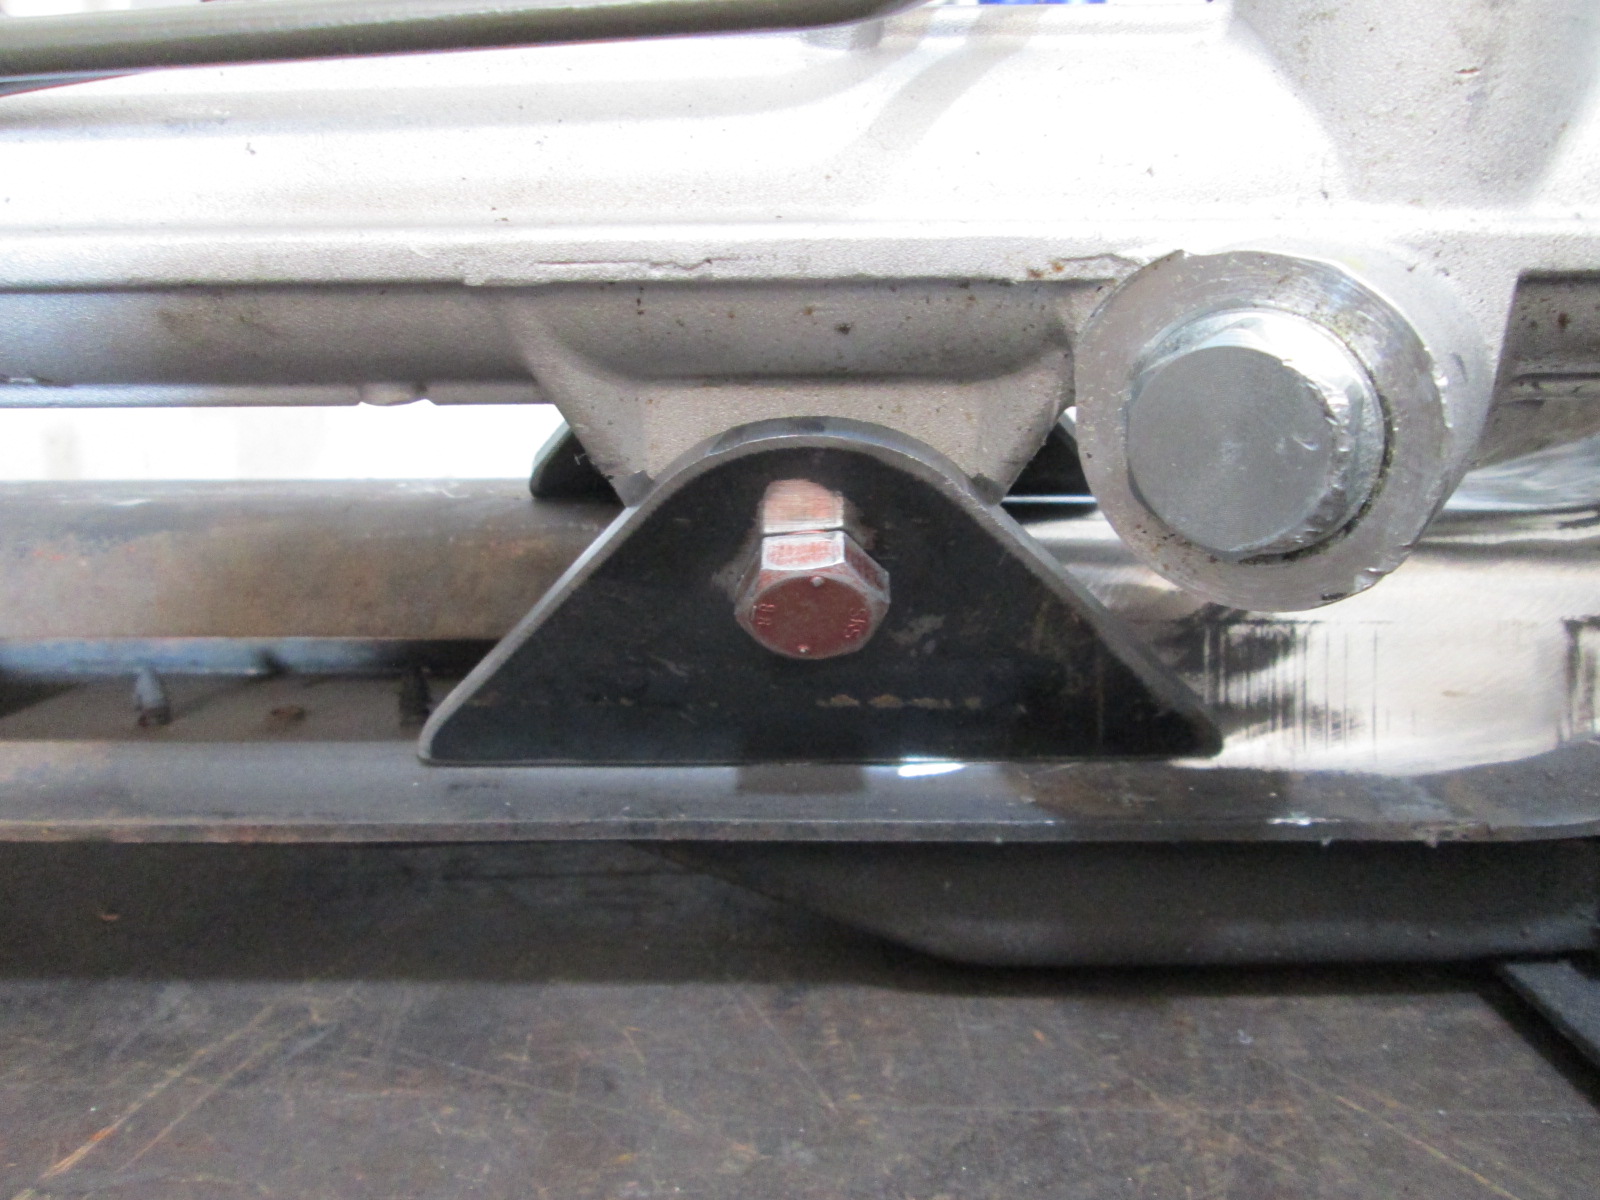
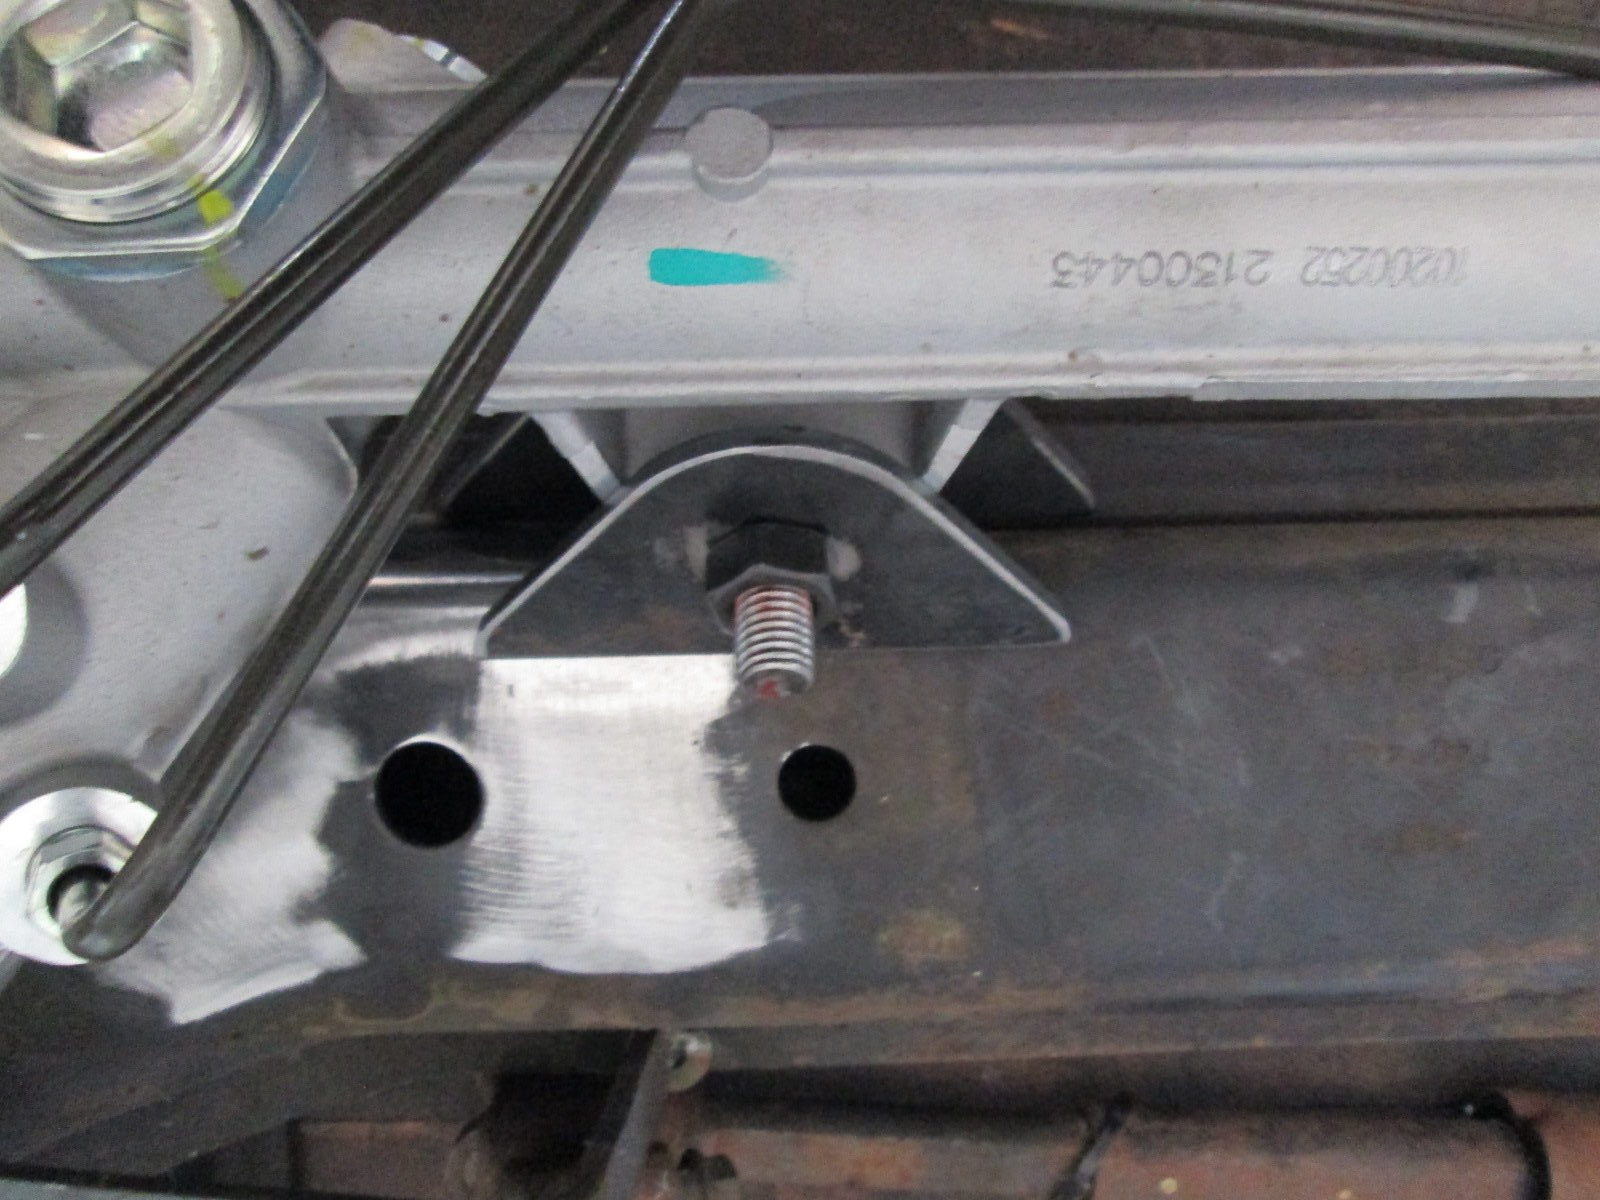
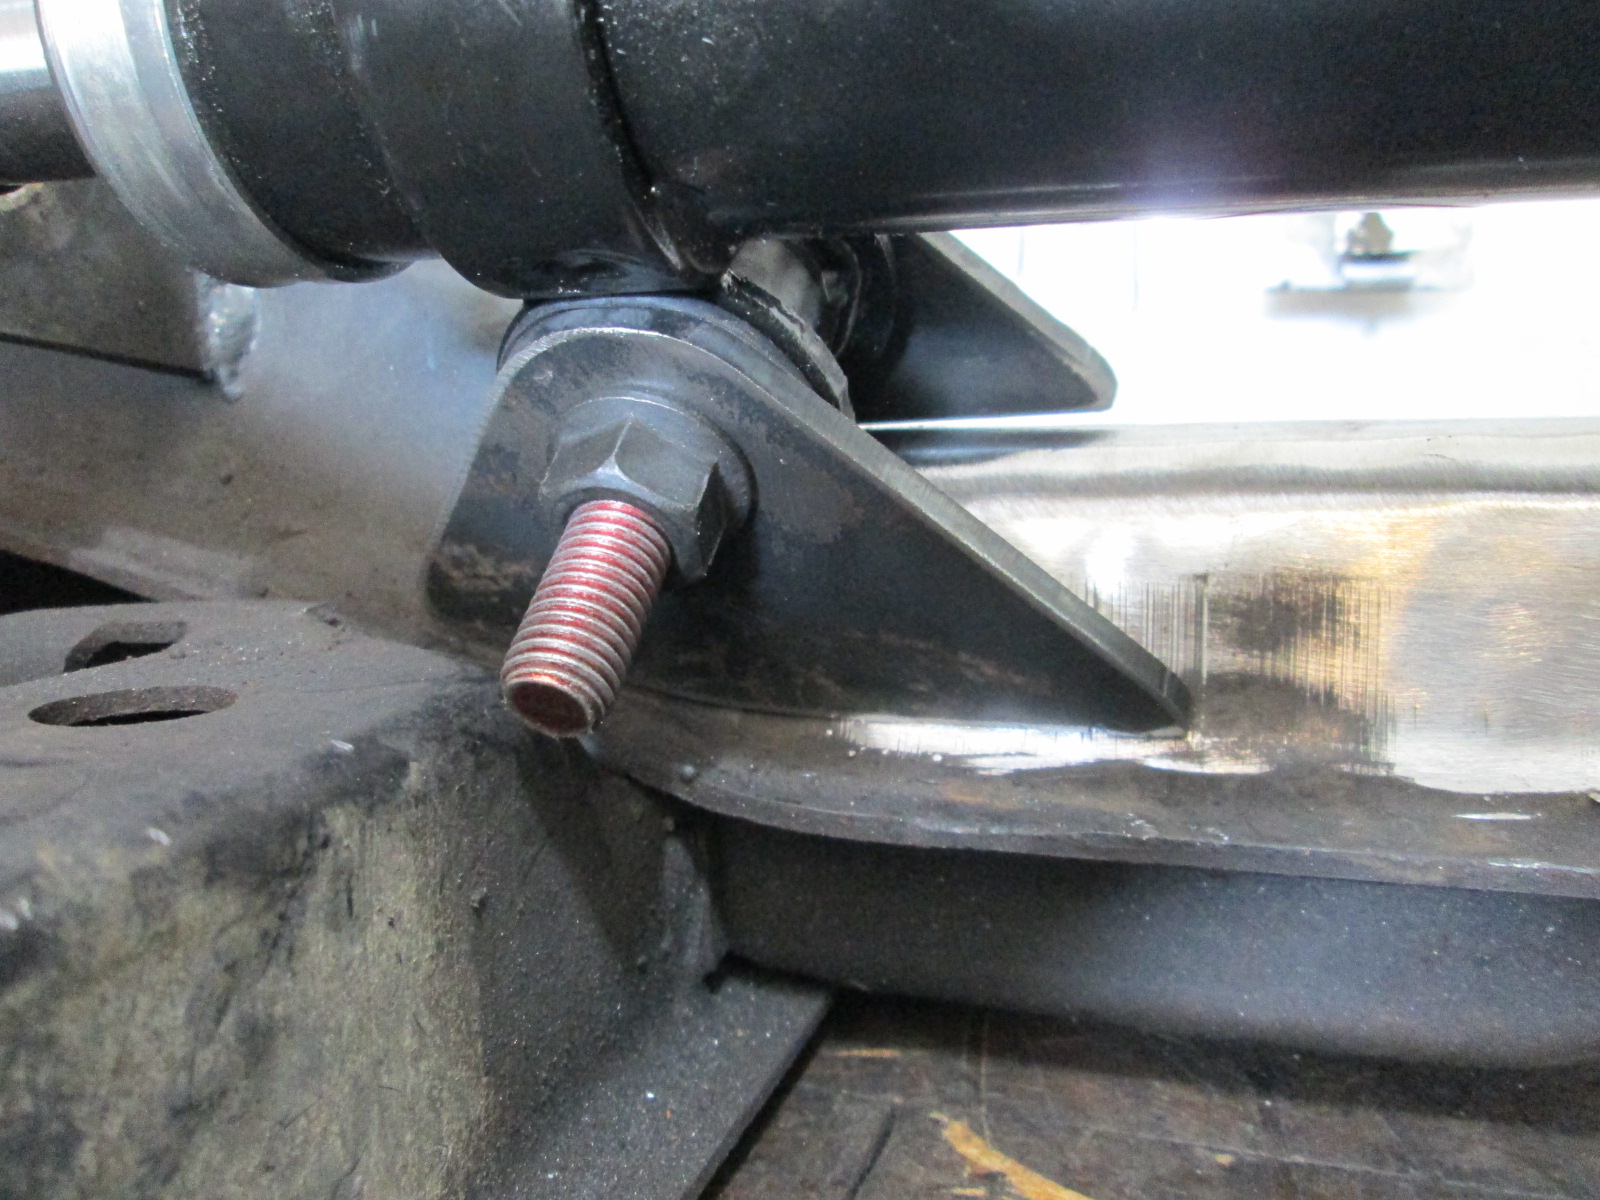
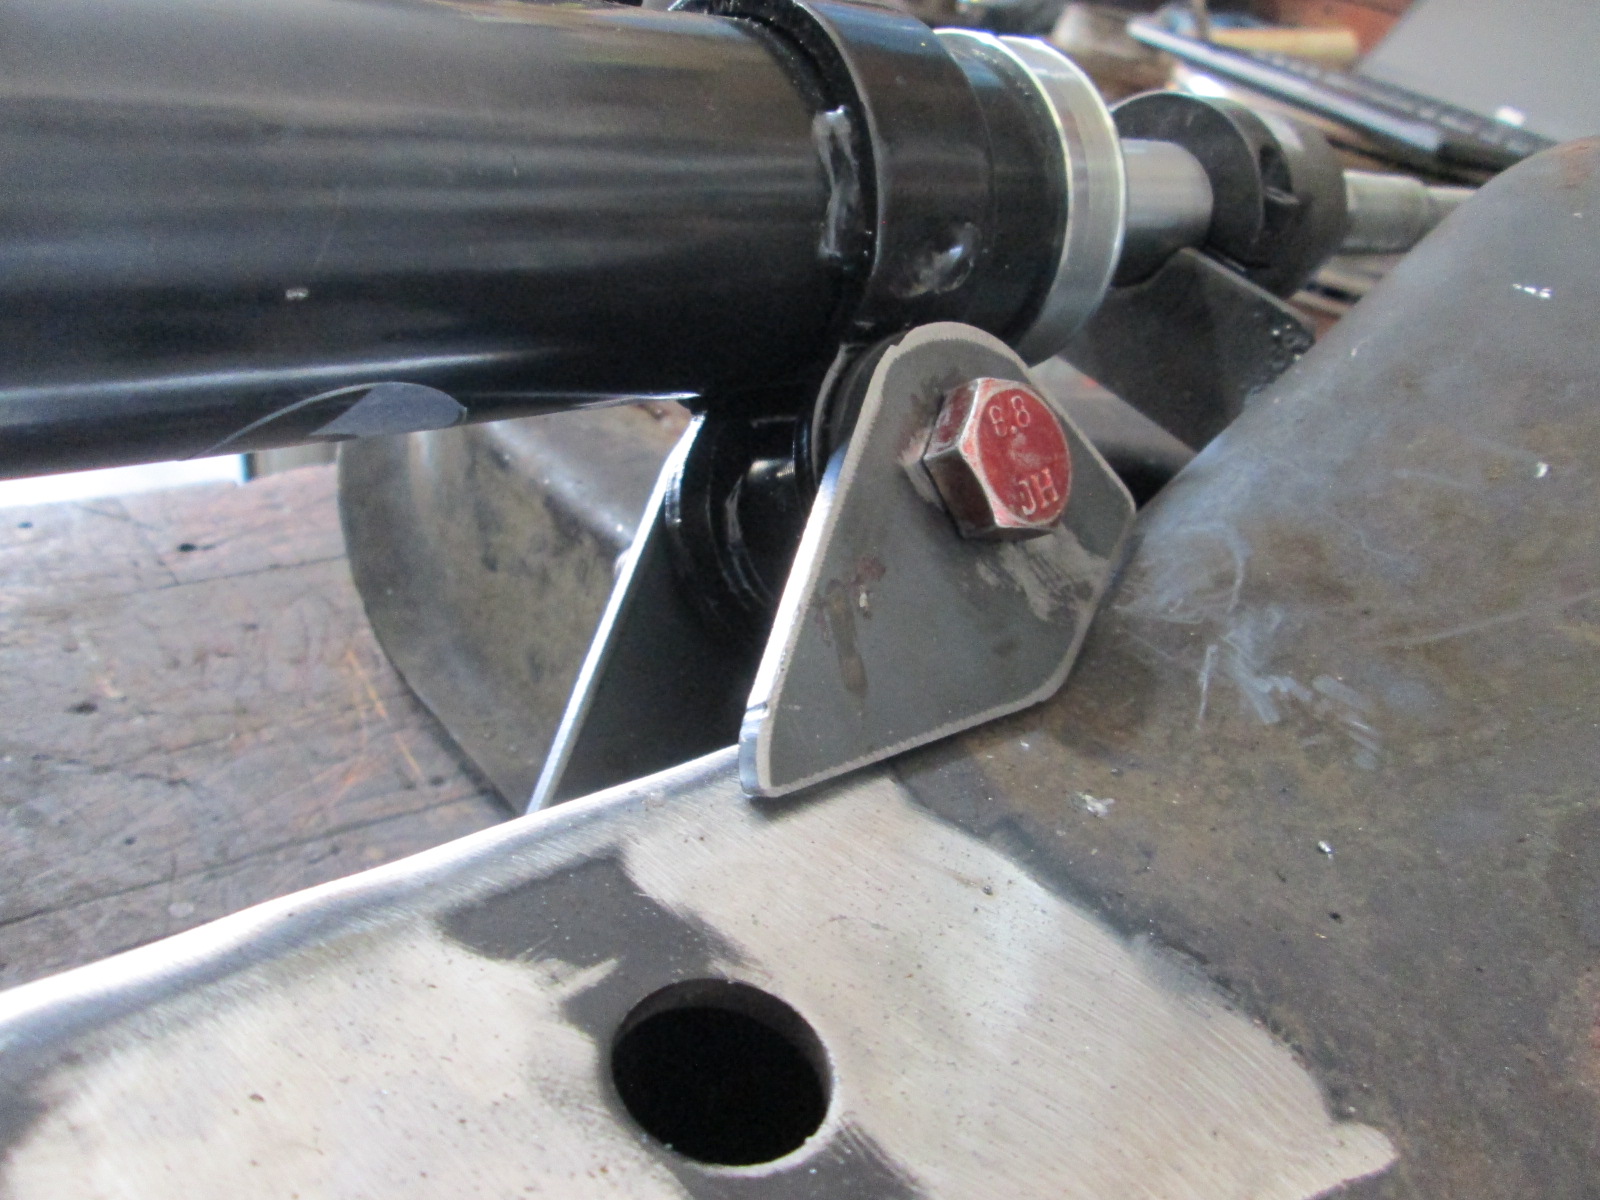
Made some brackets to locate the 3D placement of the Fiero rack before it was removed:

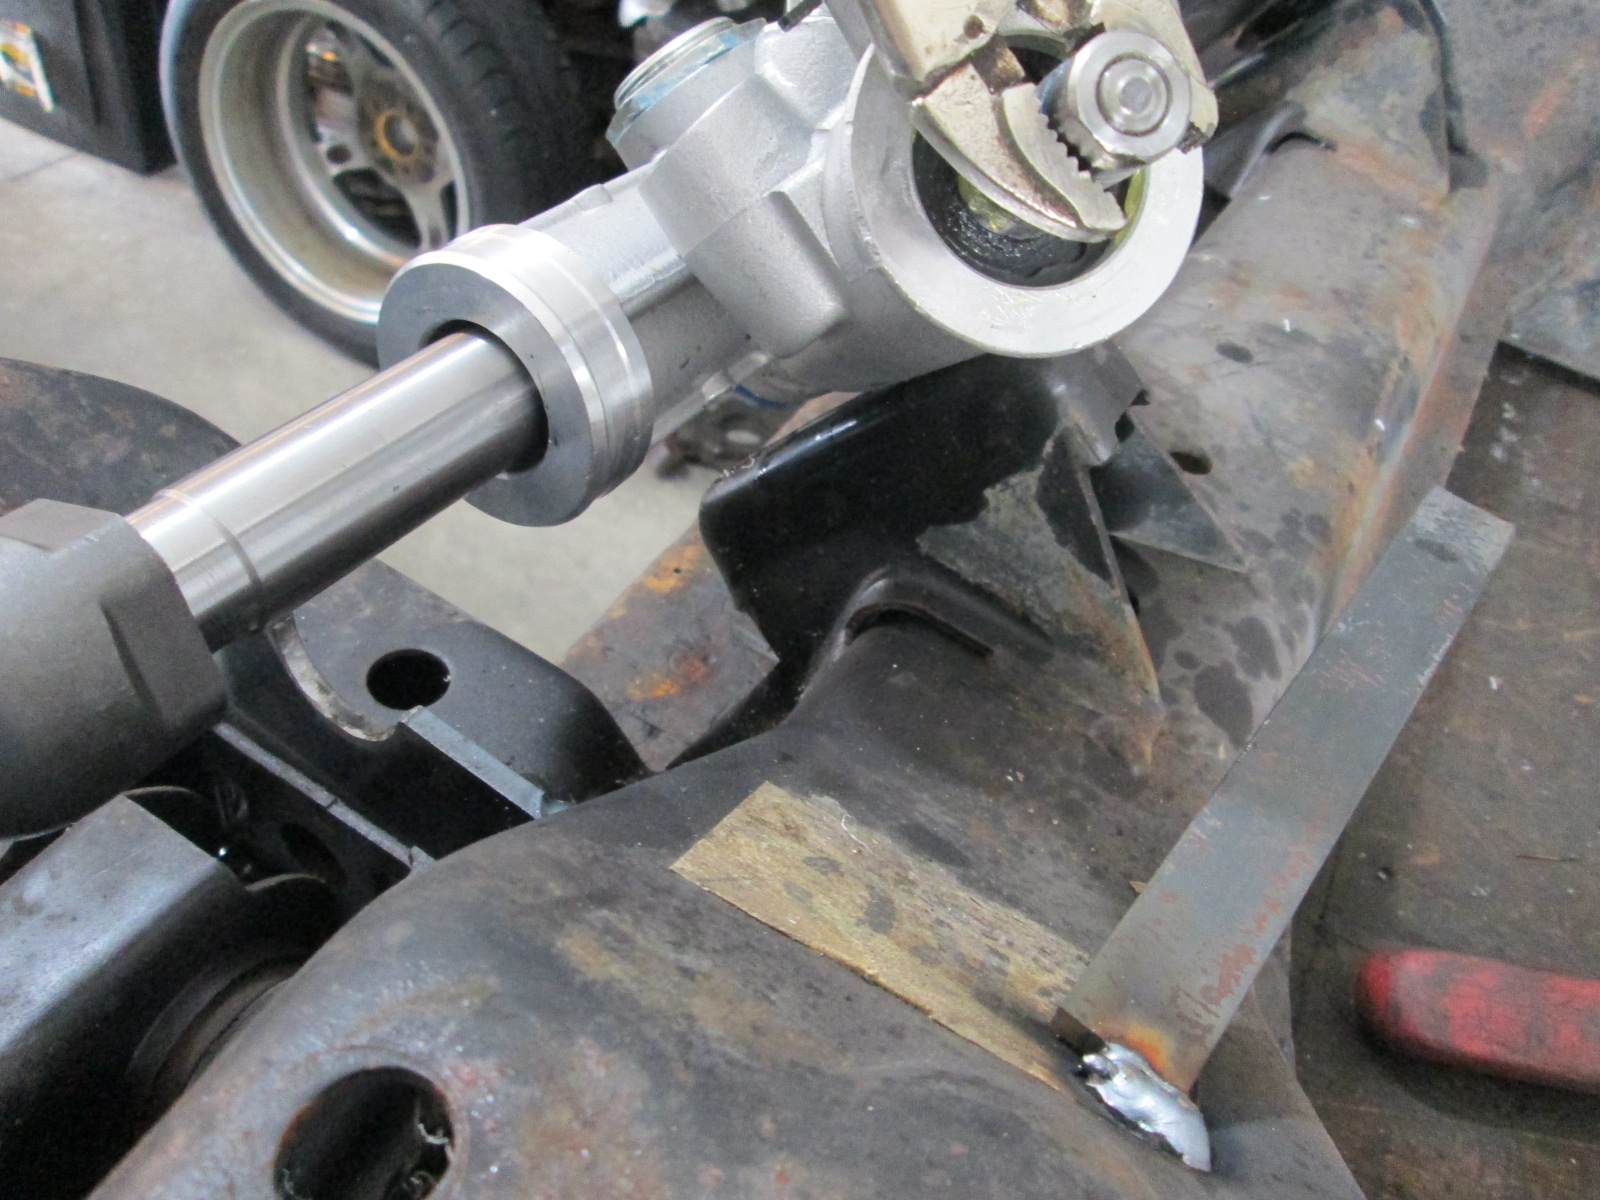
Camaro rack would not clear the factory rack brackets, so they were cut off:
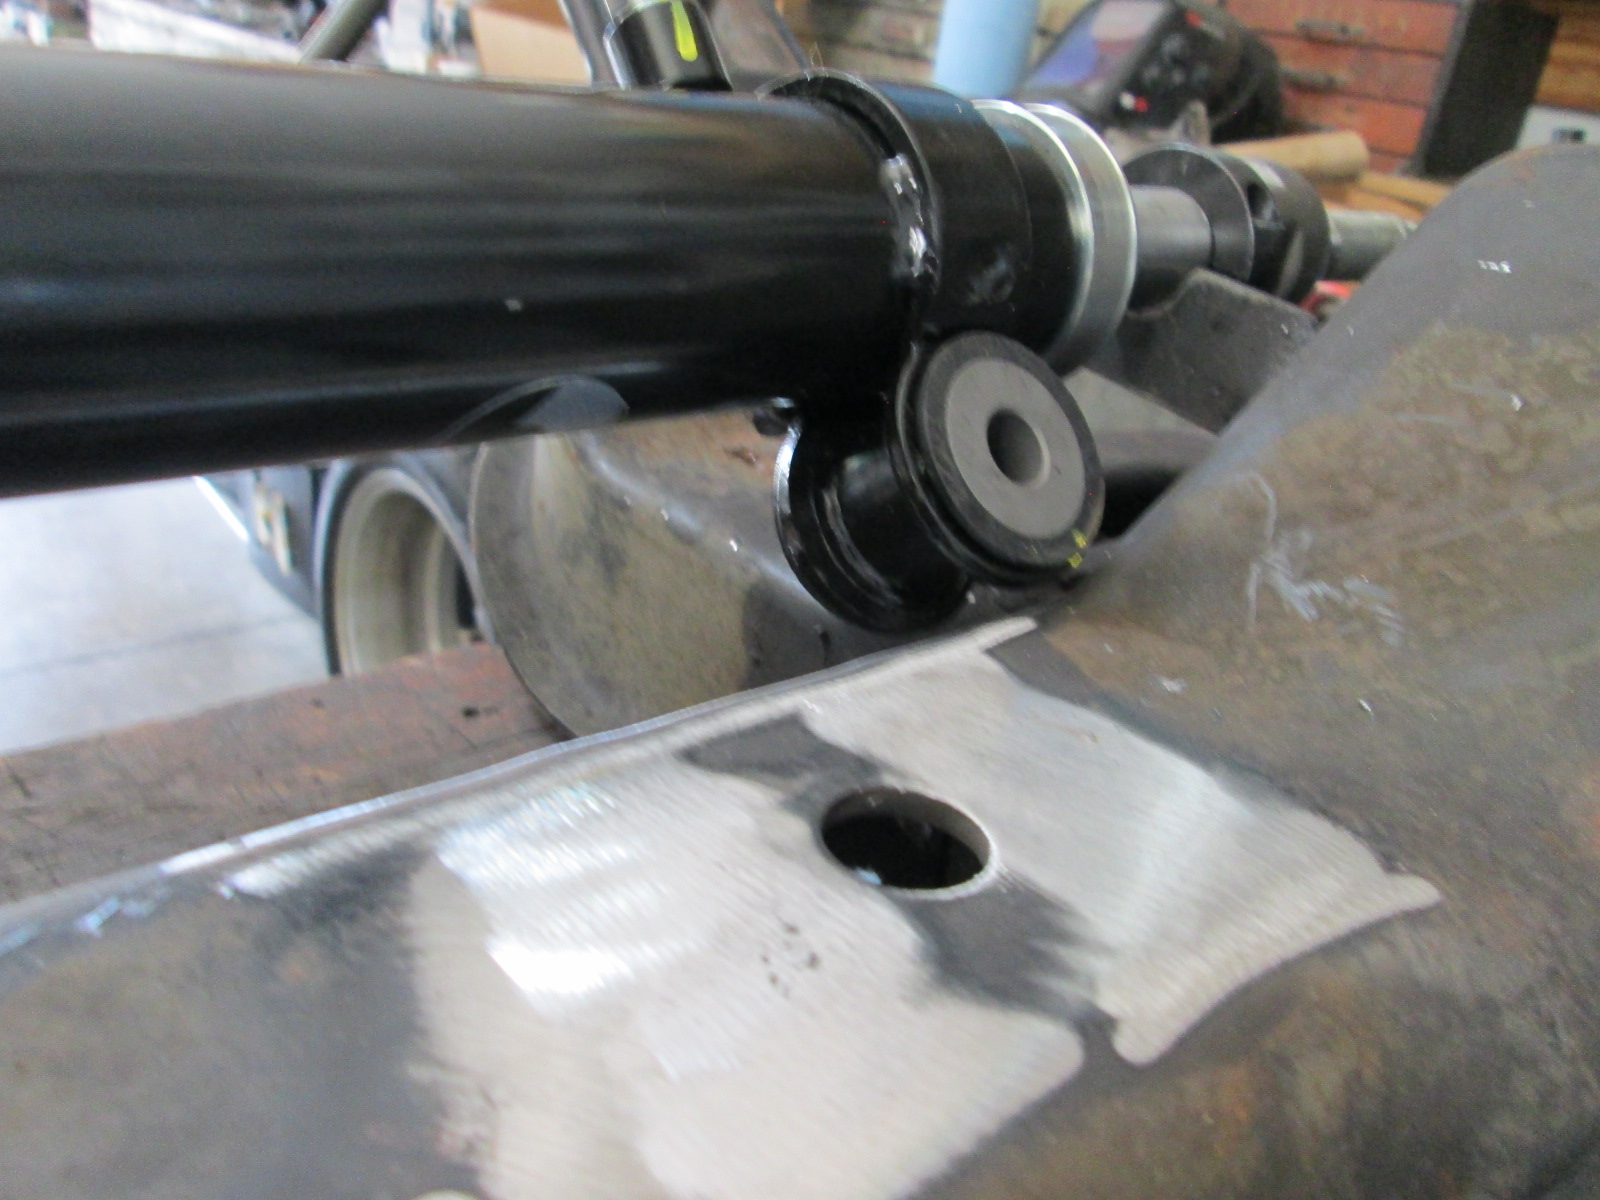
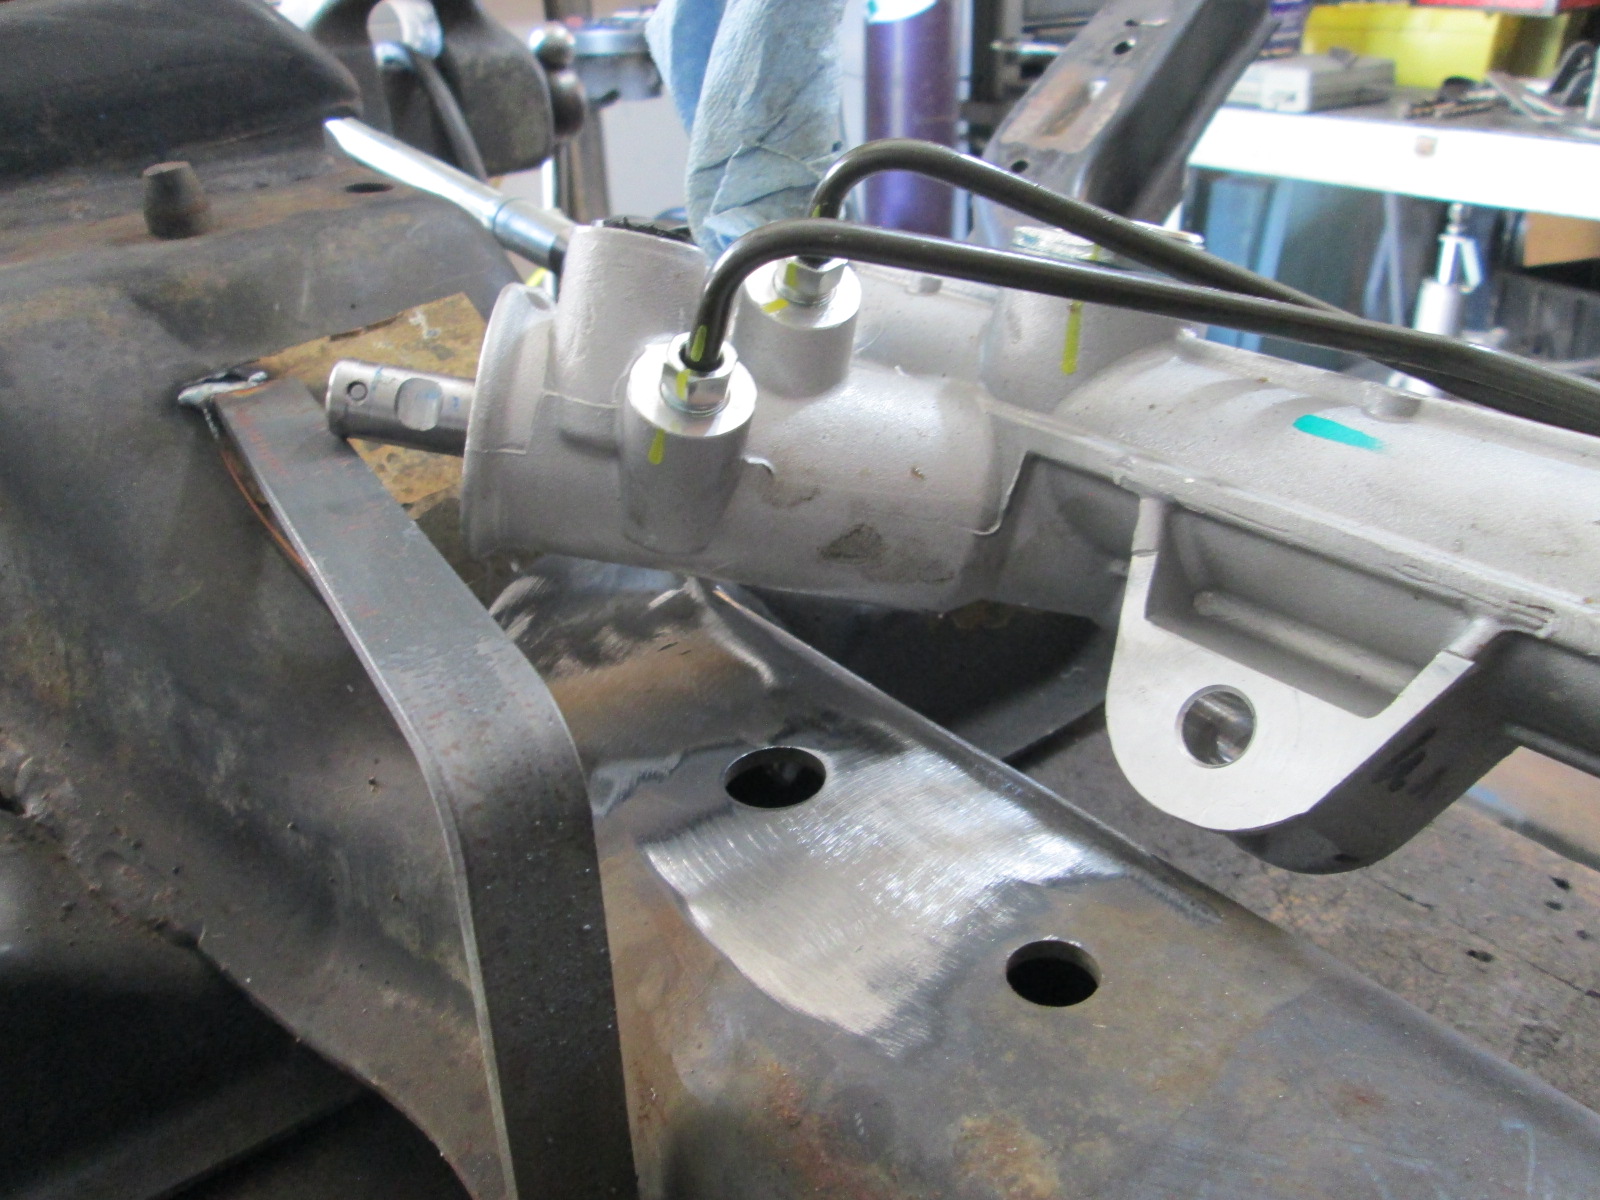
New rack brackets designed and cut:
Then I started detailing out all the suspension components...

I think this needs to be sent back for recalibration...

Before I can finish up the front knuckles, I wanted to complete the power steering rack swap. 88 Fieros has 3.35 turns lock to lock with a manual rack, works but is pretty slow when autocrossing. 4th Gen Camaro has a rack that is 2.25 turns lock to lock, so that is what I choose to swap.
Detailed out both racks with the inner tie rod pivots aligned. The Camaro rack is narrower, so some spacers are needed. They are not the same side to side as I wanted to shift the rack to the passenger side for better column connection clearance.
Made some brackets to locate the 3D placement of the Fiero rack before it was removed:
Camaro rack would not clear the factory rack brackets, so they were cut off:
New rack brackets designed and cut:
Then I started detailing out all the suspension components...
I think this needs to be sent back for recalibration...
08-25-2021, 04:58 AM
#398
Looking real good. This is gonna be a monster when completed
08-25-2021, 07:39 AM
#400