
New ramair hood
 10-30-2008, 11:50 PM
#1

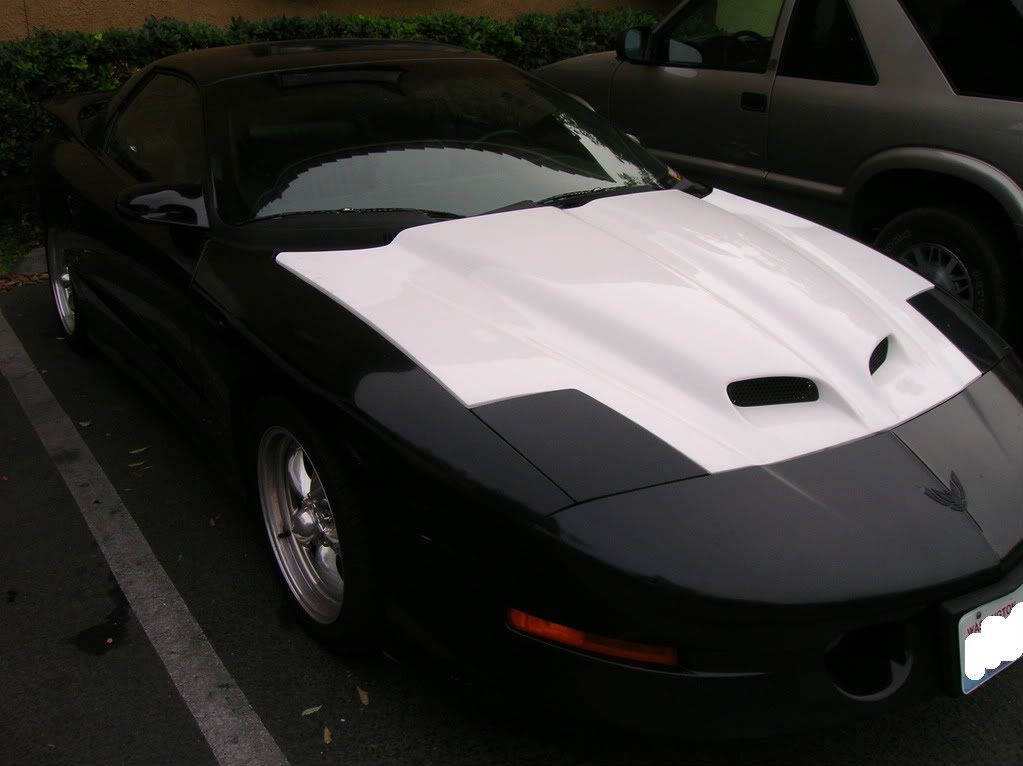
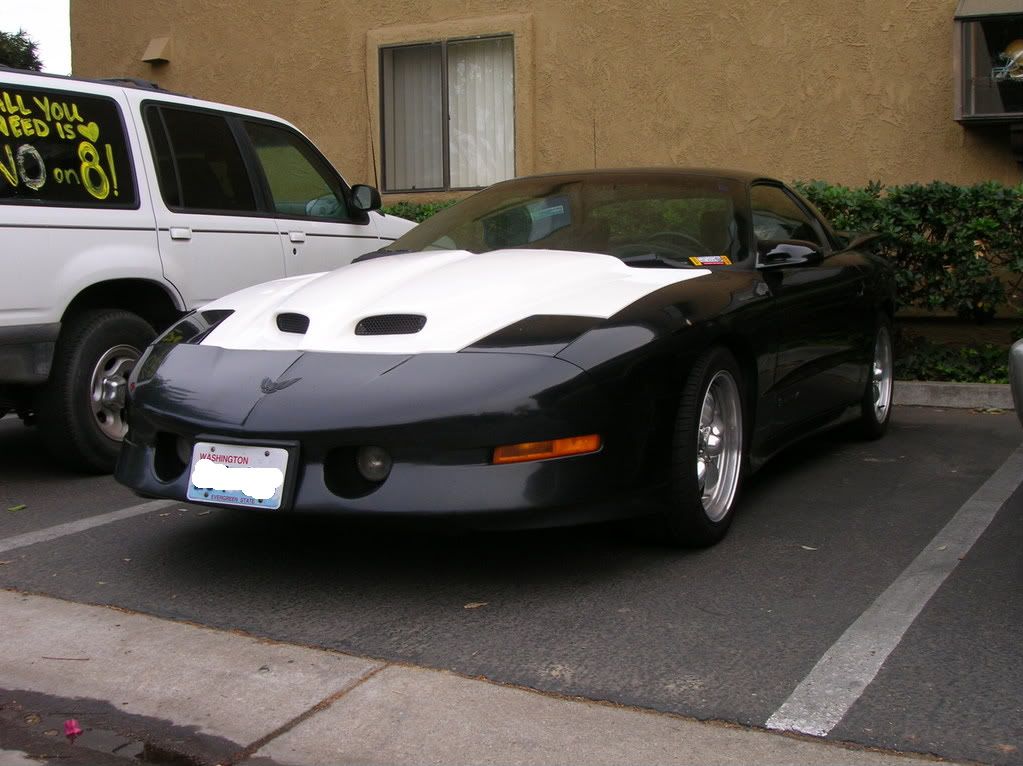
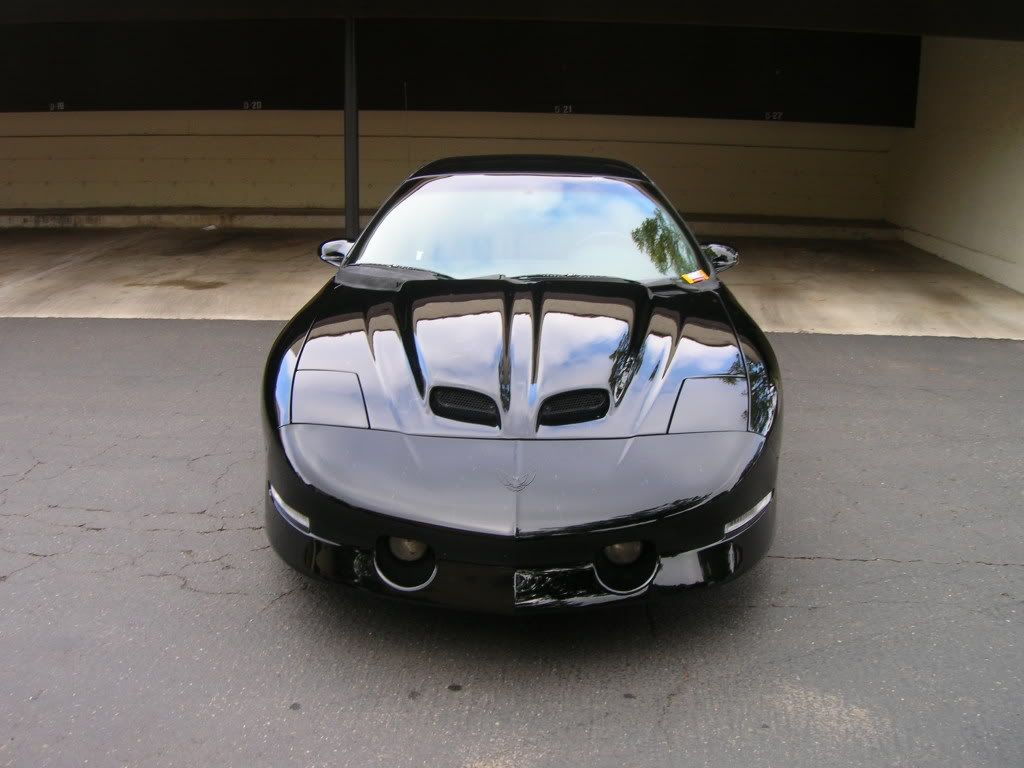
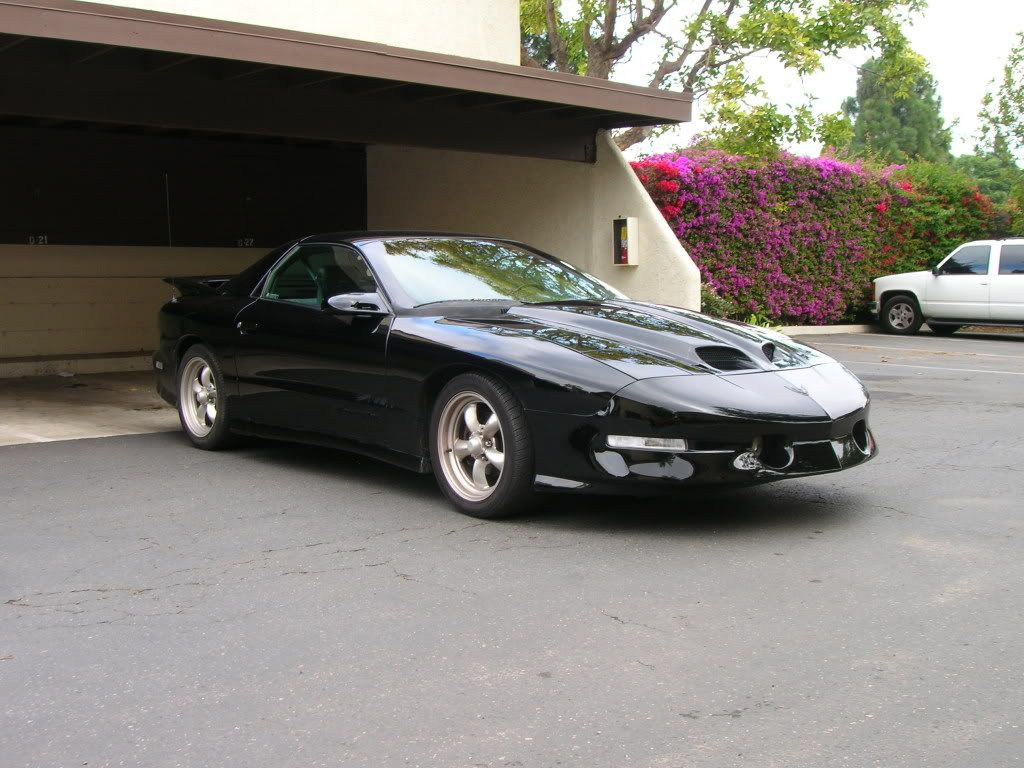
Just put the new ramair hood on. For the most part I'm pleased. The spacing is even all around although it gets close in the front. I had to adjust the hood towards the windshield a little because it was touching the head lights. Had to adjust the lock a little too. The height is even in the back but worsens as it gets closer to the front. You can see in the pictures that it's quite taller that the level of the bumper cover and outside edges of the headlights. Also they didn't drill two holes that would've been useful with the hinges. I didn't think to take pictures of them but I'll get them up tomorrow. I'm taking the car in for a paint job on monday and will post the finished photos in 3 1/2 to 4 weeks.
Last edited by phantomzer0; 10-31-2008 at 01:38 AM. Reason: Non-Sponsor Links Removed!!


 10-31-2008, 12:10 PM
#7
I had to Lower my front bumper cover and drill out the hood latch bolt holes to slide it down farther. I had almost the same problem, my drivers side frontcorner stuck up about 1/4 inch. after moving the bumper cover down and the latch more, looks almost perfect. my rear hinges on my hood were drilled out to the max.
Trending Topics
10-31-2008, 03:59 PM
#12
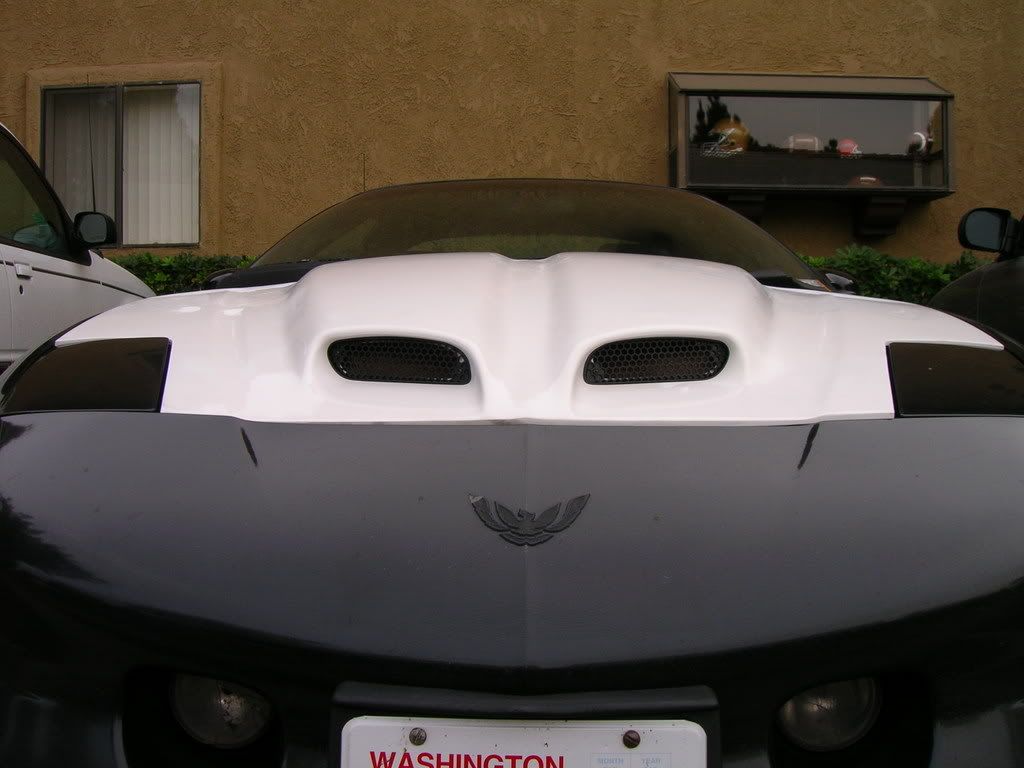
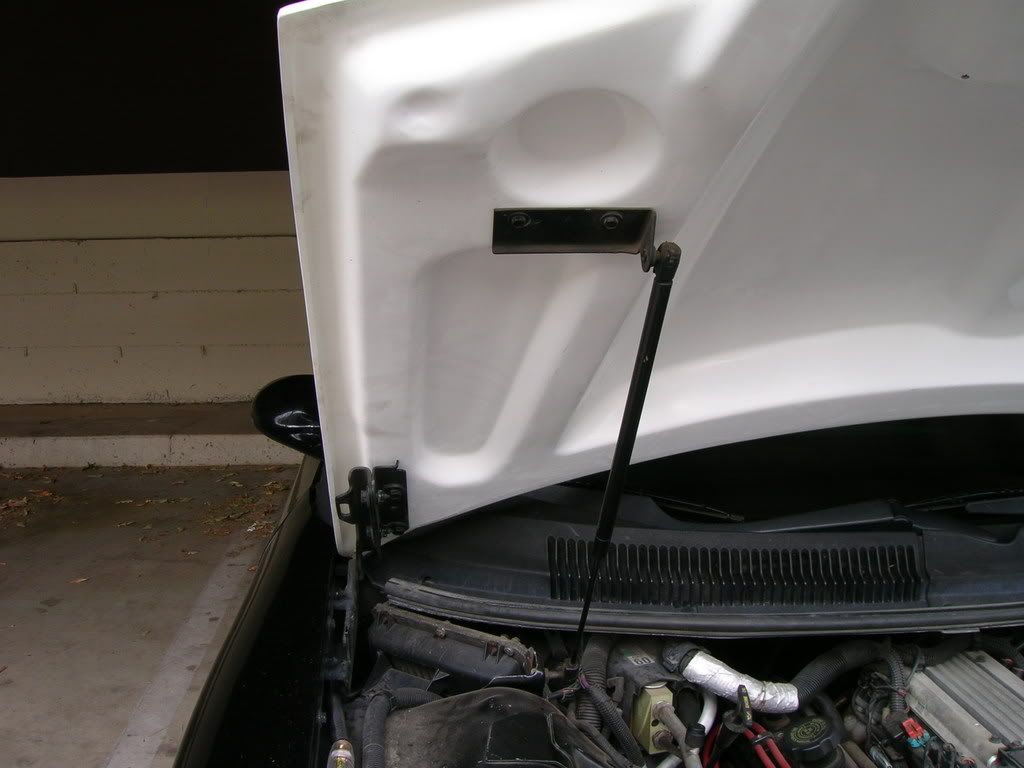
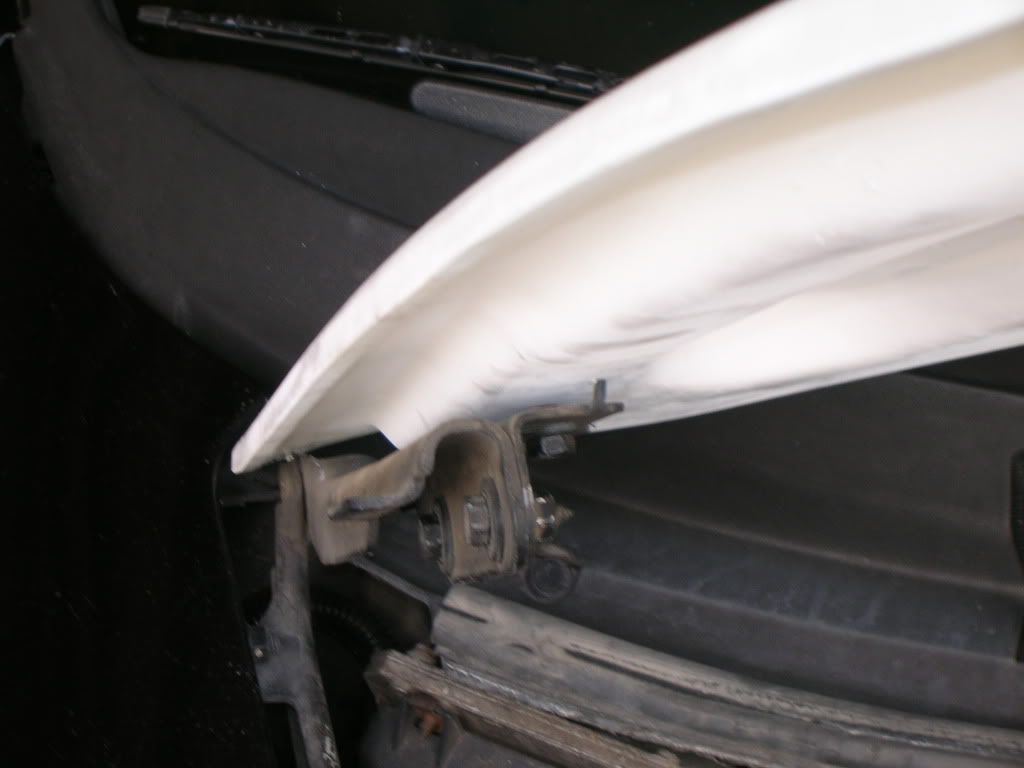
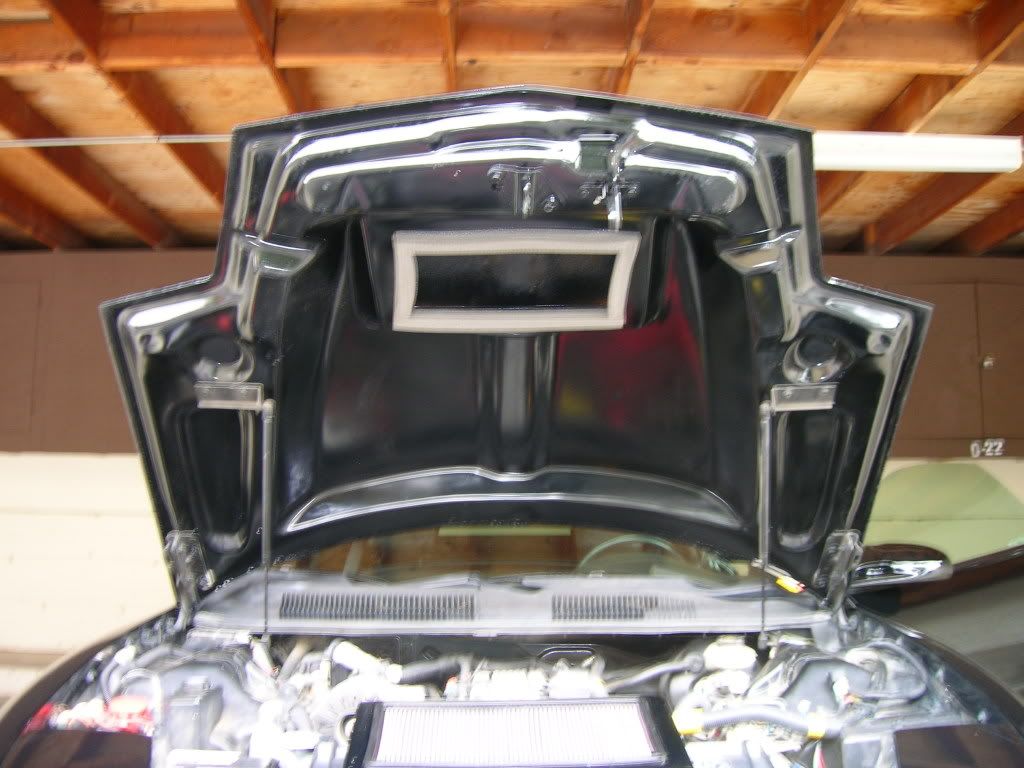
Here's a shot from the inside, a view of how the hinge and strut bolt up and a close up of the hole they didn't drill. I won't post a link but it's from a site called ramairhood. I desperately wanted one from U.S. Exotics but Roger wasn't returning my emails and wasn't answering his phone.
 12-02-2008, 03:40 PM
#18
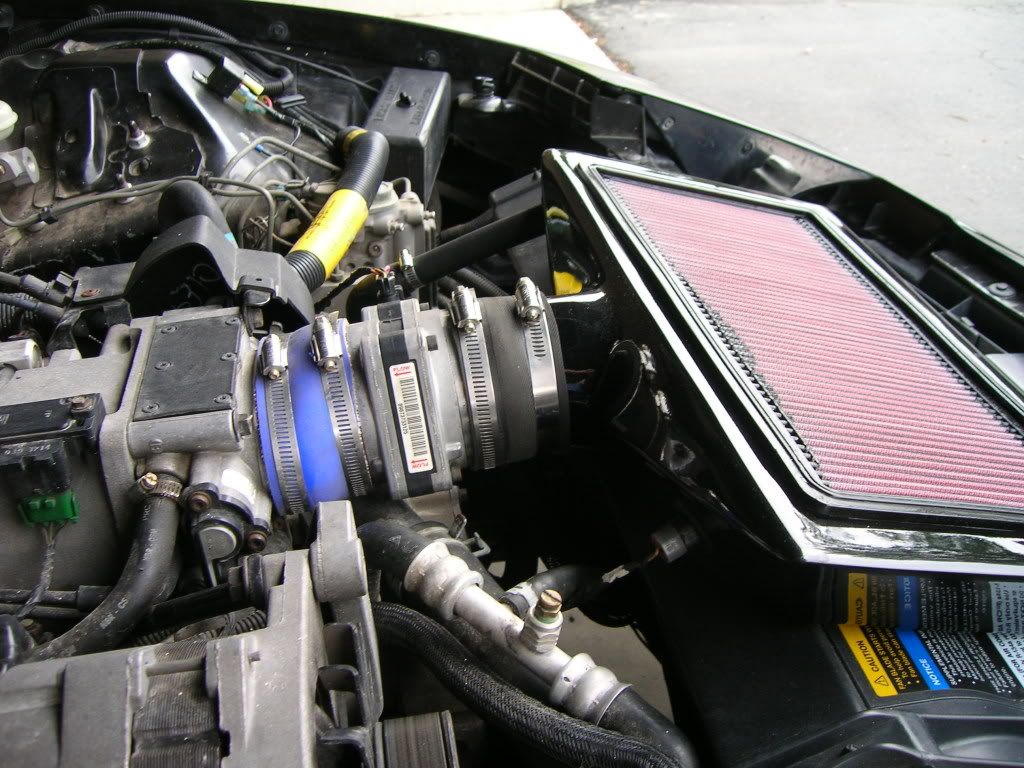
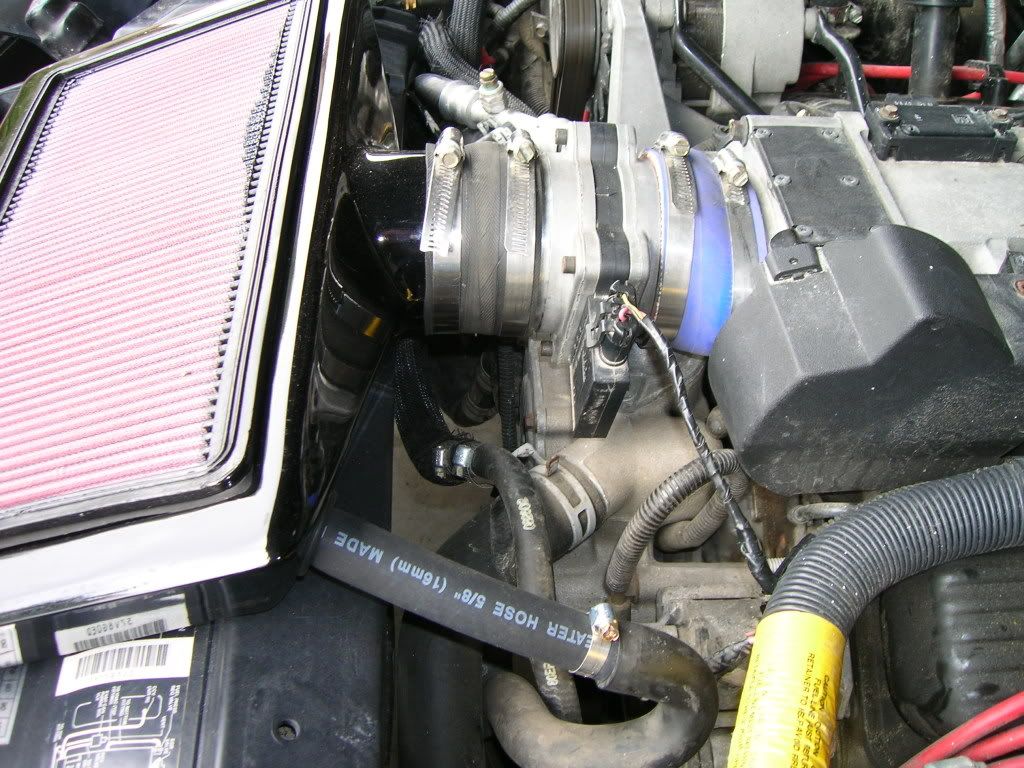
Ok, I got the car back from the body shop with clear signal covers and fresh paint on the whole car. I installed the ram air system that weekend.
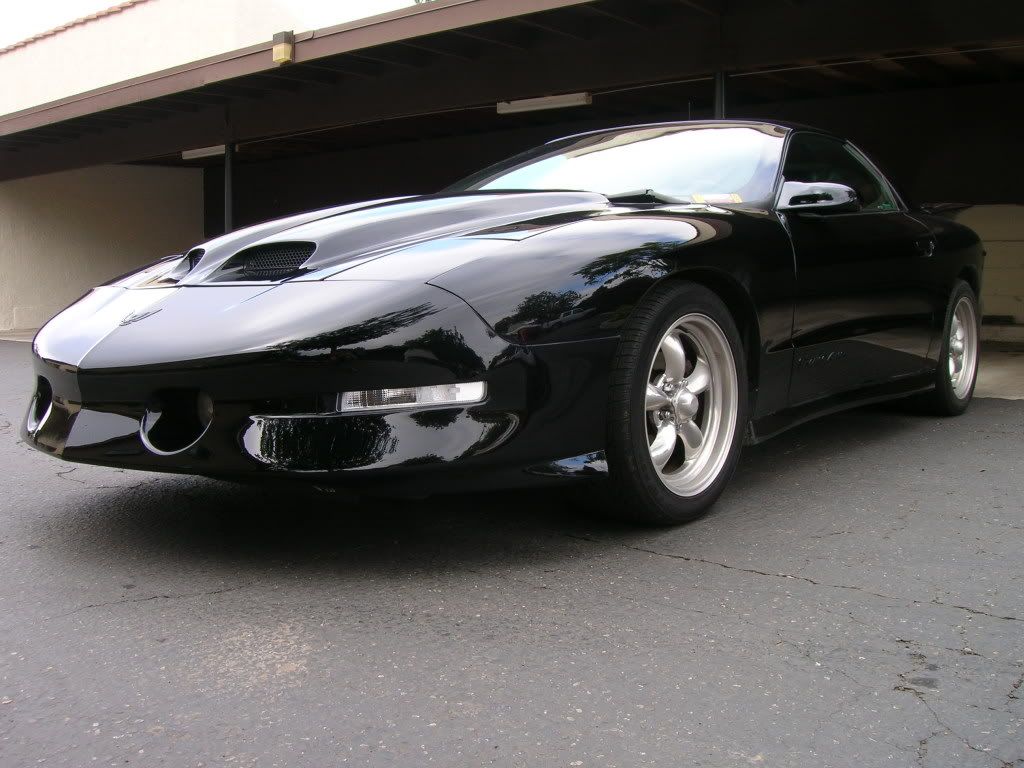
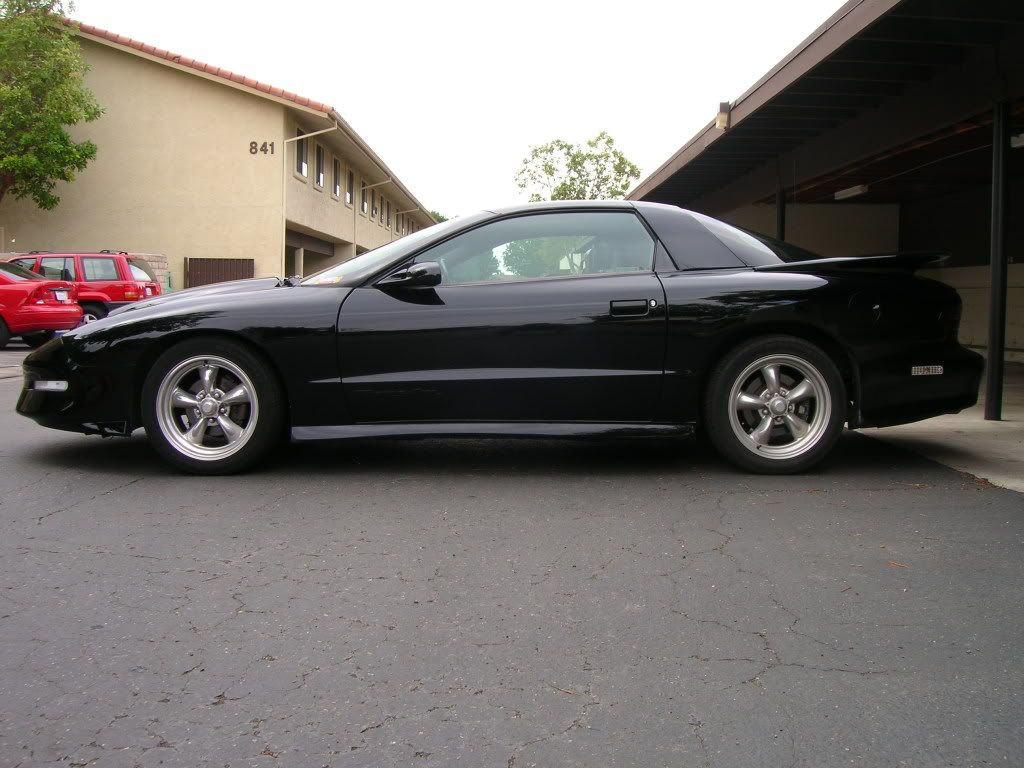
I couldn't be happier with how it turned out. There was an issue with the nose piece that wasn't the shops fault. Apparently it warped during shipping and they used a heat gun to mold back what they could but the nose piece is still warped near the head lights on both sides. I'm gonna see if I can get it replaced but I have a feeling I'm gonna be buying a new nose piece.
Here's the ram air.
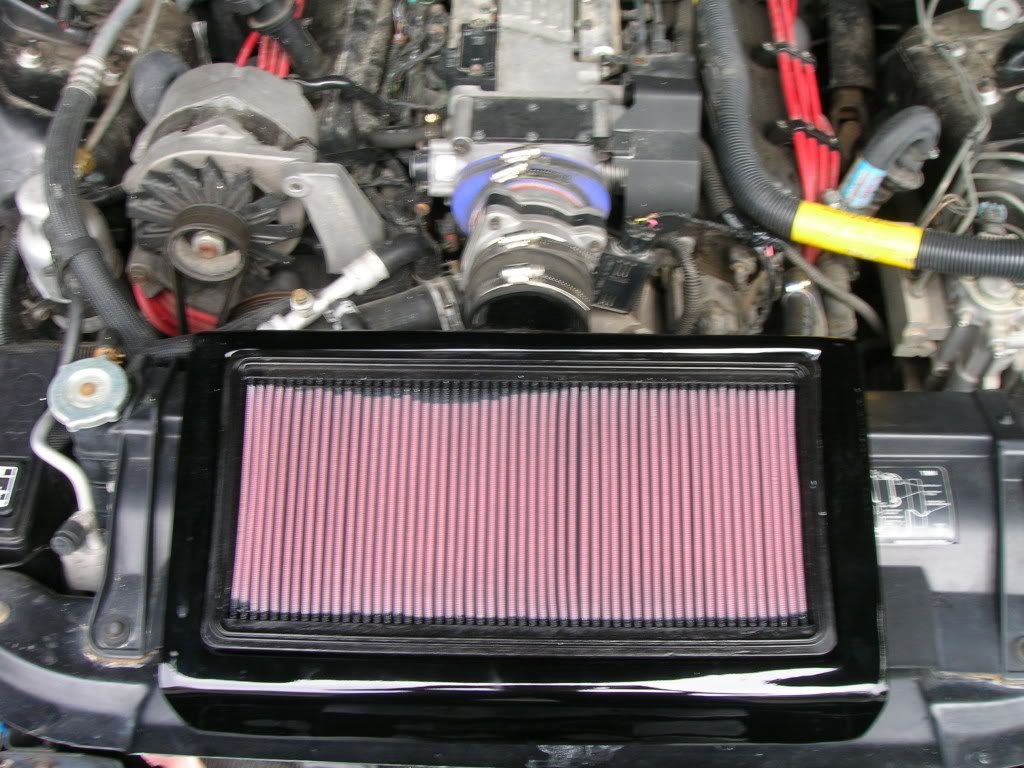
The IAT needed a 5/8 rubber grommet and the A.I.R. hose needed a 3/4 rubber grommet and I used 5/8 fuel line to adapt my hose to the air box. Luckily the rubber tubes from the Moroso CAI were the perfect size for this because the tubes they sent with the box didn't fit right. It was a VERY tight fit, I had to remove the MAF screen because the air box was grinding on it. A MAF wire extension is on the way.
I couldn't be happier with how it turned out. There was an issue with the nose piece that wasn't the shops fault. Apparently it warped during shipping and they used a heat gun to mold back what they could but the nose piece is still warped near the head lights on both sides. I'm gonna see if I can get it replaced but I have a feeling I'm gonna be buying a new nose piece.
Here's the ram air.
The IAT needed a 5/8 rubber grommet and the A.I.R. hose needed a 3/4 rubber grommet and I used 5/8 fuel line to adapt my hose to the air box. Luckily the rubber tubes from the Moroso CAI were the perfect size for this because the tubes they sent with the box didn't fit right. It was a VERY tight fit, I had to remove the MAF screen because the air box was grinding on it. A MAF wire extension is on the way.
 .
. 