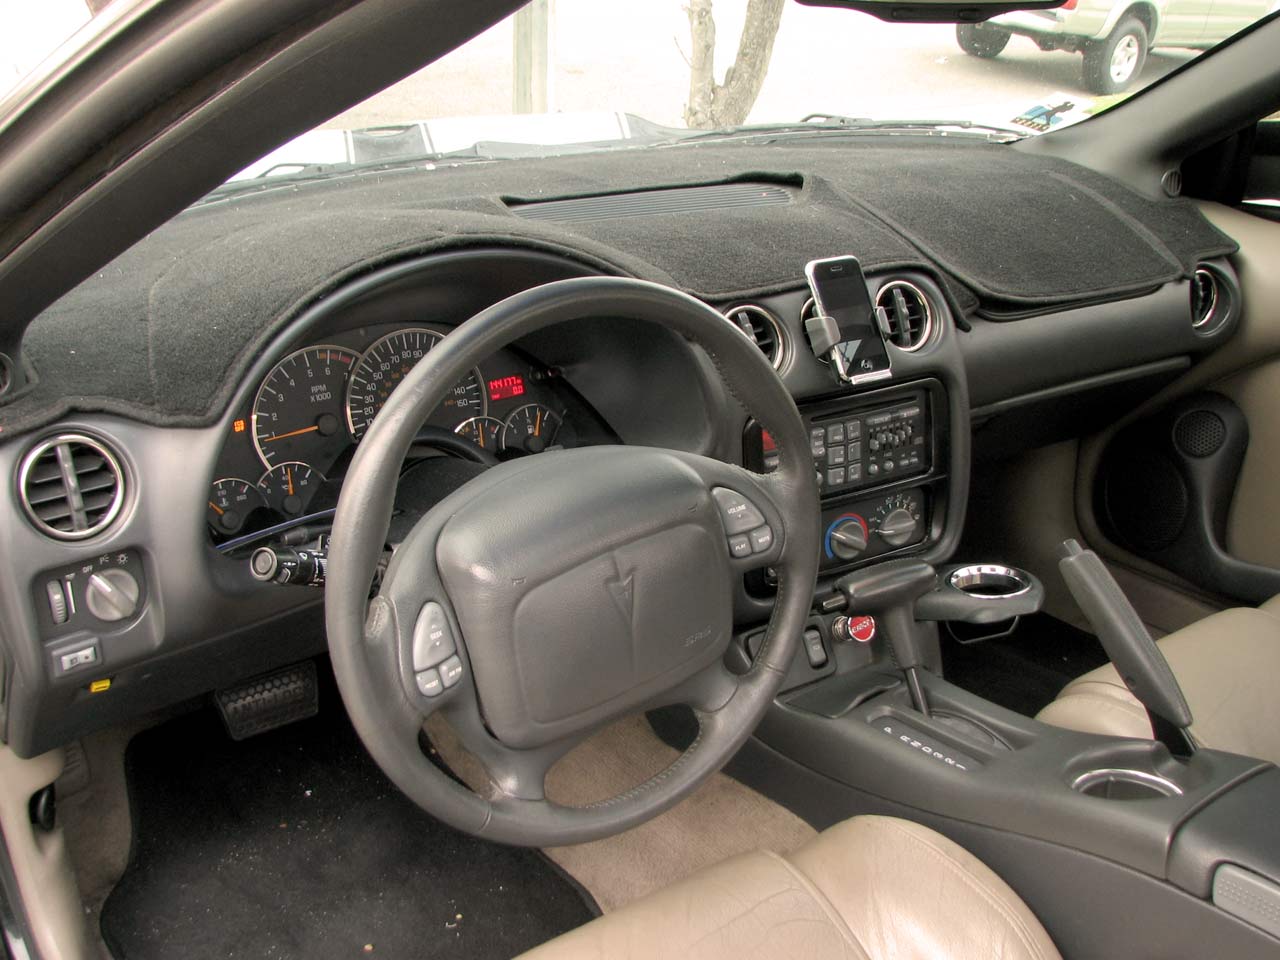
6LE Stainless Gauge Bezel Installed
#1
Thread Starter
TECH Apprentice
iTrader: (11)
Joined: Oct 2007
Posts: 350
Likes: 11
From: Huntsville, AL
Got both the ABS and Stainless bezels as well as a Camaro lens last night from 6LE and went to work today. My plan was to install the bezel to the lens so that it was removable and could be replaced if needed. The first step was to find the right placement of the bezel over the overlay. To help, 6LE loaned me a stock overlay to help me figure out the cuts in the lens. I used double stick tape to hold the bezel to the overlay, then placed both into the lens to see where it overlapped. This is where I was to cut.
It took a little longer than expected, but I was learning as I went. Made a couple mistakes (ie. measuring off the ABS bezel which is flexible instead of the Stainless, which is not) and ended up cutting where I shouldn't have. I filled and painted those mistakes, though. Once I got the cuts in the lens in the right place everything fit pretty well. I 2-part epoxy resin'd the ABS to the Stainless, and let it dry. Once it dried, I used epoxy putty to attach the bezel to the lens and filled the mistakes I made. Once that was dry, I painted the putty.
Installing the complete lens was the reverse of removing it, except the Camaro lens has an extra guide rod on the back that needs to be cut off. Unfortunately, I cought the trip odometer stick and it flew off somewhere in the dash, so I'm missing that piece now. 6LE, if you can find that part, I can use that now
And the pics:
It took a little longer than expected, but I was learning as I went. Made a couple mistakes (ie. measuring off the ABS bezel which is flexible instead of the Stainless, which is not) and ended up cutting where I shouldn't have. I filled and painted those mistakes, though. Once I got the cuts in the lens in the right place everything fit pretty well. I 2-part epoxy resin'd the ABS to the Stainless, and let it dry. Once it dried, I used epoxy putty to attach the bezel to the lens and filled the mistakes I made. Once that was dry, I painted the putty.
Installing the complete lens was the reverse of removing it, except the Camaro lens has an extra guide rod on the back that needs to be cut off. Unfortunately, I cought the trip odometer stick and it flew off somewhere in the dash, so I'm missing that piece now. 6LE, if you can find that part, I can use that now

And the pics:
Trending Topics
#17


 BOSS APPROVED!