When you click on links to various merchants on this site and make a purchase, this can result in this site earning a commission. Affiliate programs and affiliations include, but are not limited to, the eBay Partner Network.
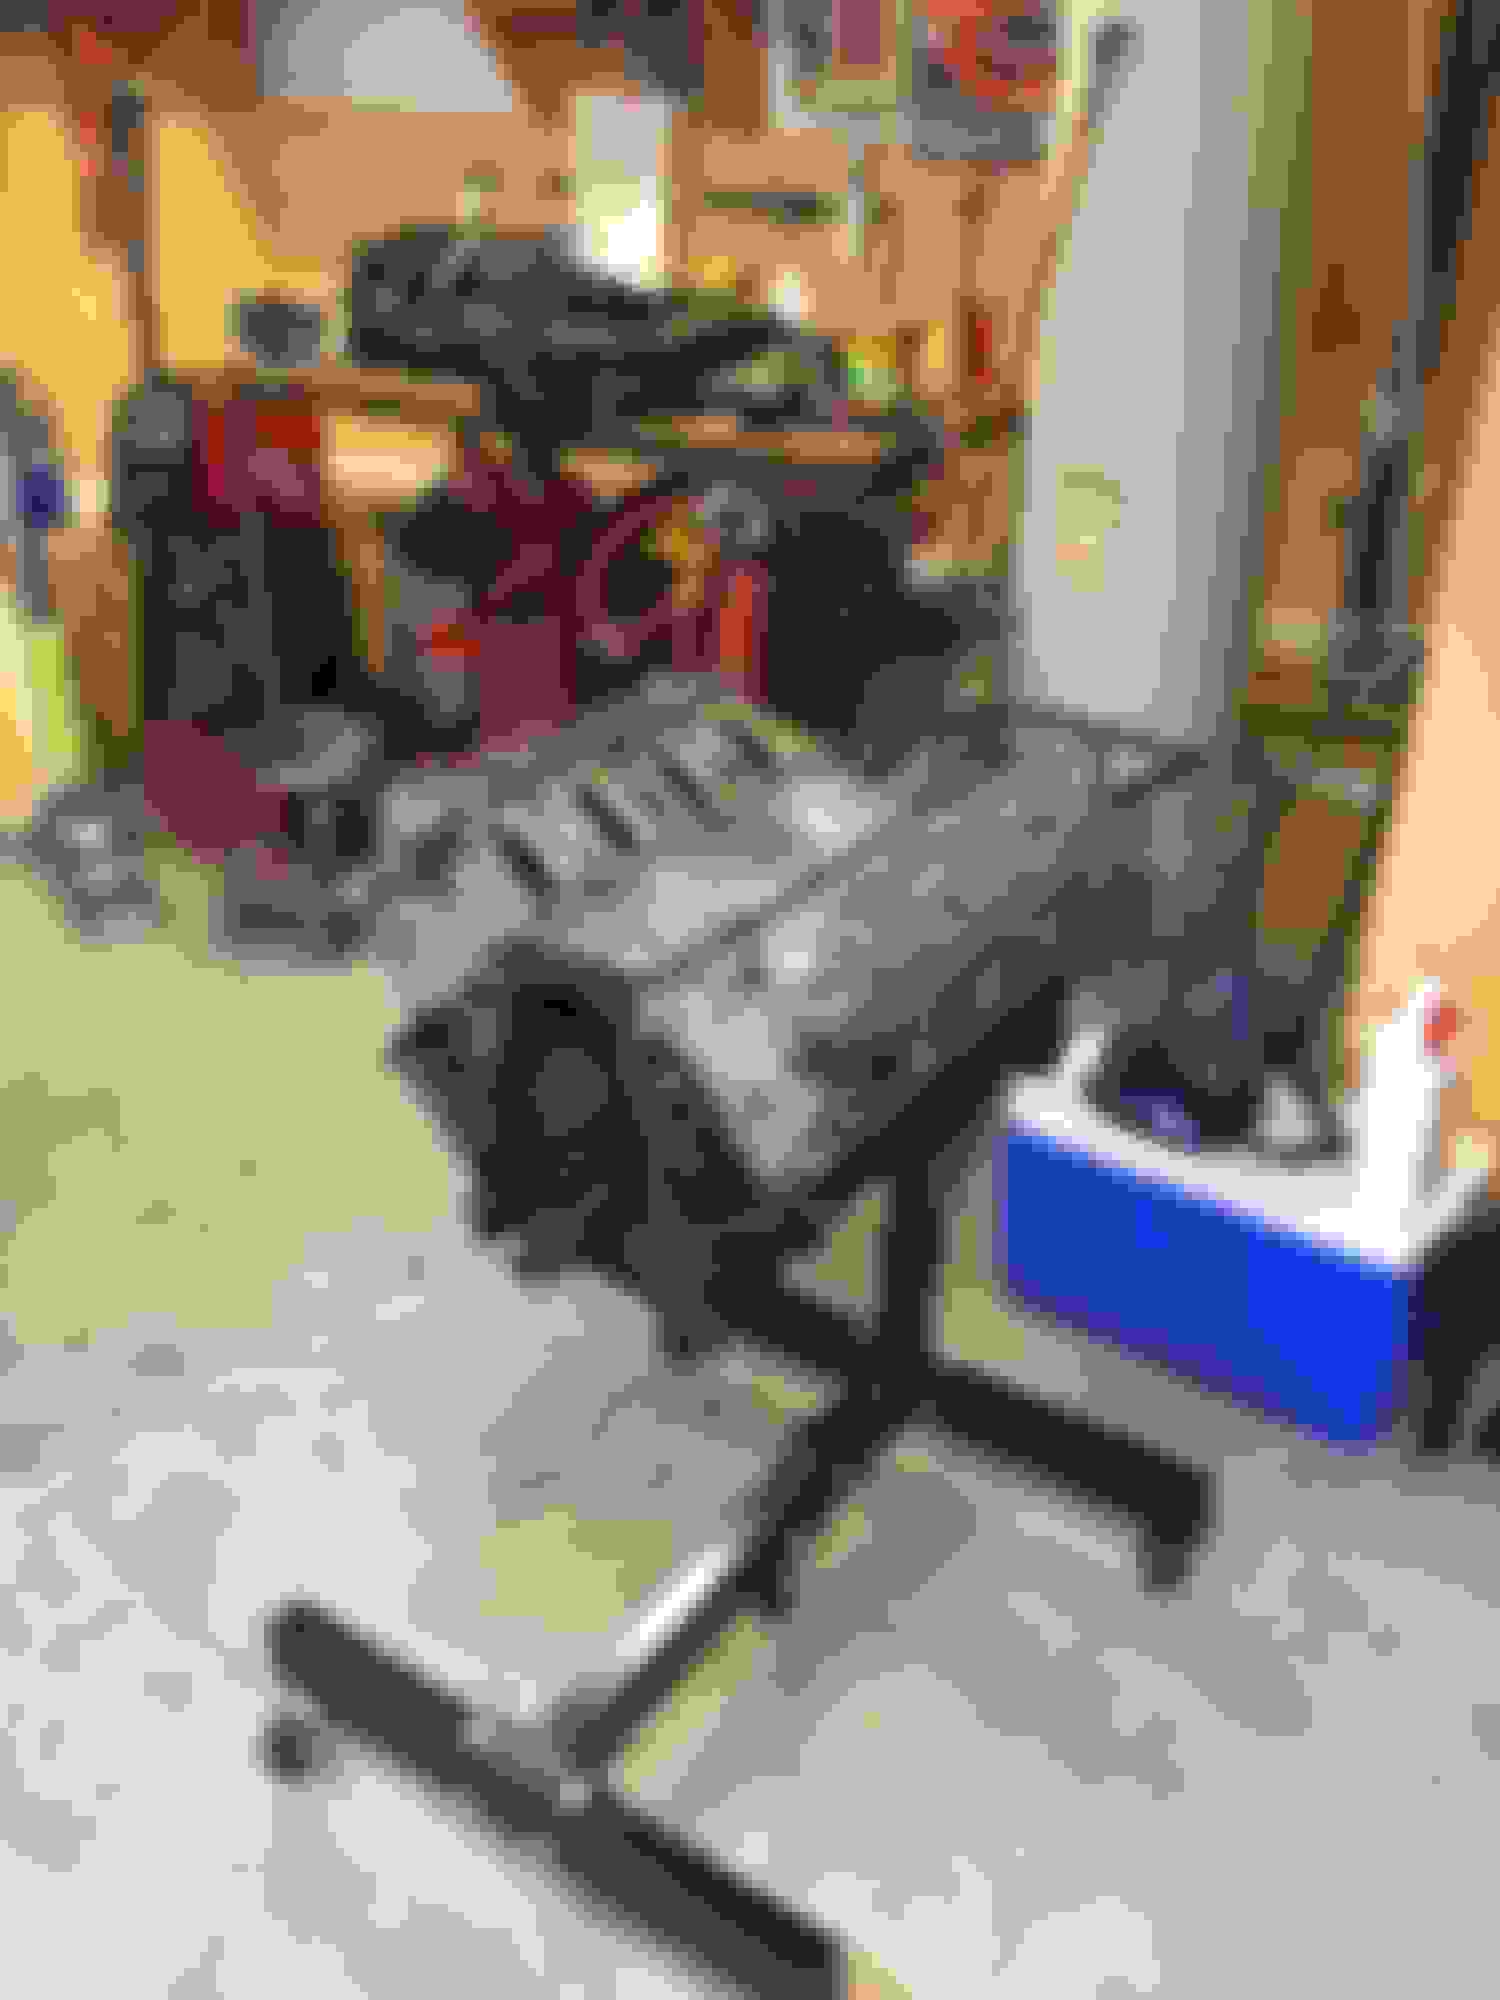
I finally feel I have made enough progress to start a build thread. Back in July of 2016 I found a quy on Craigslist selling a fairly complete Gen IV 5.3 engine out of a GMC Yukon. He only wanted $300 buck for it so I couldn't pass it up. I brought it home, and put it on the stand, and started ordering parts.
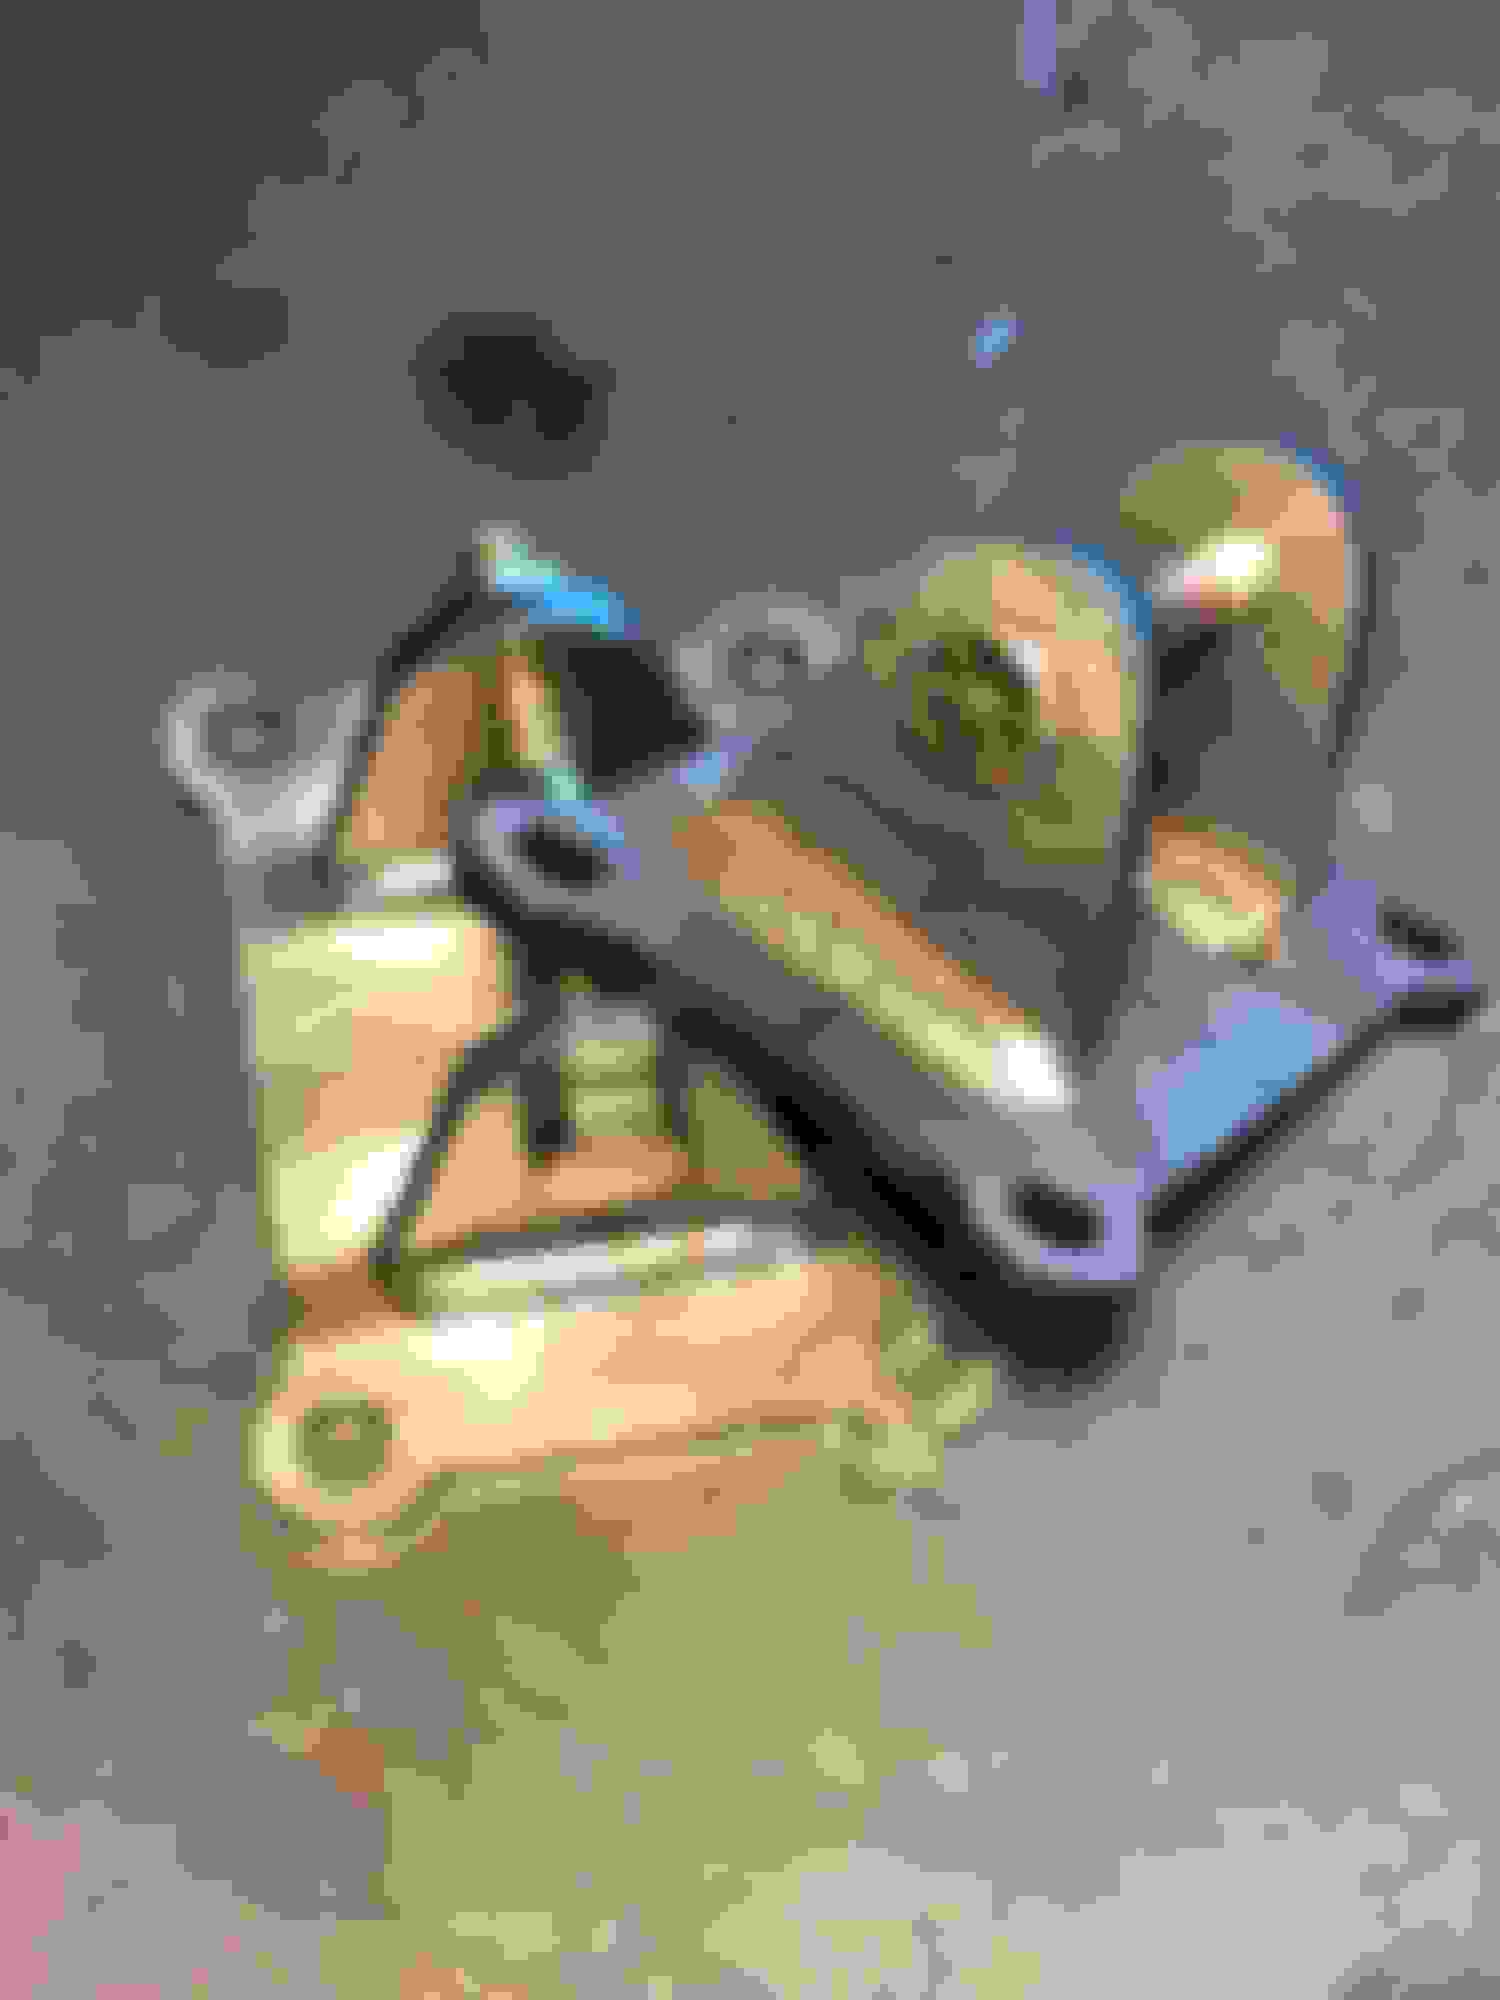
I tore the everything down to a bare block and took it to the machine shop for a quick hot tank and cylinder honing. Here are a few photos after i got the block back, painted everything, and reassembled the bottom end.
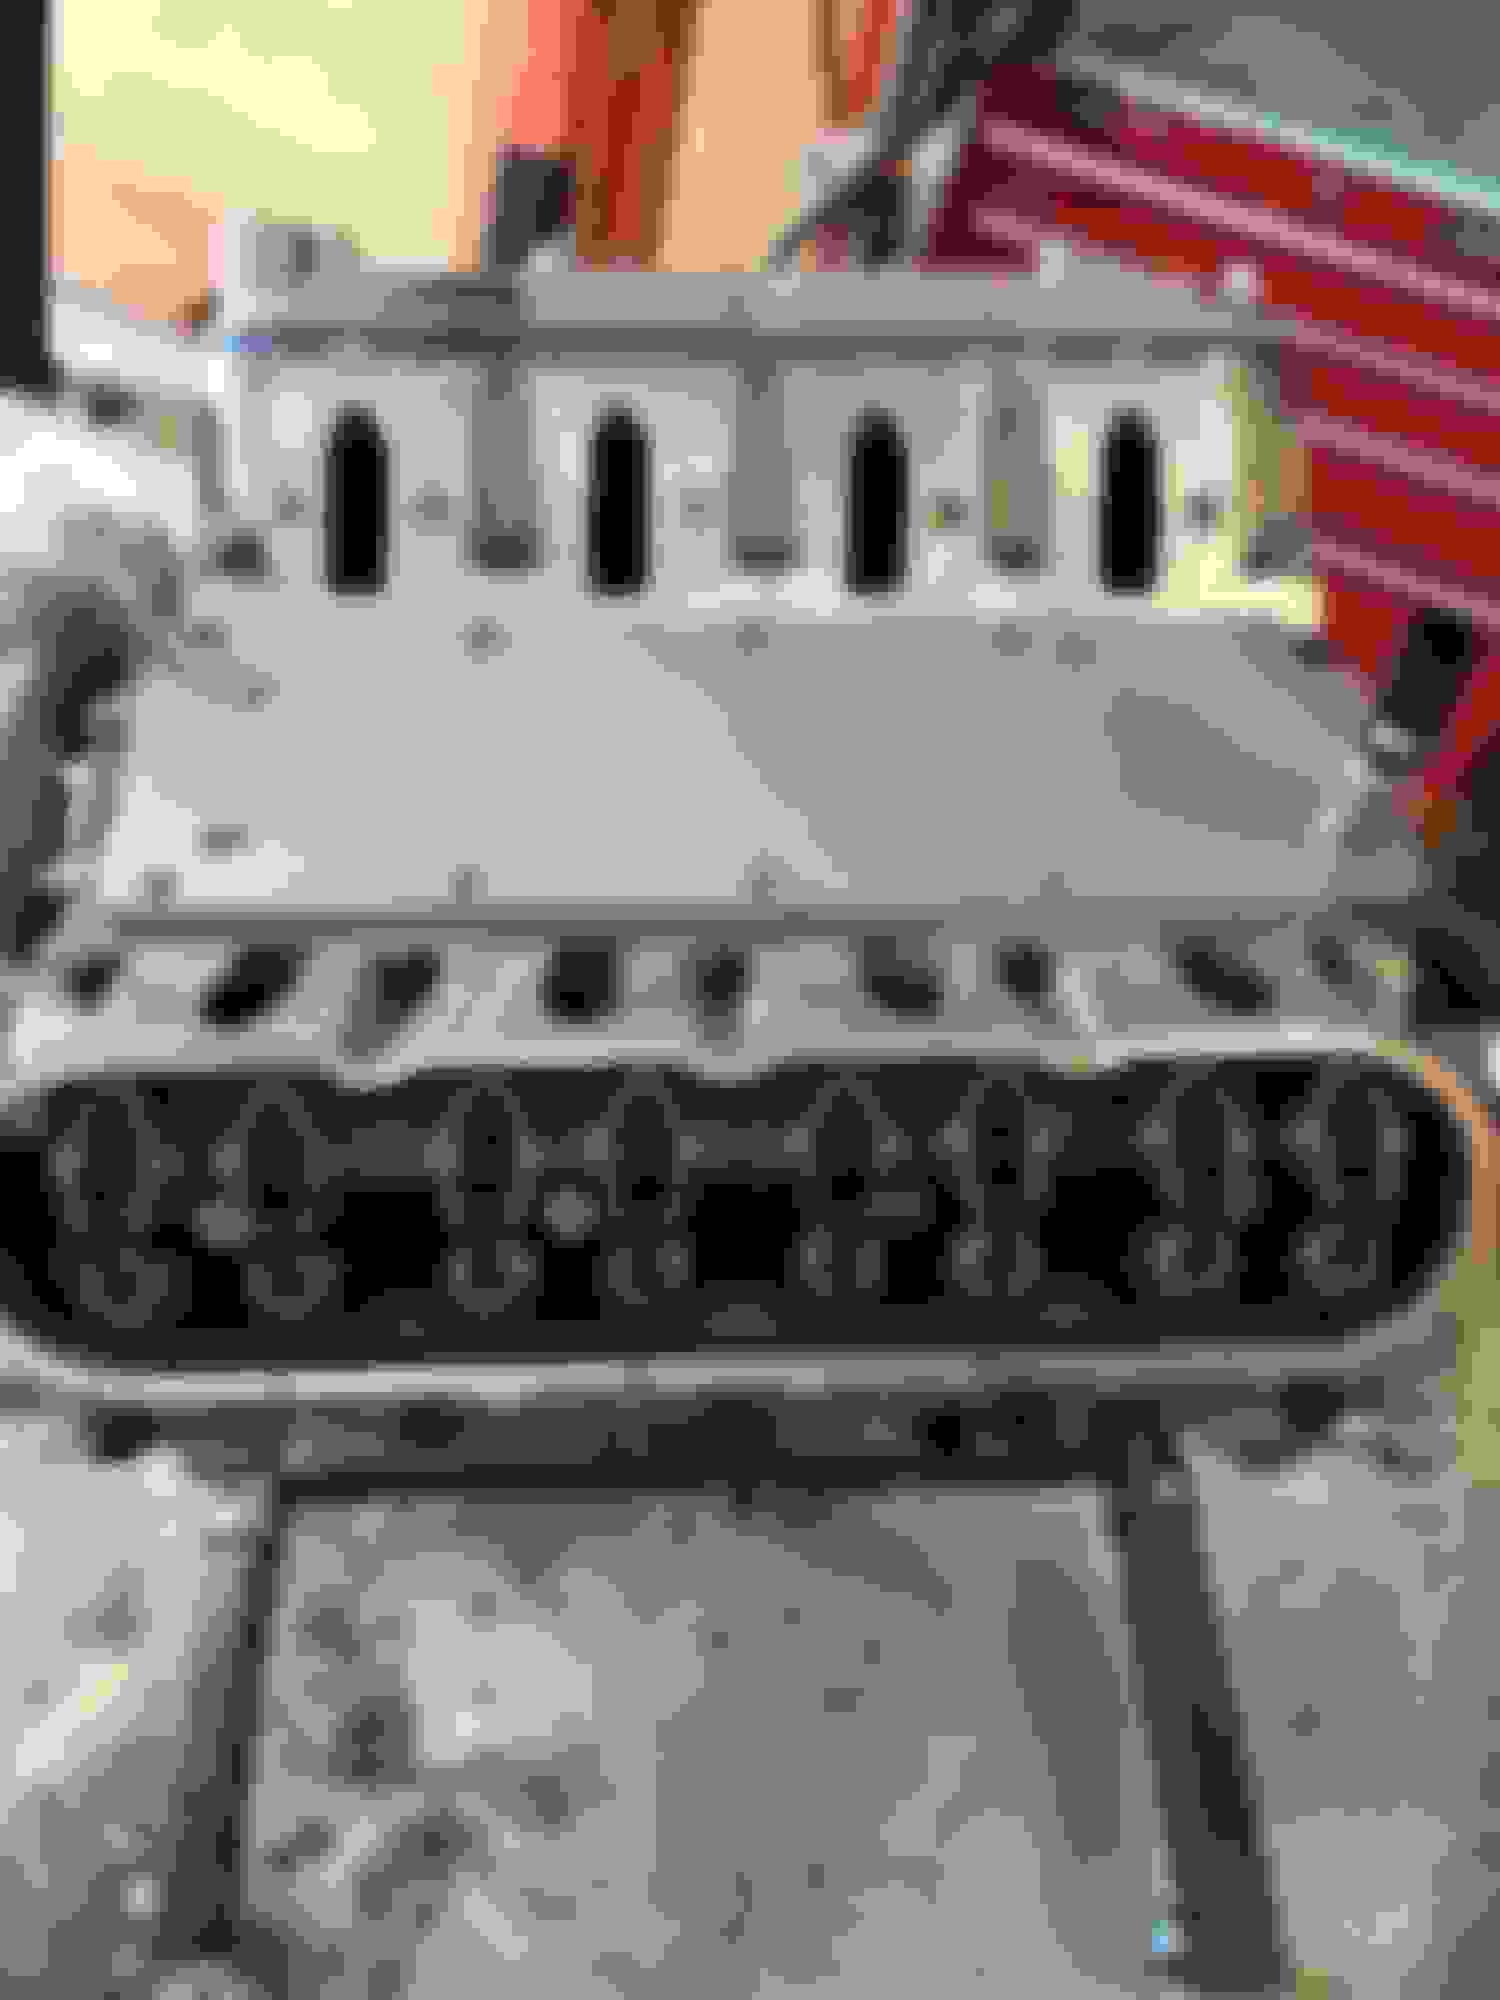
Once the bottom was all buttoned up I started on the heads. Nothing crazy just stock head with new valves, and LS6 bee hive springs.
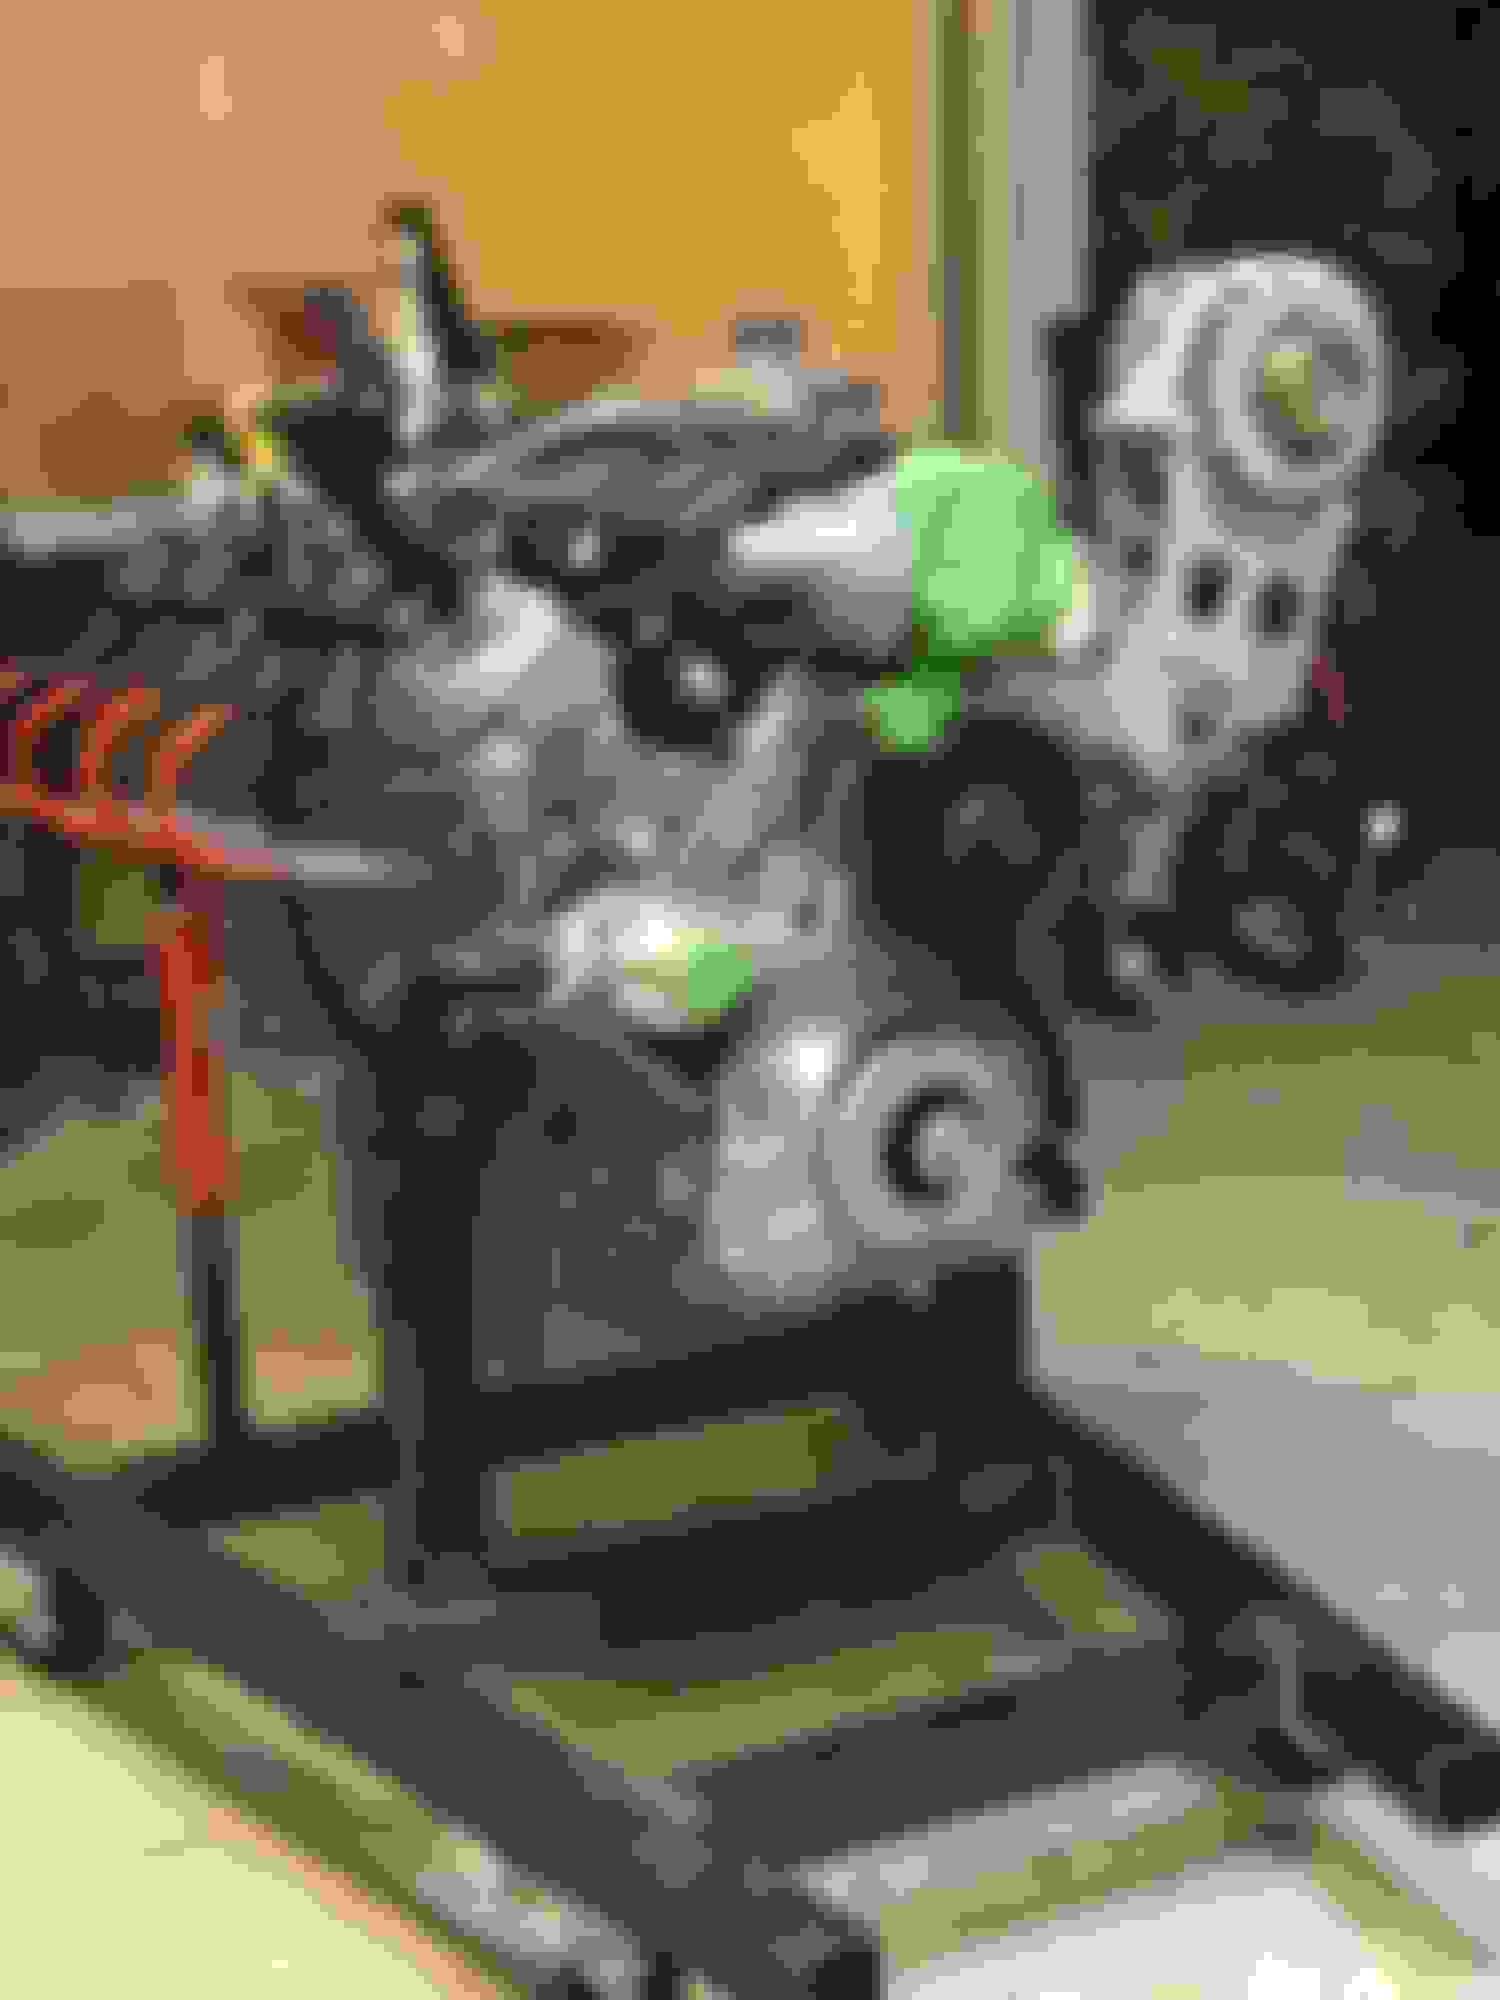
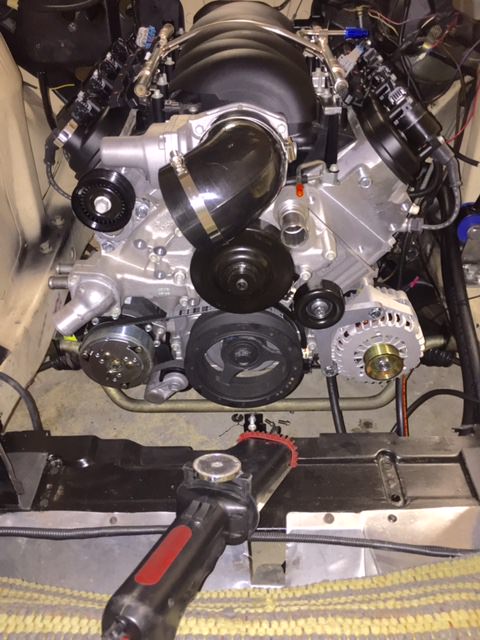
Got ever buttoned up and slapped a LS6 Intake manifold on, and put on a few of the front accessories.
At this point it was September of 2017. I had found out I was going to be a father, and felt the urgency to find a shell to prep for the 5.3. Once again I turned to Craigslist and found a guy selling a 1992 E36 coupe. He used it as a track car, and was willing to let it go of the extremely low price of $200 (never wrecked and it had a title). I couldn't pass it up. The shell was far from complete, the interior was gutted, the spare tire well had been cut out for a fuel cell, the front fender had a huge dent in it, and the windshield had what looked like a bullet hole in it.......but it was only $200!
So I got the car home, put it on dollies, and started to get the engine wrapped up. A long time ago I swore to myself that I would never swap another engine into a car without test firing it before putting it in the new car. With that in mind I started to build a engine startup stand. I looked around online, and decided to build one from scratch instead of dropping a few hundred buck on a pre made one. Plus I had 40' of 2" x 2" square tube laying around in the garage. So i started cutting and welding.
I made the base of the stand the same dimensions of the inside of my engine lift legs. I always get tired of the stand hitting the legs of the lift, and being to far out when you go to take the engine off the stand. Now I can roll it directly below the pick point of the lift and go straight up with it.
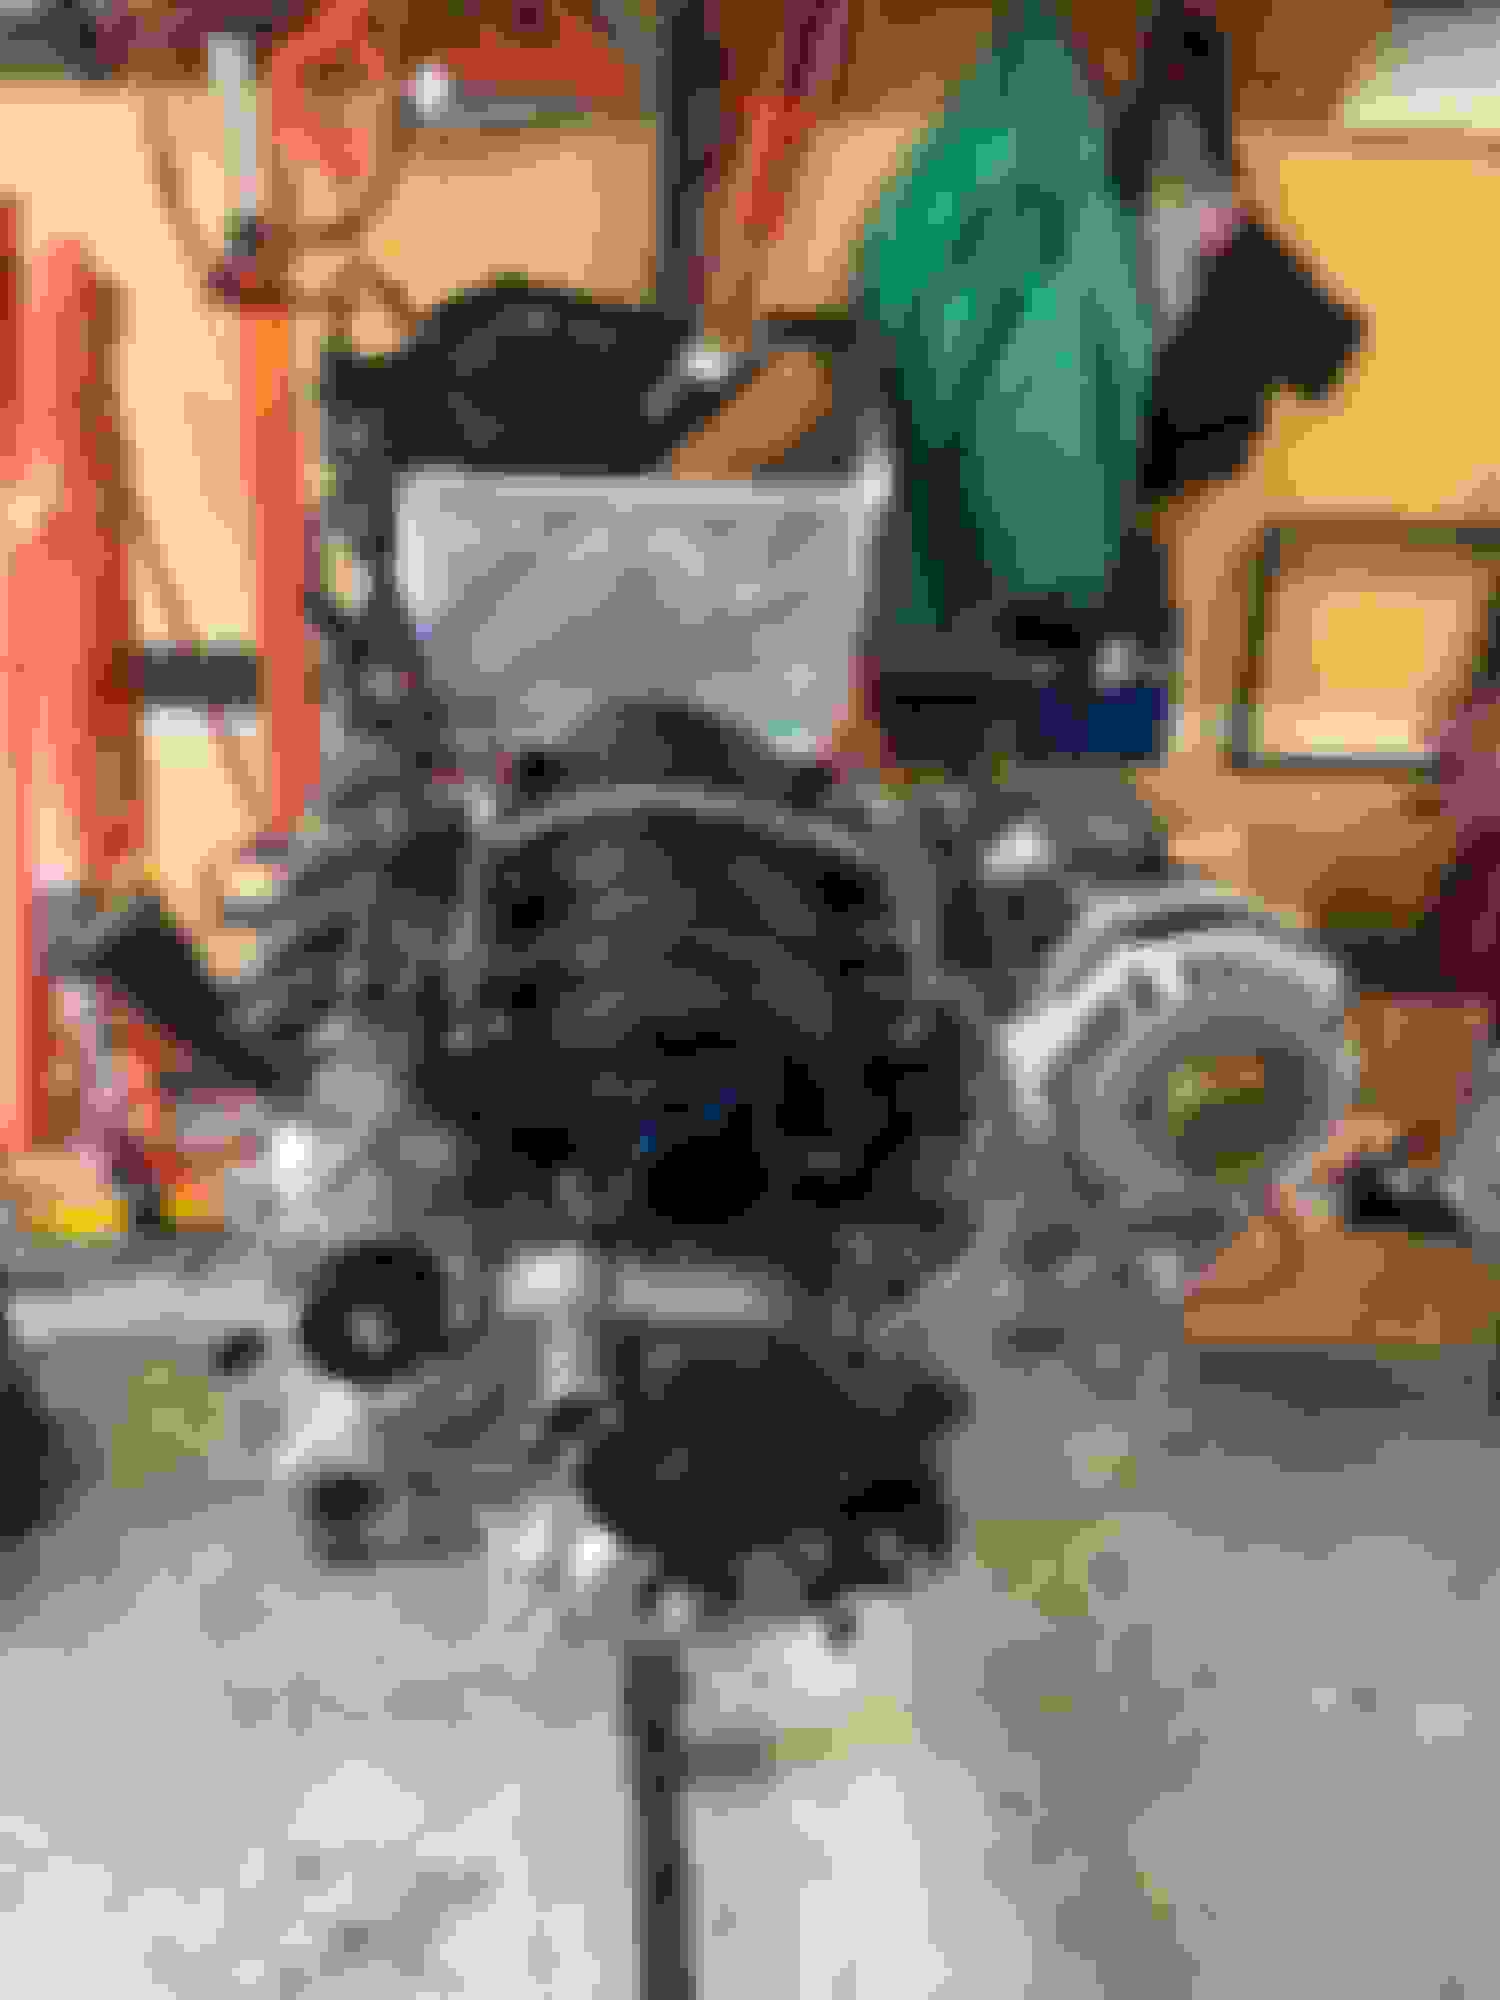
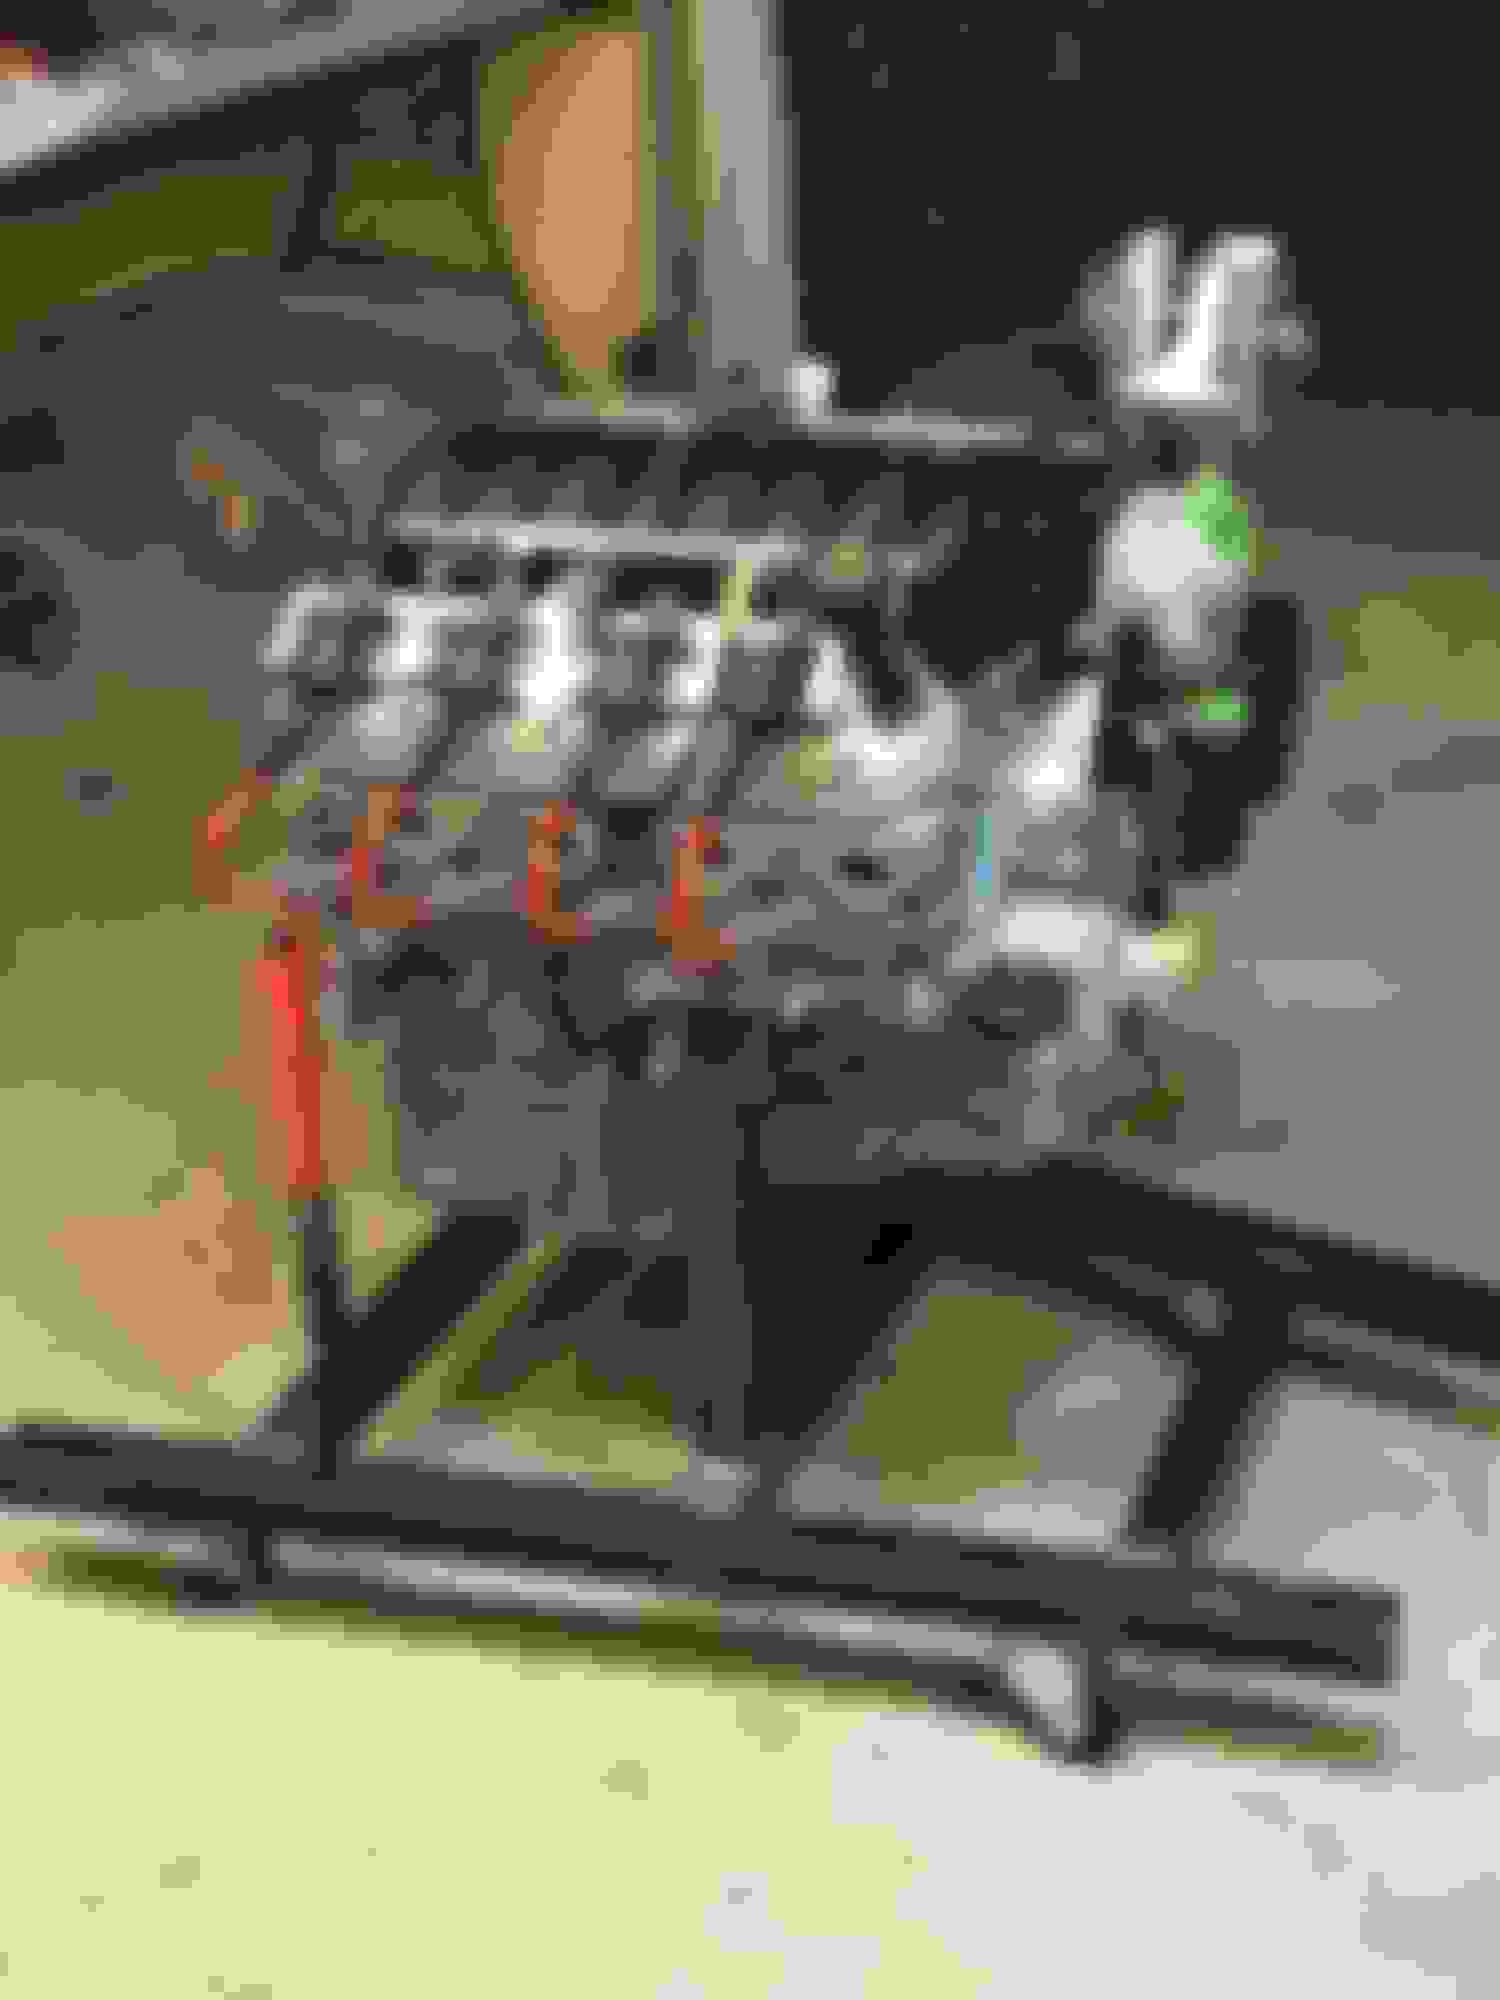
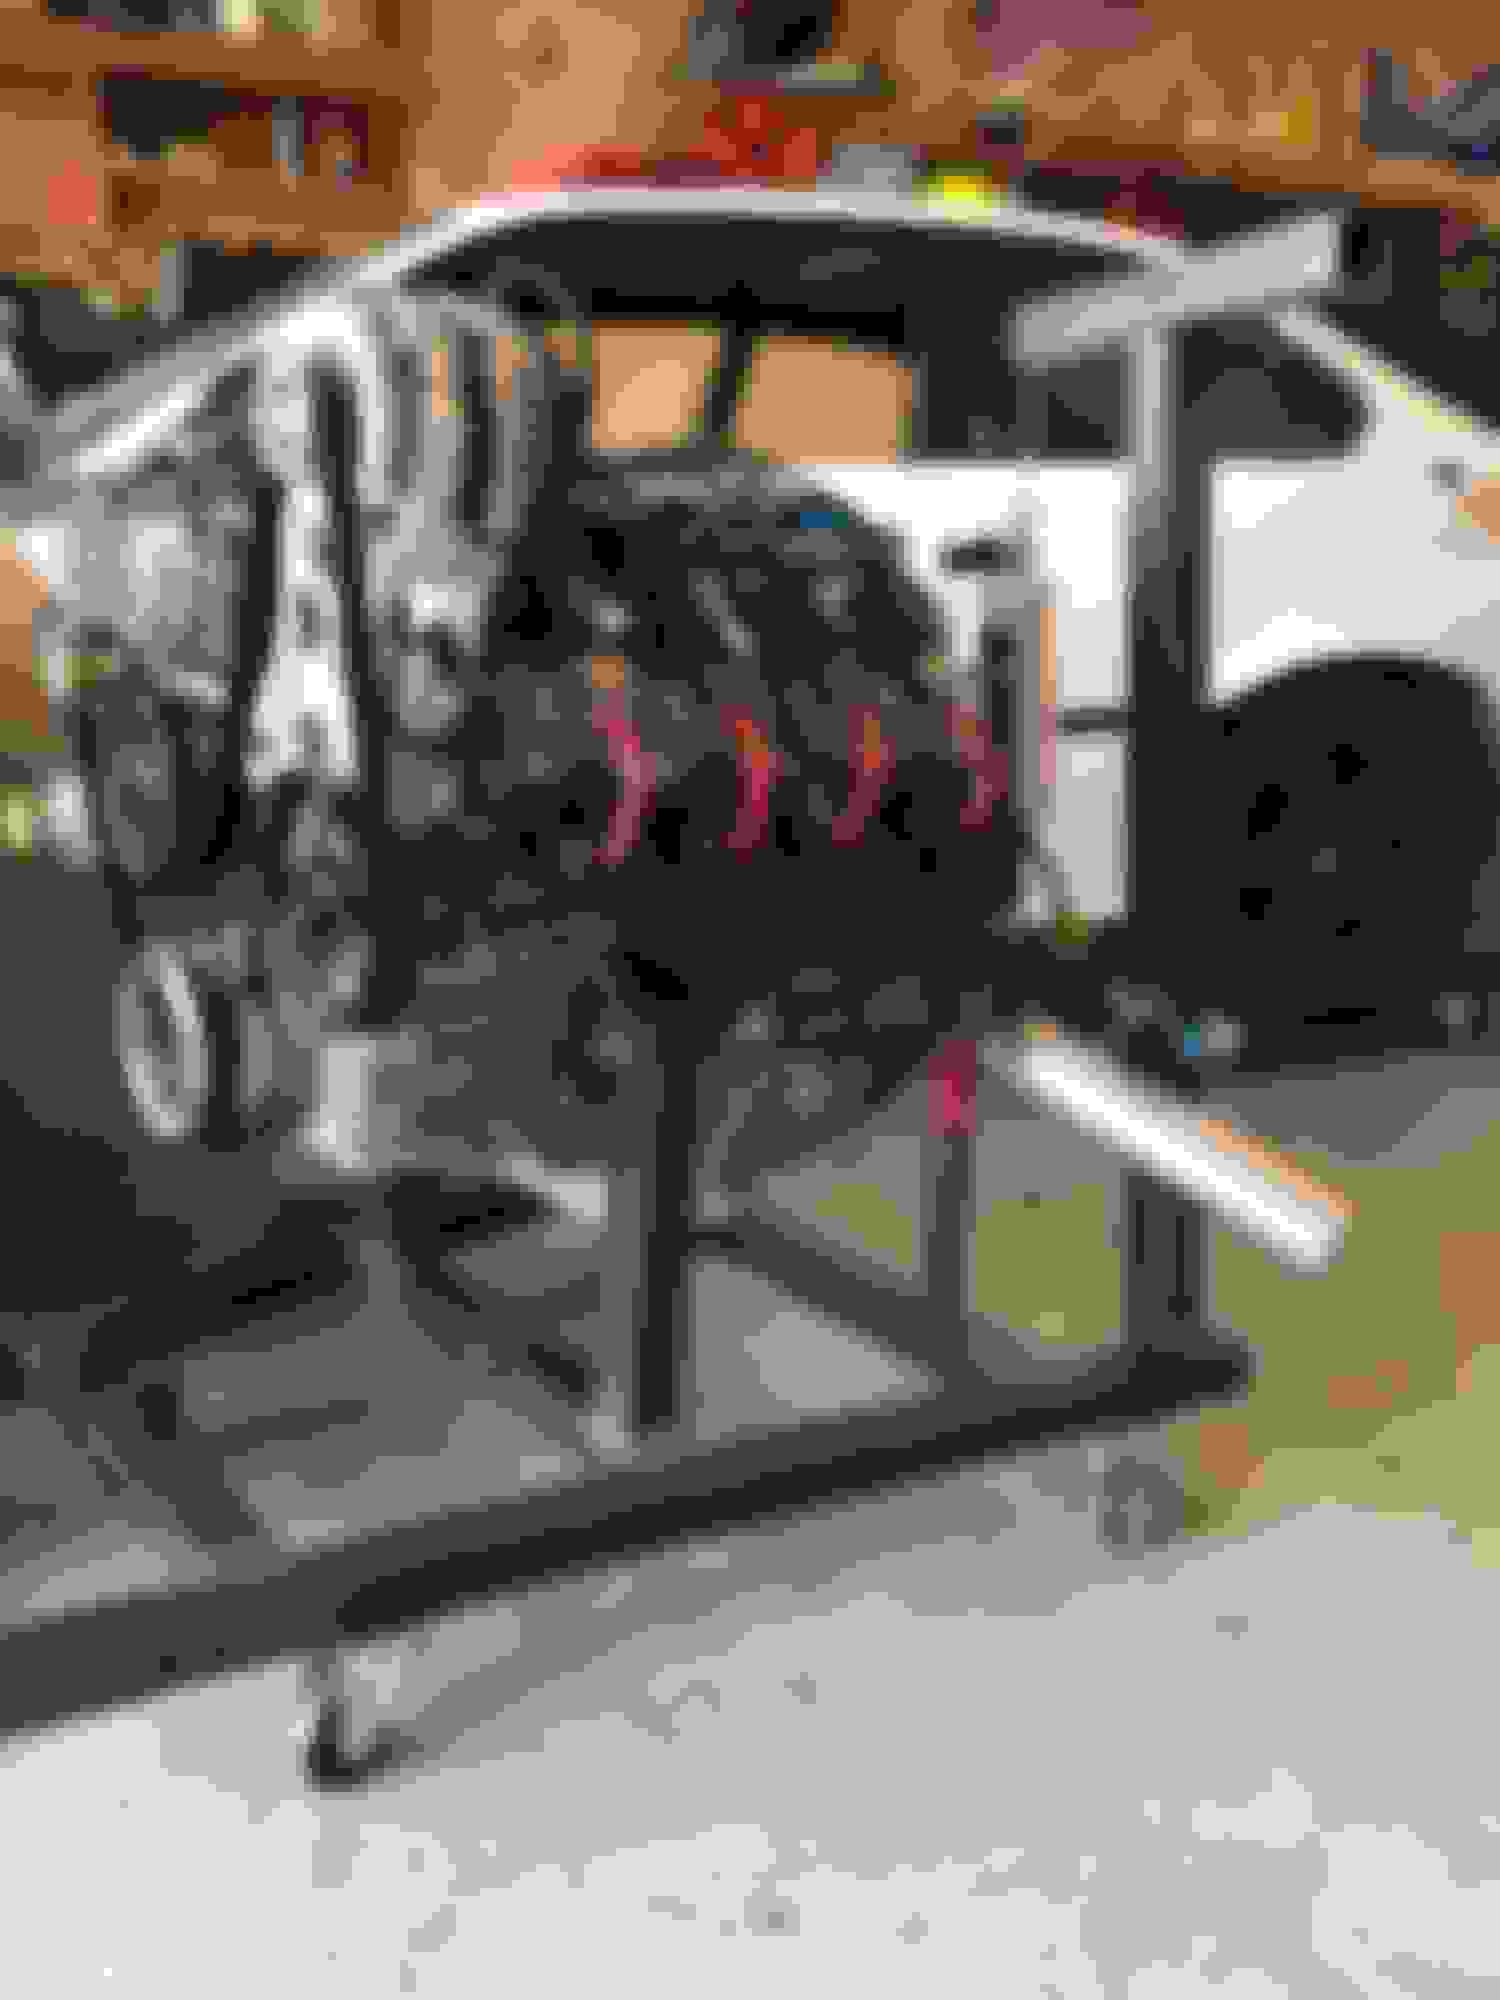
I made some engine mounts, and before you knew it I has the engine sitting on what was the start of my engine start up stand.
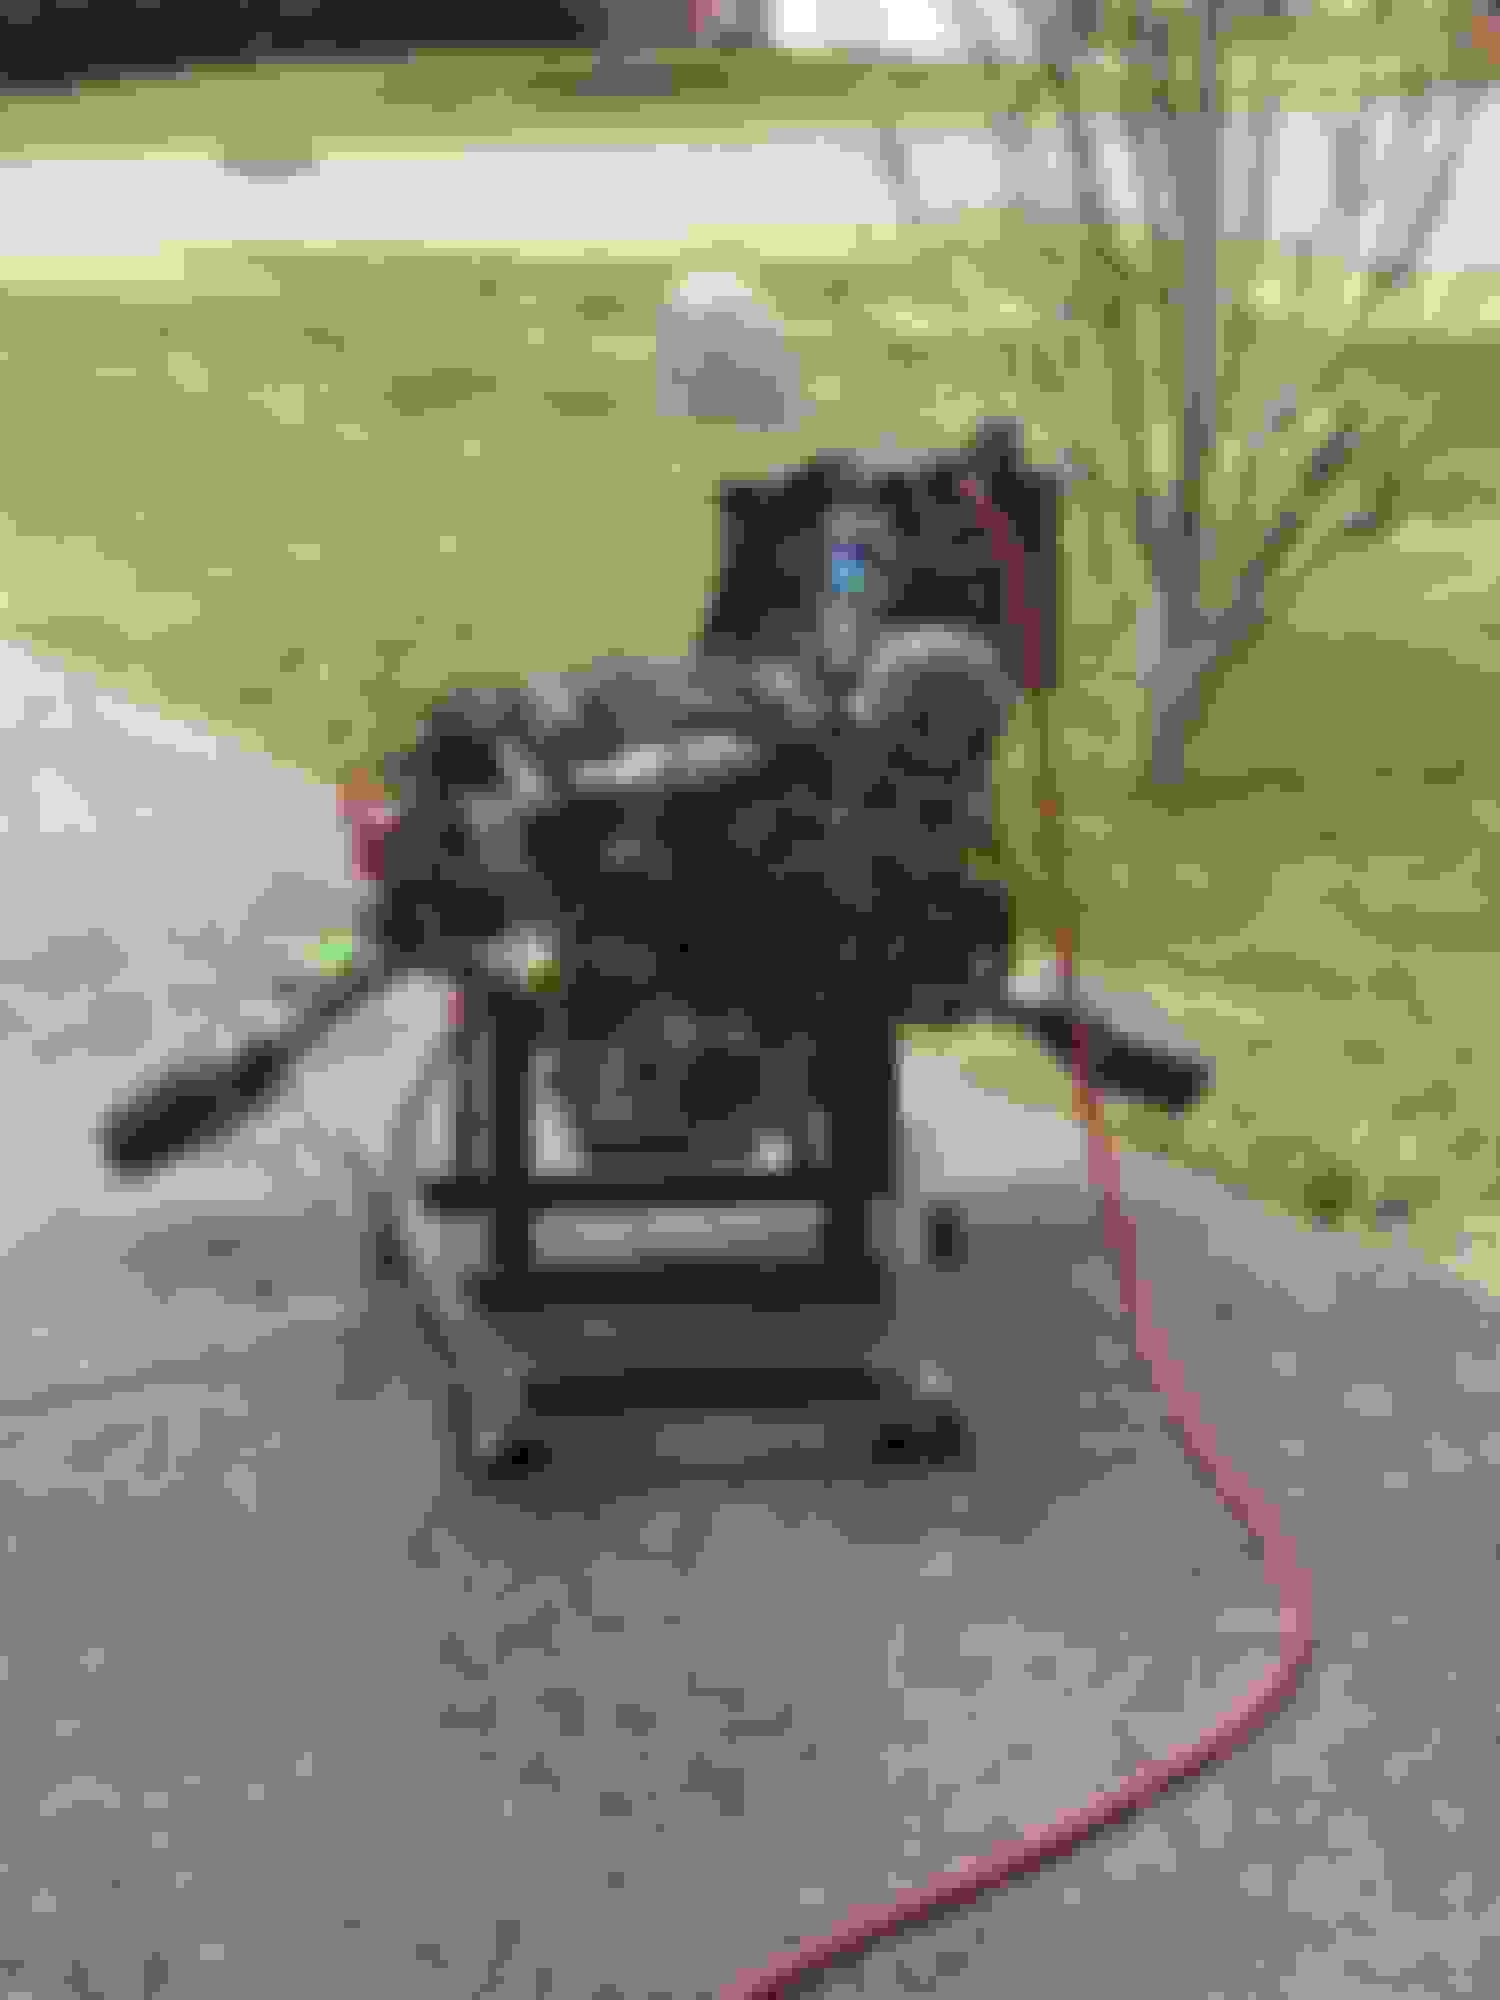
Once the engine was on the stand I ordered a PSI performance stand alone wiring harness and wired it up. I also got a cheap set of factory truck headers, and made some simple test pipes just so I could fire the engine, and not disturb the entire neighborhood. I provided fuel to the engine with a fuel injection system cleaner setup on compressed air.
On March 19th, 2018 I was able to successfully fire my engine for the first time. Below is the YouTube video of the first start.
I will stop here for now, and post more pictures tomorrow of the start of the body work, and suspension. Hope you guys enjoy, and I would appreciate any feedback you guys might have.
Can you go with a low mount alt bracket? My application is McPherson strut too -- and the low mount (with power steering above) clears just fine. Makes for a much cleaner install. I started out with a top mount kit like you're showing --- and ended up with the pic below. Great progress on yours!
Thank you! Your finished product looks awesome. I have had a few people suggest that. Will that bracket work with a truck alternator and a corvette power steering pump? Is that a ICT low mount bracket?
Won�t your pulley spacing be wrong - truck and Covette have different pulley spacing. Any how - my crate LS3 had Corvette pulley spacing - the ICT alt bracket and Allen Groves A/C mount were for Corvette spacing, and the CTS-V power steering bracket is the same as the Corvette spacing. I needed all the room at the front of the motor I could get - Corvette offers the most of the rwd platforms.
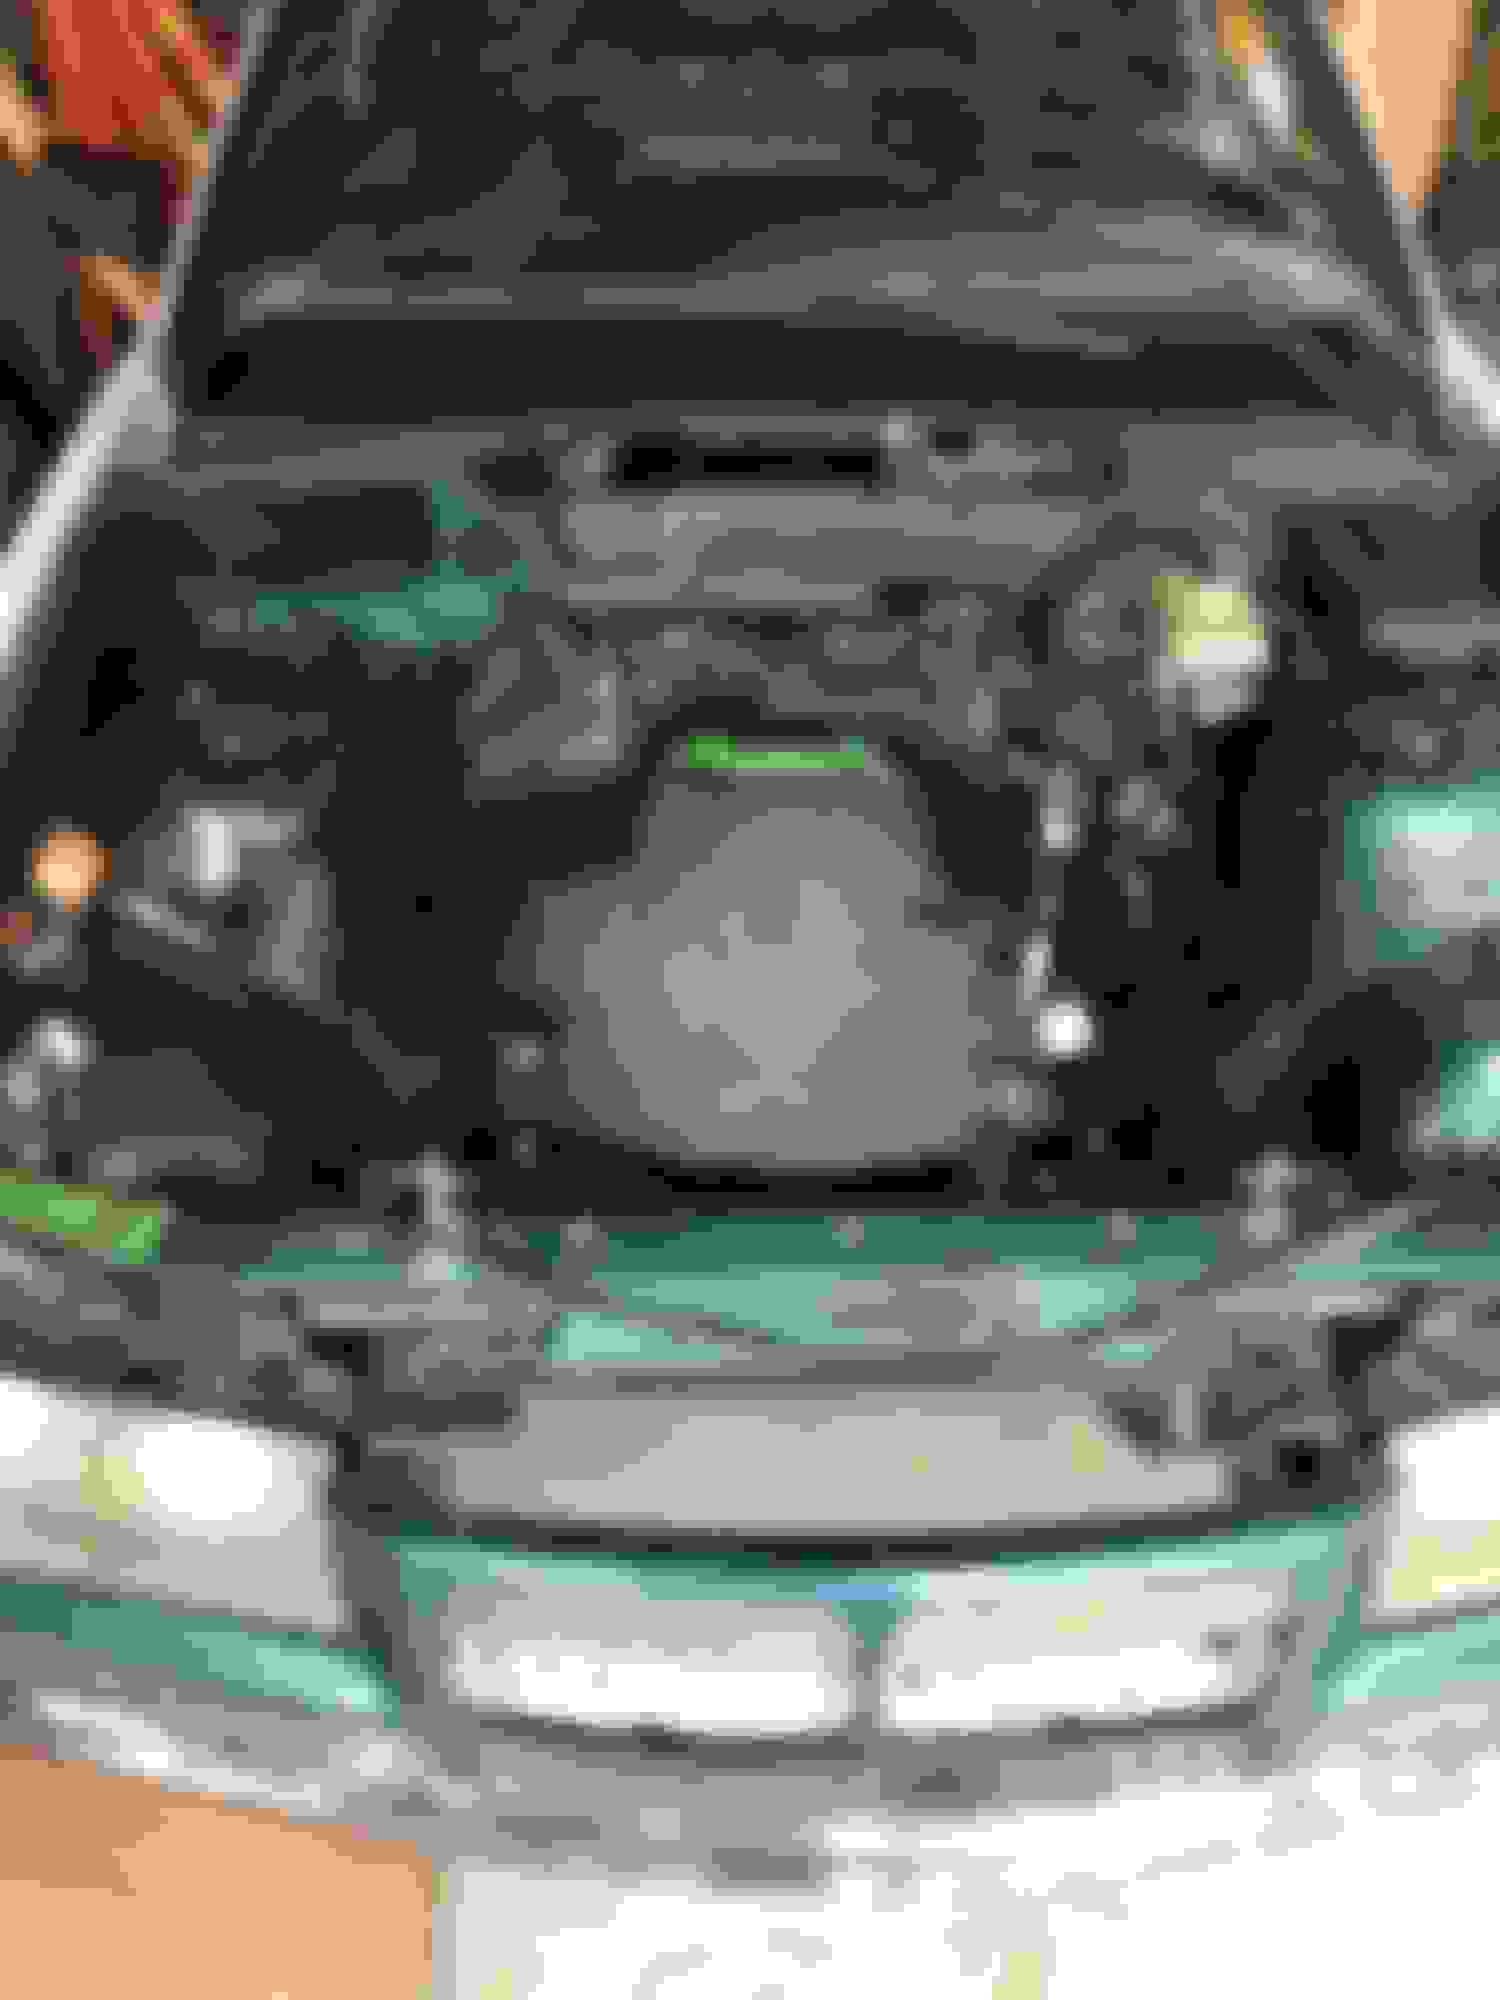
Thank you for the info. I have been looking at low mount brackets today, and think I am going to go that route. Between the low mount, and the high mount I have now I should be able to fab something up that works. Here is a pic of the belt alignment right now with corvette accessories, and the truck alternator. Its not the best pic, but its all I have on my phone and I don't want to go down into the garage haha.
Continuing on. Now that I know the engine runs I turned my attention to the shell. My plan is weld in some minor reinforcement, repaint the entire car, and keep the interior minimal.
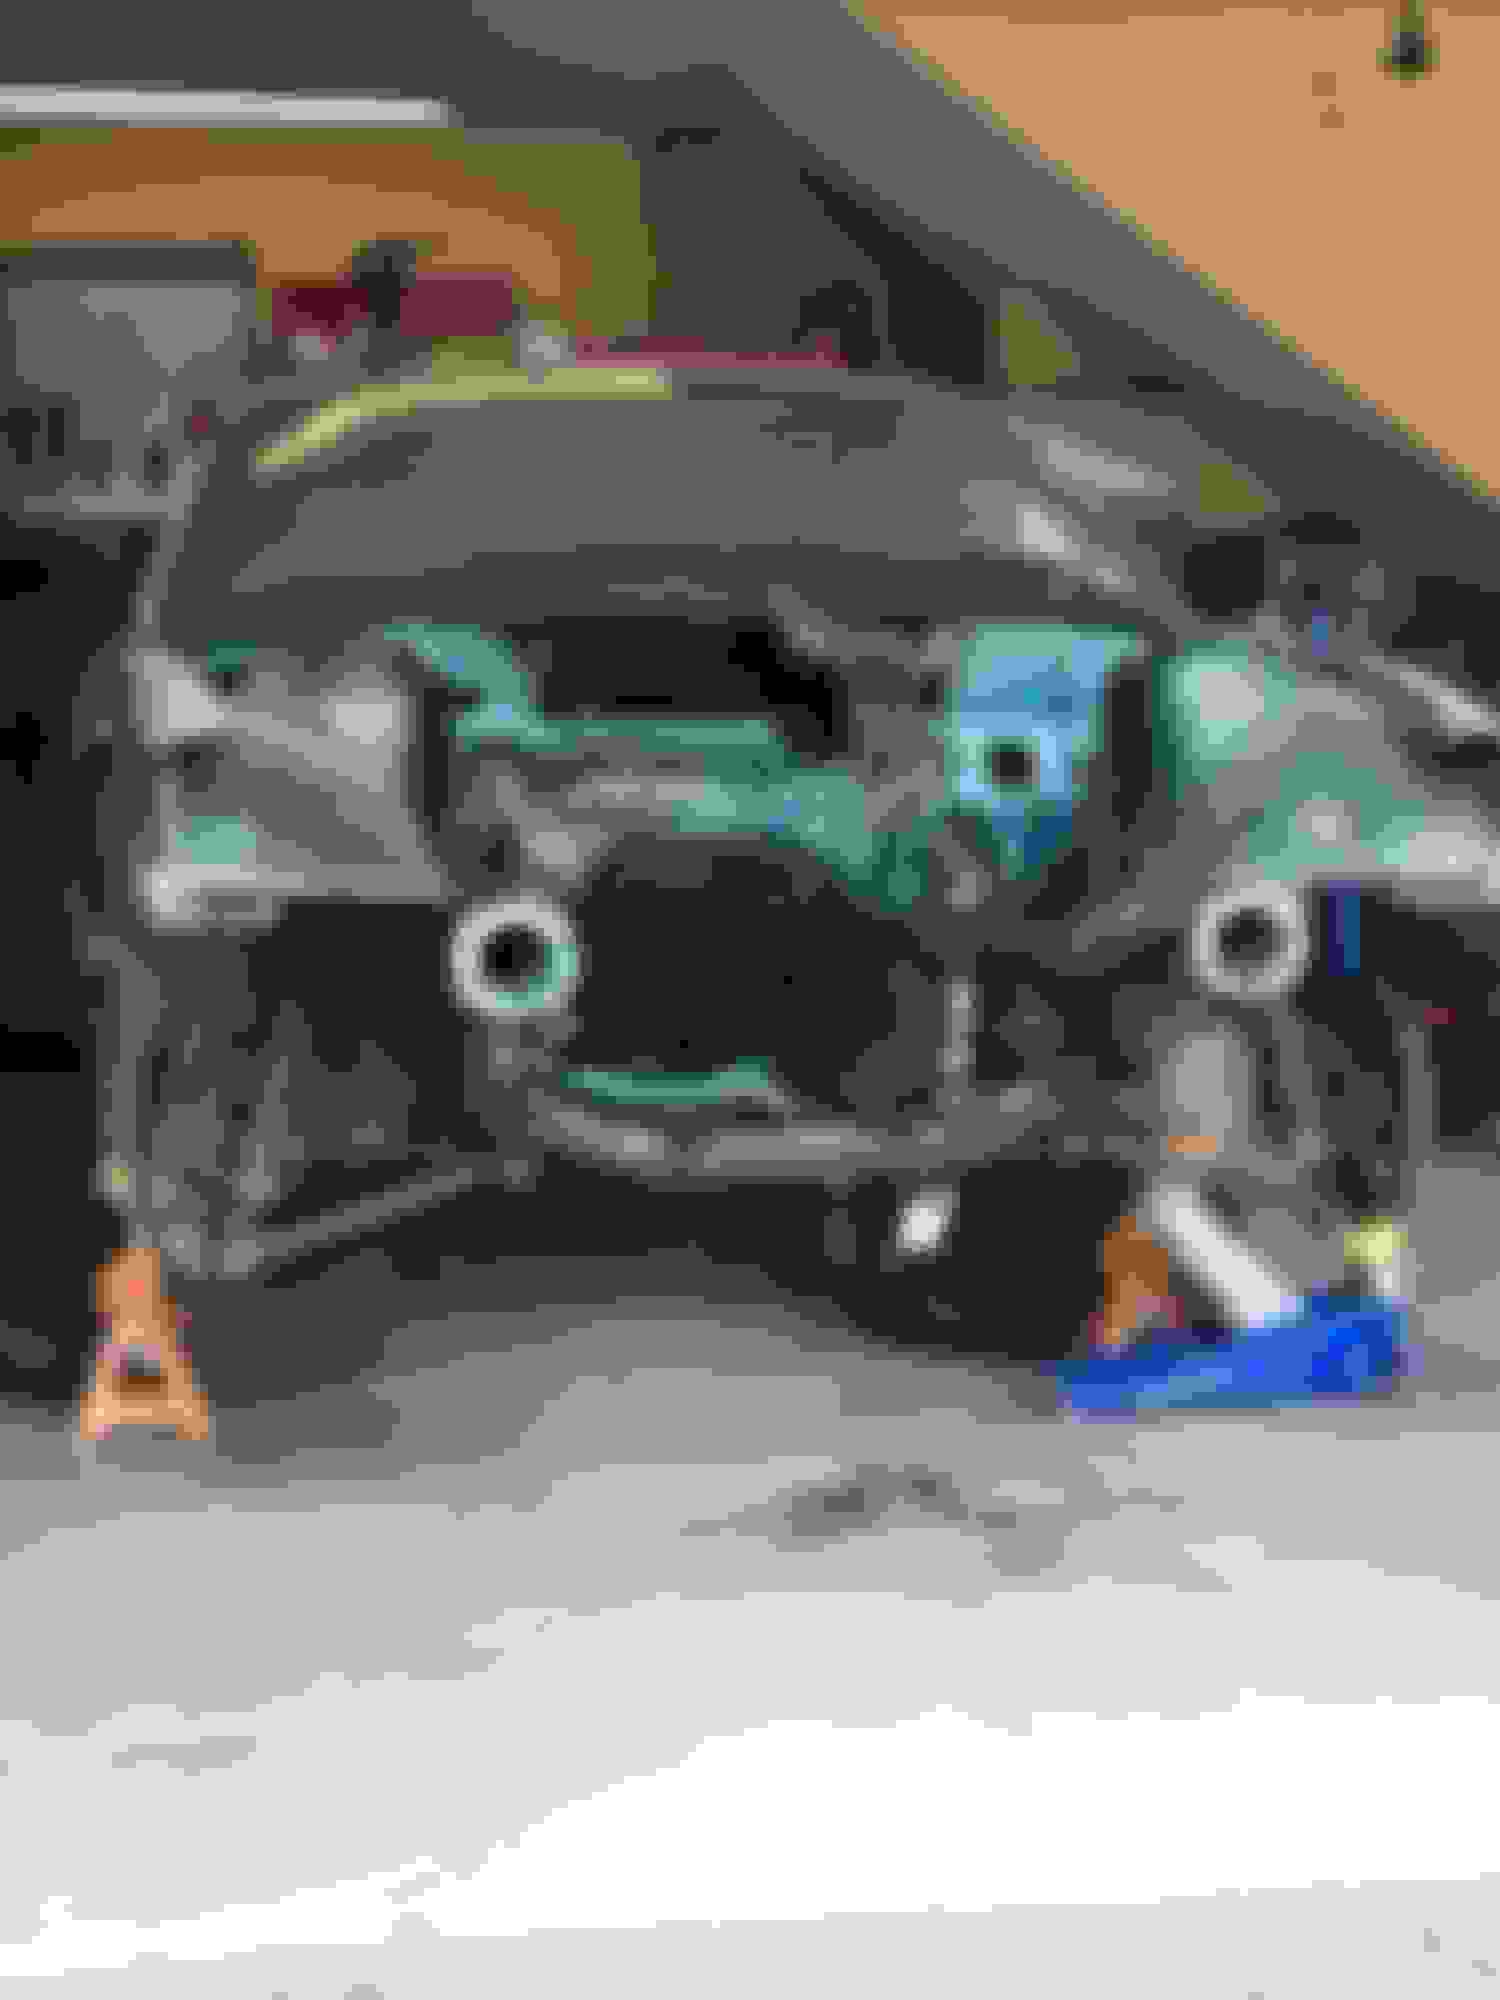
First thing I did was put the car on jack stands and started stripping all of the front suspension. The steering rack was shot and leaking, the breaks were gone, and the ball joints were torn. They all went to the scrap yard to be melted down for boat anchors.
One day while trolling through Instagram I saw a company that made strut tower to body braces for the E36. They were affordable so I thought I would give them a shot. They turned out to be nicely made pieces. My only comment is that they could have been made from a little thicker steel.
I also dropped the front sub frame and welded in some Turner Motorsports sub frame reinforcement brackets.
The trunk that came on the car had a large hole cut in it, for what reason I could not tell you. I found a guys on Craigslist that was selling a gently used M3 coupe trunk for cheap so I snatched it up.
Next I primed and painted the bay. I went with a battleship grey. I still haven't nailed down what color I want to go with the car. I might toss some of the options I am looking at on the form and see what you guys think. I was super pleased with how the engine bay turned out.
Once the clear clear coat dried I made a carbon fiber block off plate for the fire wall, and installed my Chasebay's Brake Booster Eliminator kit. I am very please with this piece, and can wait to get the rest of the brake lines ran. Also I re-rubberized the wheel wells as well.
I will stop here for the time being. Currently I am starting to reassemble everything, and have the subframe and steering rack back in. I am upgrading all of the brakes to M3 brakes, and tossing some cheap Ebay coilovers on her just to get the car back down on it wheels.
On my E36 LS swap I used all Fbody accessories. Keeps the alternator down low. Power steering pump clears everything. Lots of good info over on Bimmer Forums.
Yeah it was nice to be able to set the the PSI and everything fired right up. I have trolled through the Bmw forums and there is a lot of good information there. Honestly I went with the high mount alternator because I got sure a good deal on it. I just ordered a ICT low mount and will get it swapped out this weekend.
I did the same thing -- ordered a high mount set up because I thought that was the way to go. Then, realized the a/c compressor wouldn't fit high mount (back hit the strut tower). Order a low mount a/c kit - and when I saw how well it hid all that away down low, I began searching for a low mount alt and mid mount PS that would fit the Corvette spacing. I love how you can barely see any of the accessories from the top. And someone got a good deal (here in the Classifieds) on my high mount set up.
Bimmer Forums actually discusses LS (or ANY) swaps?
There will always a be some schmoe who chimes in "you should m60 swap it"
And I personally wouldn't mind a turbo'd S52 in my krautmobile, but anyone who actually does their own wrenching knows you can't beat LS power in the dollar per horsepower.
OP, what trans adapter you gonna go with on the nissan tranny? I am leaning toward the collins stuff...full size LS flywheel = much more friction area.
Very interested to see how Happel's LOJ kit works out once he puts the blower on it. (if you're following that swap)
6 Common C5 Corvette Failures and What's Involved In Repairing Them
Slideshow: From wobbling harmonic balancers to failed EBCMs, these are the issues that define long-term C5 ownership and what repairs typically involve.
Retro Modern Bandit Pontiac Trans AM Comes With Burt Reynolds' Autograph
Slideshow: A modern Camaro transformed into a retro icon, this limited-run "Bandit" build blends nostalgia with brute force in a way few revivals manage.
Top 10 Greatest Cadillac V Series Performance Models Ever, Ranked
Slideshow: Cadillac didn't just crash the high-performance luxury vehicle party, it showed up loud, supercharged, and occasionally a little unhinged...
Coachbuilt N2A Anteros Is an LS2-Powered C6 Corvette In Italian Clothes
Slideshow: A one-off sports car that looks like a vintage Italian exotic-but hides a C6 Corvette underneath-just sold for the price of a new mid-engine Corvette.